
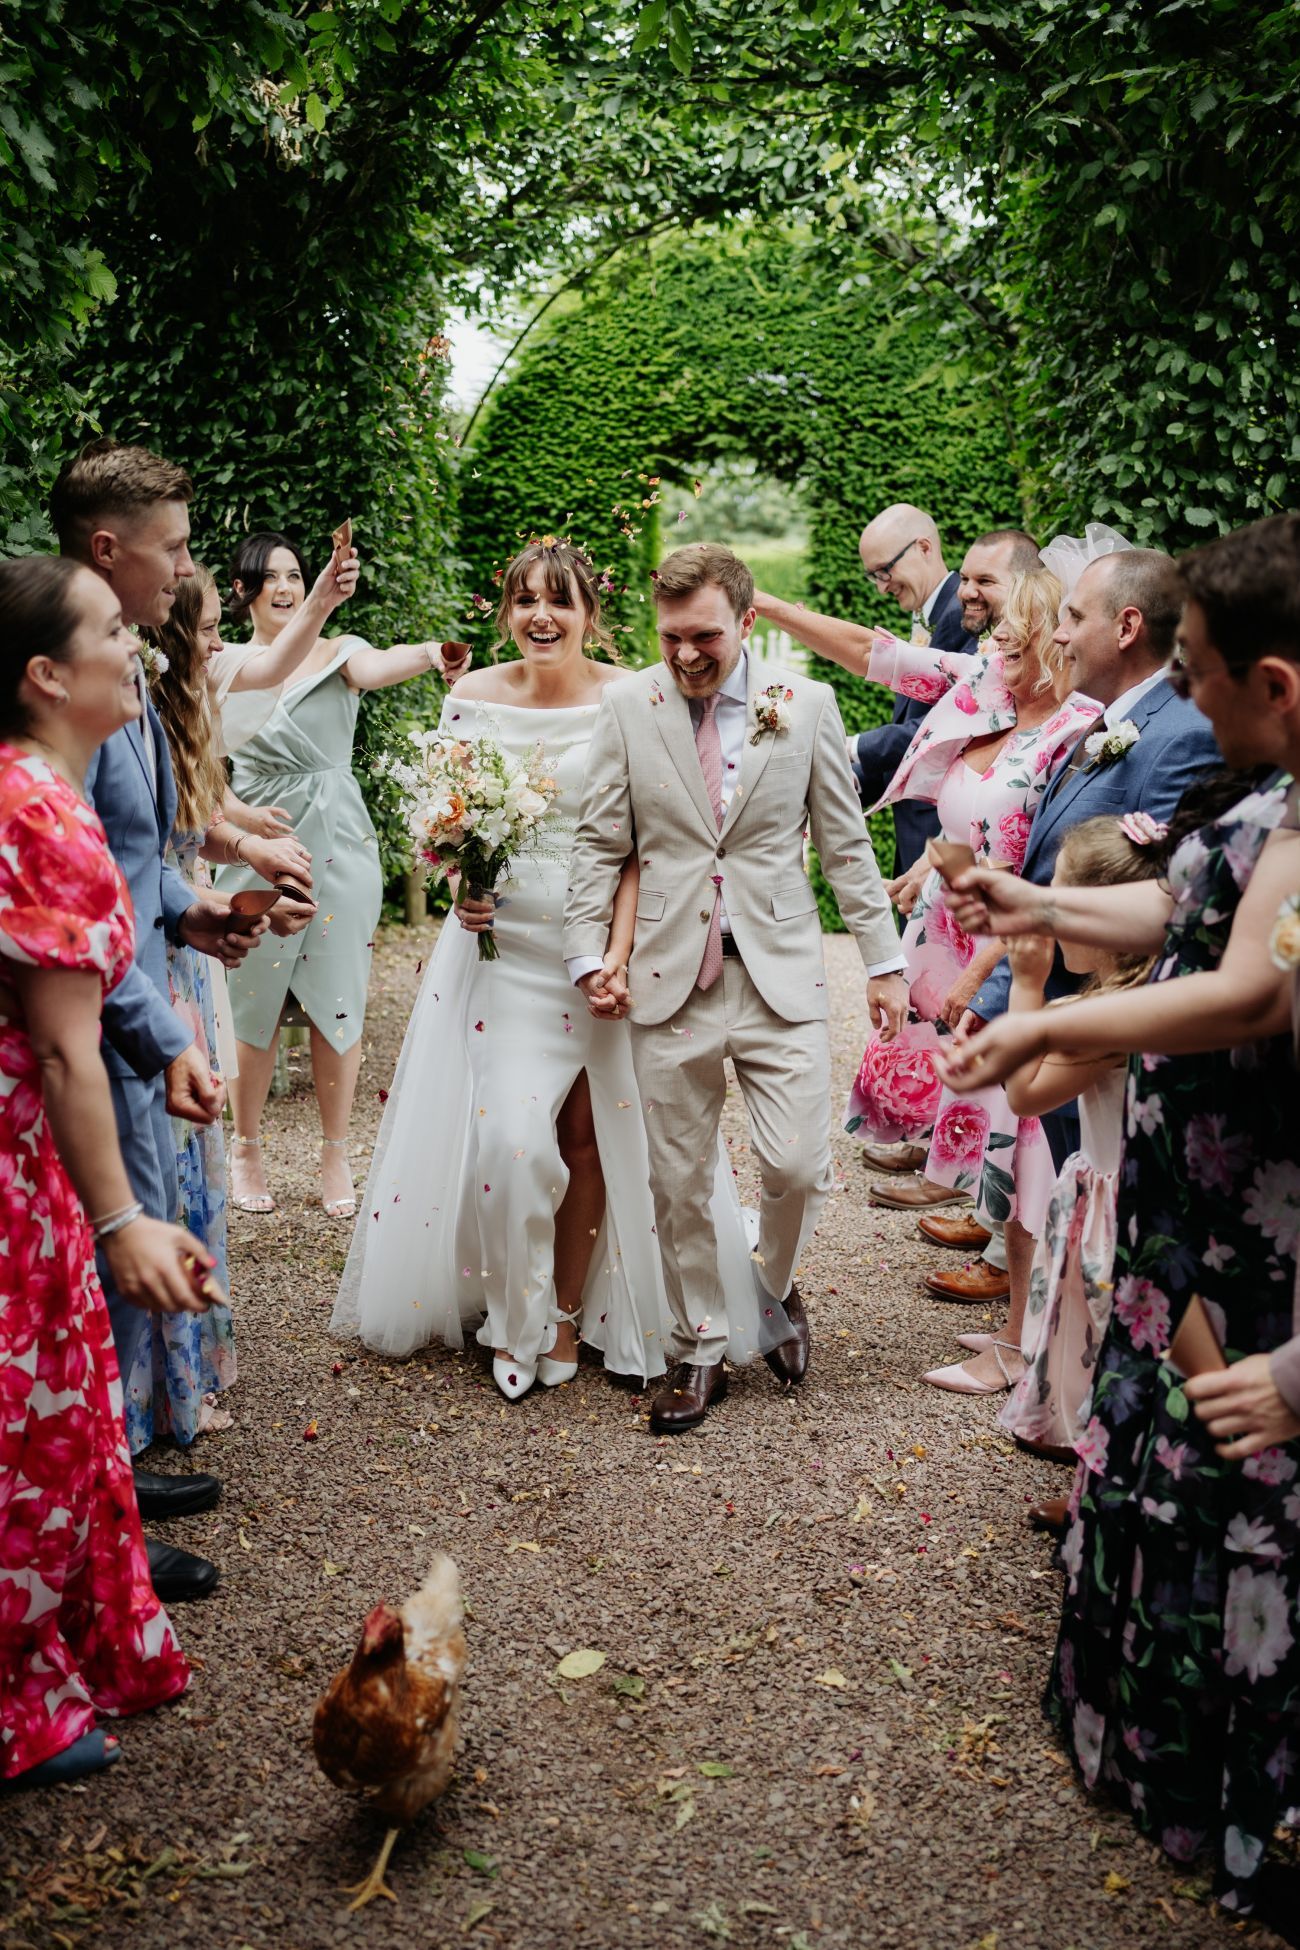
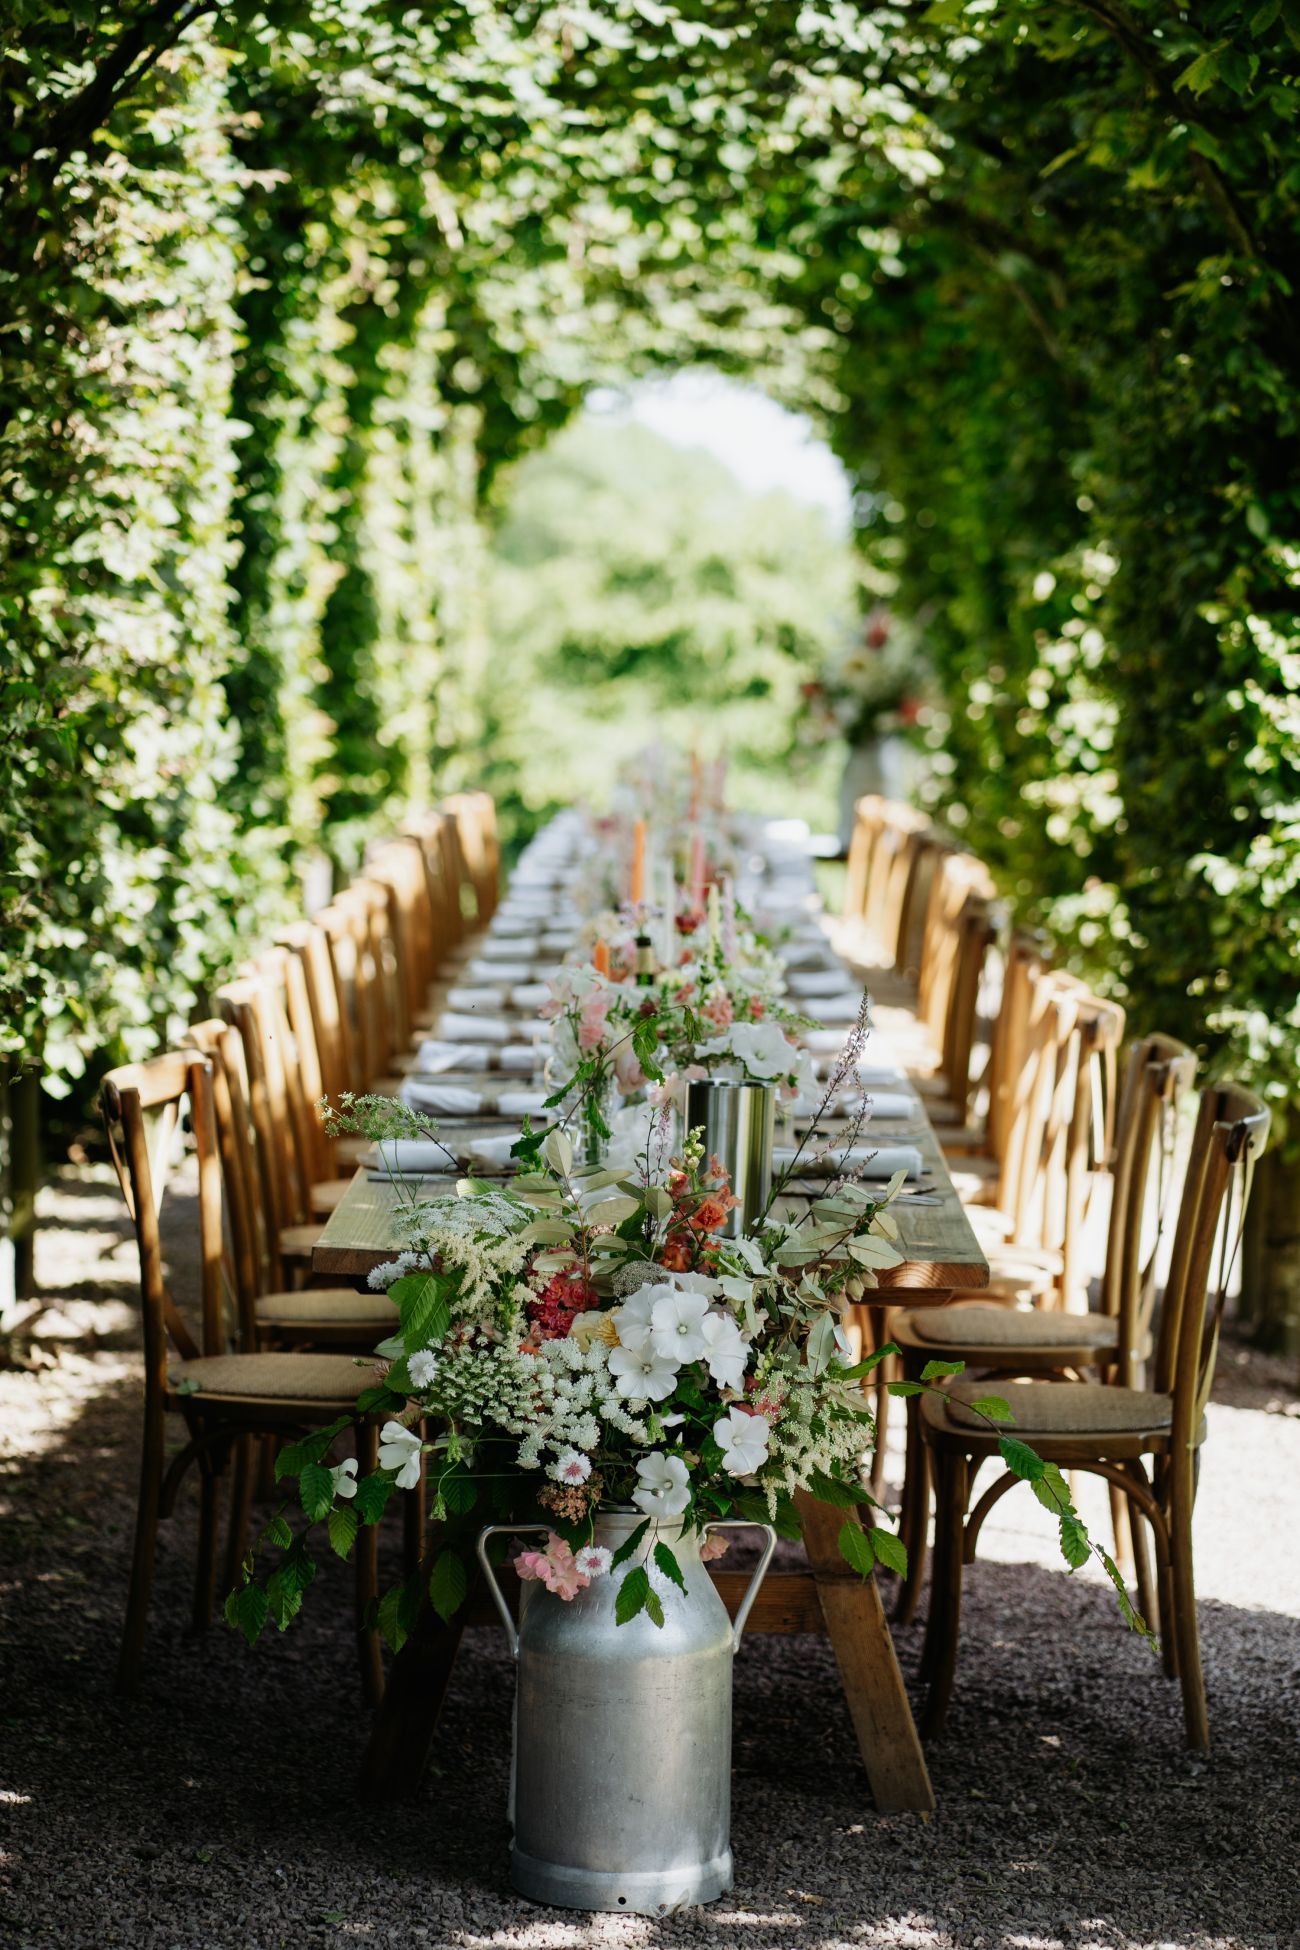
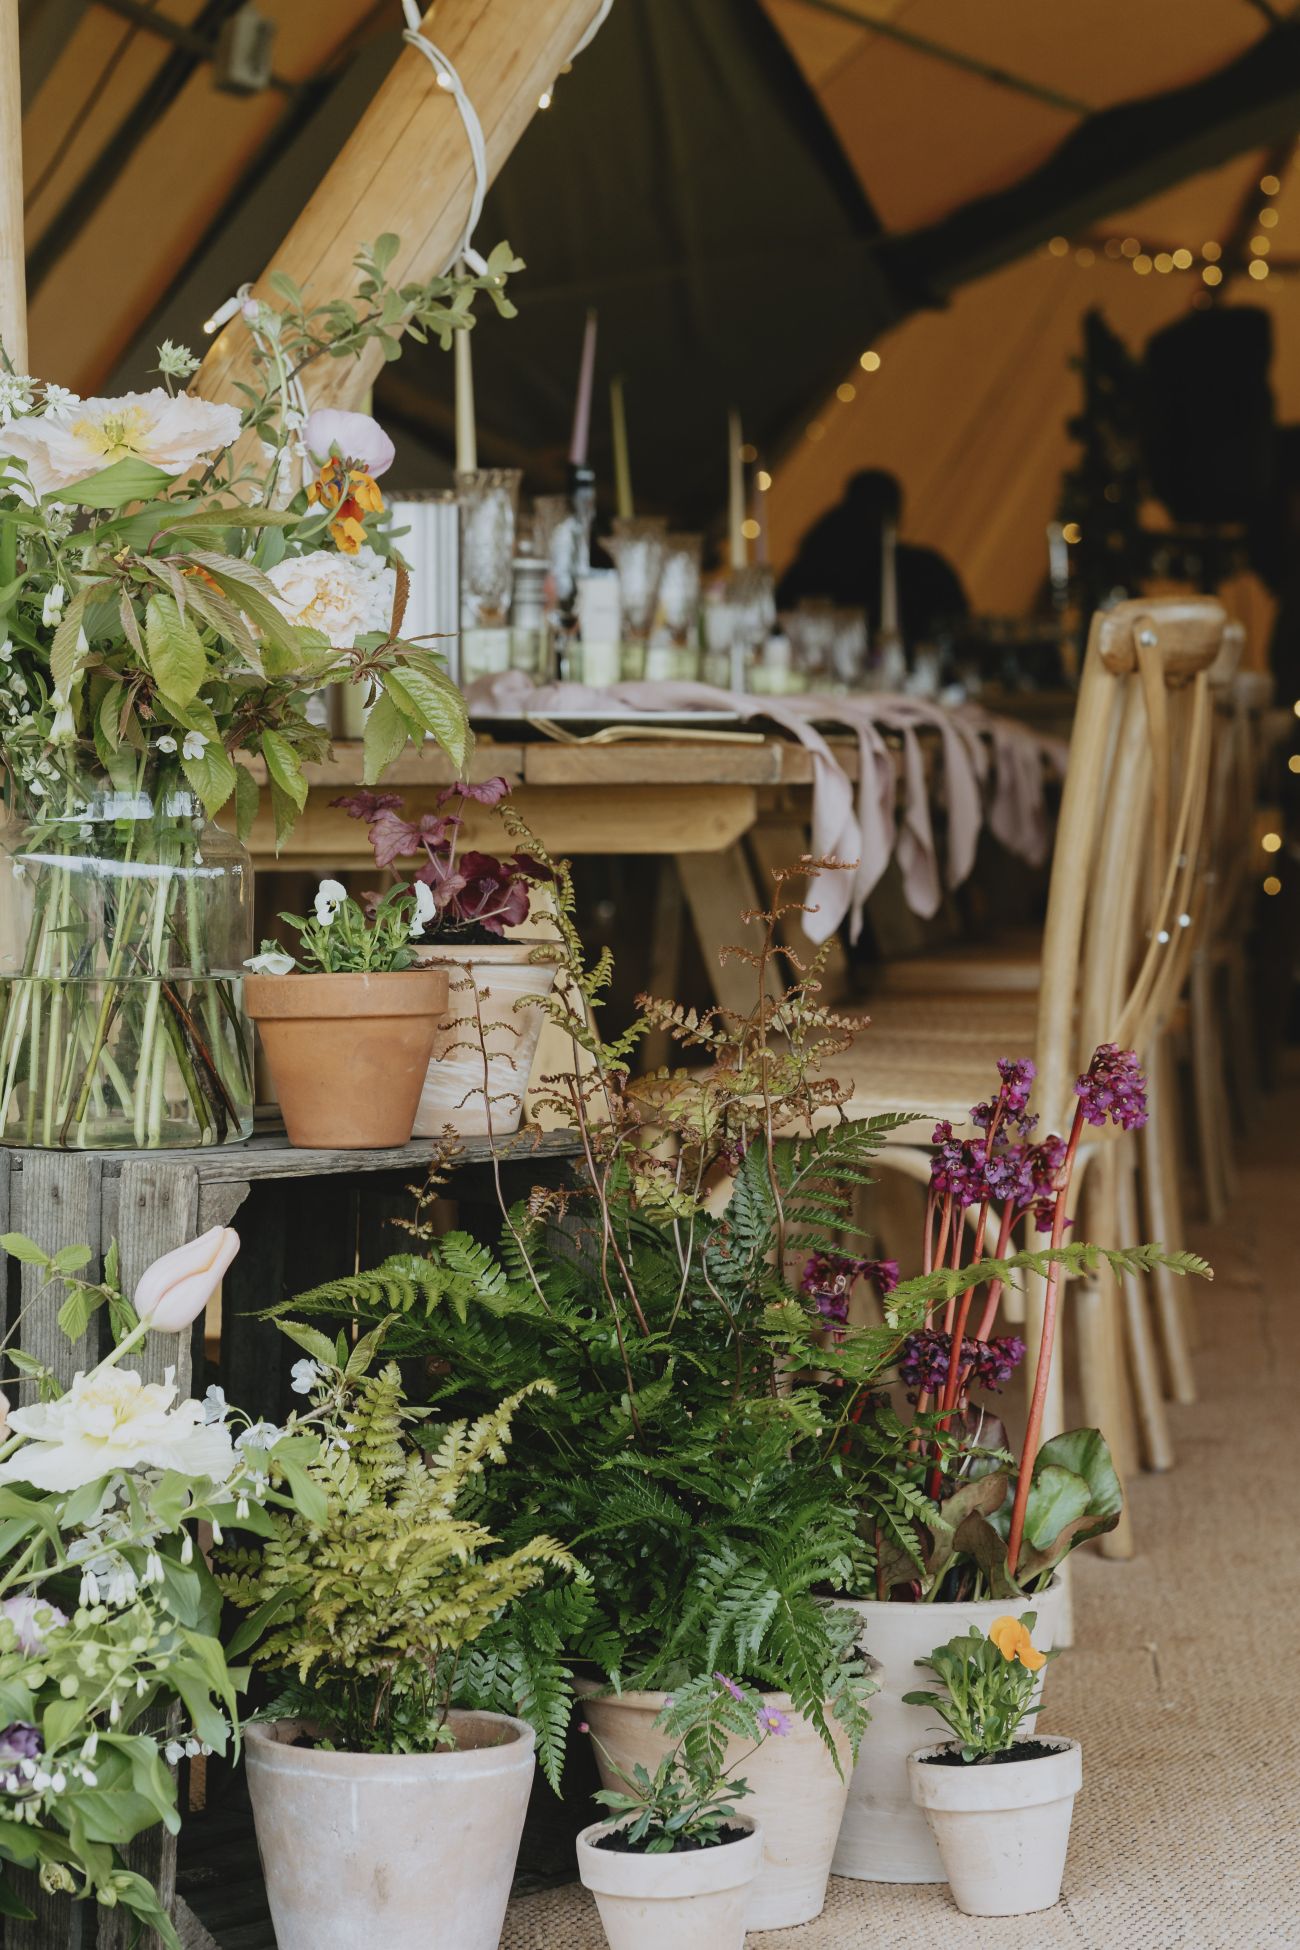
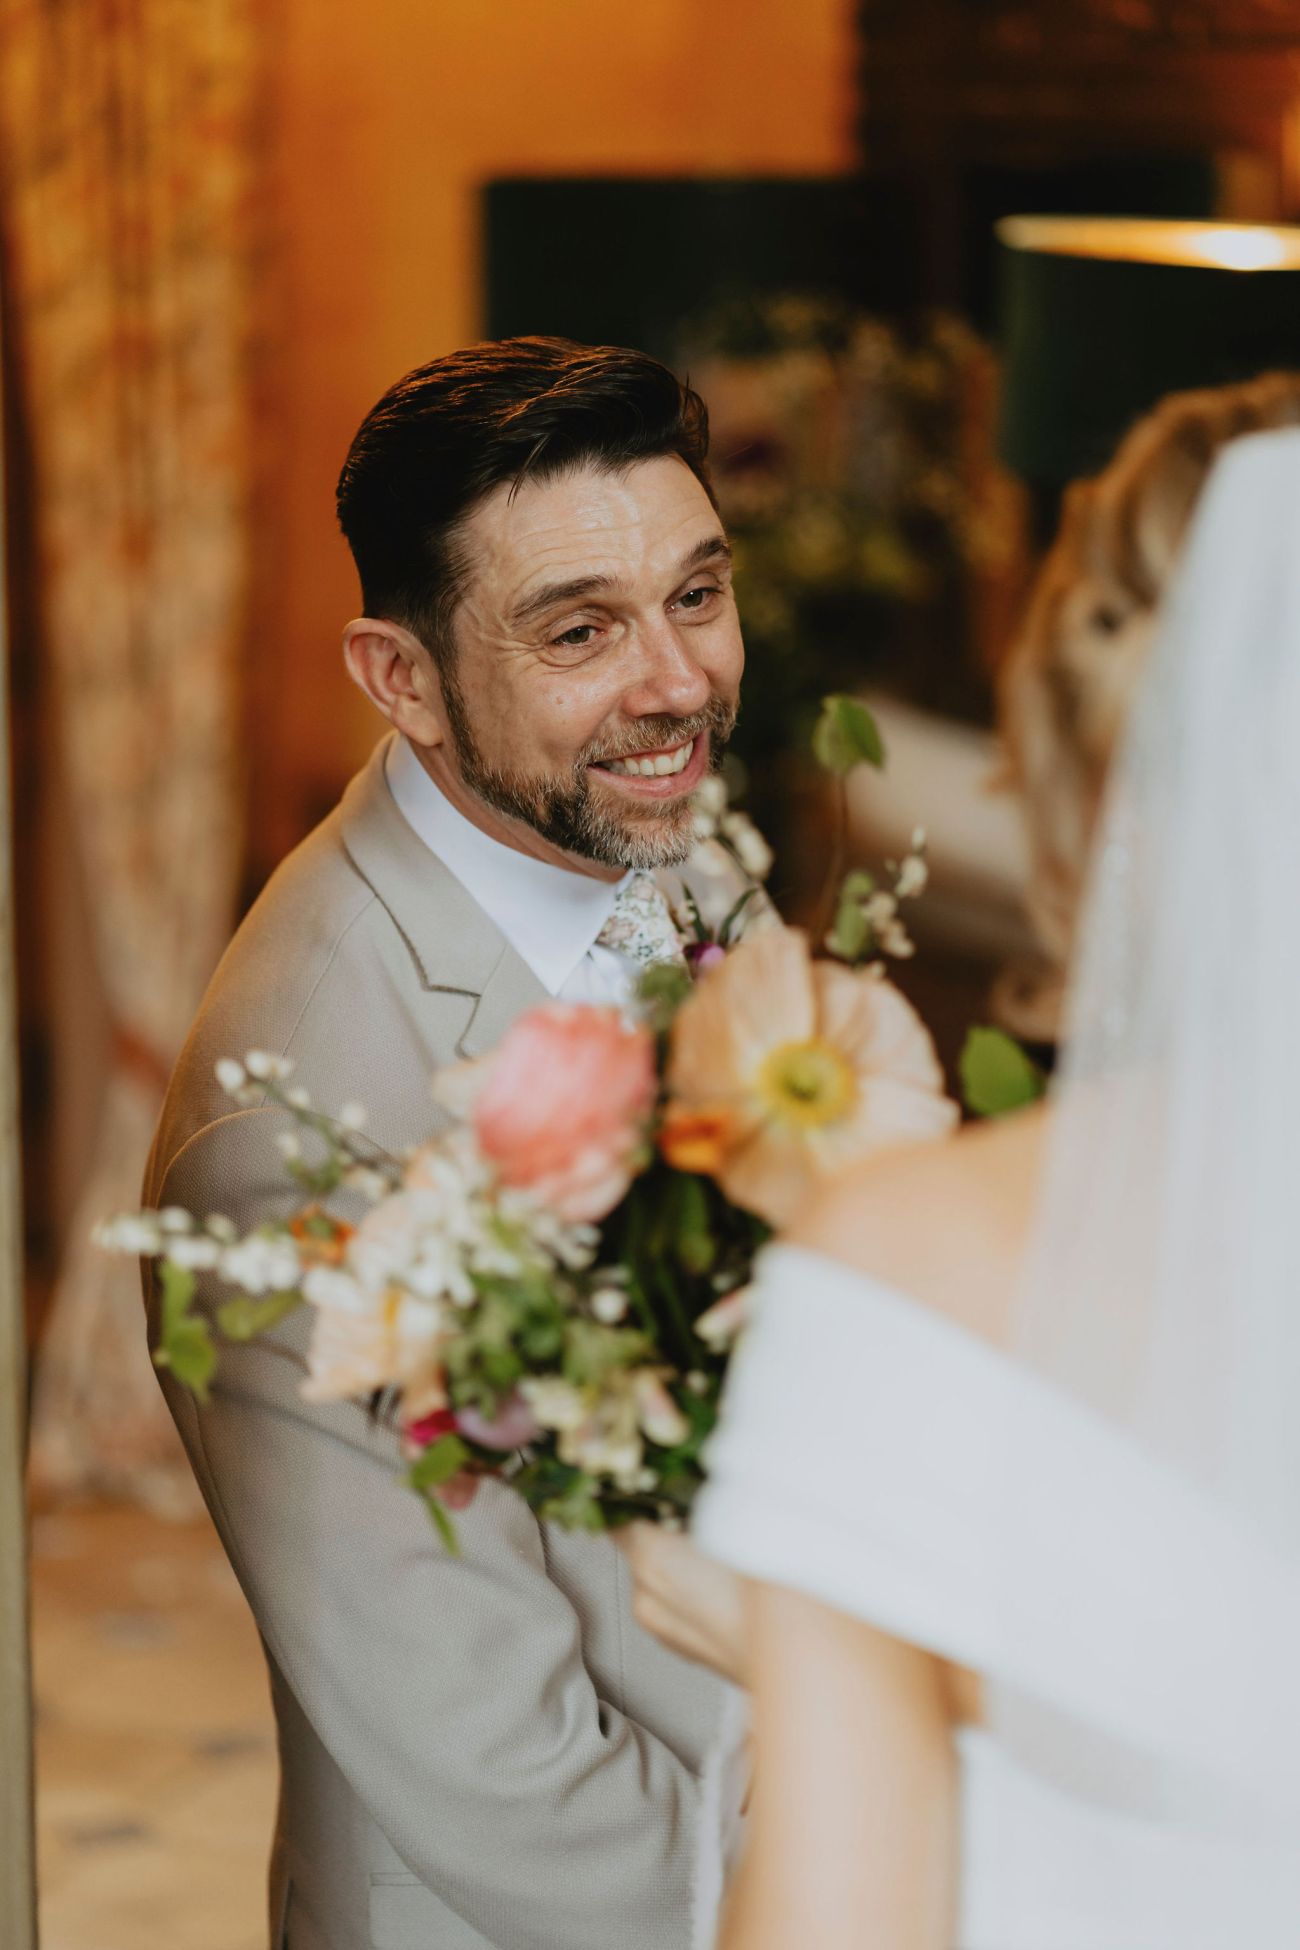
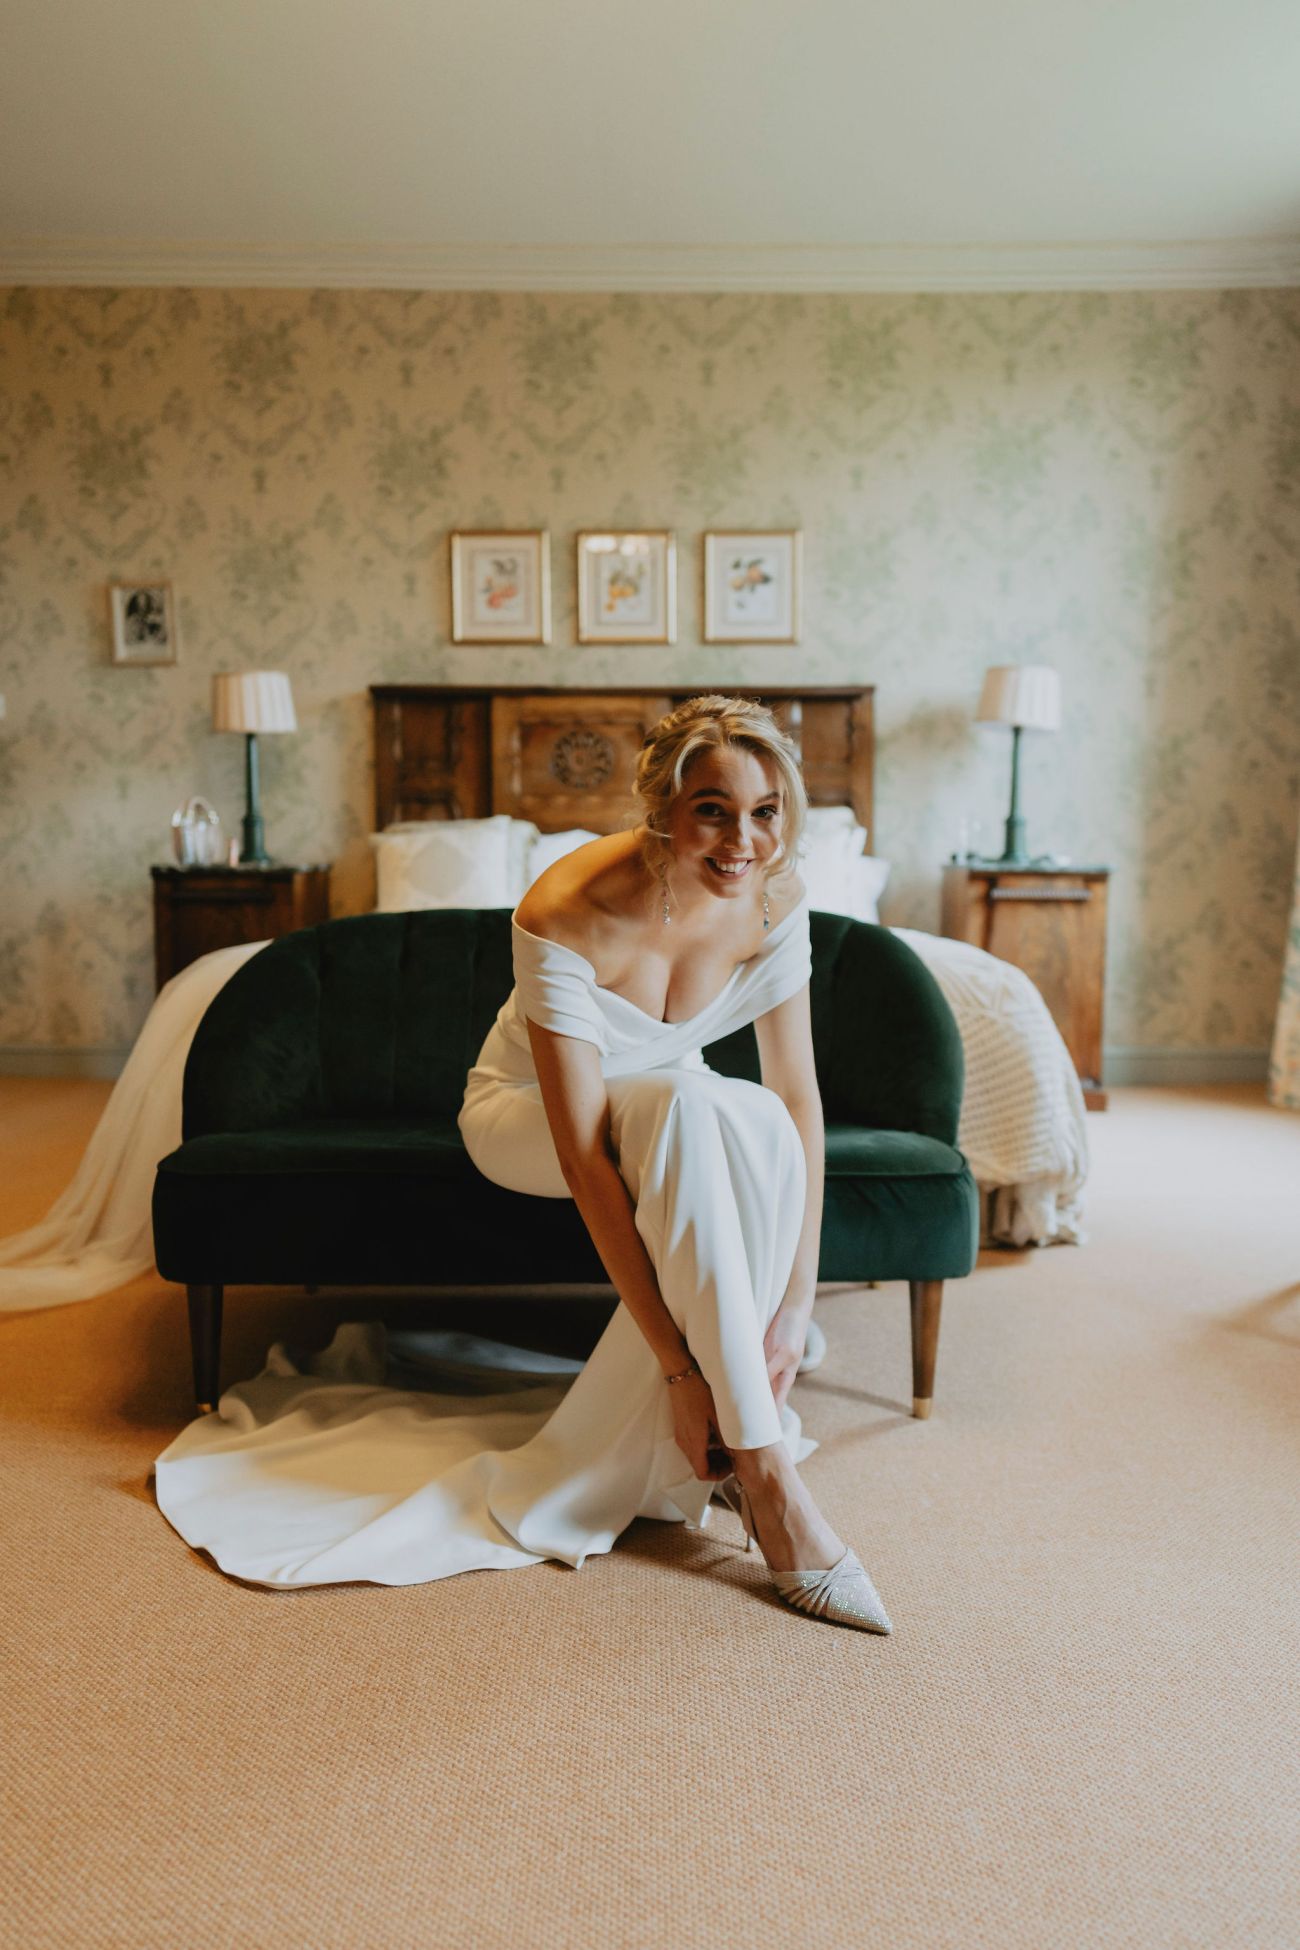
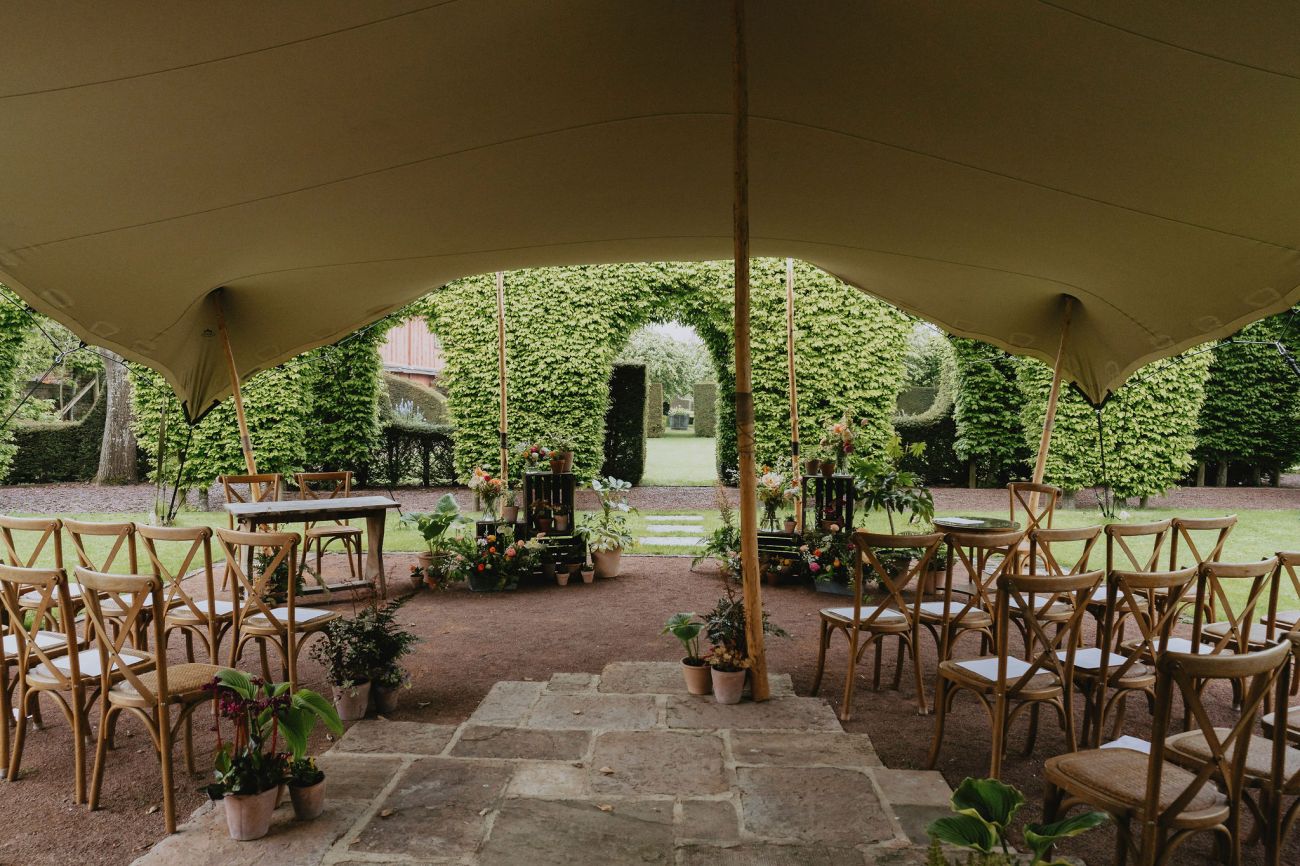
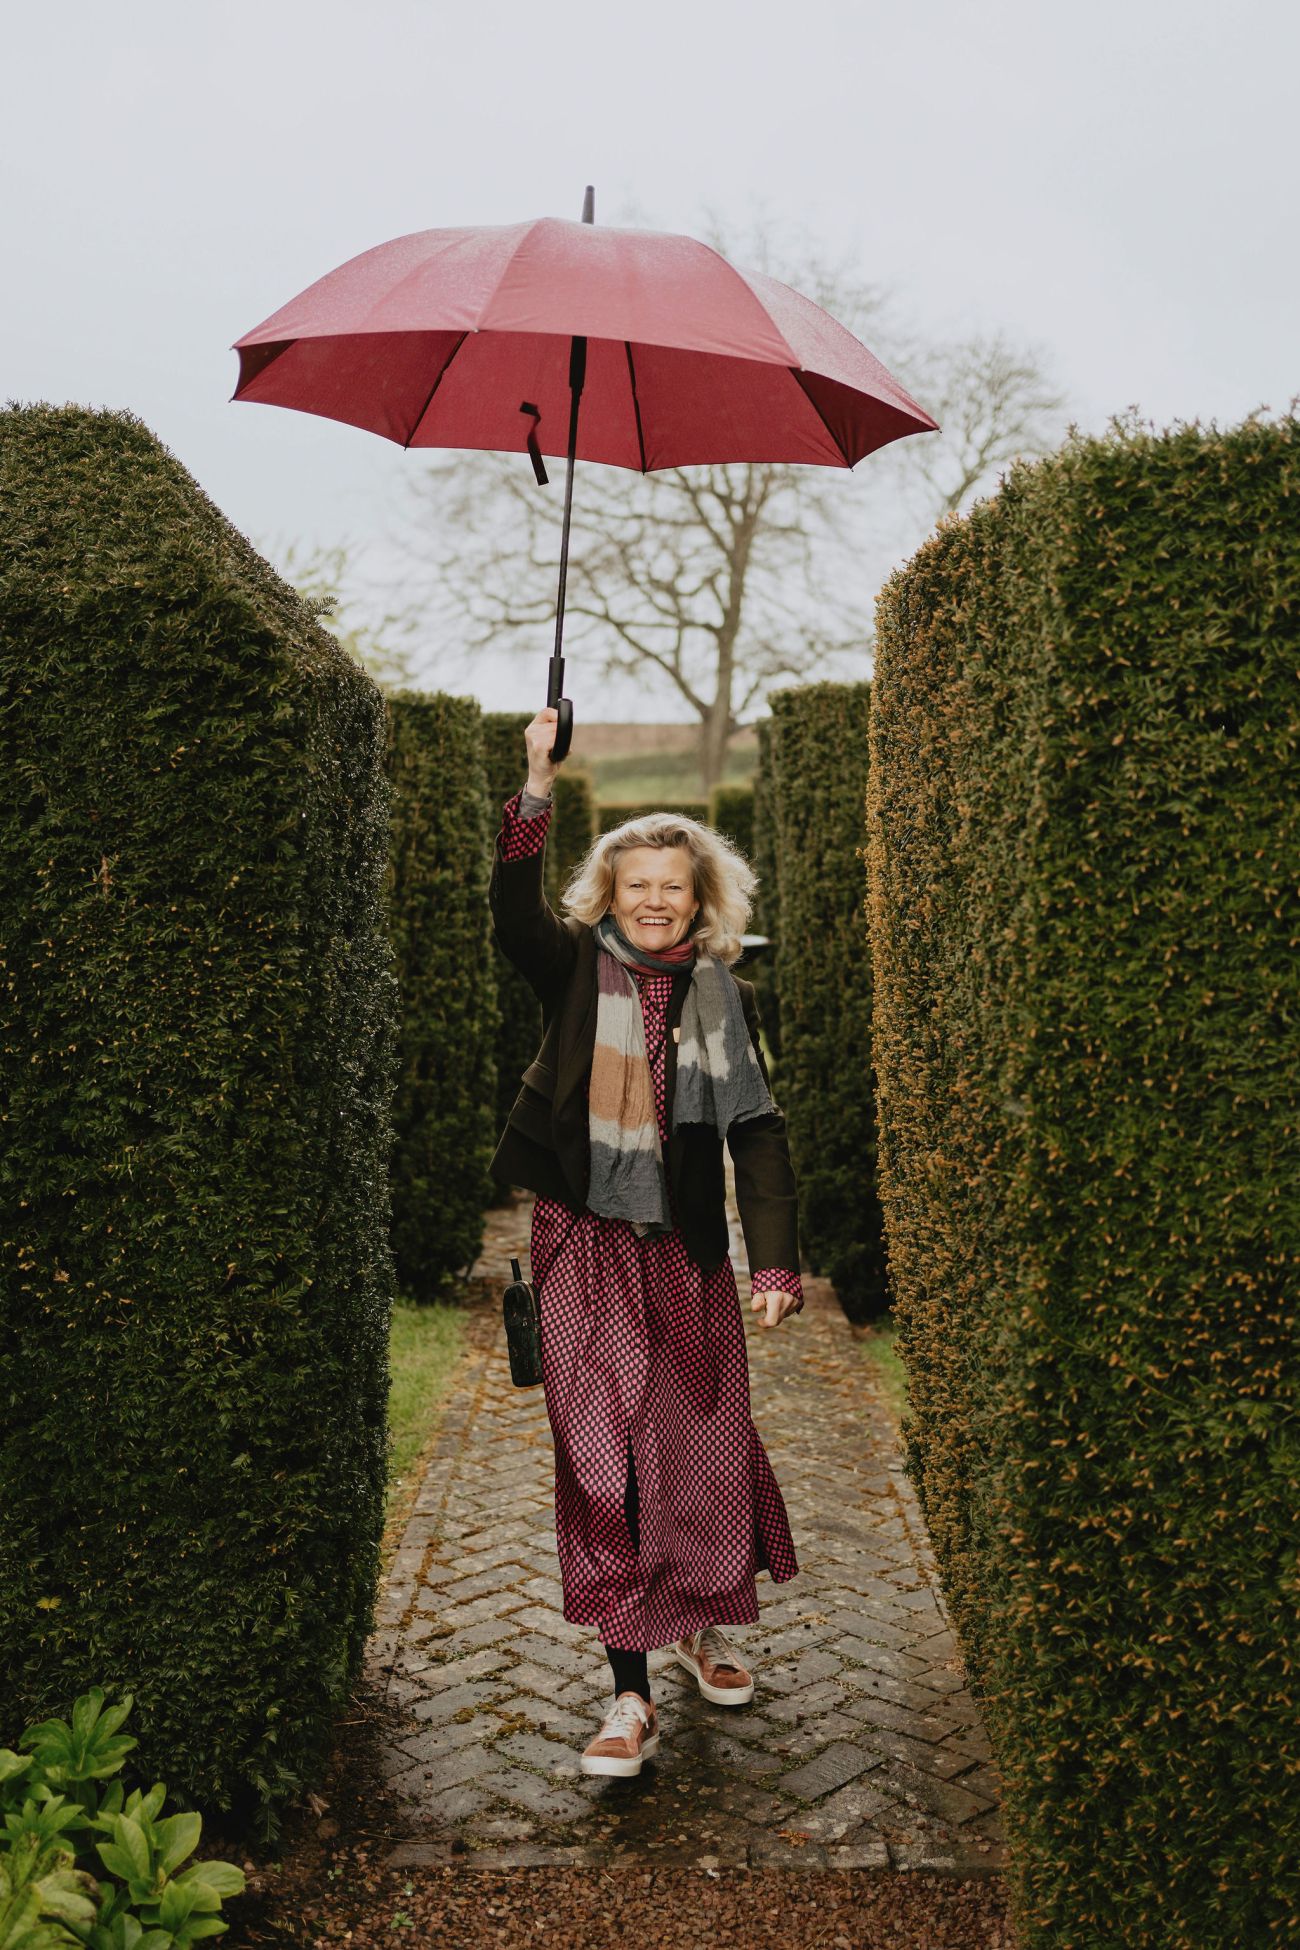
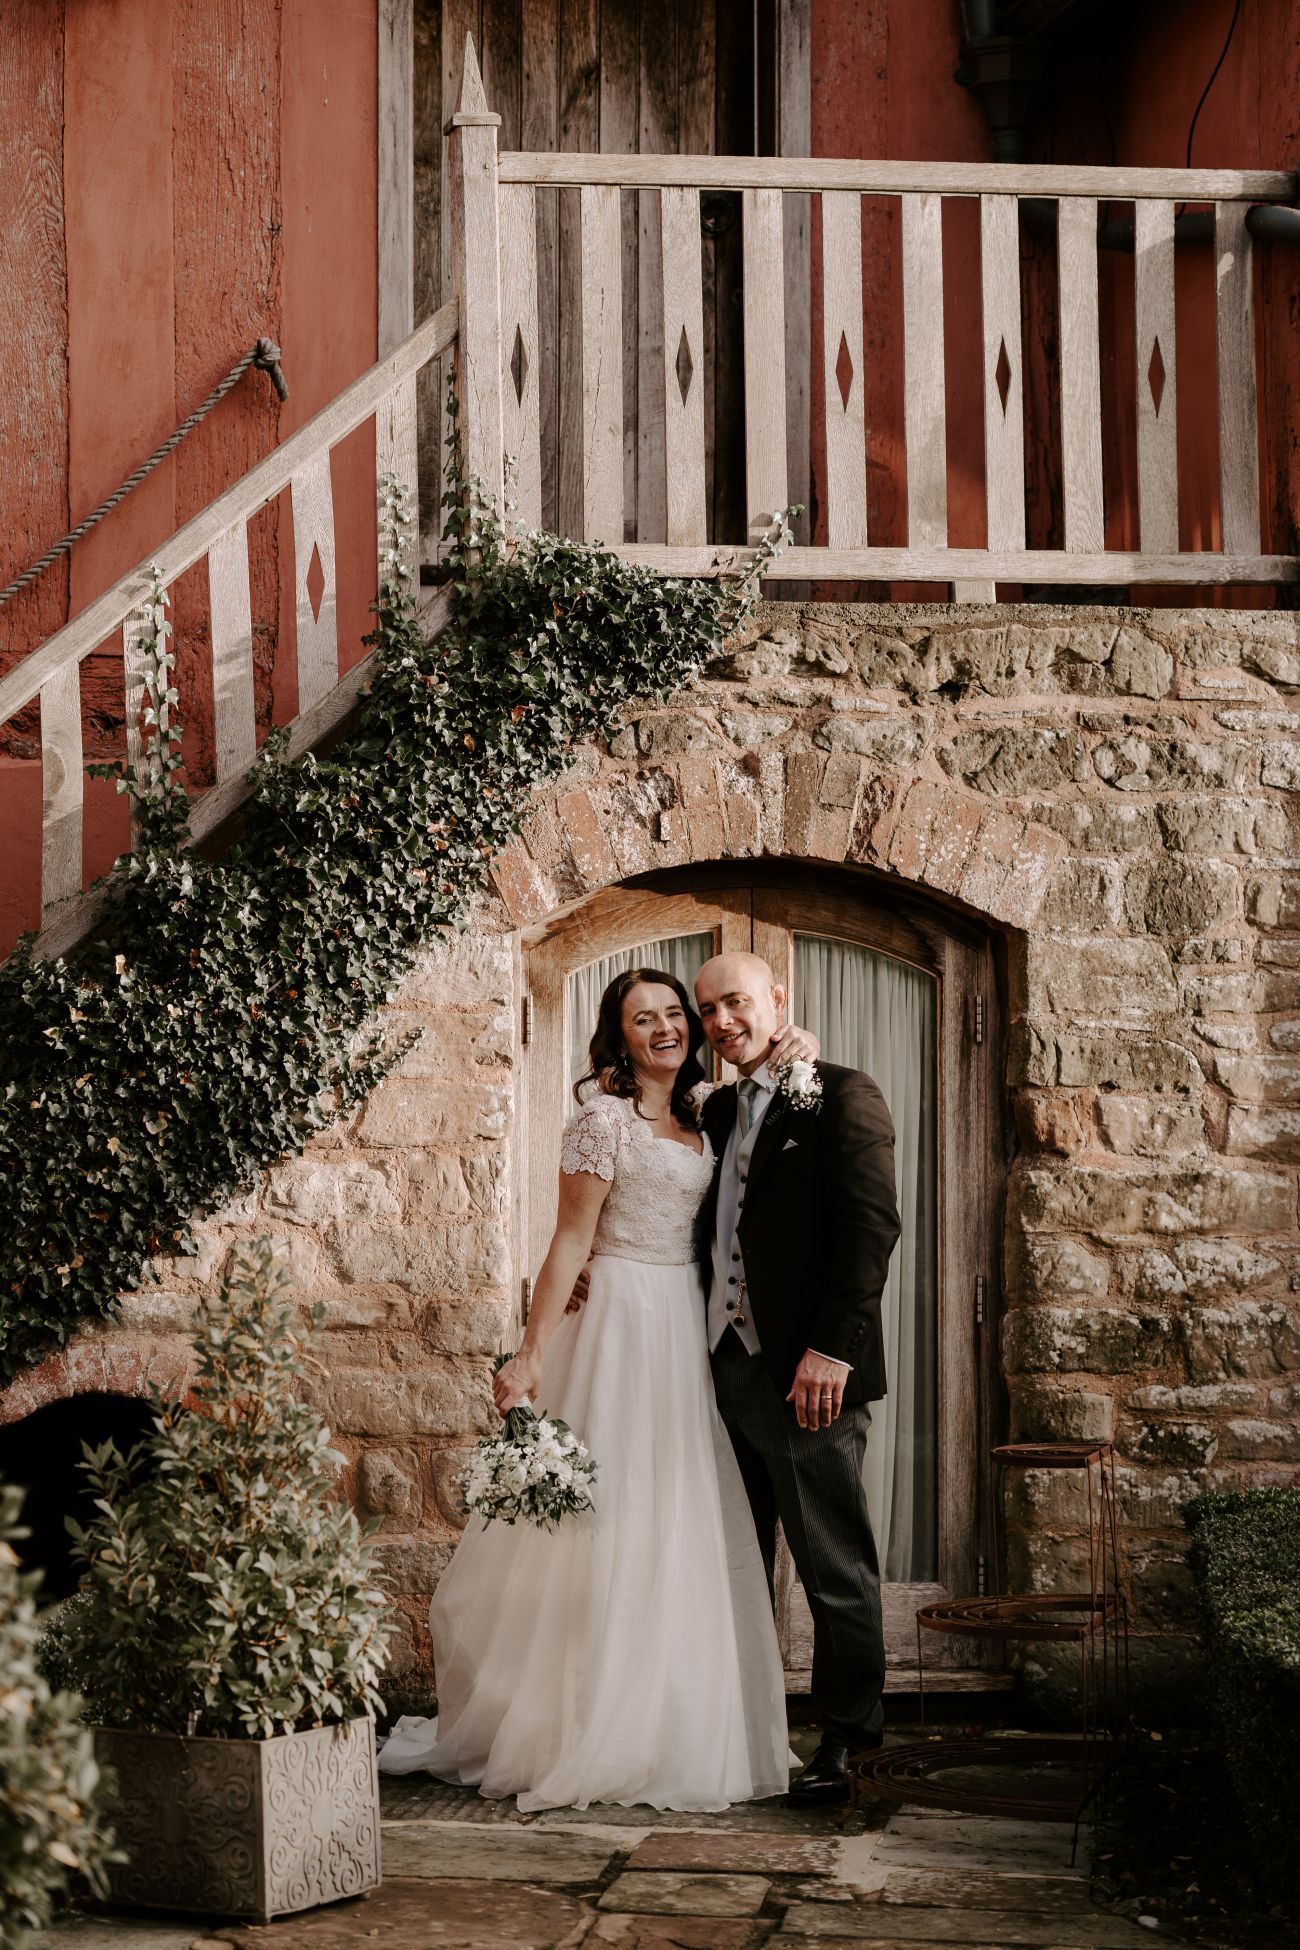
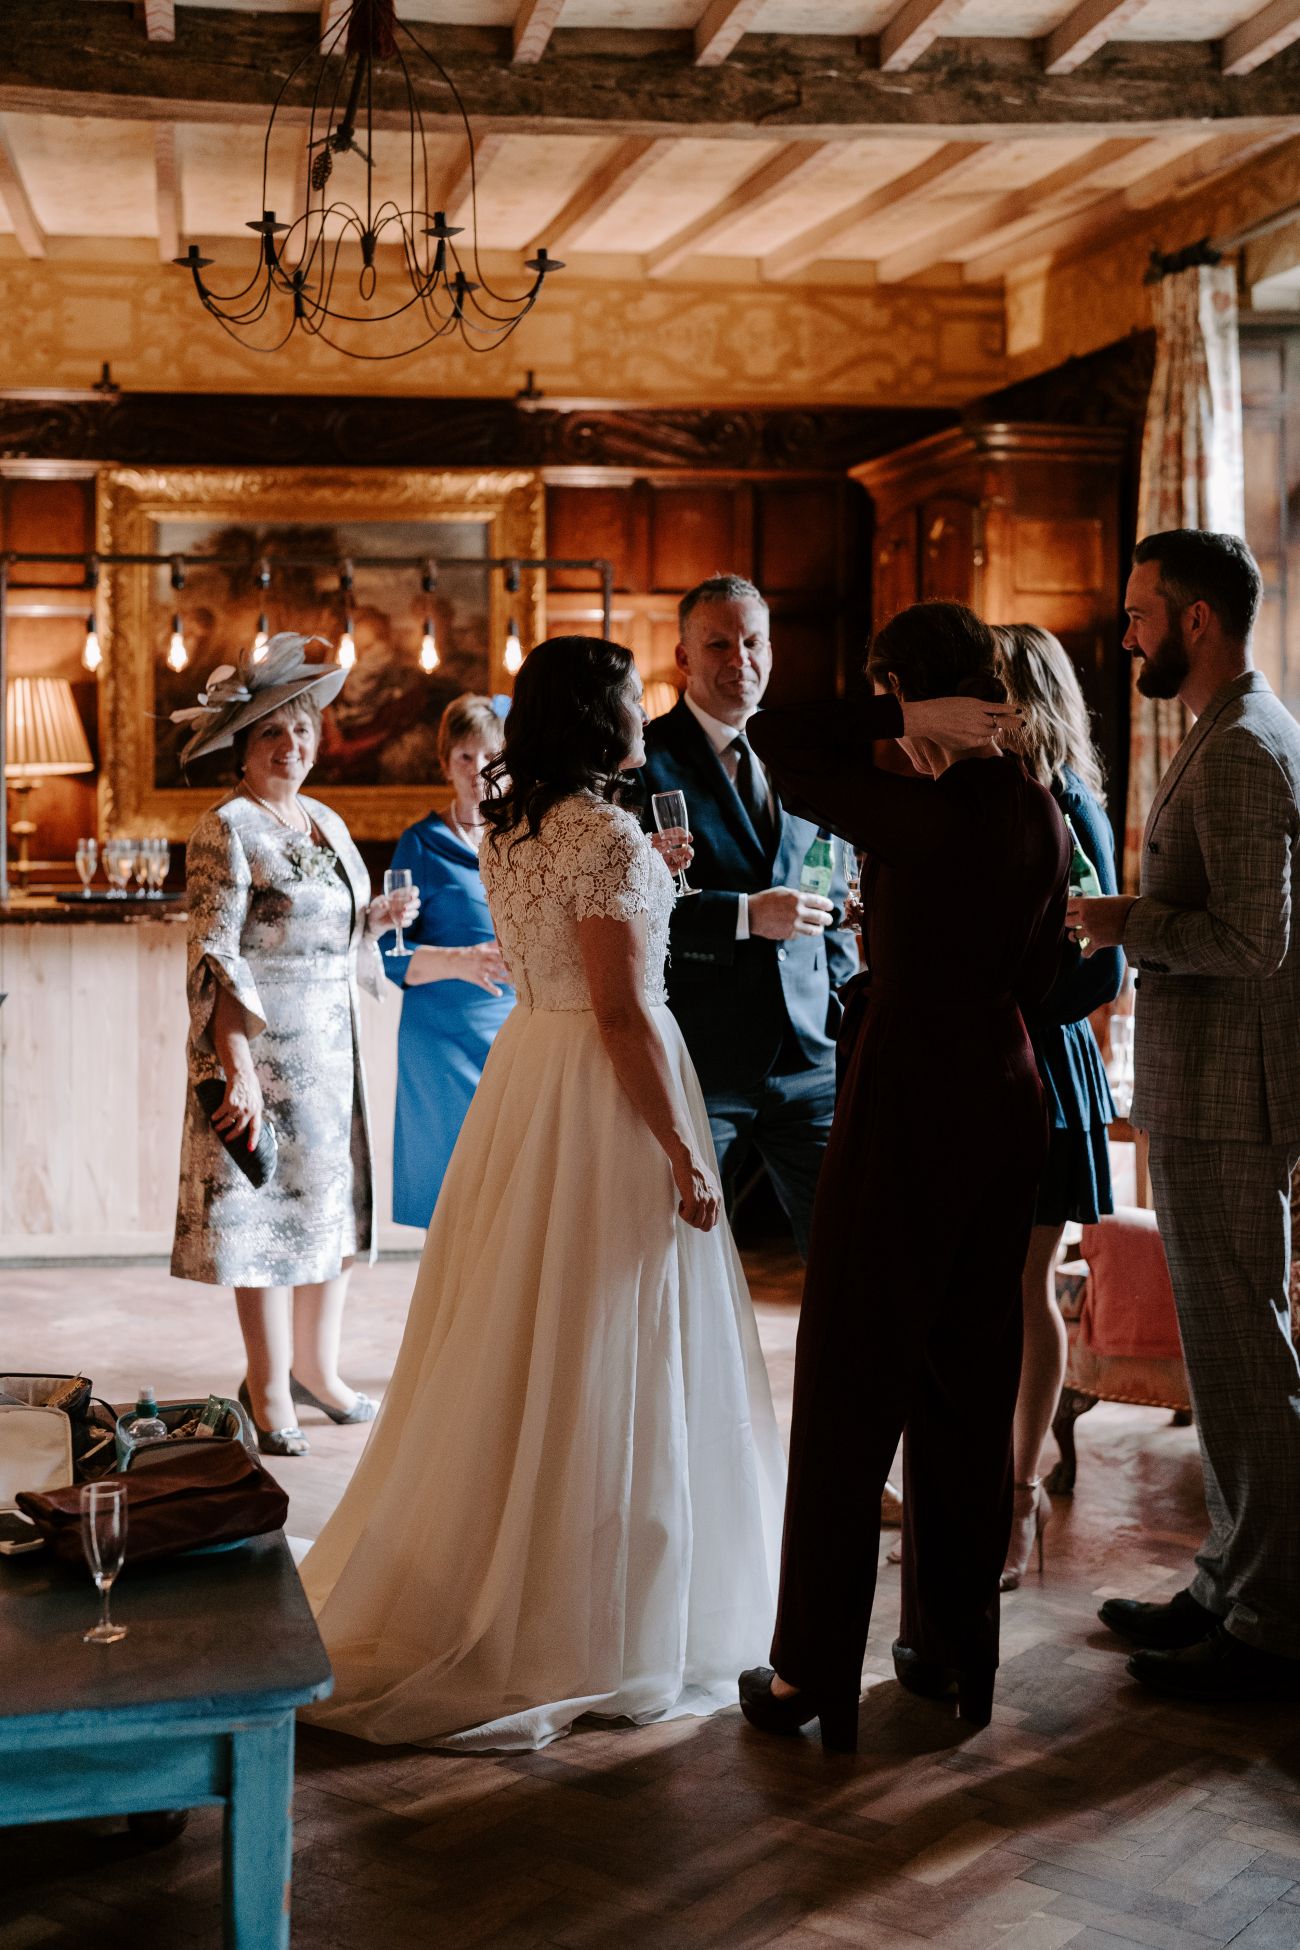
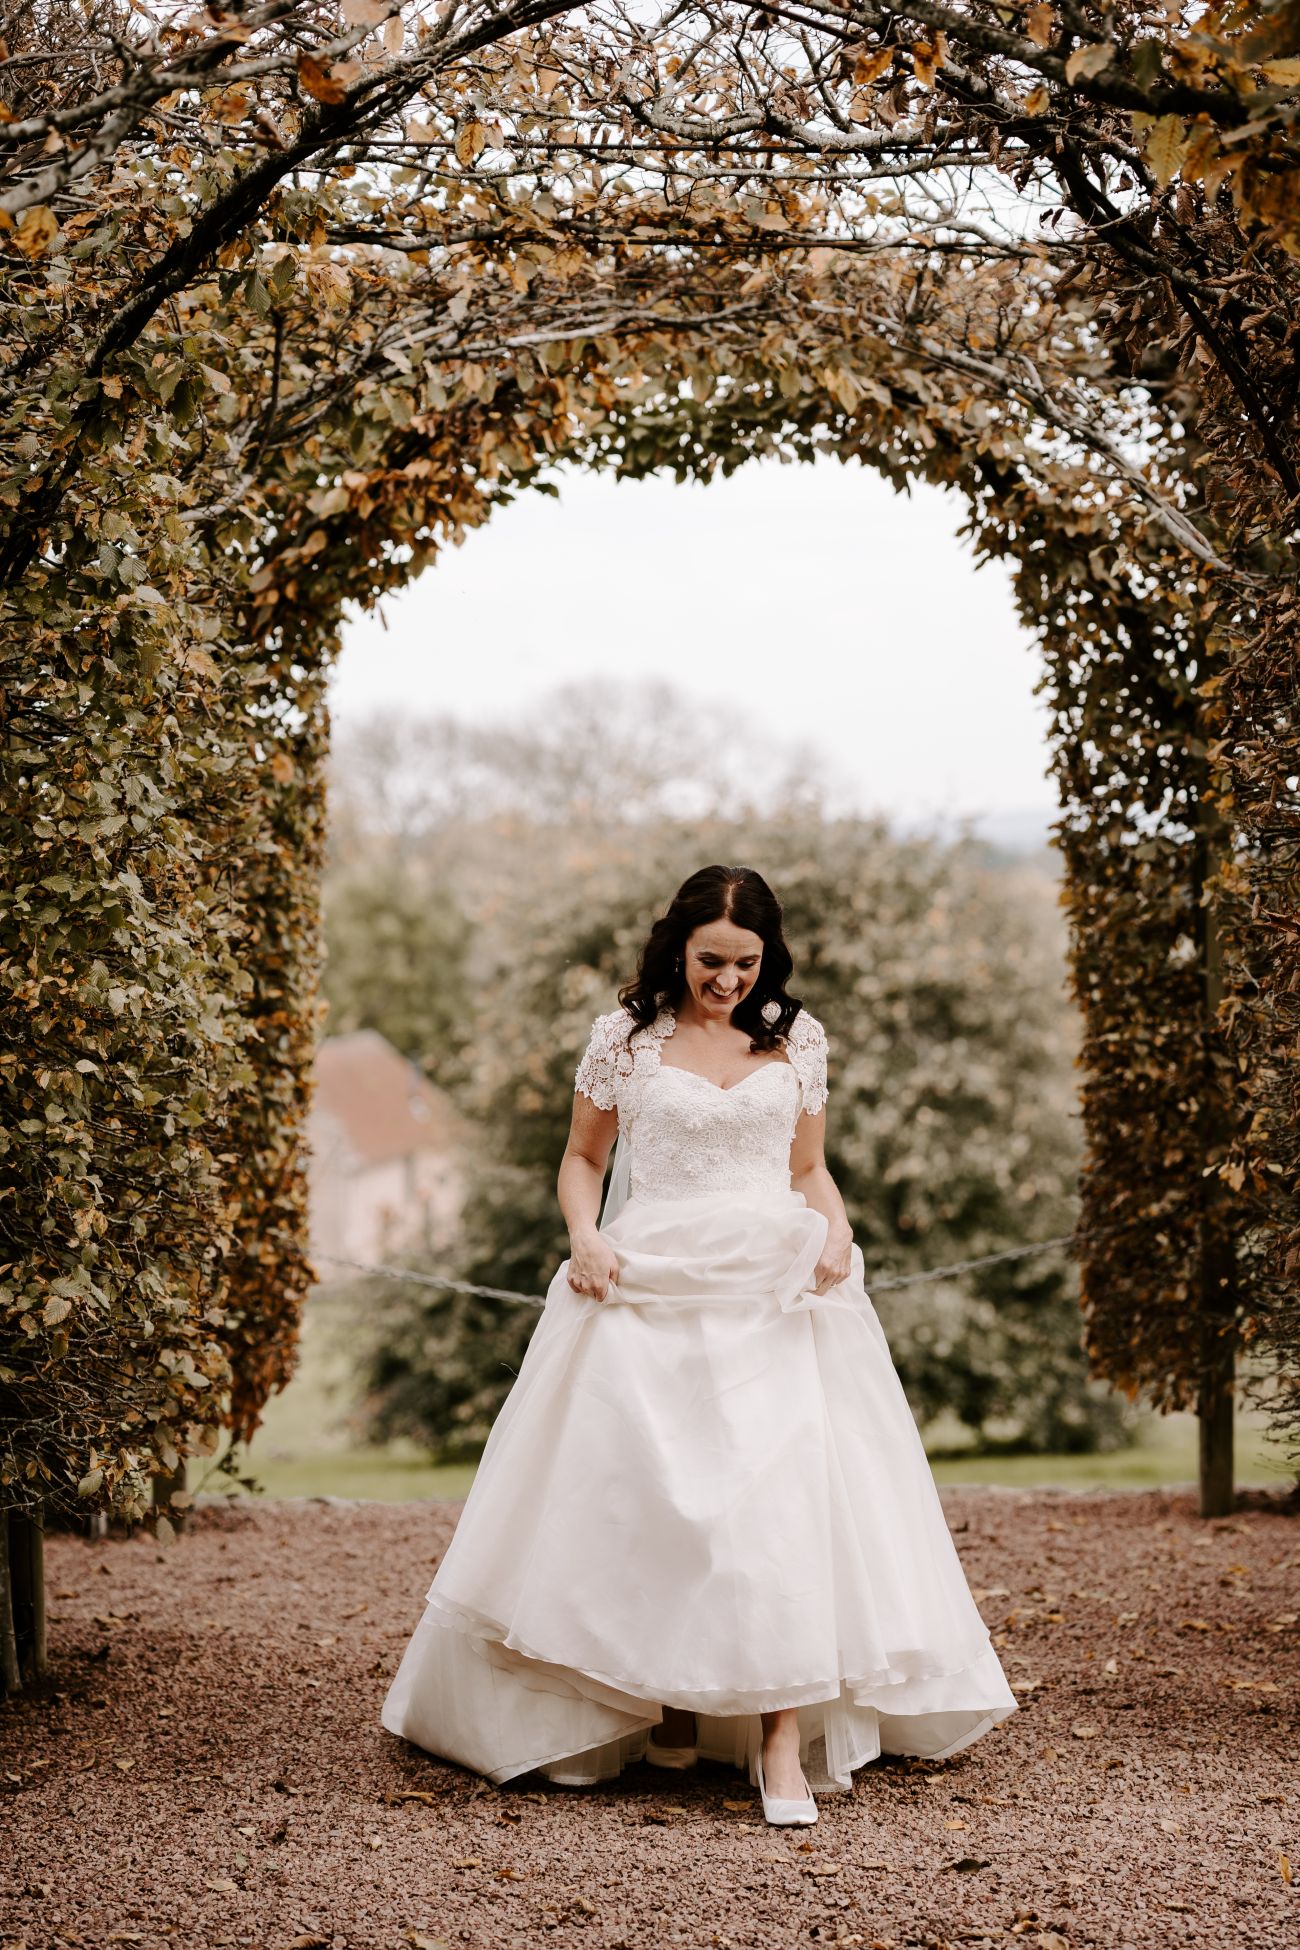
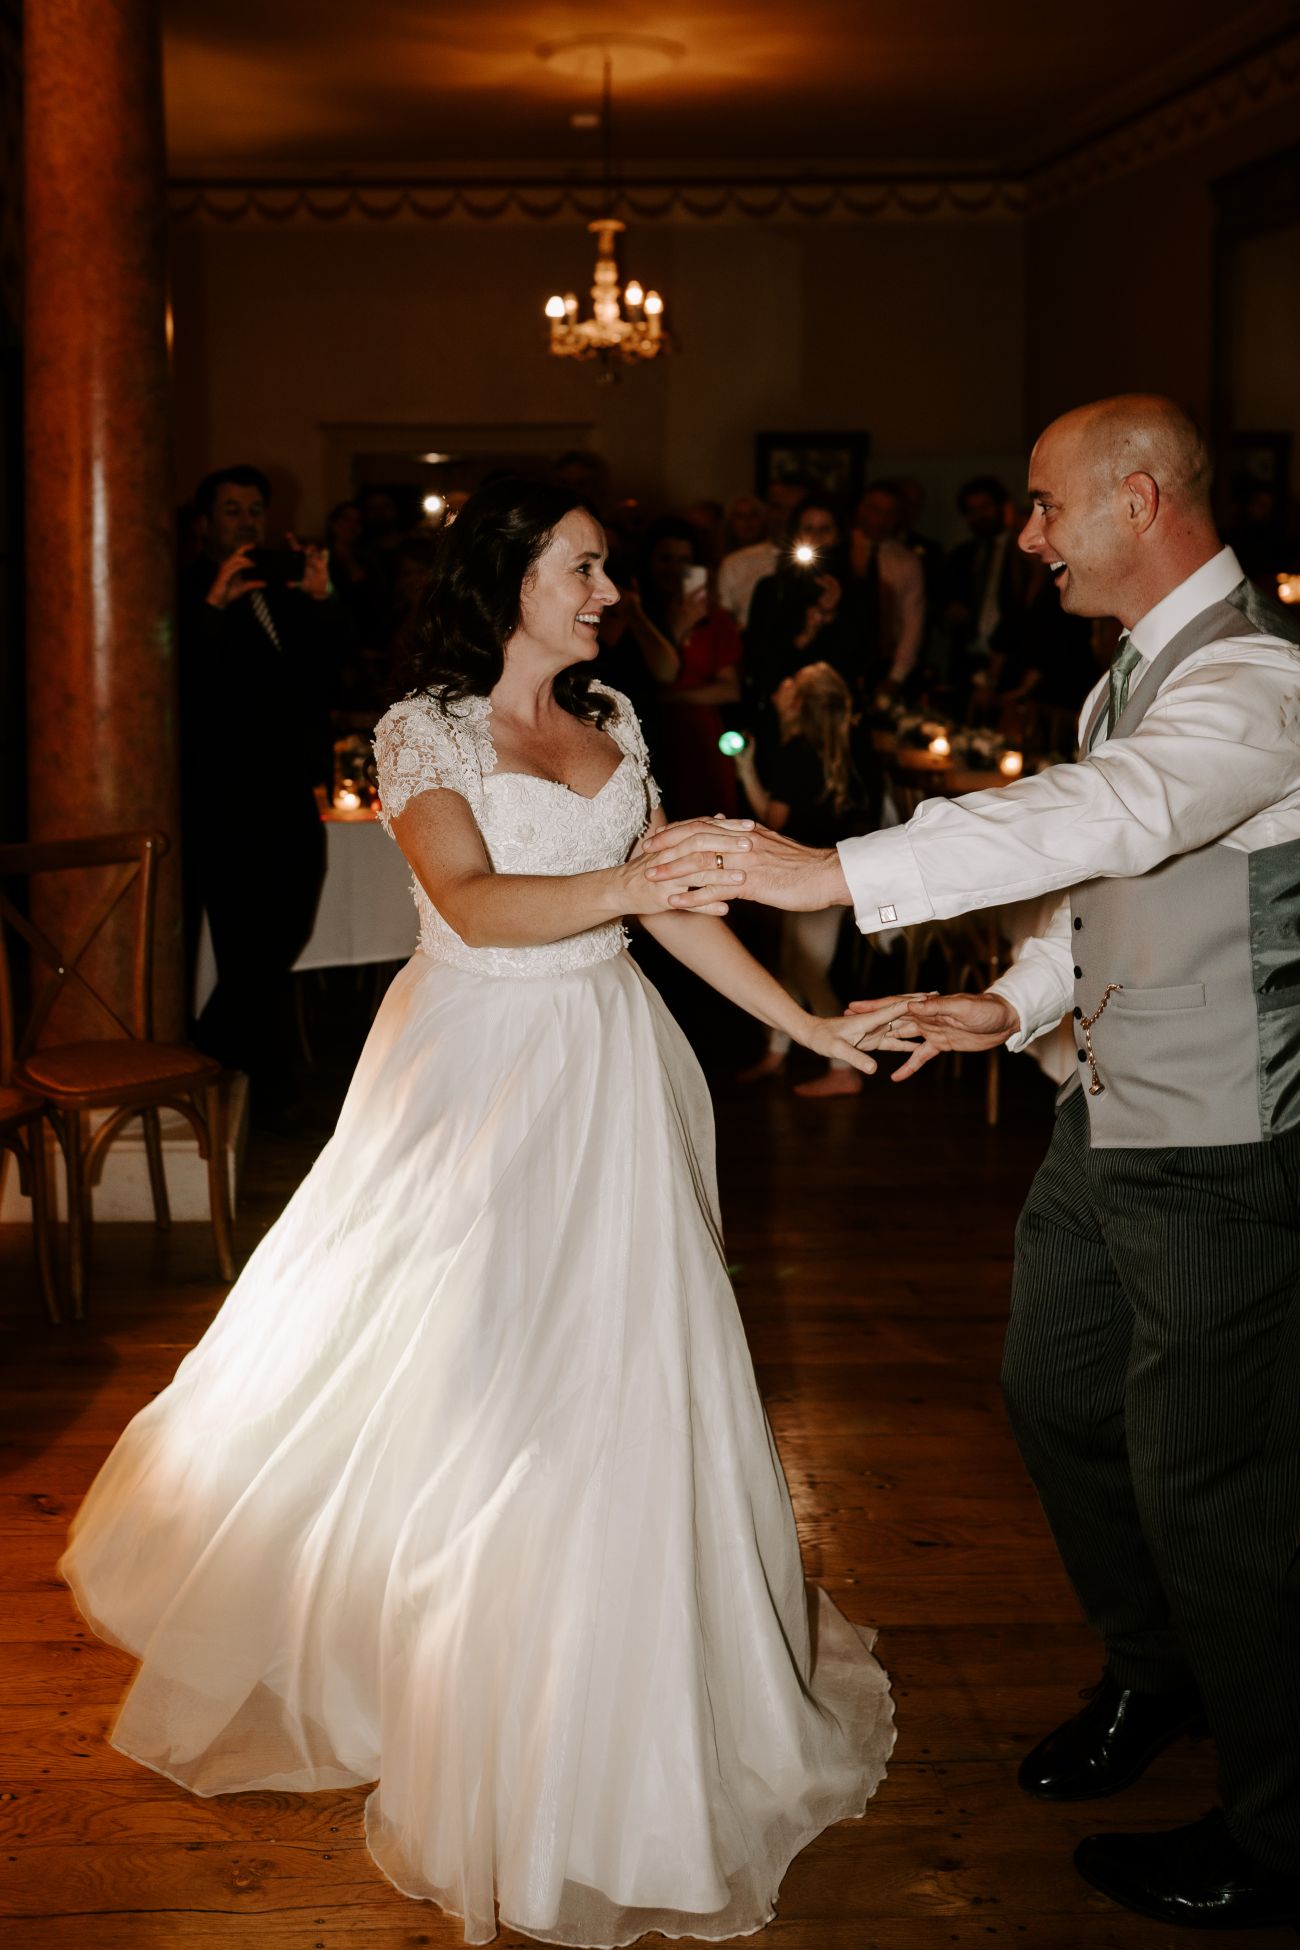
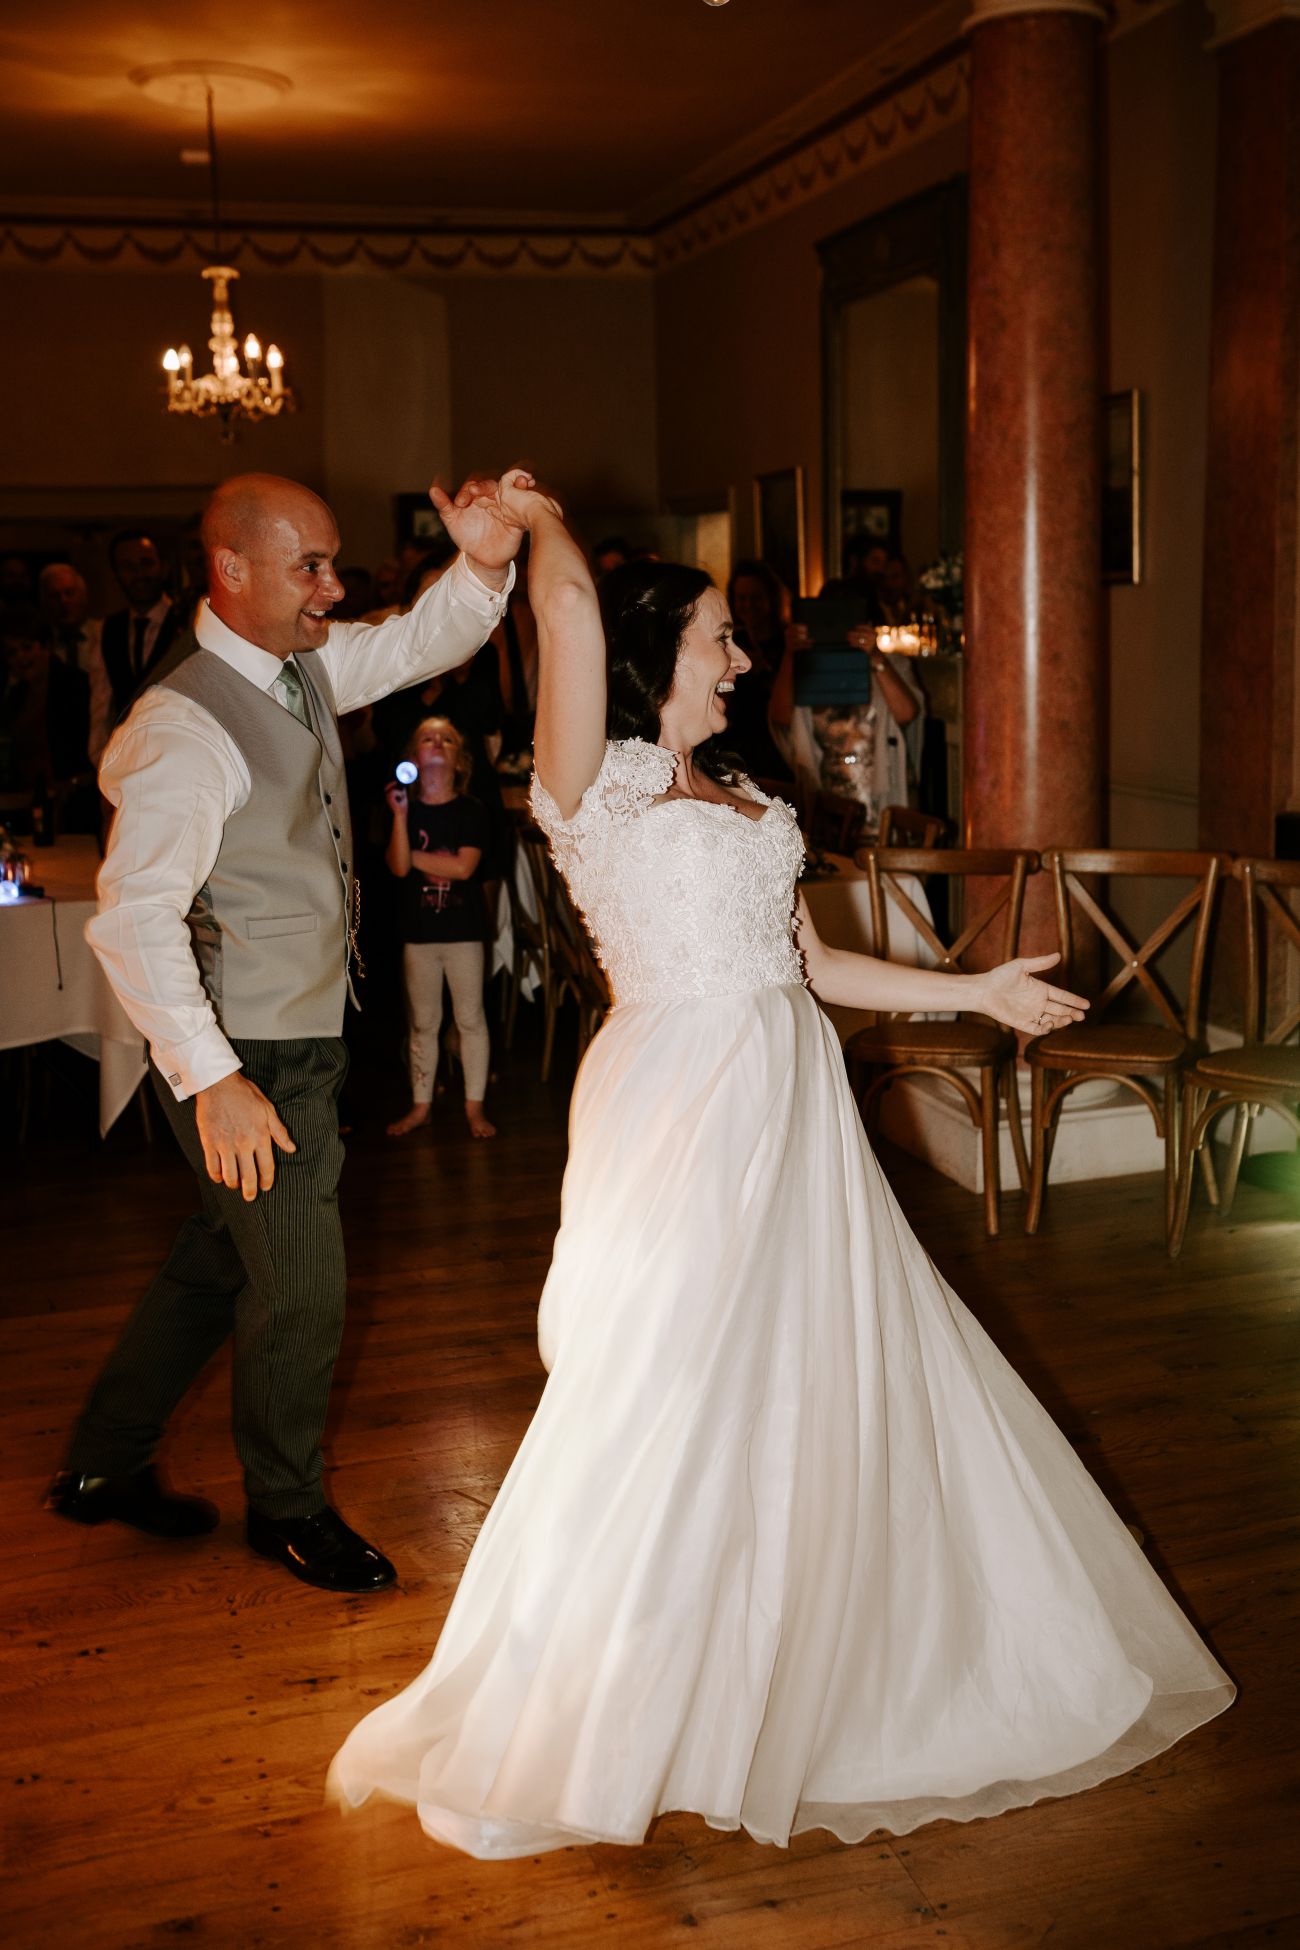
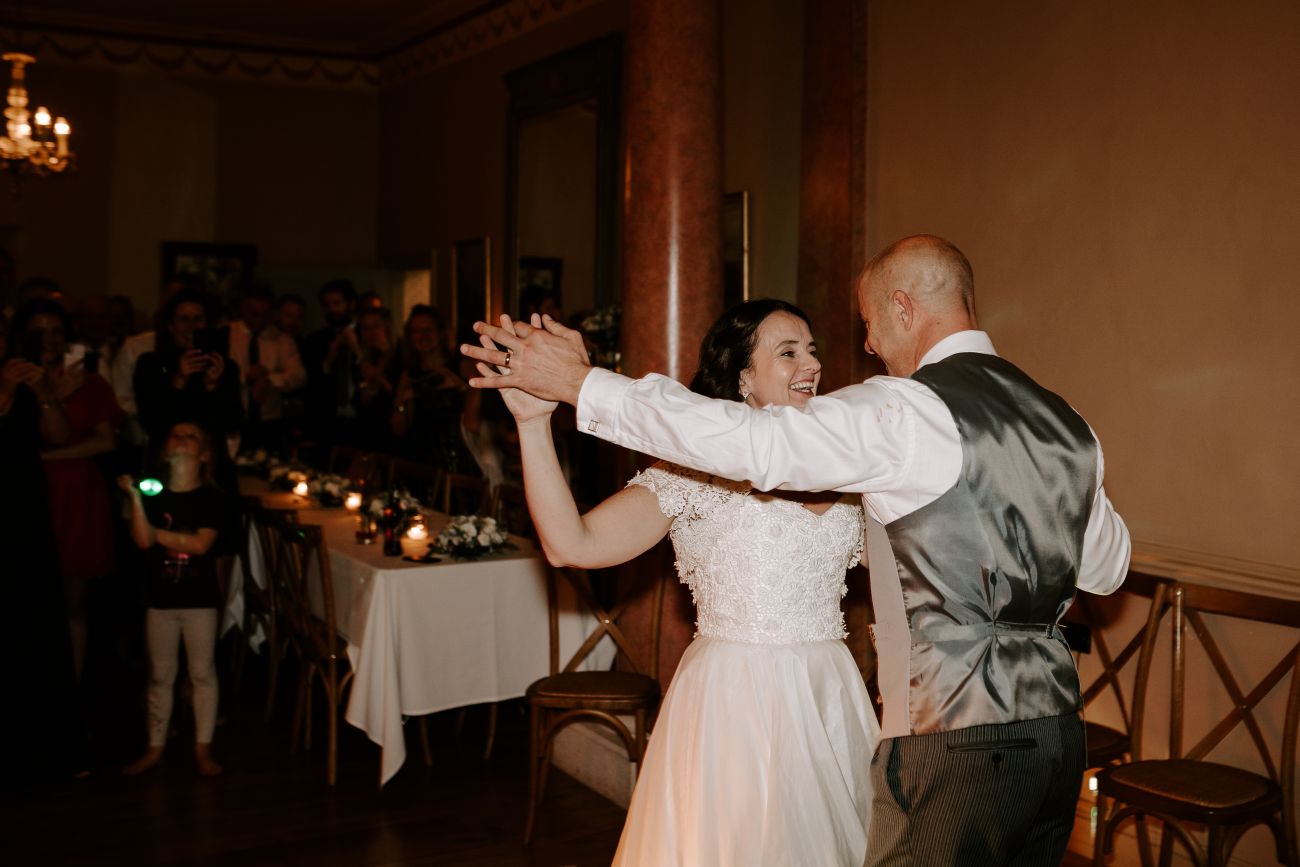
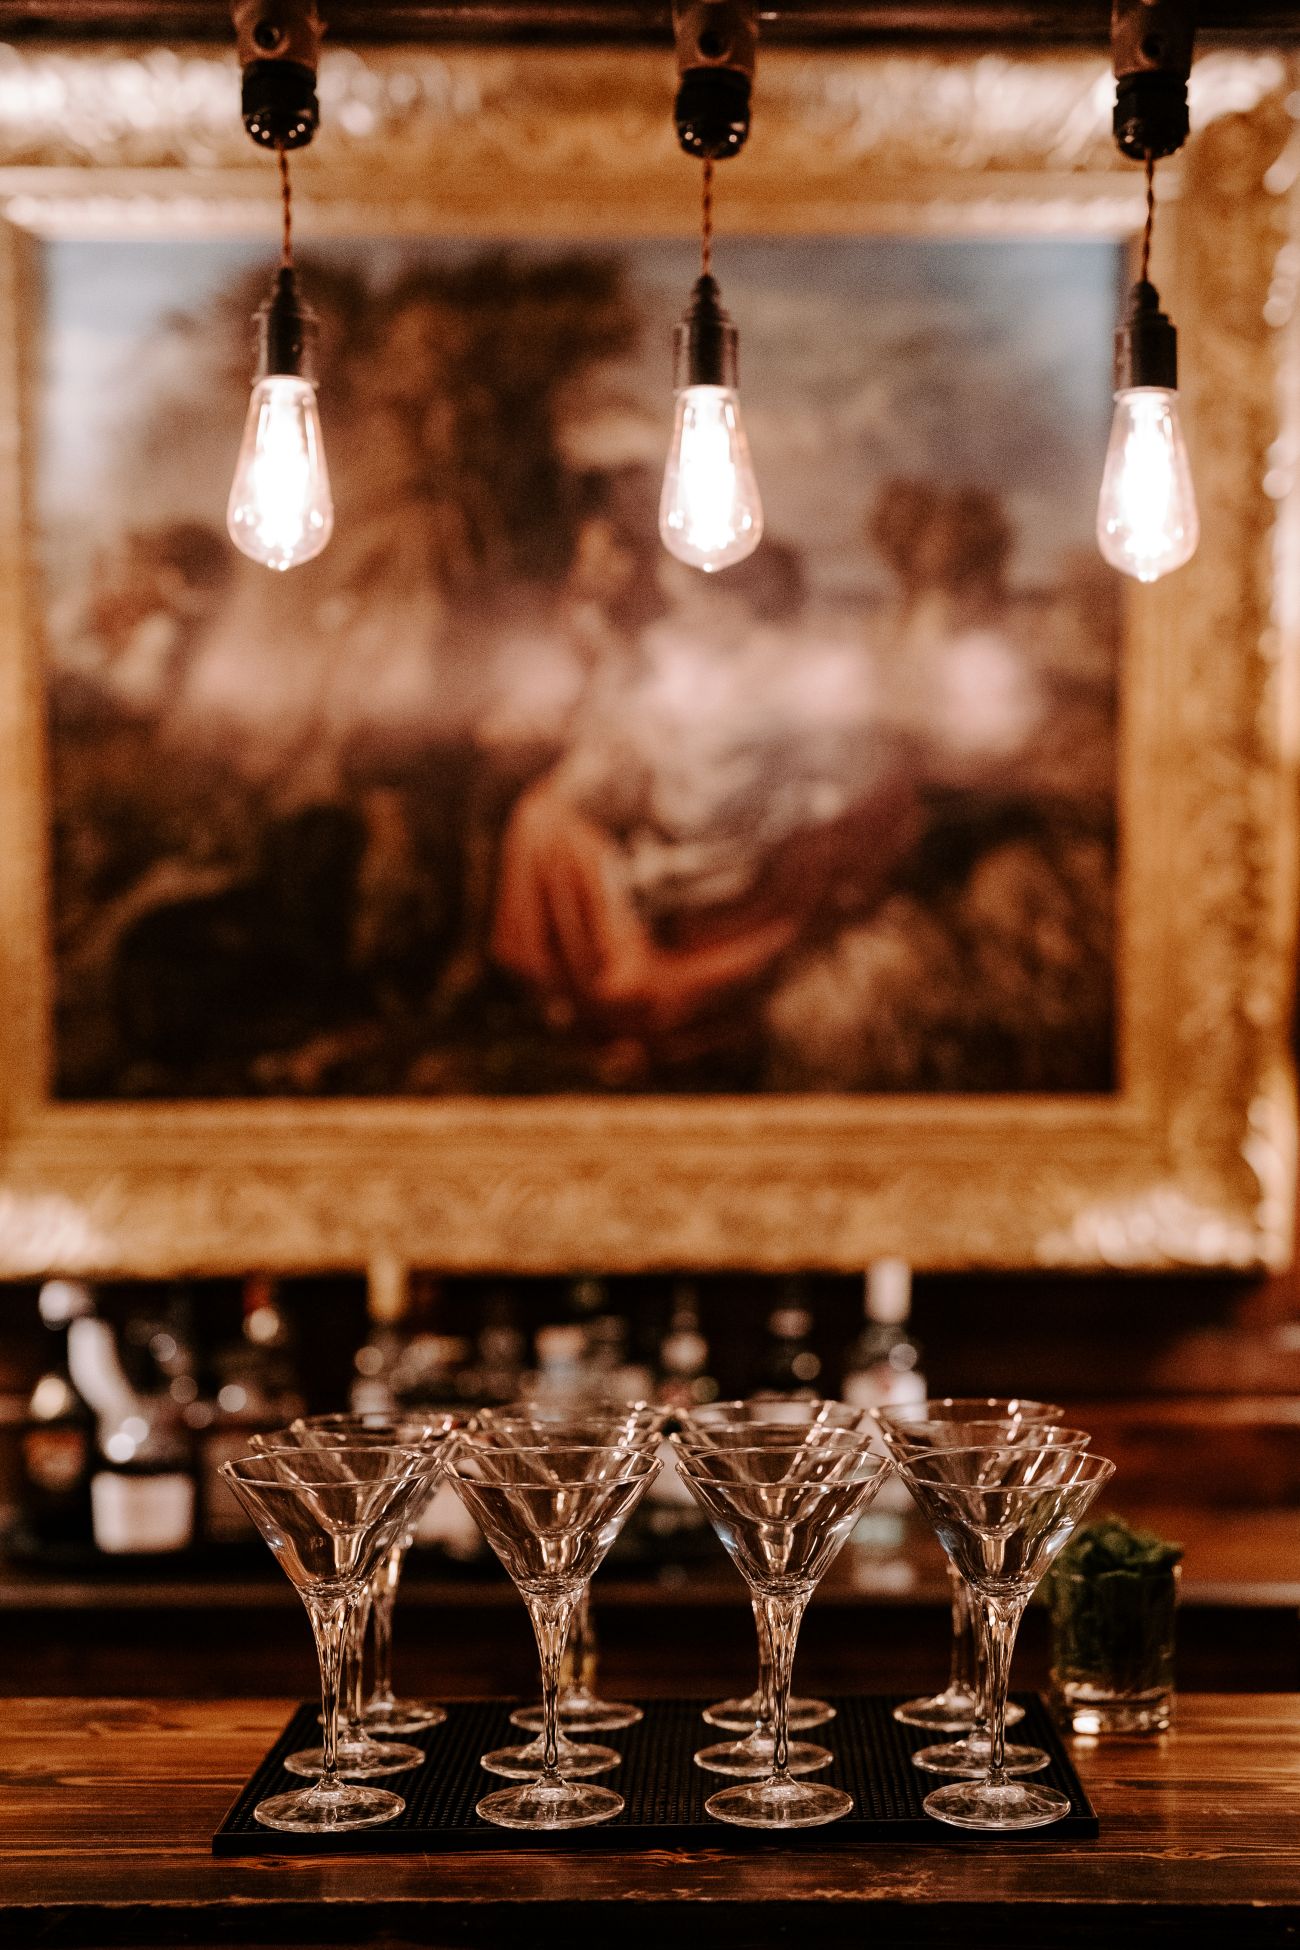
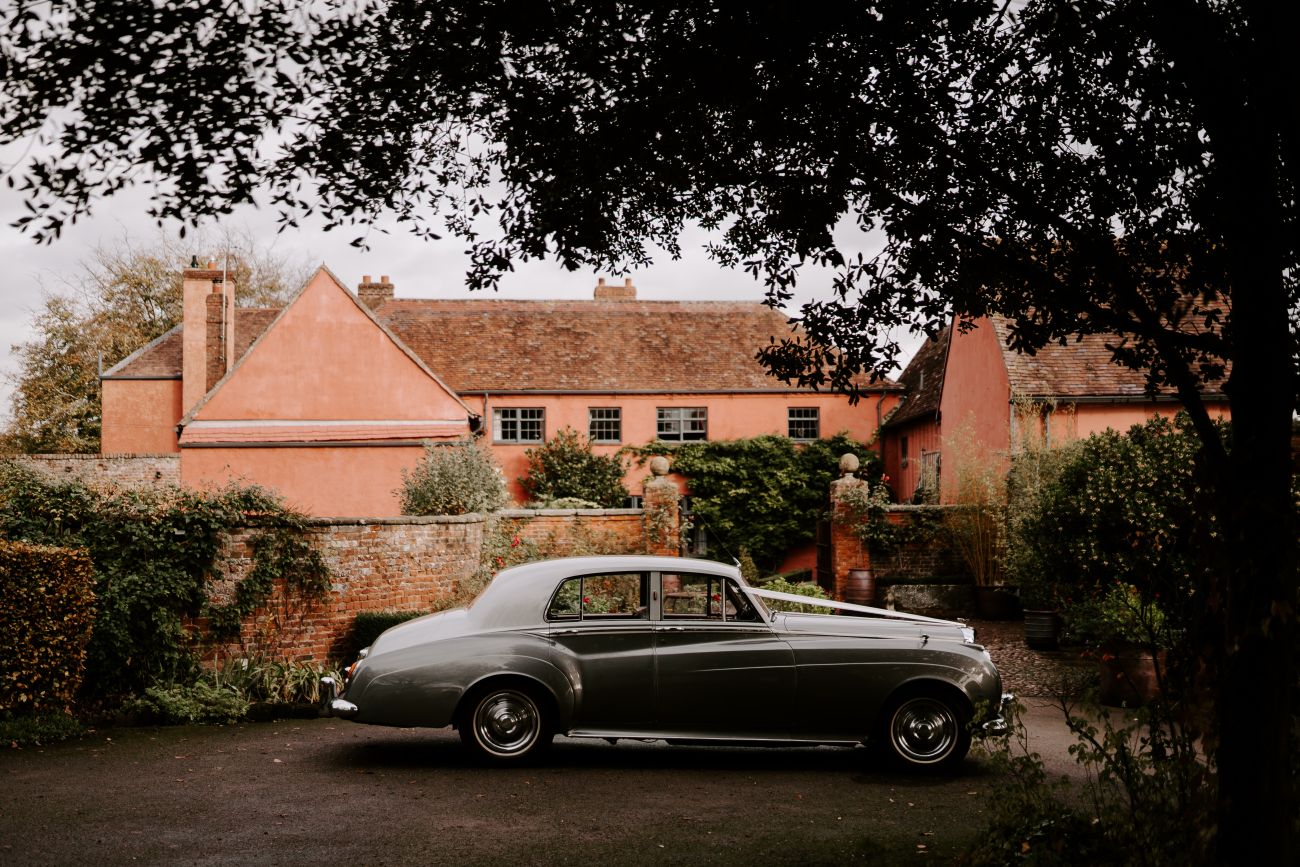
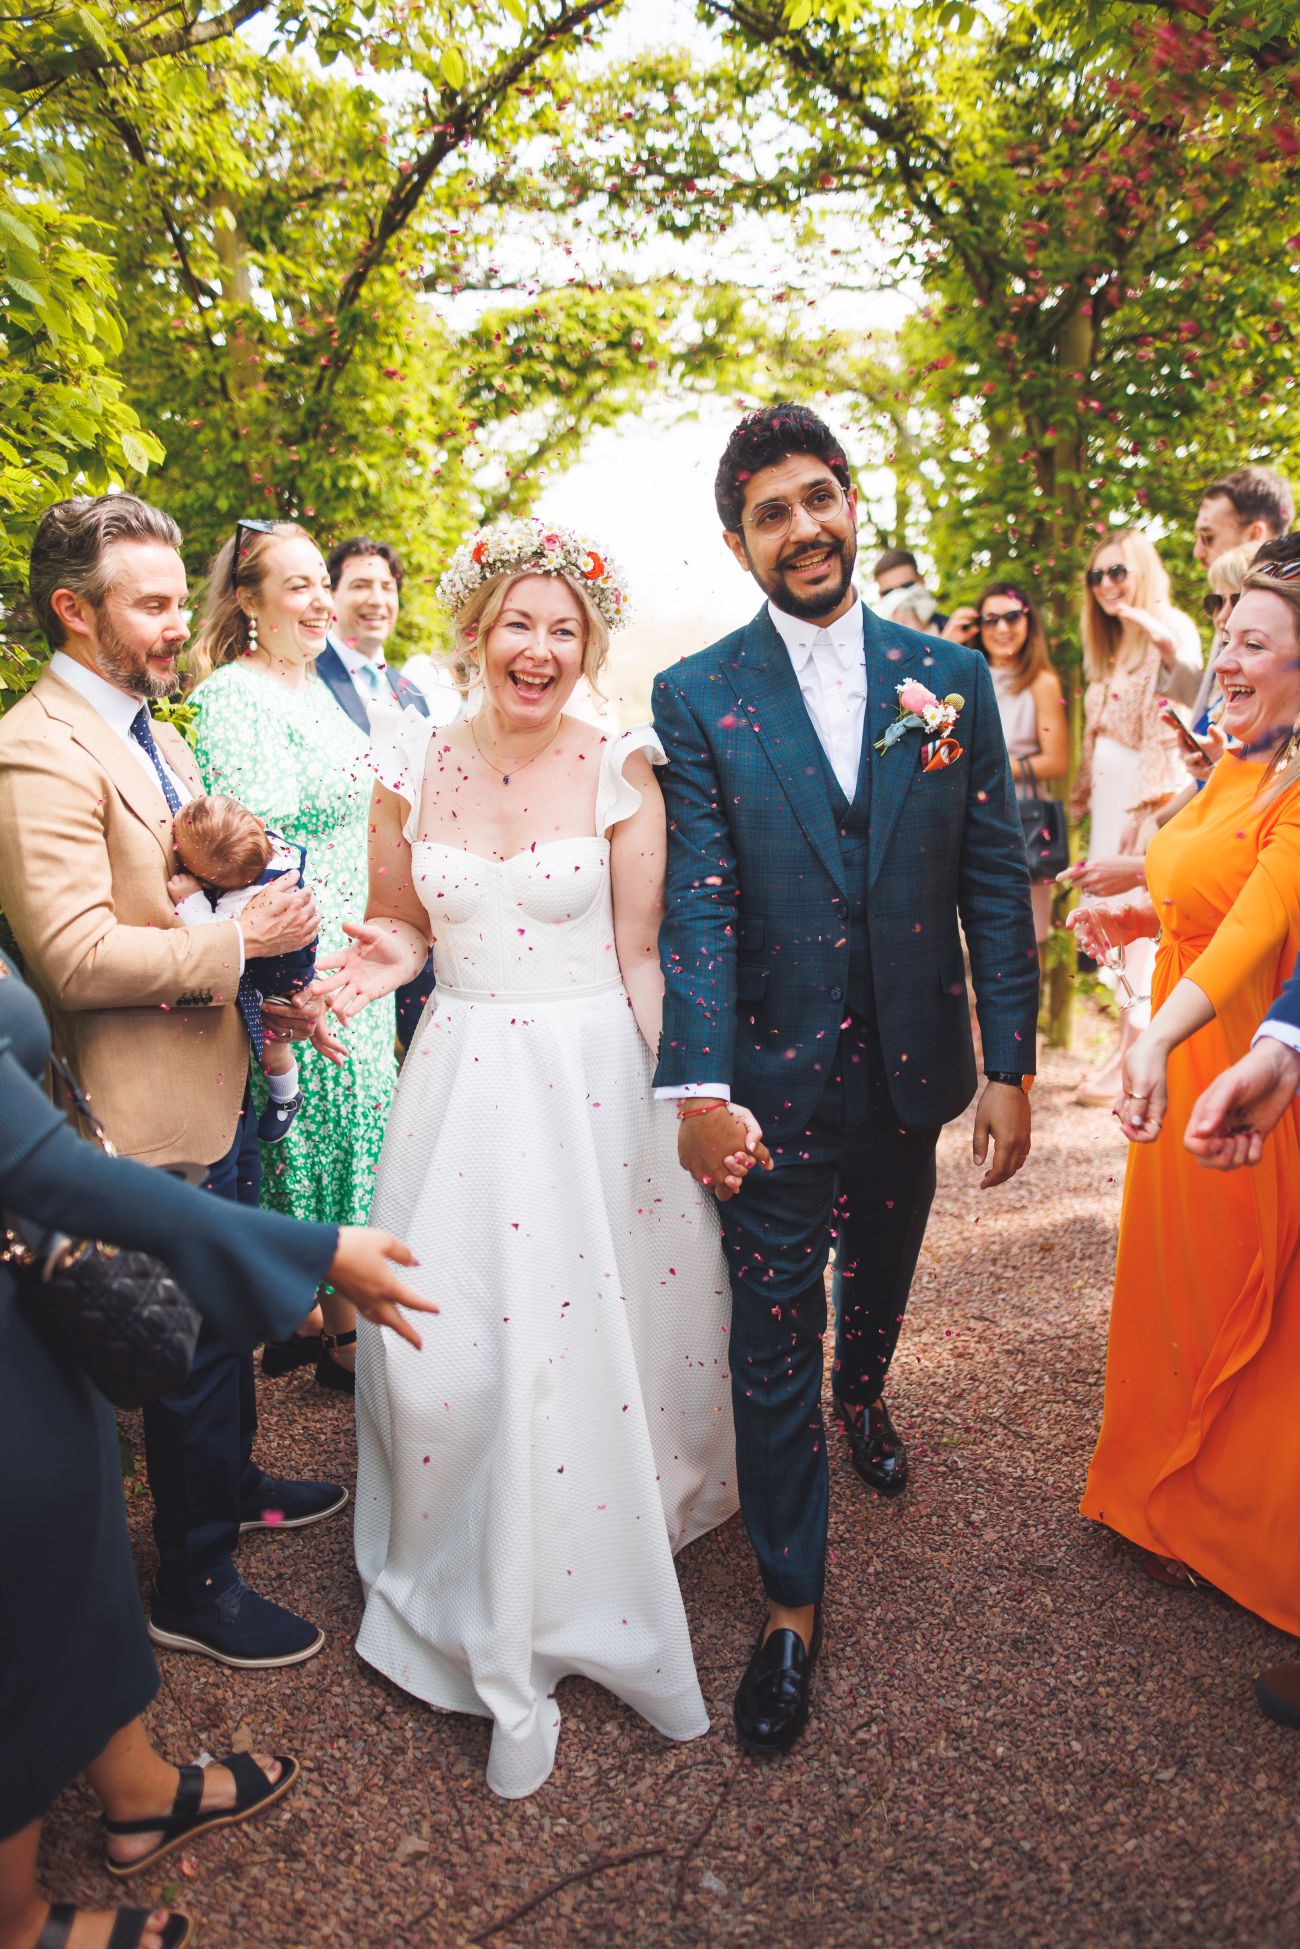
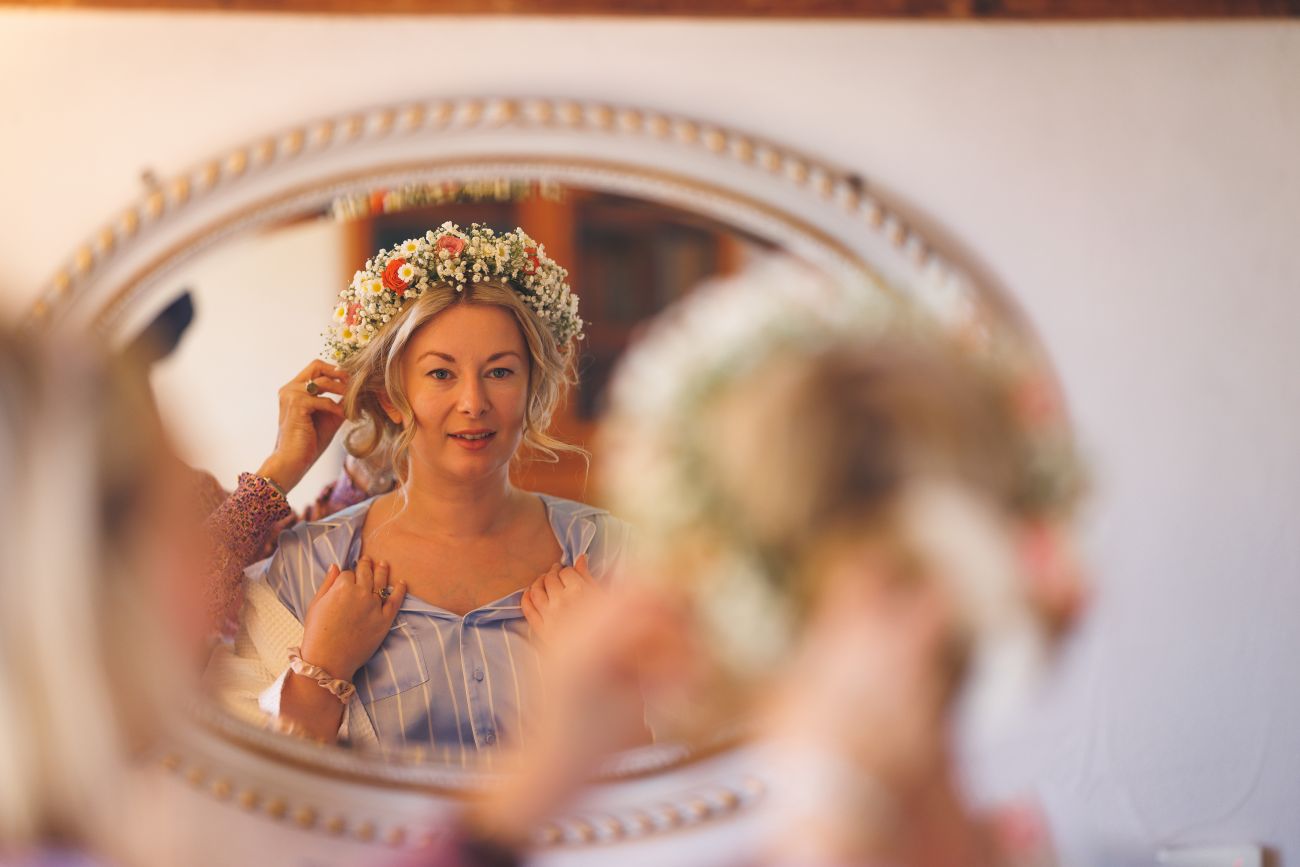
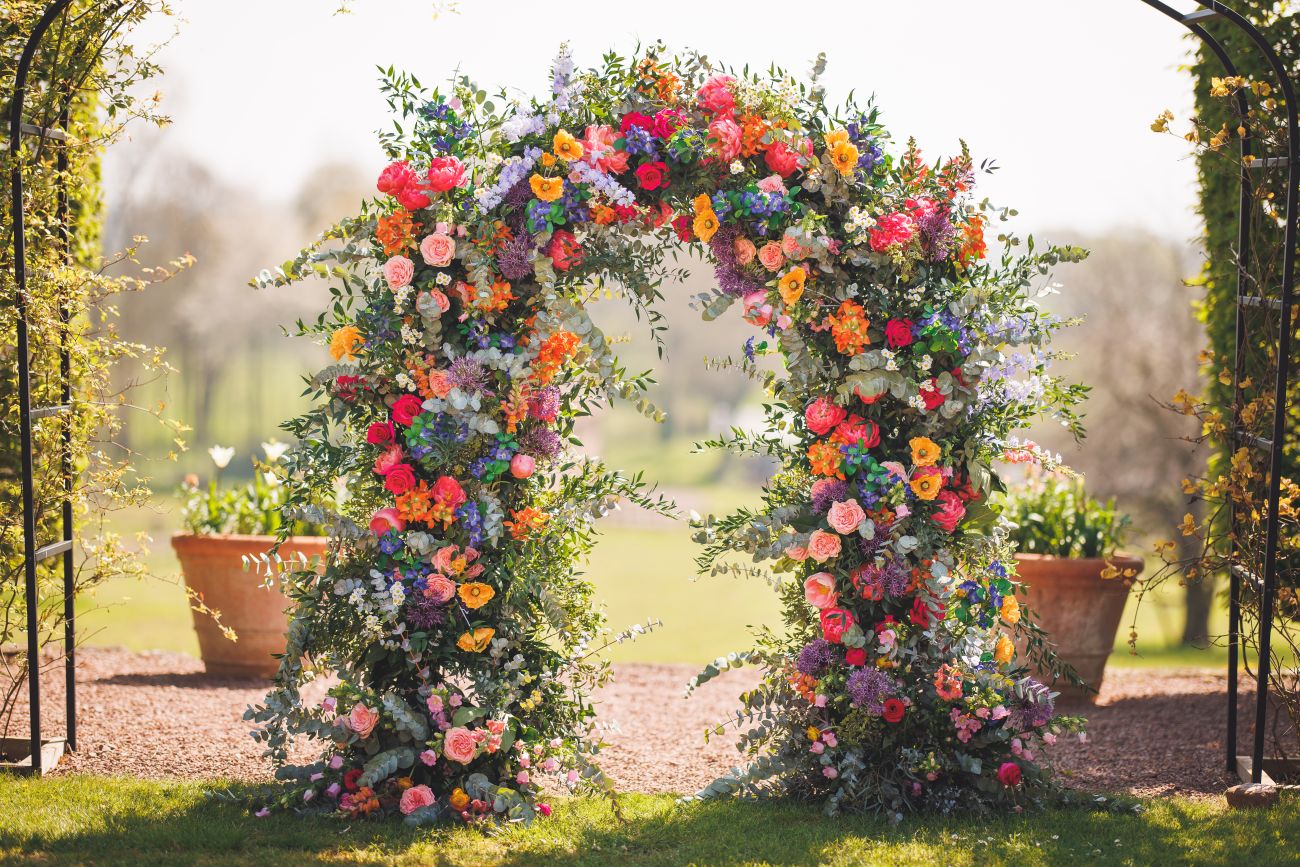
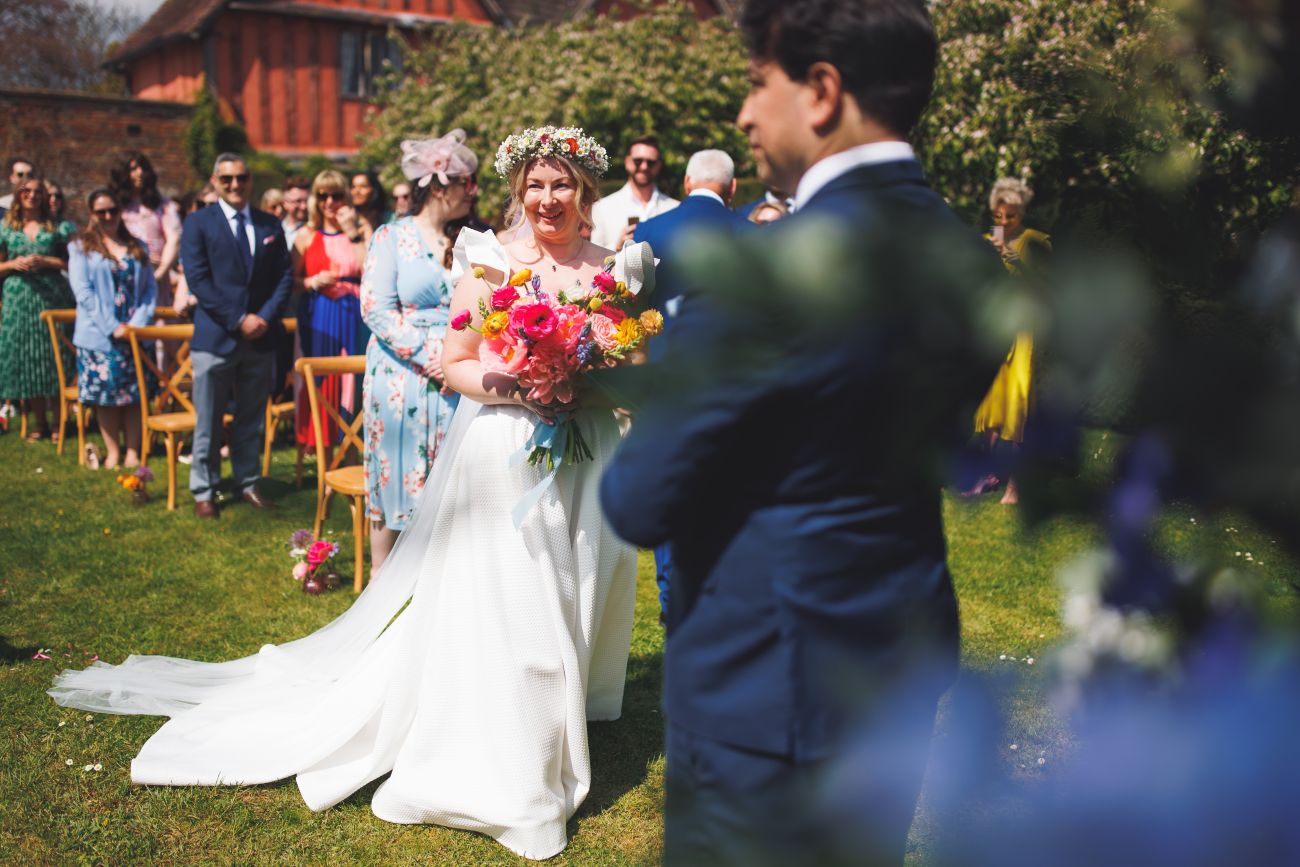
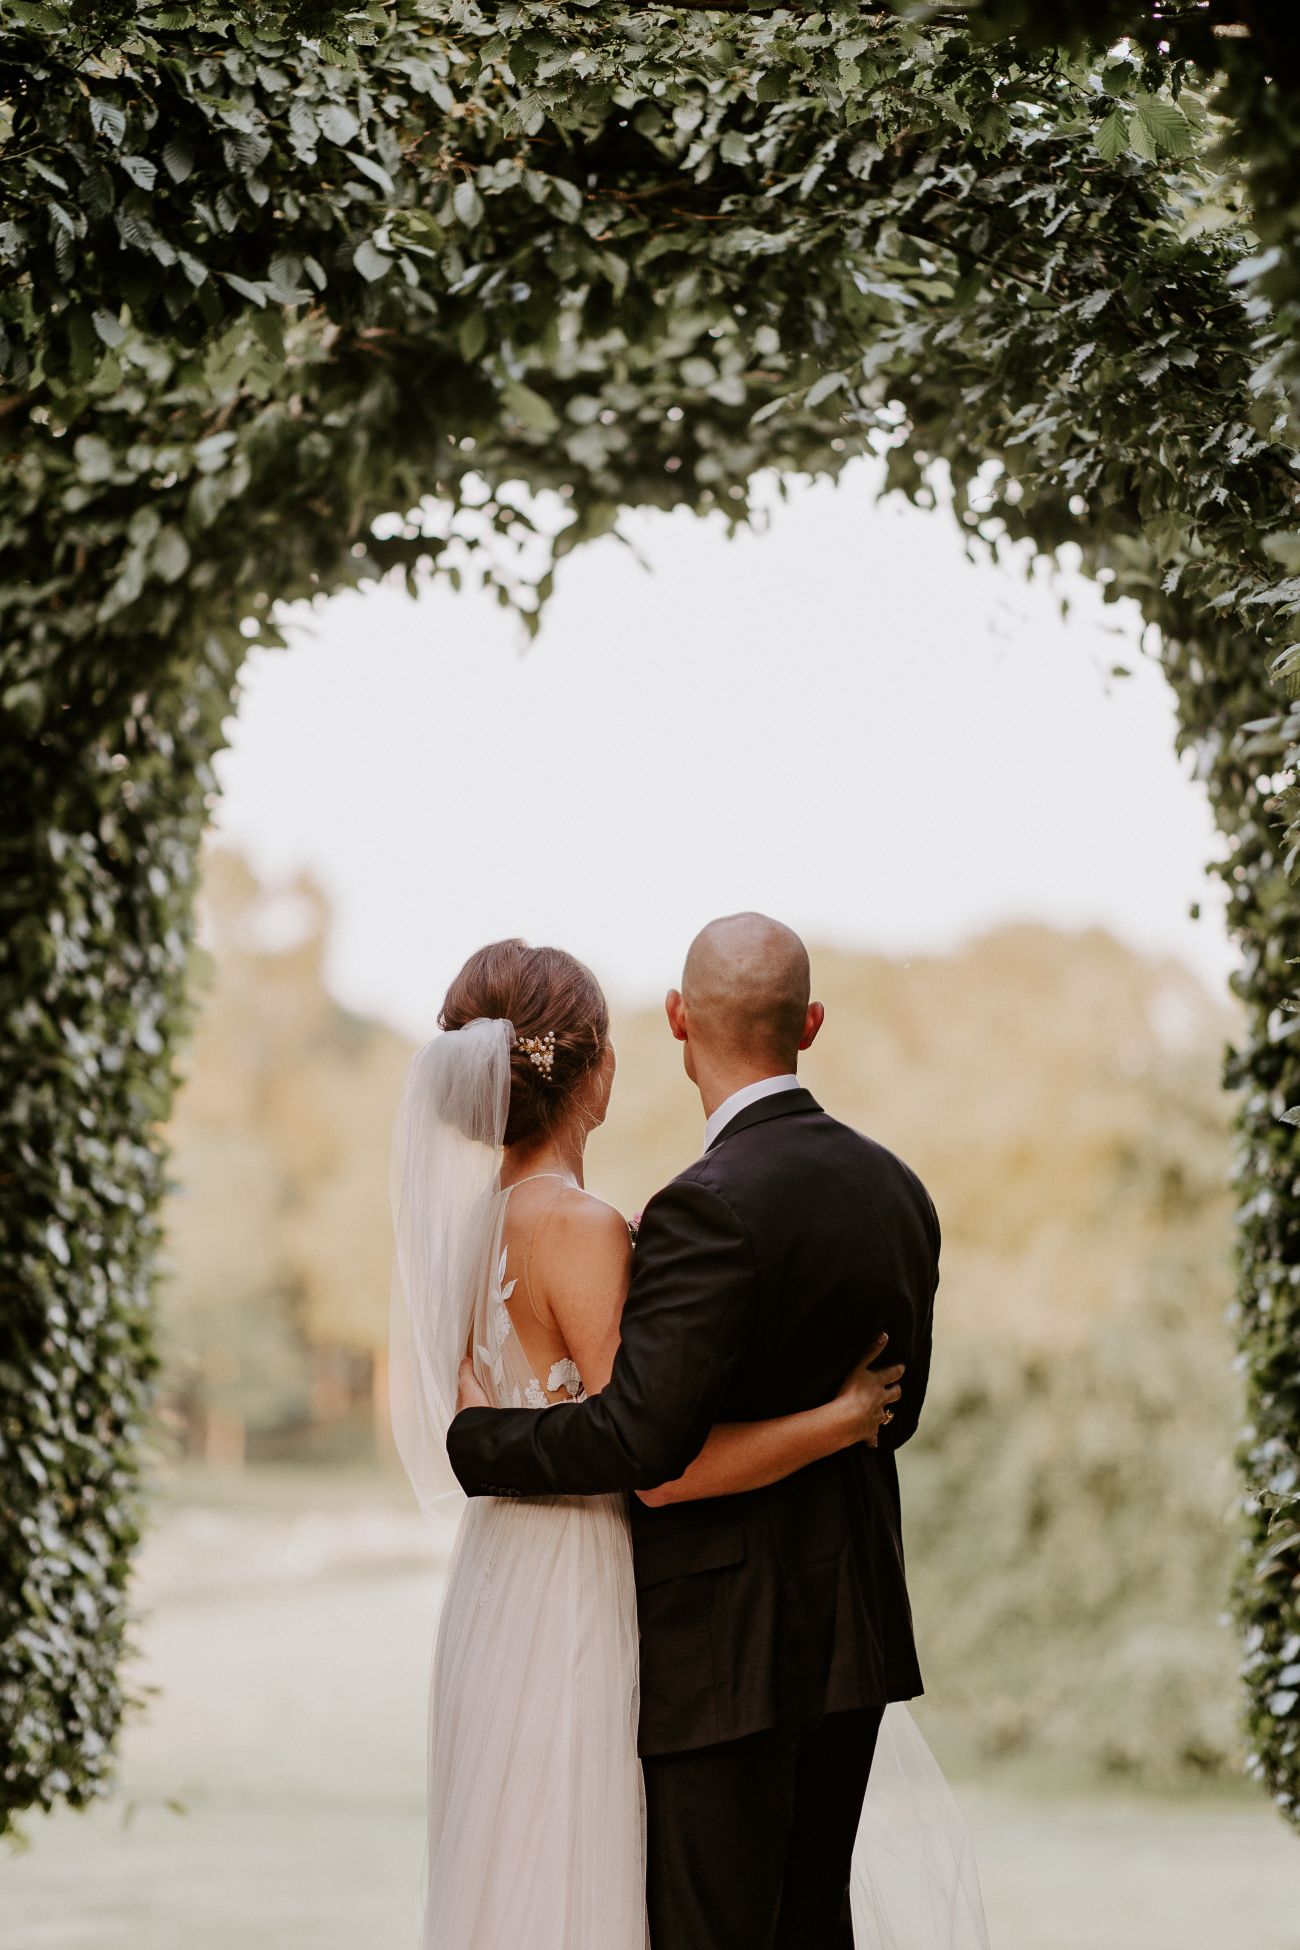
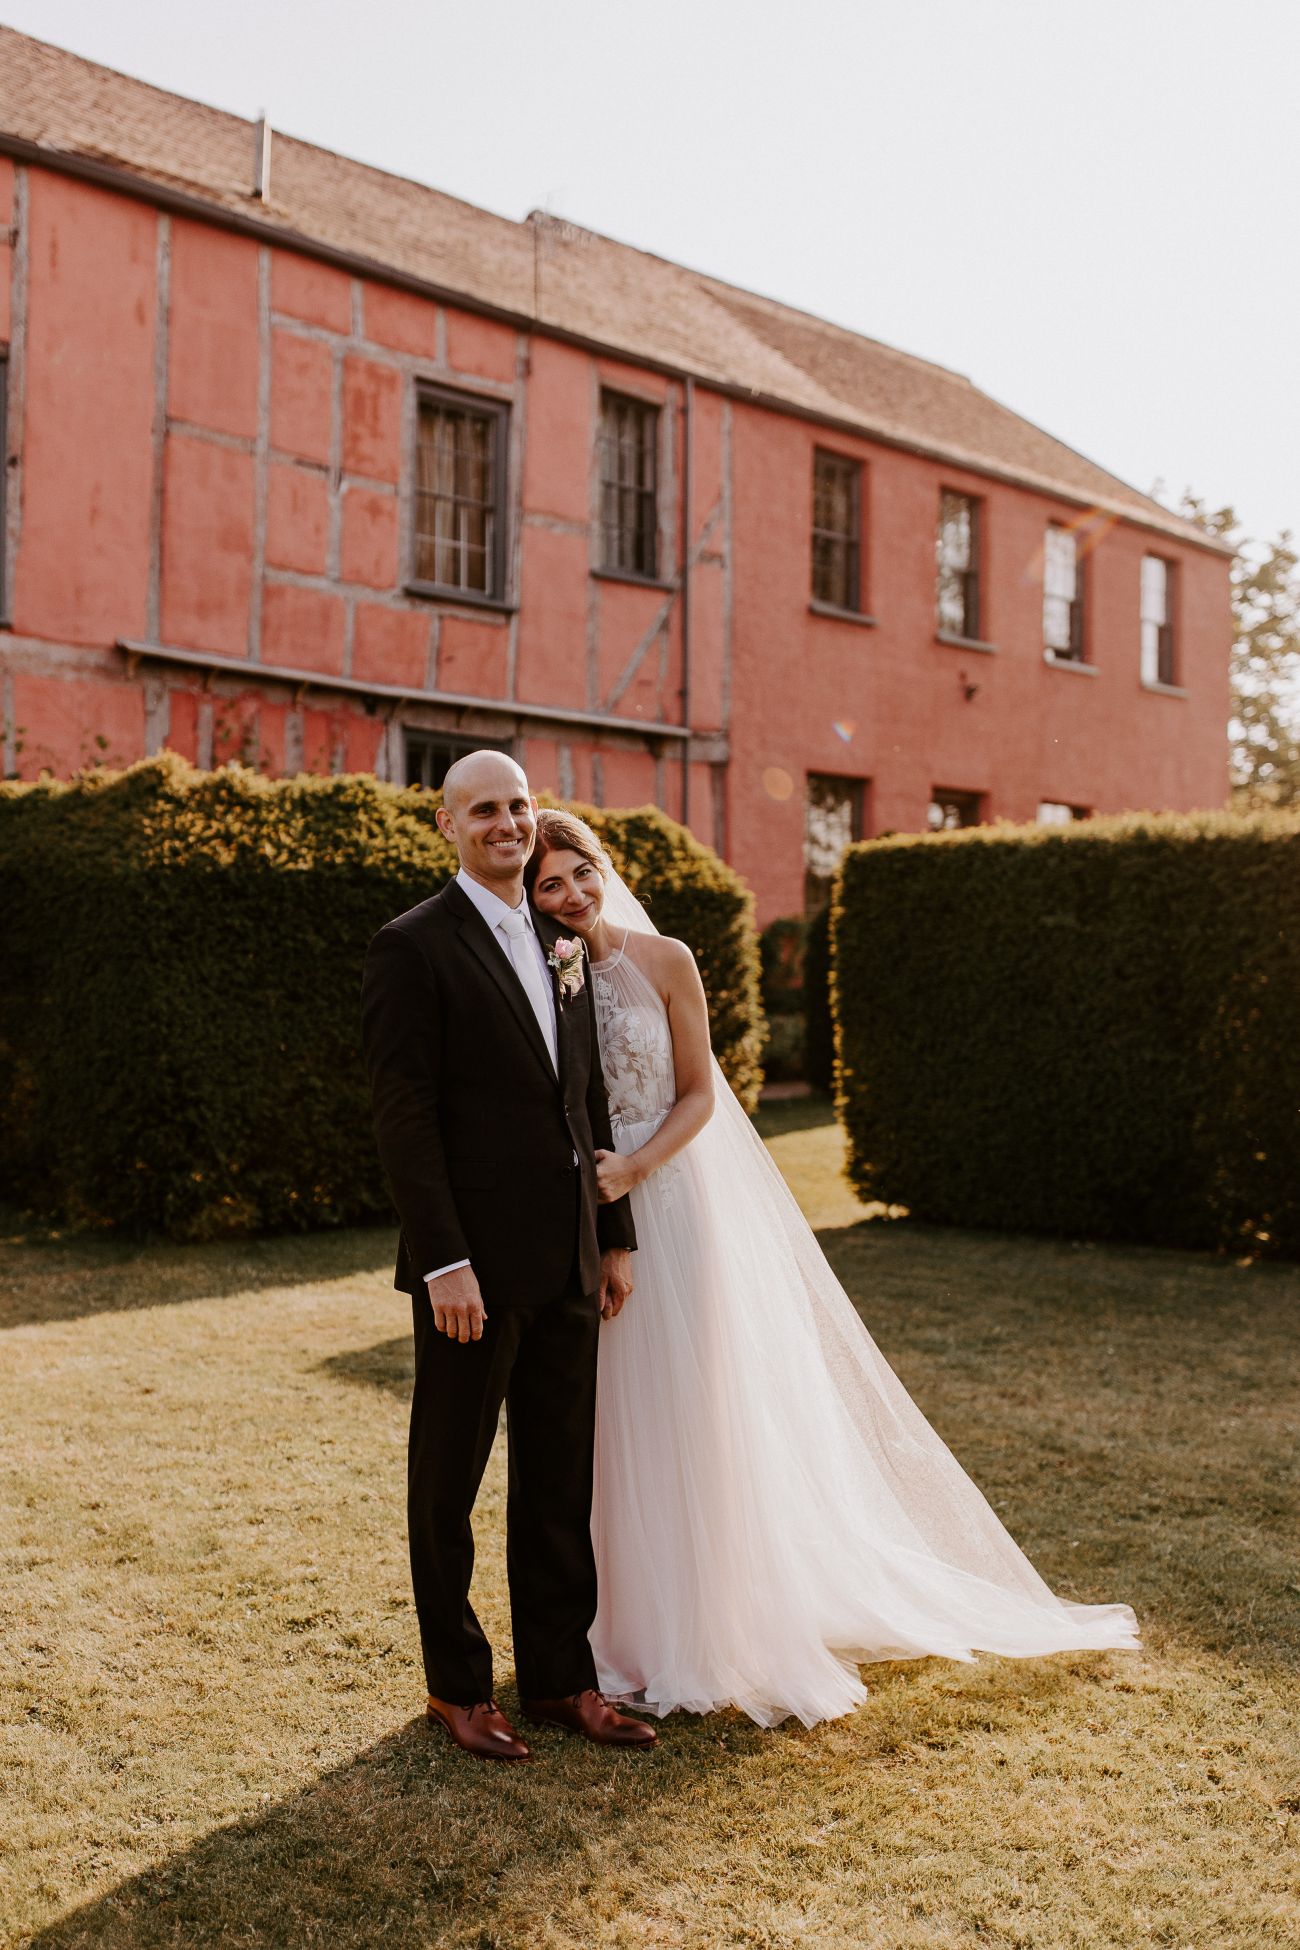
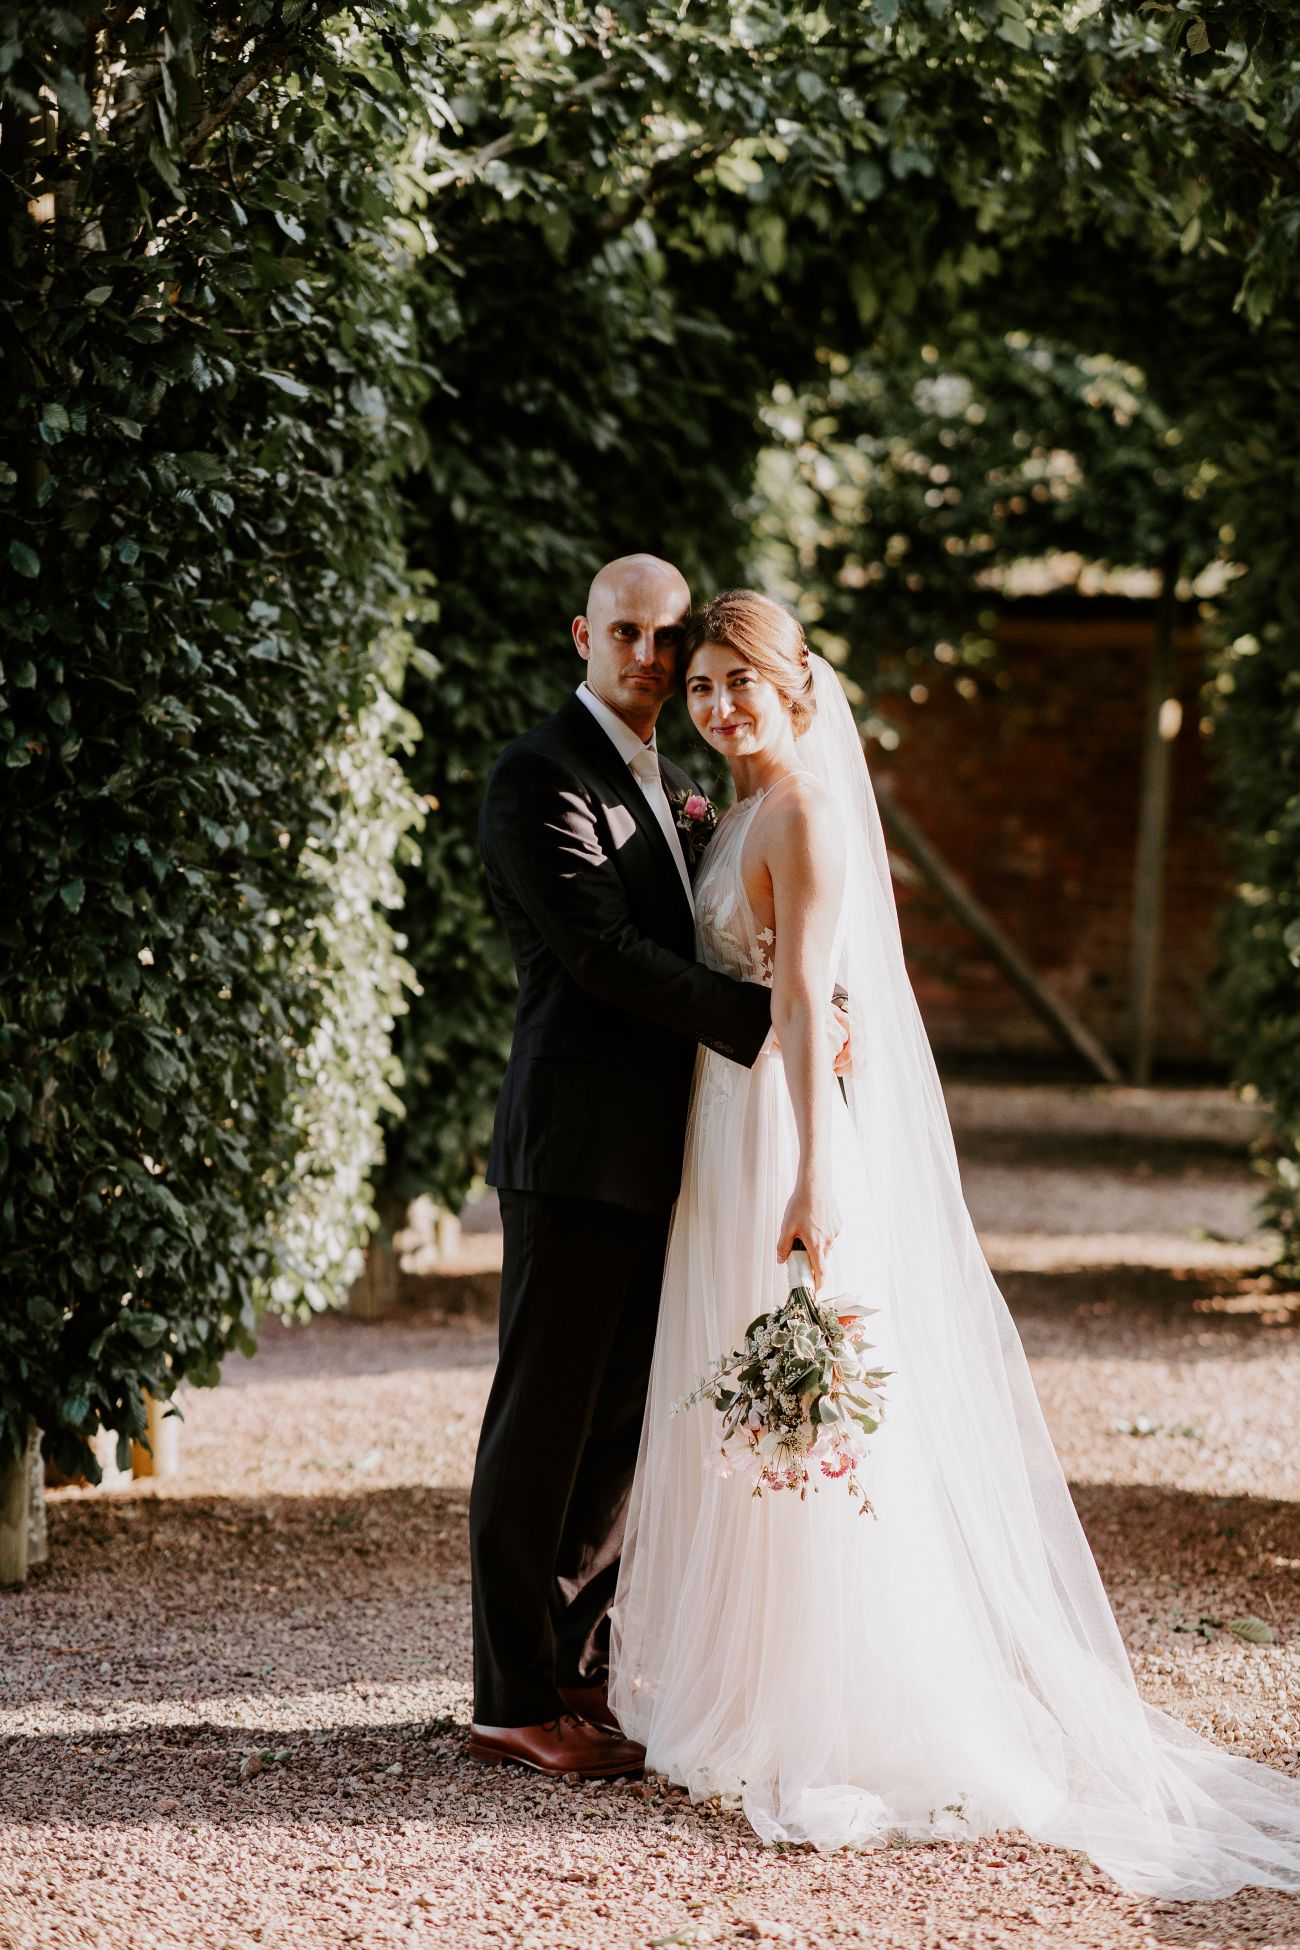
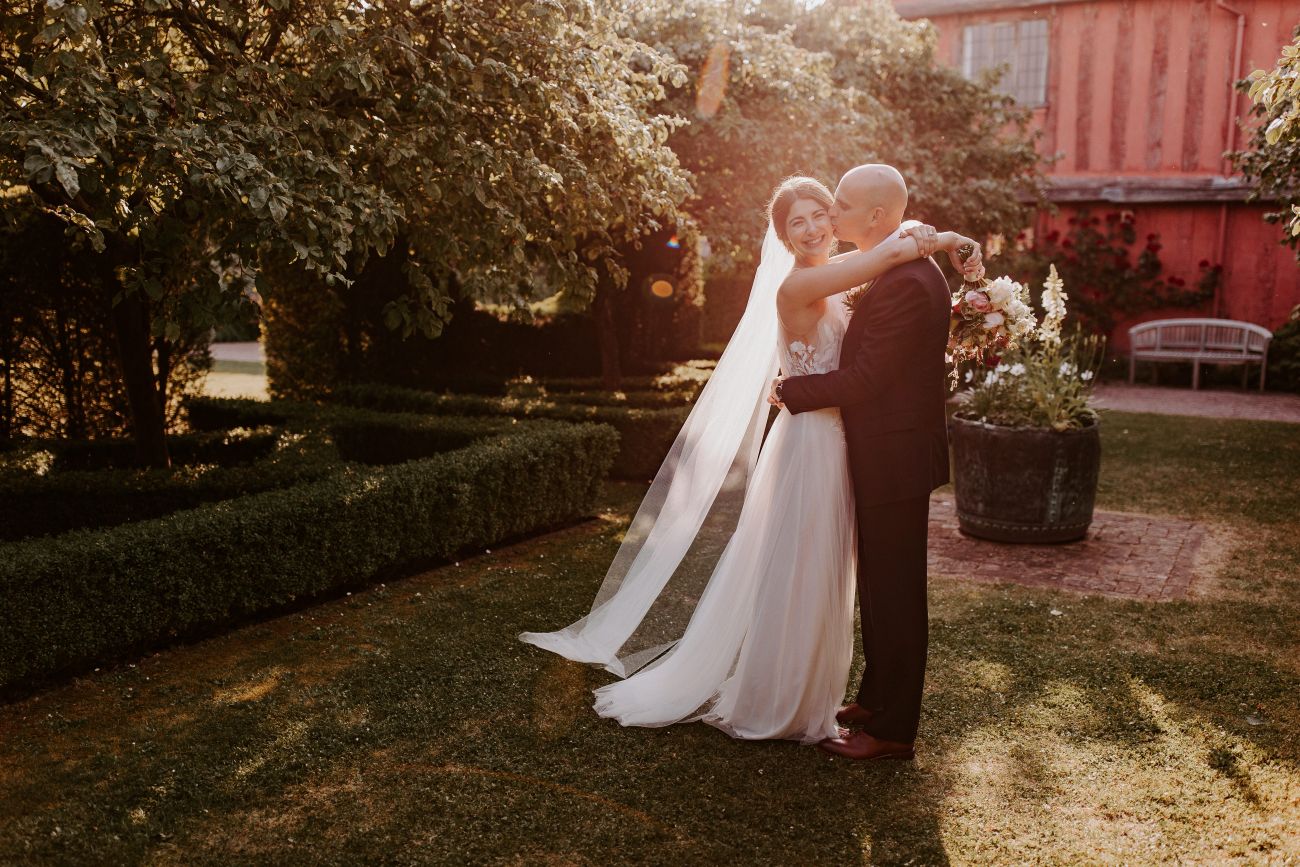
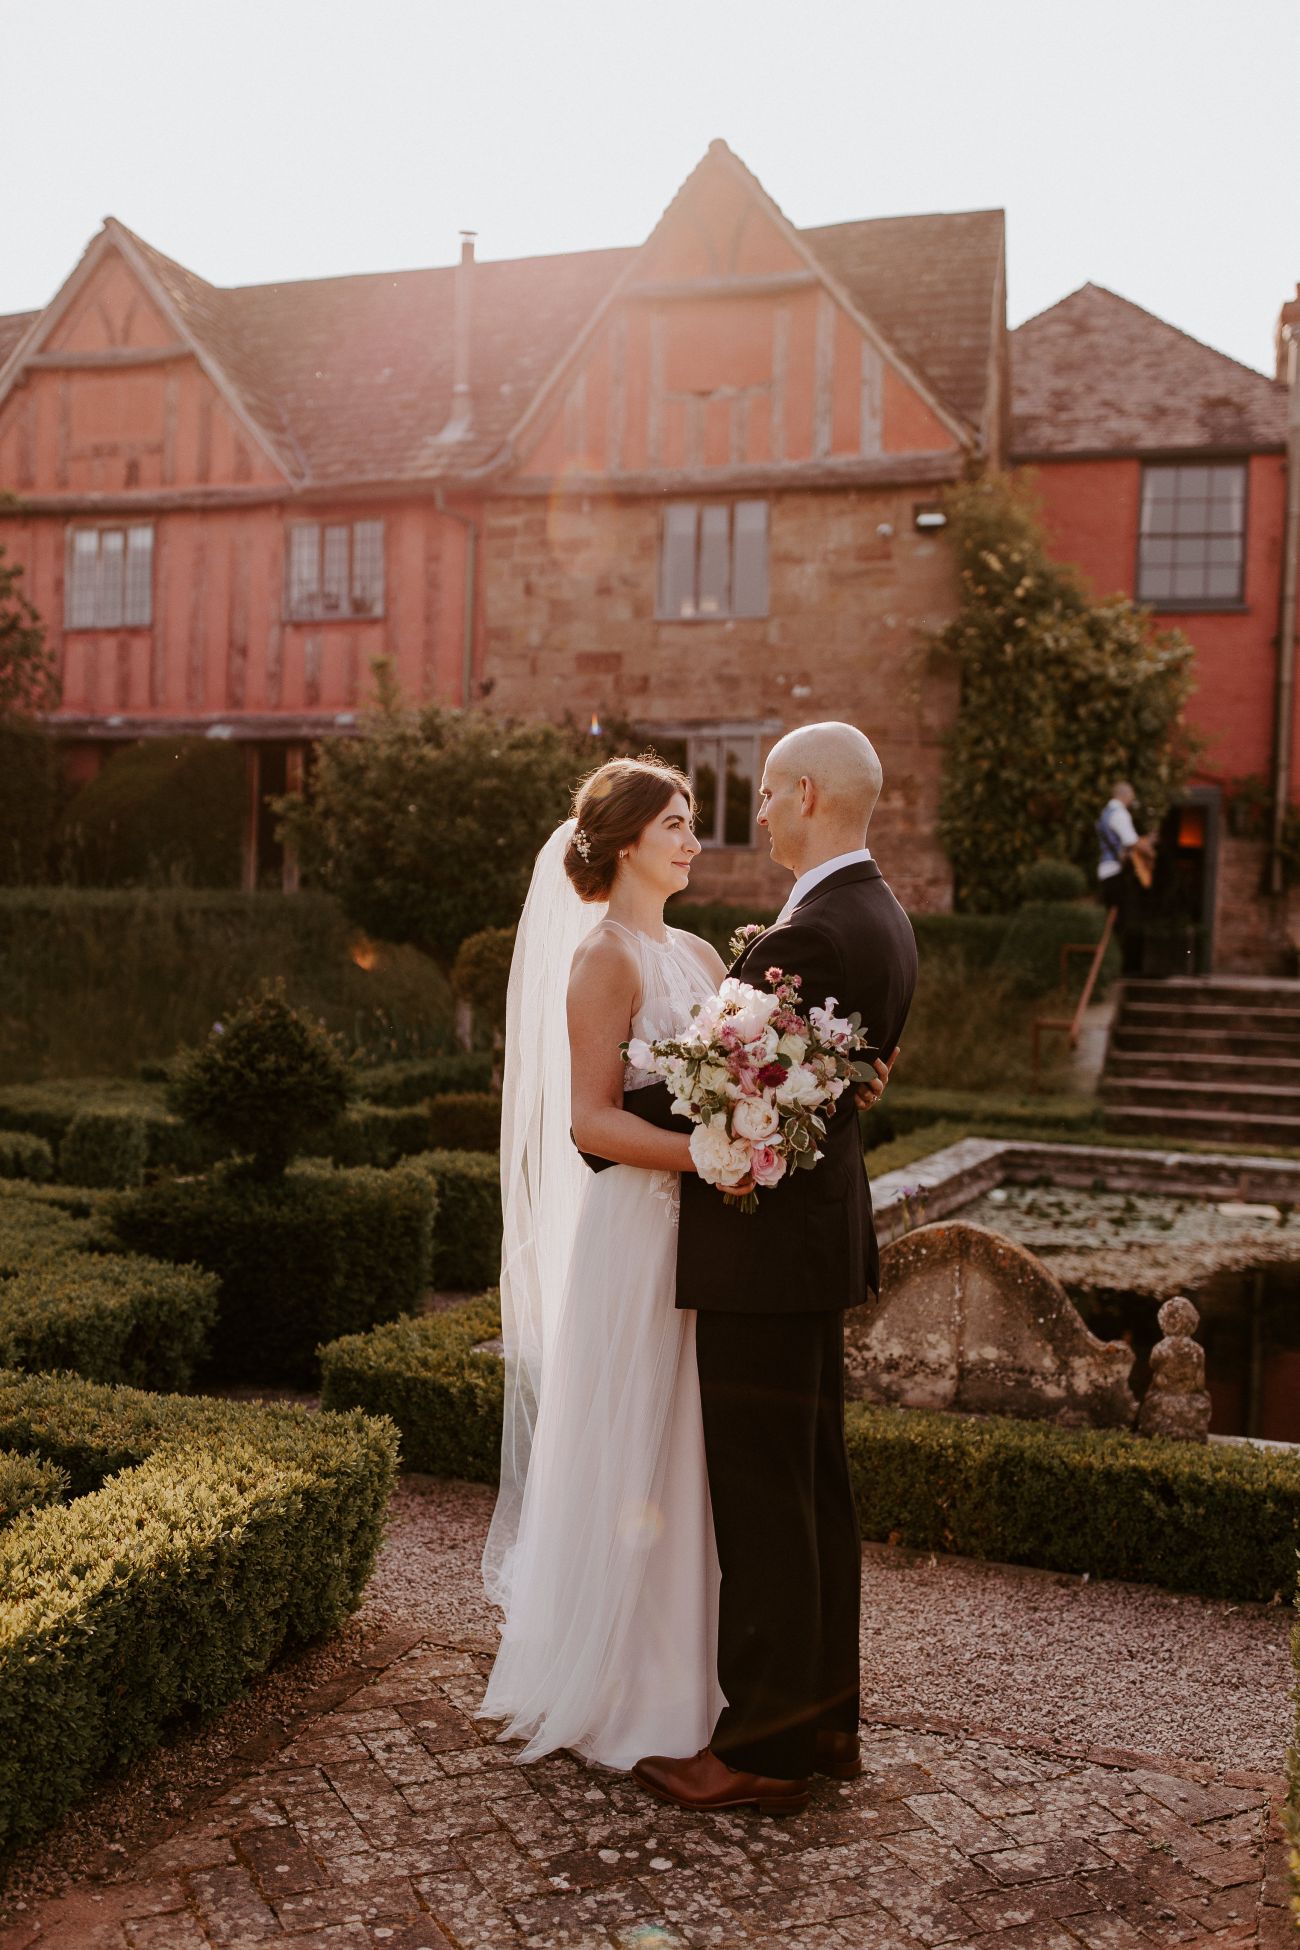
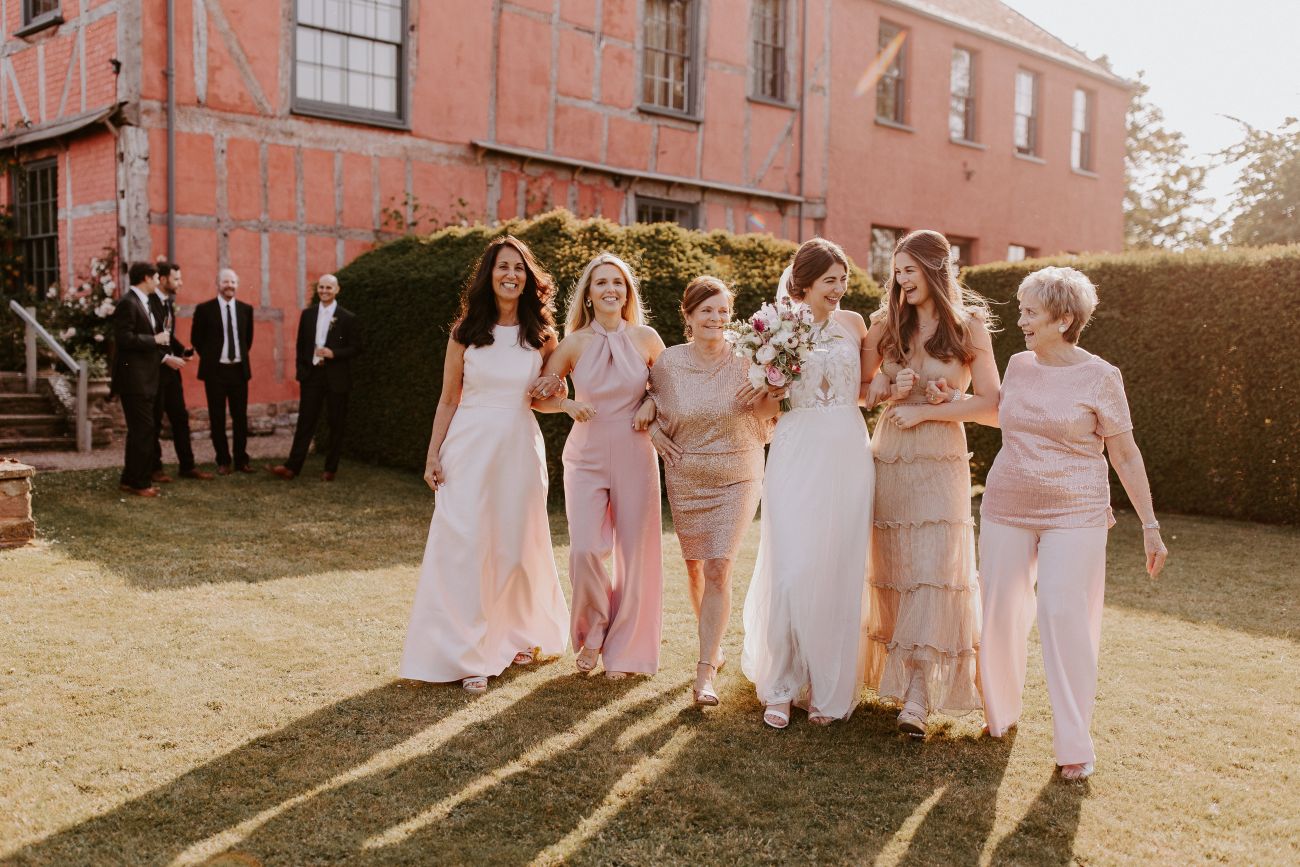
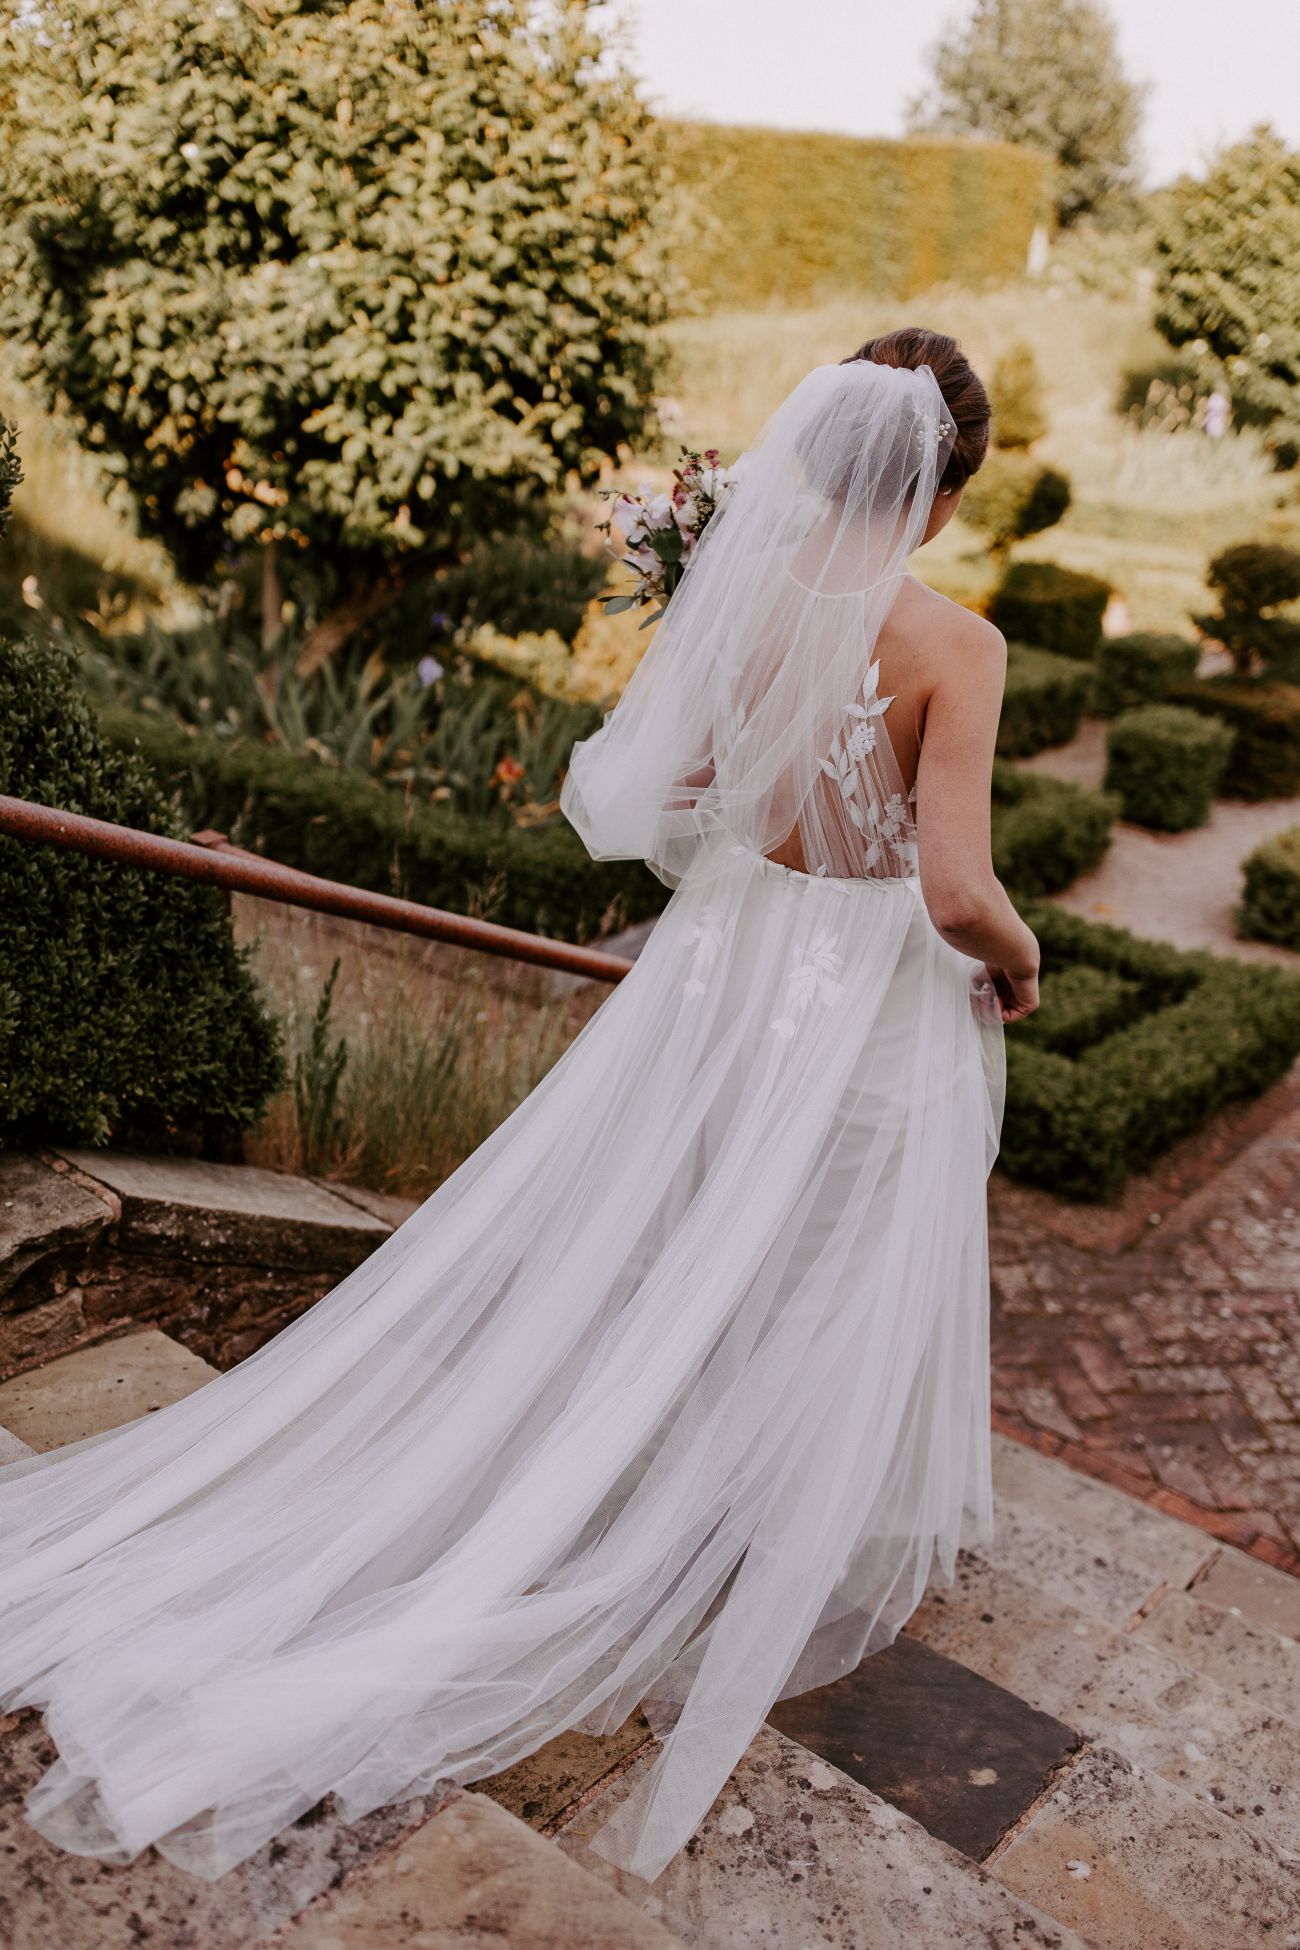
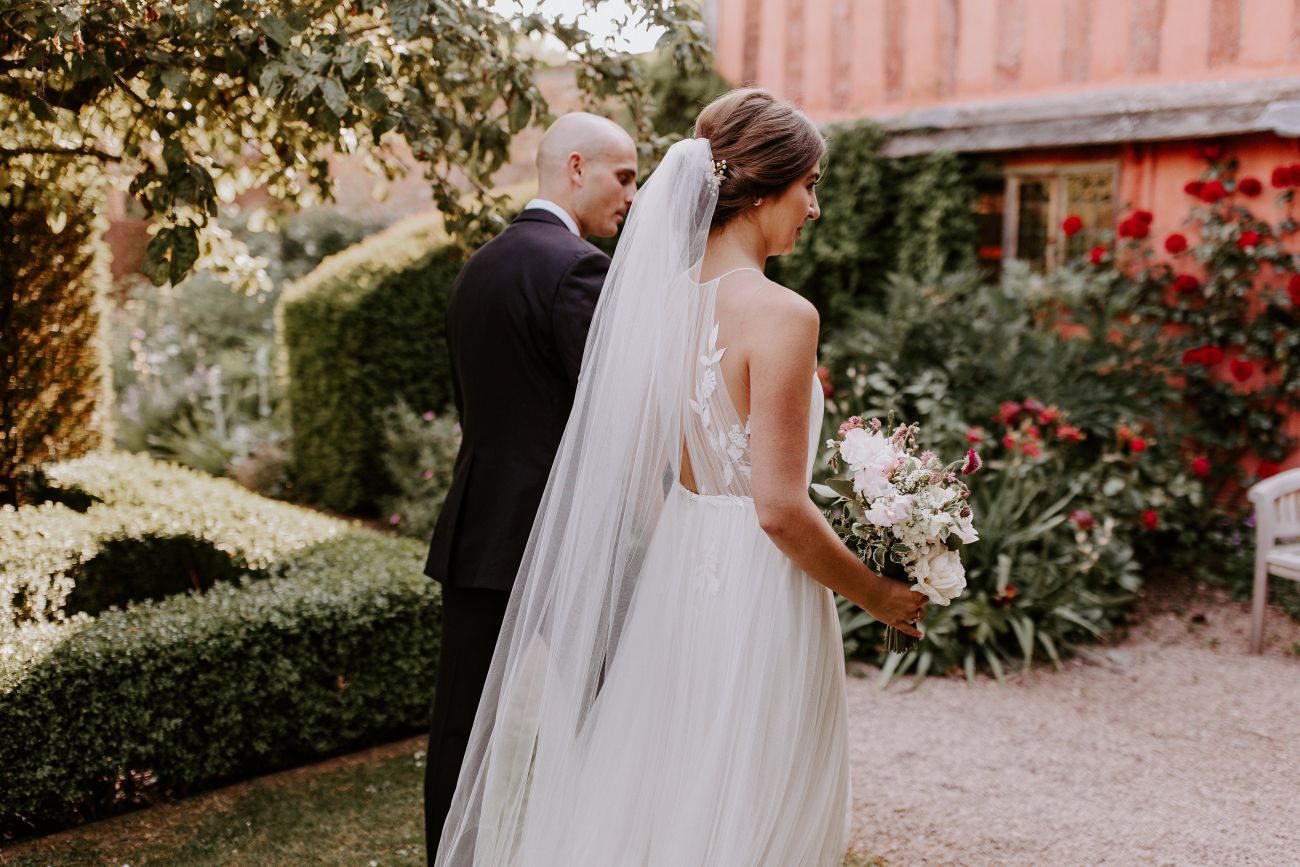
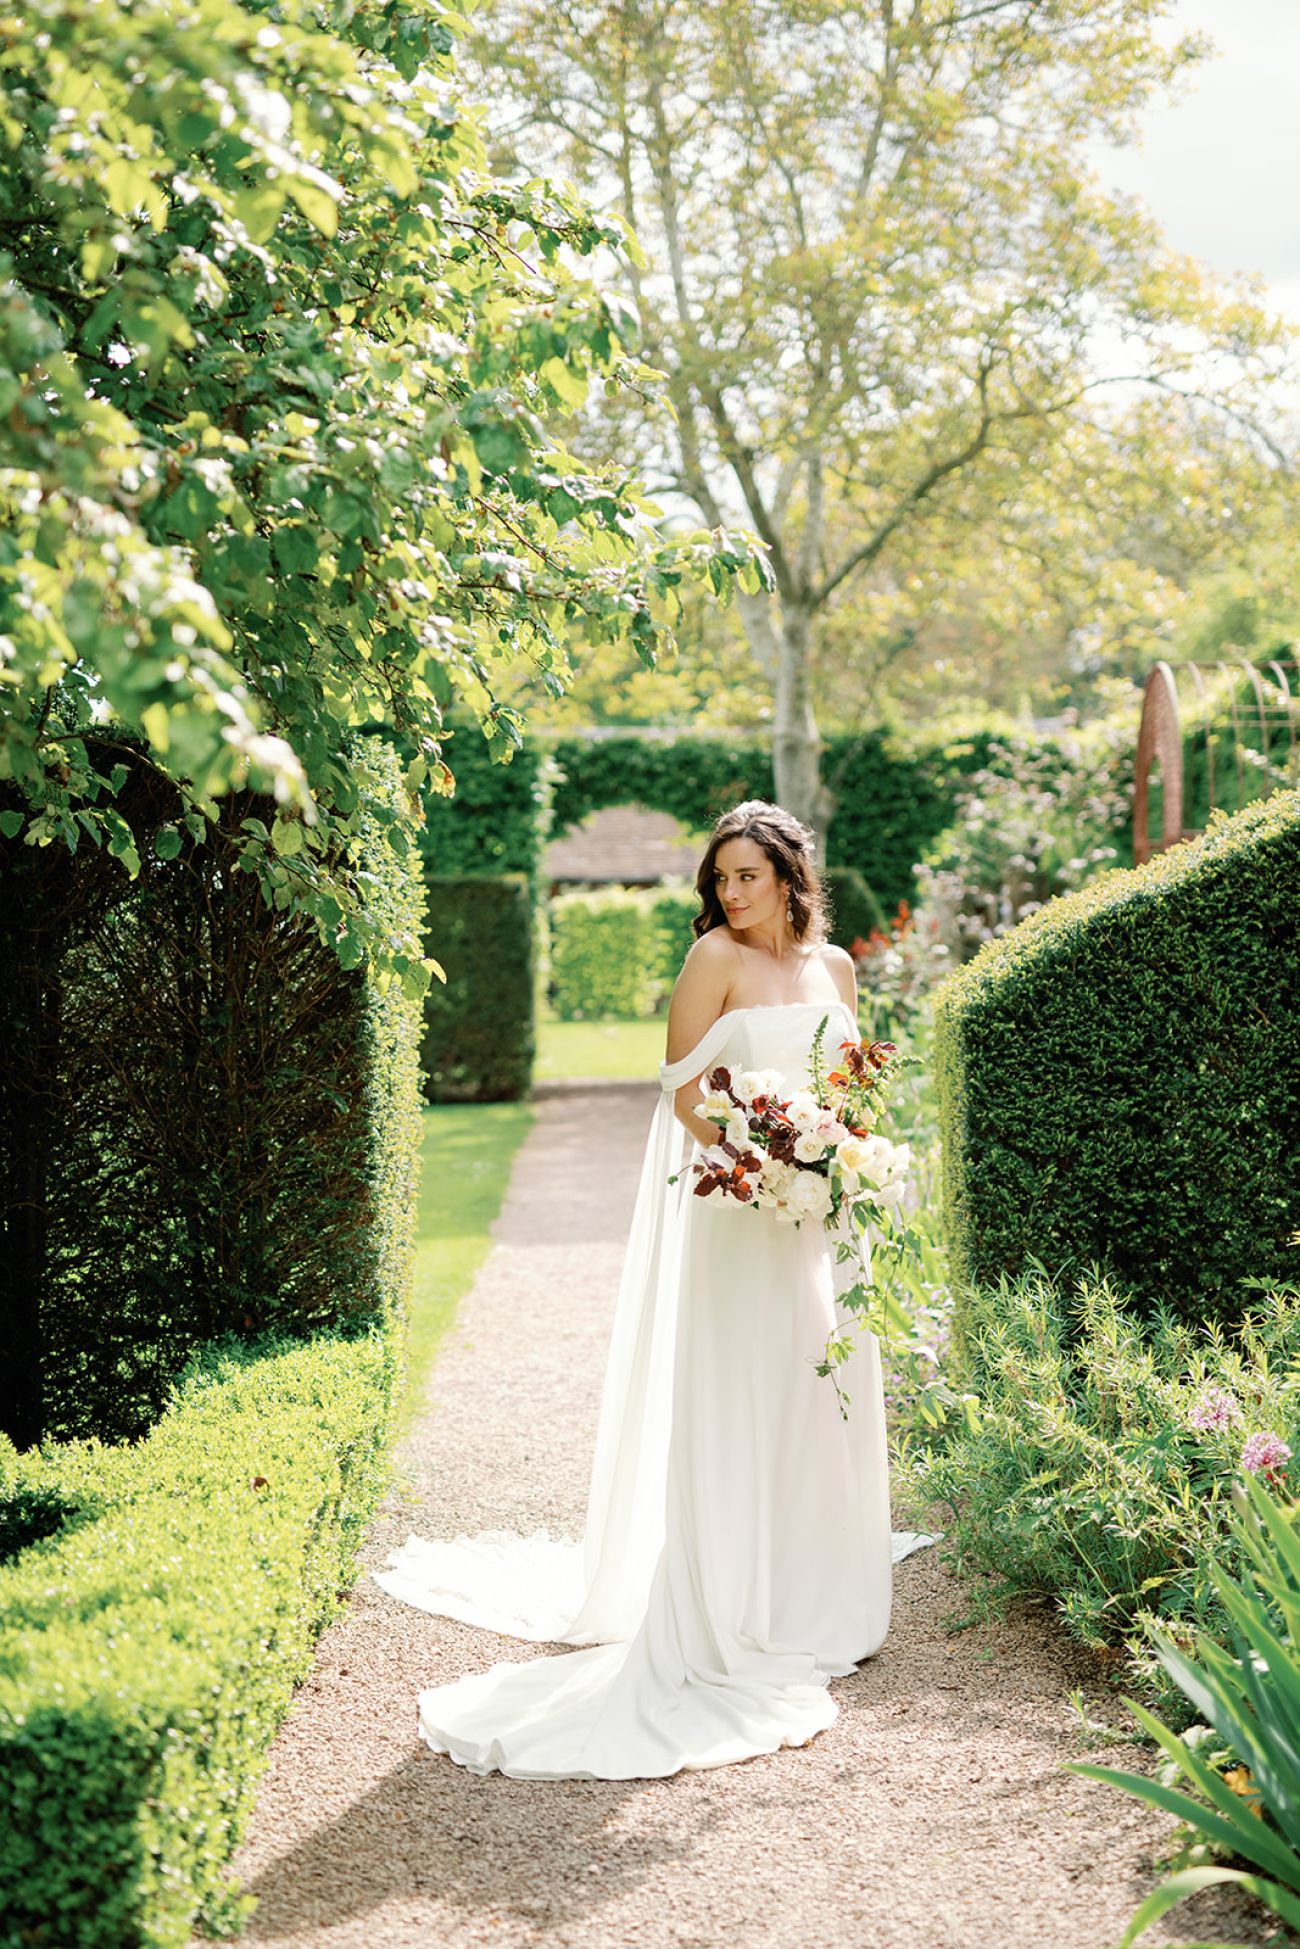
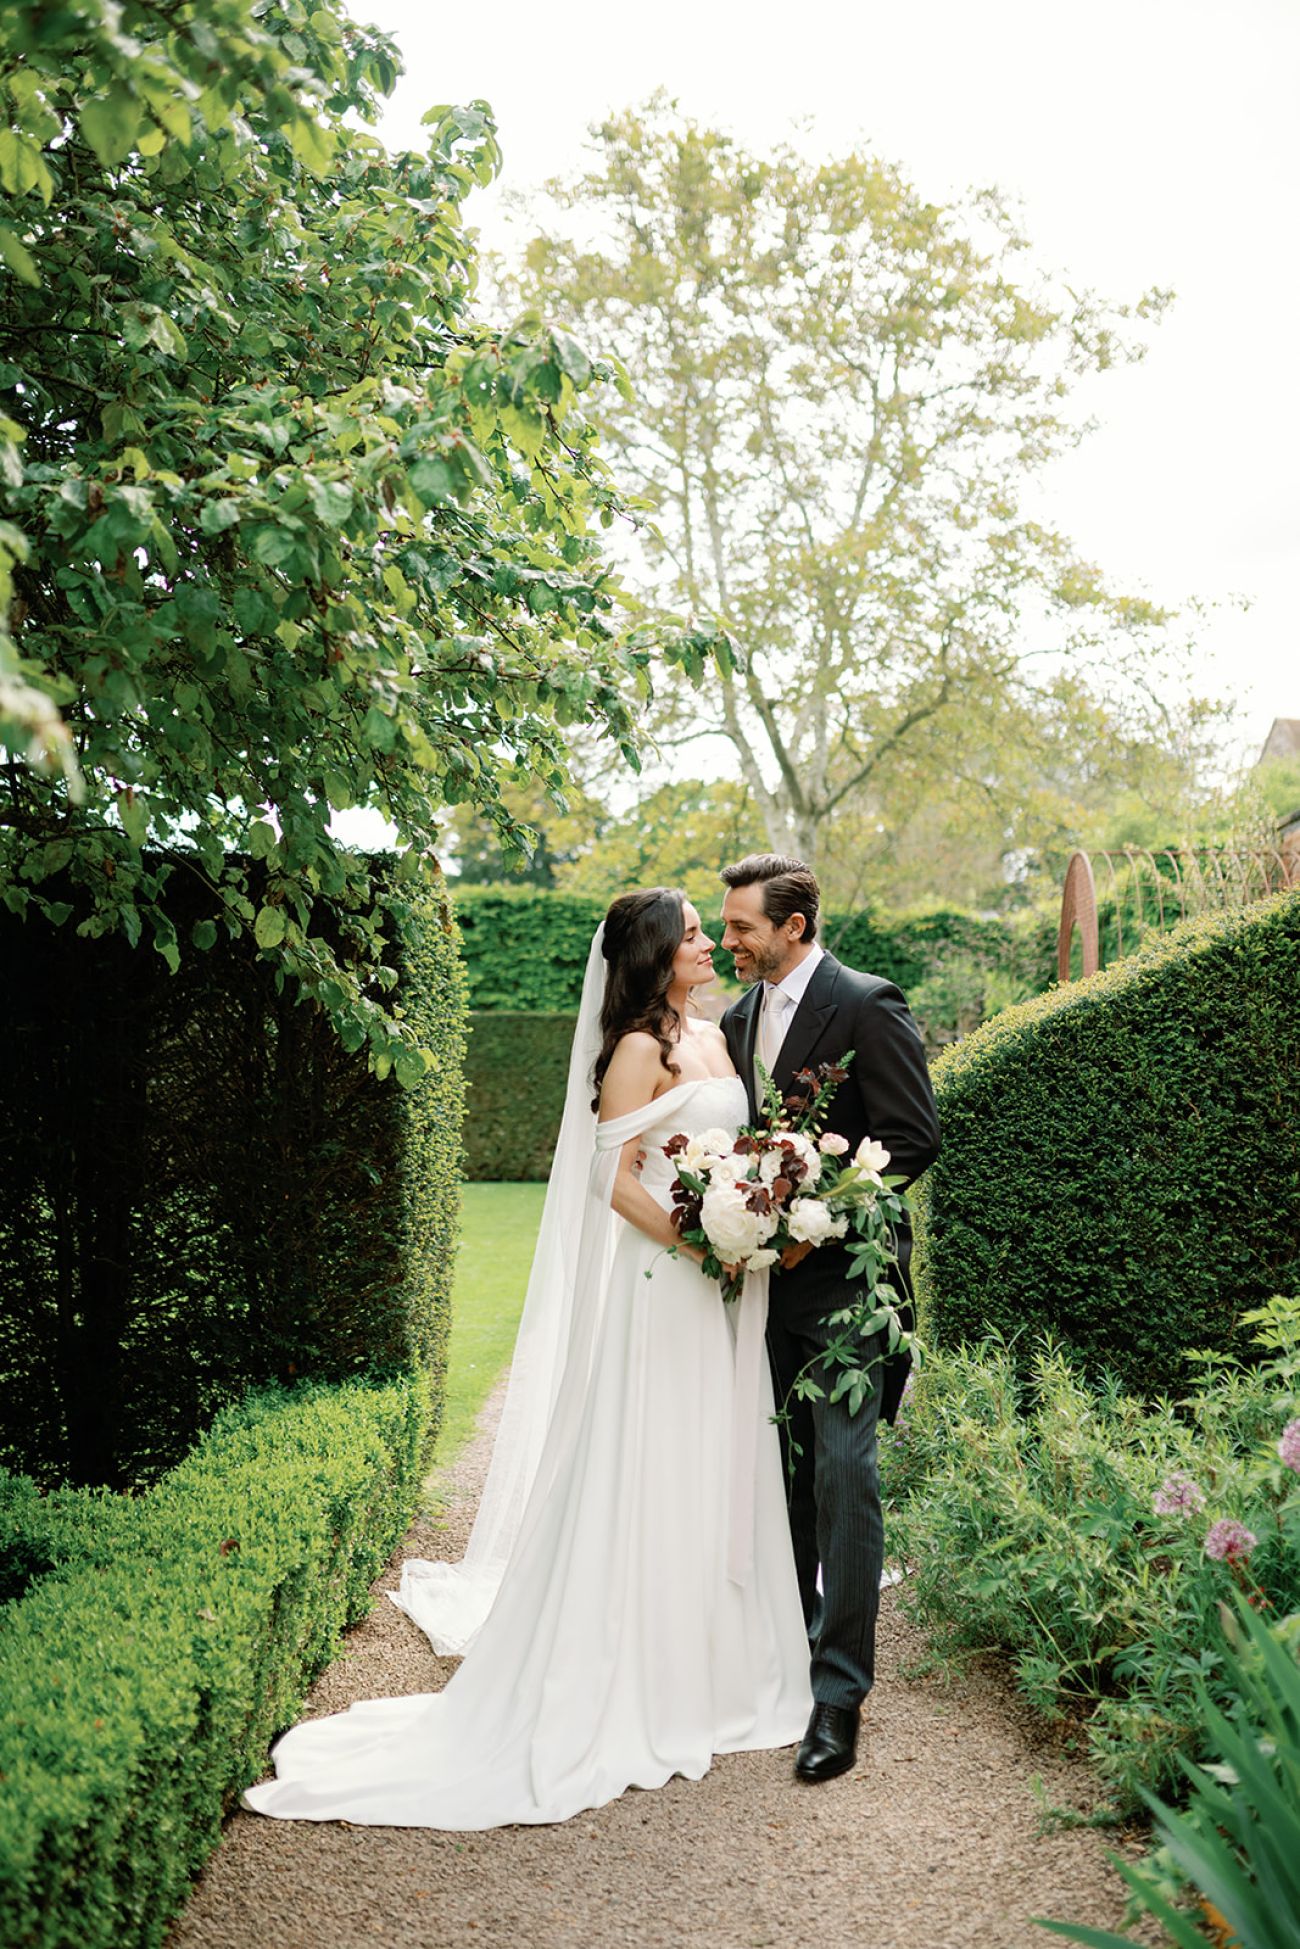
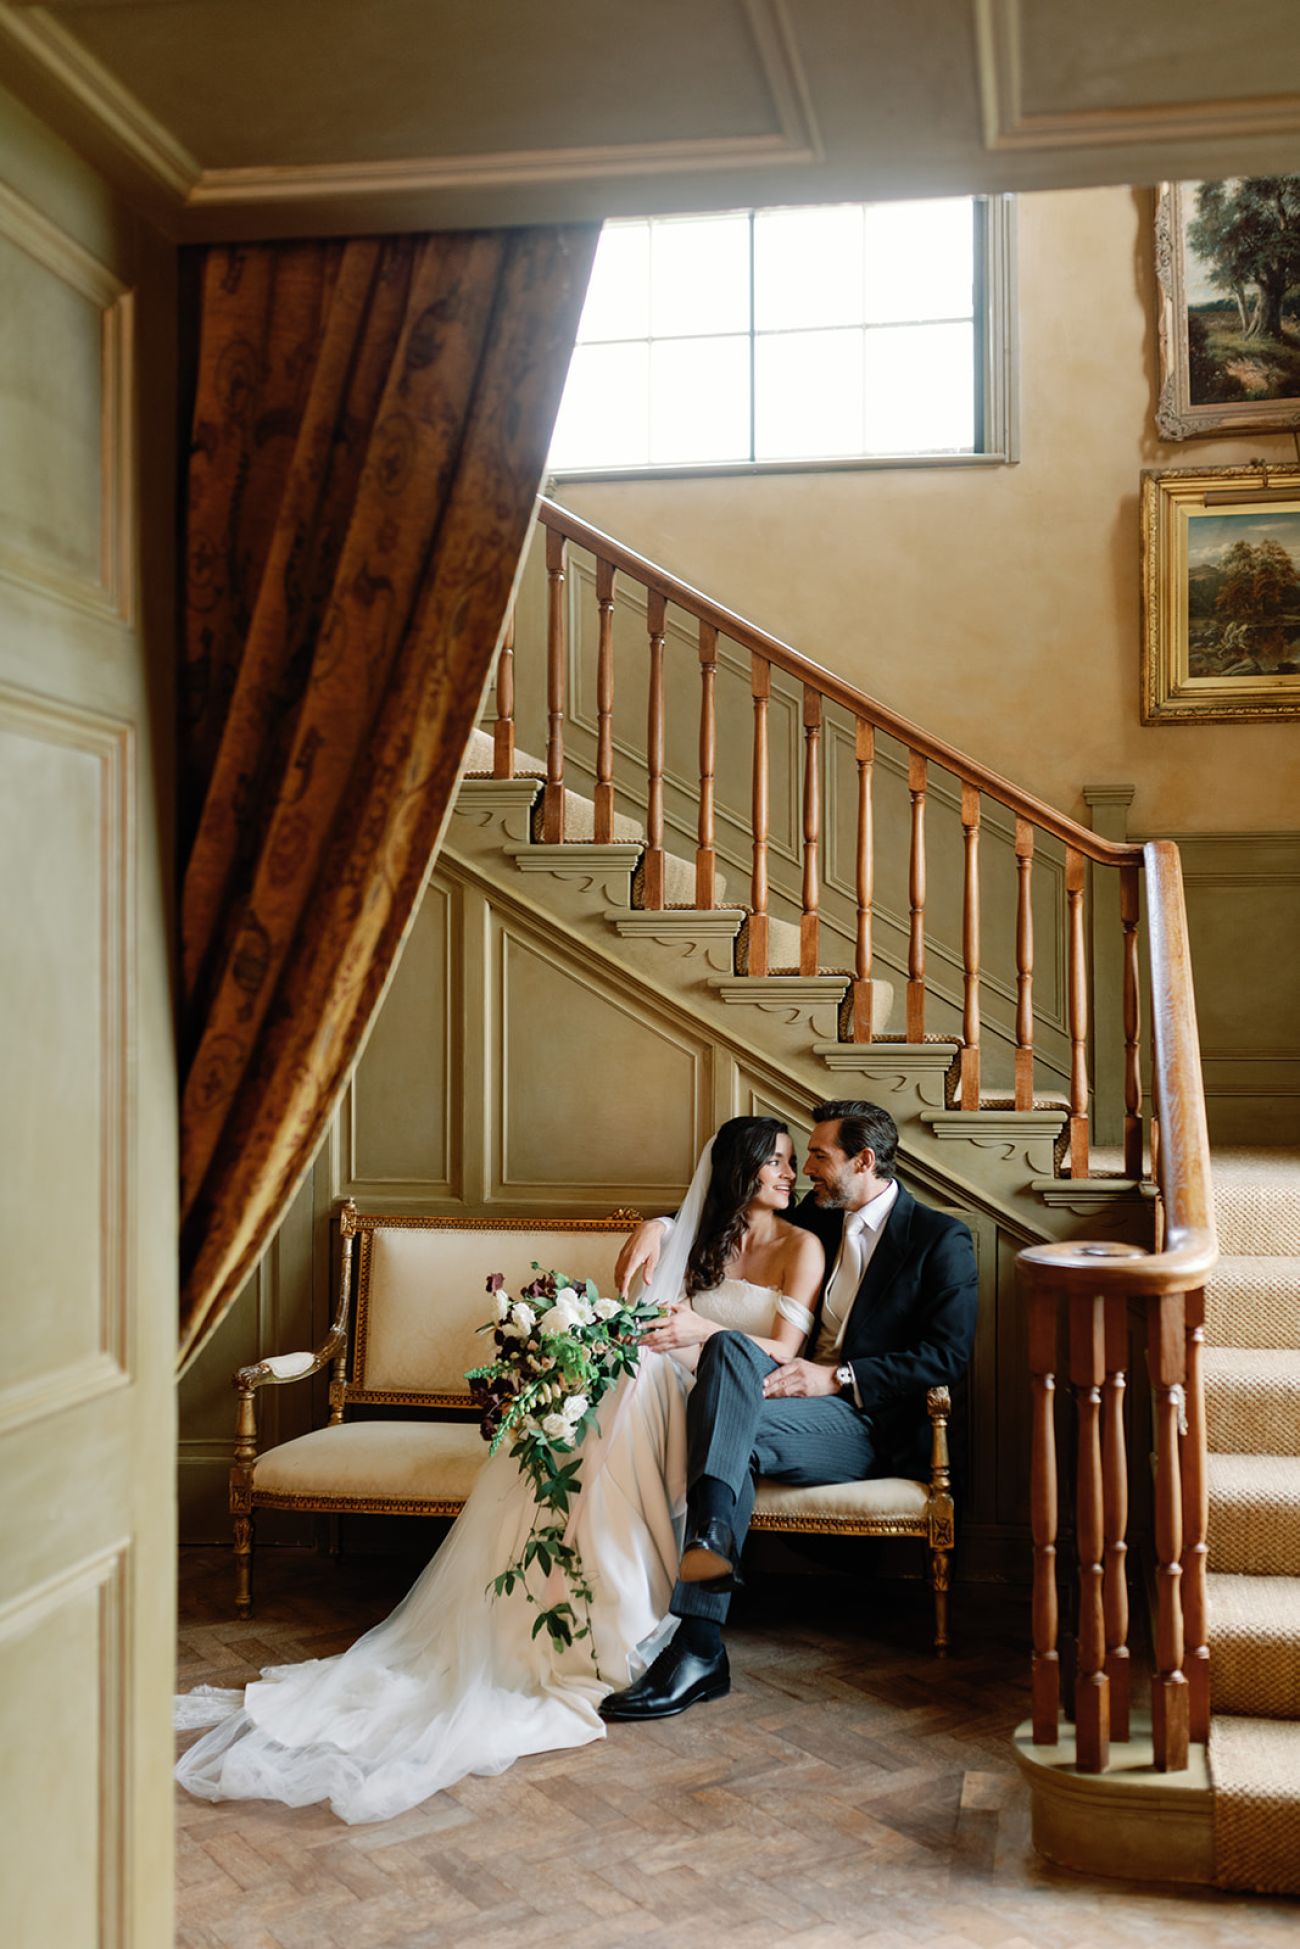
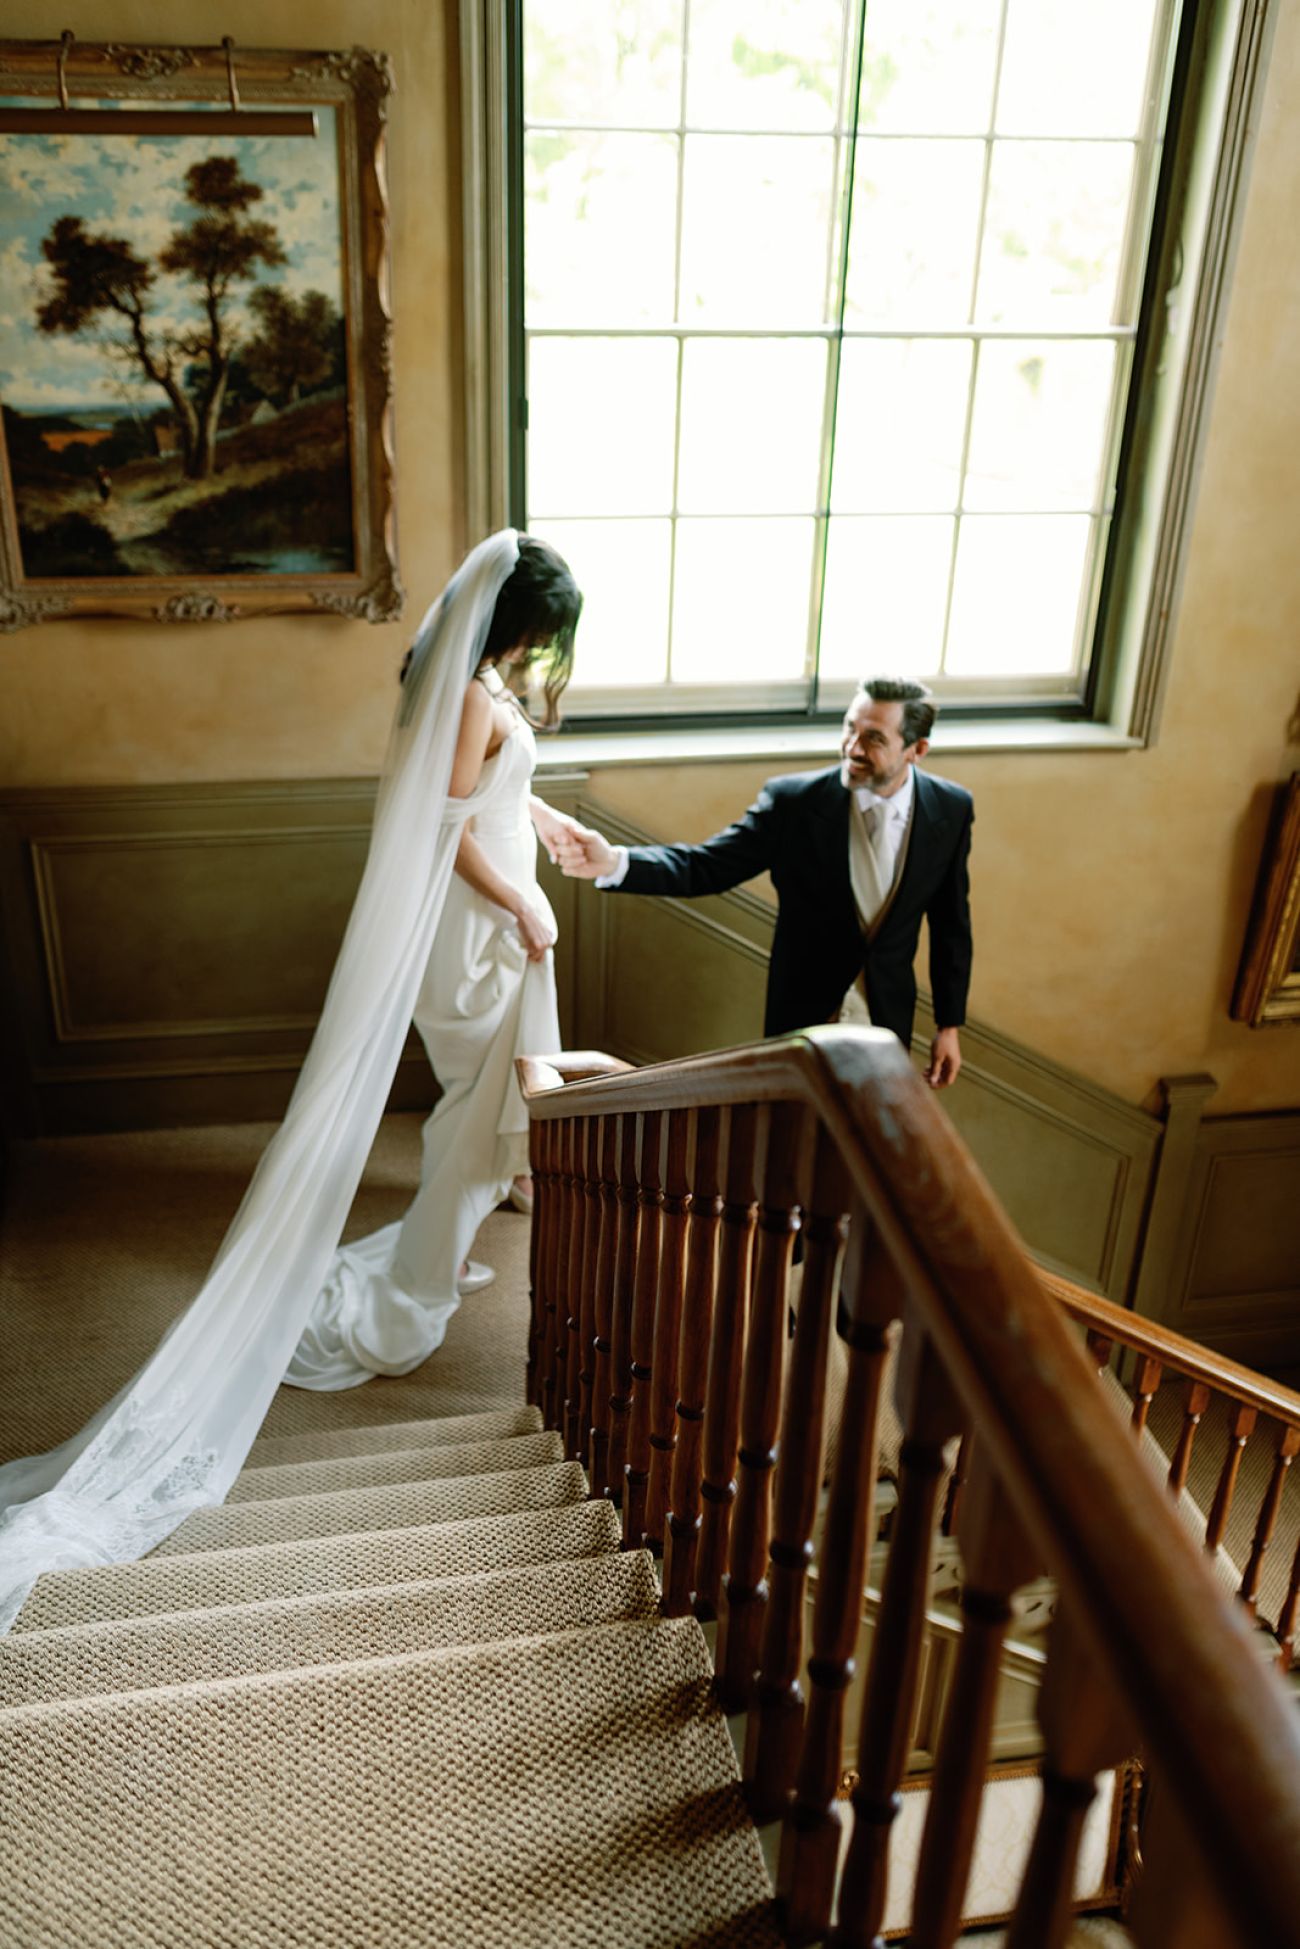
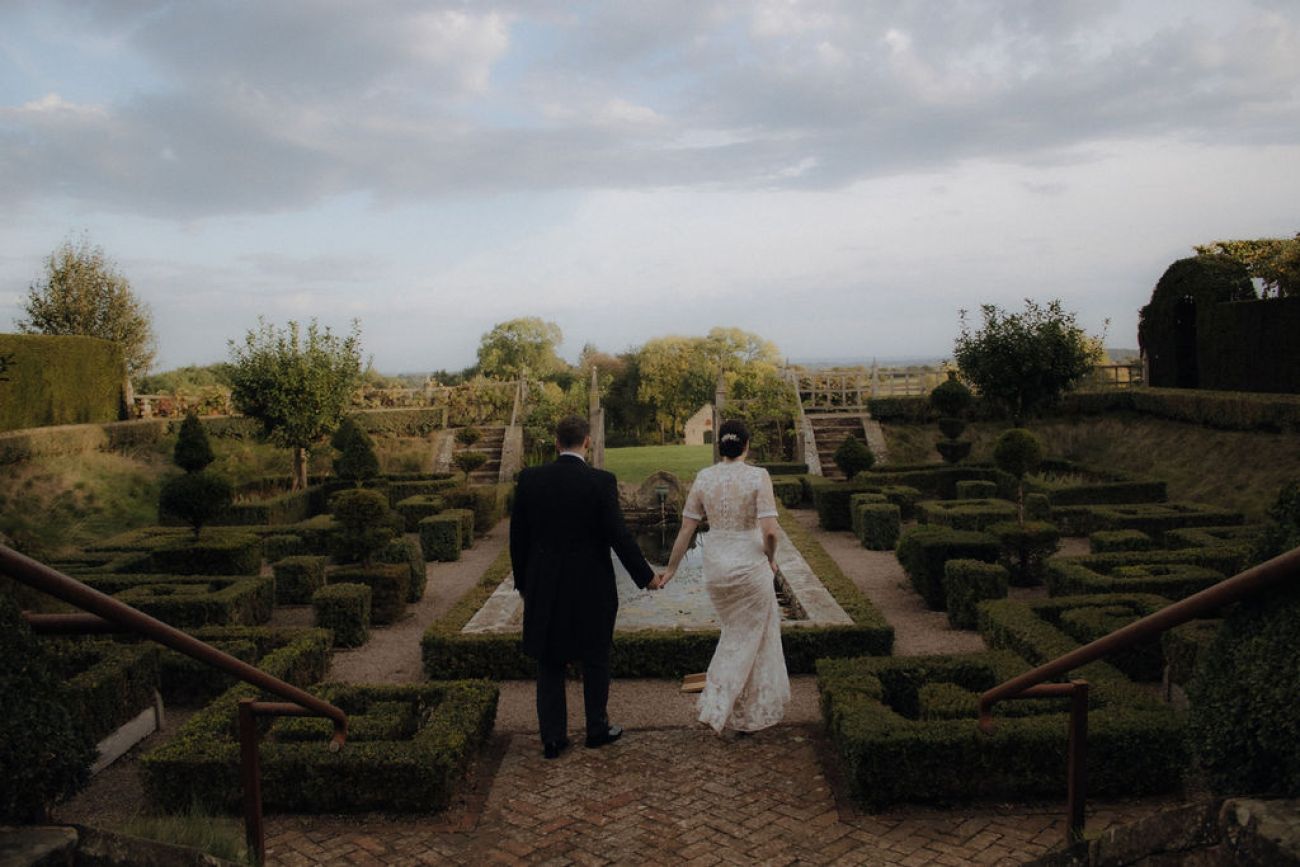
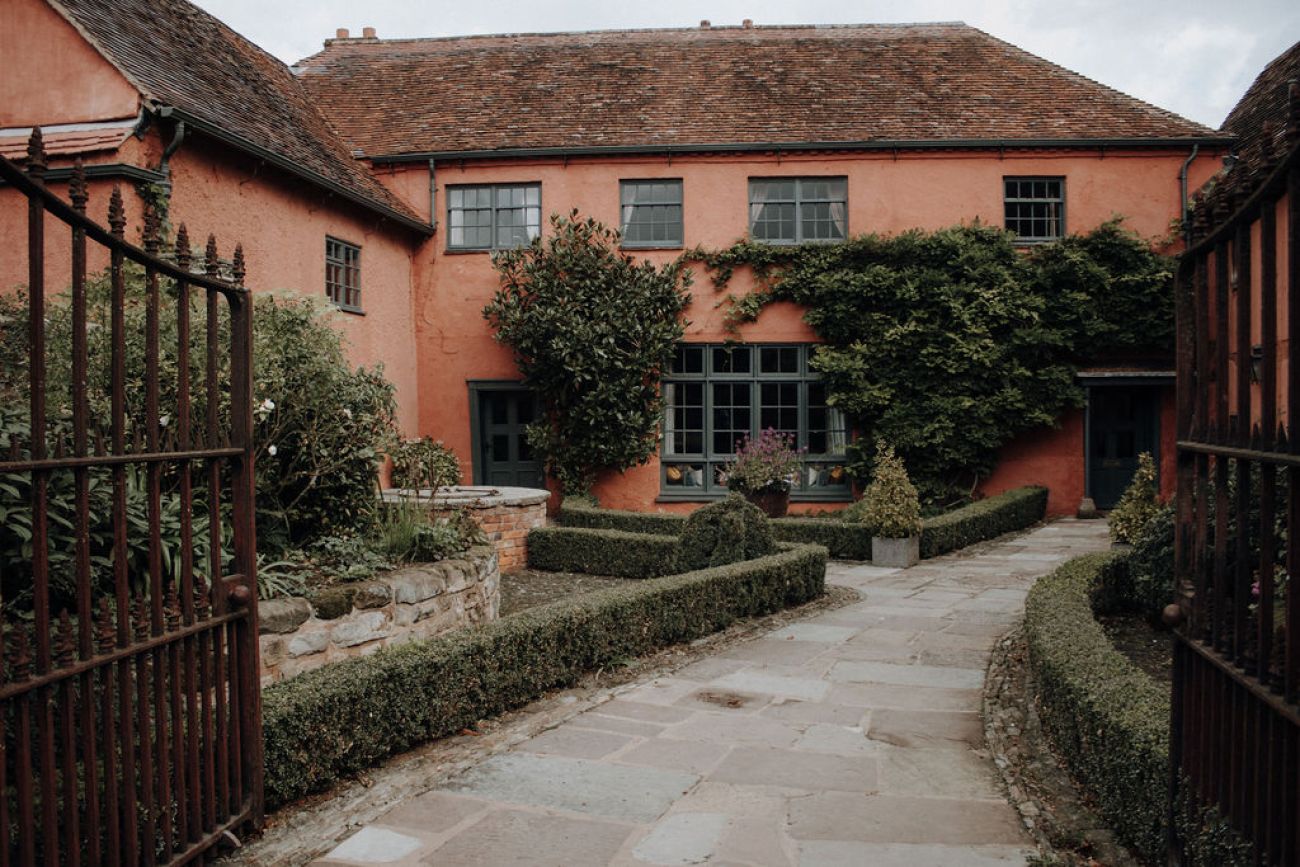
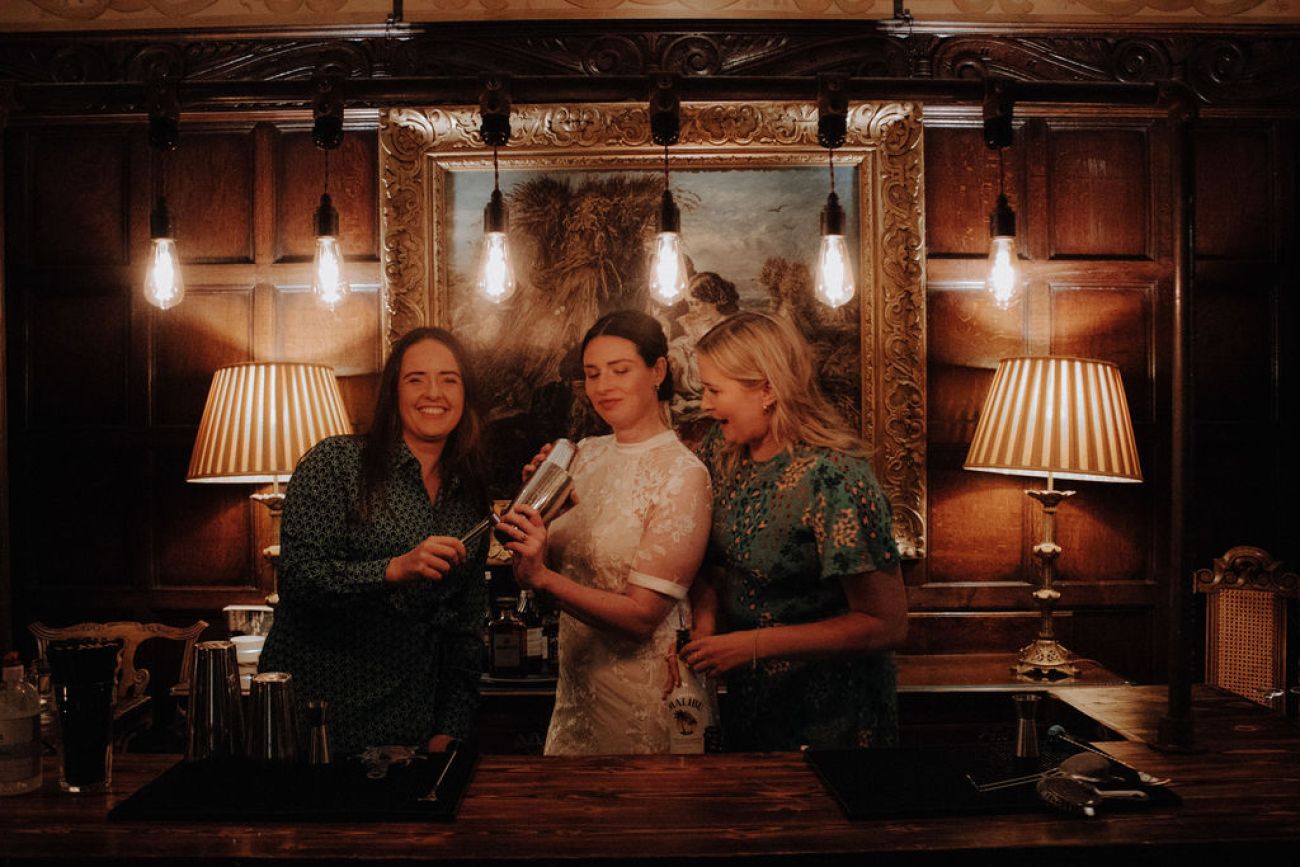
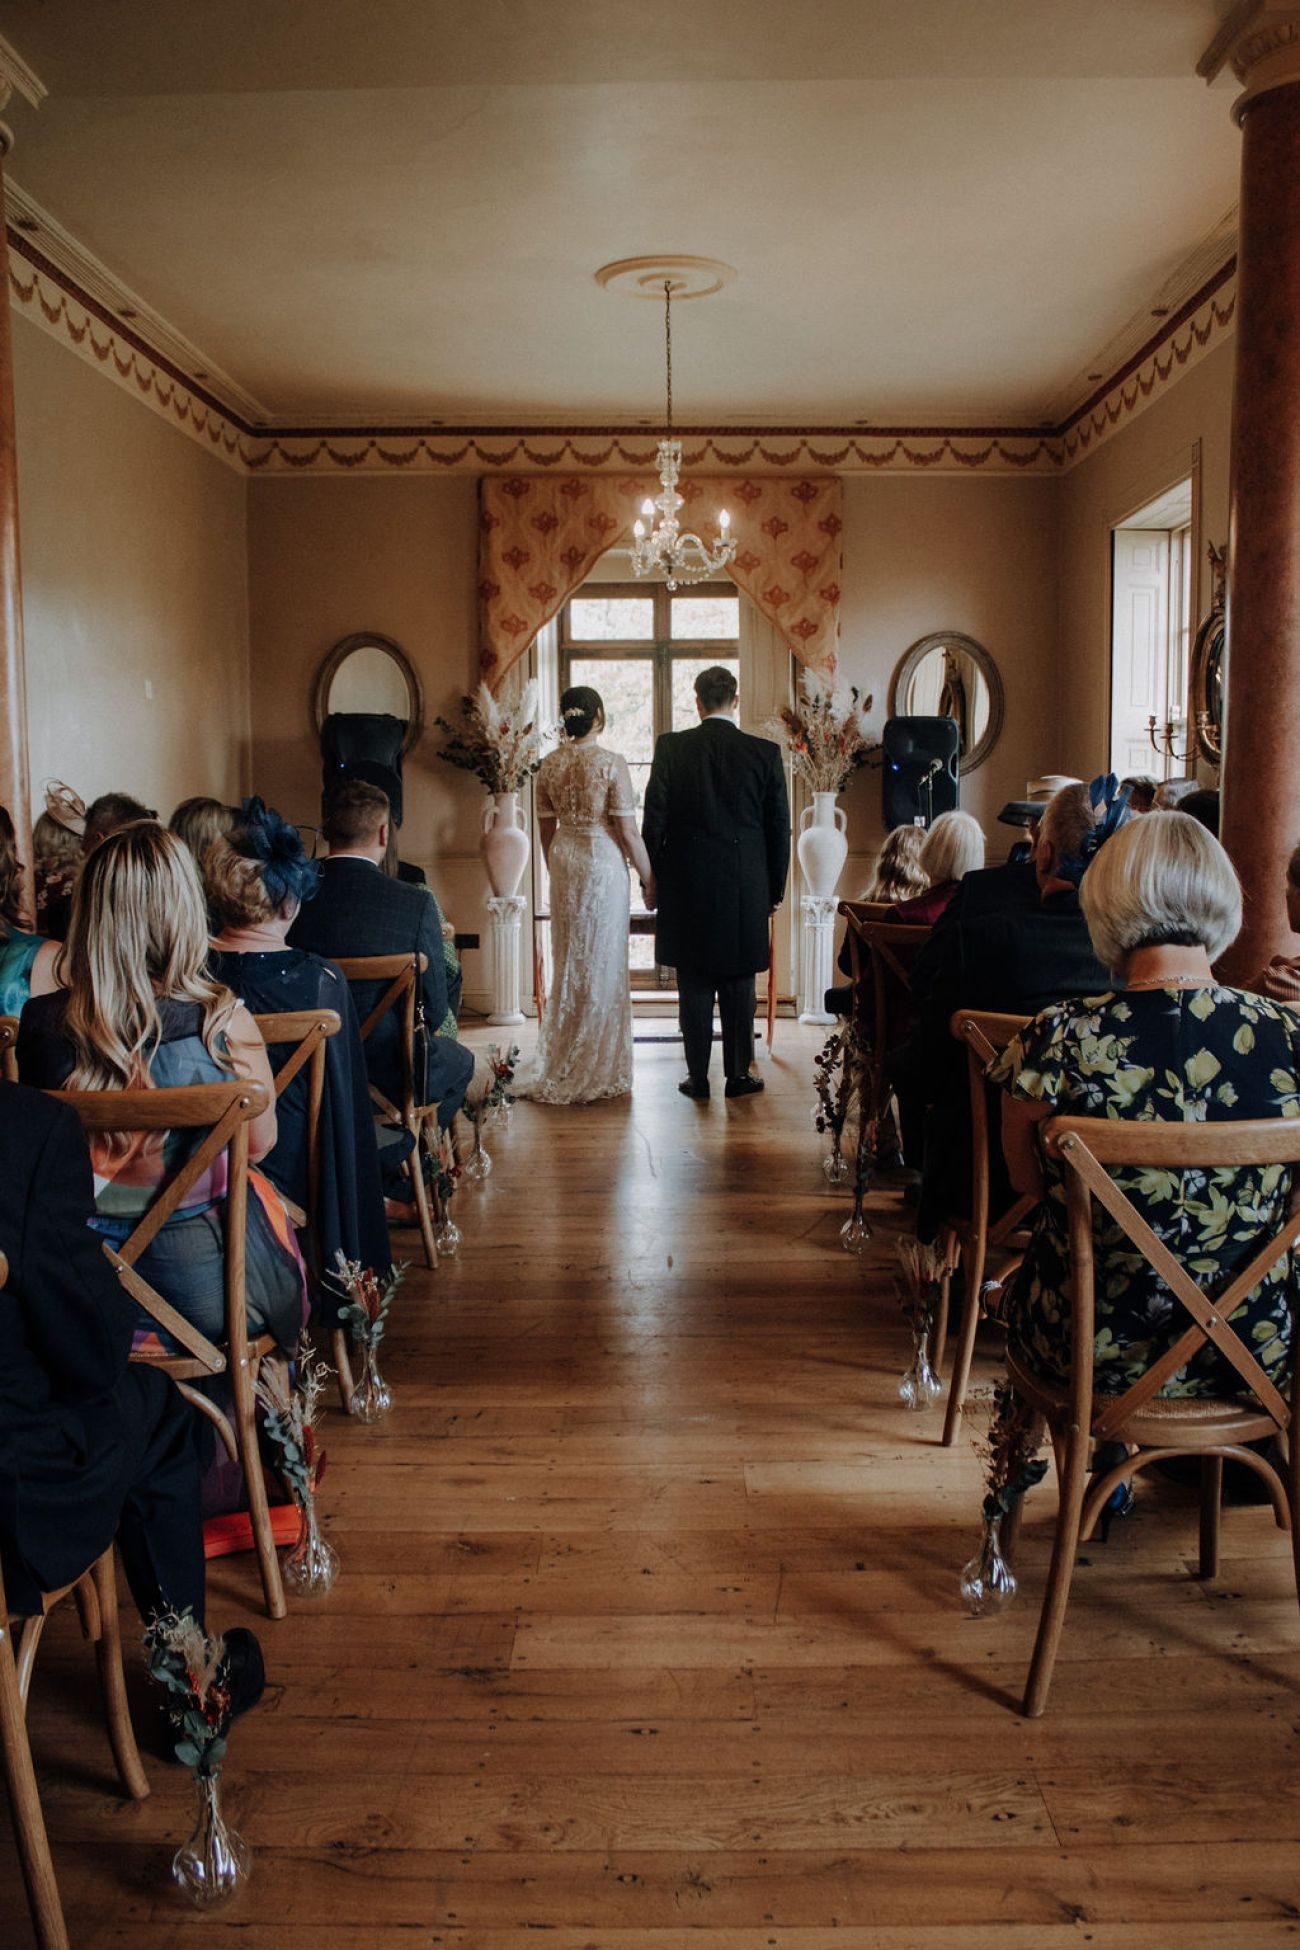
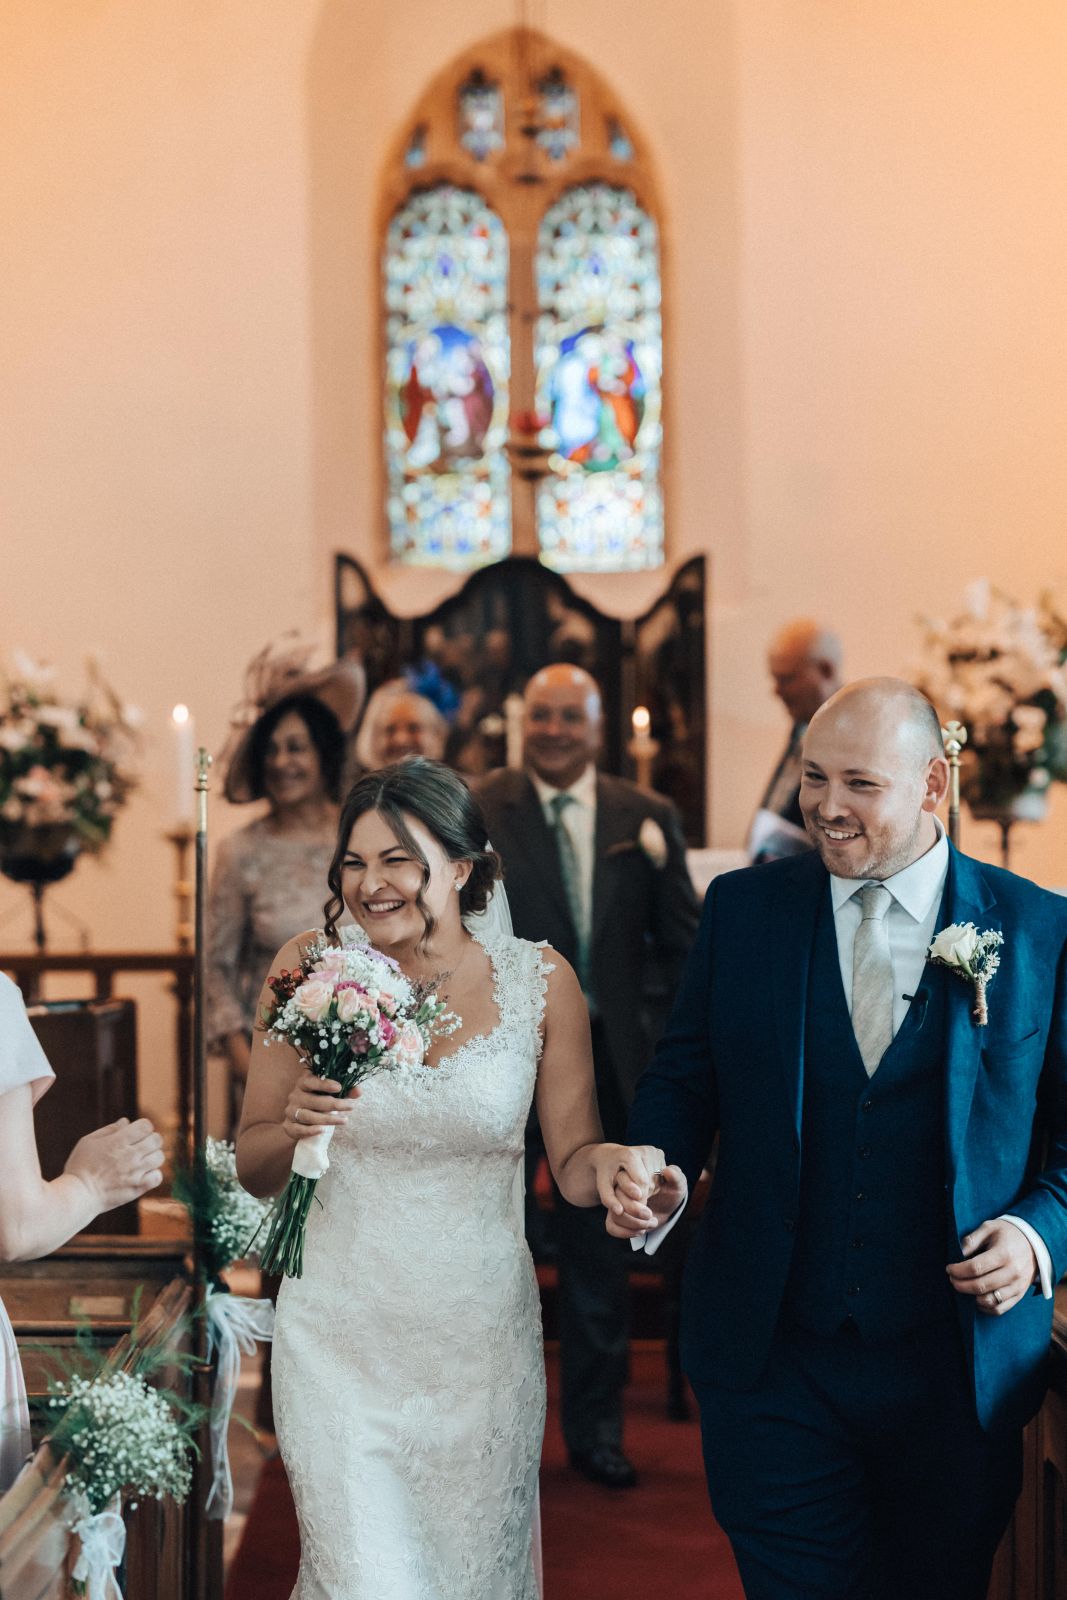
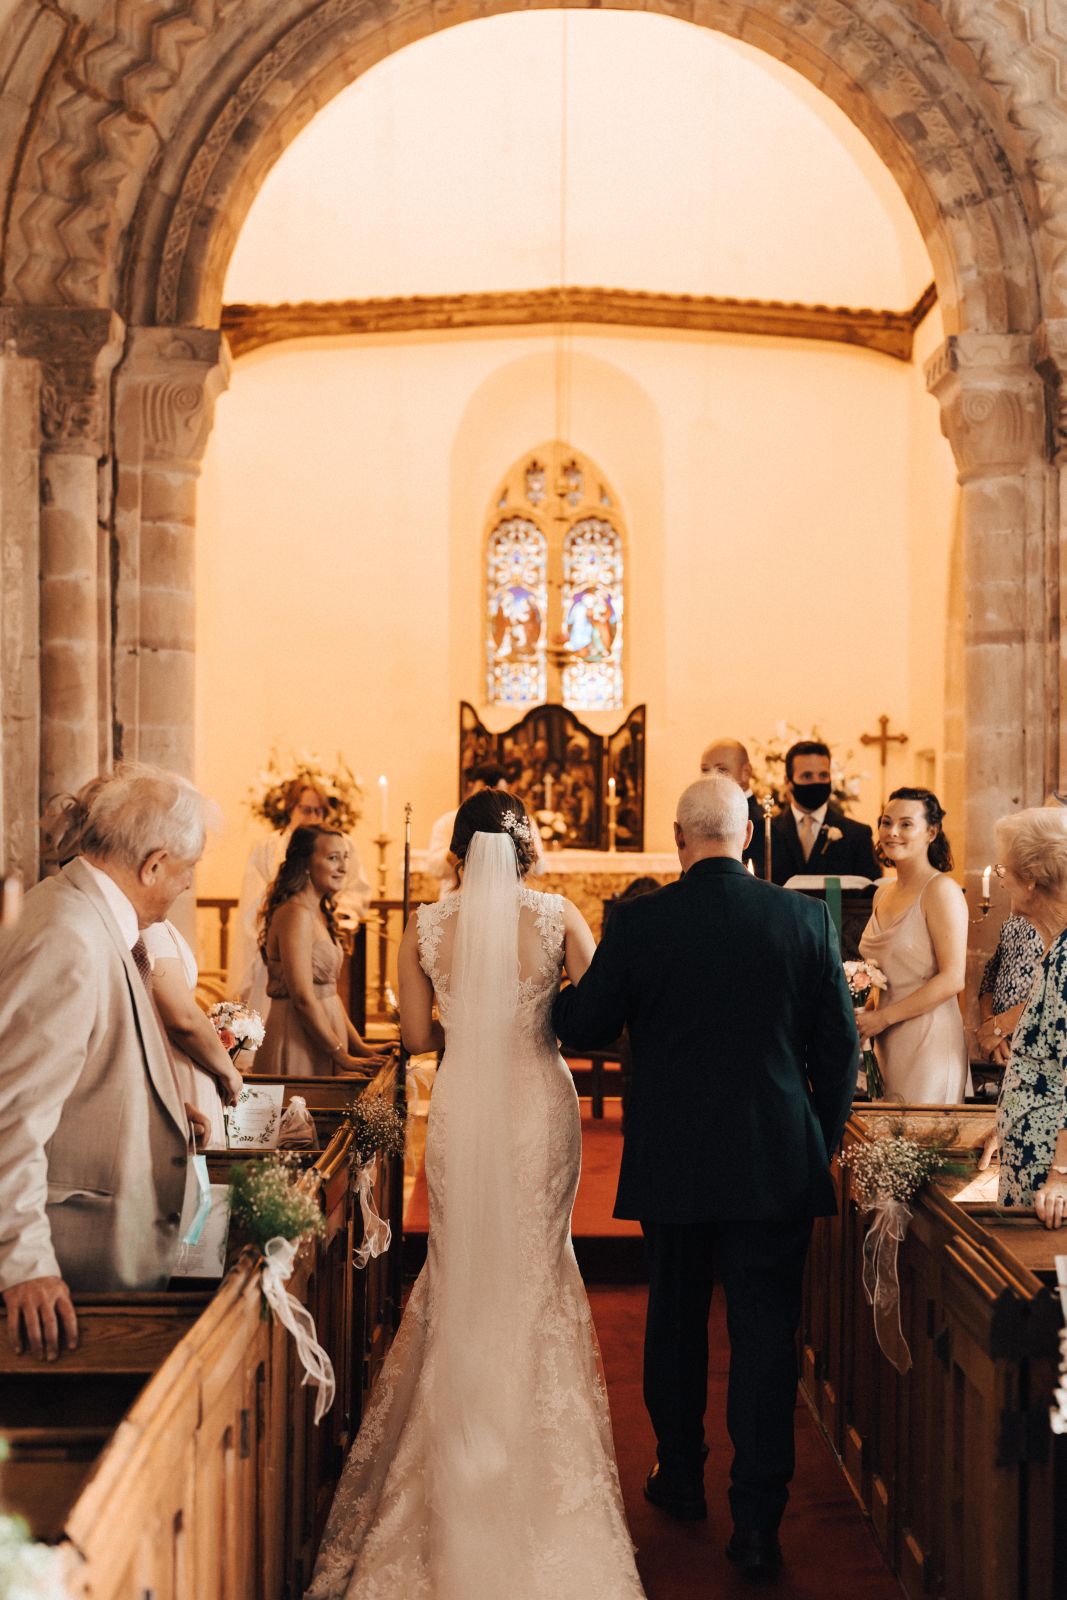
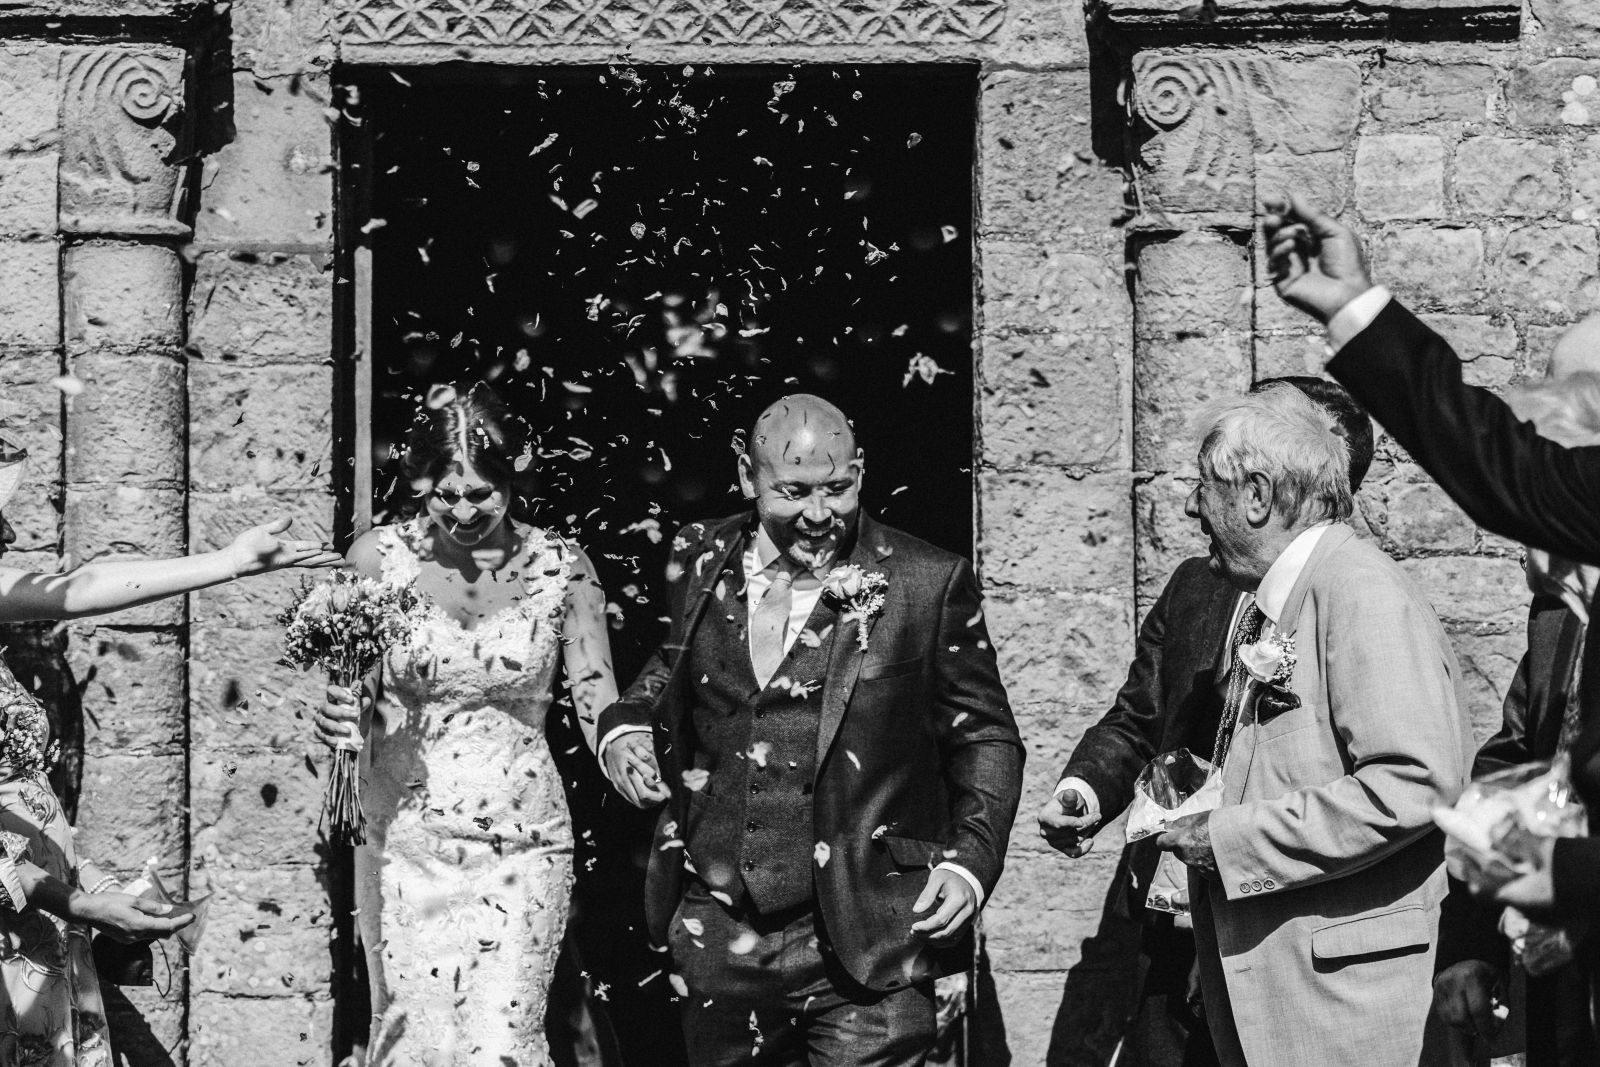
Wedding gallery
_websize.jpg)
Harry+Jess-30.jpg)
Harry+Jess-28.jpg)
Harry+Jess-11.jpg)
Harry+Jess-1.jpg)
Harry+Jess-95.jpg)
Harry+Jess-32.jpg)
Harry+Jess-30.jpg)
Harry+Jess-26.jpg)
Harry+Jess-22.jpg)
Harry+Jess-170.jpg)
Harry+Jess-169.jpg)
Harry+Jess-161.jpg)
Harry+Jess-160.jpg)
Harry+Jess-153.jpg)
Harry+Jess-13.jpg)
Harry+Jess-71.jpg)
Harry+Jess-67.jpg)
Harry+Jess-4.jpg)
Harry+Jess-34.jpg)
Harry+Jess-2.jpg)
Image by Patrick Partridge Photography
Image by Patrick Partridge Photography
Image by Patrick Partridge Photography
Image by Patrick Partridge Photography
Image by Patrick Partridge Photography
Image by Patrick Partridge Photography
Image by Patrick Partridge Photography
Image by Patrick Partridge Photography
Image by Patrick Partridge Photography
Image by Patrick Partridge Photography
Image by Lucie Hamilton Photography
Image by Lucie Hamilton Photography
Image by Lucie Hamilton Photography
Image by Lucie Hamilton Photography
Image by Lucie Hamilton Photography
Image by Lucie Hamilton Photography
Image by Lucie Hamilton Photography
Image by Lucie Hamilton Photography
Images by Siobhan Beales Photography
Images by Siobhan Beales Photography
Images by Siobhan Beales Photography
Images by Siobhan Beales Photography
Images by Siobhan Beales Photography
Images by Siobhan Beales Photography
Images by Siobhan Beales Photography
Images by Siobhan Beales Photography
Images by Siobhan Beales Photography
Images by Siobhan Beales Photography
Images by Siobhan Beales Photography
Image by Siobhan Beales Photography
Image by Luke Cummins Photography
Alex Stevens Photography
Alex Stevens Photography
Alex Stevens Photography
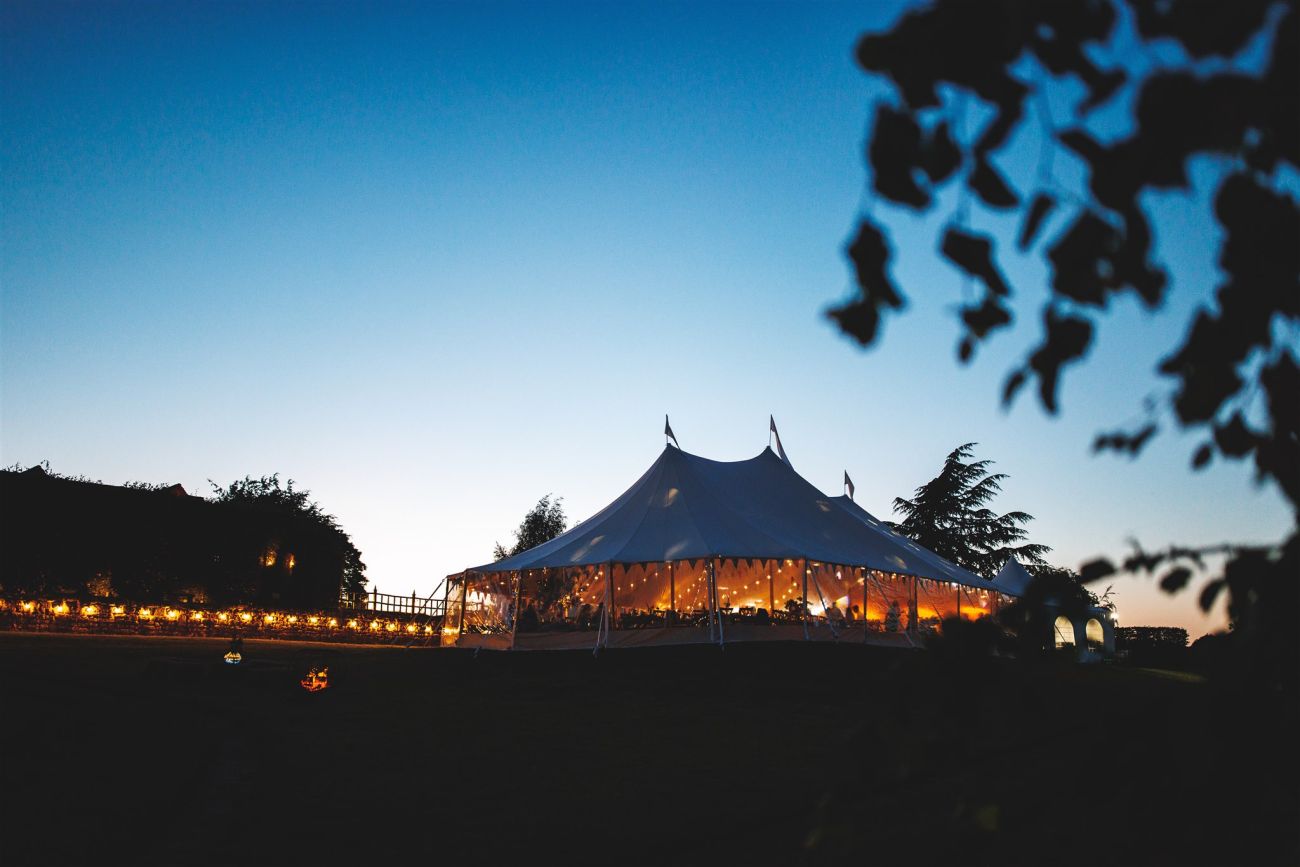
The Country Marquee Company
Alex Stevens Photography
Alex Stevens Photography
Alex Stevens Photography
Alex Stevens Photography
Photos by Luke Cummins Photography
Photos by Luke Cummins Photography
Photos by Luke Cummins Photography
Photos by Luke Cummins Photography
Photos by Luke Cummins Photography
Photos by Luke Cummins Photography
Image Shot by Luke Cummings Photography
Edited by Tom Durn Photography
Image Shot by Luke Cummings Photography
Edited by Tom Durn Photography
Image Shot by Luke Cummings Photography
Edited by Tom Durn Photography
Image Shot by Luke Cummings Photography
Edited by Tom Durn Photography
Image Shot by Luke Cummings Photography
Edited by Tom Durn Photography
Image Shot by Luke Cummings Photography
Edited by Tom Durn Photography
Image Shot by Luke Cummings Photography
Edited by Tom Durn Photography
Image Shot by Luke Cummings Photography
Edited by Tom Durn Photography
Image Shot by Luke Cummings Photography
Edited by Tom Durn Photography
Image Shot by Luke Cummings Photography
Edited by Tom Durn Photography
Image Shot by Luke Cummings Photography
Edited by Tom Durn Photography
Photo by Marcus Rice Photograpy
Photo by Marcus Rice Photograpy
Photo by Marcus Rice Photograpy
Photo by Marcus Rice Photograpy
Photo by Marcus Rice Photograpy
Photo by Marcus Rice Photograpy
Photo by Marcus Rice Photograpy
Photo by Marcus Rice Photography
Photo by Marcus Rice Photography
Photo by Marcus Rice Photography
Photo by Marcus Rice Photography
Photo by Marcus Rice Photography
Photo by Marcus Rice Photography
Photo by Marcus Rice Photography
Photo by Marcus Rice Photography
Photo by Marcus Rice Photography
Photo by Marcus Rice Photography
Photo by Marcus Rice Photography
Photo by Marcus Rice Photography
Photo by Marcus Rice Photography
Photo by Marcus Rice Photography
Photo by Marcus Rice Photography
Photo by Marcus Rice Photography
Photo by Marcus Rice Photography
Photo by Marcus Rice Photography
Photo by Lauren Juliette
Photo by Lauren Juliette
Photo by Lauren Juliette
Photo by Lauren Juliette
Photo by Lauren Juliette
Photo by Lauren Juliette
Photo by Lauren Juliette
Photo by Lauren Juliette
Photo by Lauren Juliette
Photo's by Lauren Juliette
Photo's by Lauren Juliette
Photo's by Lauren Juliette
Photo's by Lauren Juliette
Photo's by Lauren Juliette
Photo's by Lauren Juliette
Photo by David Liebst
Photo by David Liebst
Photo by David Liebst
Photo by David Liebst
Photo by David Liebst
Photo by David Liebst
Photo by David Liebst
Photo by David Liebst
Photo by David Liebst
Photo by David Liebst
Photo by David Liebst
Photo by David Liebst
Photos by David Liebst
Photos by David Liebst
Photos by David Liebst
Photos by David Liebst
Photos by David Liebst
Photos by David Liebst
Photos by David Liebst
Photos by David Liebst
Photos by David Liebst
Photos by David Liebst
Photo by Siobhan Beales
Photos by Siobhan Beales
Photos by Siobhan Beales
Photos by Siobhan Beales
Photos by Katrina Bartlam
Photos by Katrina Bartlam
Photos by Katrina Bartlam
Photos by Katrina Bartlam
Photos by Katrina Bartlam
Photos by Katrina Bartlam
Photos by Katrina Bartlam
Photos by Katrina Bartlam
Photos by Katrina Bartlam
Photos by Katrina Bartlam
Photos by Katrina Bartlam
Photos by Katrina Bartlam
Photos by Katrina Bartlam
Photos by Katrina Bartlam
Photos by Katrina Bartlam
Photos by Katrina Bartlam
Photos by Katrina Bartlam
Photos by Katrina Bartlam
Photos by Katrina Bartlam
Photos by Katrina Bartlam
Photos by Katrina Bartlam
Photograph by The Curious Hearts
Photograph by The Curious Hearts
Photograph by The Curious Hearts
Photograph by The Curious Hearts
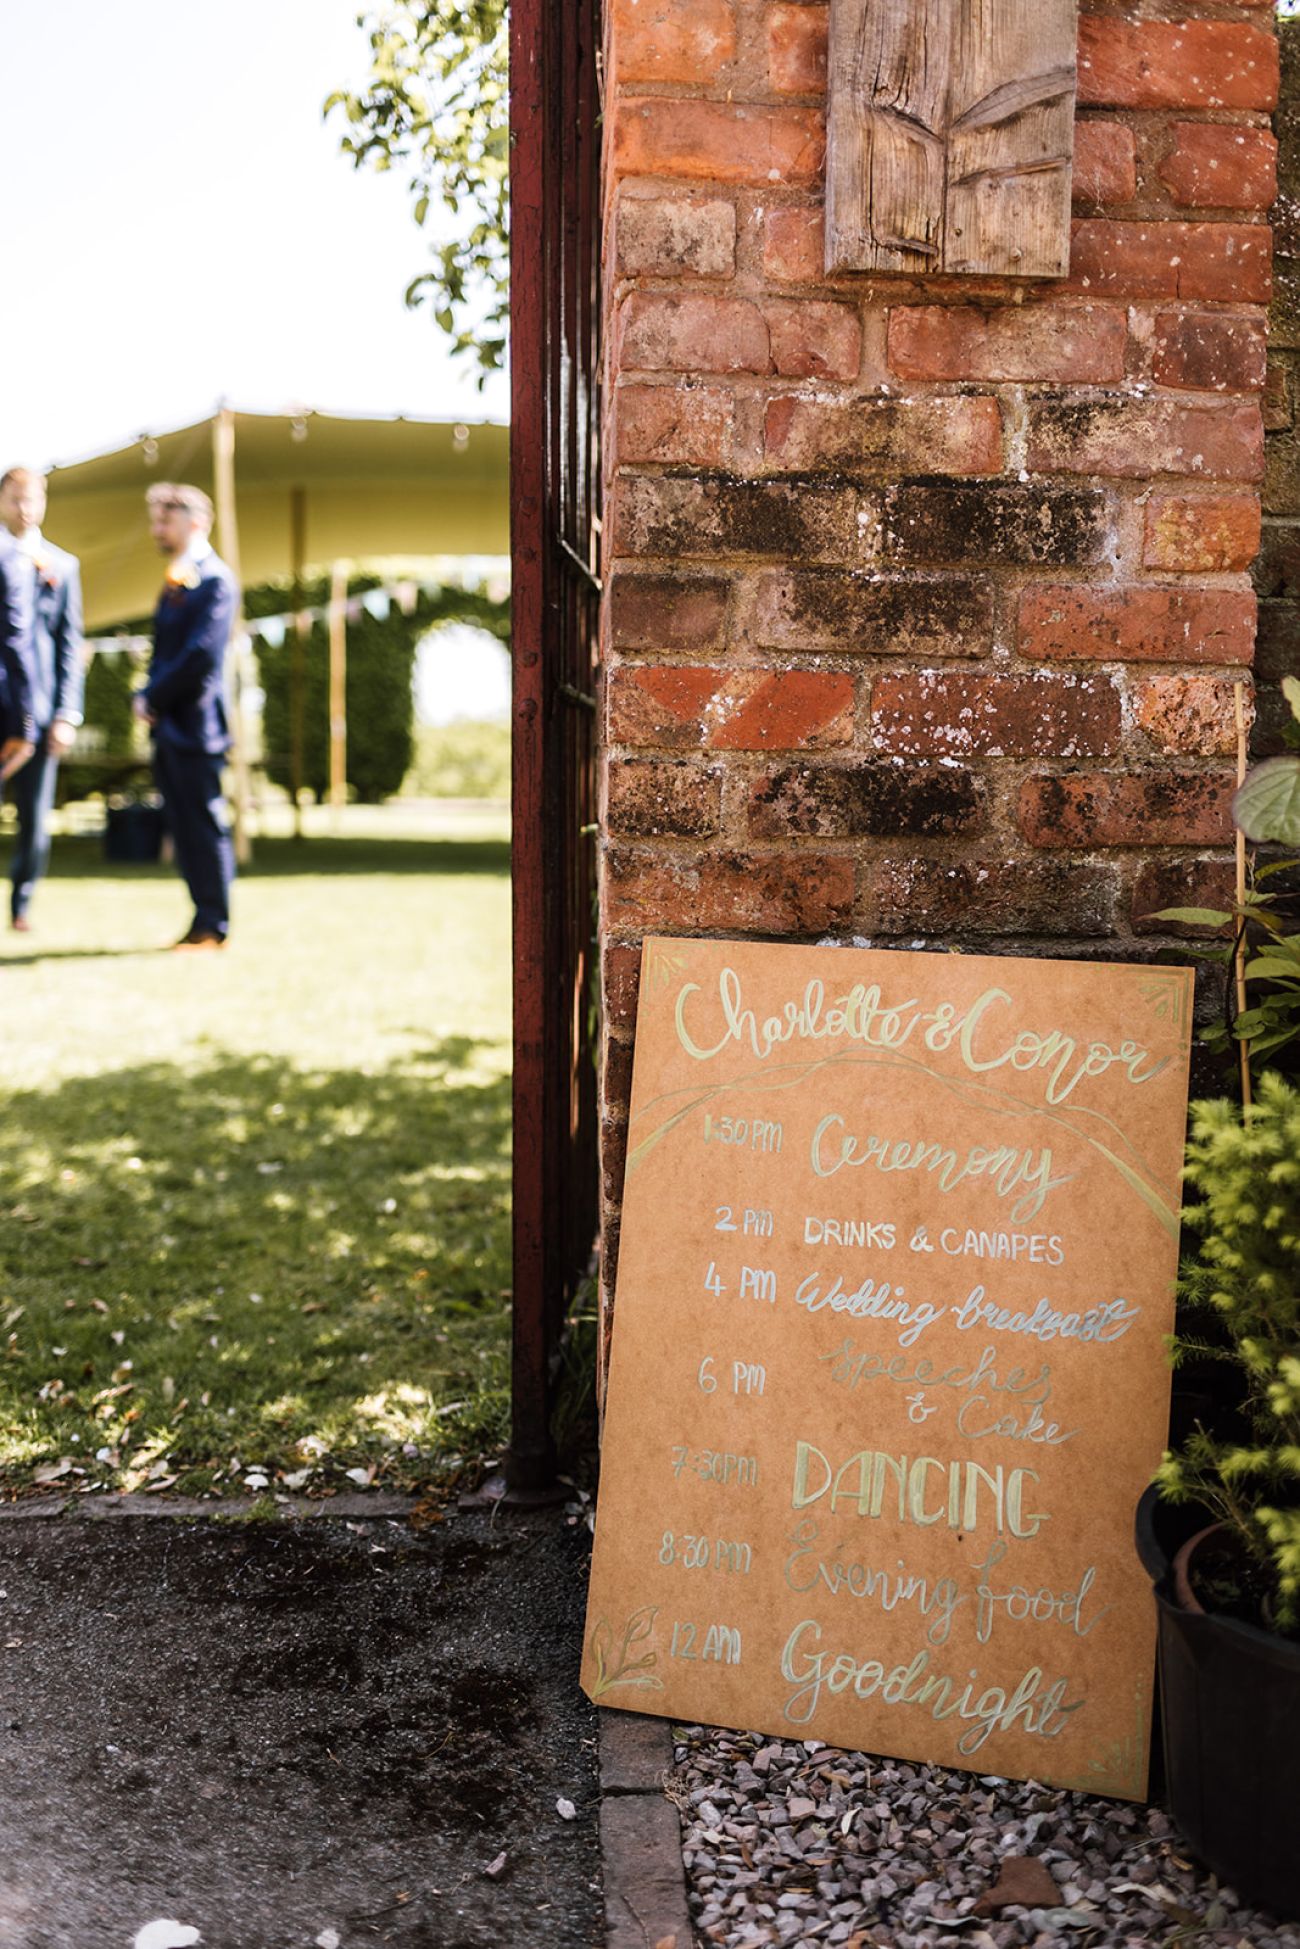
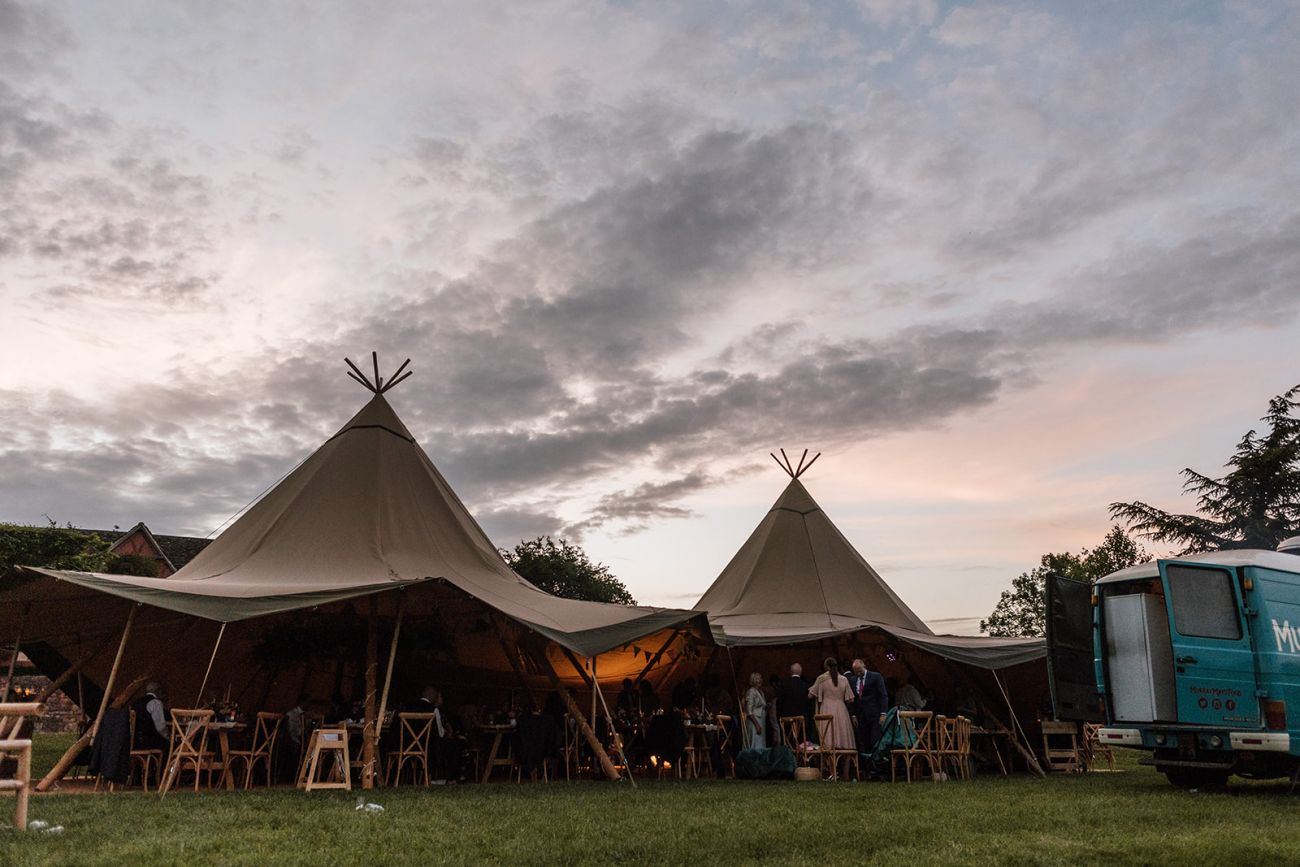
Charlotte & Conor by Matt Willis Photography
Charlotte & Conor by Matt Willis Photography
Charlotte & Conor by Matt Willis Photography
Charlotte & Conor by Matt Willis Photography
Charlotte & Conor by Matt Willis Photography
Charlotte & Conor by Matt Willis Photography
Charlotte & Conor by Matt Willis Photography
Charlotte & Conor by Matt Willis Photography
Charlotte & Conor by Matt Willis Photography
Charlotte & Conor by Matt Willis Photography
Charlotte & Conor by Matt Willis Photography
Charlotte & Conor by Matt Willis Photography
Charlotte & Conor by Matt Willis Photography
Charlotte & Conor by Matt Willis Photography
Charlotte & Conor by Matt Willis Photography
Charlotte & Conor by Matt Willis Photography
Charlotte & Conor by Matt Willis Photography
Charlotte & Conor by Matt Willis Photography
Charlotte & Conor by Matt Willis Photography
Charlotte & Conor by Matt Willis Photography
Charlotte & Conor by Matt Willis Photography
Charlotte & Conor by Matt Willis Photography
Charlotte & Conor by Matt Willis Photography
Charlotte & Conor by Matt Willis Photography
Charlotte & Conor by Matt Willis Photography
Charlotte & Conor by Matt Willis Photography
Charlotte & Conor by Matt Willis Photography
Charlotte & Conor by Matt Willis Photography
Charlotte & Conor by Matt Willis Photography
Charlotte & Conor by Matt Willis Photography
Charlotte & Conor by Matt Willis Photography
Charlotte & Conor by Matt Willis Photography
Charlotte & Conor by Matt Willis Photography
Charlotte & Conor by Matt Willis Photography
Charlotte & Conor by Matt Willis Photography
Charlotte & Conor by Matt Willis Photography
Charlotte & Conor by Matt Willis Photography
Charlotte & Conor by Matt Willis Photography
Charlotte & Conor by Matt Willis Photography
Charlotte & Conor by Matt Willis Photography
Charlotte & Conor by Matt Willis Photography
Charlotte & Conor by Matt Willis Photography
Charlotte & Greg by Christiaan David Studio
Charlotte & Greg by Christiaan David Studio
Charlotte & Greg by Christiaan David Studio
Charlotte & Greg by Christiaan David Studio
Charlotte & Greg by Christiaan David Studio
Charlotte & Greg by Christiaan David Studio
Charlotte & Greg by Christiaan David Studio
Charlotte & Greg by Christiaan David Studio
Charlotte & Greg by Christiaan David Studio
Charlotte & Greg by Christiaan David Studio
Charlotte & Greg by Christiaan David Studio
Charlotte & Greg by Christiaan David Studio
Charlotte & Greg by Christiaan David Studio
Charlotte & Greg by Christiaan David Studio
Charlotte & Greg by Christiaan David Studio
Charlotte & Greg by Christiaan David Studio
Charlotte & Greg by Christiaan David Studio
Charlotte & Greg by Christiaan David Studio
Charlotte & Greg by Christiaan David Studio
Charlotte & Greg by Christiaan David Studio
Charlotte & Greg by Christiaan David Studio
Charlotte & Greg by Christiaan David Studio
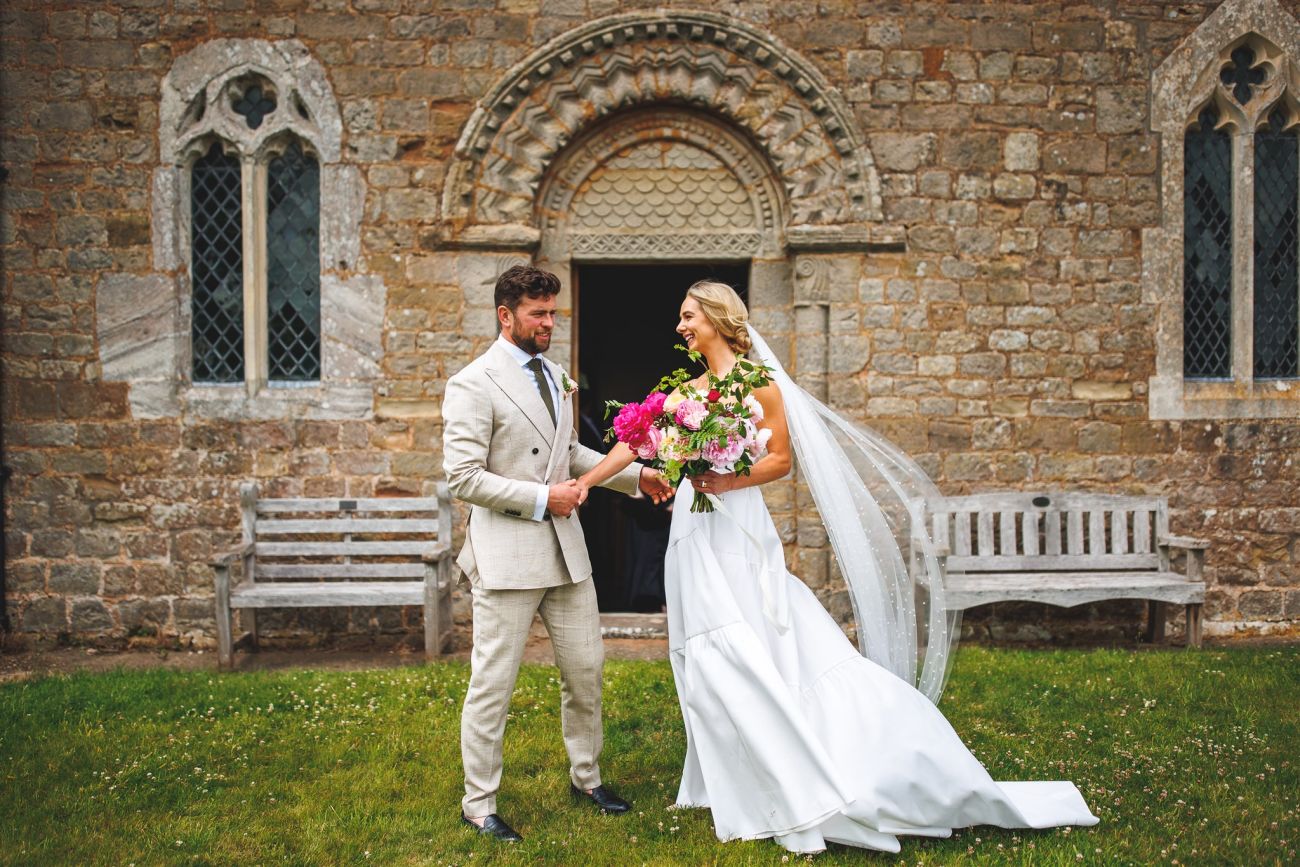
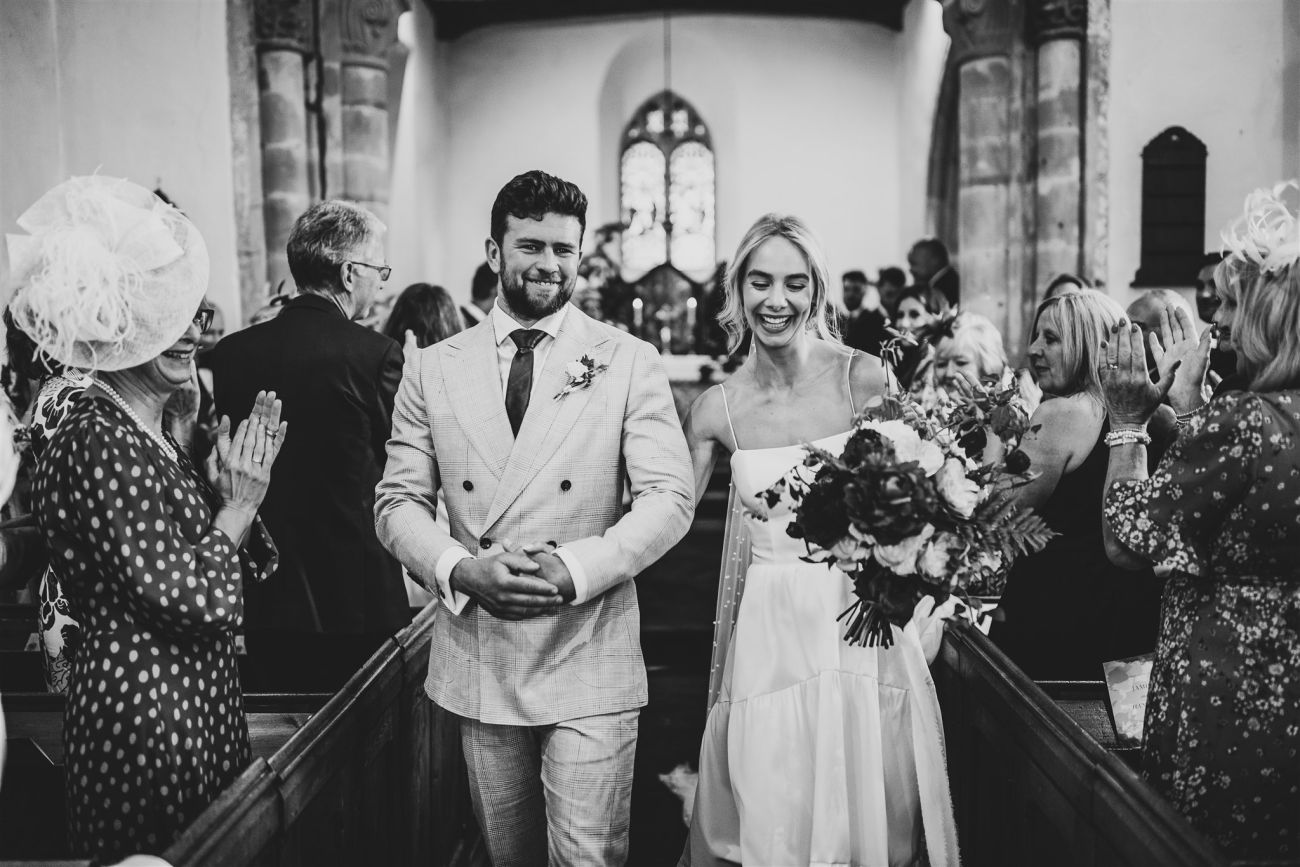
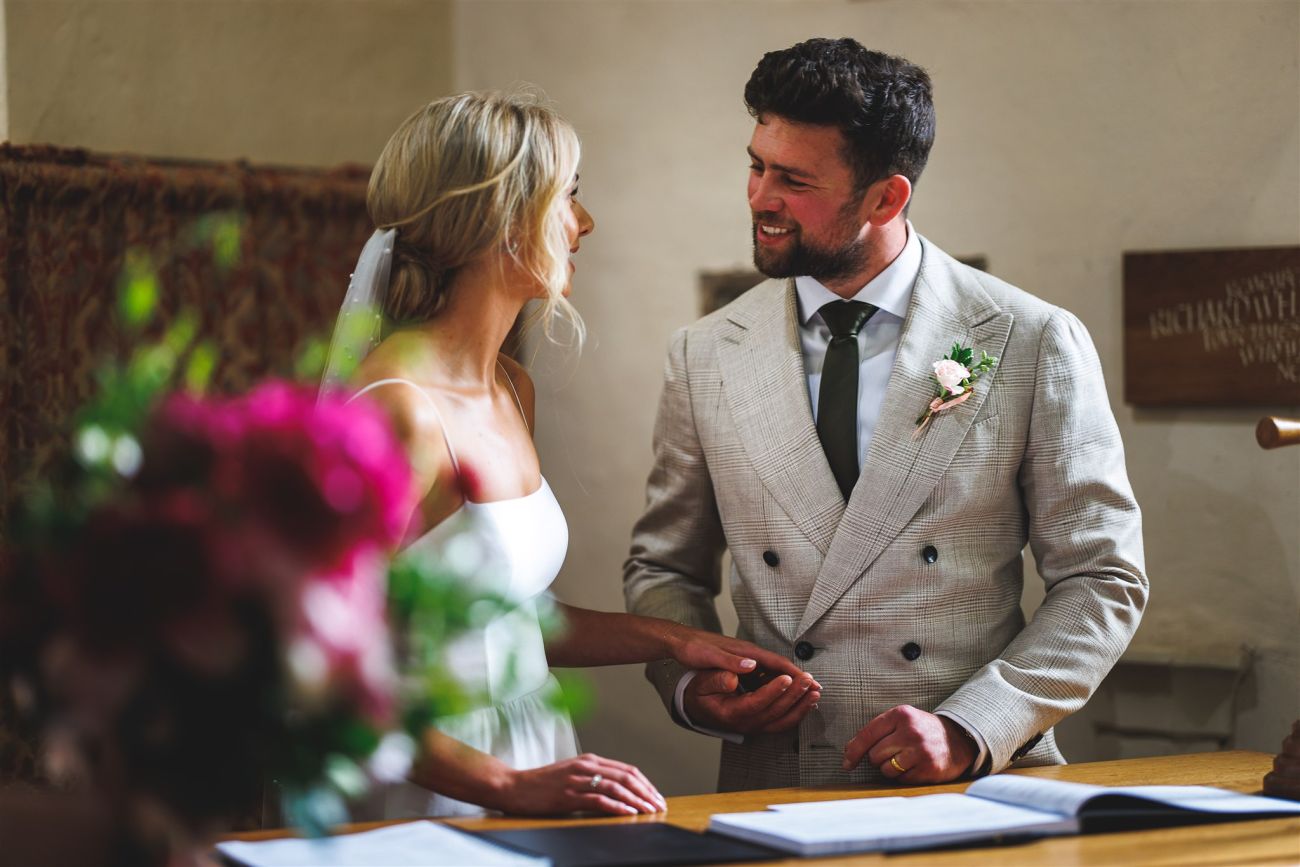
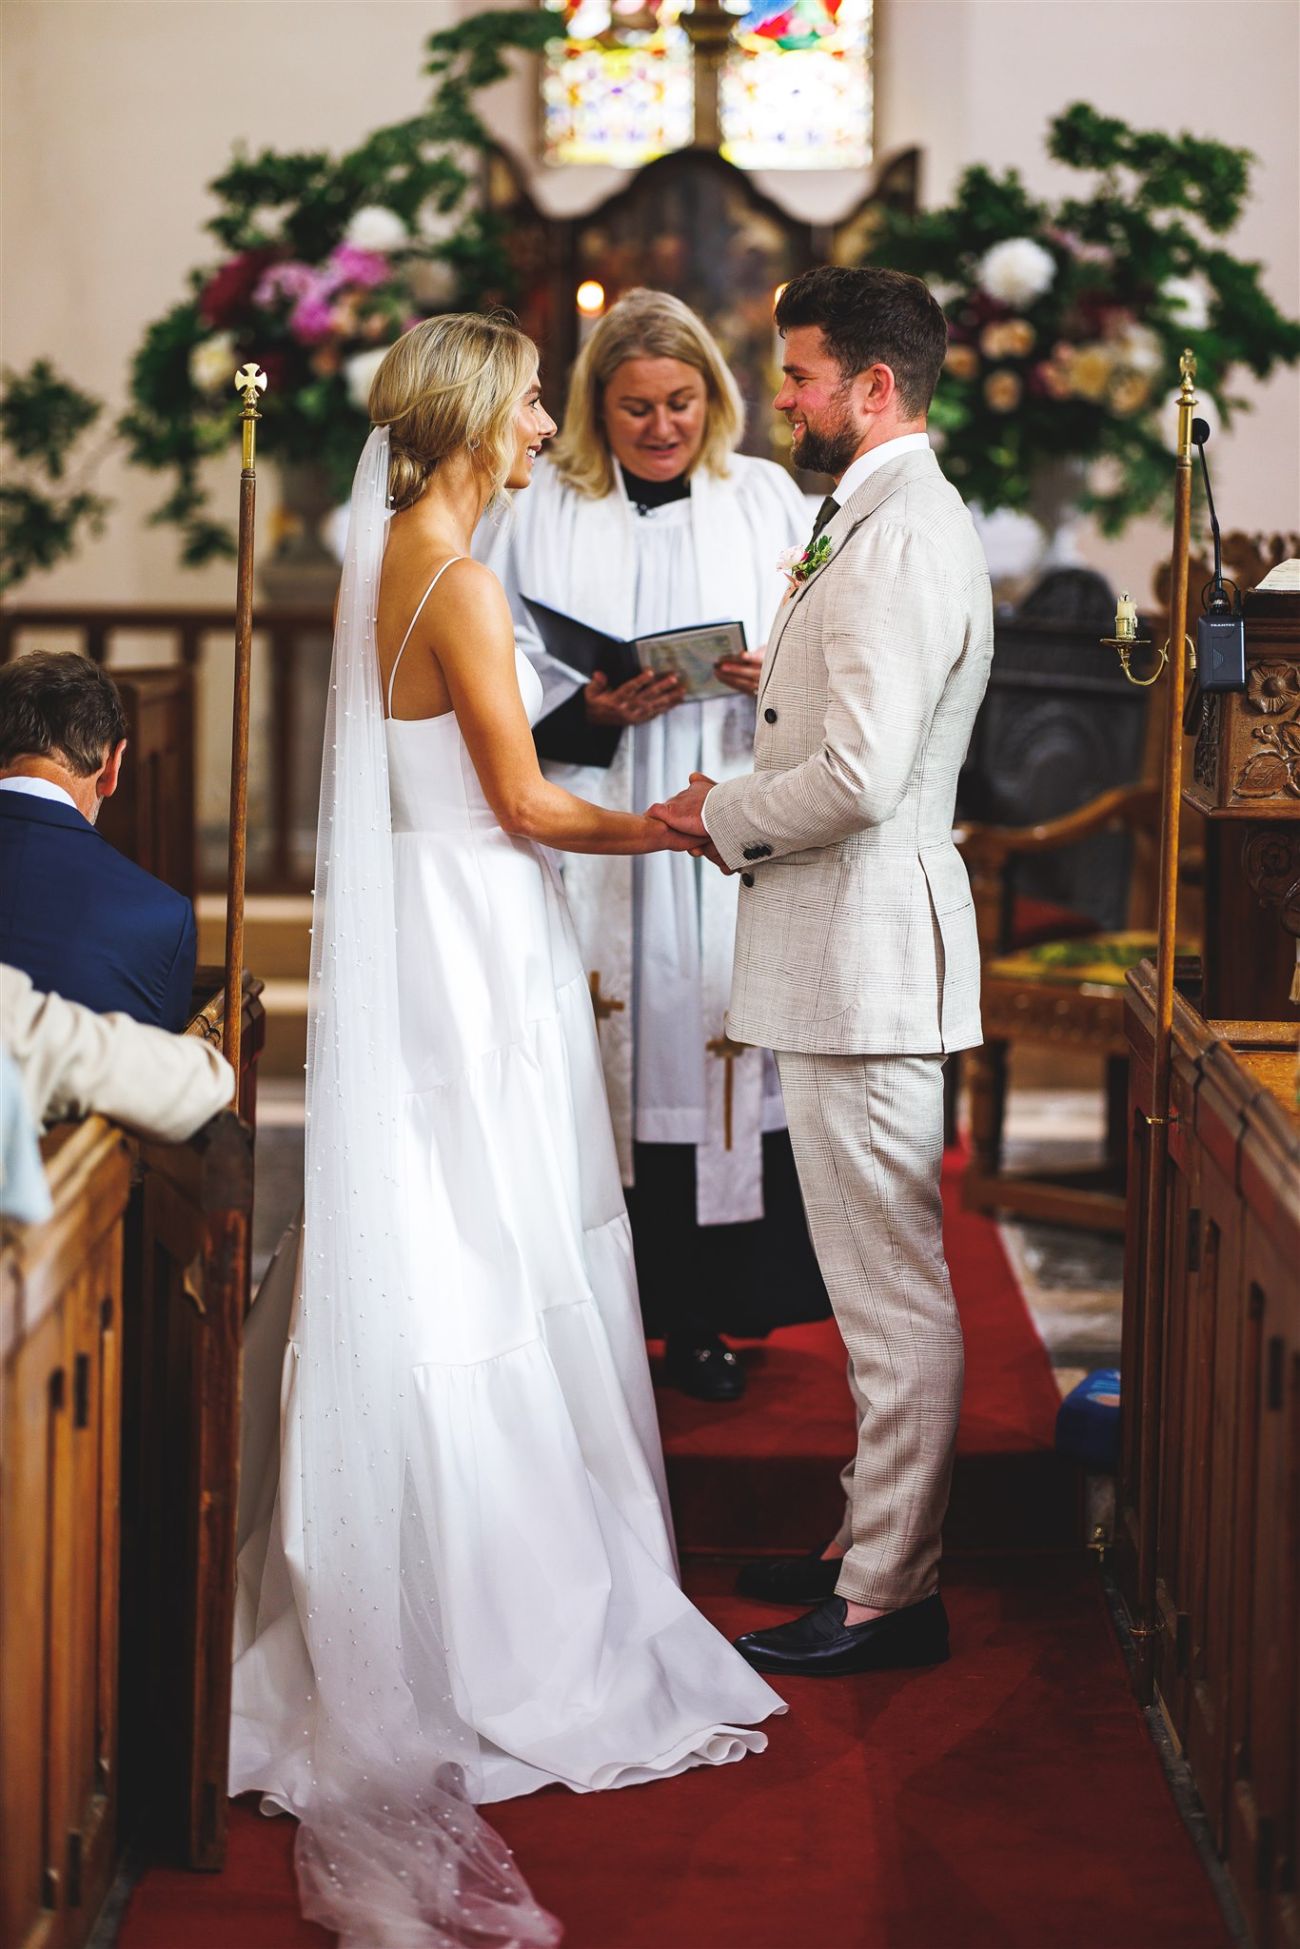
Jess & Harry by James Fear Photography
Jess & Harry by James Fear Photography
Jess & Harry by James Fear Photography
Jess & Harry by James Fear Photography
Jess & Harry by James Fear Photography
Jess & Harry by James Fear Photography
Jess & Harry by James Fear Photography
Jess & Harry by James Fear Photography
Jess & Harry by James Fear Photography
Jess & Harry by James Fear Photography
Jess & Harry by James Fear Photography
Jess & Harry by James Fear Photography
Jess & Harry by James Fear Photography
Jess & Harry by James Fear Photography
Jess & Harry by James Fear Photography
Jess & Harry by James Fear Photography
Jess & Harry by James Fear Photography
Jess & Harry by James Fear Photography
Jess & Harry by James Fear Photography
Jess & Harry by James Fear Photography
Hannah & Jamie photographed by David Liebst
Hannah & Jamie photographed by David Liebst
Hannah & Jamie photographed by David Liebst
Hannah & Jamie photographed by David Liebst
Hannah & Jamie photographed by David Liebst
Hannah & Jamie photographed by David Liebst
Hannah & Jamie photographed by David Liebst
Hannah & Jamie photographed by David Liebst
Hannah & Jamie photographed by David Liebst
Hannah & Jamie photographed by David Liebst
Hannah & Jamie photographed by David Liebst
Hannah & Jamie photographed by David Liebst
Hannah & Jamie photographed by David Liebst
Hannah & Jamie photographed by David Liebst
Hannah & Jamie photographed by David Liebst
Hannah & Jamie photographed by David Liebst
Hannah & Jamie photographed by David Liebst
Hannah & Jamie photographed by David Liebst
Hannah & Jamie photographed by David Liebst
Hannah & Jamie photographed by David Liebst
Hannah & Jamie photographed by David Liebst
Hannah & Jamie photographed by David Liebst
Hannah & Jamie photographed by David Liebst
Hannah & Jamie photographed by David Liebst
Hannah & Jamie photographed by David Liebst
Hannah & Jamie photographed by David Liebst
Hannah & Jamie photographed by David Liebst
Hannah & Jamie photographed by David Liebst
Hannah and Jamie's wedding photographs were taken by the amazing David Liebst
Hannah and Jamie's wedding photographs were taken by the amazing David Liebst
Hannah and Jamie's wedding photographs were taken by the amazing David Liebst
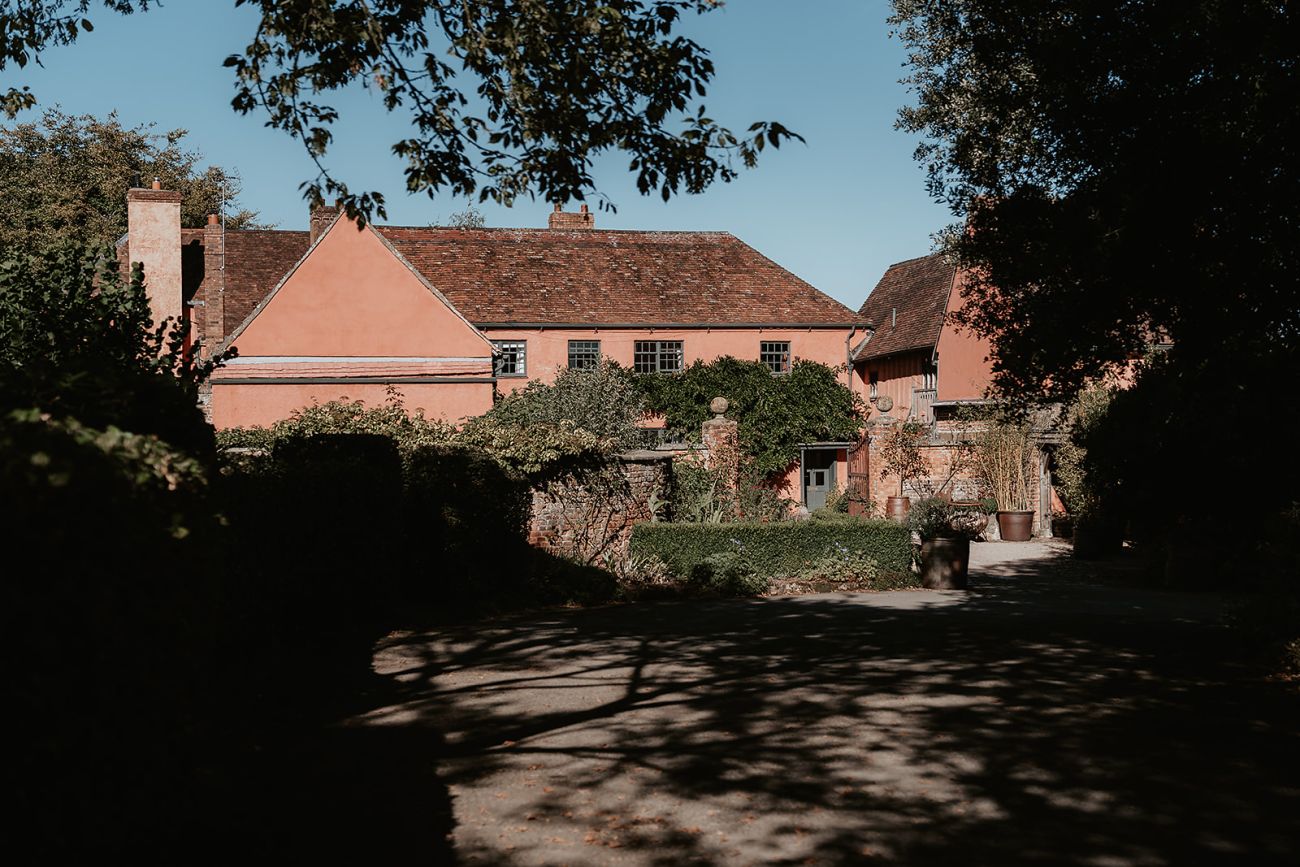
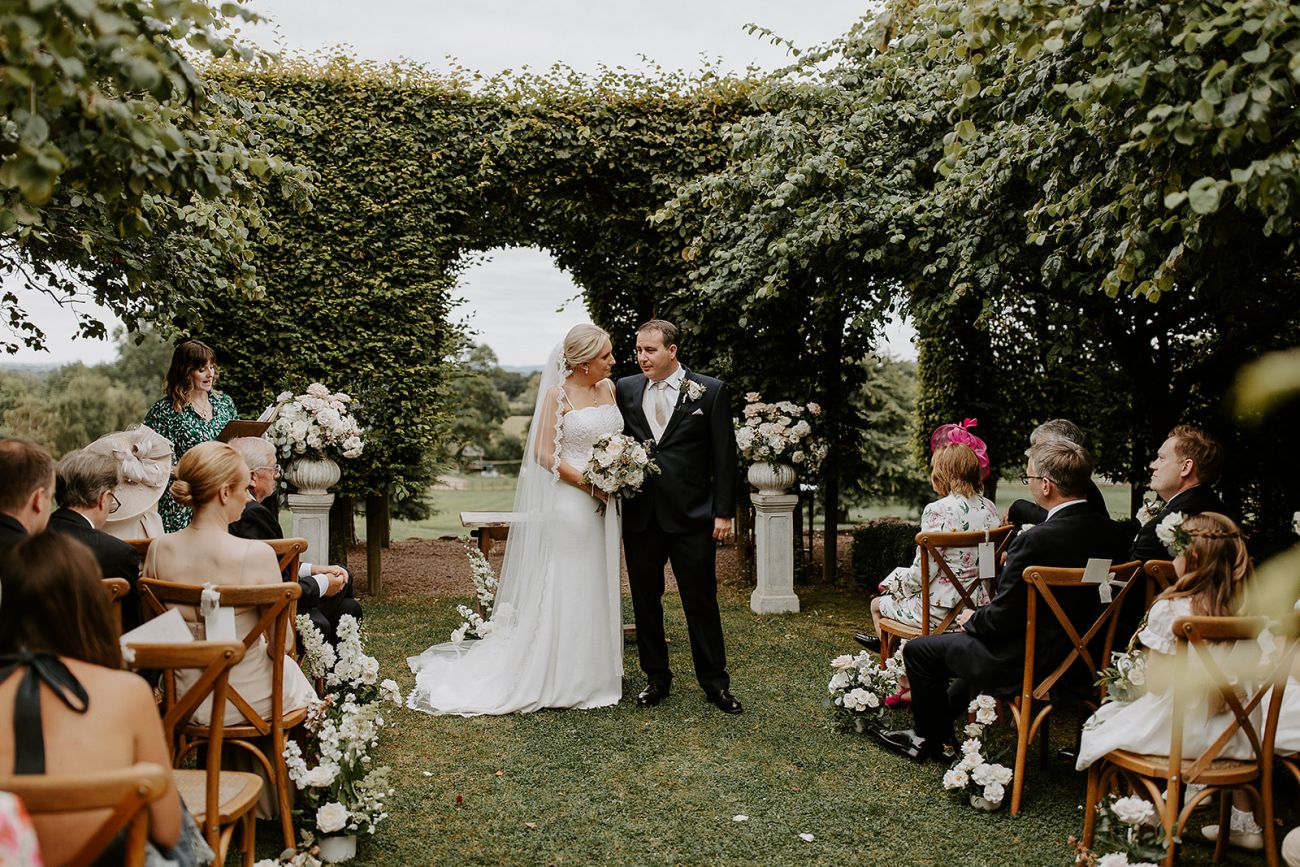
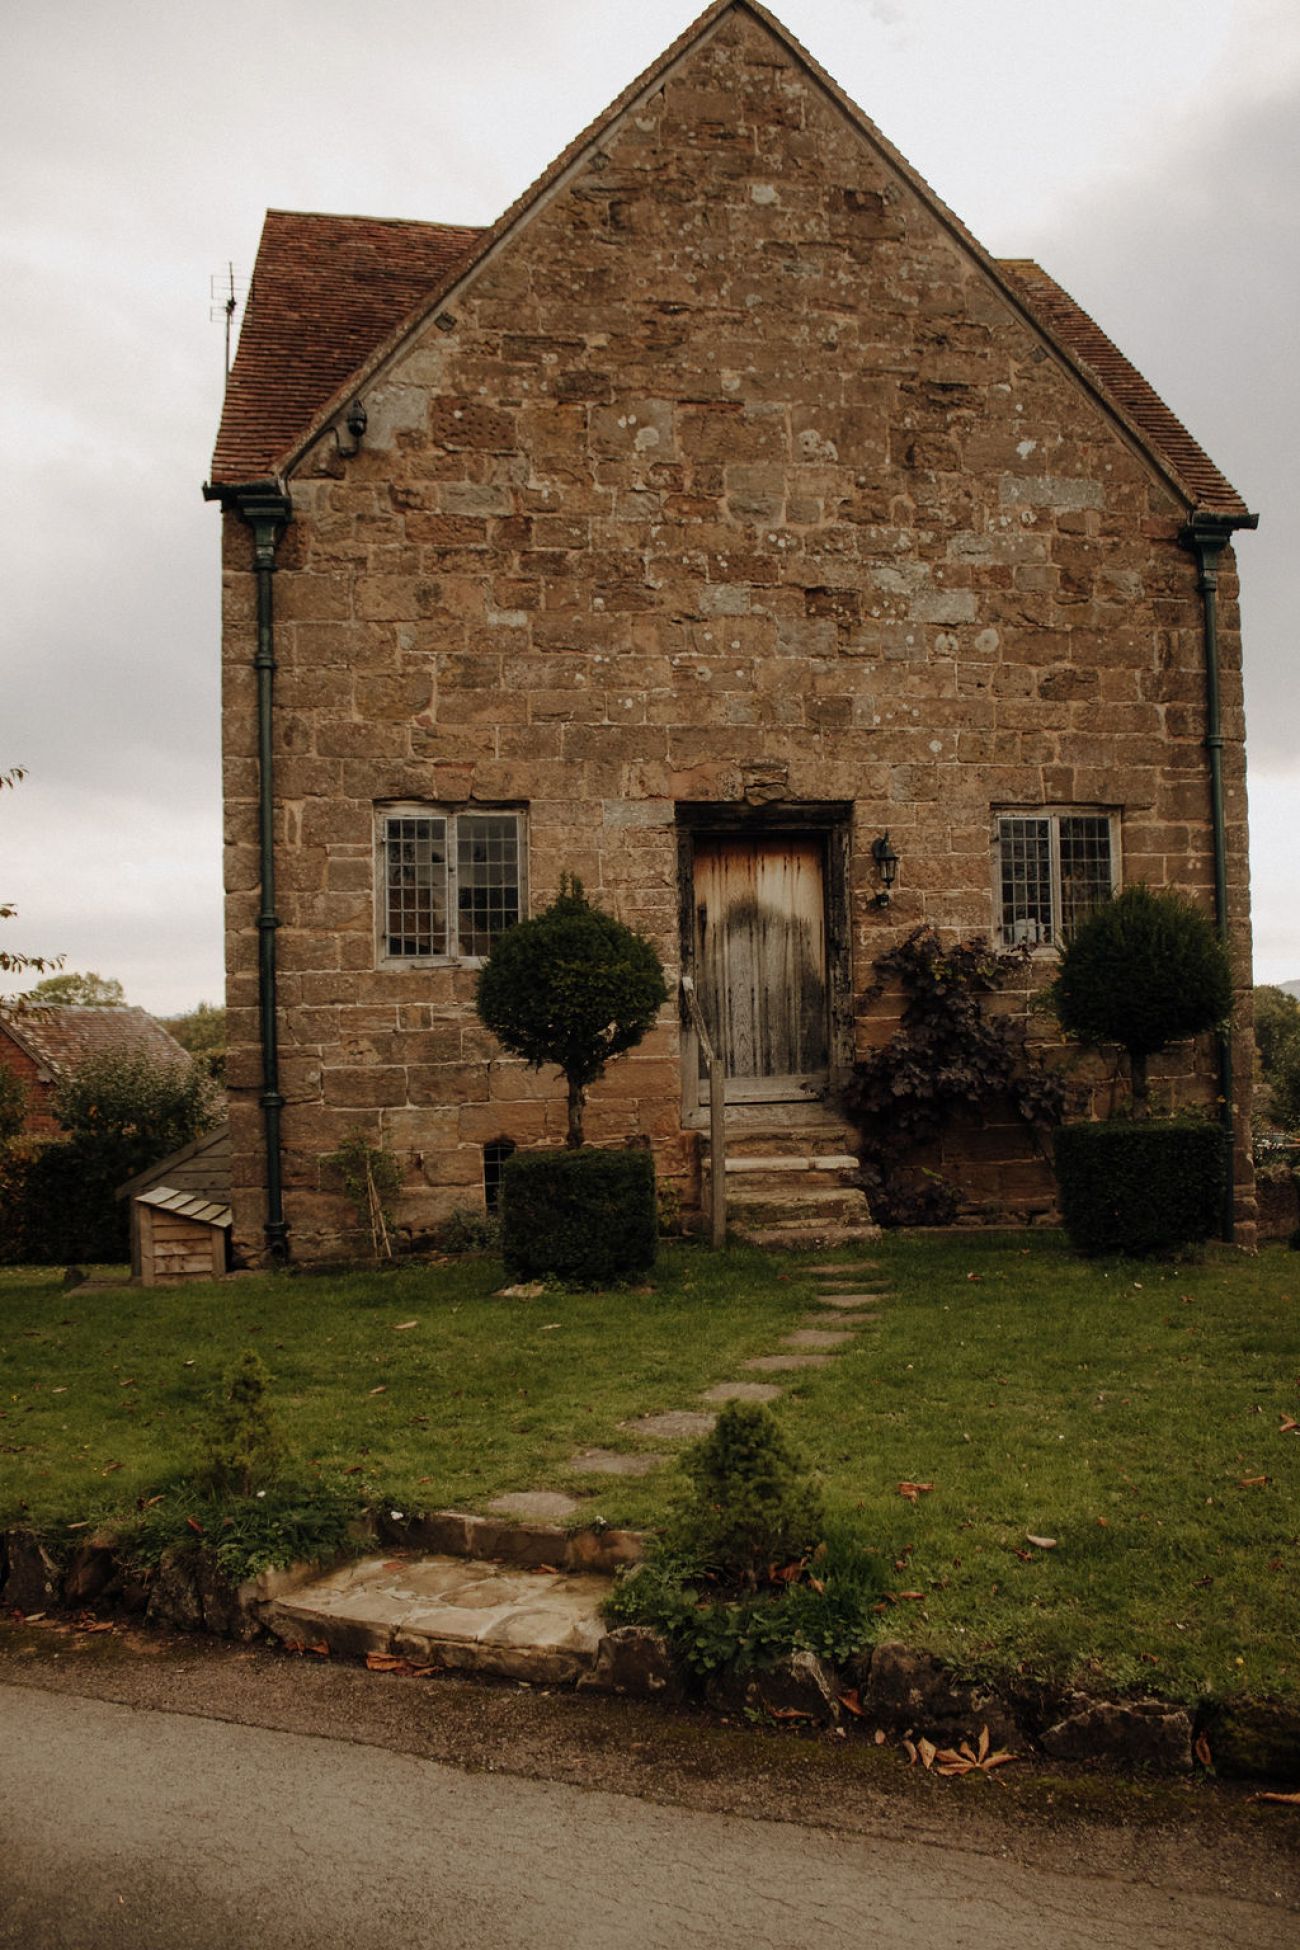
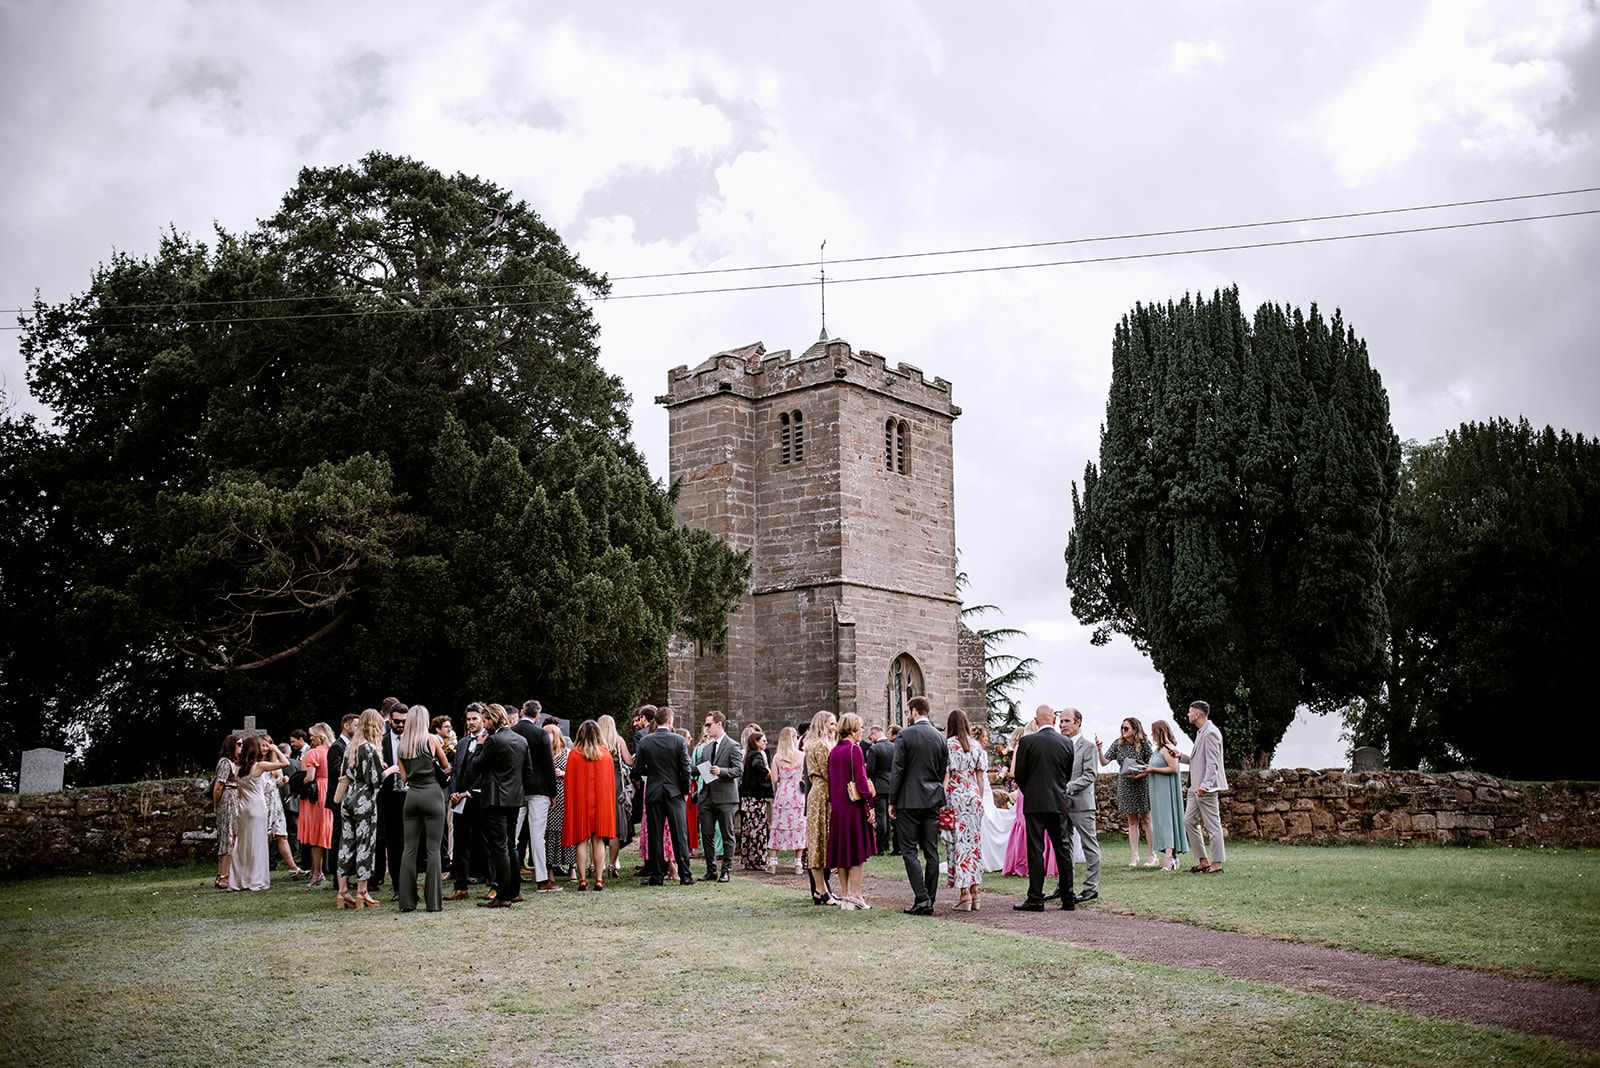
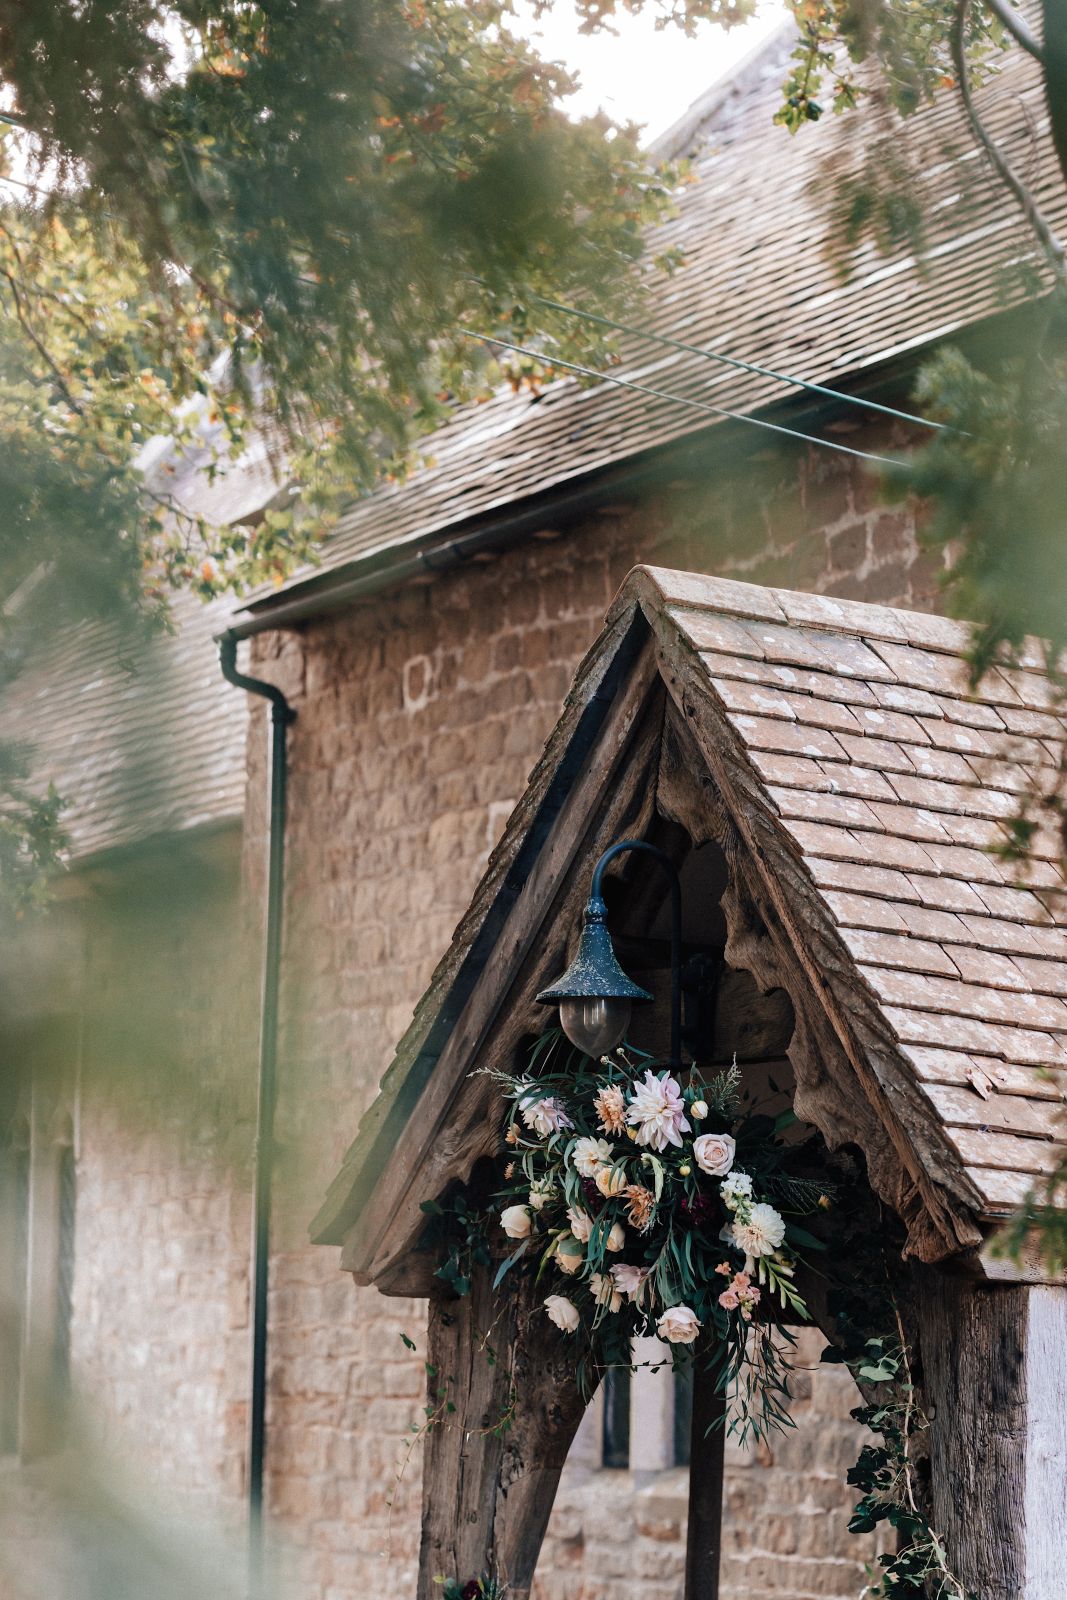
St. John the Evangelist Church next door
Photo by Copper and Blossom
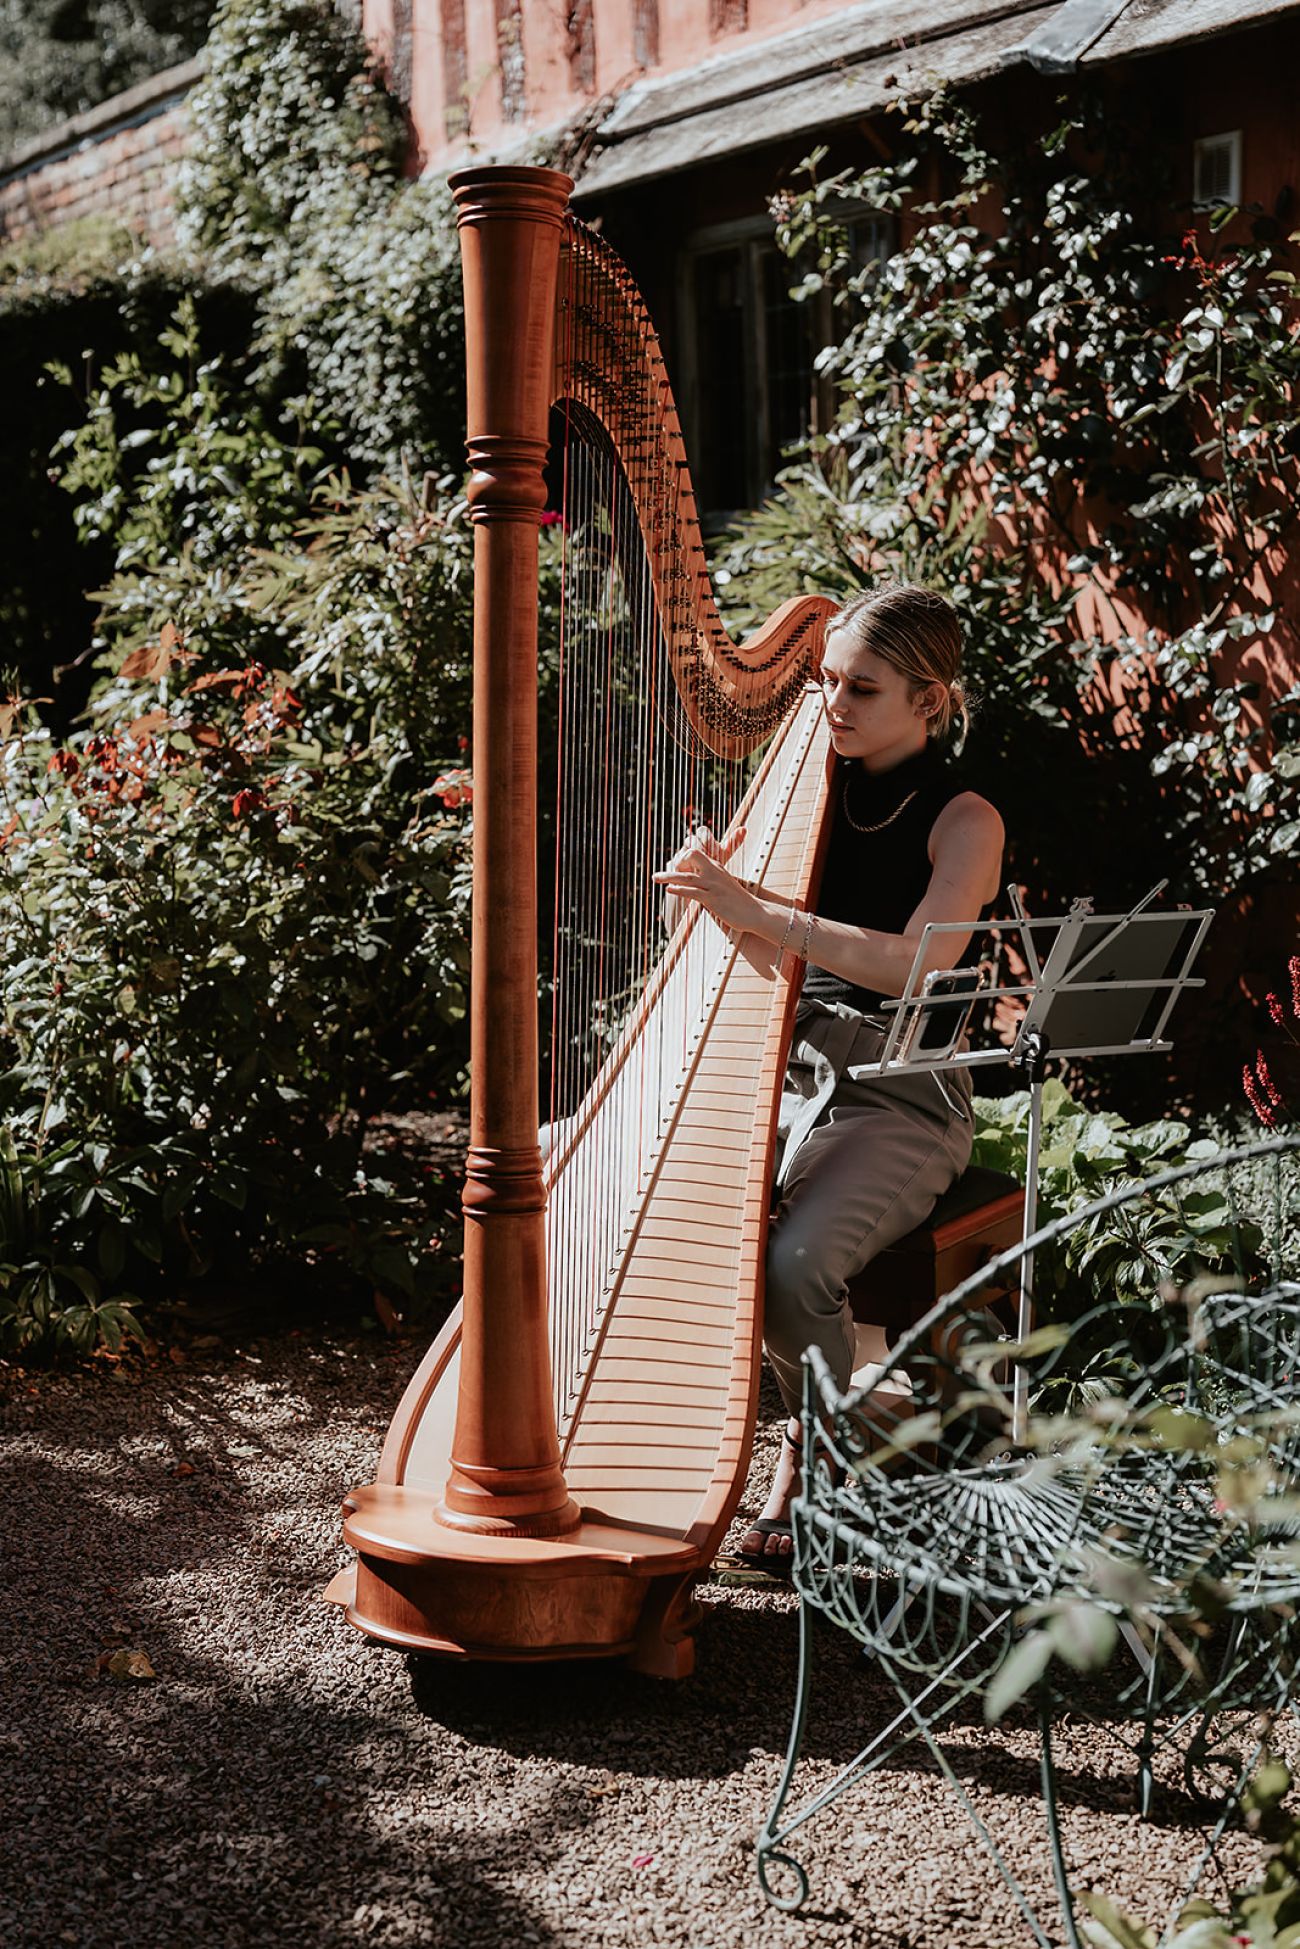
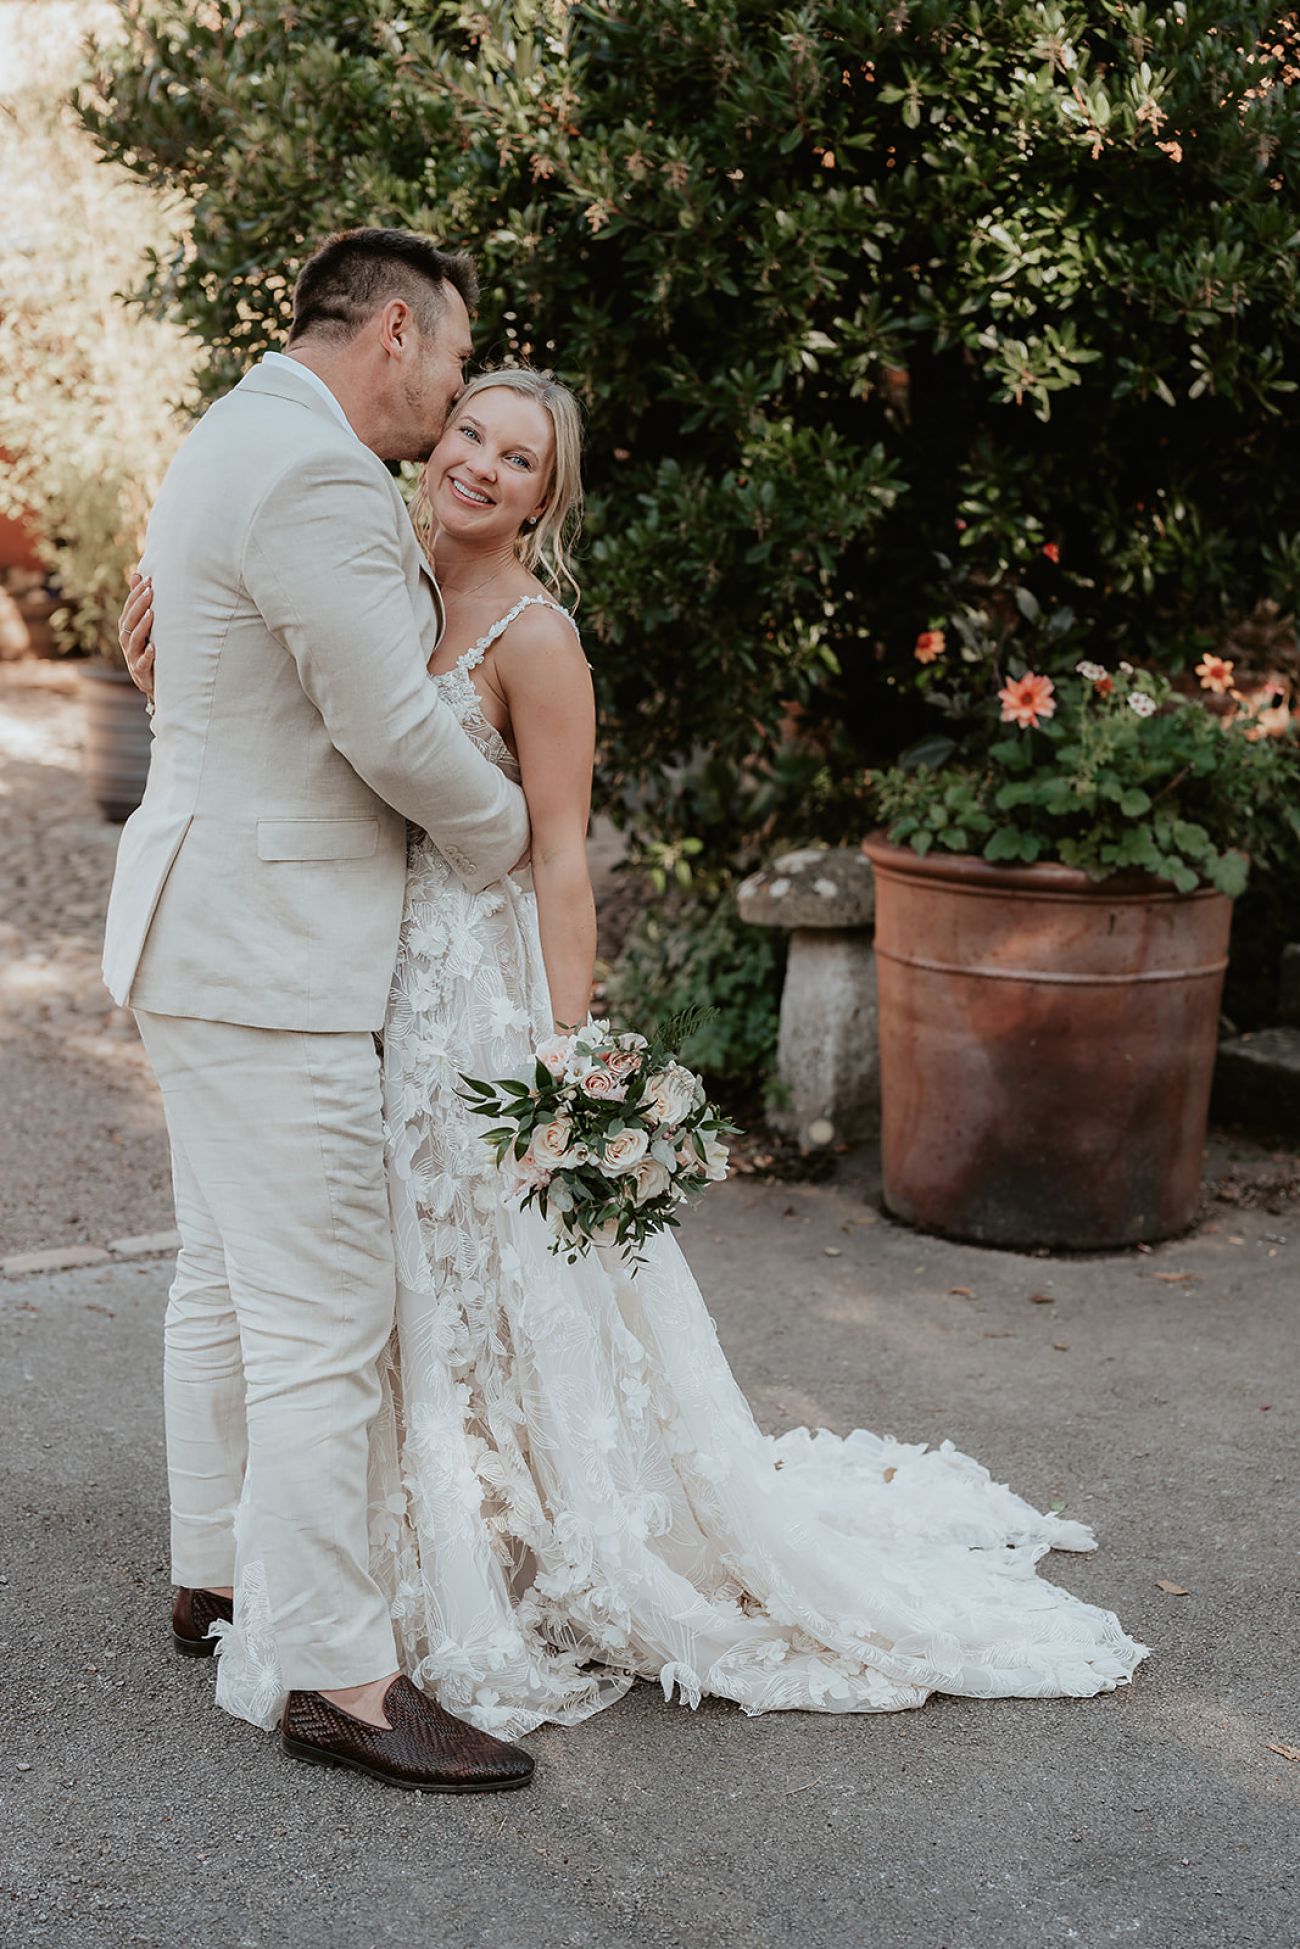
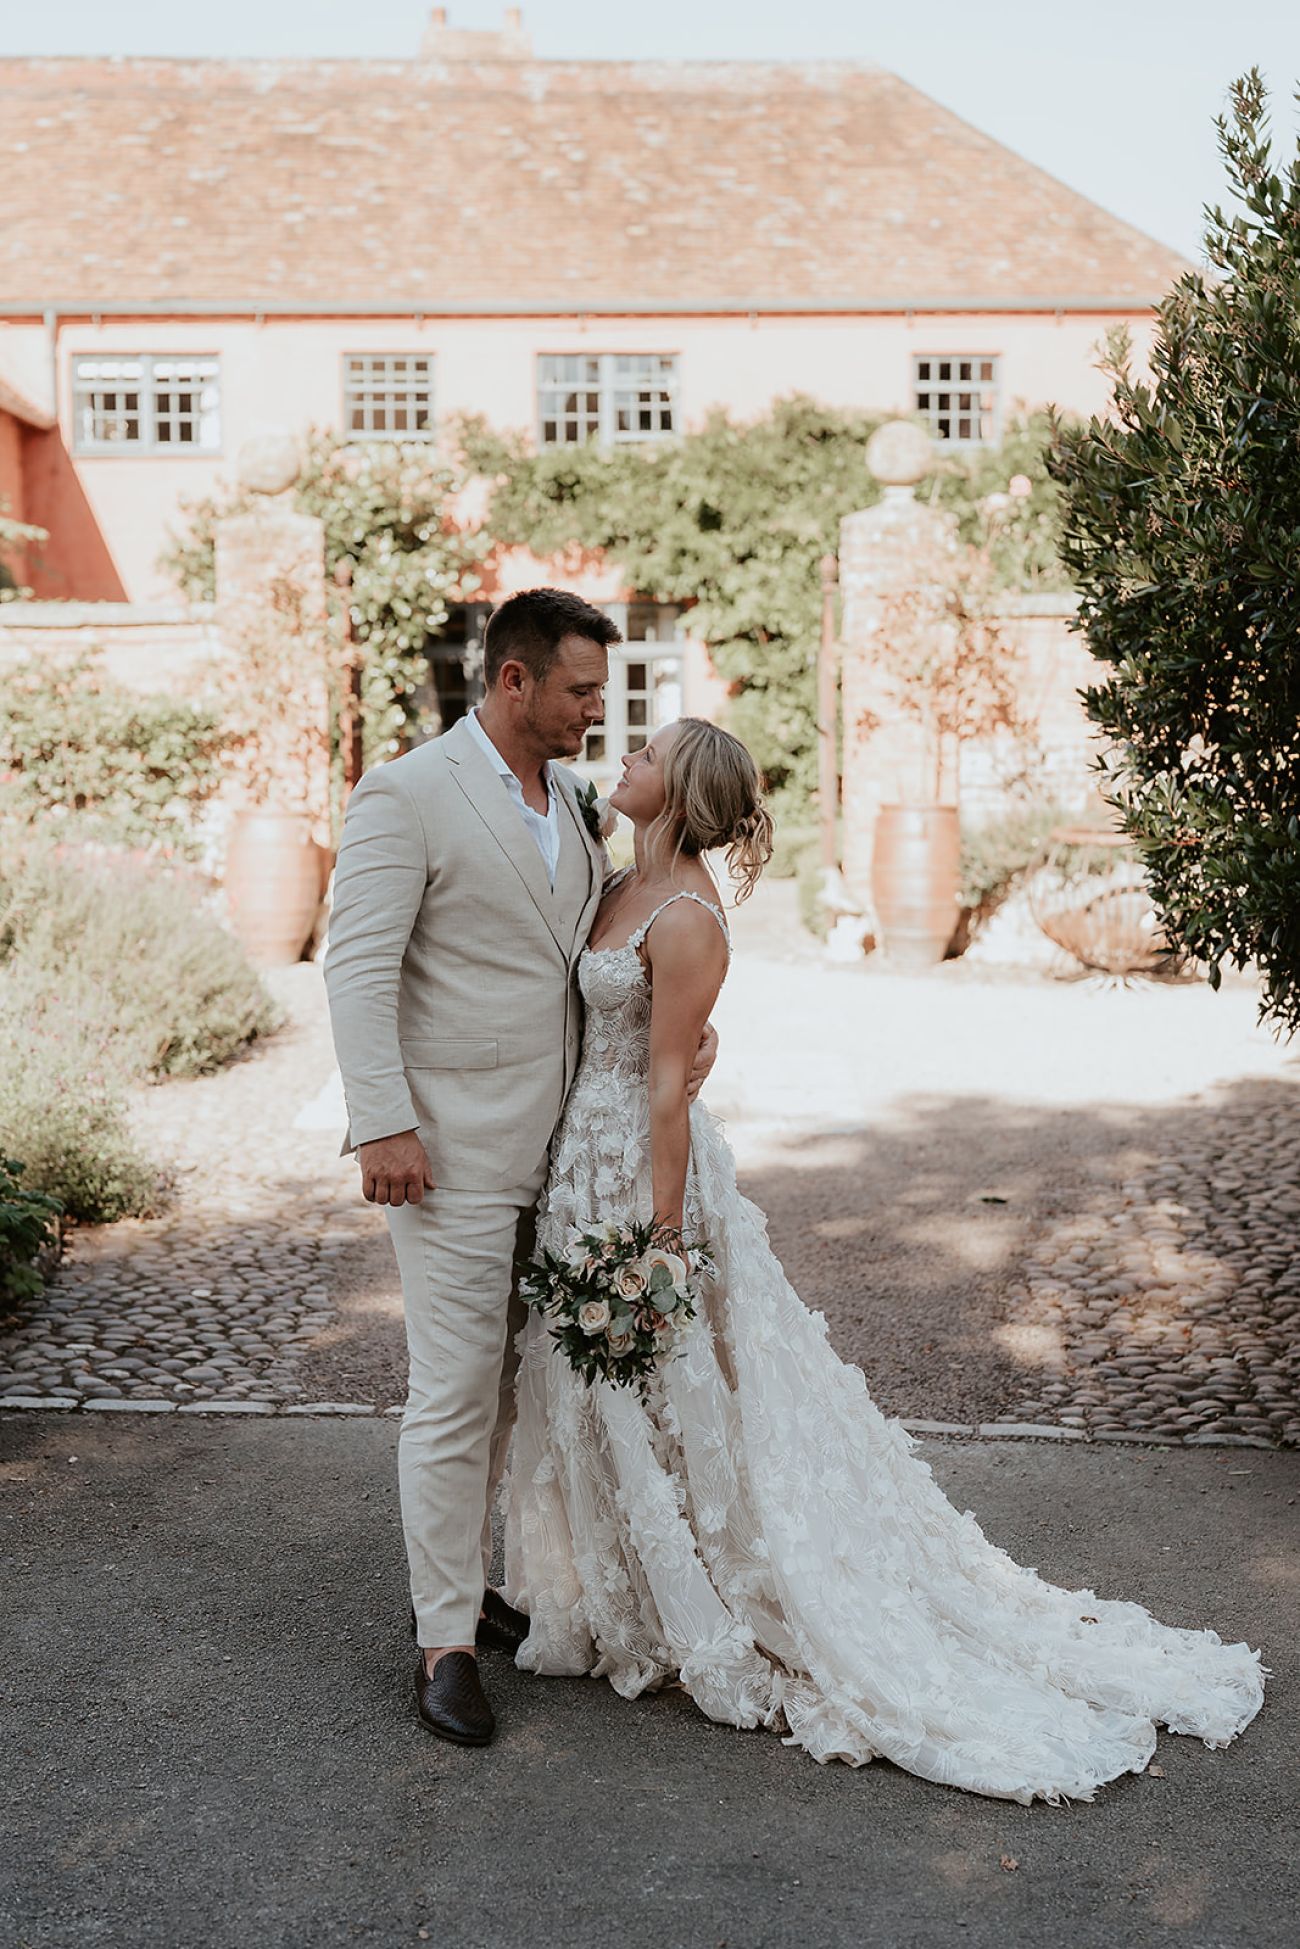
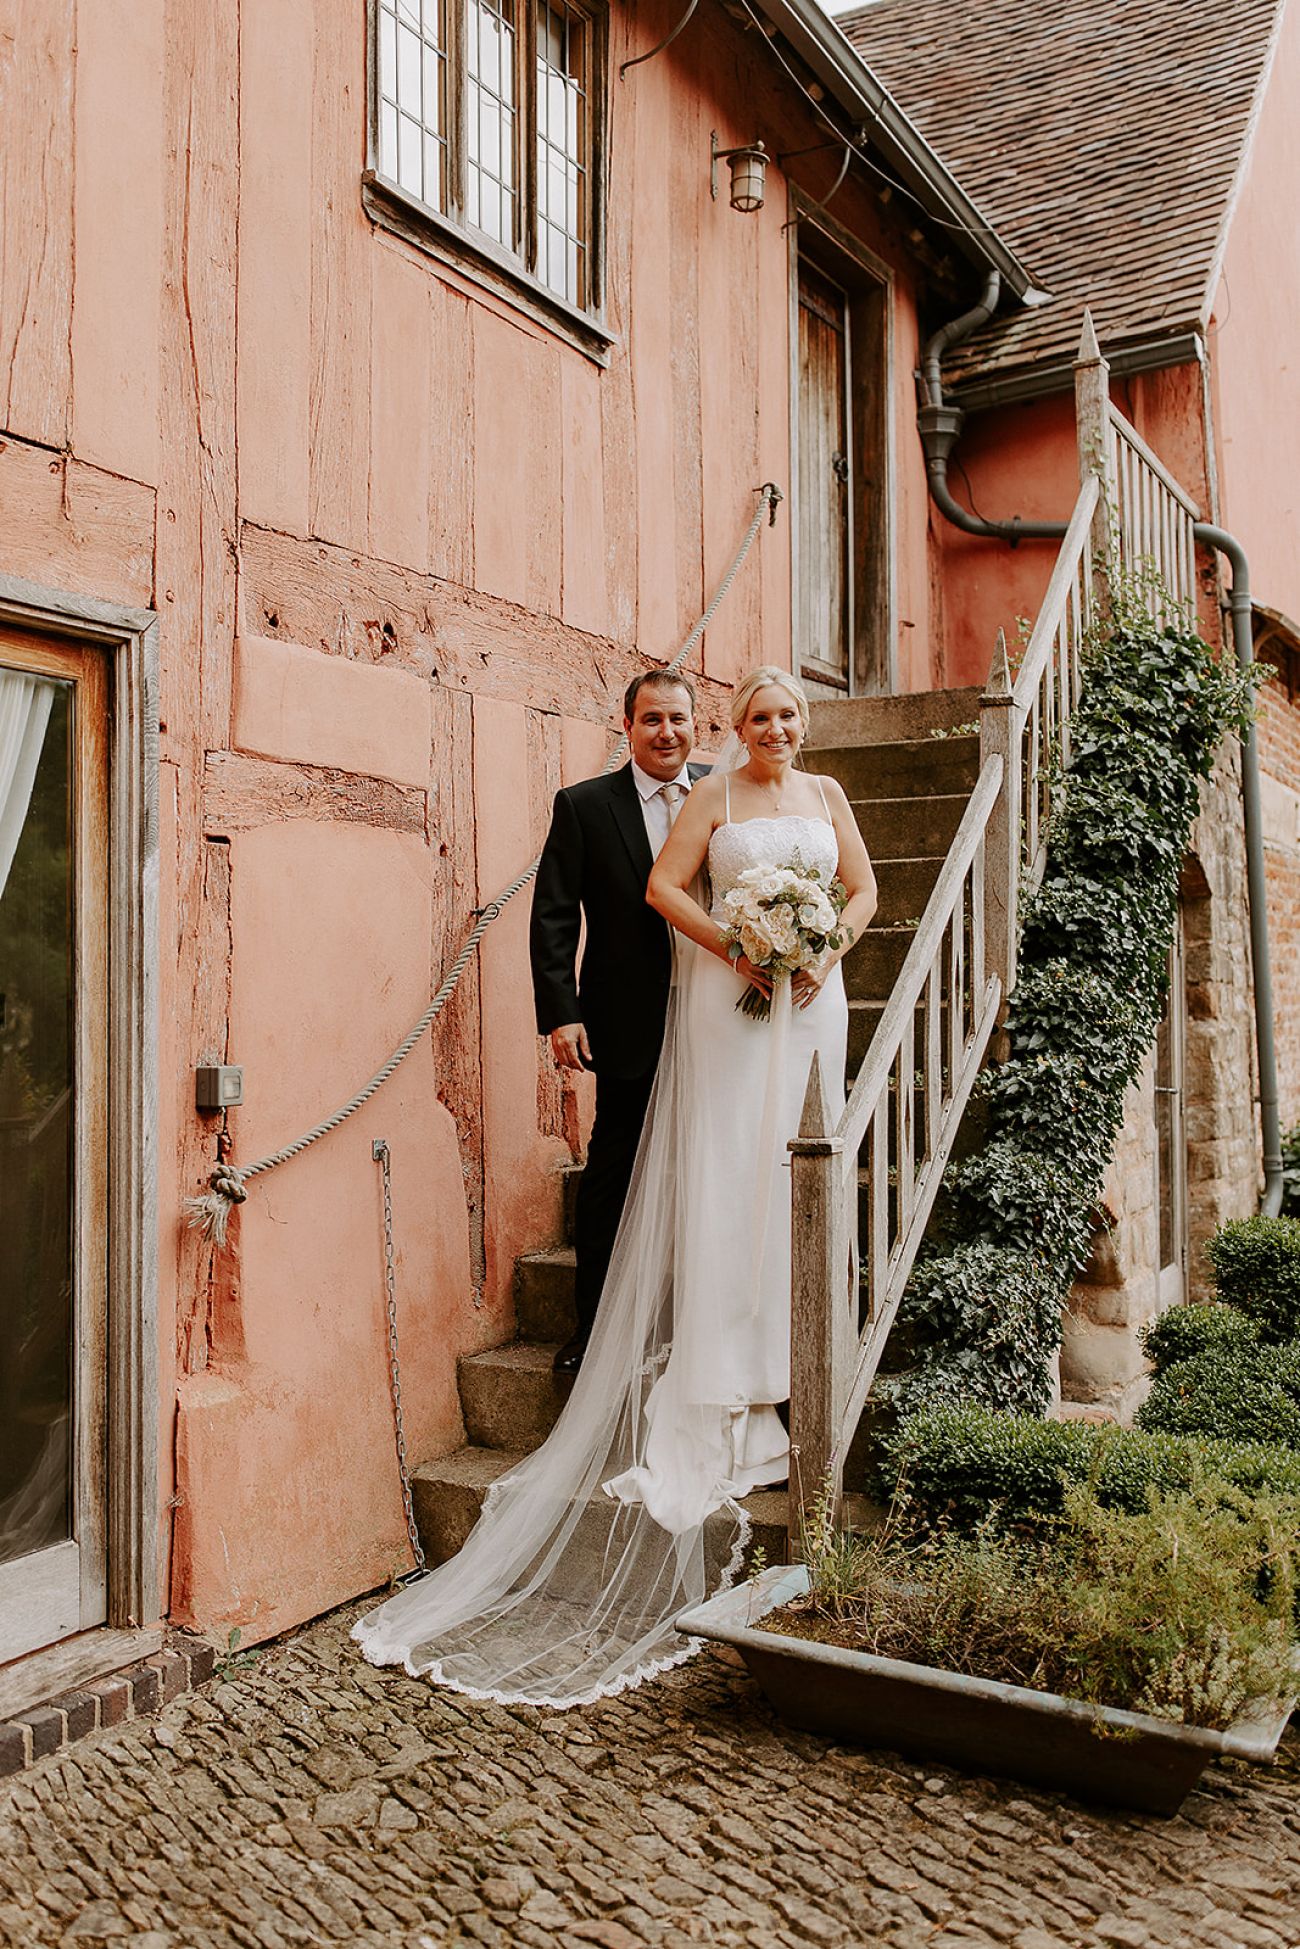
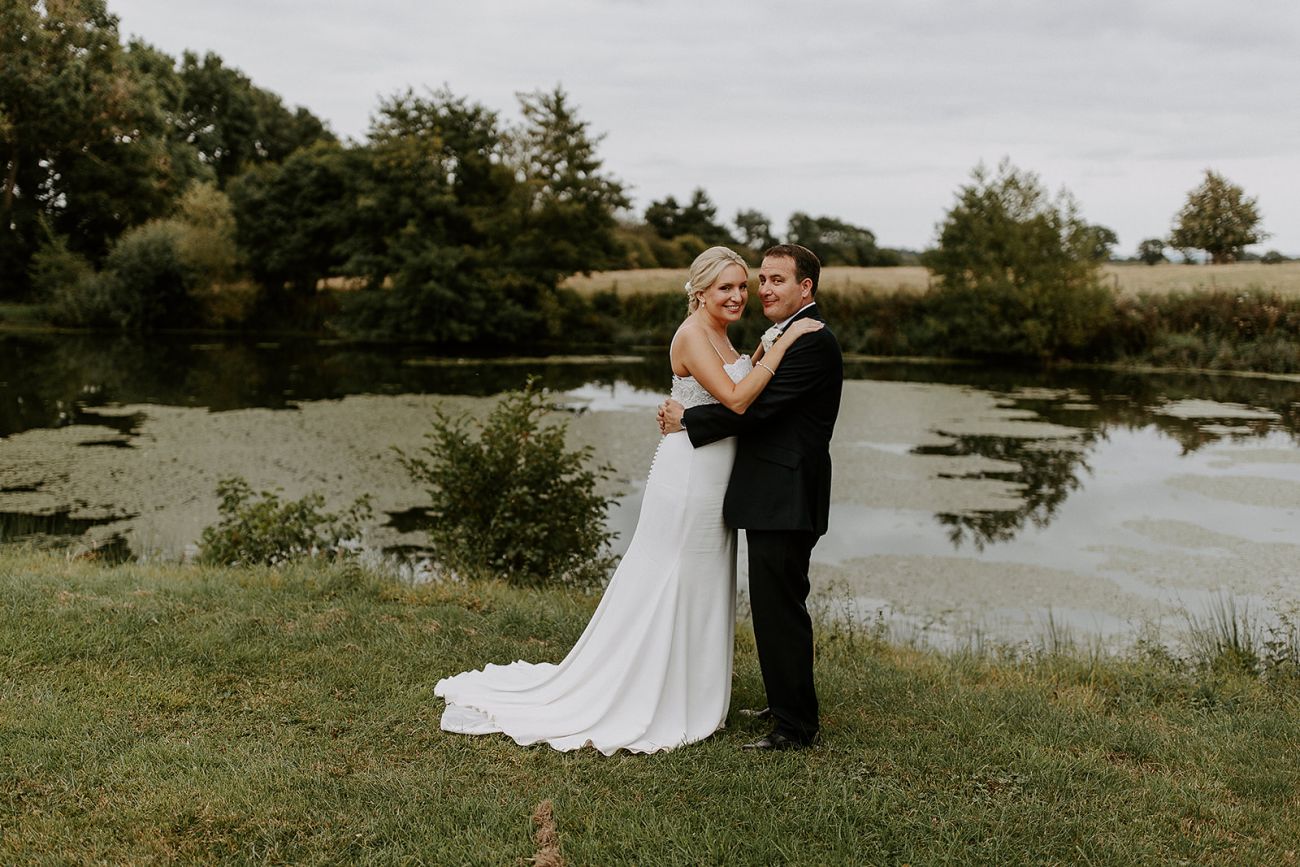
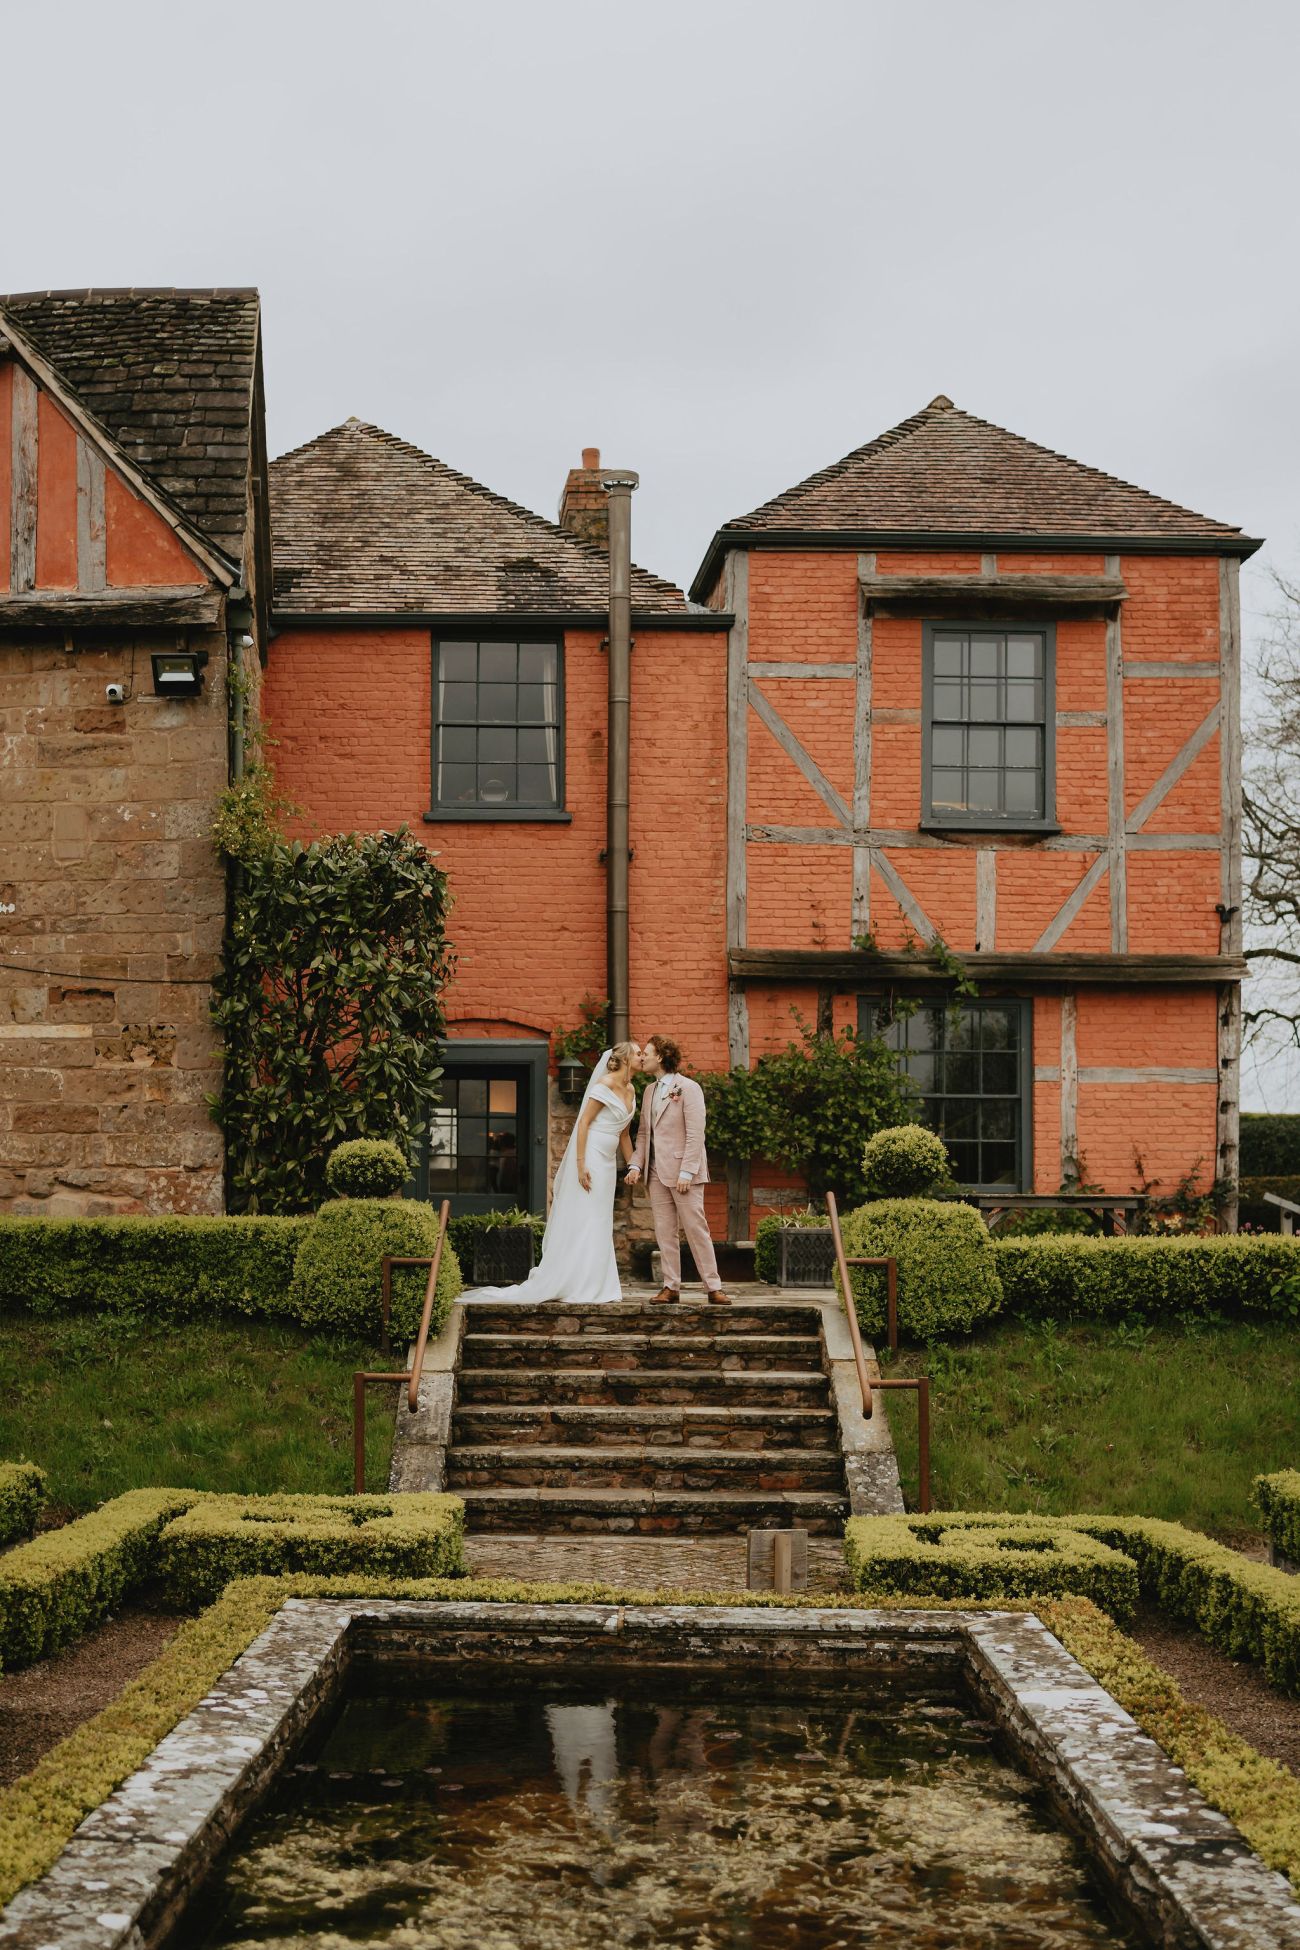
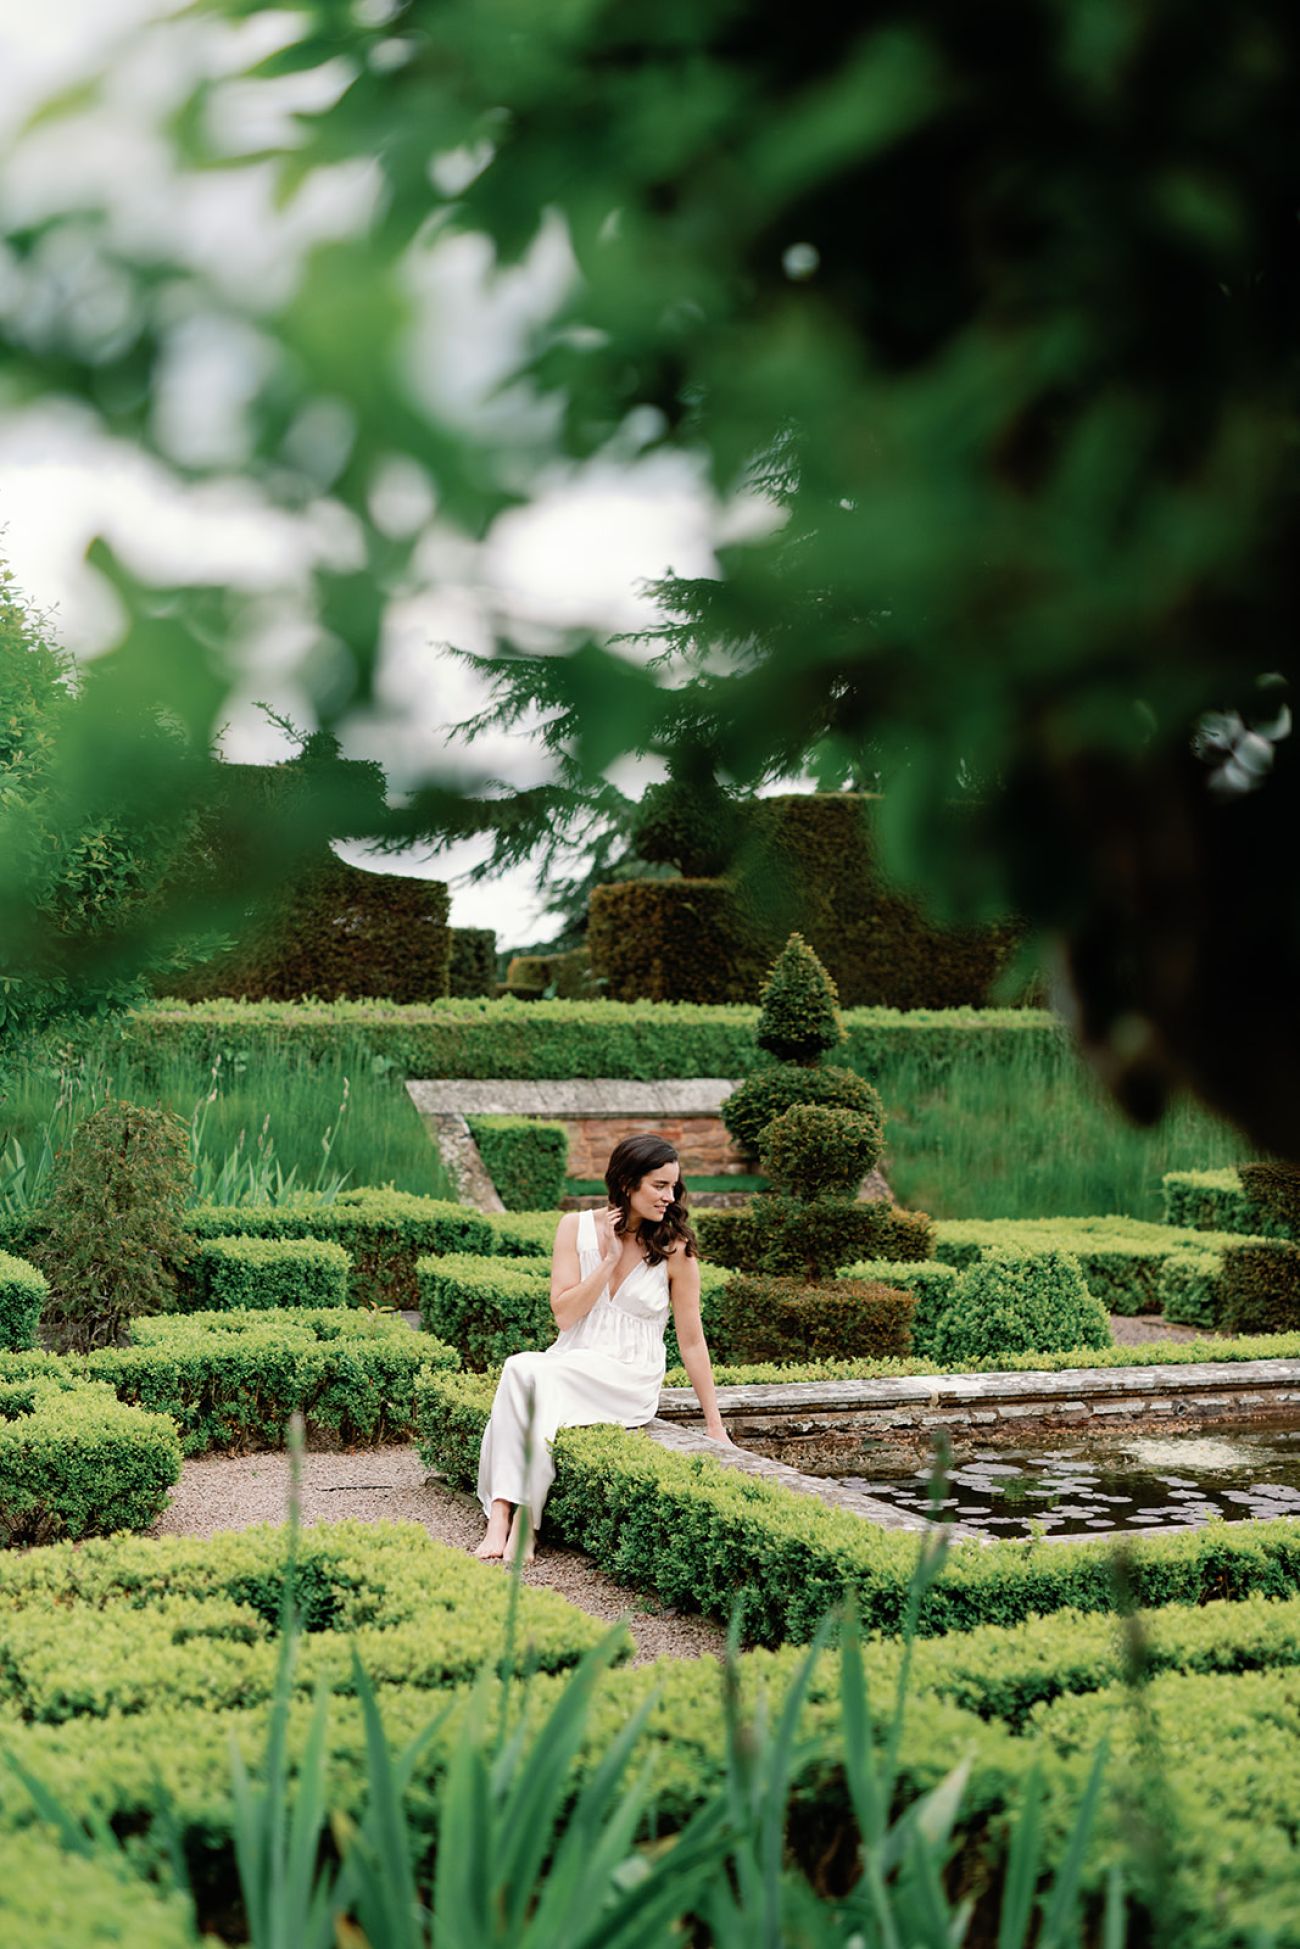
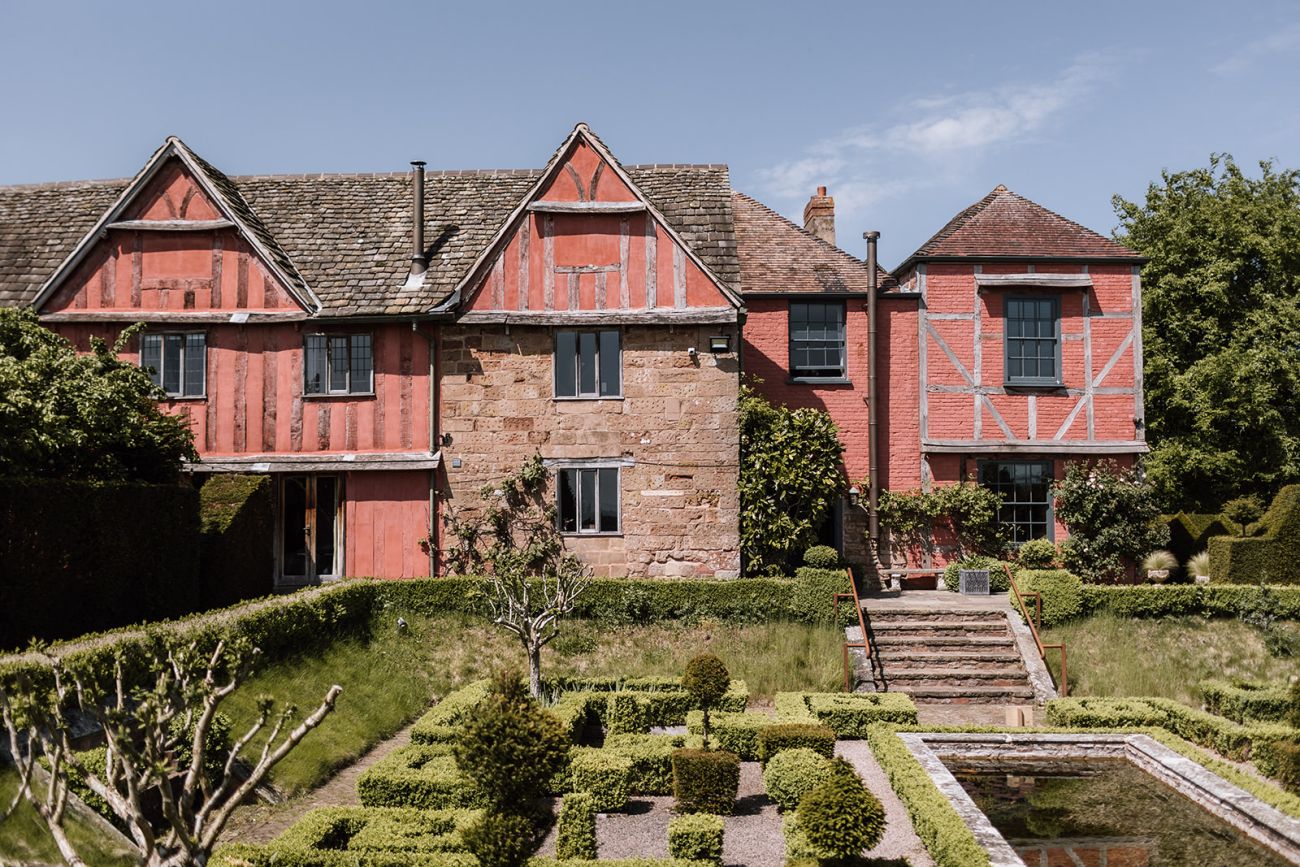
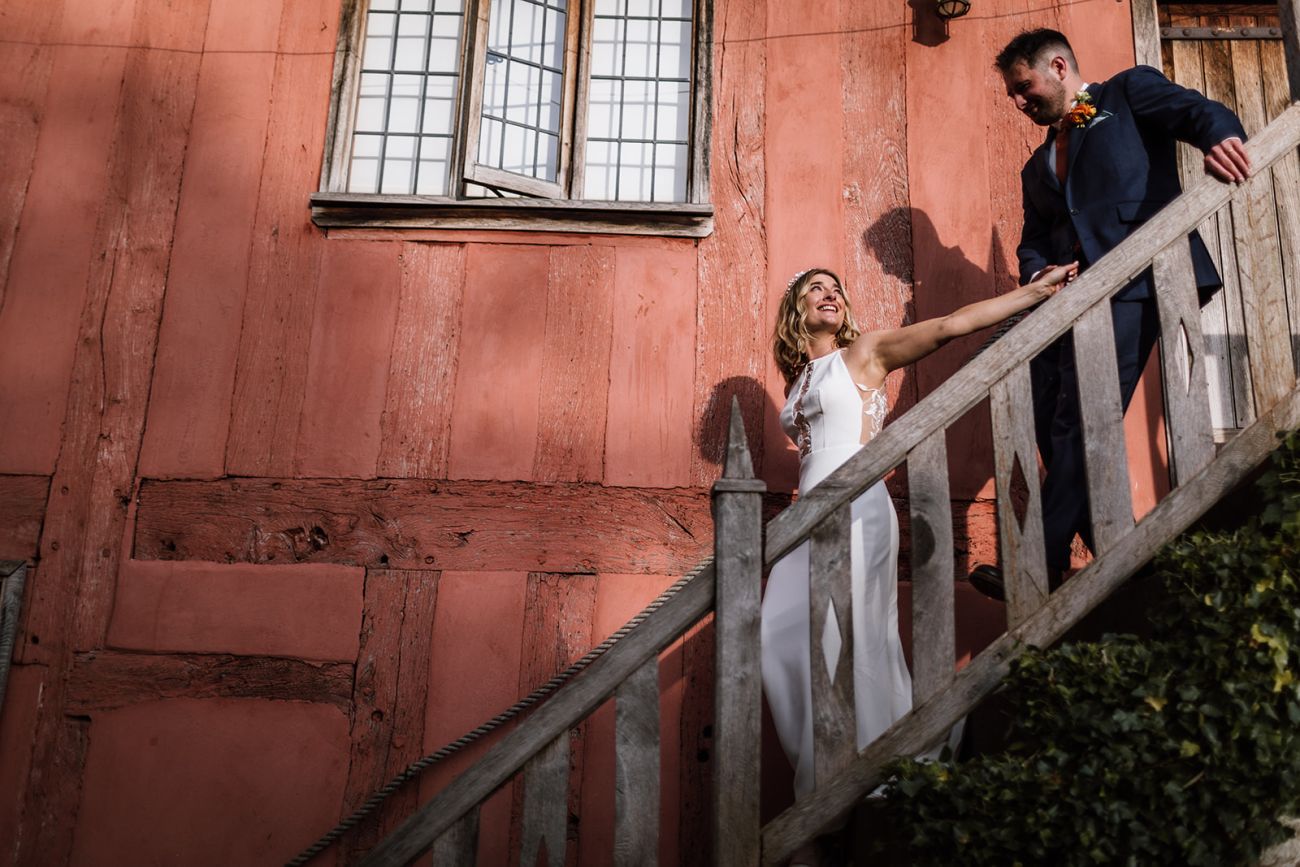
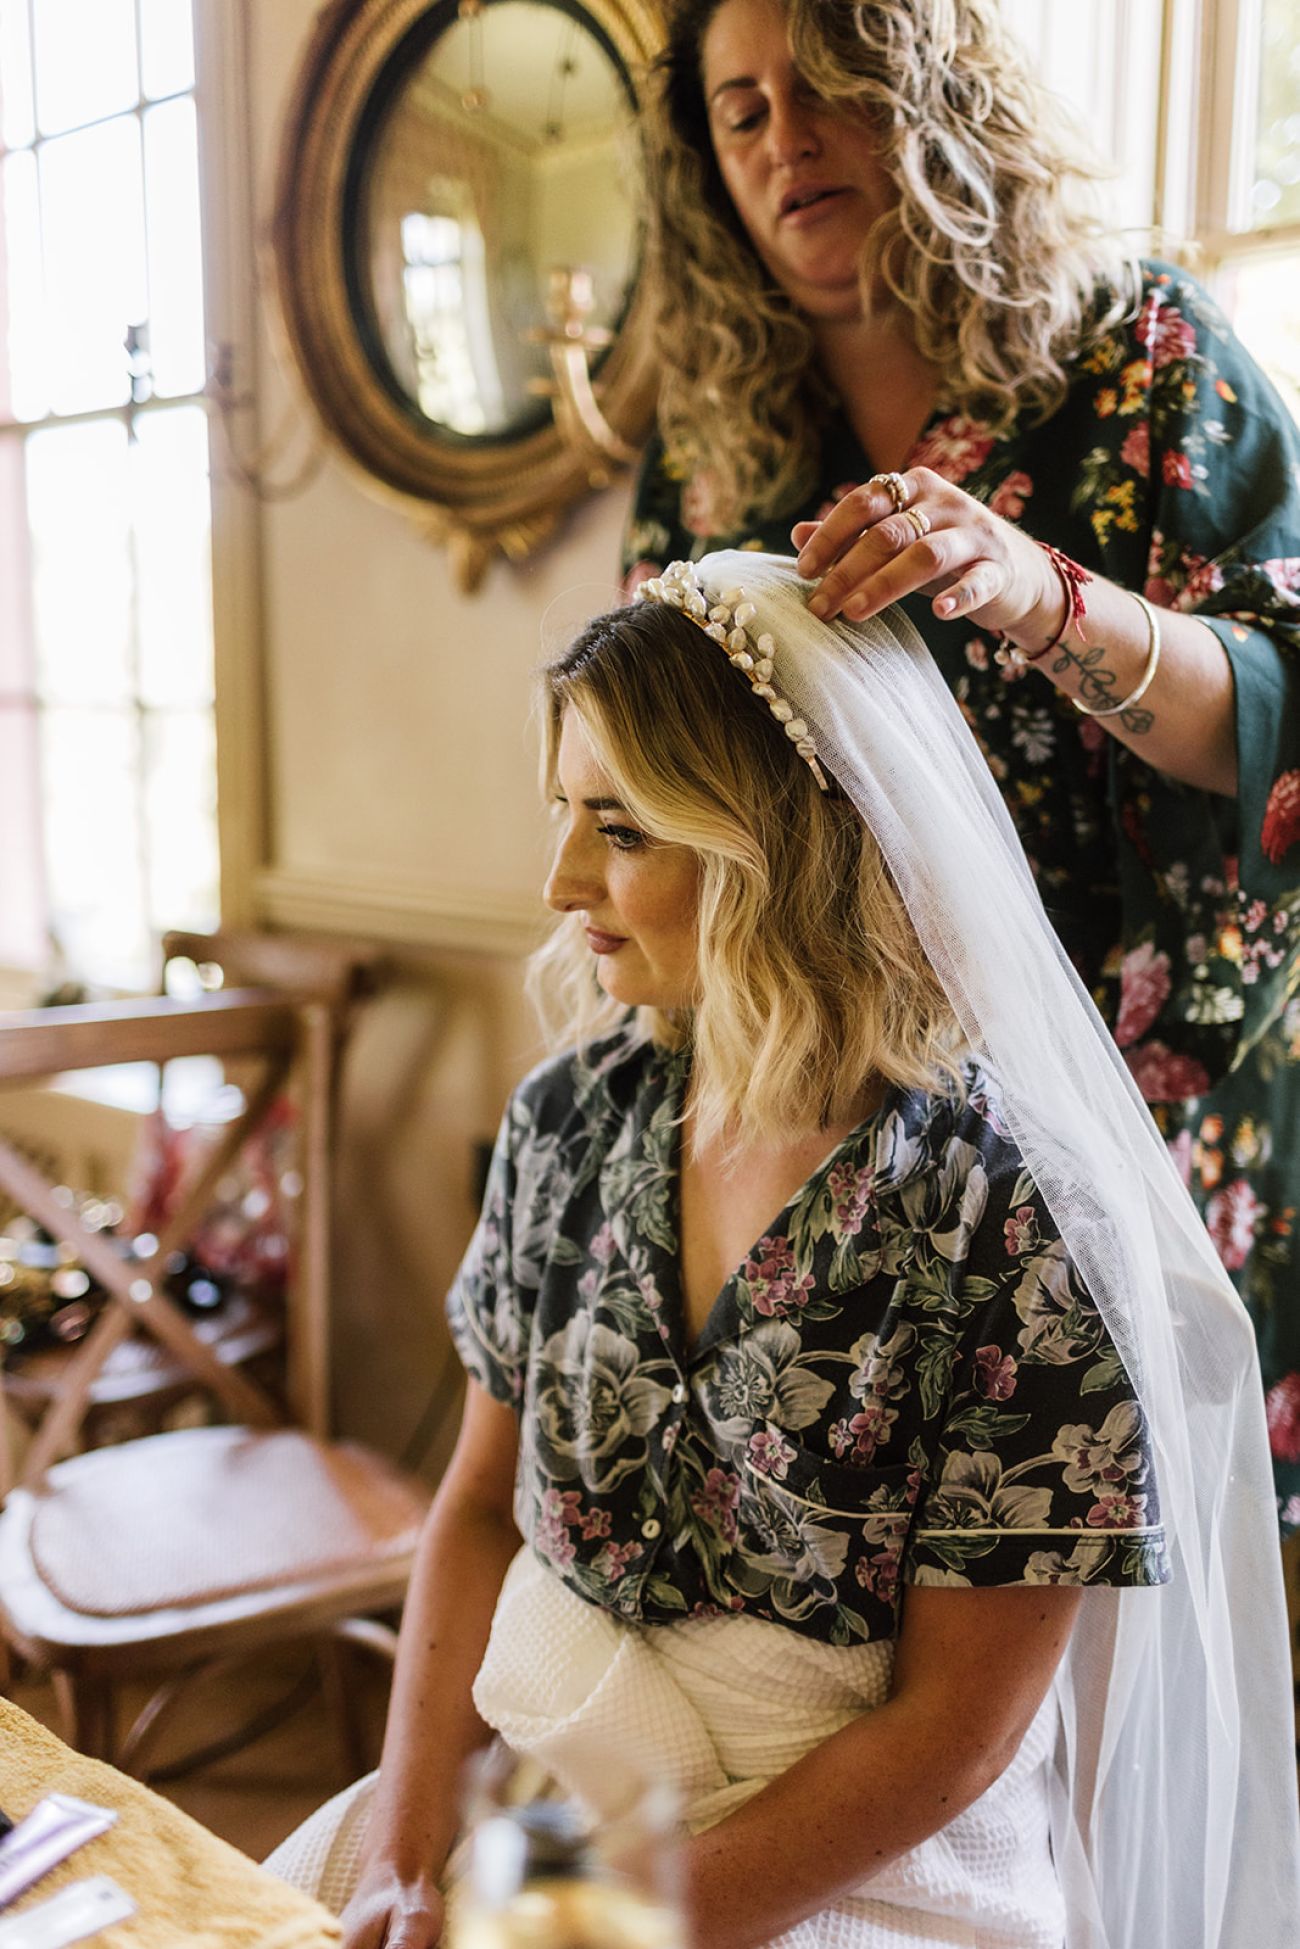
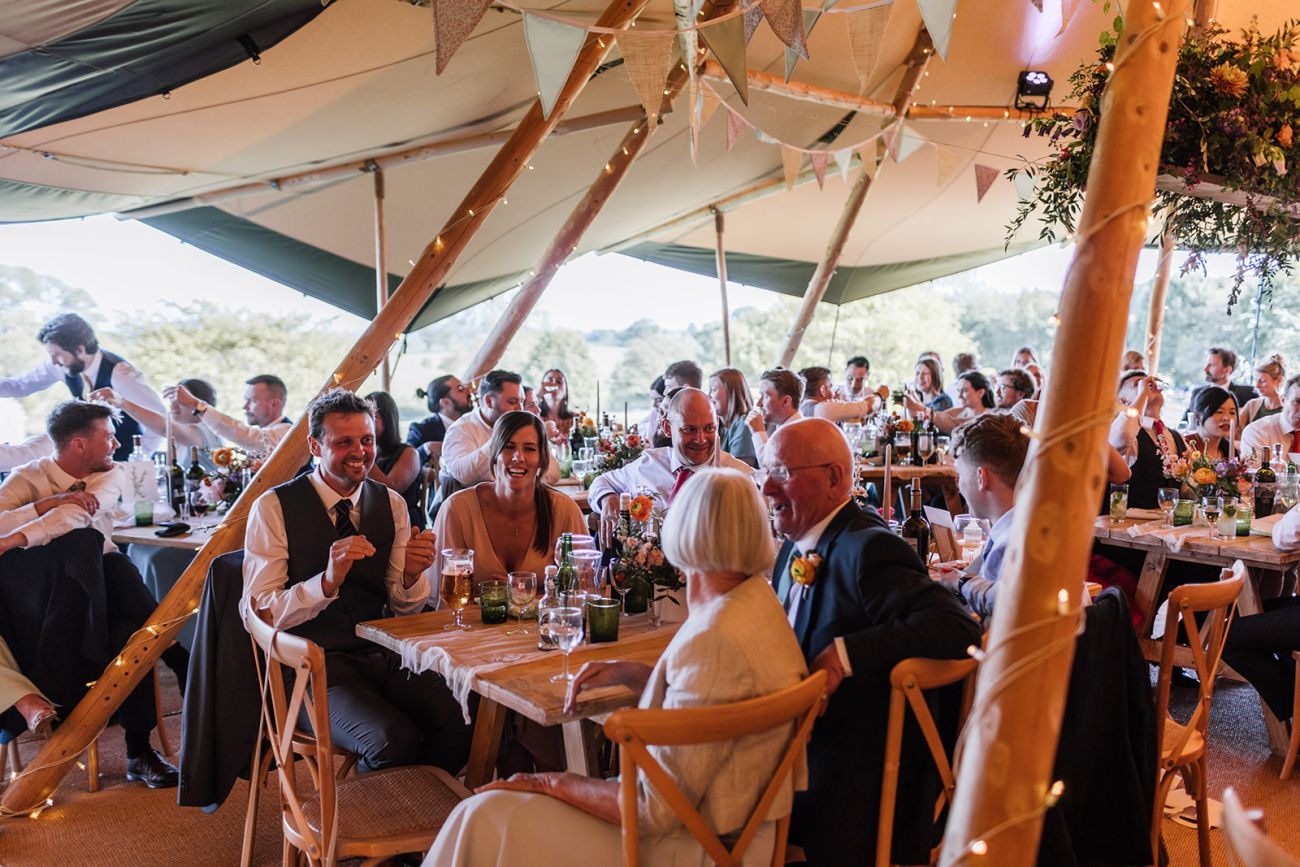
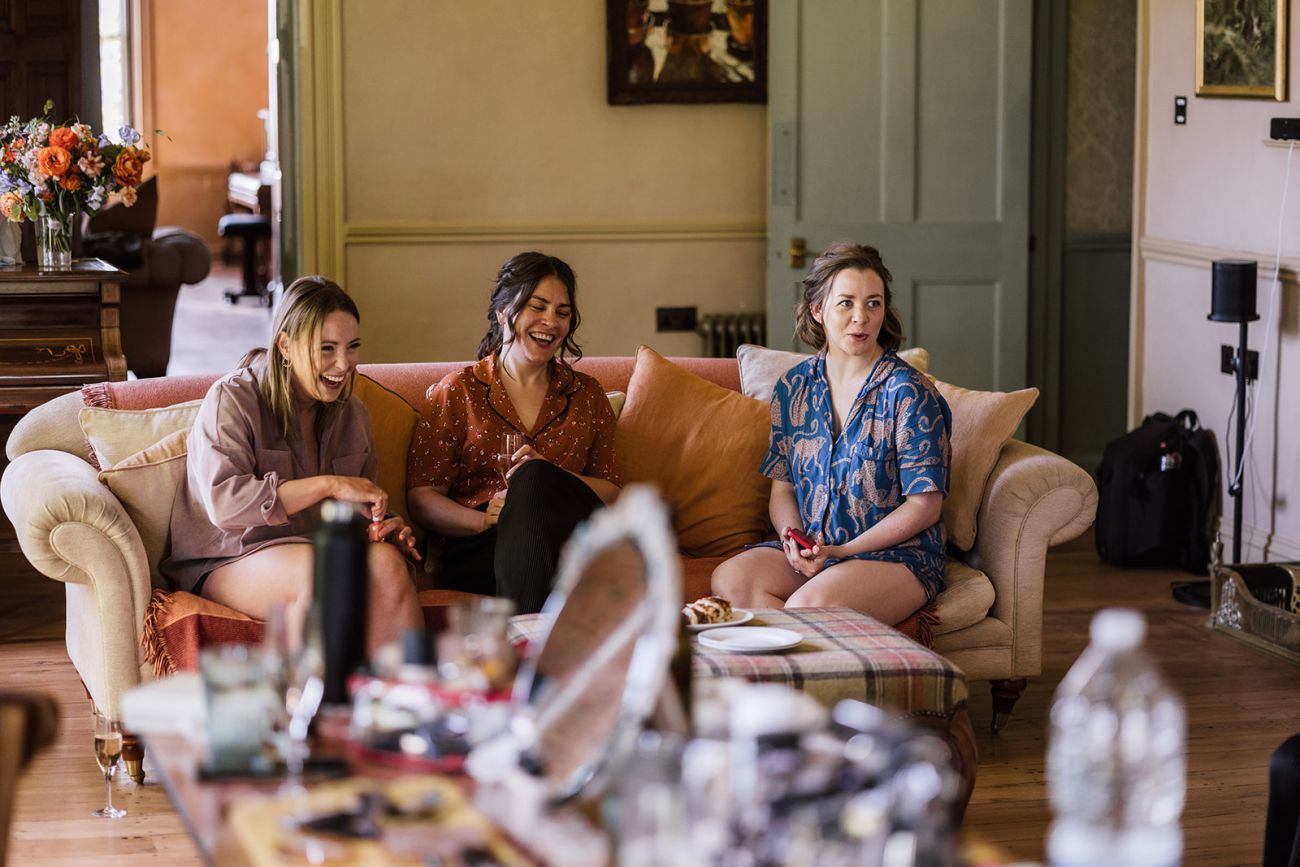
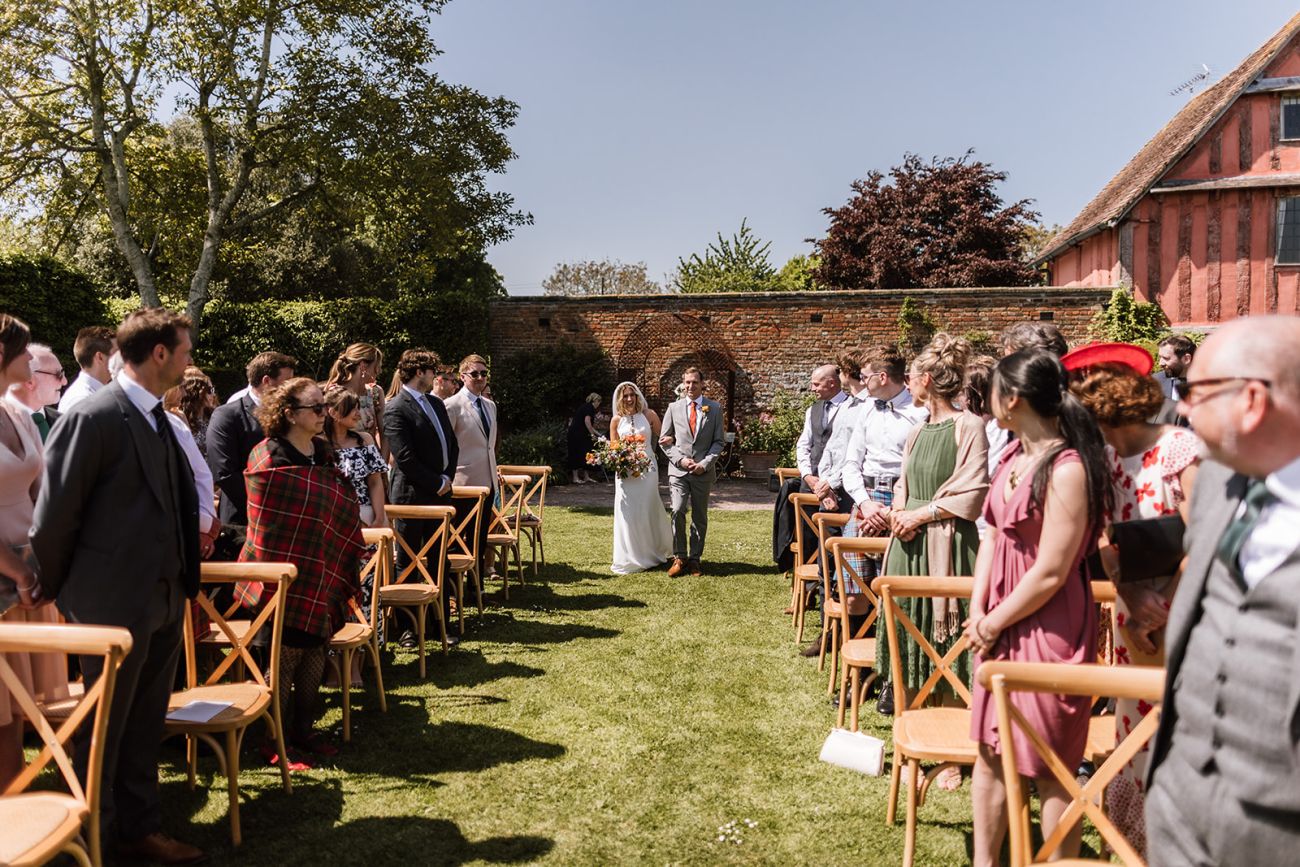
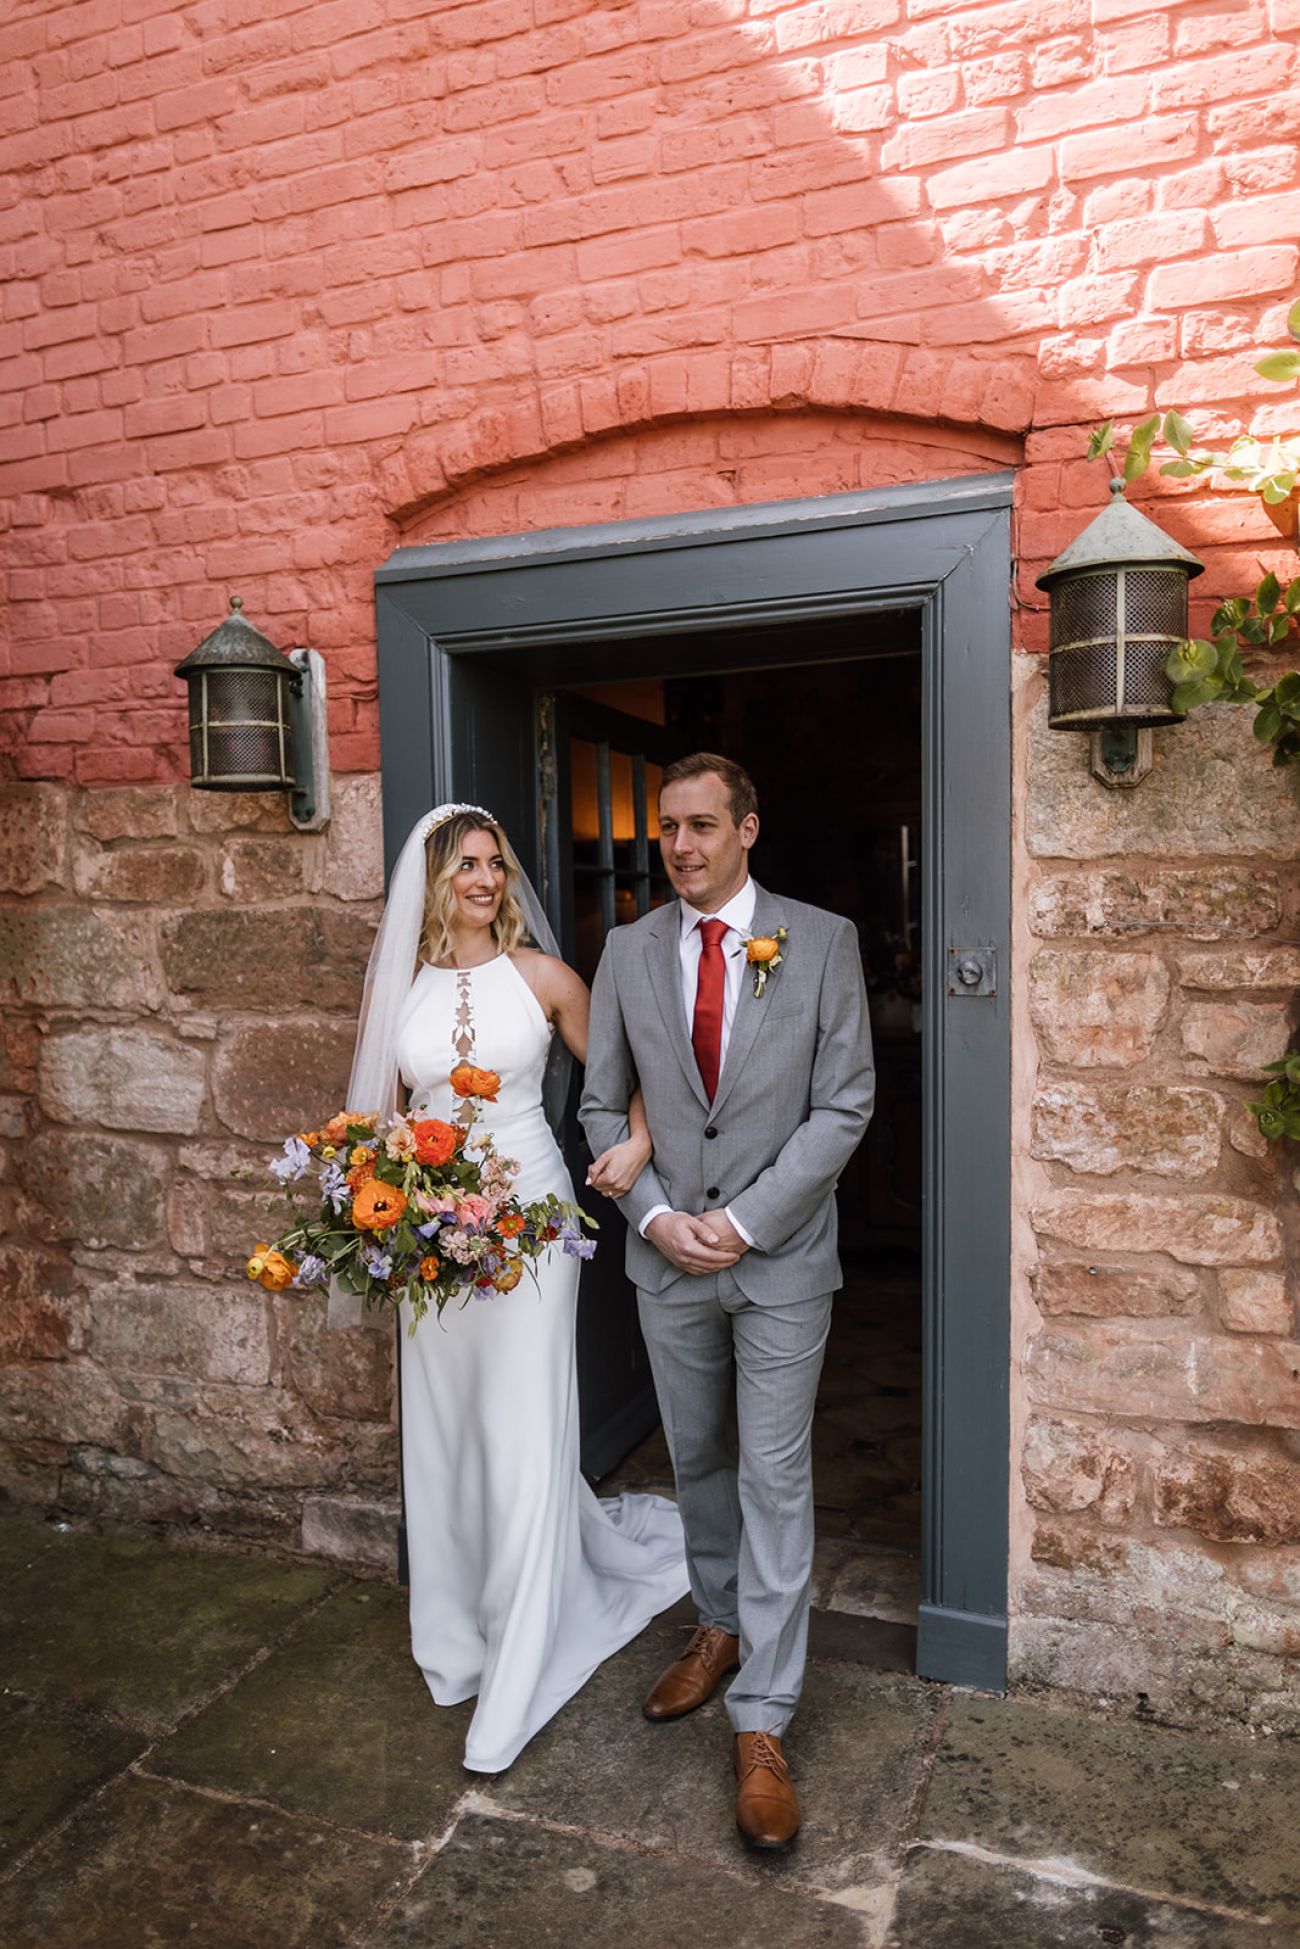
'We couldn't have imagined a more perfect place to get married than Pauntley. The first time we went we both instantly knew it was the right place for us, it has a special feel about it as soon as you arrive. The house is amazing, decorated beautifully throughout with so many nice touches. The gardens are incredible, and we loved that there are so many different areas to use within it over the weekend. We loved having the venue for the whole weekend as it meant we were able to celebrate with friends and family on Friday and Sunday too which made the weekend even more exciting.
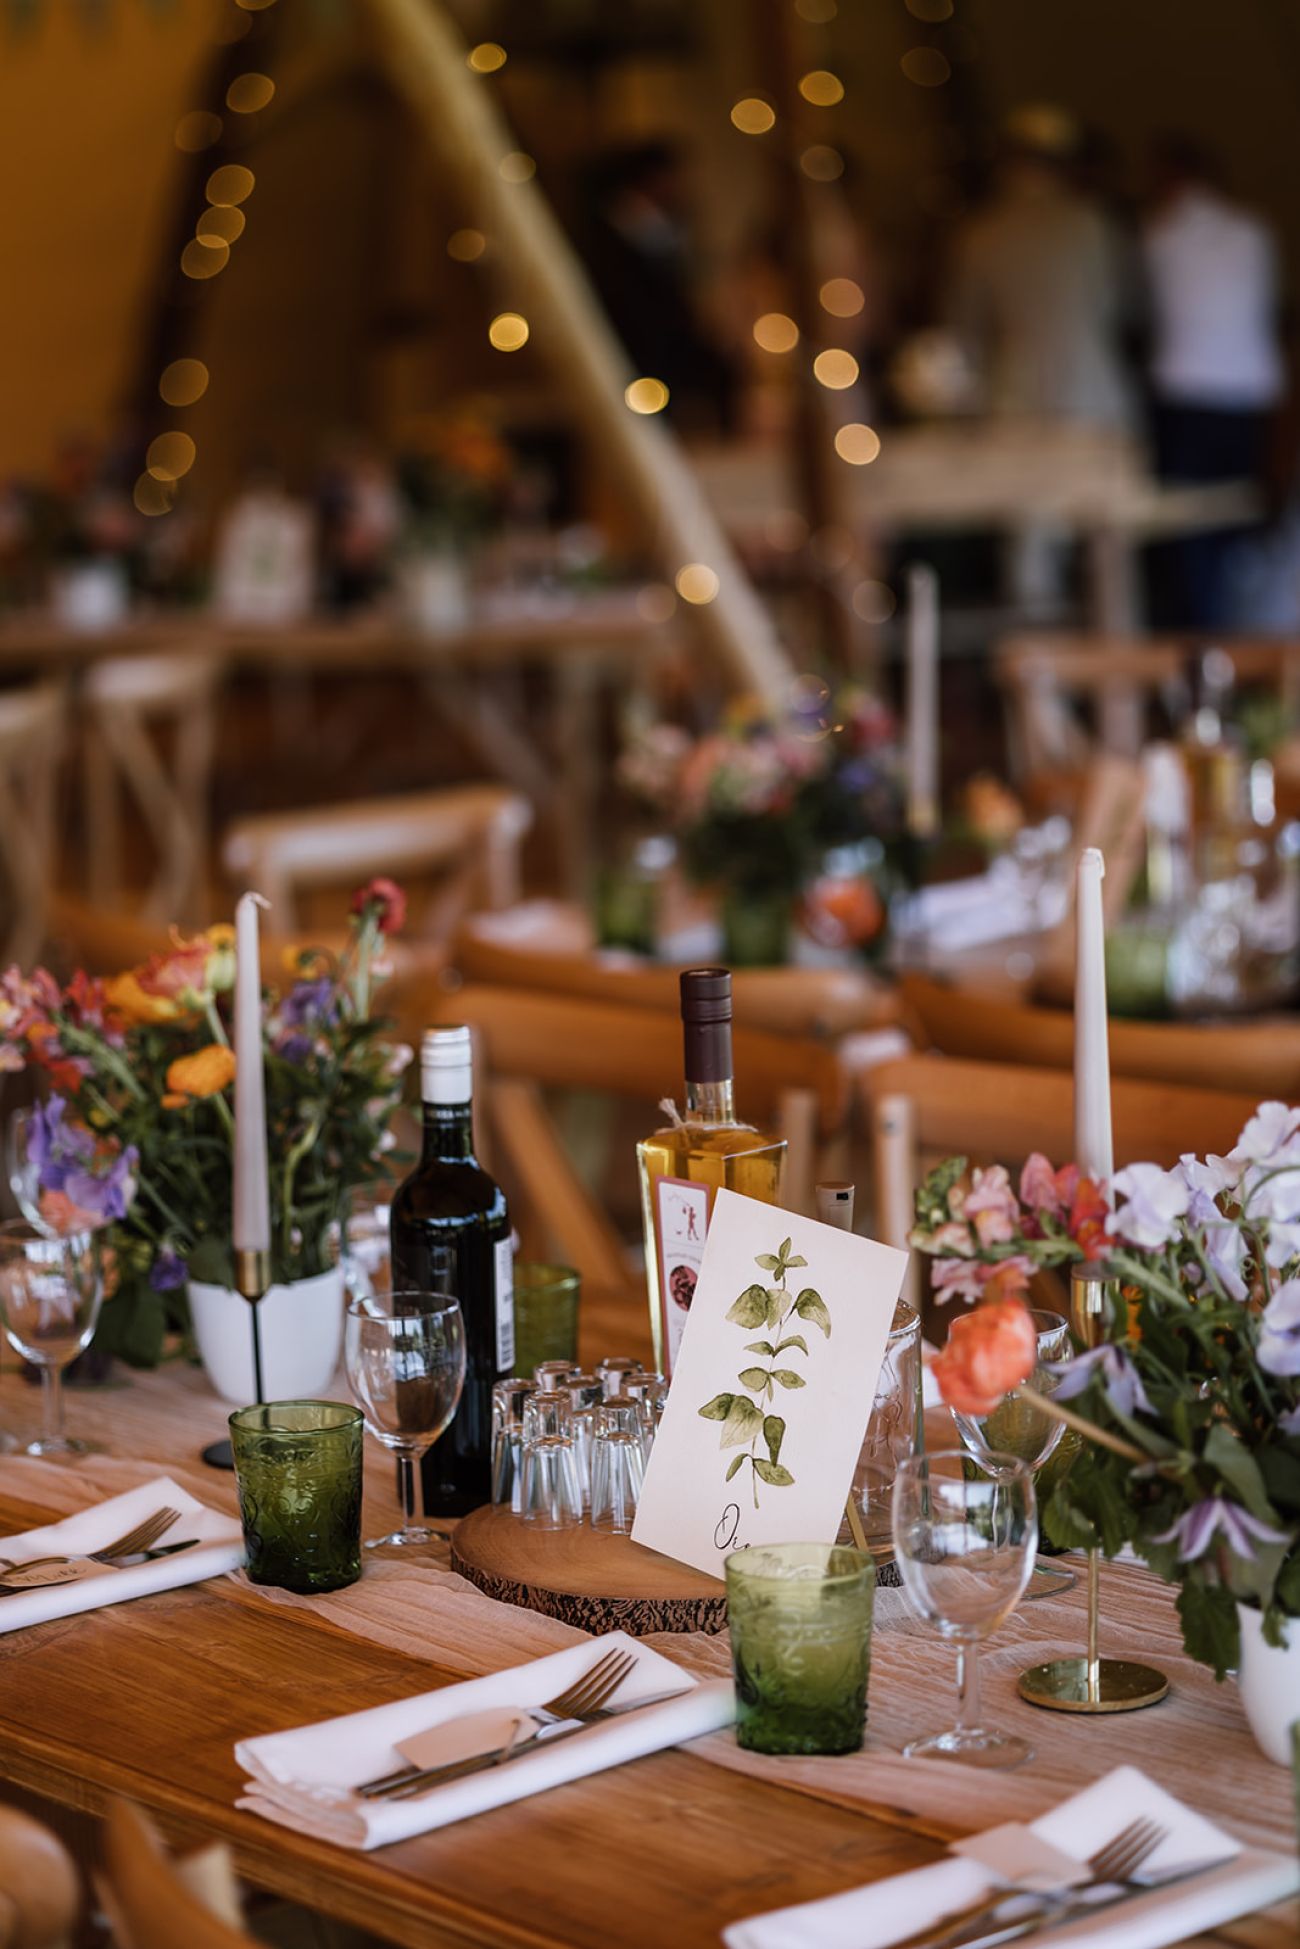
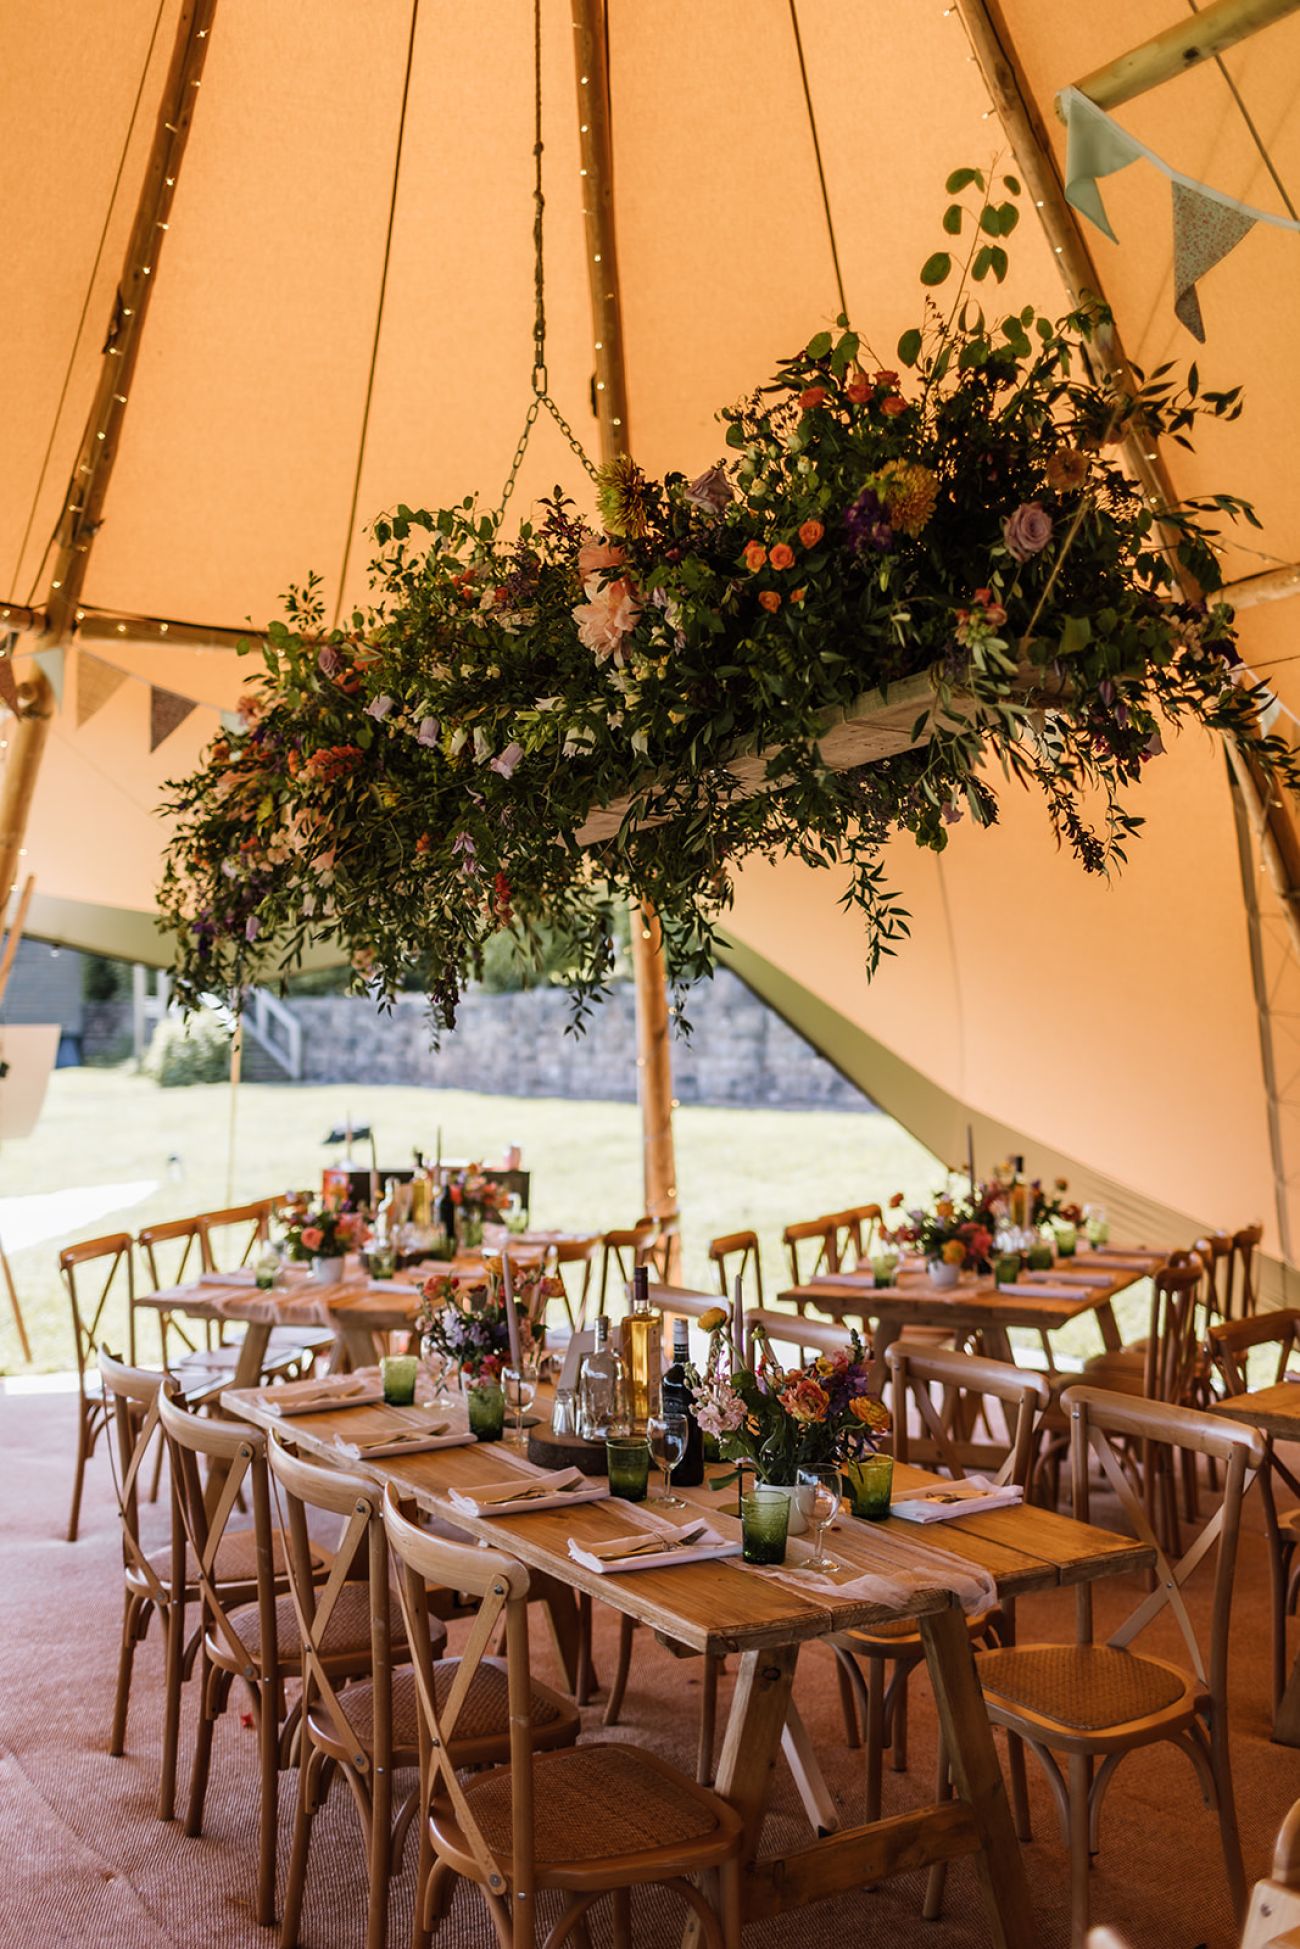
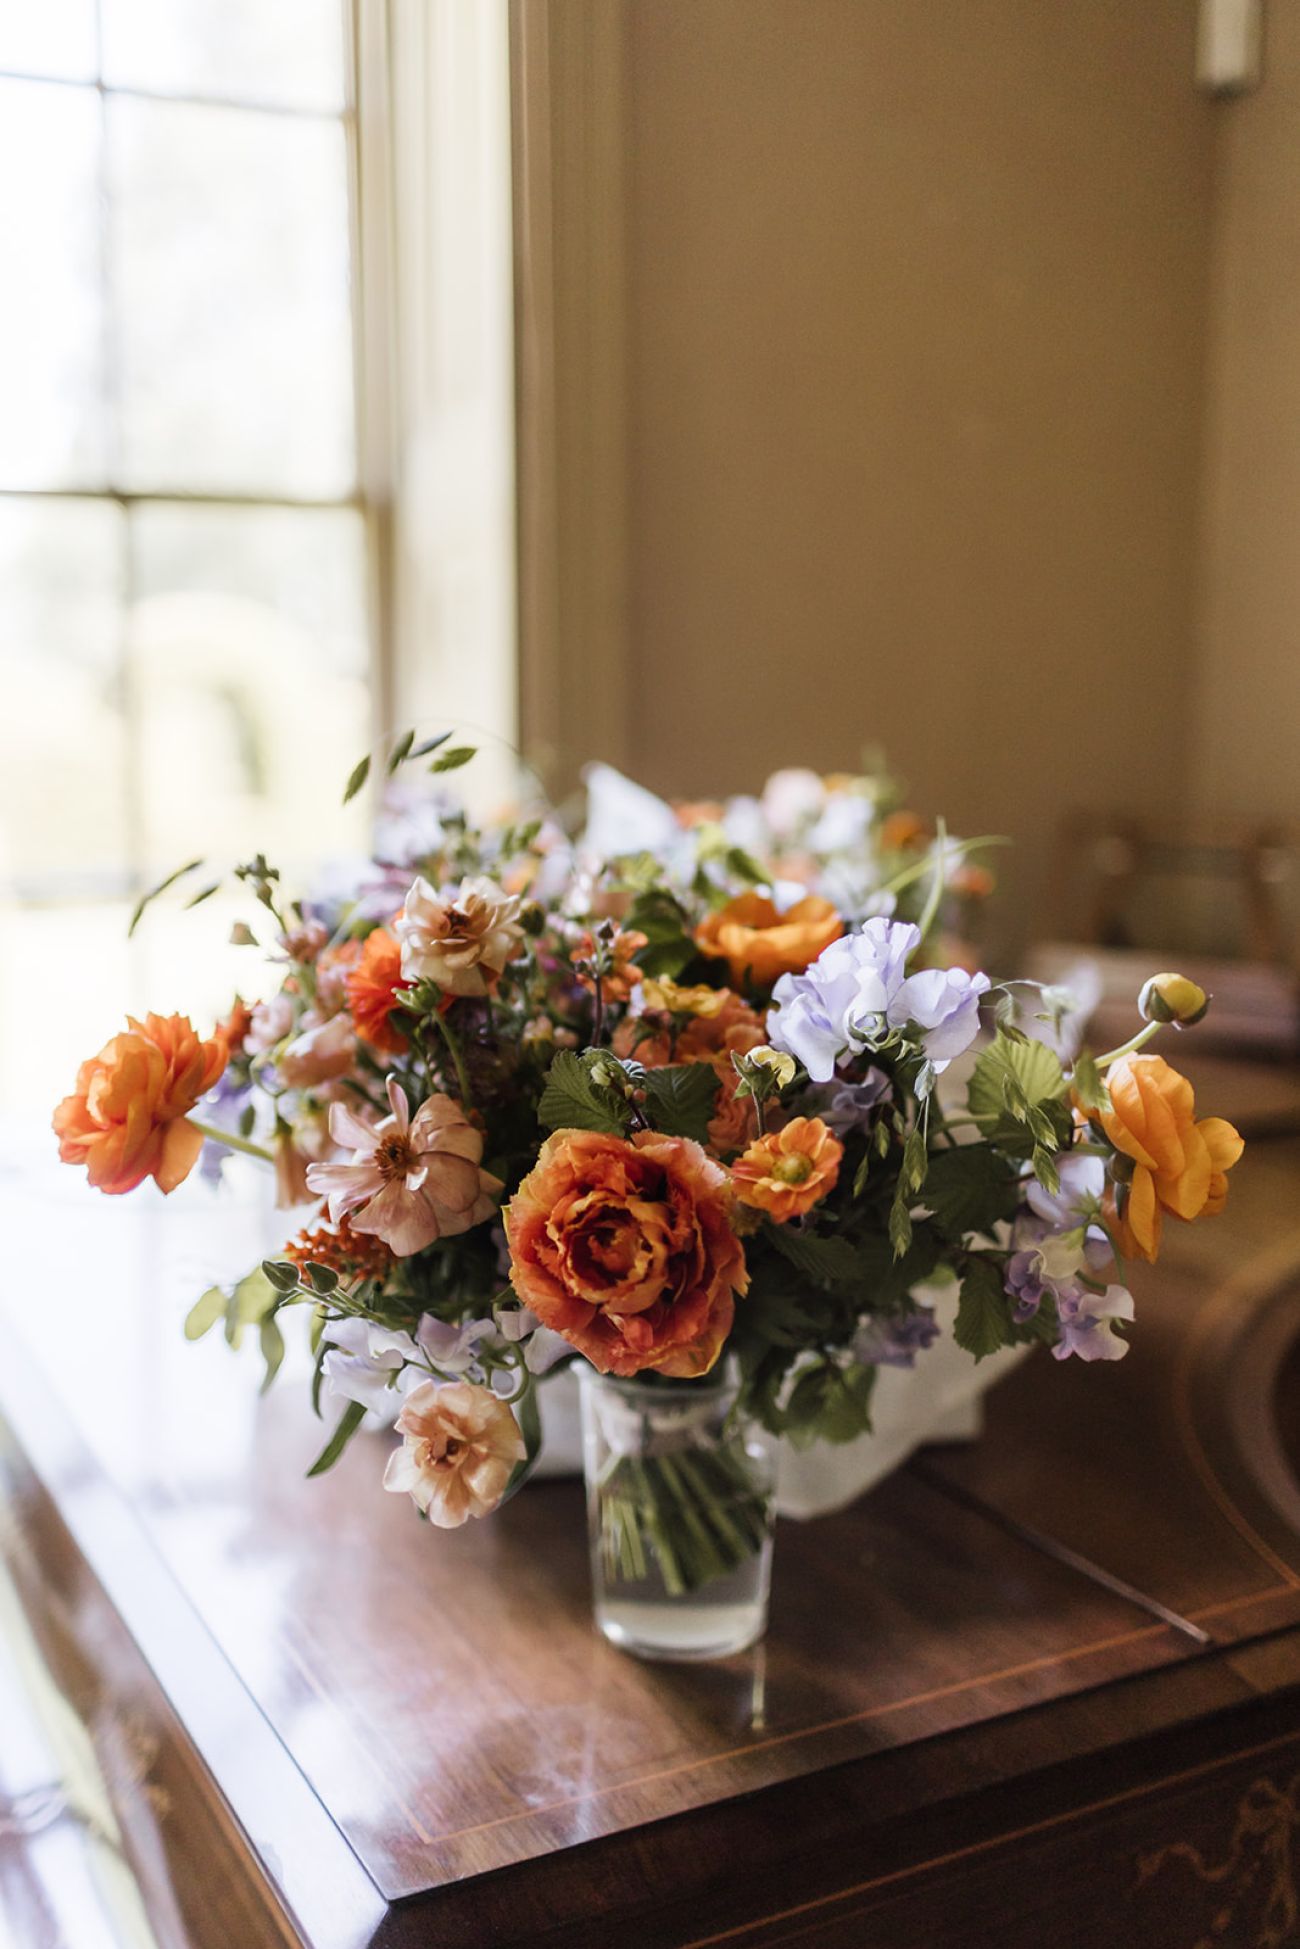
We really wanted our wedding to be as personalised to us as possible, and we were able to achieve this so easily - choosing our catering company/bar company/where we wanted different aspects of the day to take place etc. This all meant that our wedding had a bespoke feel to it and we loved how our day was different to all others before.
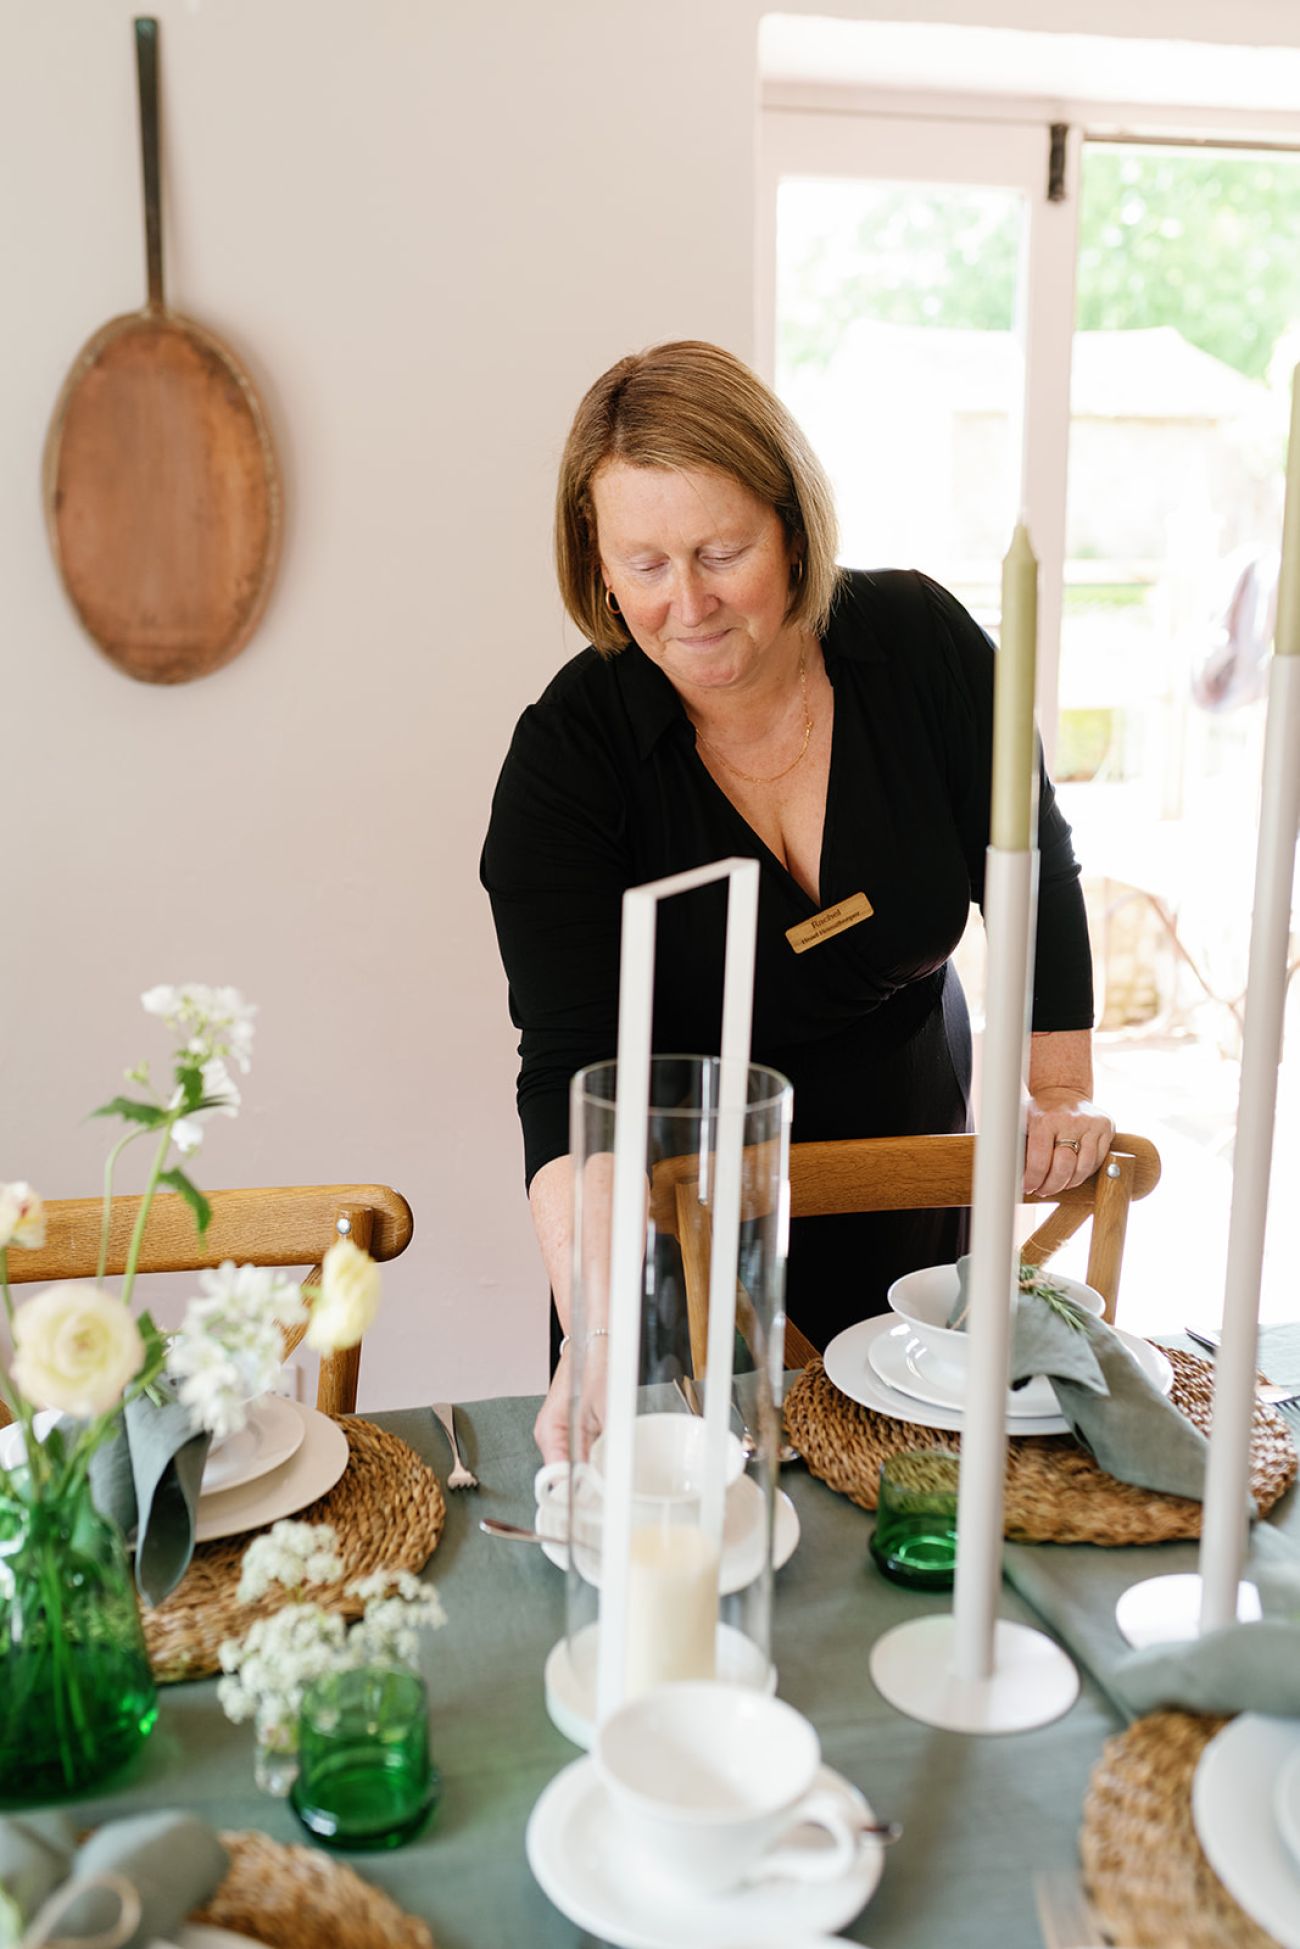
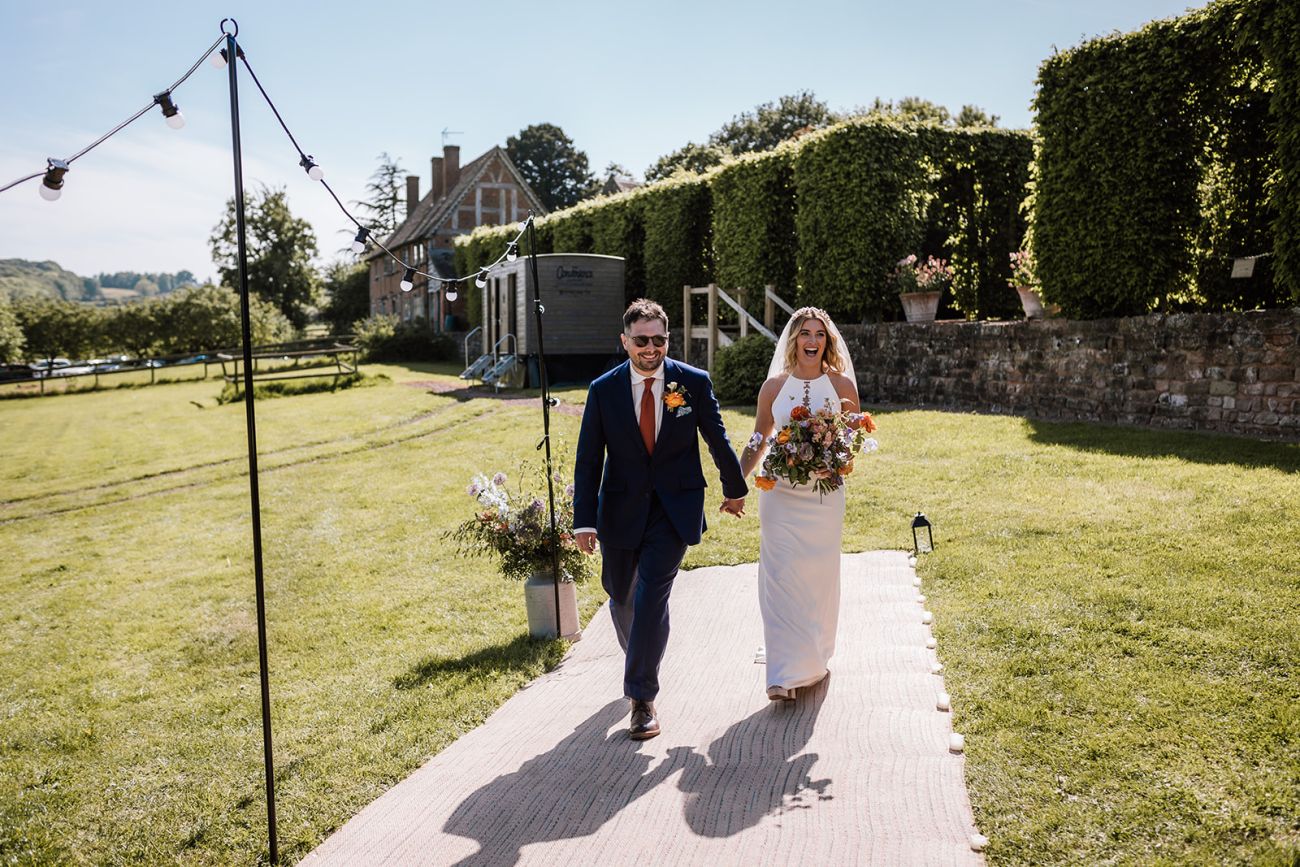
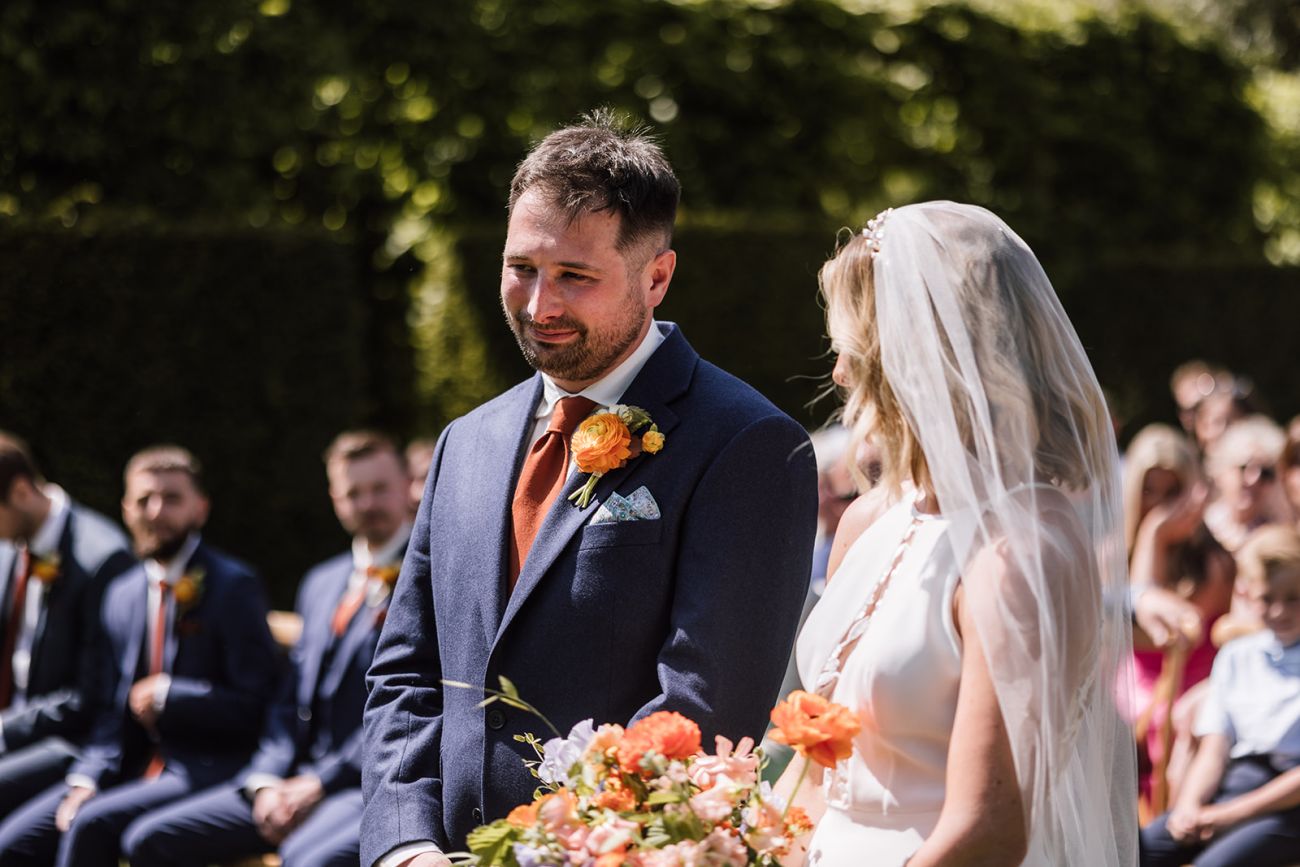
We were lucky enough to have amazing weather on our wedding day and had our ceremony outside on the ceremony lawn. It truly felt like we were at a destination wedding due to it being such a beautiful venue and location - so many guests said they felt like they had been transported to Italy or France! Melissa the owner is so lovely and always happy to help. Rachel the housekeeper is an amazing asset to the team and definitely saved the day at one point! We had Holly as our wedding coorindator and she was absolutely incredible, she made me feel so calm and comfortable on the day knowing it would all run smoothly in her safe hands. We couldn't recommend getting married at Pauntley enough - thank you so much.'
June 2023
Bride & Groom