
Wedding gallery
.JPG)
Harry+Jess-30.jpg)
Harry+Jess-28.jpg)
Harry+Jess-11.jpg)
Harry+Jess-1.jpg)
Harry+Jess-95.jpg)
Harry+Jess-32.jpg)
Harry+Jess-30.jpg)
Harry+Jess-26.jpg)
Harry+Jess-22.jpg)
Harry+Jess-170.jpg)
Harry+Jess-169.jpg)
Harry+Jess-161.jpg)
Harry+Jess-160.jpg)
Harry+Jess-153.jpg)
Harry+Jess-13.jpg)
Harry+Jess-71.jpg)
Harry+Jess-67.jpg)
Harry+Jess-4.jpg)
Harry+Jess-34.jpg)
Harry+Jess-2.jpg)
Alex Stevens Photography
Alex Stevens Photography
Alex Stevens Photography
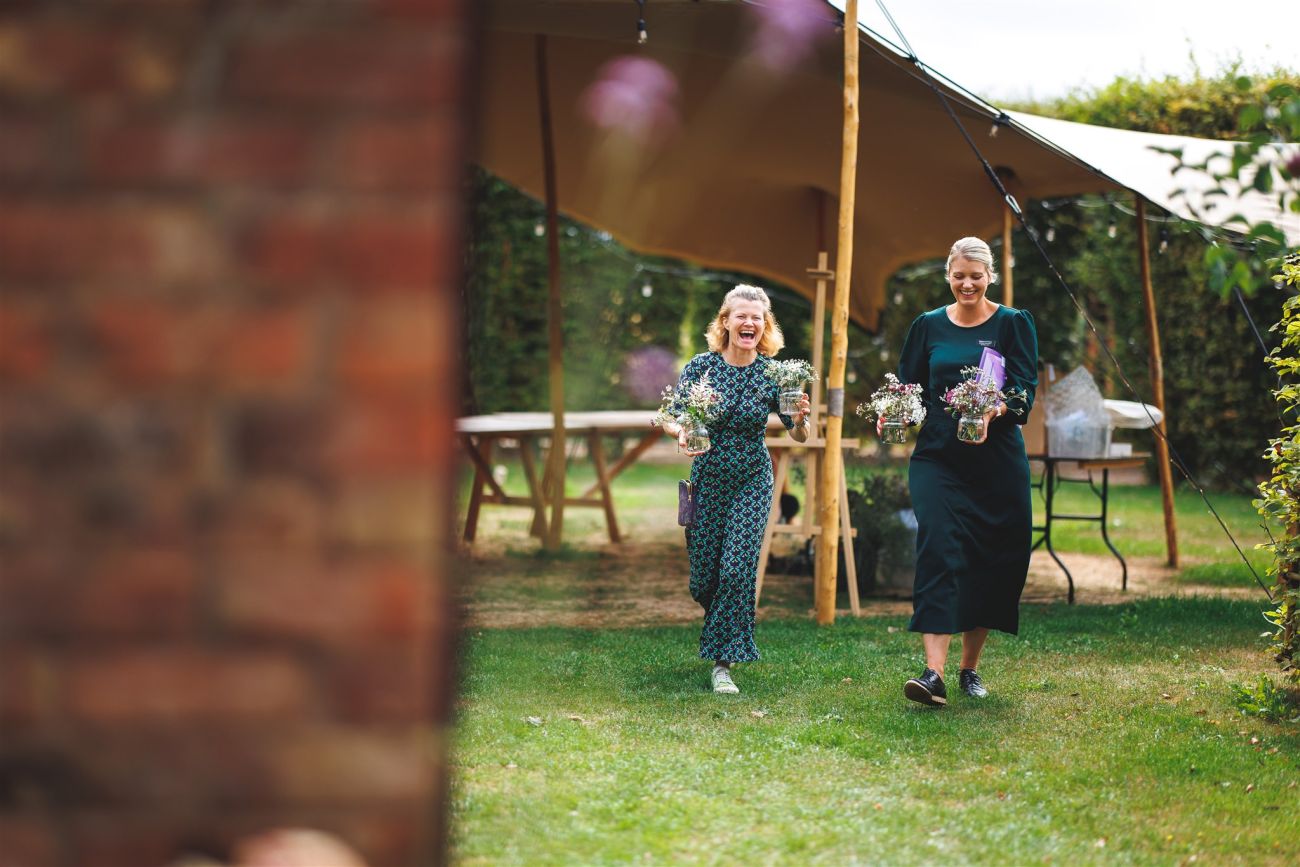
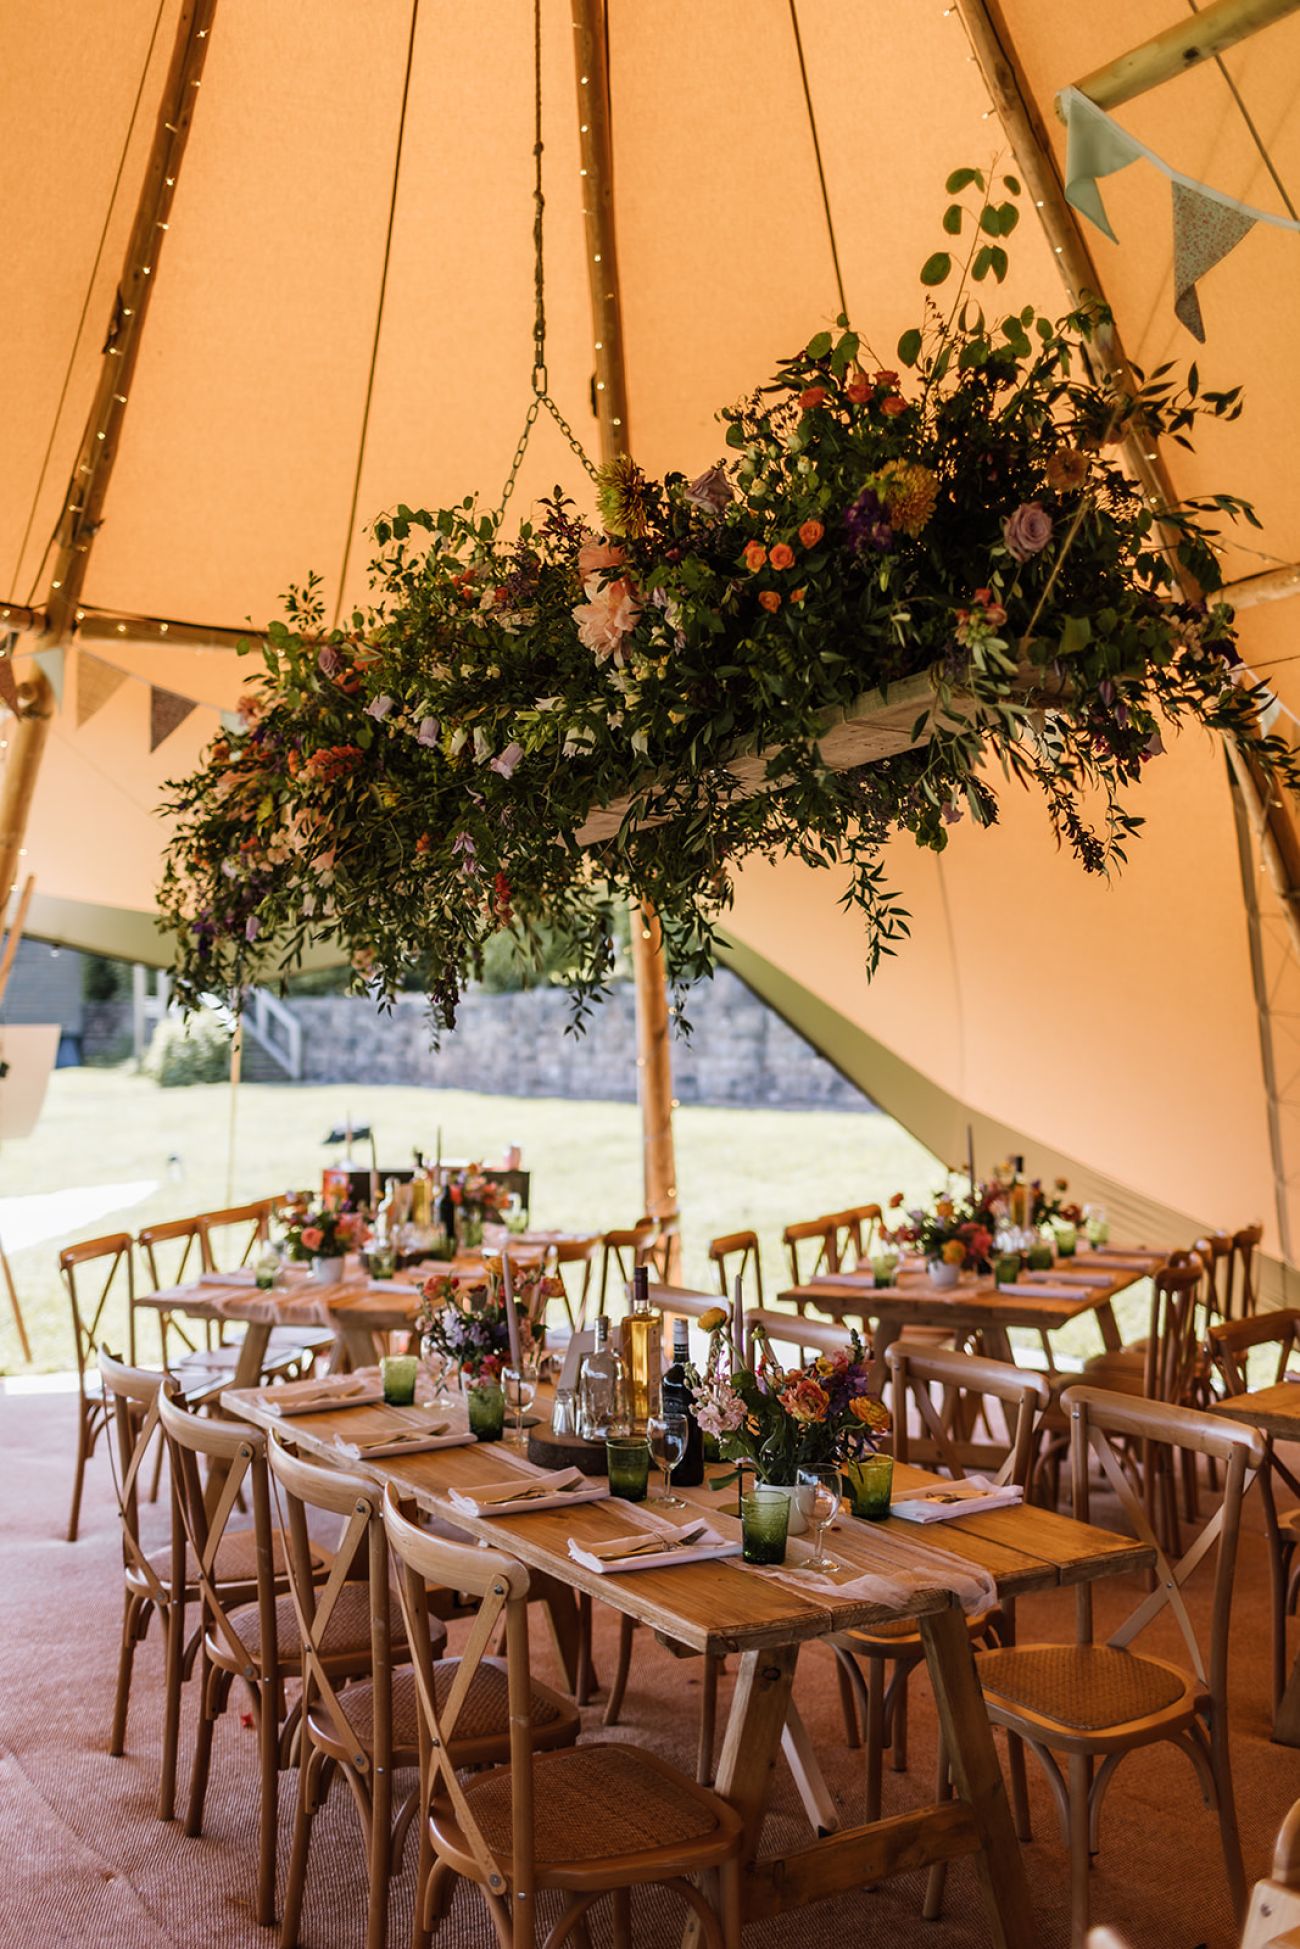
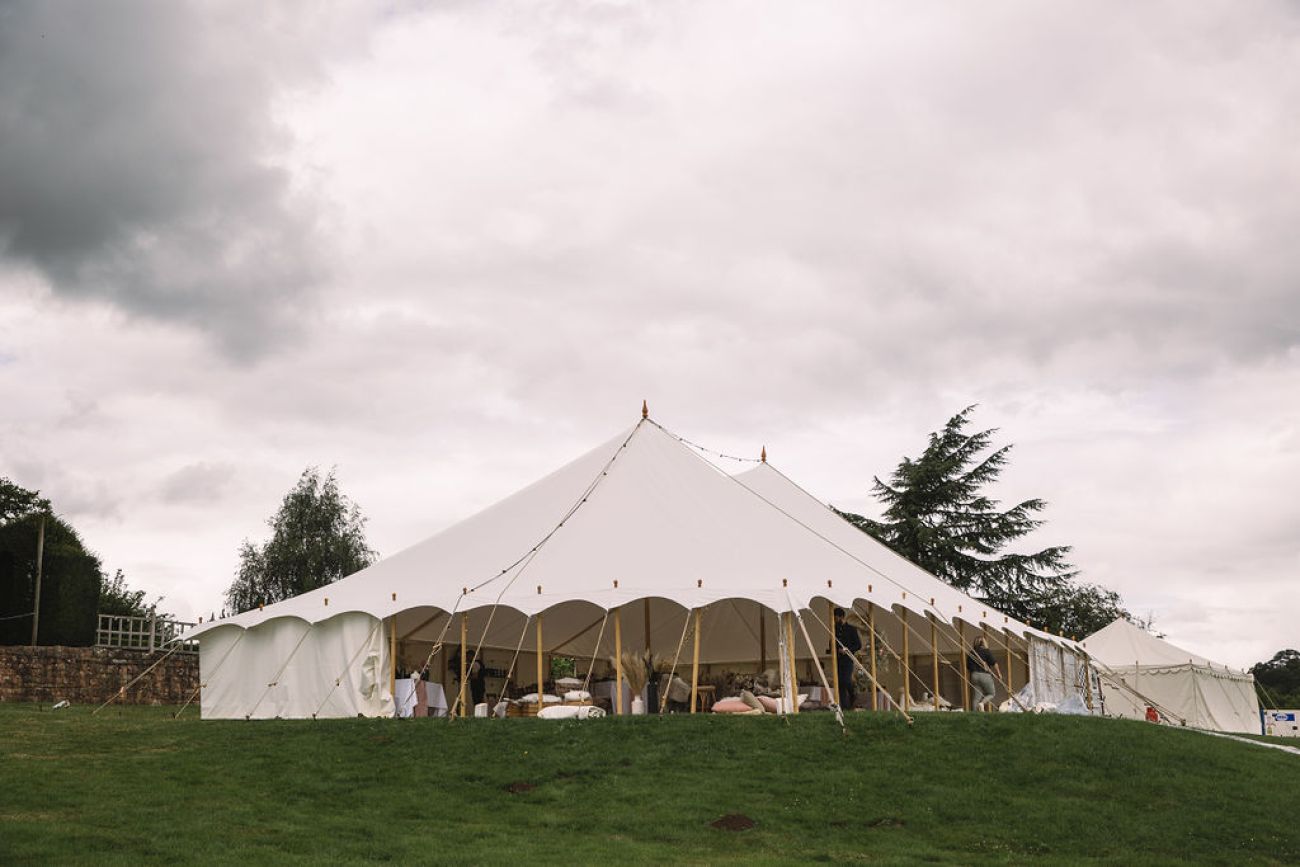
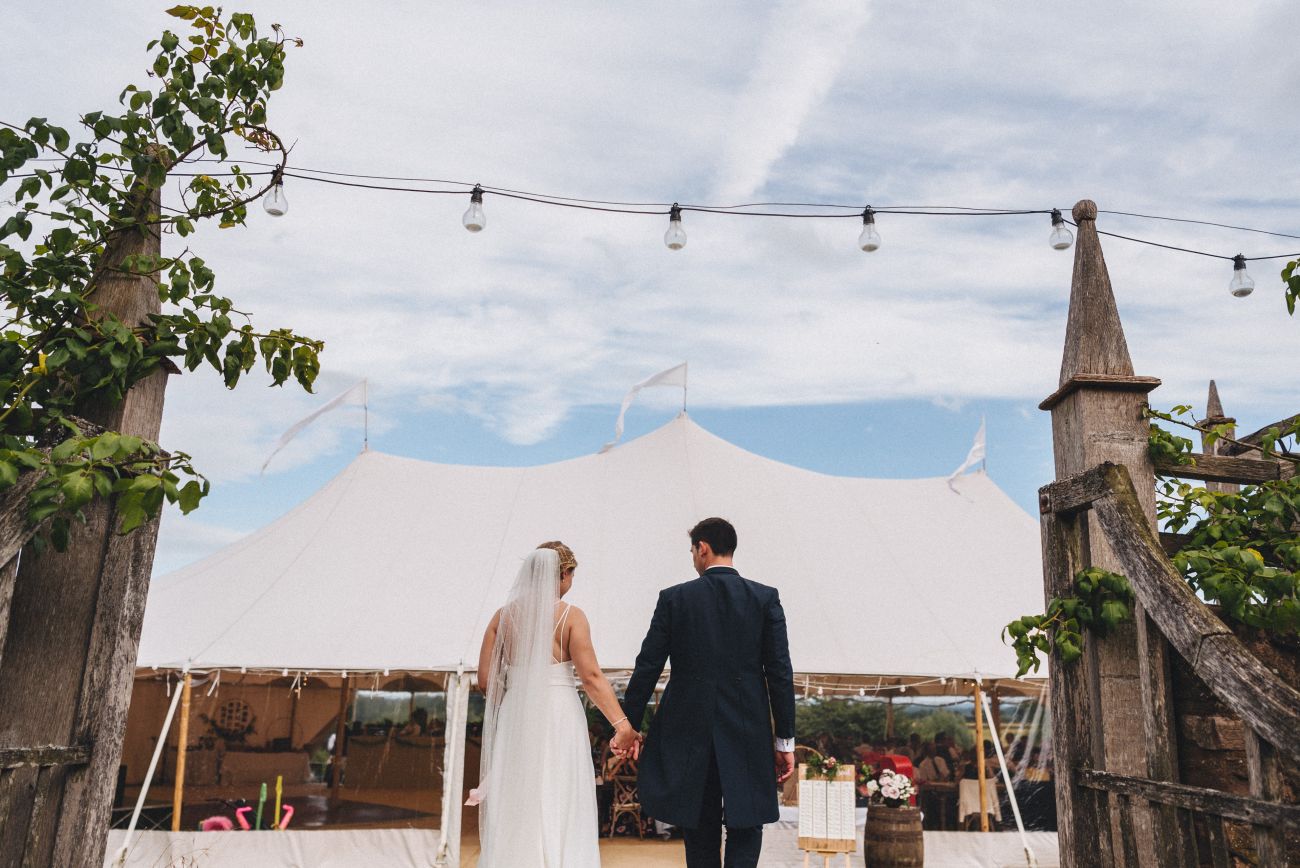
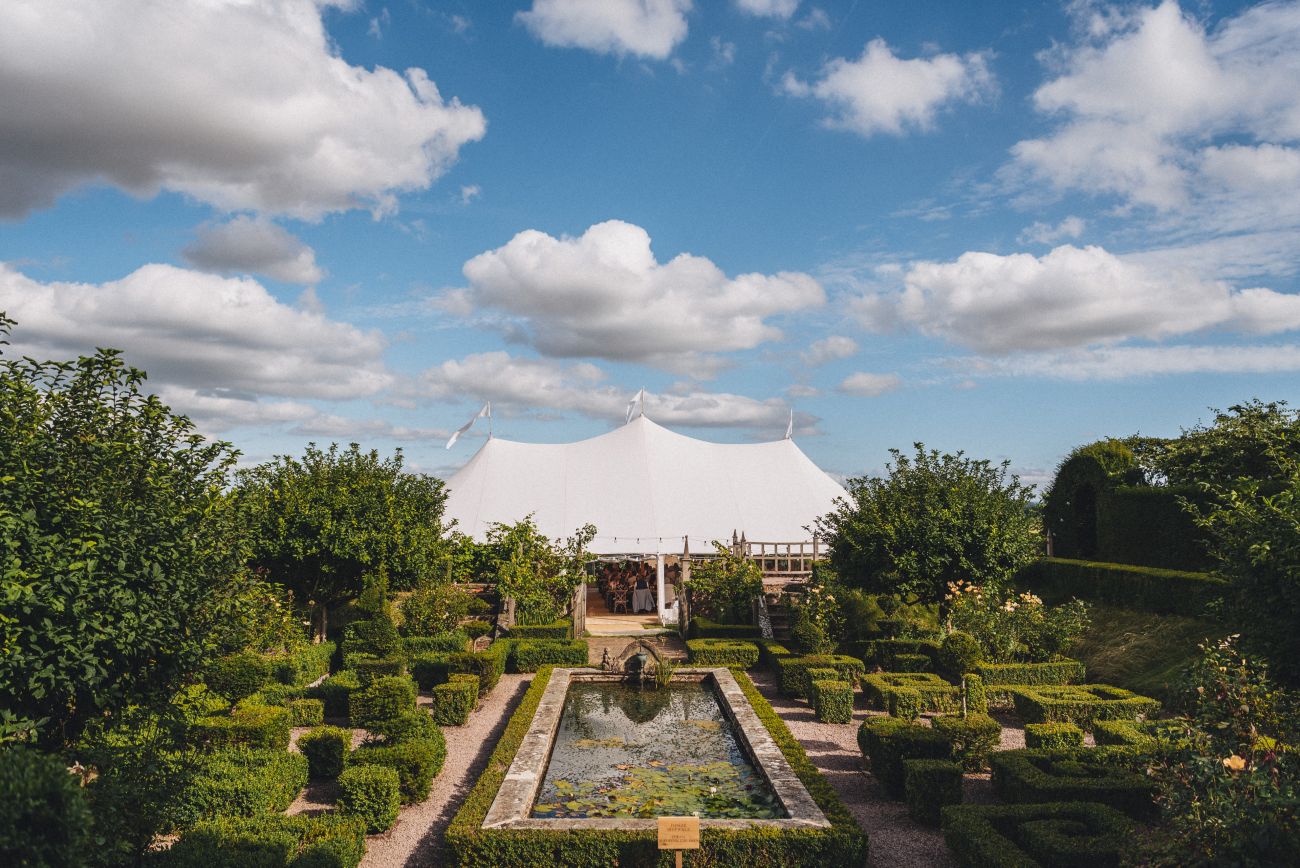
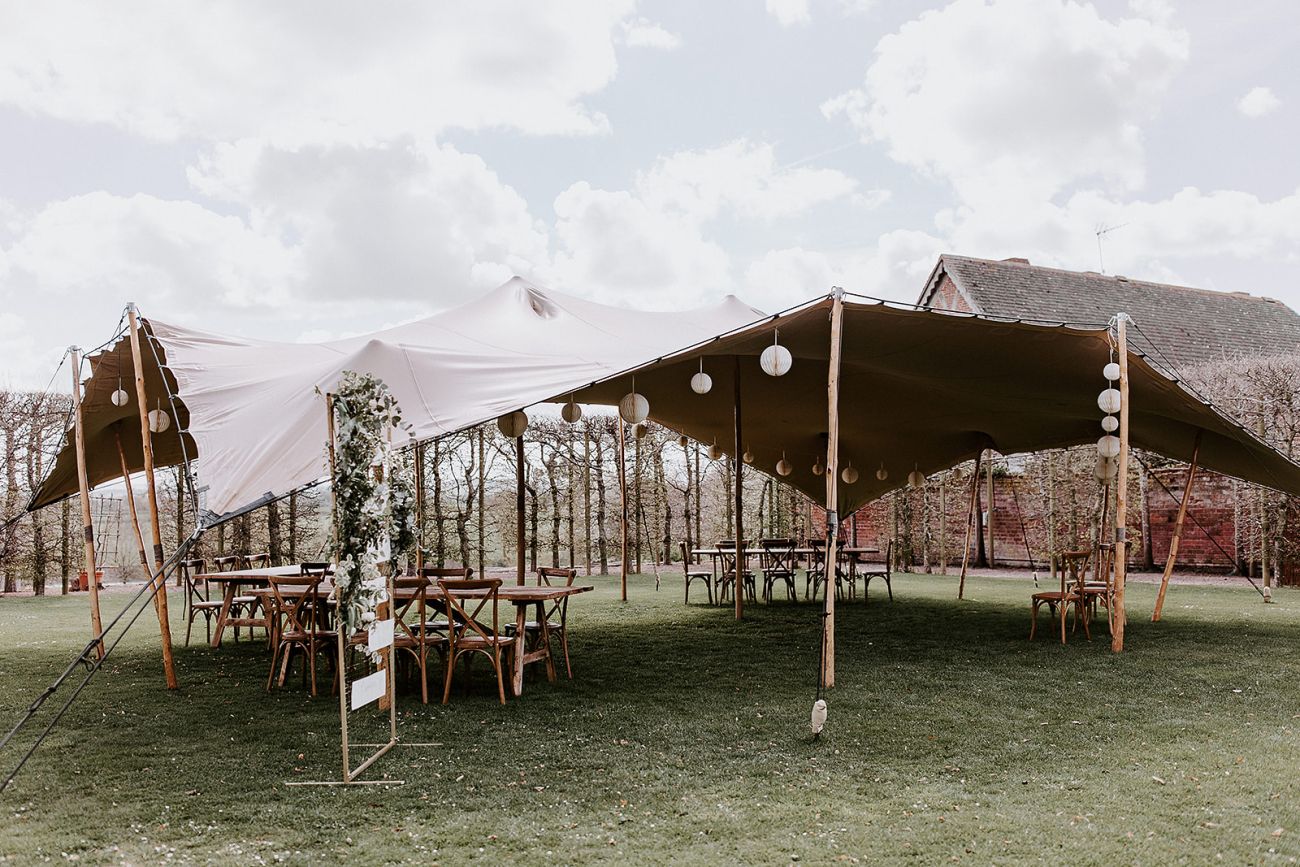
The Country Marquee Company
Alex Stevens Photography
Alex Stevens Photography
Alex Stevens Photography
Alex Stevens Photography
Photos by Luke Cummins Photography
Photos by Luke Cummins Photography
Photos by Luke Cummins Photography
Photos by Luke Cummins Photography
Photos by Luke Cummins Photography
Photos by Luke Cummins Photography
Photo's by Aga Hosking Photography
Photo's by Aga Hosking Photography
Photo's by Aga Hosking Photography
Photo's by Aga Hosking Photography
Photo's by Aga Hosking Photography
Photo's by Aga Hosking Photography
Photo's by Aga Hosking Photography
Photo's by Aga Hosking Photography
Photo's by Aga Hosking Photography
Photo's by Aga Hosking Photography
Photo's by Aga Hosking Photography
Photo's by Aga Hosking Photography
Photo's by Aga Hosking Photography
Photo's by Aga Hosking Photography
Photo by Marcus Rice Photograpy
Photo by Marcus Rice Photograpy
Photo by Marcus Rice Photograpy
Photo by Marcus Rice Photograpy
Photo by Marcus Rice Photograpy
Photo by Marcus Rice Photograpy
Photo by Marcus Rice Photograpy
Photo by Marcus Rice Photography
Photo by Marcus Rice Photography
Photo by Marcus Rice Photography
Photo by Marcus Rice Photography
Photo by Marcus Rice Photography
Photo by Marcus Rice Photography
Photo by Marcus Rice Photography
Photo by Marcus Rice Photography
Photo by Marcus Rice Photography
Photo by Marcus Rice Photography
Photo by Marcus Rice Photography
Photo by Marcus Rice Photography
Photo by Marcus Rice Photography
Photo by Marcus Rice Photography
Photo by Marcus Rice Photography
Photo by Marcus Rice Photography
Photo by Marcus Rice Photography
Photo by Marcus Rice Photography
Photo by Lauren Juliette
Photo by Lauren Juliette
Photo by Lauren Juliette
Photo by Lauren Juliette
Photo by Lauren Juliette
Photo by Lauren Juliette
Photo by Lauren Juliette
Photo by Lauren Juliette
Photo by Lauren Juliette
Photo's by Lauren Juliette
Photo's by Lauren Juliette
Photo's by Lauren Juliette
Photo's by Lauren Juliette
Photo's by Lauren Juliette
Photo's by Lauren Juliette
Photo by David Liebst
Photo by David Liebst
Photo by David Liebst
Photo by David Liebst
Photo by David Liebst
Photo by David Liebst
Photo by David Liebst
Photo by David Liebst
Photo by David Liebst
Photo by David Liebst
Photo by David Liebst
Photo by David Liebst
Photos by David Liebst
Photos by David Liebst
Photos by David Liebst
Photos by David Liebst
Photos by David Liebst
Photos by David Liebst
Photos by David Liebst
Photos by David Liebst
Photos by David Liebst
Photos by David Liebst
Photo by Siobhan Beales
Photos by Siobhan Beales
Photos by Siobhan Beales
Photos by Siobhan Beales
Photo's by Phil Webb Photograpy
Photo's by Phil Webb Photograpy
Photo's by Phil Webb Photograpy
Photo's by Phil Webb Photograpy
Photo's by Phil Webb Photograpy
Photo's by Phil Webb Photograpy
Photo's by Phil Webb Photograpy
Photo's by Phil Webb Photograpy
Photo's by Phil Webb Photograpy
Photo's by Phil Webb Photograpy
Photo's by Phil Webb Photograpy
Photo's by Phil Webb Photograpy
Photos by Katrina Bartlam
Photos by Katrina Bartlam
Photos by Katrina Bartlam
Photos by Katrina Bartlam
Photos by Katrina Bartlam
Photos by Katrina Bartlam
Photos by Katrina Bartlam
Photos by Katrina Bartlam
Photos by Katrina Bartlam
Photos by Katrina Bartlam
Photos by Katrina Bartlam
Photos by Katrina Bartlam
Photos by Katrina Bartlam
Photos by Katrina Bartlam
Photos by Katrina Bartlam
Photos by Katrina Bartlam
Photos by Katrina Bartlam
Photos by Katrina Bartlam
Photos by Katrina Bartlam
Photos by Katrina Bartlam
Photos by Katrina Bartlam
Photograph by The Curious Hearts
Photograph by The Curious Hearts
Photograph by The Curious Hearts
Photograph by The Curious Hearts
Jodine & Jonathans wedding photos by David Liebst Photography
Jodine & Jonathans wedding photos by David Liebst Photography
Jodine & Jonathans wedding photos by David Liebst Photography
Jodine & Jonathans wedding photos by David Liebst Photography
Jodine & Jonathans wedding photos by David Liebst Photography
Jodine & Jonathans wedding photos by David Liebst Photography
Jodine & Jonathans wedding photos by David Liebst Photography
Jodine & Jonathans wedding photos by David Liebst Photography
Jodine & Jonathans wedding photos by David Liebst Photography
Jodine & Jonathans wedding photos by David Liebst Photography
Jodine & Jonathans wedding photos by David Liebst Photography
Jodine & Jonathans wedding photos by David Liebst Photography
Jodine & Jonathans wedding photos by David Liebst Photography
Jodine & Jonathans wedding photos by David Liebst Photography
Jodine & Jonathans wedding photos by David Liebst Photography
Photo by Siobhan Beales
Photo by Siobhan Beales
Photo by Siobhan Beales
Ellis & Sean photos by Siobhan Beales
Ellis & Sean beautiful photos taken by Siobhan Beales
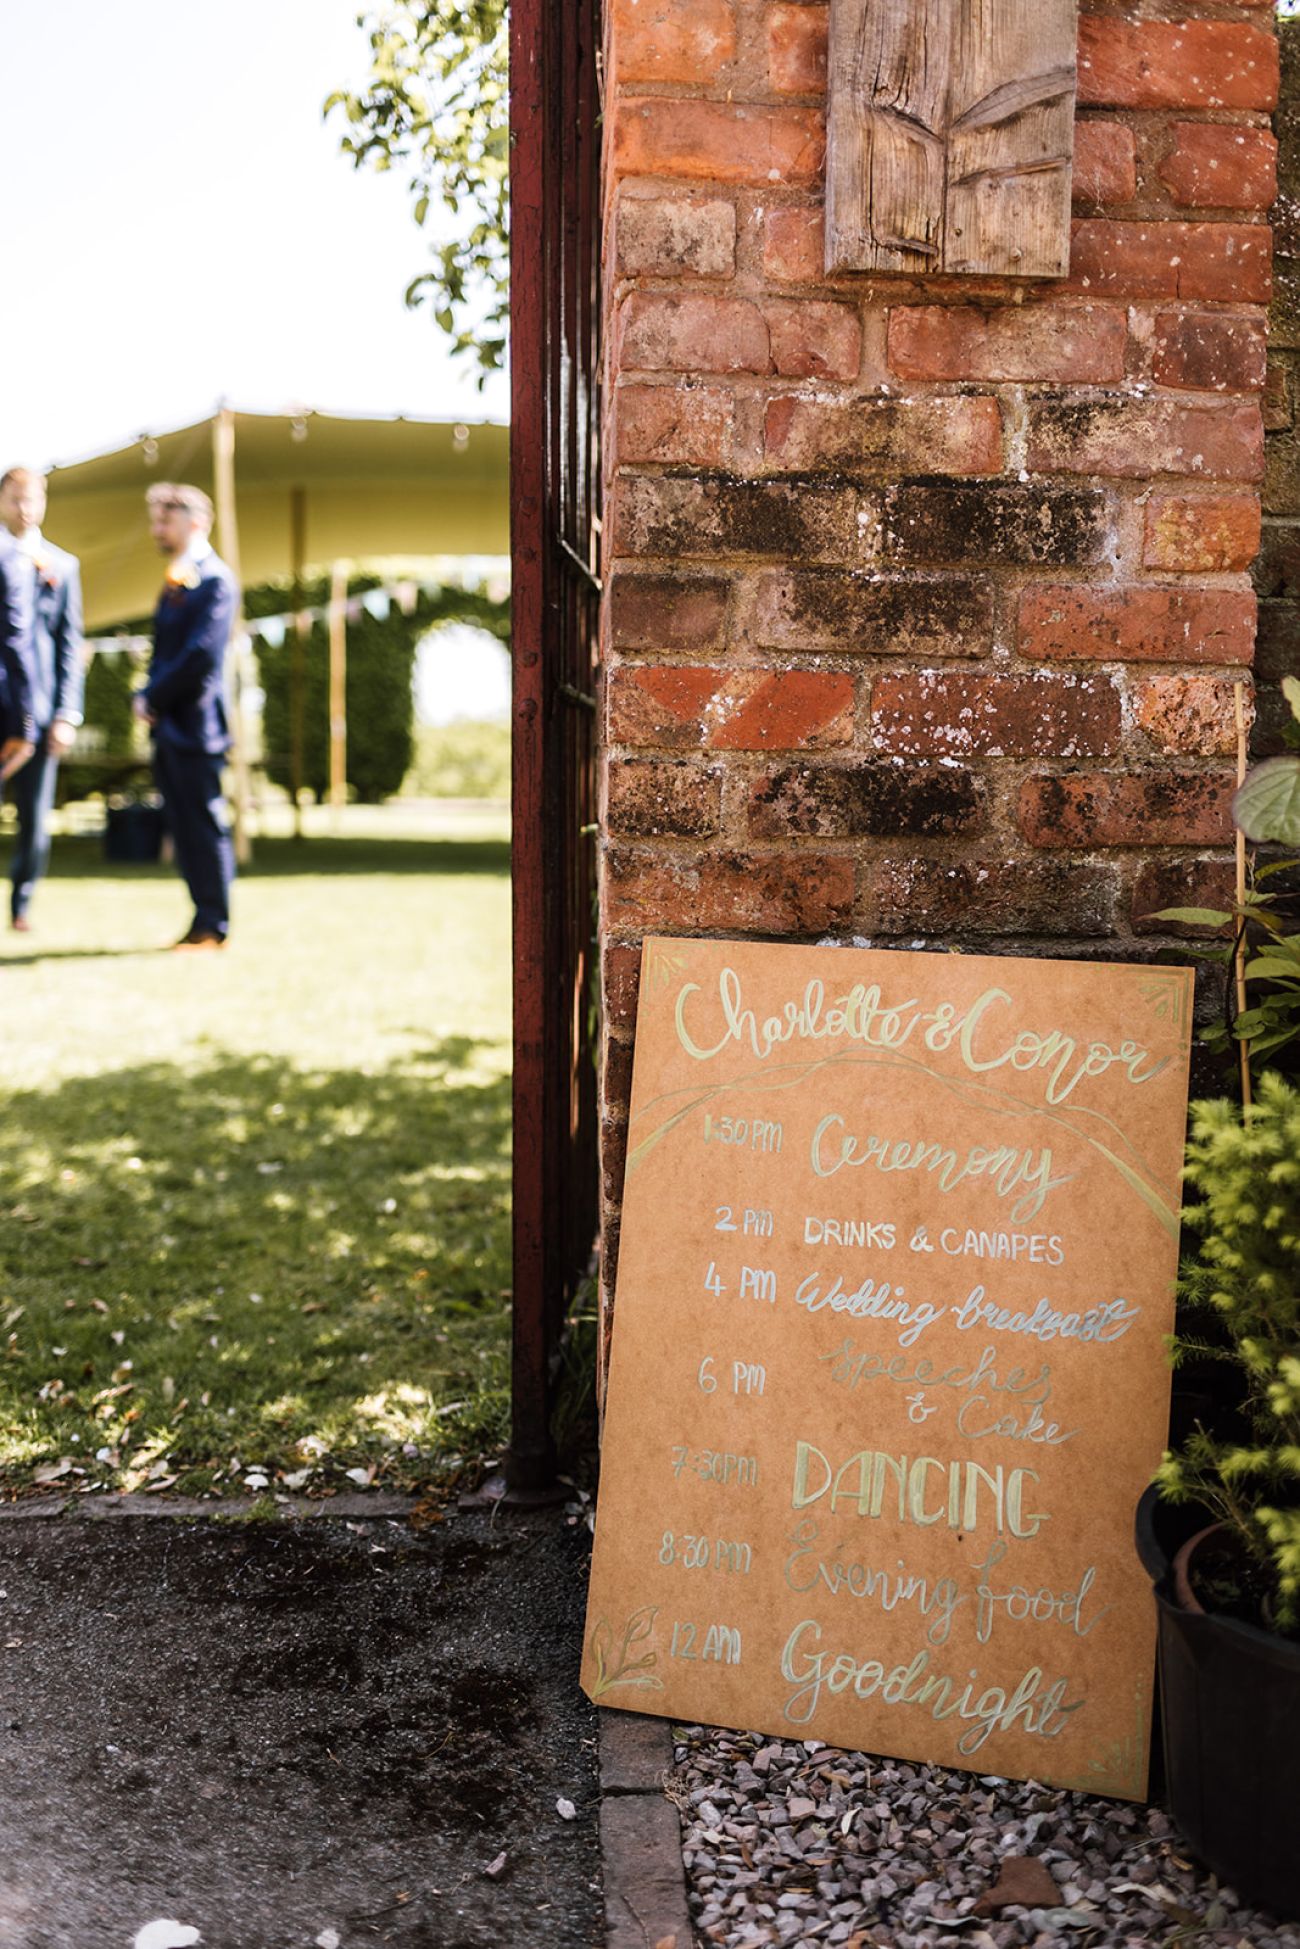
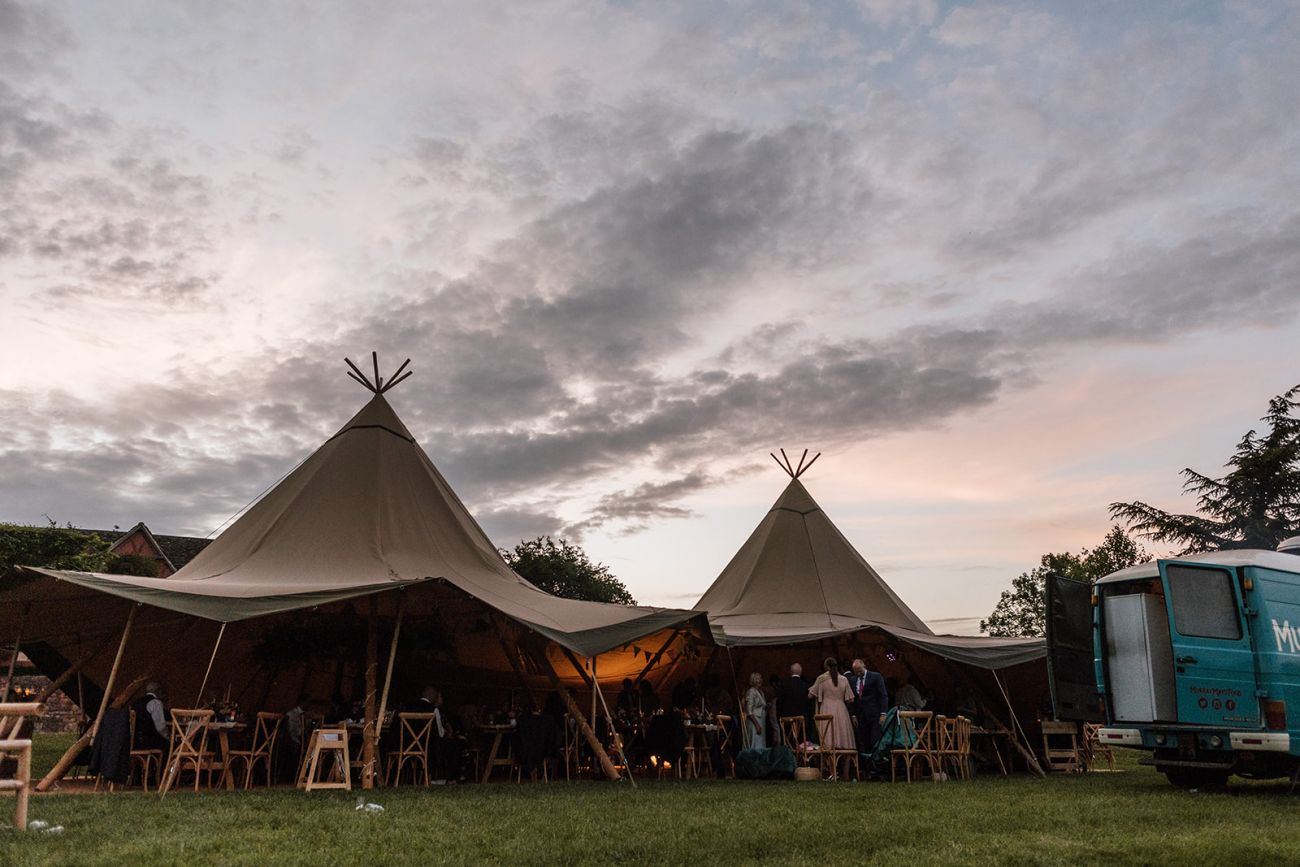
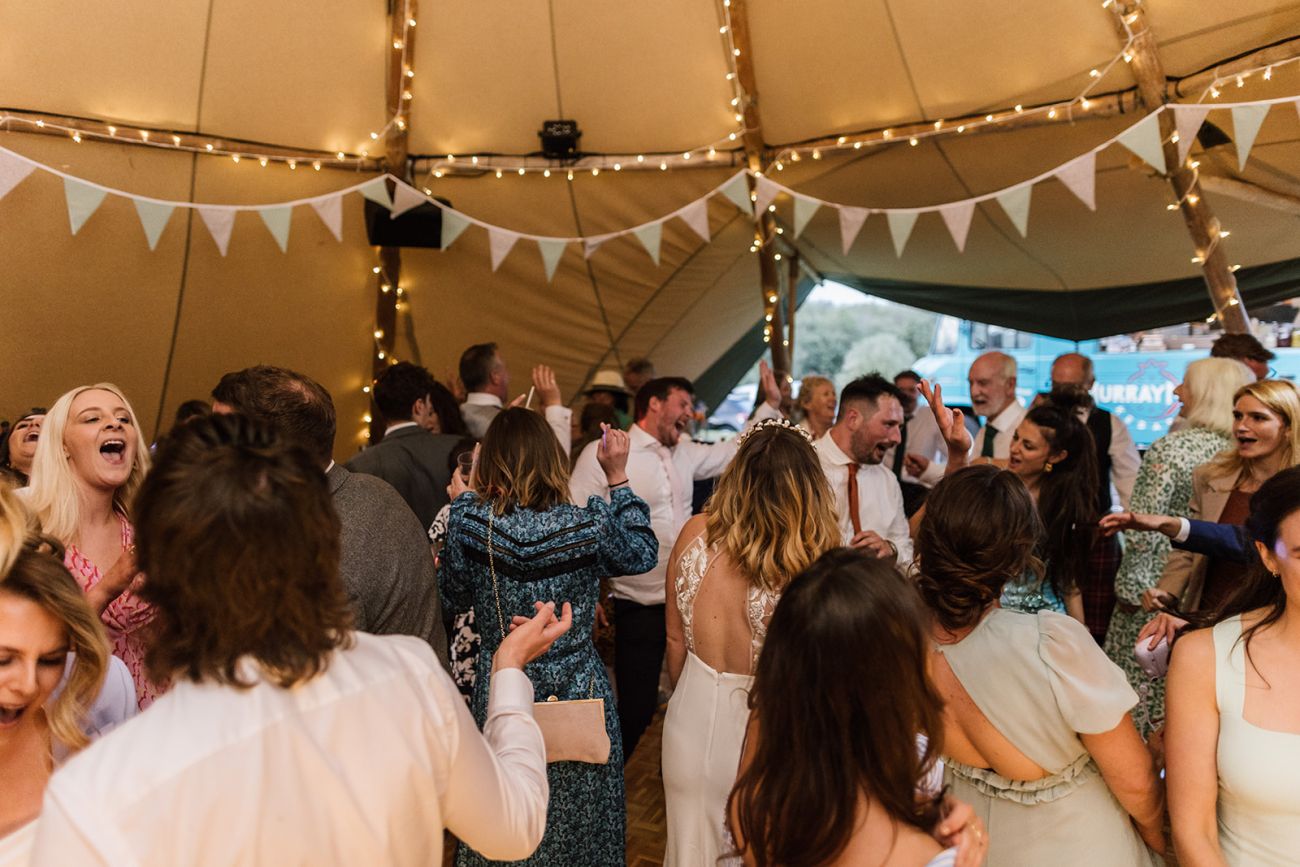
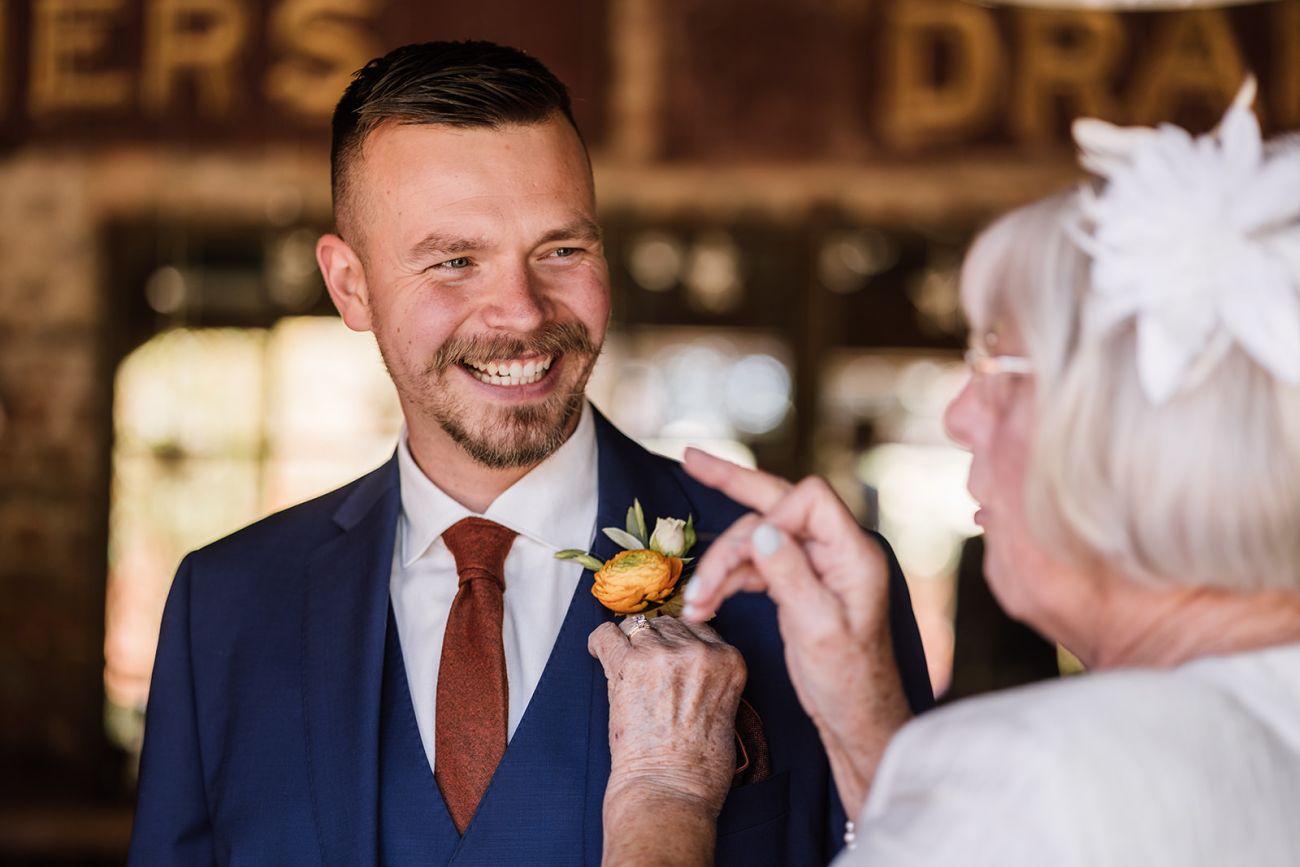
Charlotte & Conor by Matt Willis Photography
Charlotte & Conor by Matt Willis Photography
Charlotte & Conor by Matt Willis Photography
Charlotte & Conor by Matt Willis Photography
Charlotte & Conor by Matt Willis Photography
Charlotte & Conor by Matt Willis Photography
Charlotte & Conor by Matt Willis Photography
Charlotte & Conor by Matt Willis Photography
Charlotte & Conor by Matt Willis Photography
Charlotte & Conor by Matt Willis Photography
Charlotte & Conor by Matt Willis Photography
Charlotte & Conor by Matt Willis Photography
Charlotte & Conor by Matt Willis Photography
Charlotte & Conor by Matt Willis Photography
Charlotte & Conor by Matt Willis Photography
Charlotte & Conor by Matt Willis Photography
Charlotte & Conor by Matt Willis Photography
Charlotte & Conor by Matt Willis Photography
Charlotte & Conor by Matt Willis Photography
Charlotte & Conor by Matt Willis Photography
Charlotte & Conor by Matt Willis Photography
Charlotte & Conor by Matt Willis Photography
Charlotte & Conor by Matt Willis Photography
Charlotte & Conor by Matt Willis Photography
Charlotte & Conor by Matt Willis Photography
Charlotte & Conor by Matt Willis Photography
Charlotte & Conor by Matt Willis Photography
Charlotte & Conor by Matt Willis Photography
Charlotte & Conor by Matt Willis Photography
Charlotte & Conor by Matt Willis Photography
Charlotte & Conor by Matt Willis Photography
Charlotte & Conor by Matt Willis Photography
Charlotte & Conor by Matt Willis Photography
Charlotte & Conor by Matt Willis Photography
Charlotte & Conor by Matt Willis Photography
Charlotte & Conor by Matt Willis Photography
Charlotte & Conor by Matt Willis Photography
Charlotte & Conor by Matt Willis Photography
Charlotte & Conor by Matt Willis Photography
Charlotte & Conor by Matt Willis Photography
Charlotte & Conor by Matt Willis Photography
Charlotte & Conor by Matt Willis Photography
Hannah & Ed by Marta May Photography
Hannah & Ed by Marta May Photography
Hannah & Ed by Marta May Photography
Hannah & Ed by Marta May Photography
Hannah & Ed by Marta May Photography
Hannah & Ed by Marta May Photography
Hannah & Ed by Marta May Photography
Hannah & Ed by Marta May Photography
Hannah & Ed by Marta May Photography
Hannah & Ed by Marta May Photography
Hannah & Ed by Marta May Photography
Hannah & Ed by Marta May Photography
Hannah & Ed by Marta May Photography
Hannah & Ed by Marta May Photography
Hannah & Ed by Marta May Photography
Hannah & Ed by Marta May Photography
Hannah & Ed by Marta May Photography
Hannah & Ed by Marta May Photography
Hannah & Ed by Marta May Photography
Hannah & Ed by Marta May Photography
Hannah & Ed by Marta May Photography
Hannah & Ed by Marta May Photography
Hannah & Ed by Marta May Photography
Hannah & Ed by Marta May Photography
Hannah & Ed by Marta May Photography
Hannah & Ed by Marta May Photography
Hannah & Ed by Marta May Photography
Hannah & Ed by Marta May Photography
Hannah & Ed by Marta May Photography
Hannah & Ed by Marta May Photography
Hannah & Ed by Marta May Photography
Hannah & Ed by Marta May Photography
Hannah & Ed by Marta May Photography
Hannah & Ed by Marta May Photography
Charlotte & Greg by Christiaan David Studio
Charlotte & Greg by Christiaan David Studio
Charlotte & Greg by Christiaan David Studio
Charlotte & Greg by Christiaan David Studio
Charlotte & Greg by Christiaan David Studio
Charlotte & Greg by Christiaan David Studio
Charlotte & Greg by Christiaan David Studio
Charlotte & Greg by Christiaan David Studio
Charlotte & Greg by Christiaan David Studio
Charlotte & Greg by Christiaan David Studio
Charlotte & Greg by Christiaan David Studio
Charlotte & Greg by Christiaan David Studio
Charlotte & Greg by Christiaan David Studio
Charlotte & Greg by Christiaan David Studio
Charlotte & Greg by Christiaan David Studio
Charlotte & Greg by Christiaan David Studio
Charlotte & Greg by Christiaan David Studio
Charlotte & Greg by Christiaan David Studio
Charlotte & Greg by Christiaan David Studio
Charlotte & Greg by Christiaan David Studio
Charlotte & Greg by Christiaan David Studio
Charlotte & Greg by Christiaan David Studio
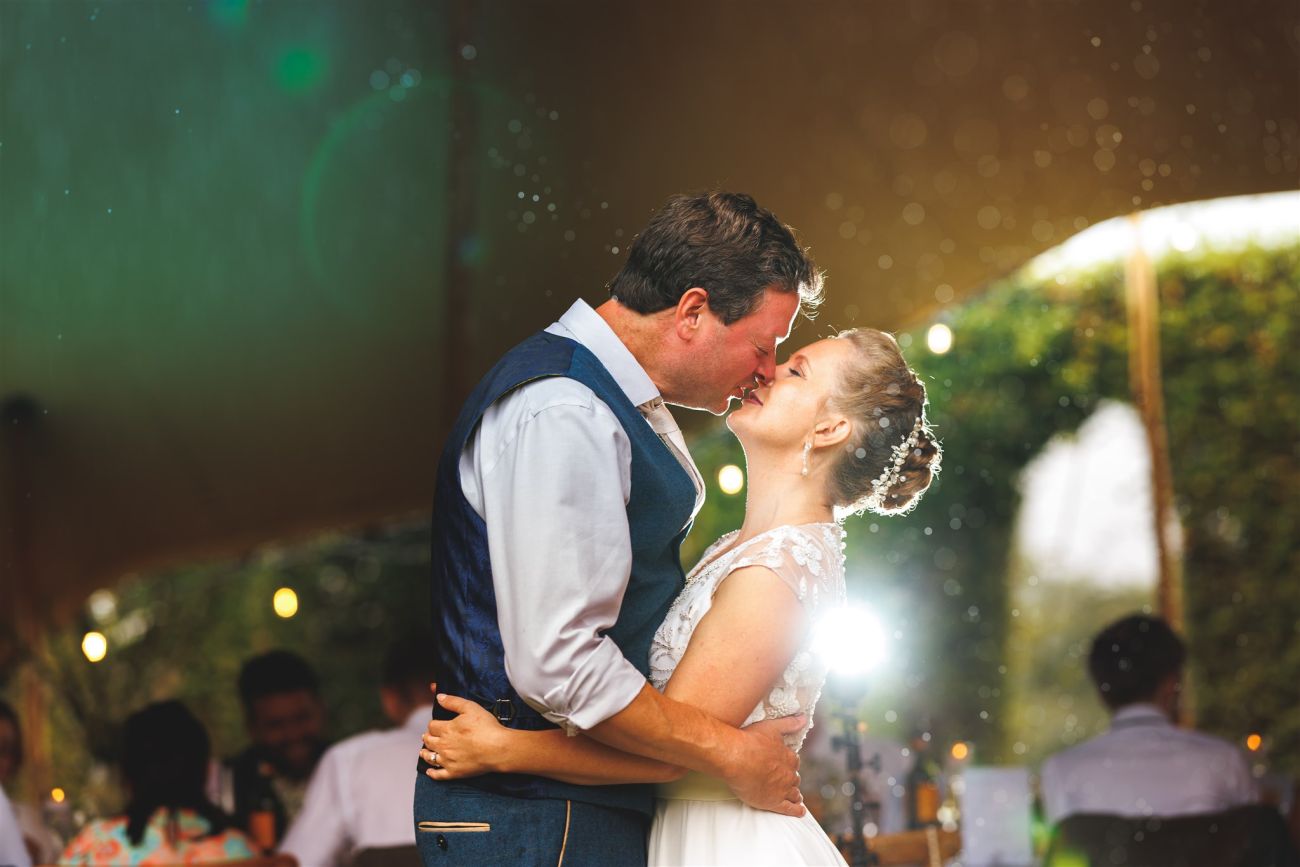
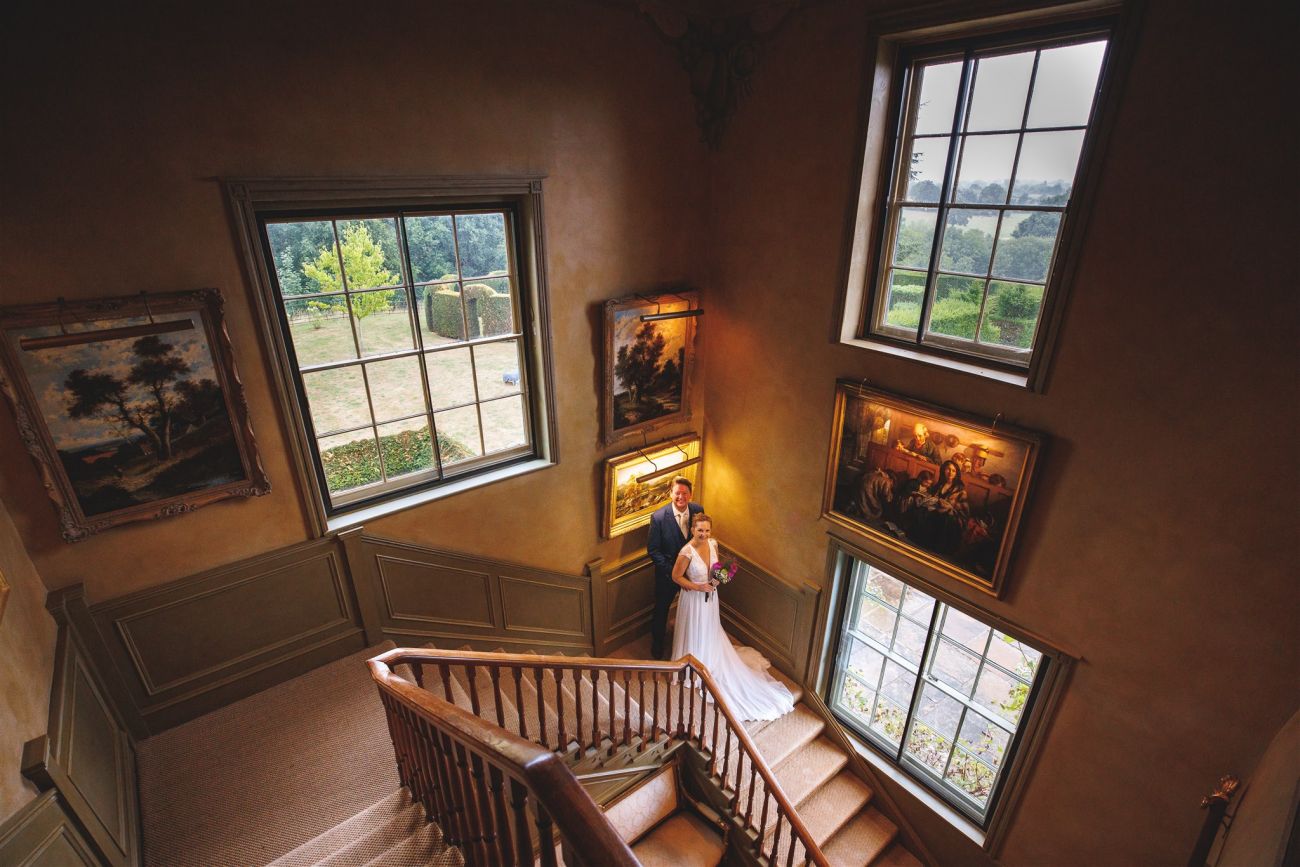
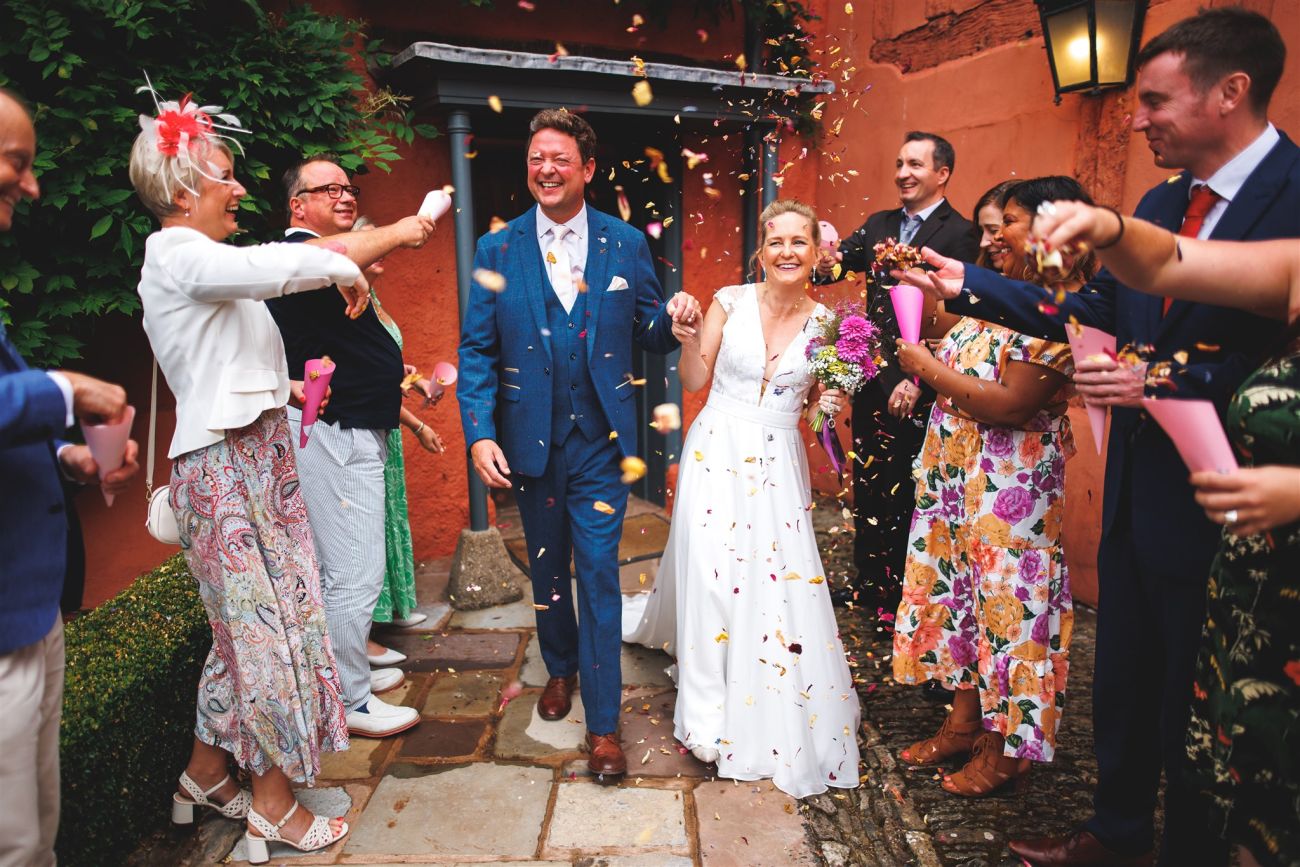
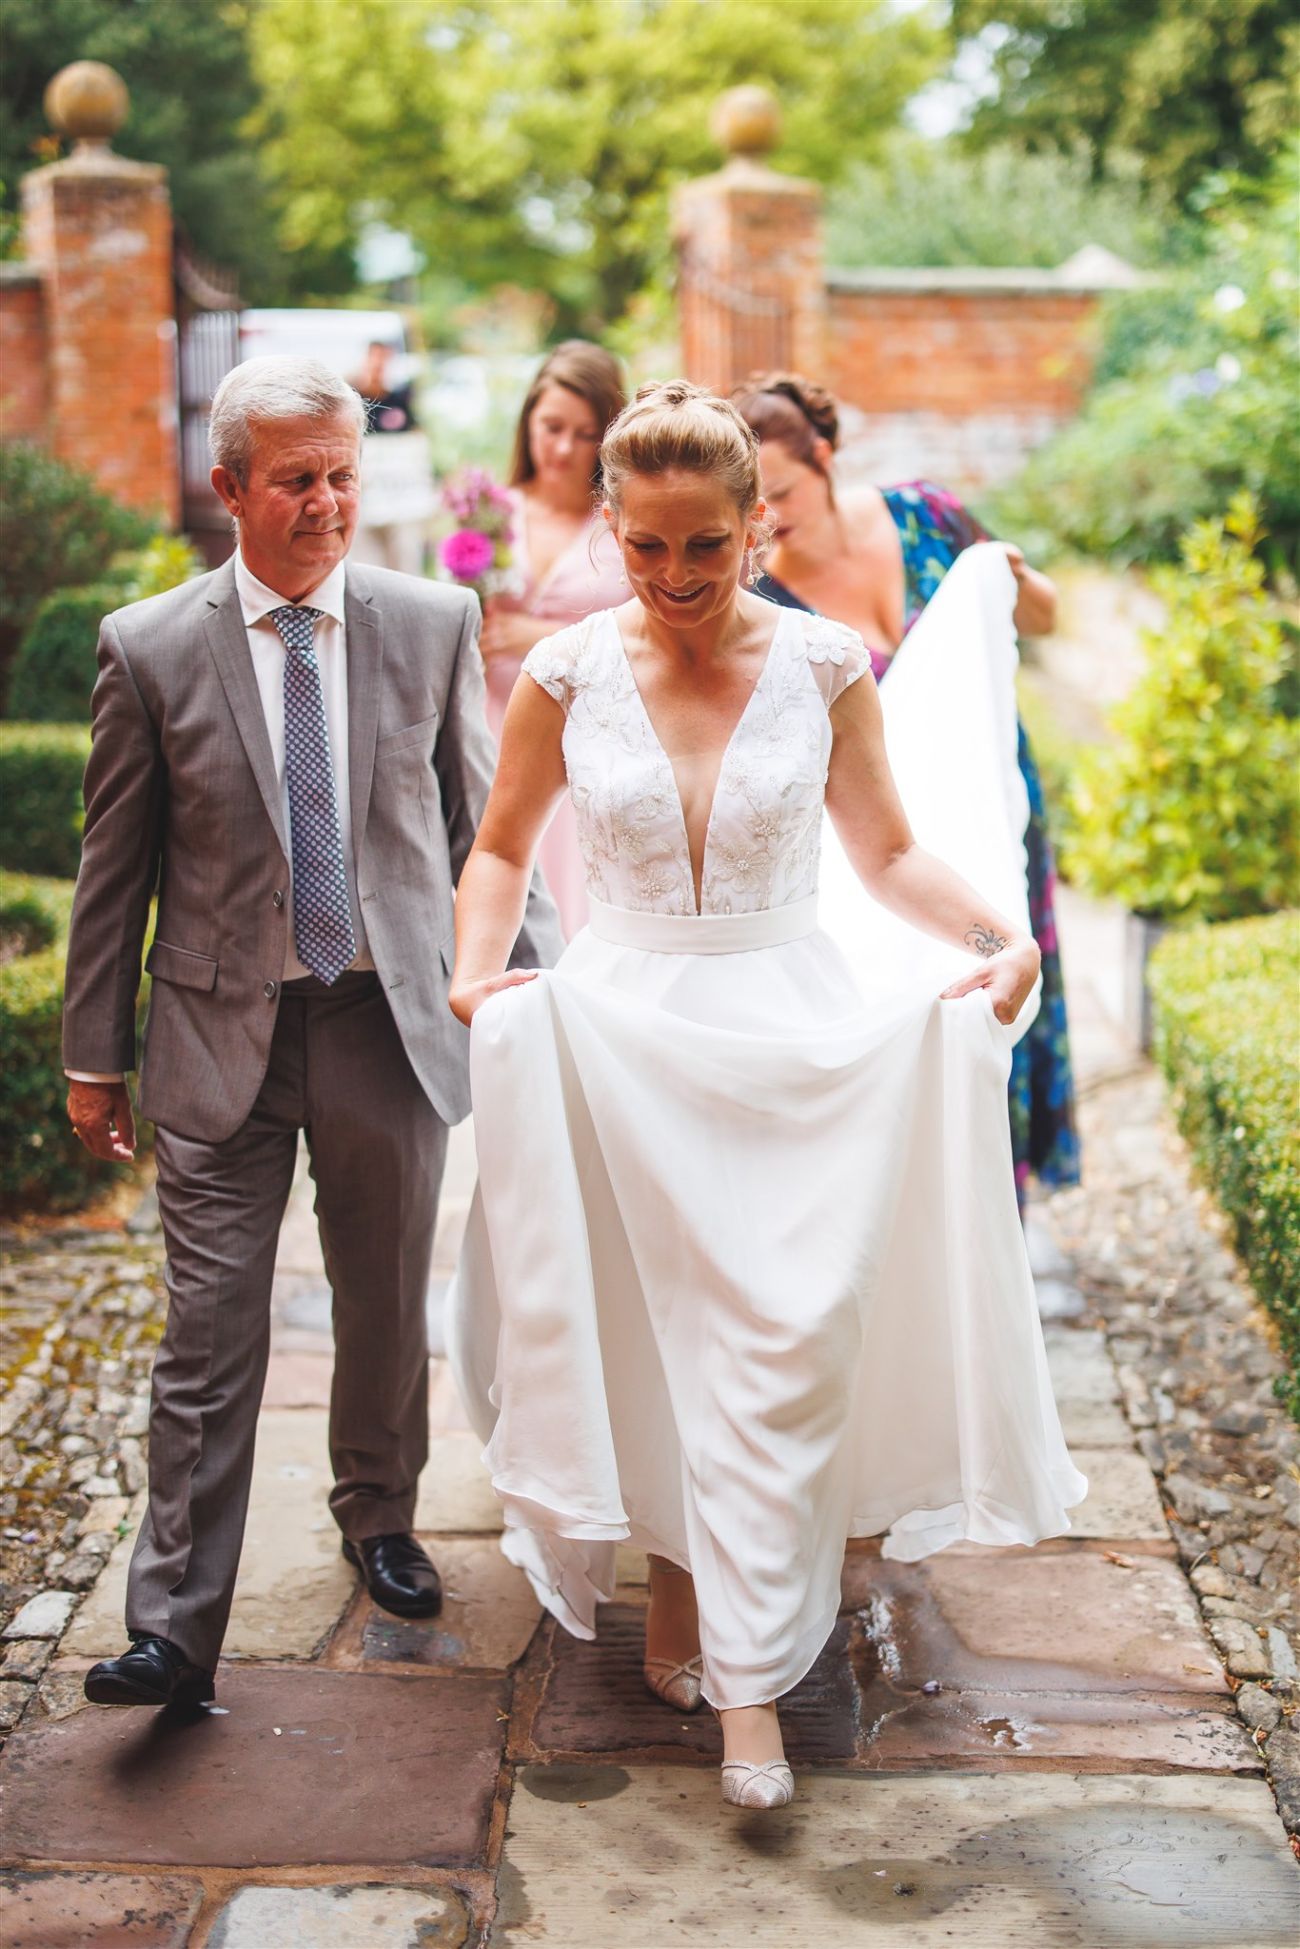
Sophie & Sam by Siobhan Beales Photography
Sophie & Sam by Siobhan Beales Photography
Sophie & Sam by Siobhan Beales Photography
Sophie & Sam by Siobhan Beales Photography
Sophie & Sam by Siobhan Beales Photography
Sophie & Sam by Siobhan Beales Photography
Sophie & Sam by Siobhan Beales Photography
Sophie & Sam by Siobhan Beales Photography
Sophie & Sam by Siobhan Beales Photography
Sophie & Sam by Siobhan Beales Photography
Sophie & Sam by Siobhan Beales Photography
Sophie & Sam by Siobhan Beales Photography
Sophie & Sam by Siobhan Beales Photography
Sophie & Sam by Siobhan Beales Photography
Sophie & Sam by Siobhan Beales Photography
Sophie & Sam by Siobhan Beales Photography
Sophie & Sam by Siobhan Beales Photography
Sophie & Sam by Siobhan Beales Photography
Sophie & Sam by Siobhan Beales Photography
Sophie & Sam by Siobhan Beales Photography
Sophie & Sam by Siobhan Beales Photography
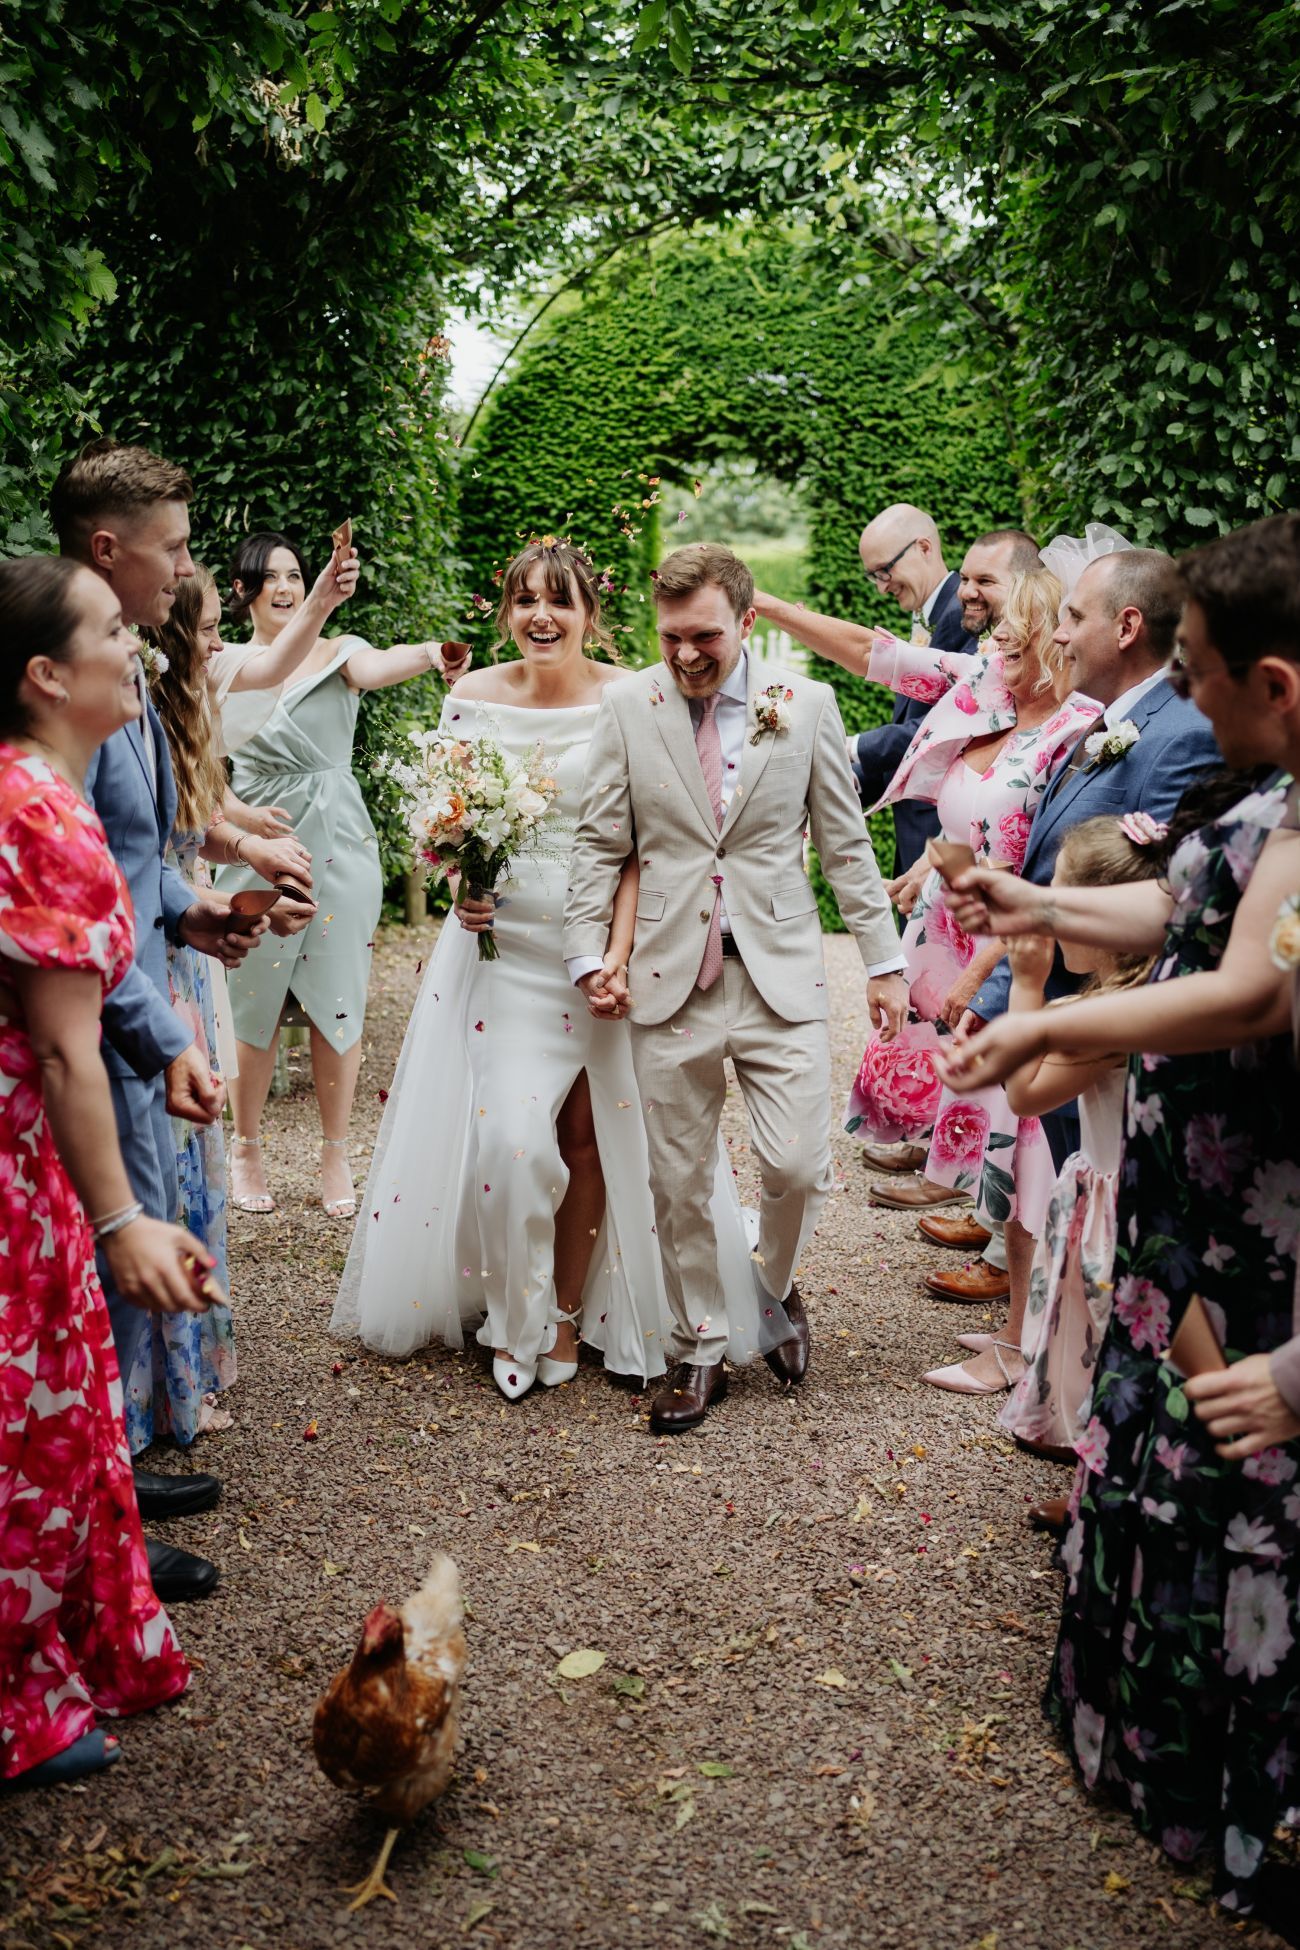
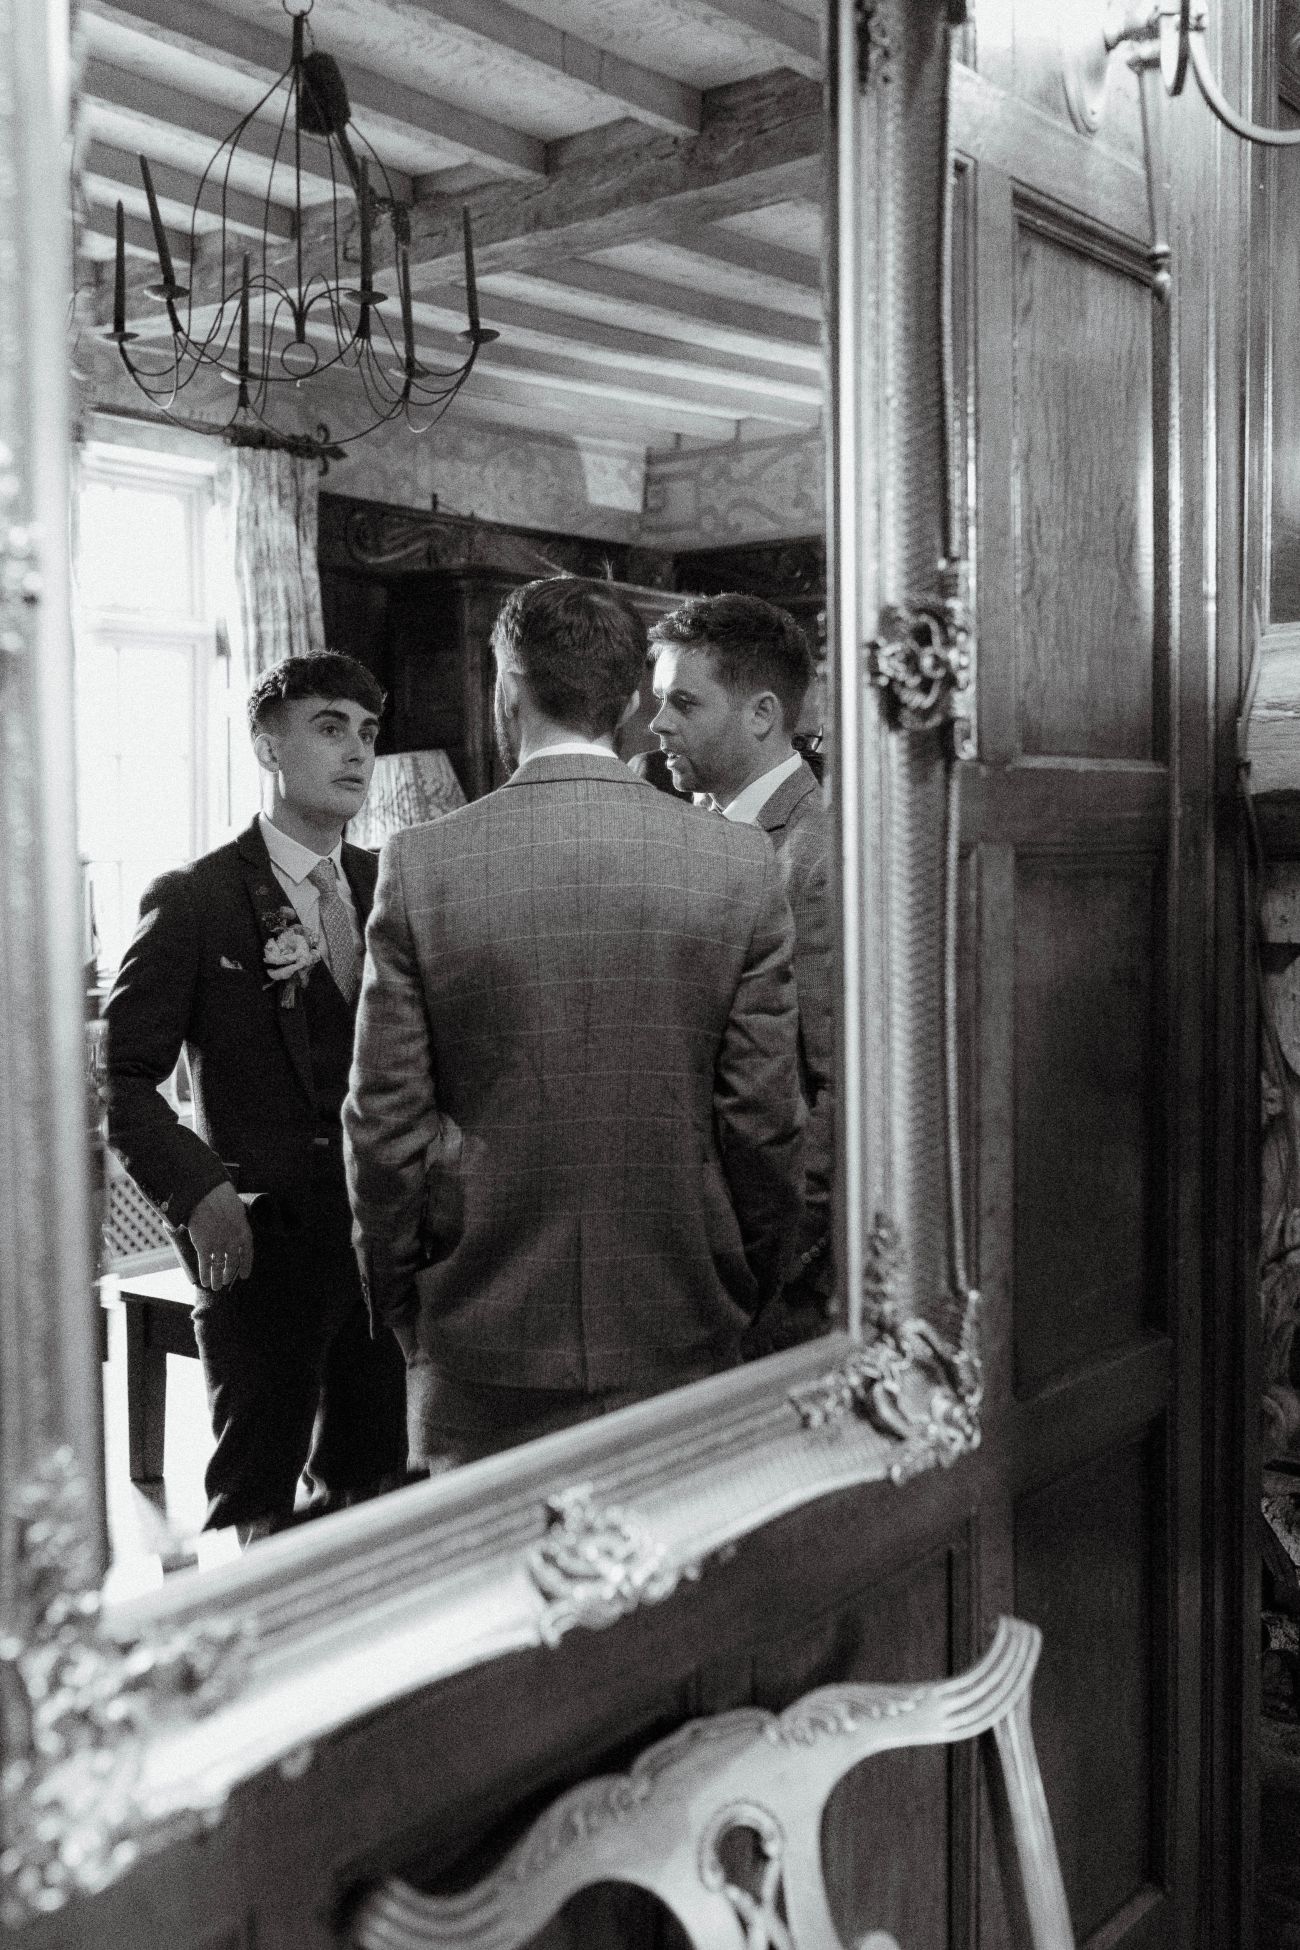
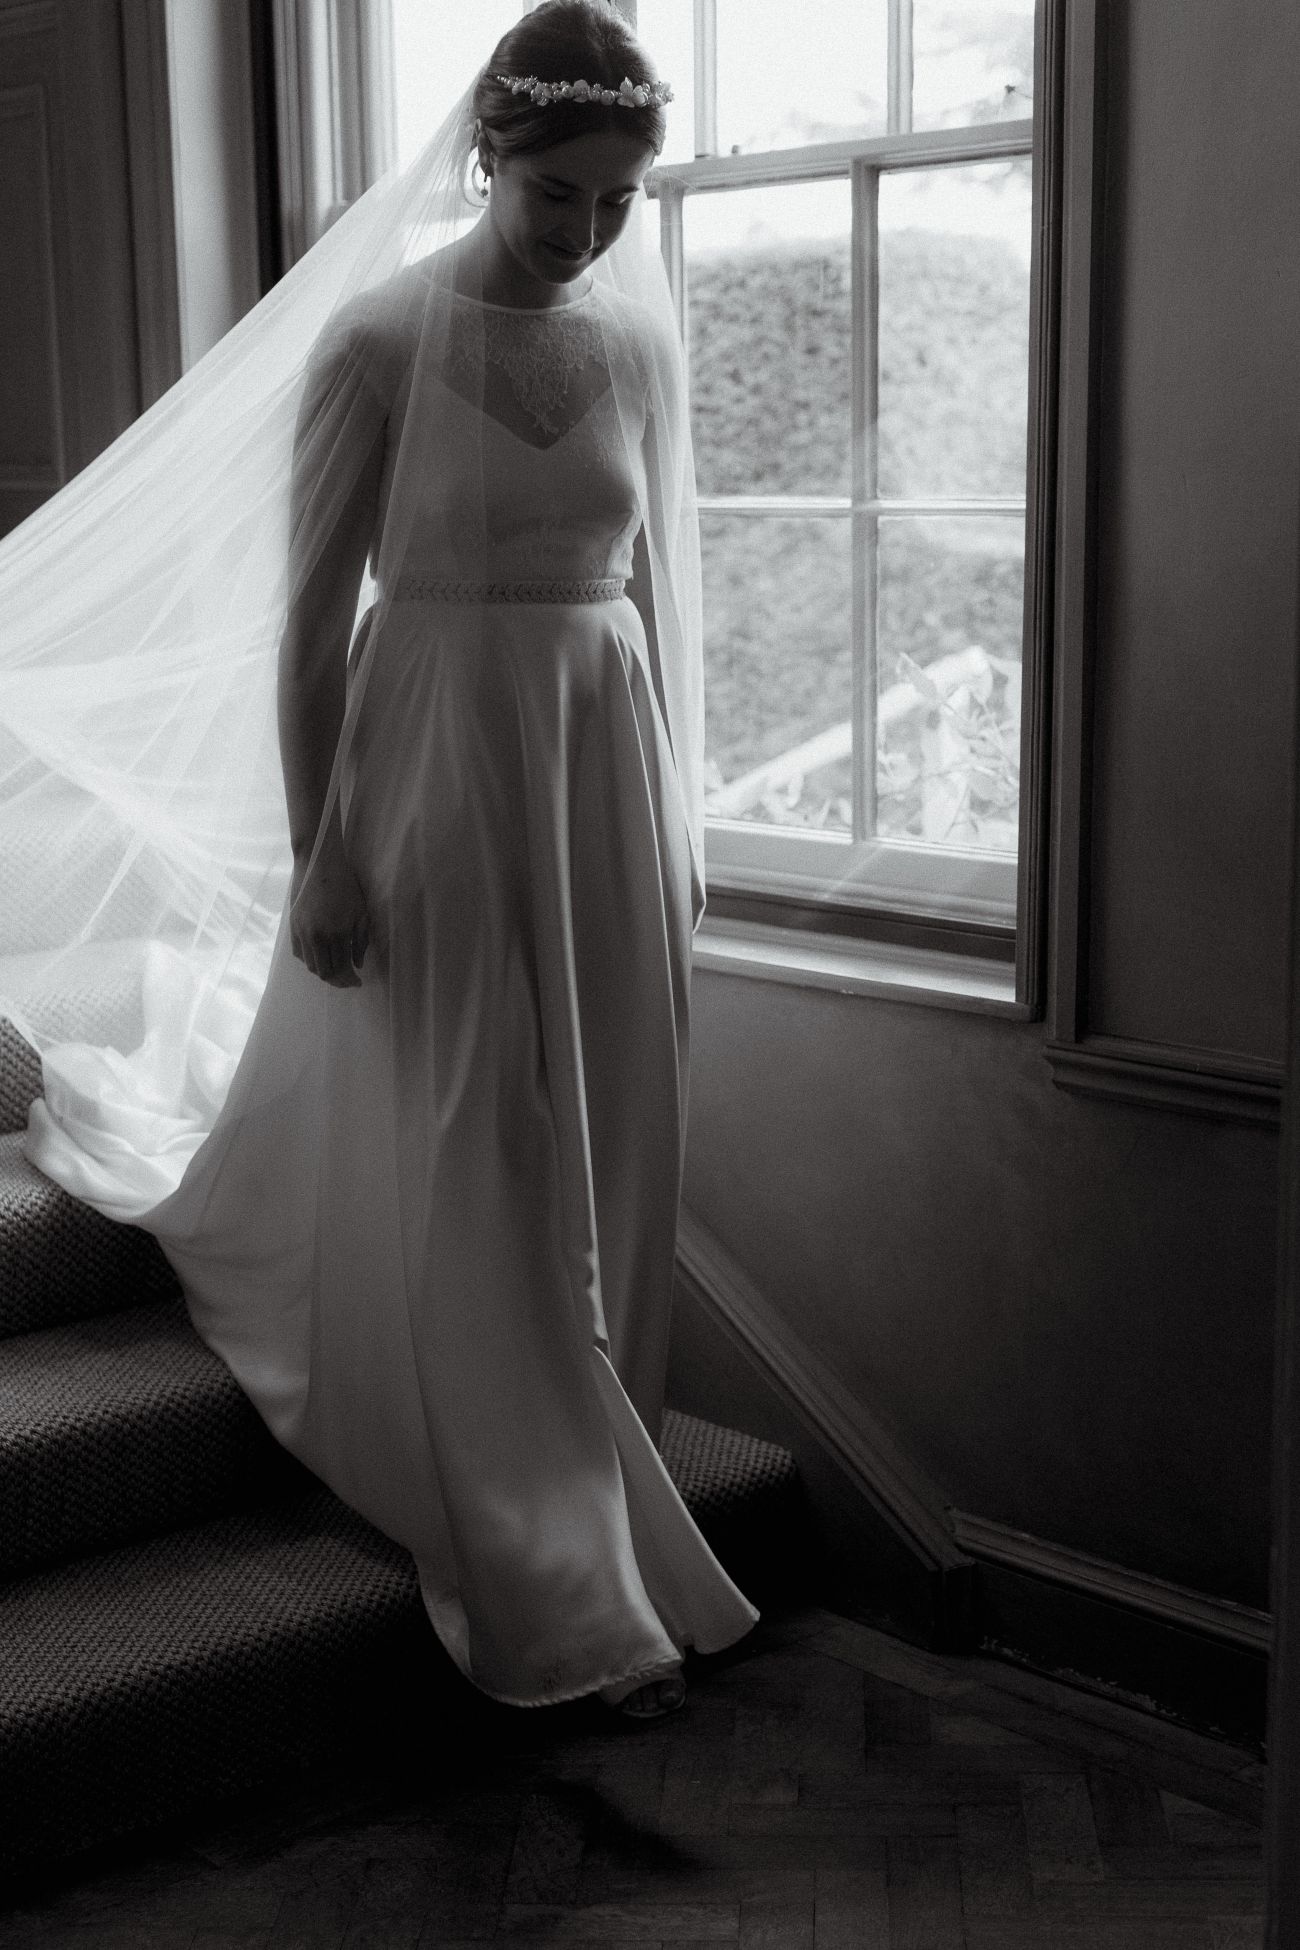
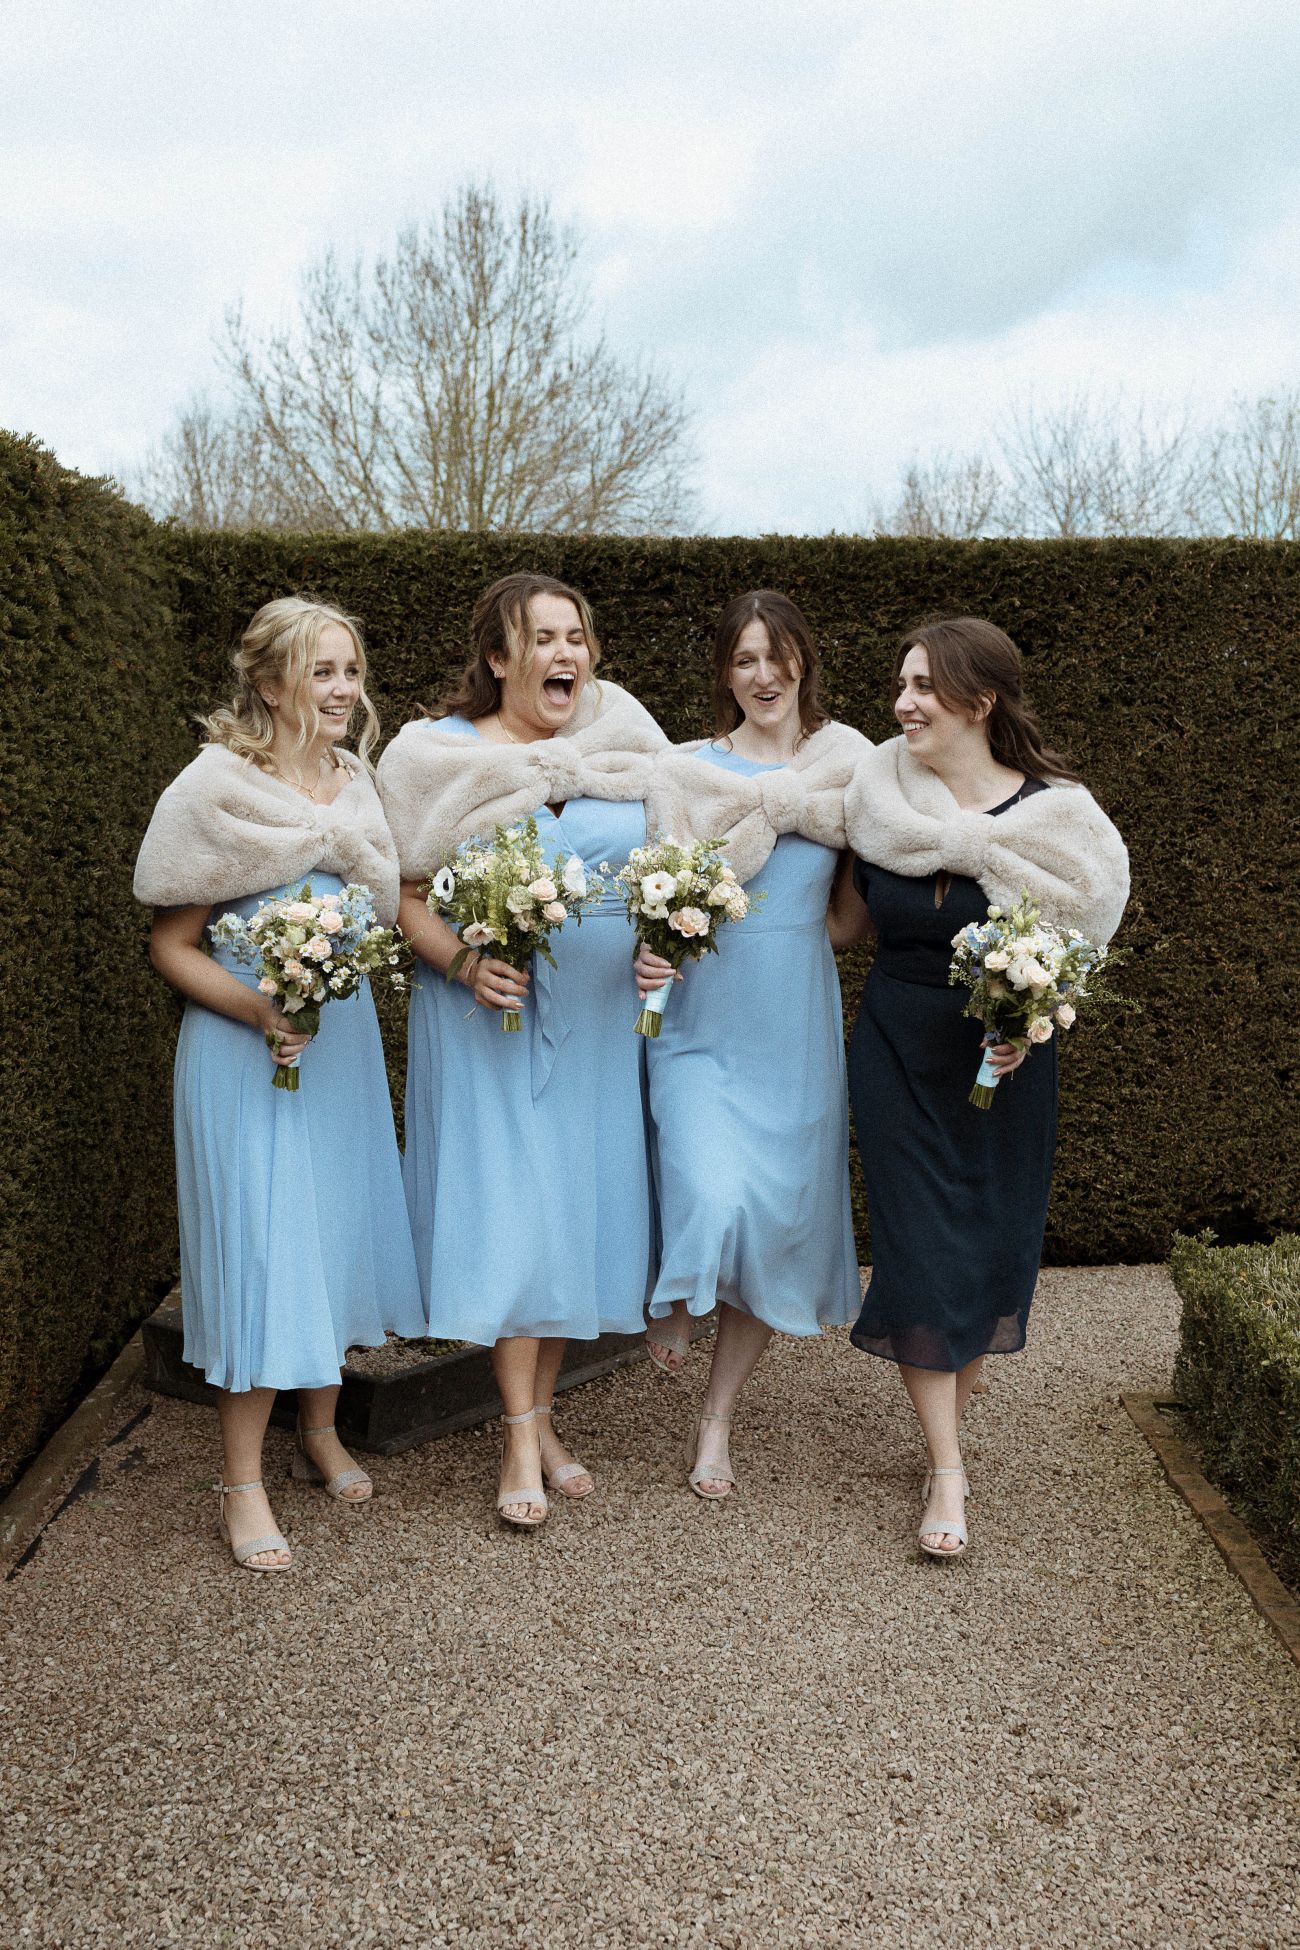
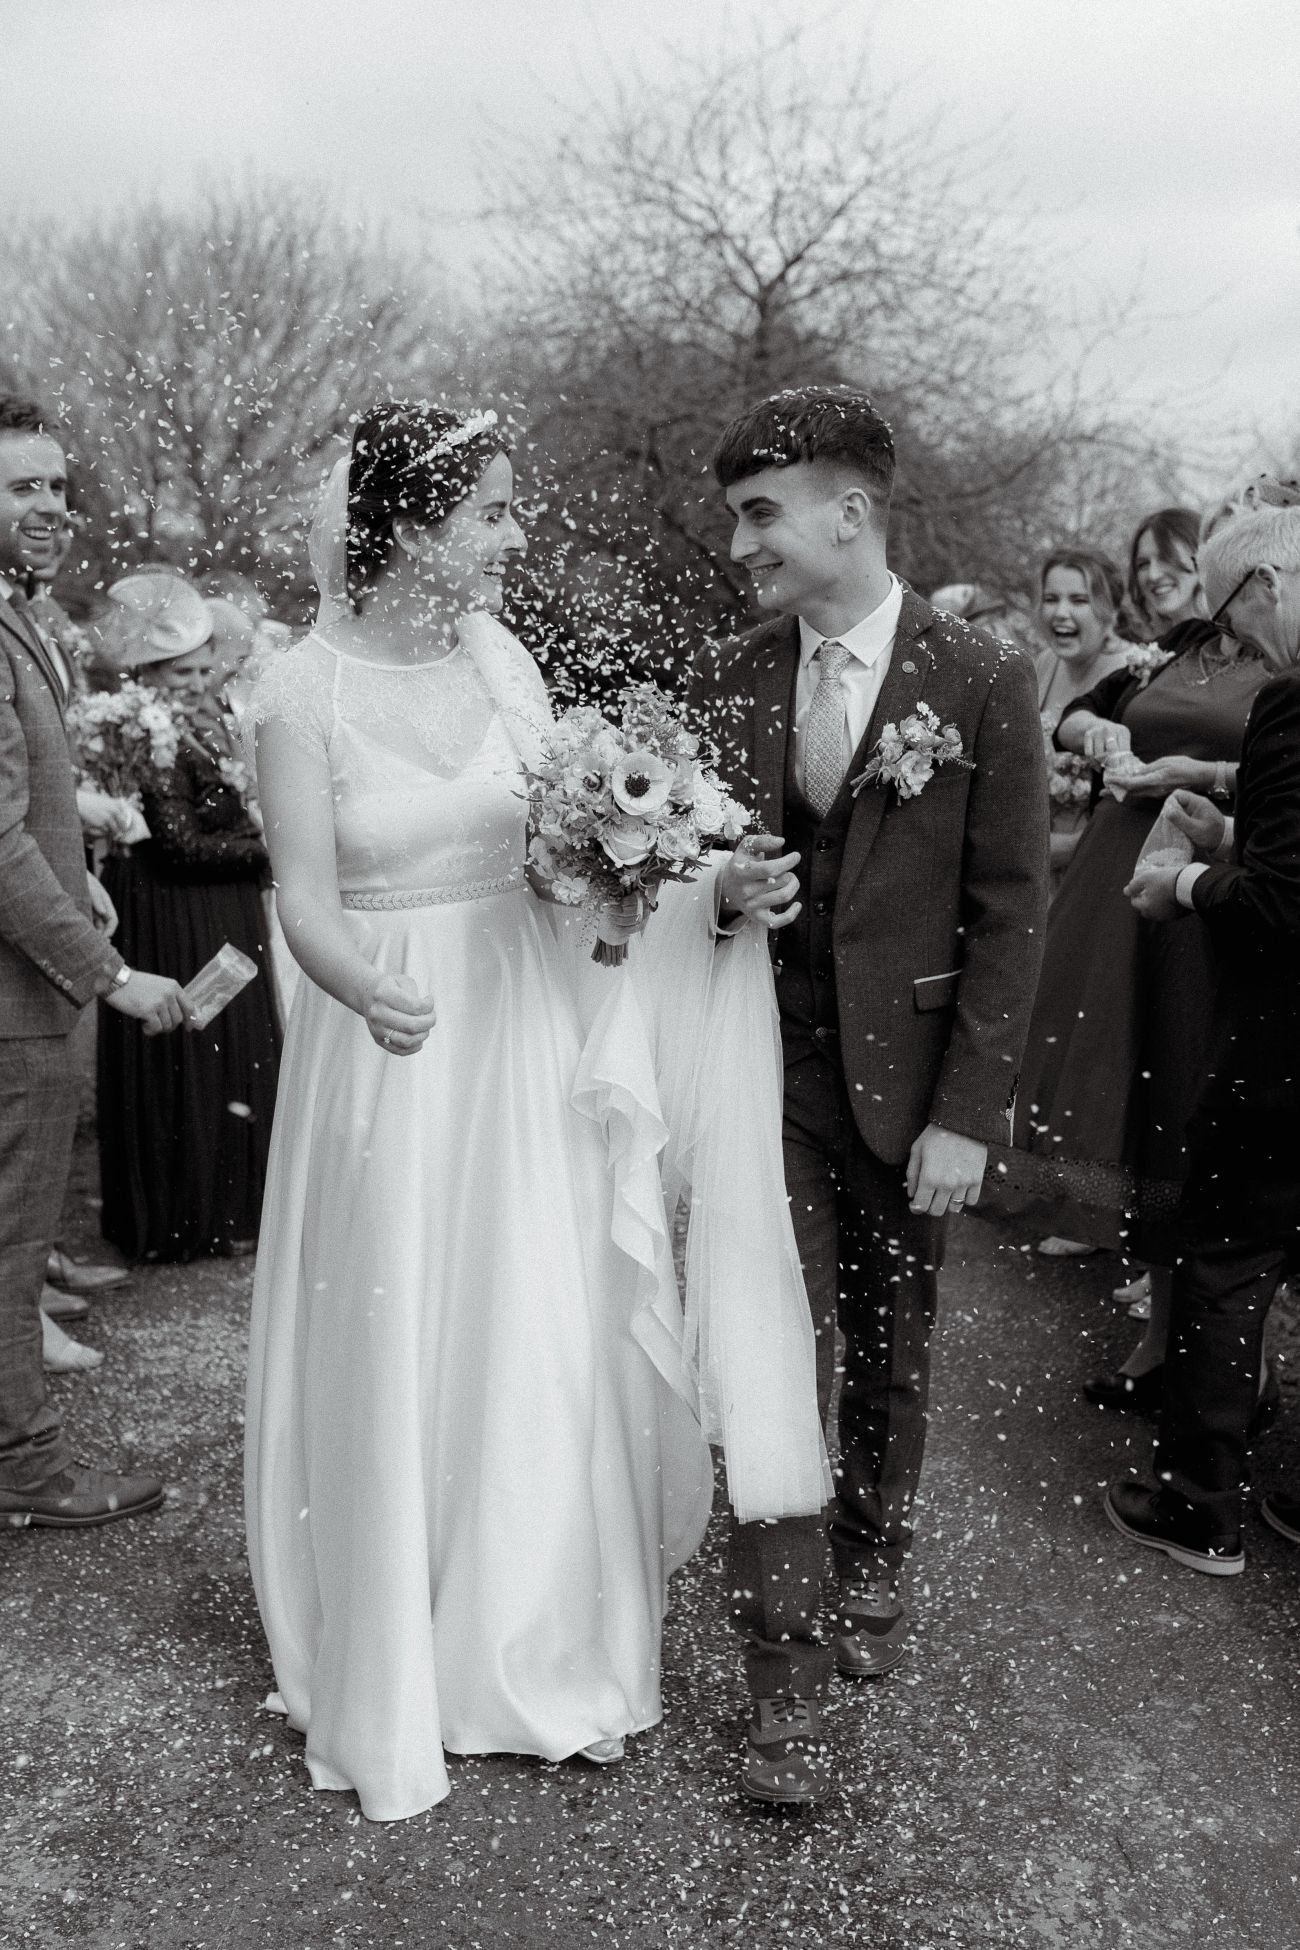
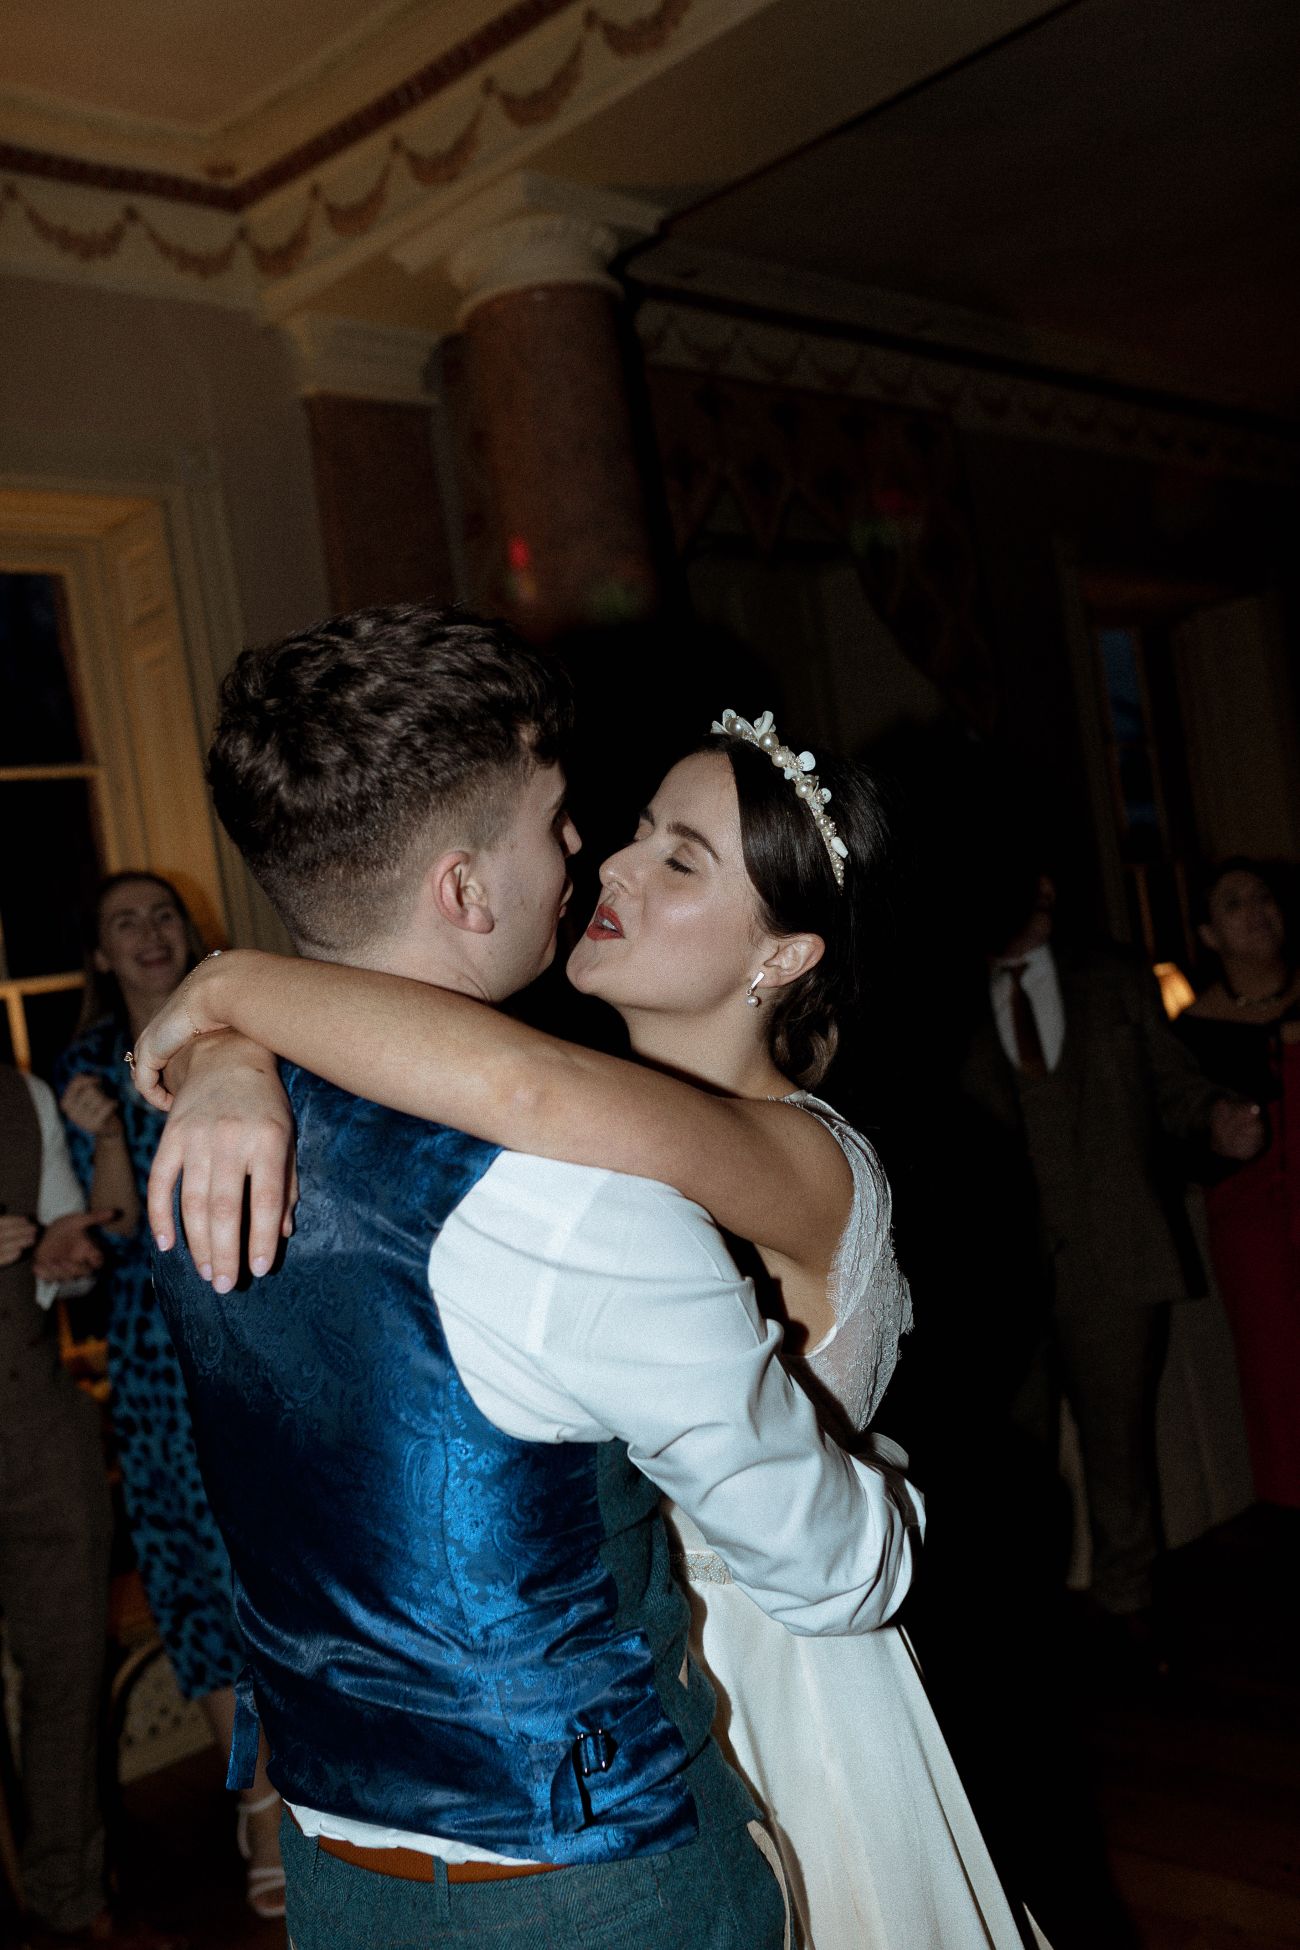
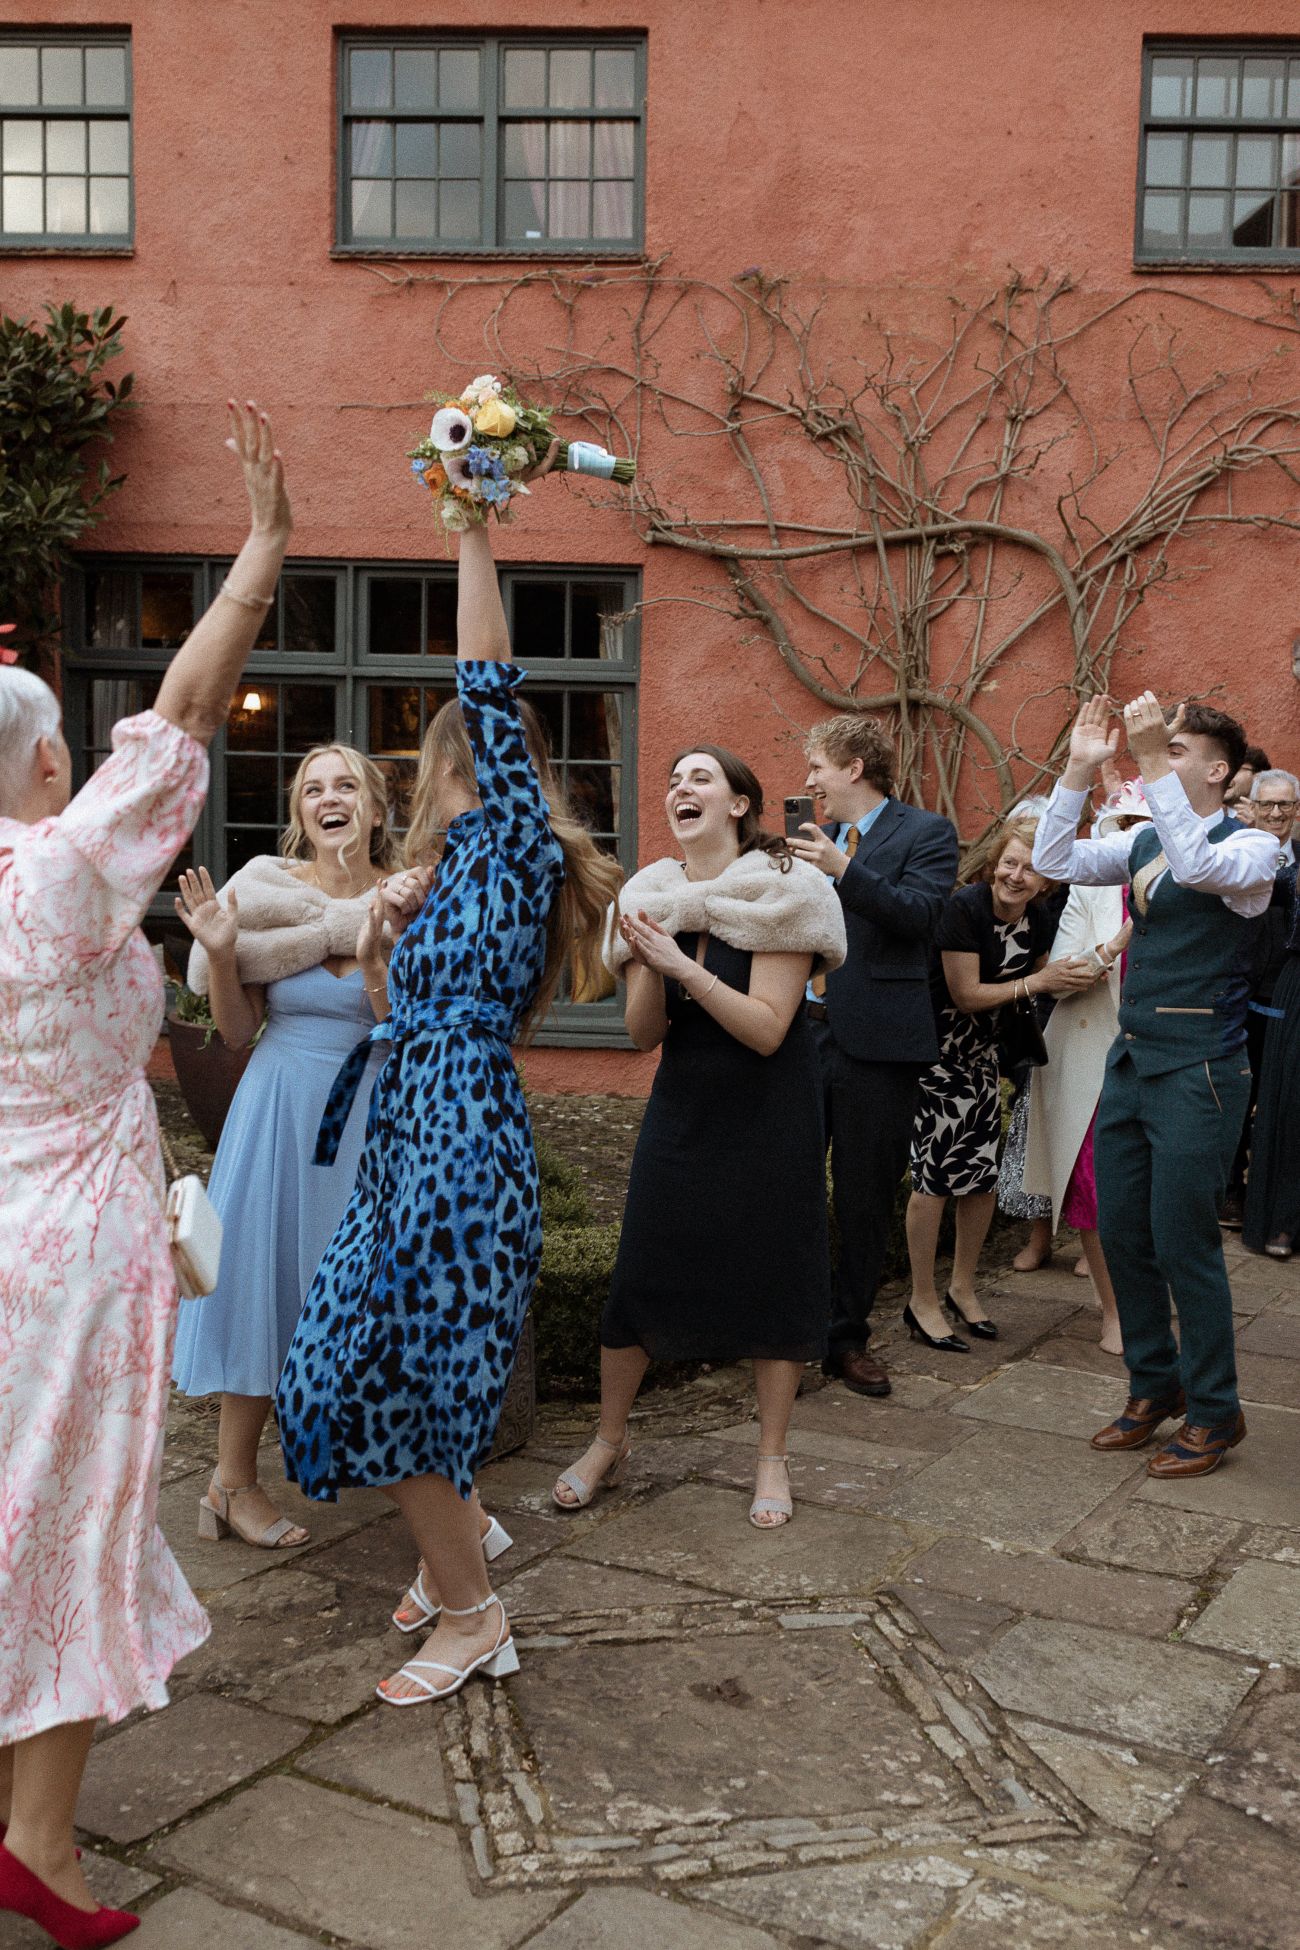
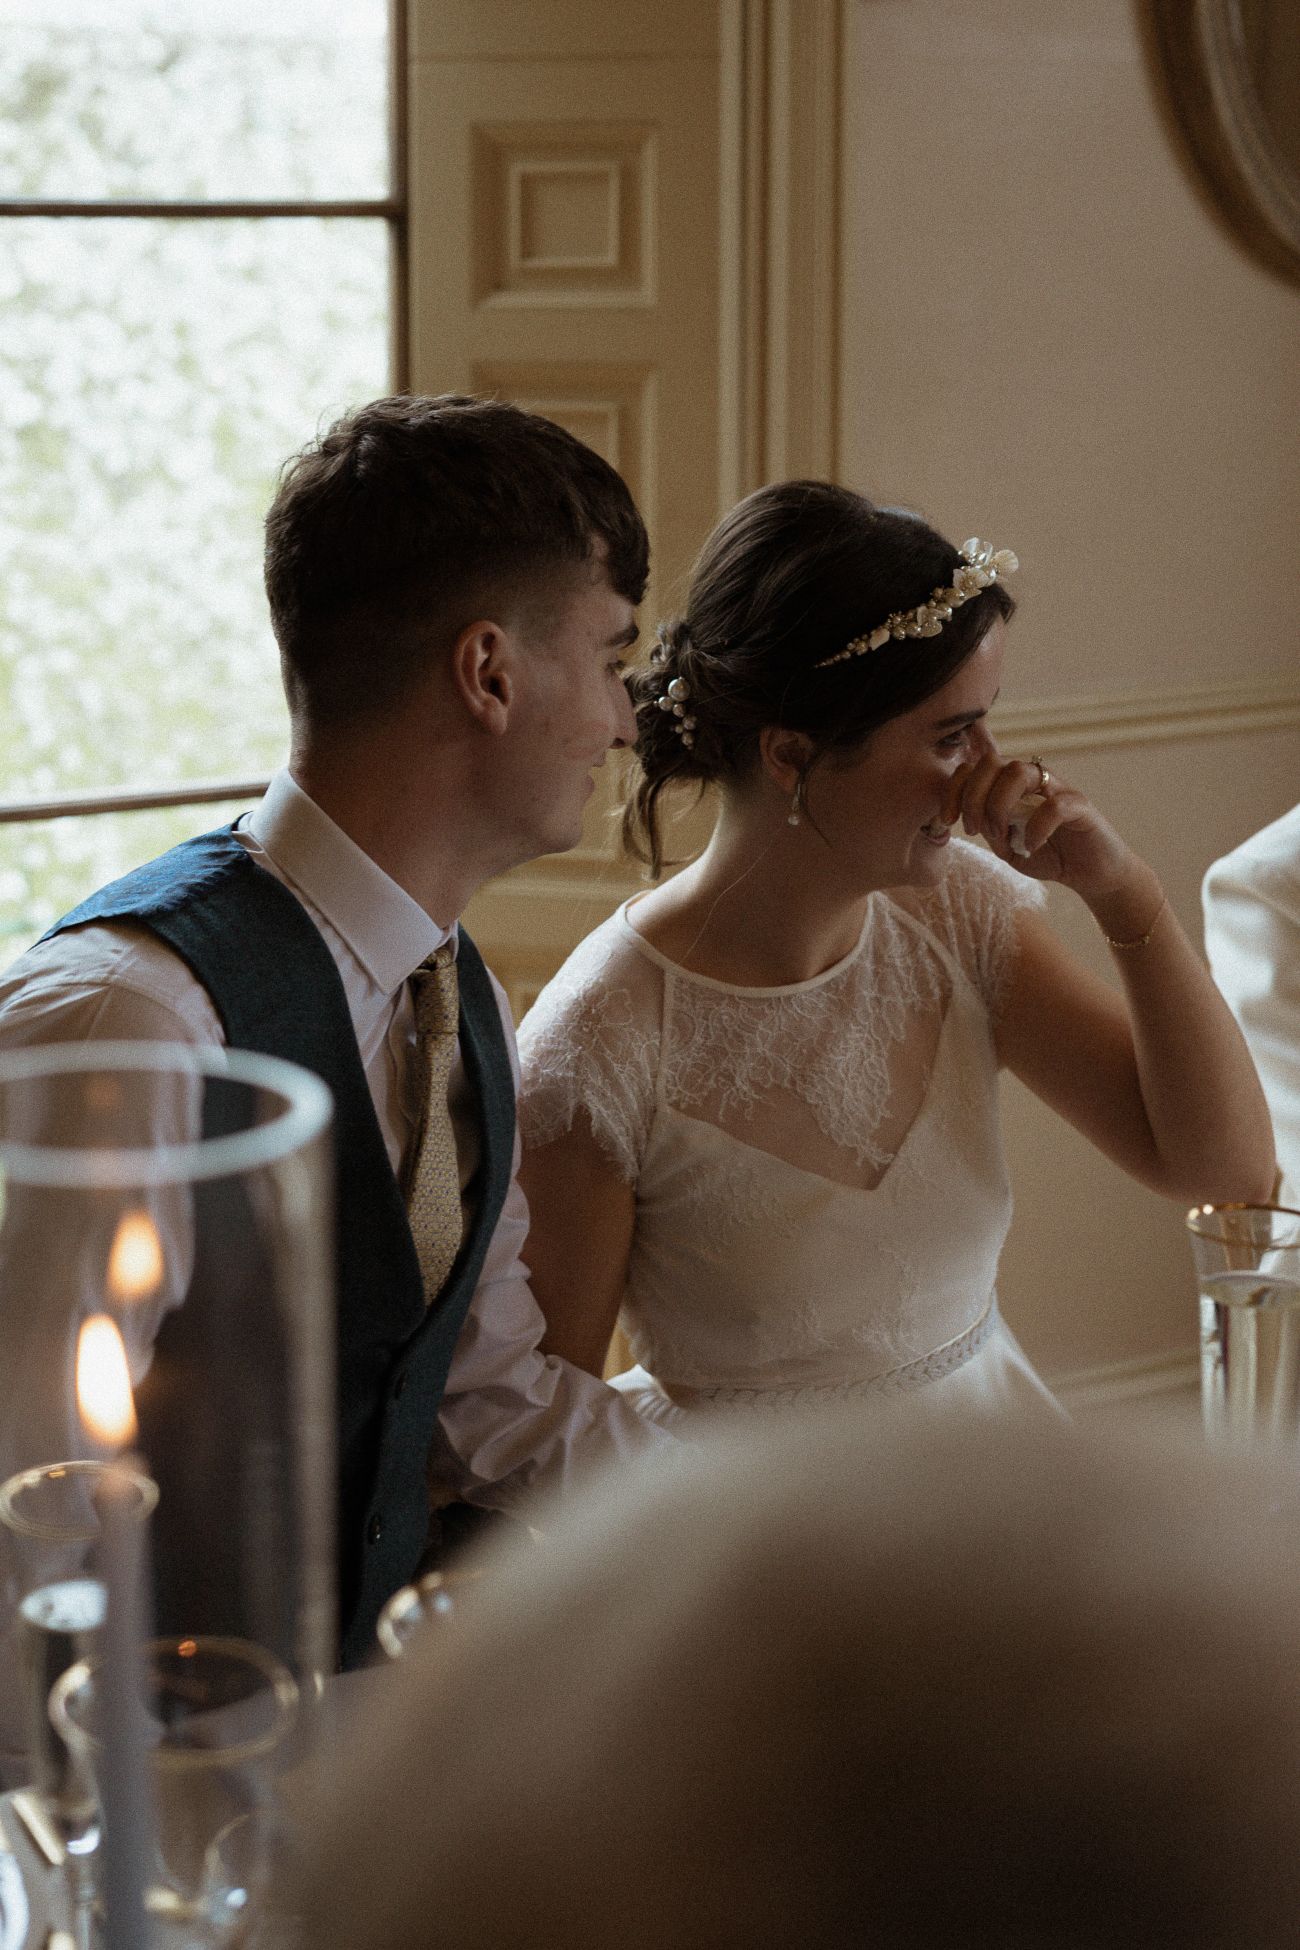
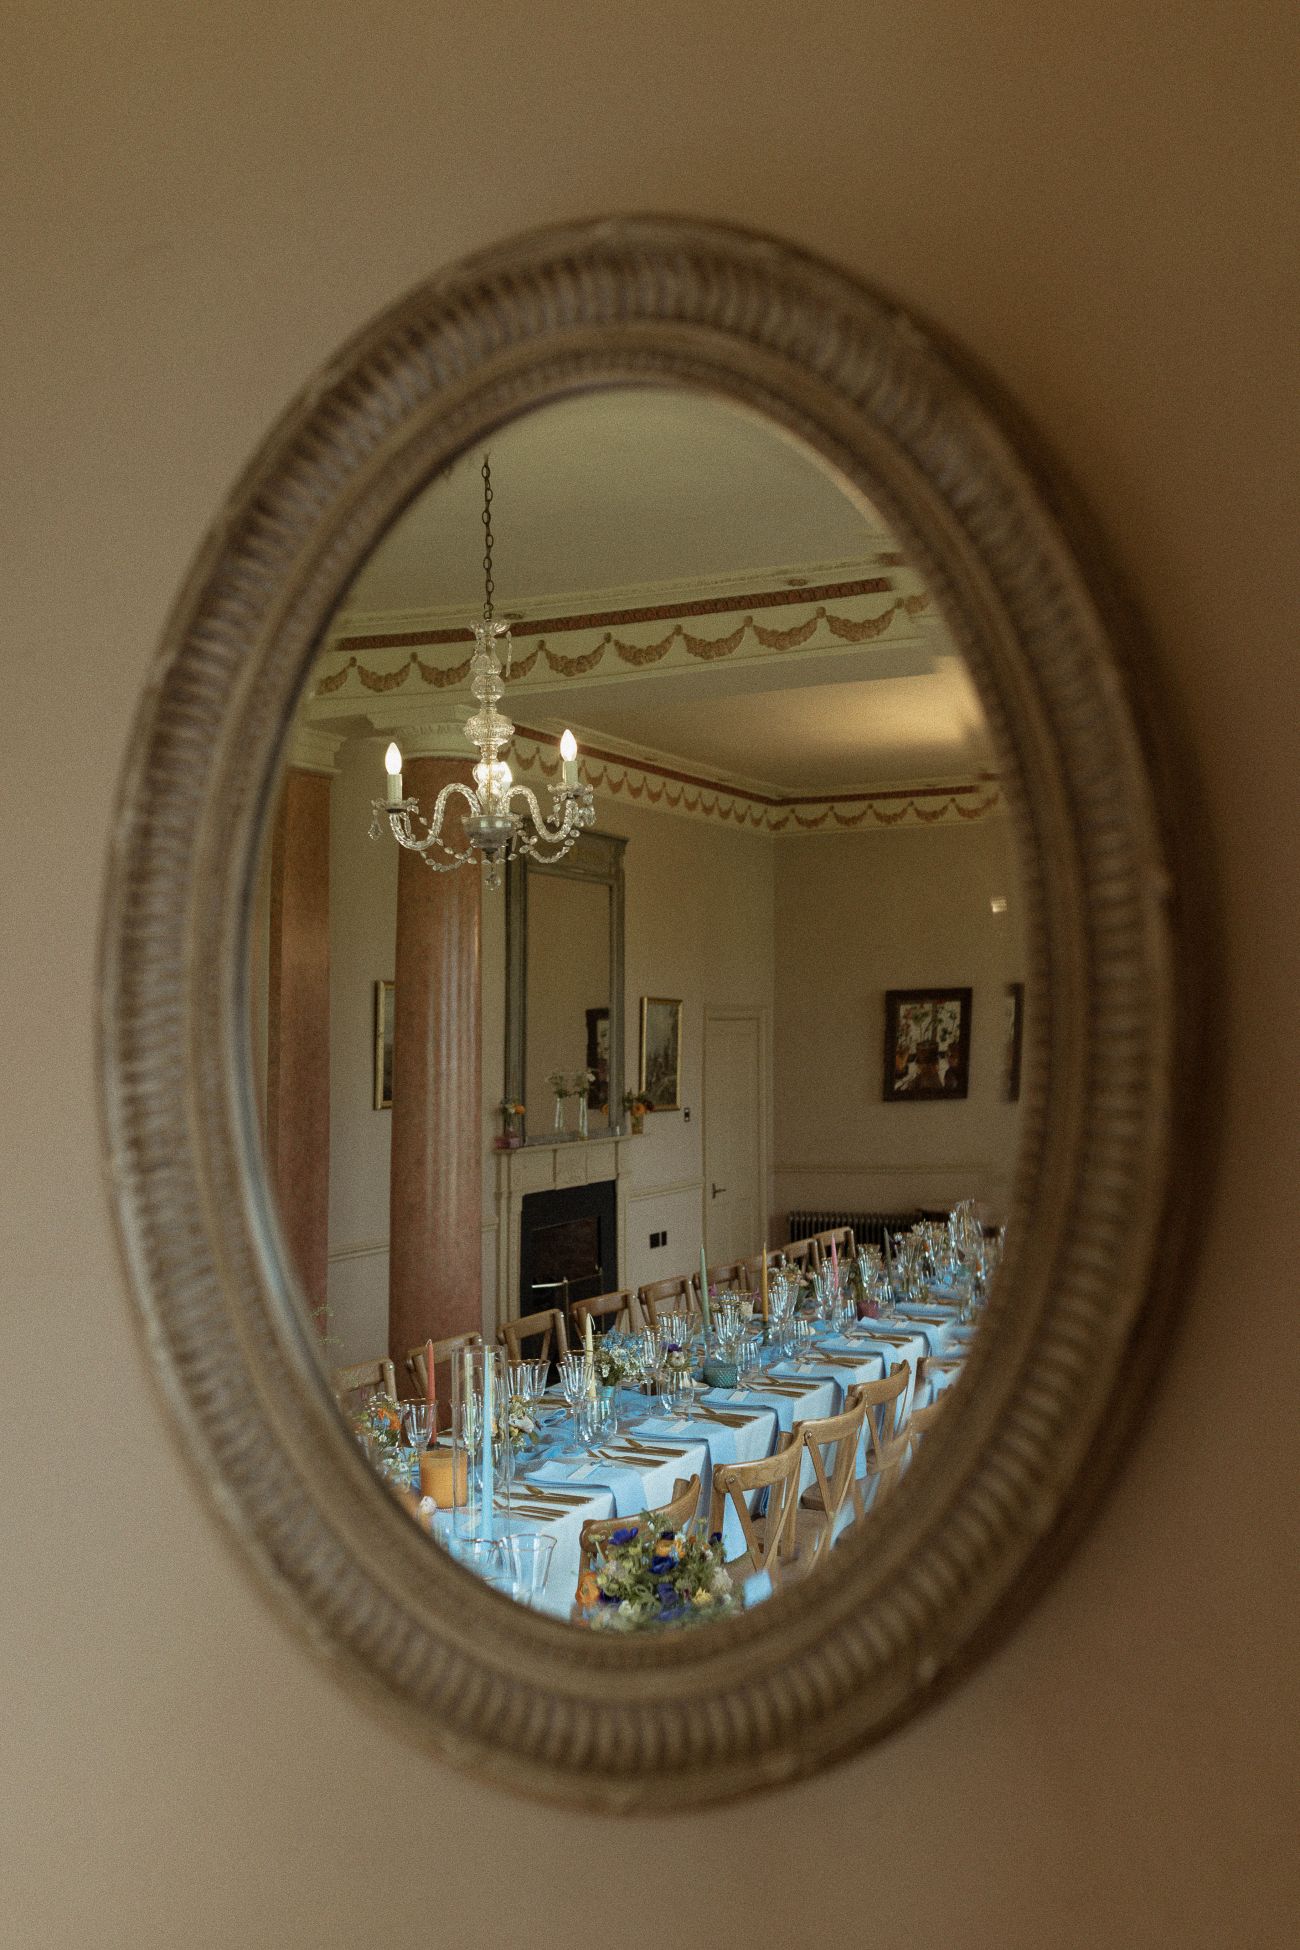
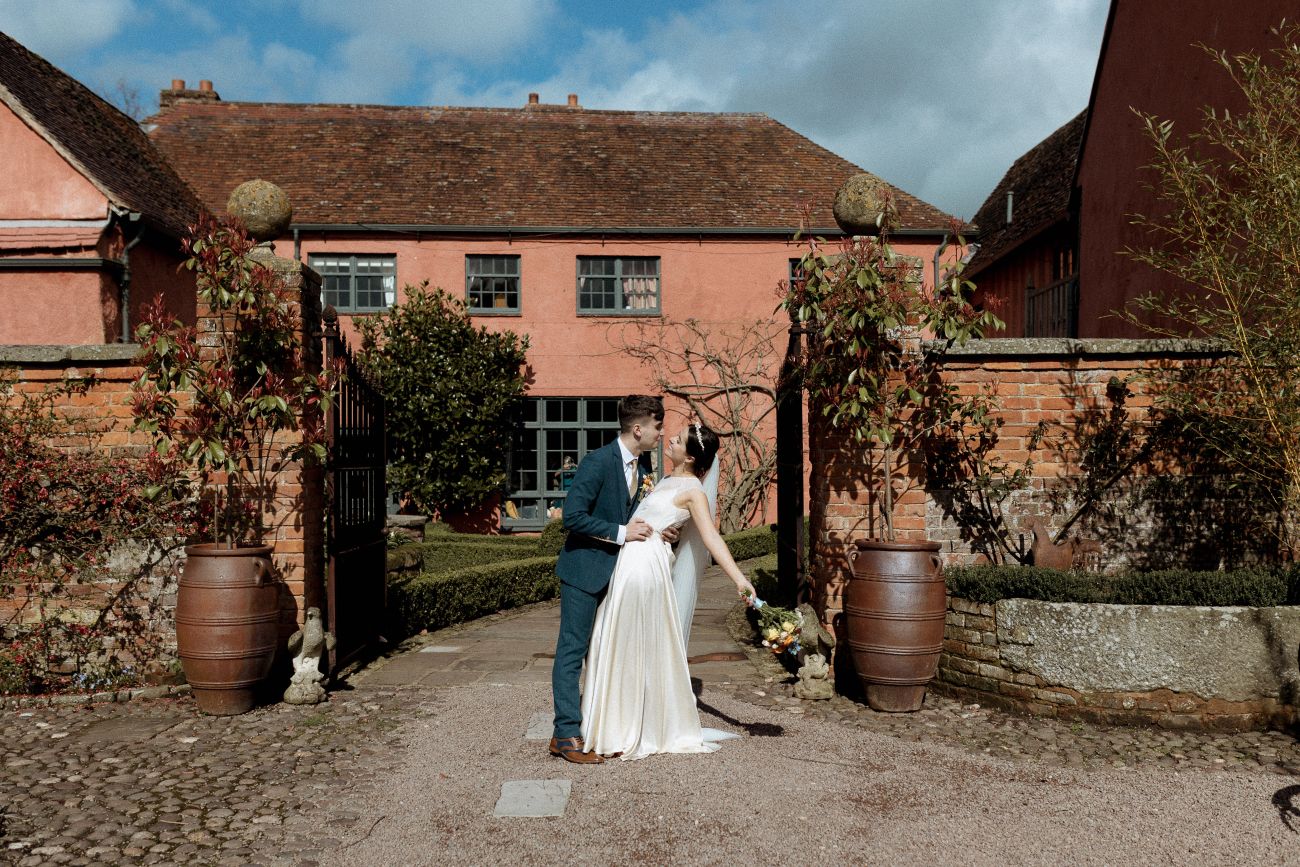
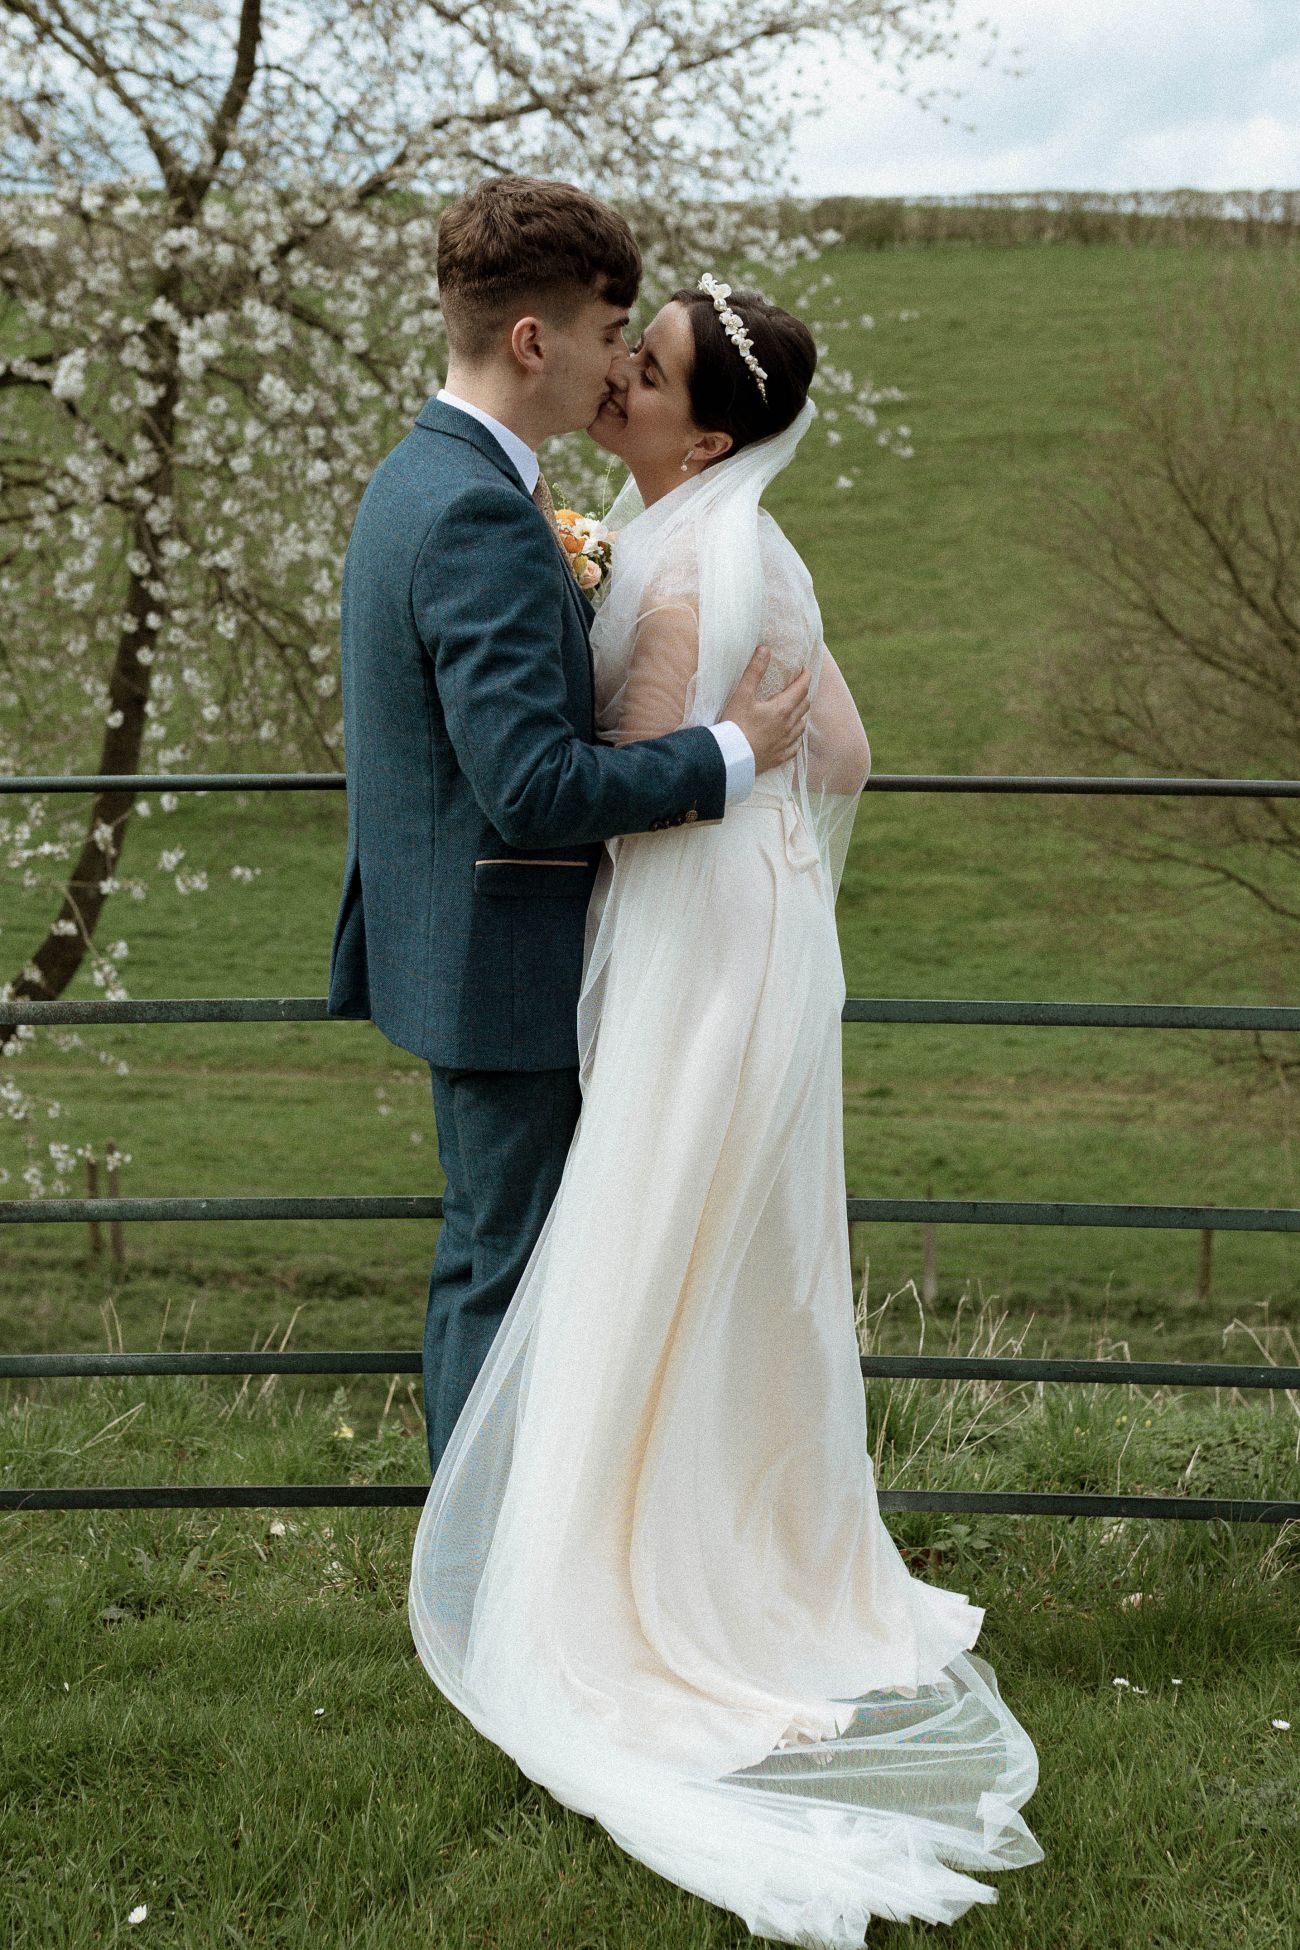
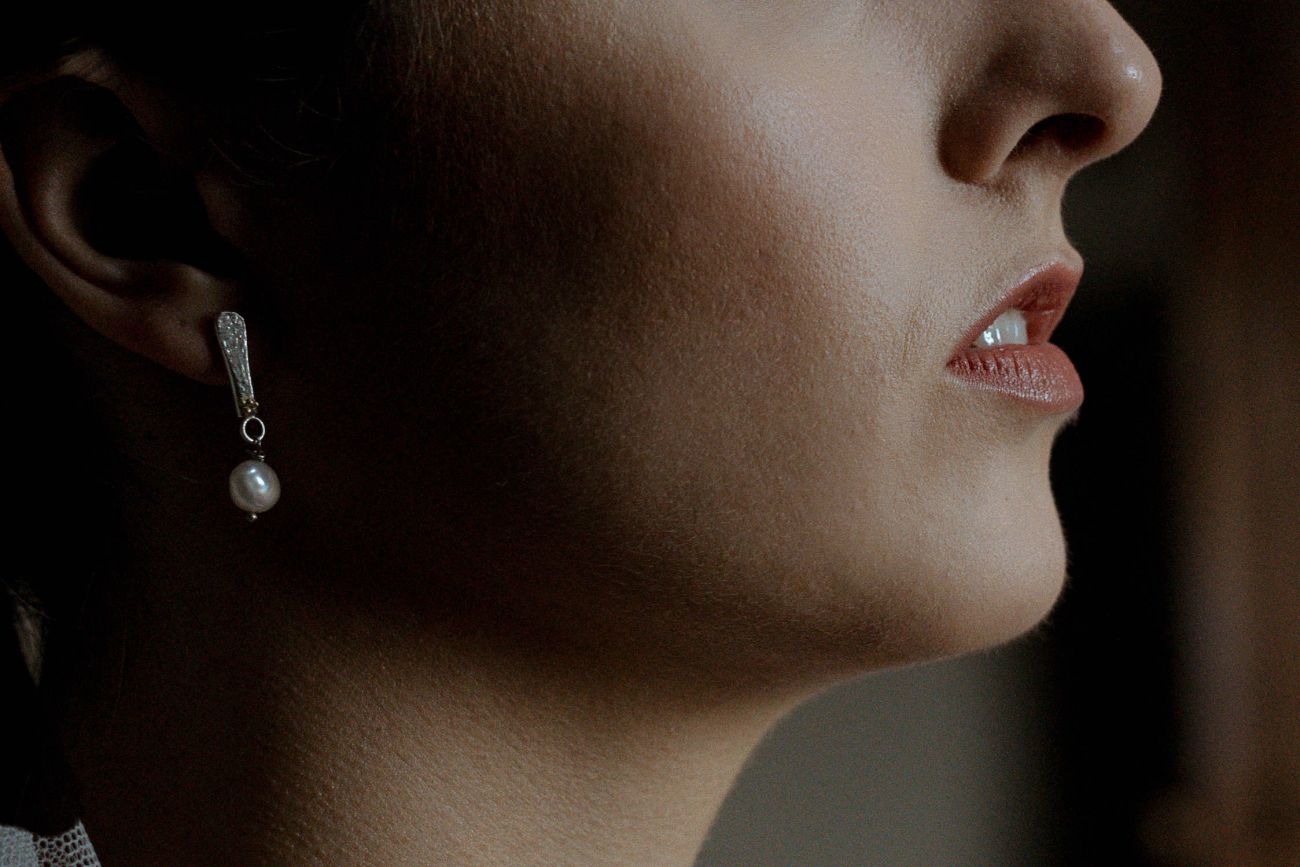
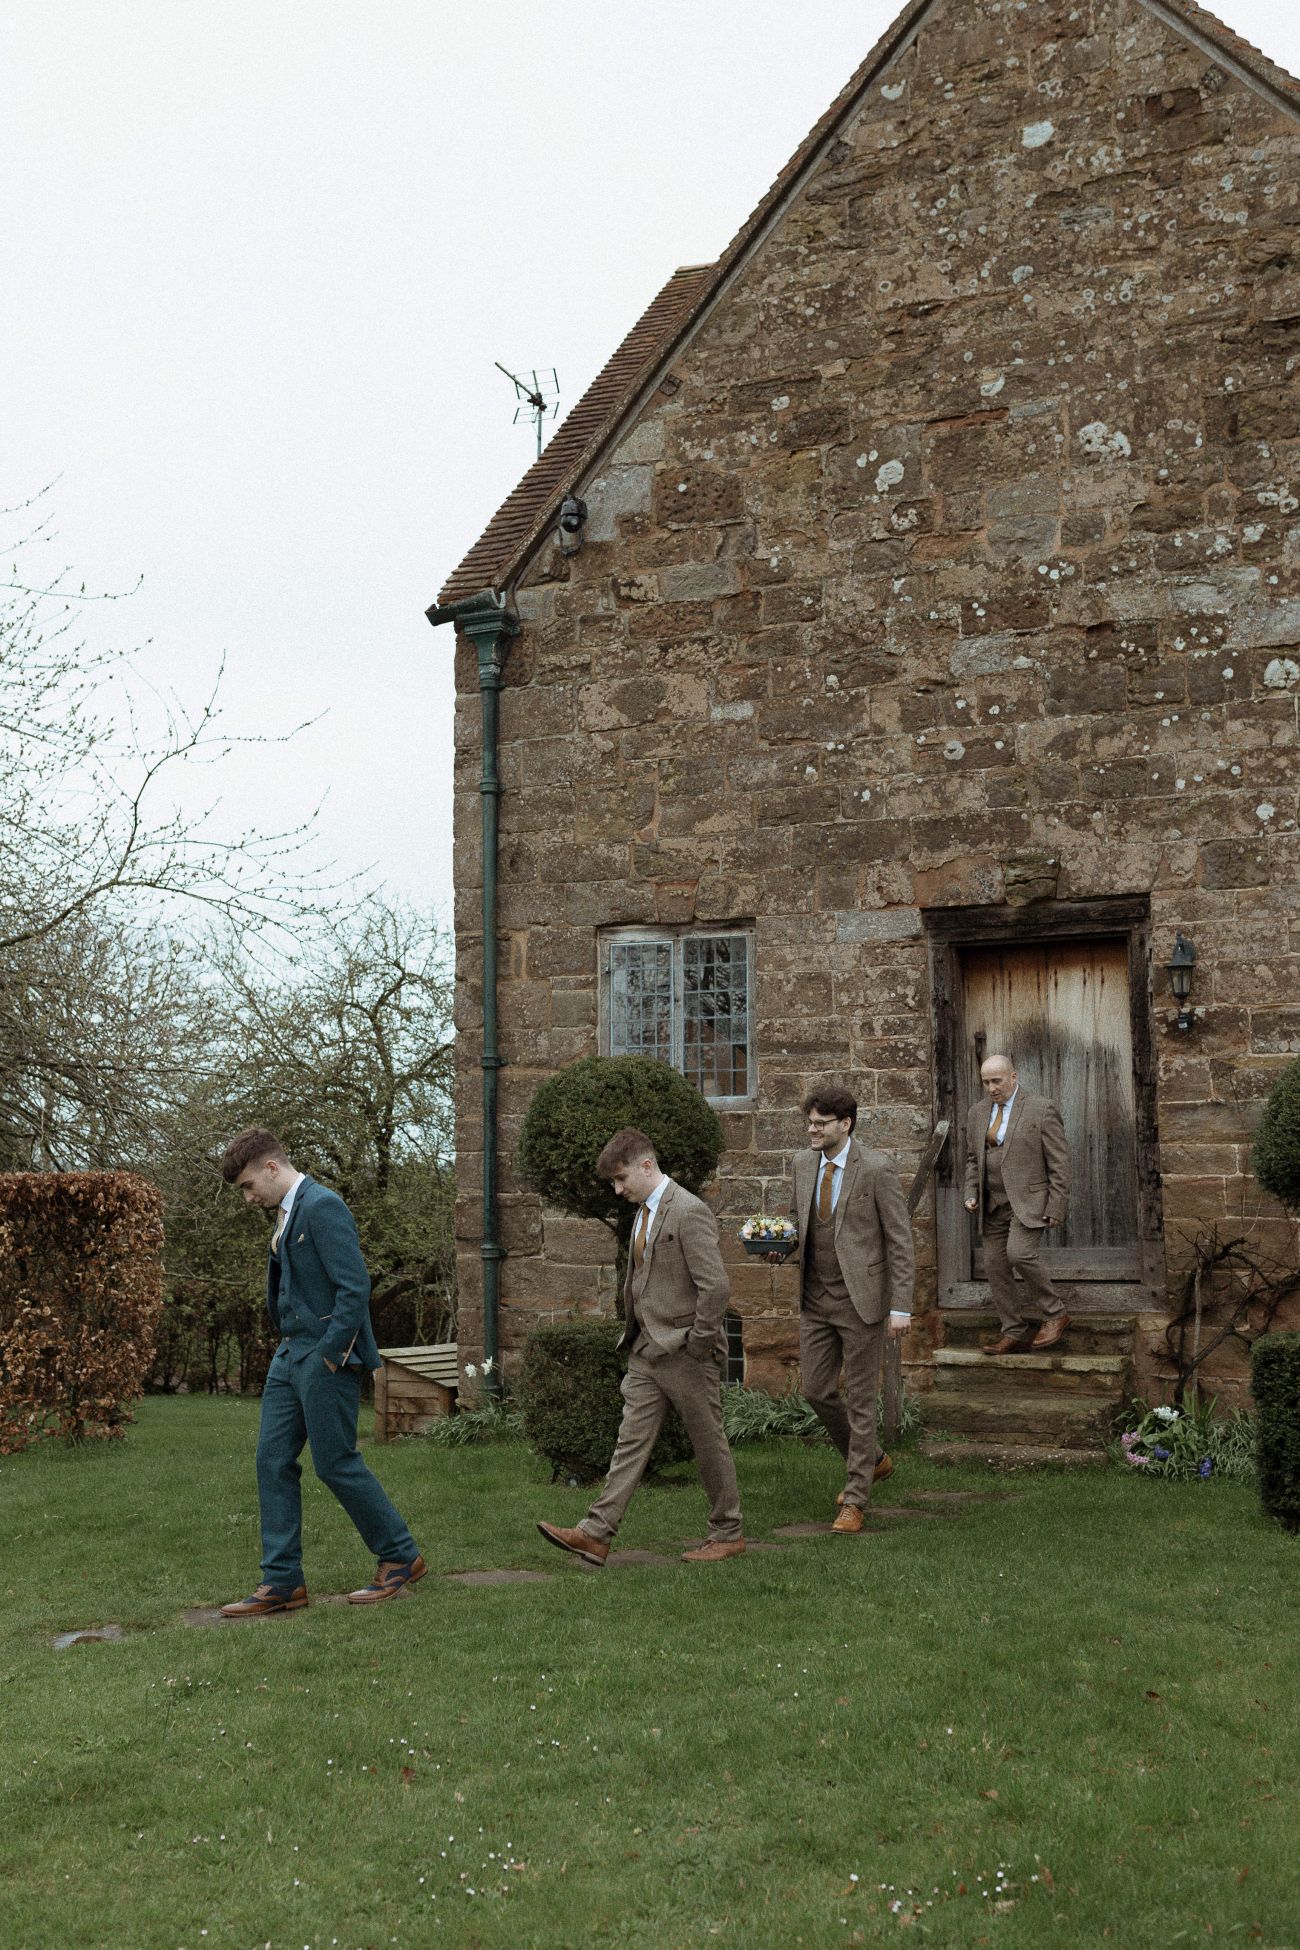
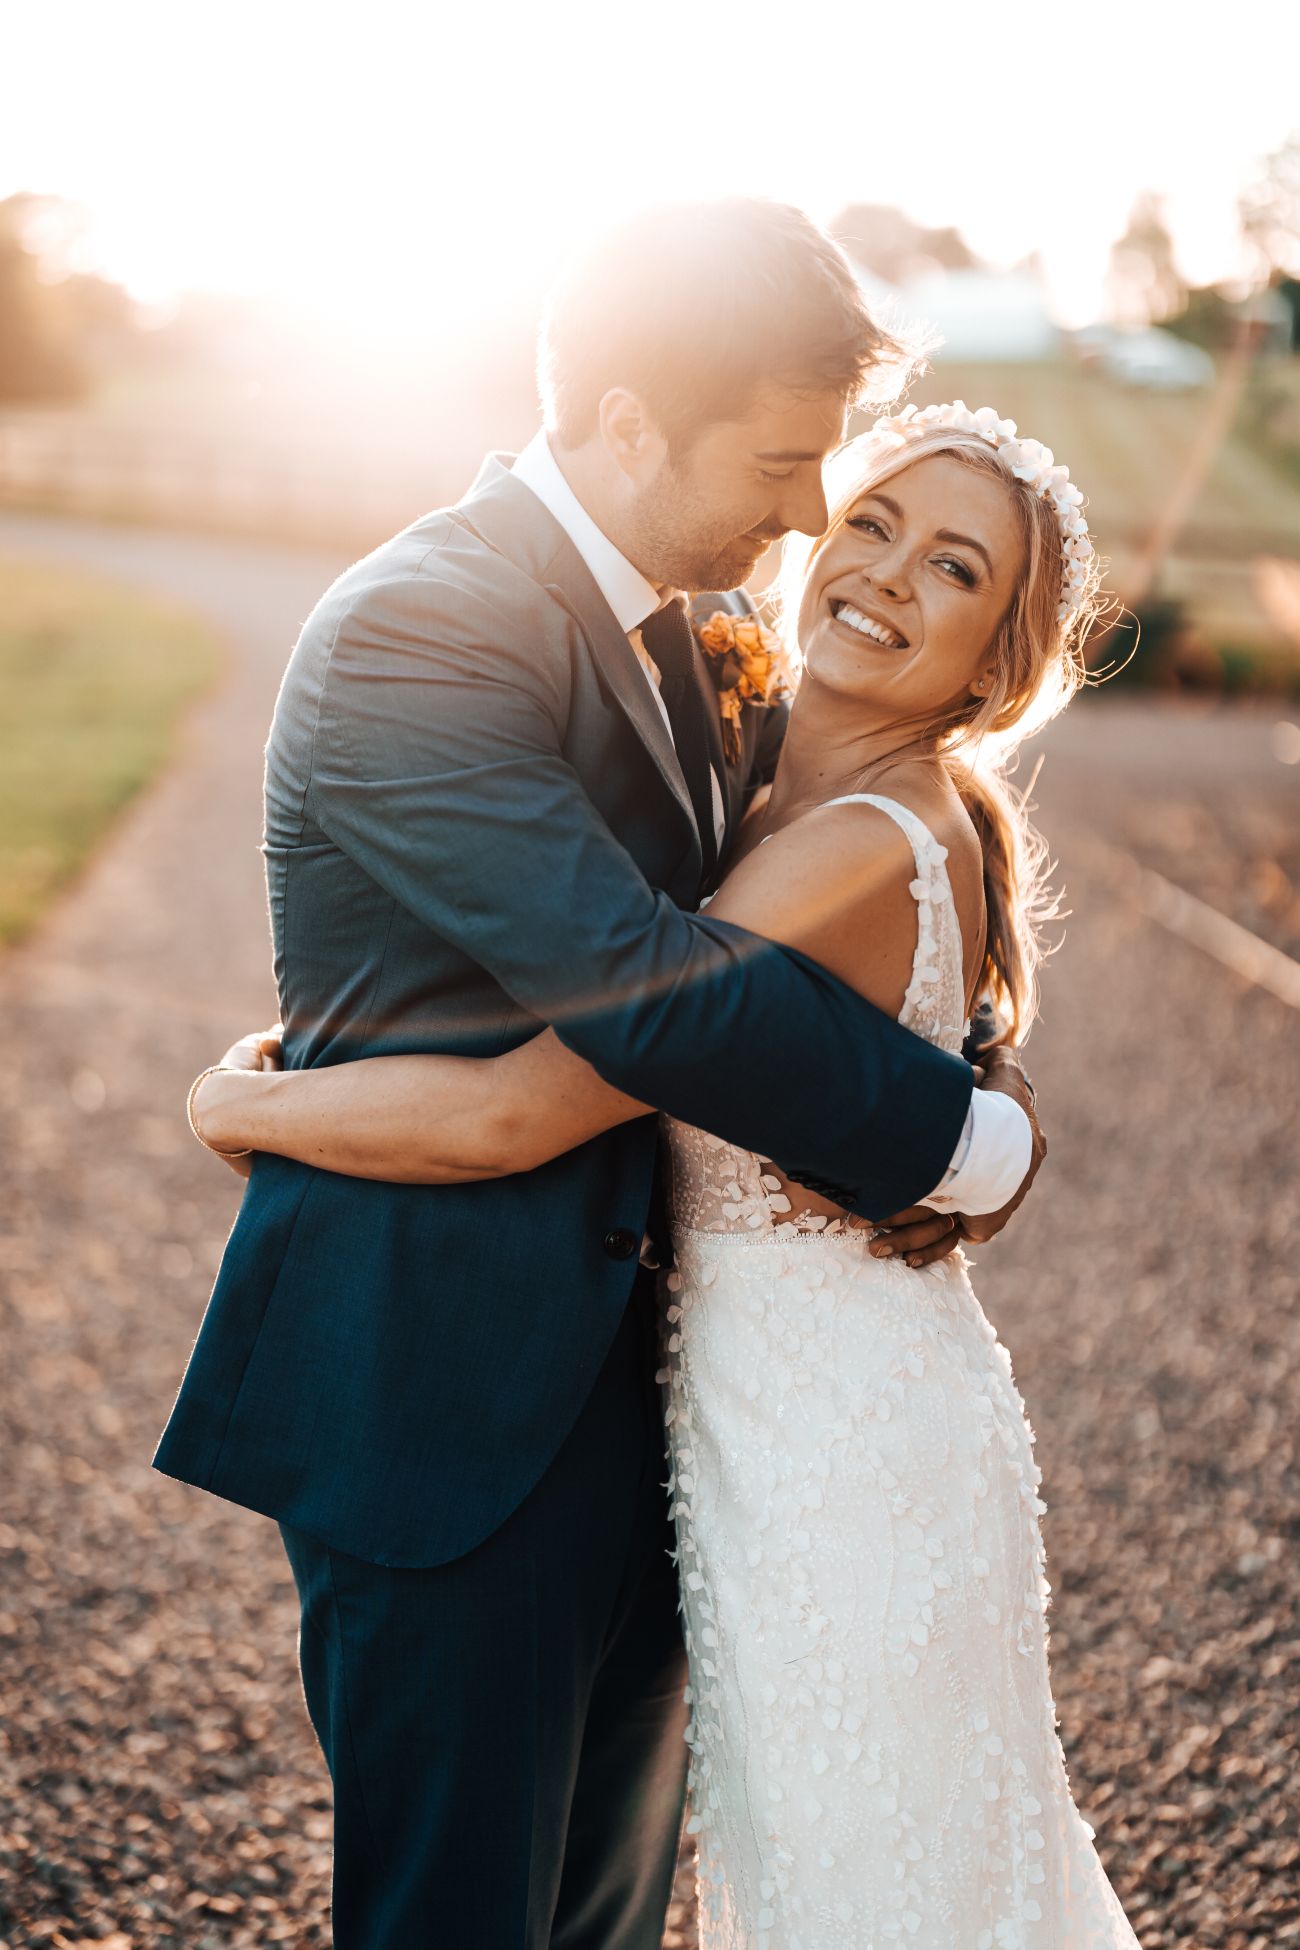
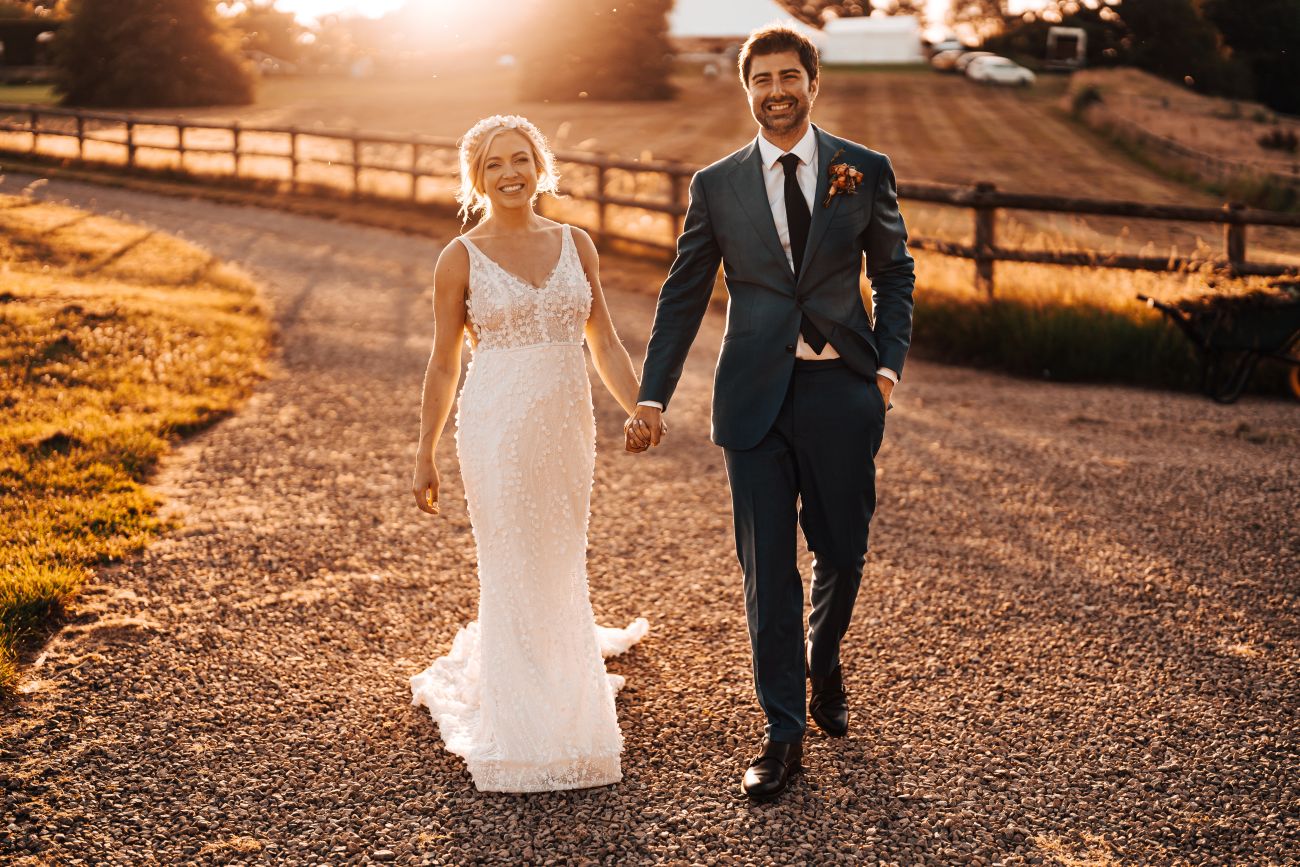
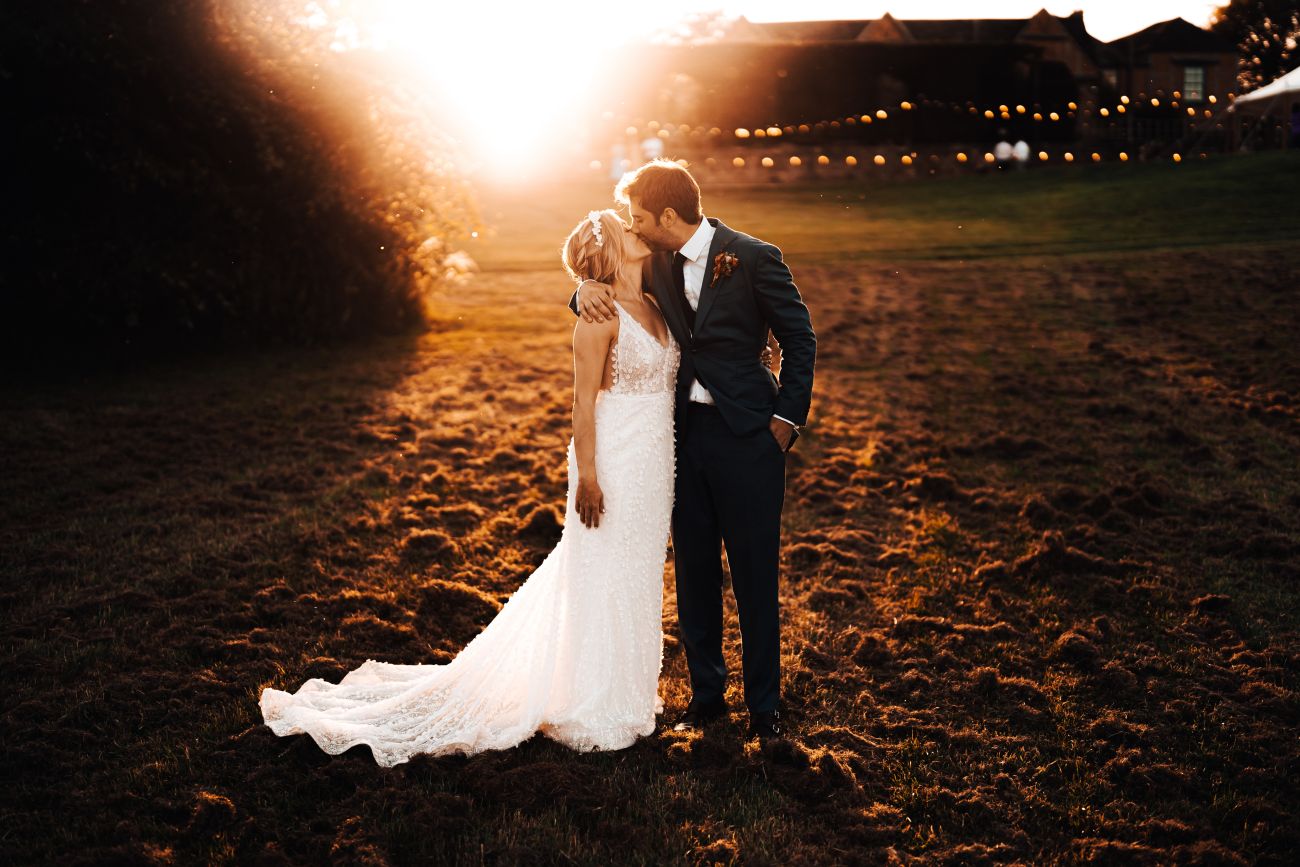
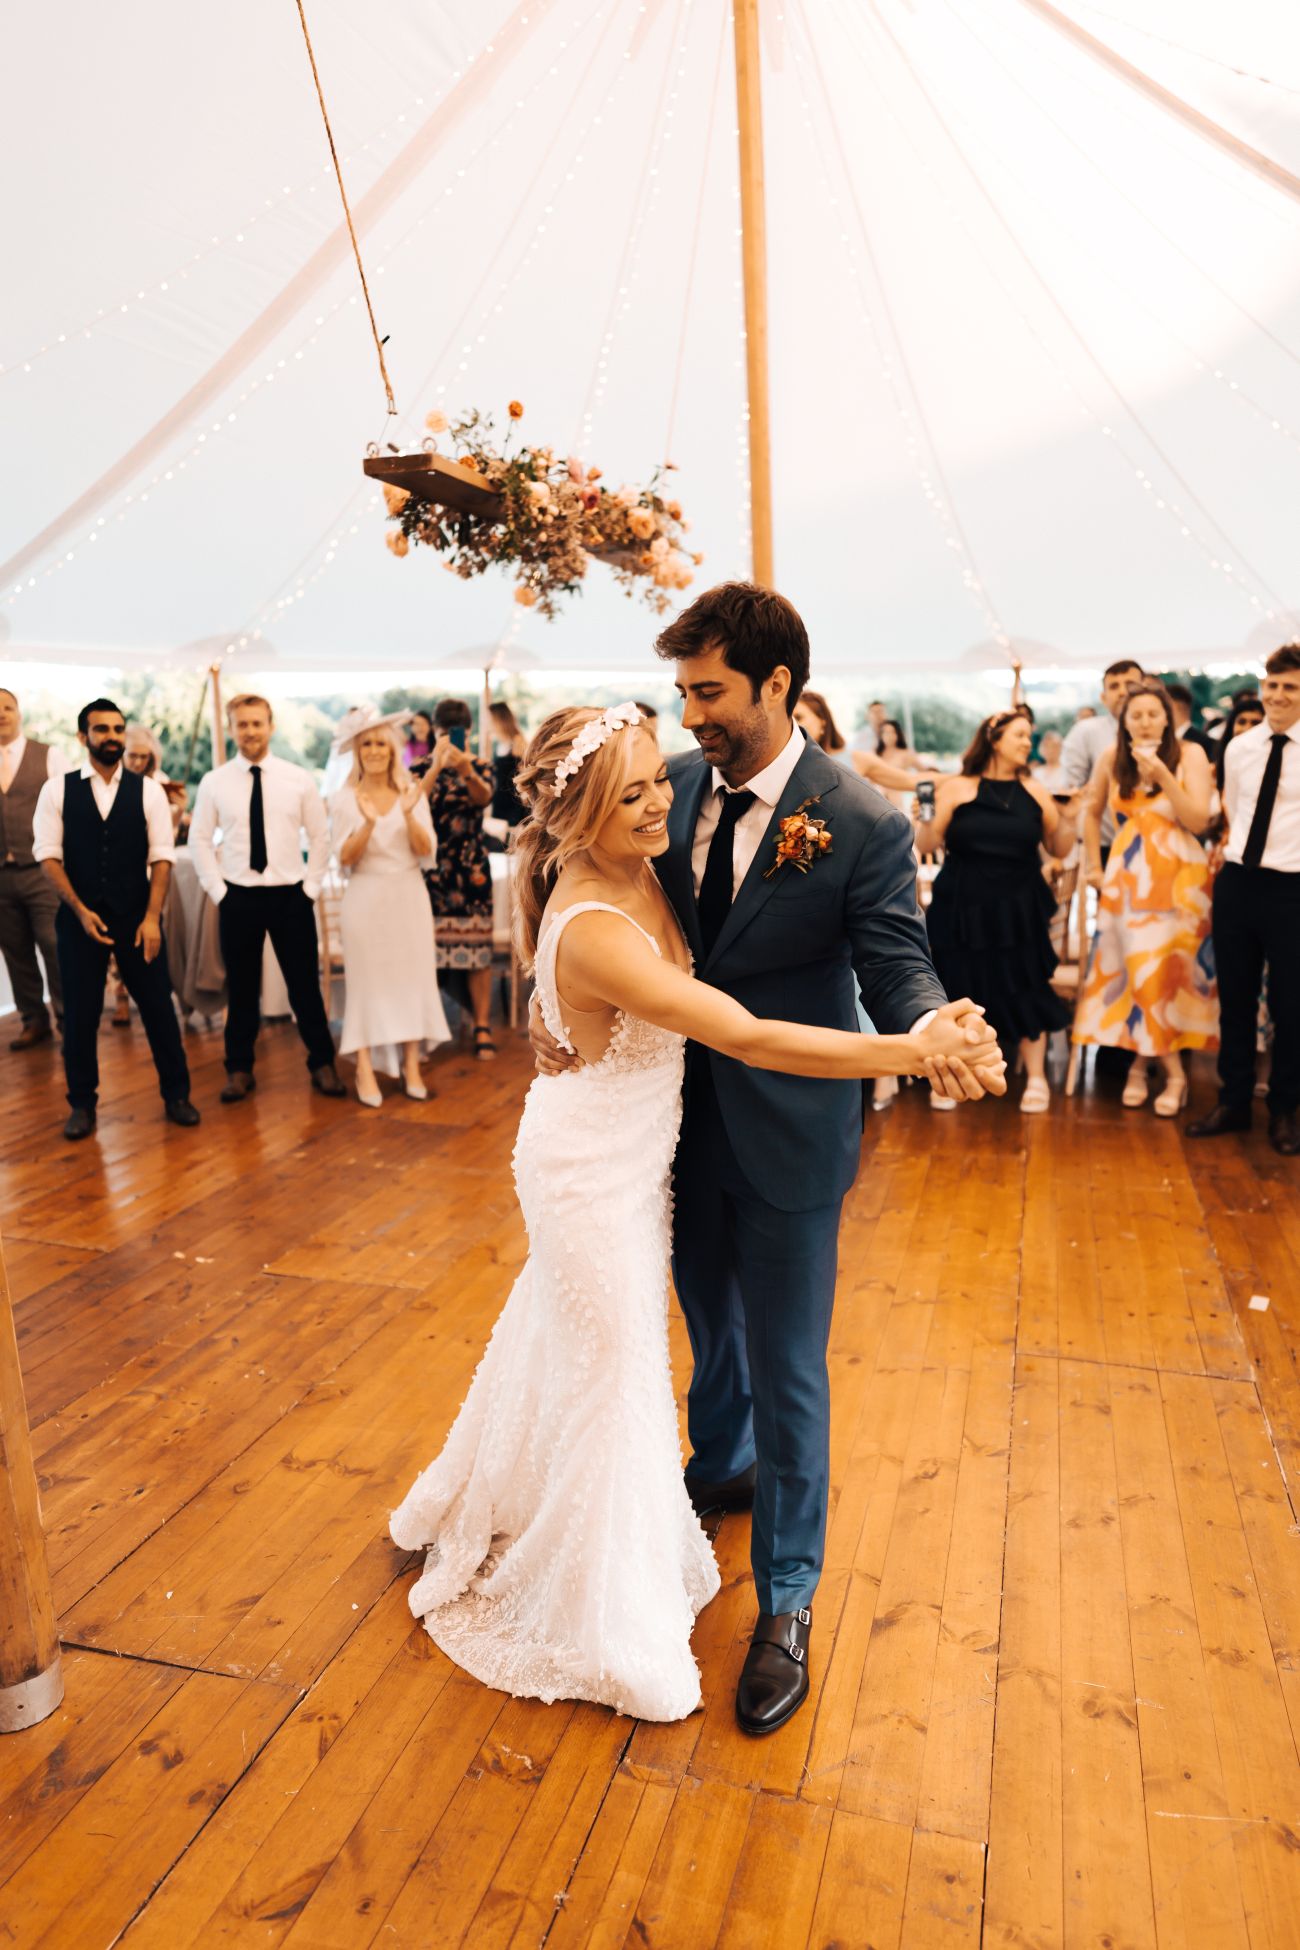
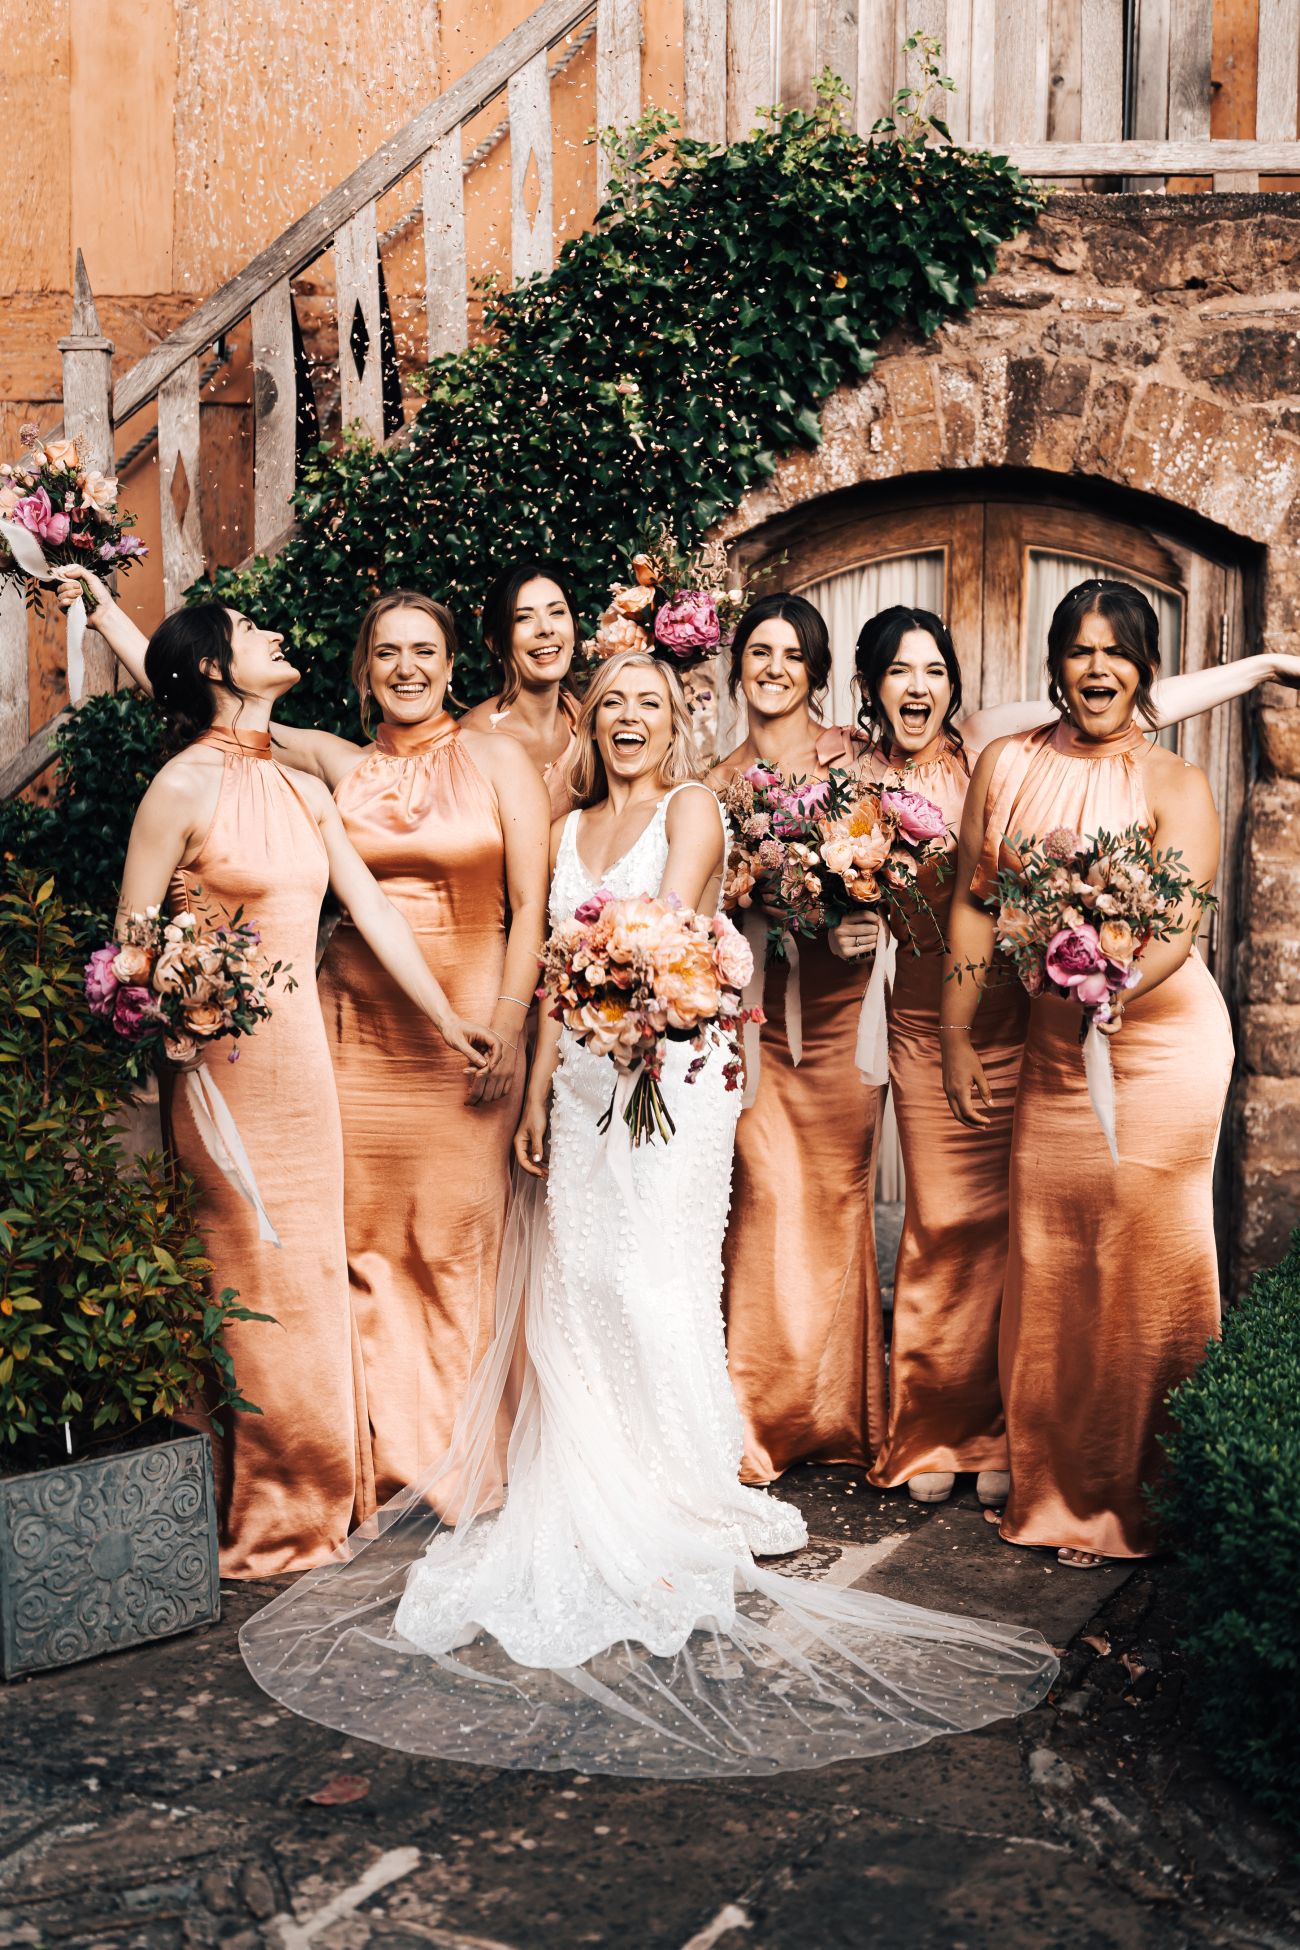
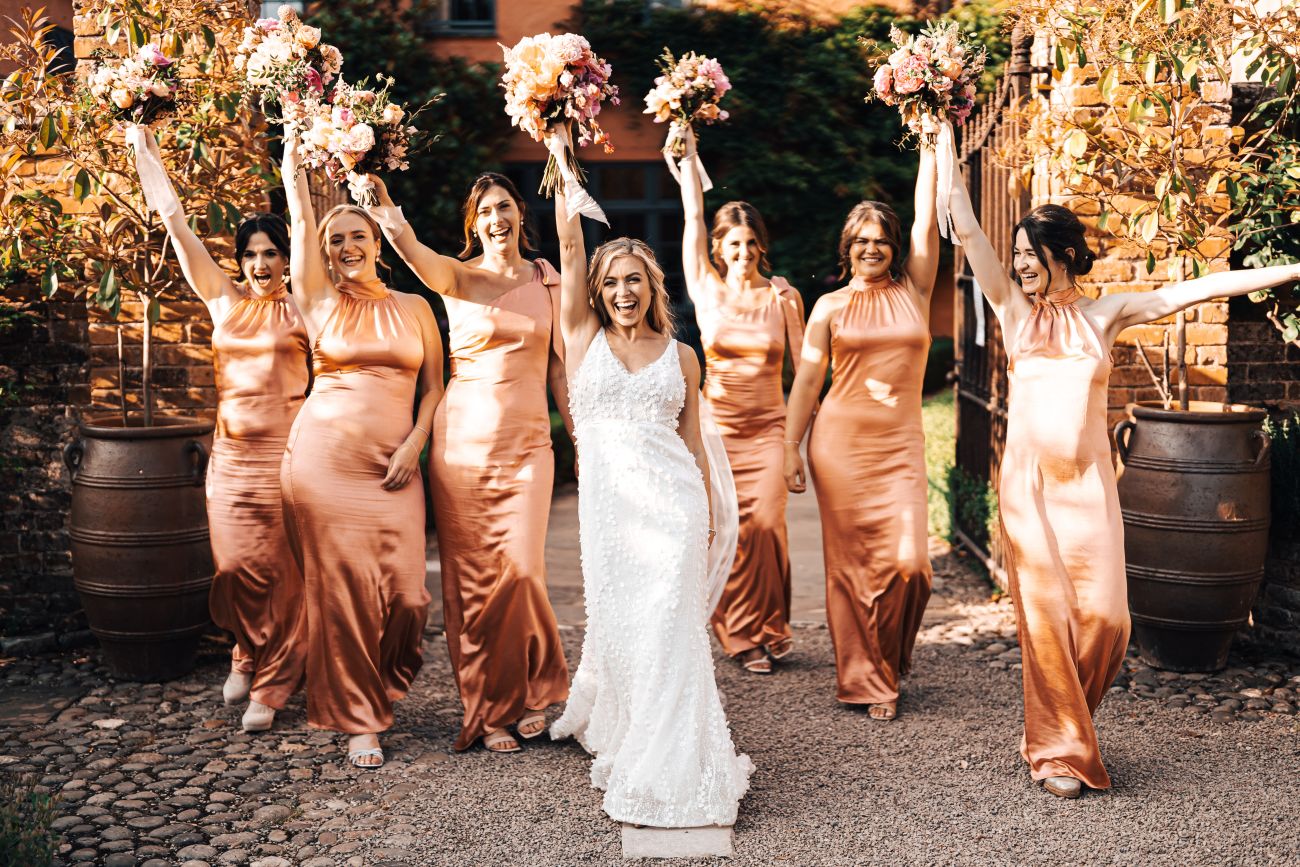
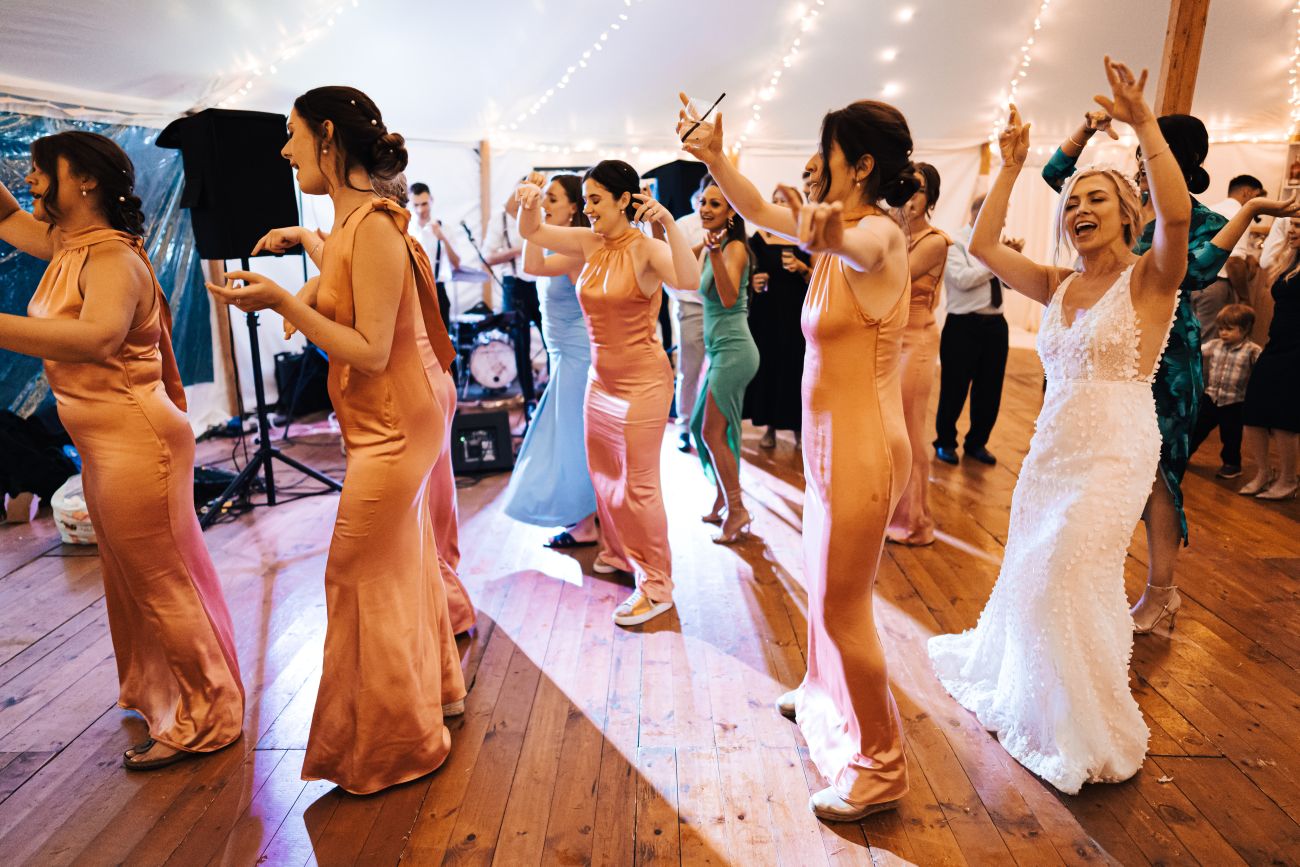
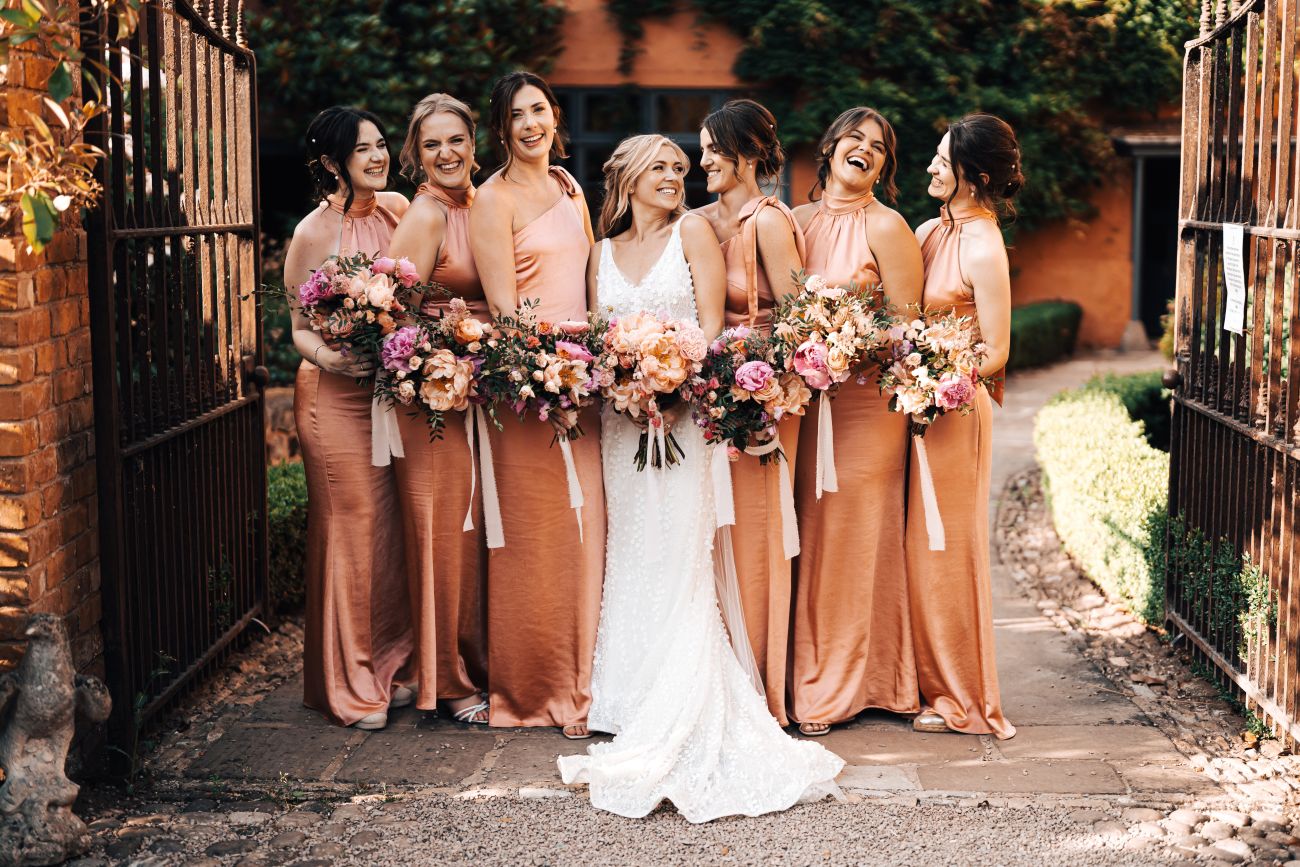
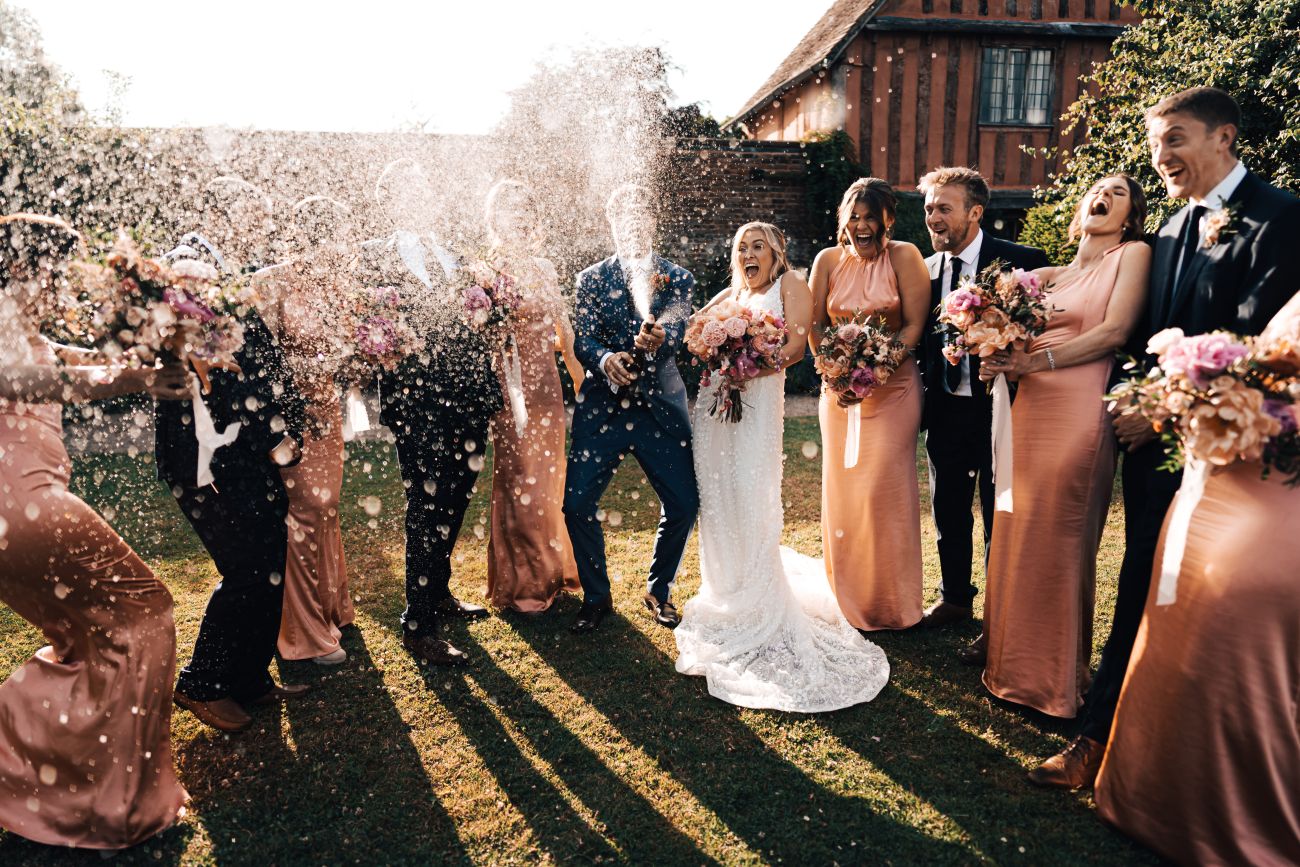
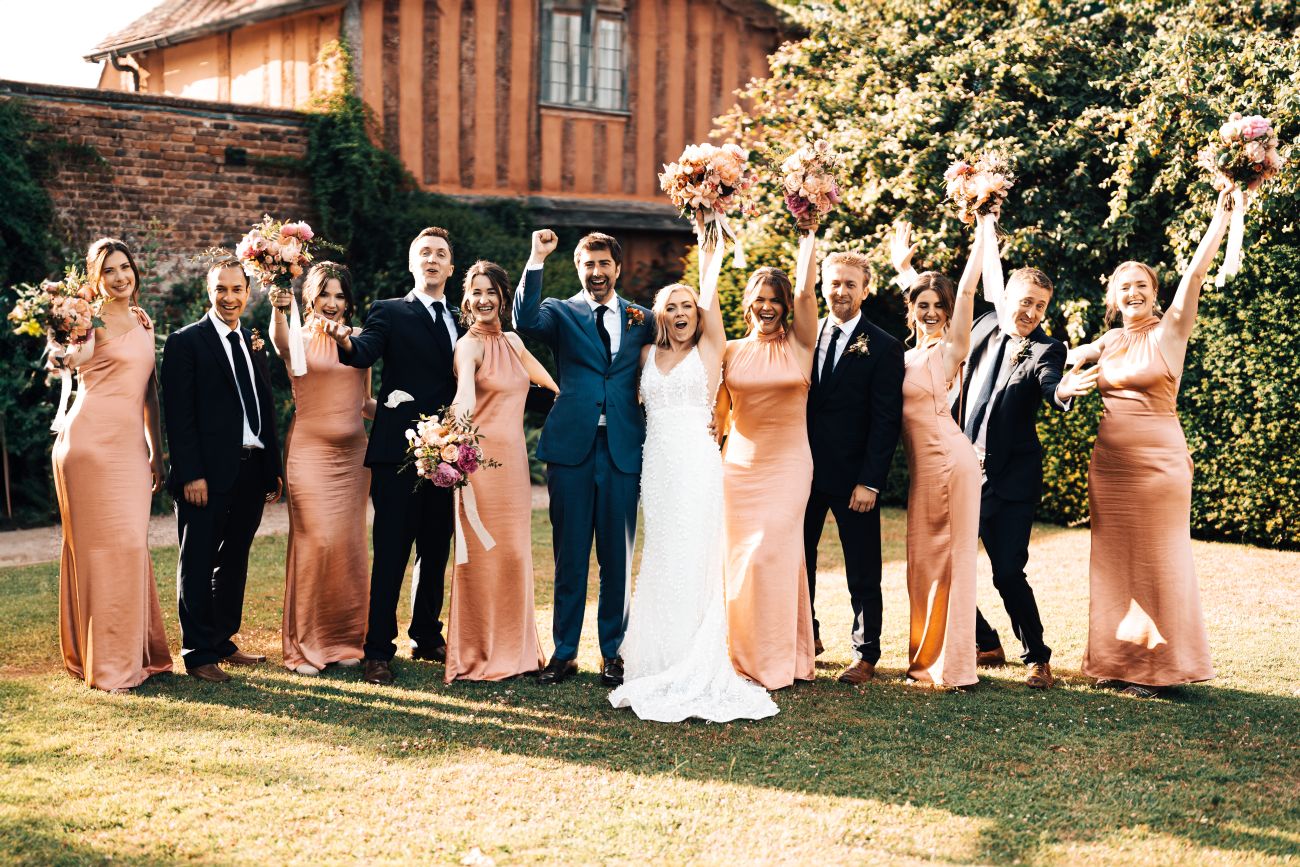
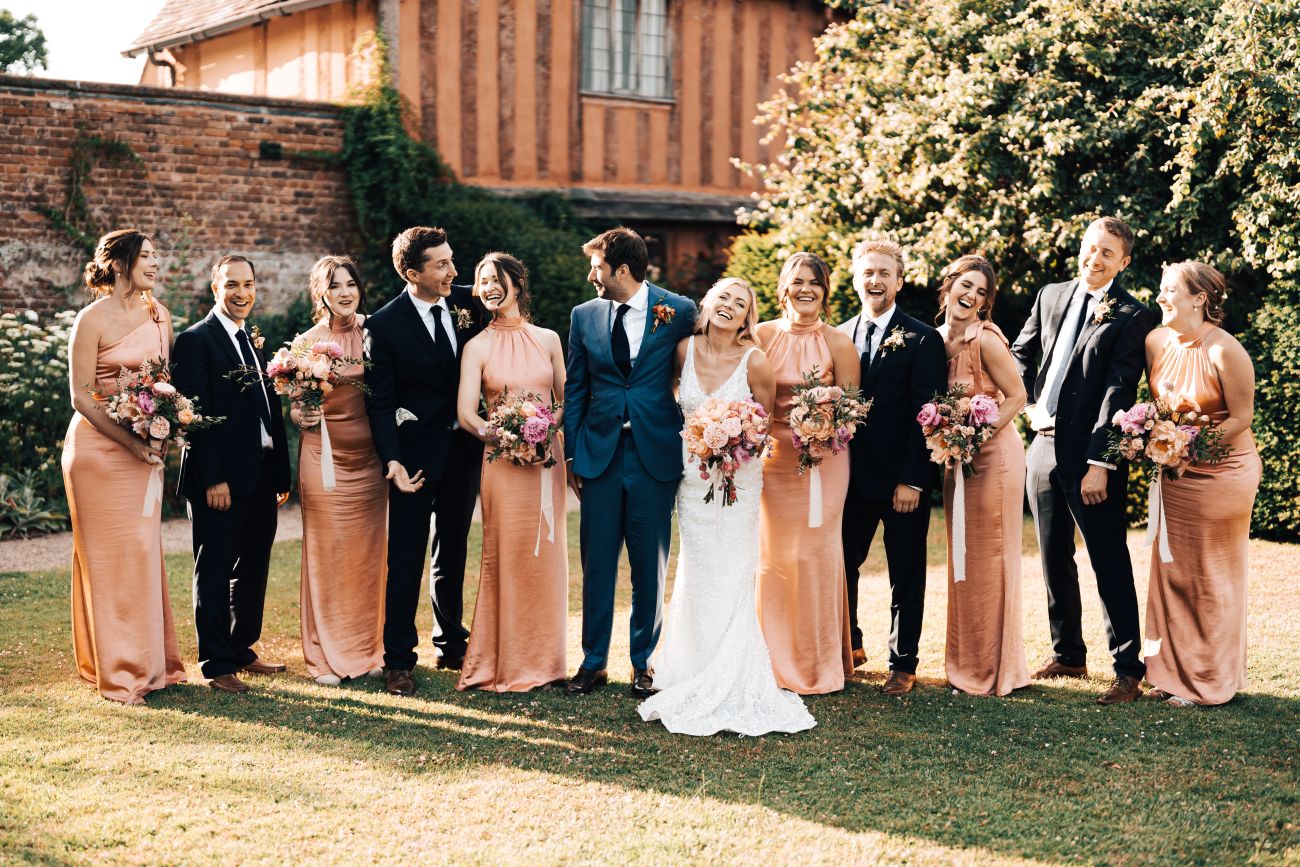
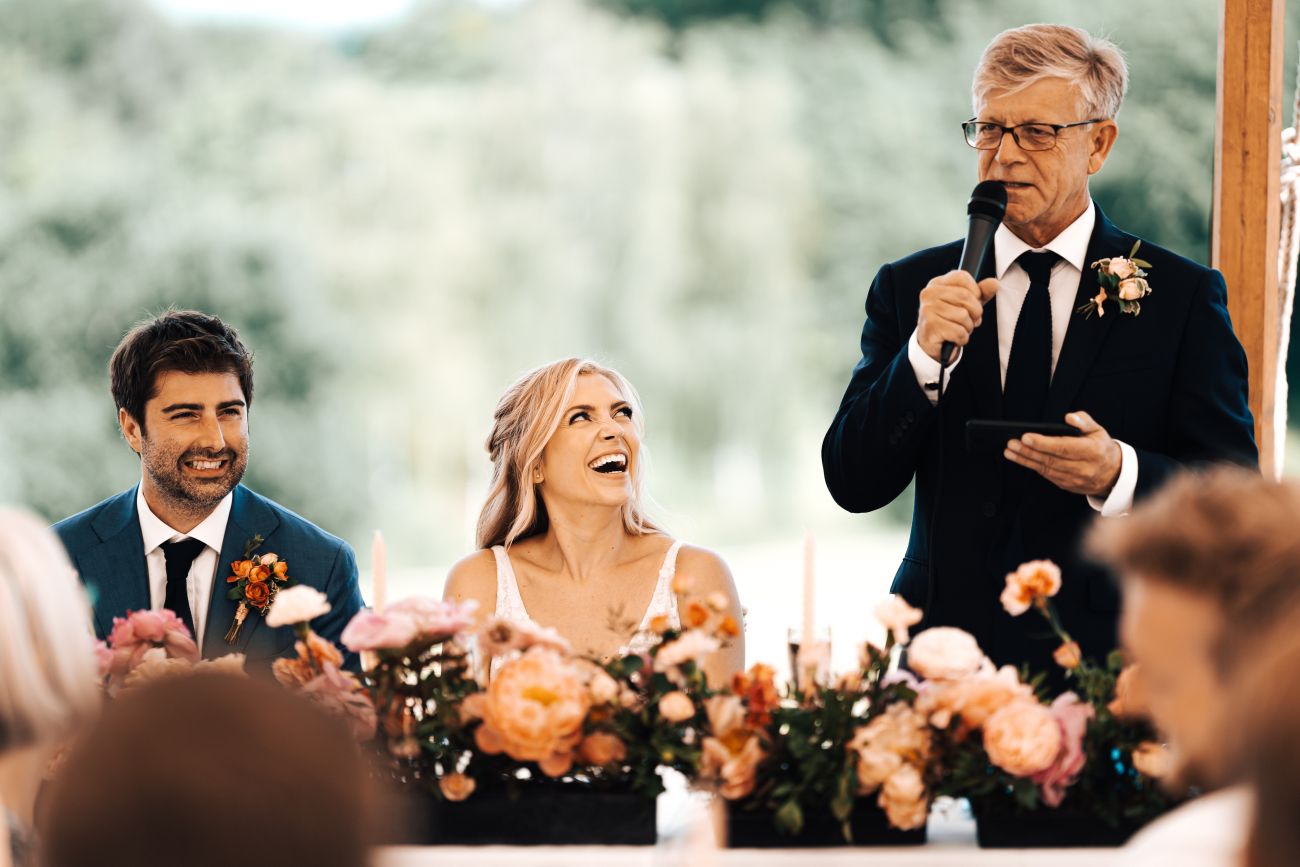
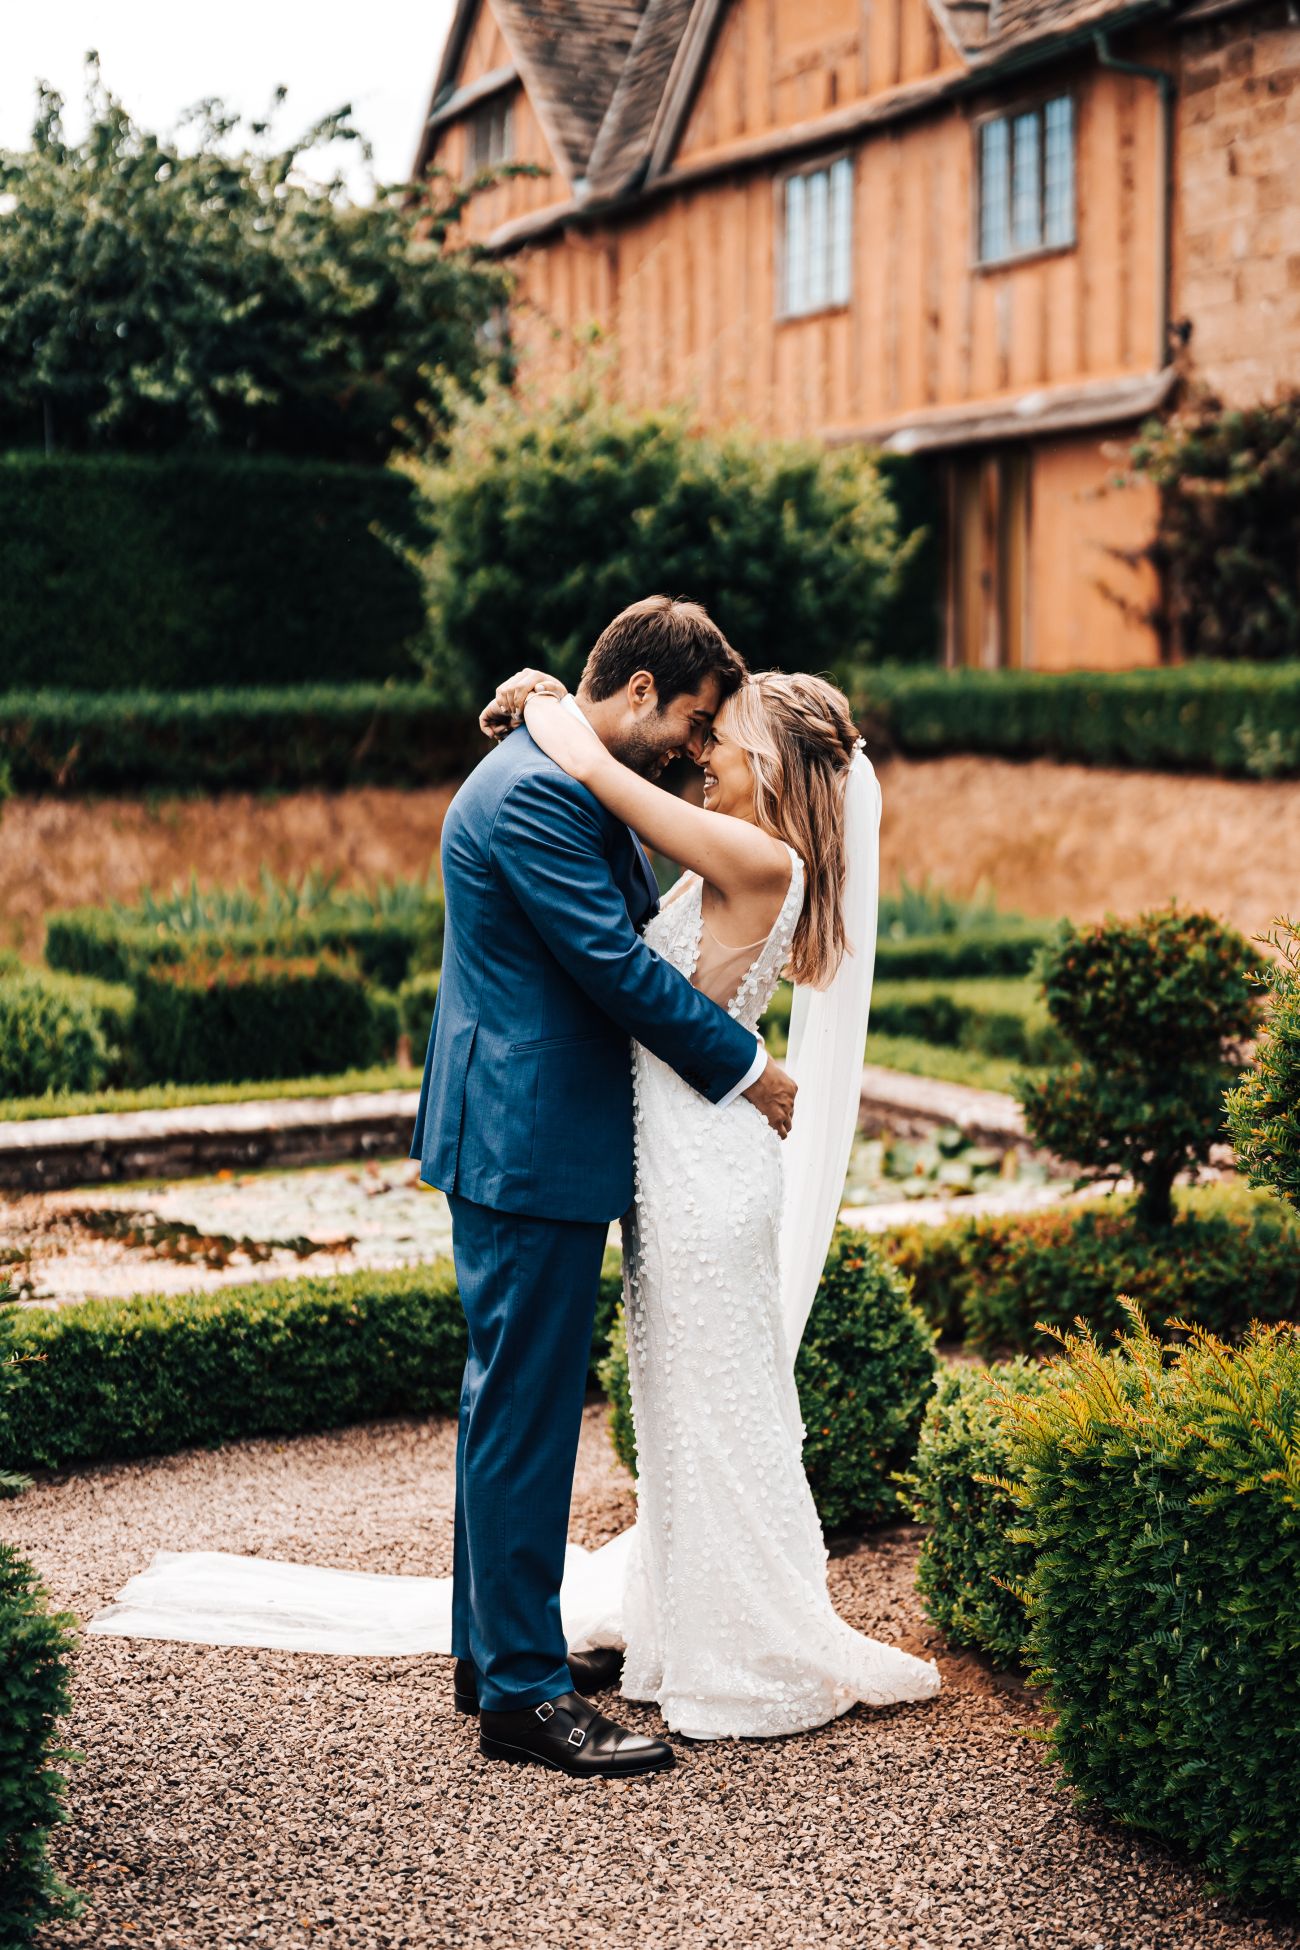
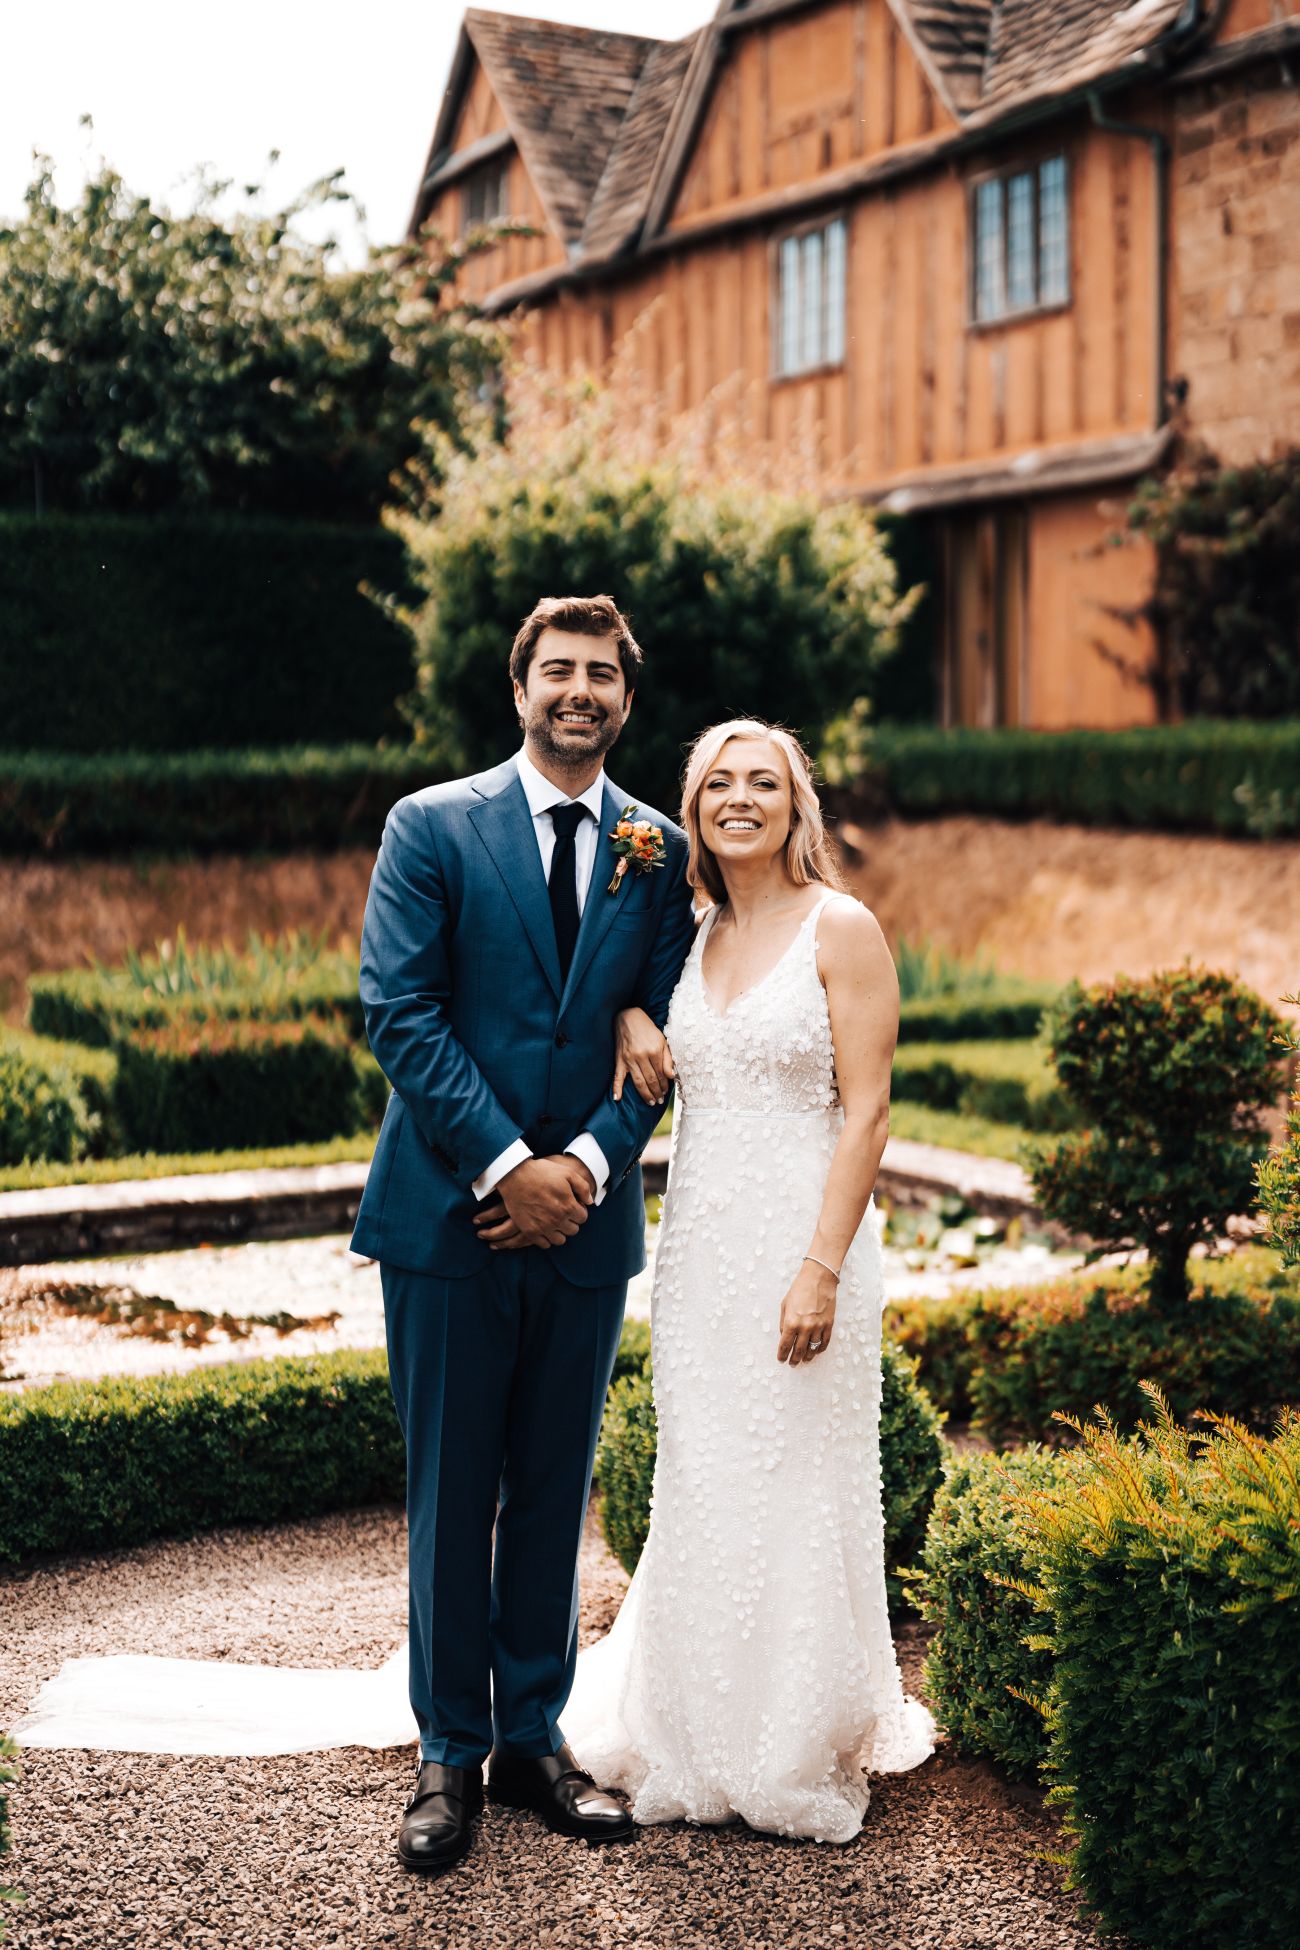
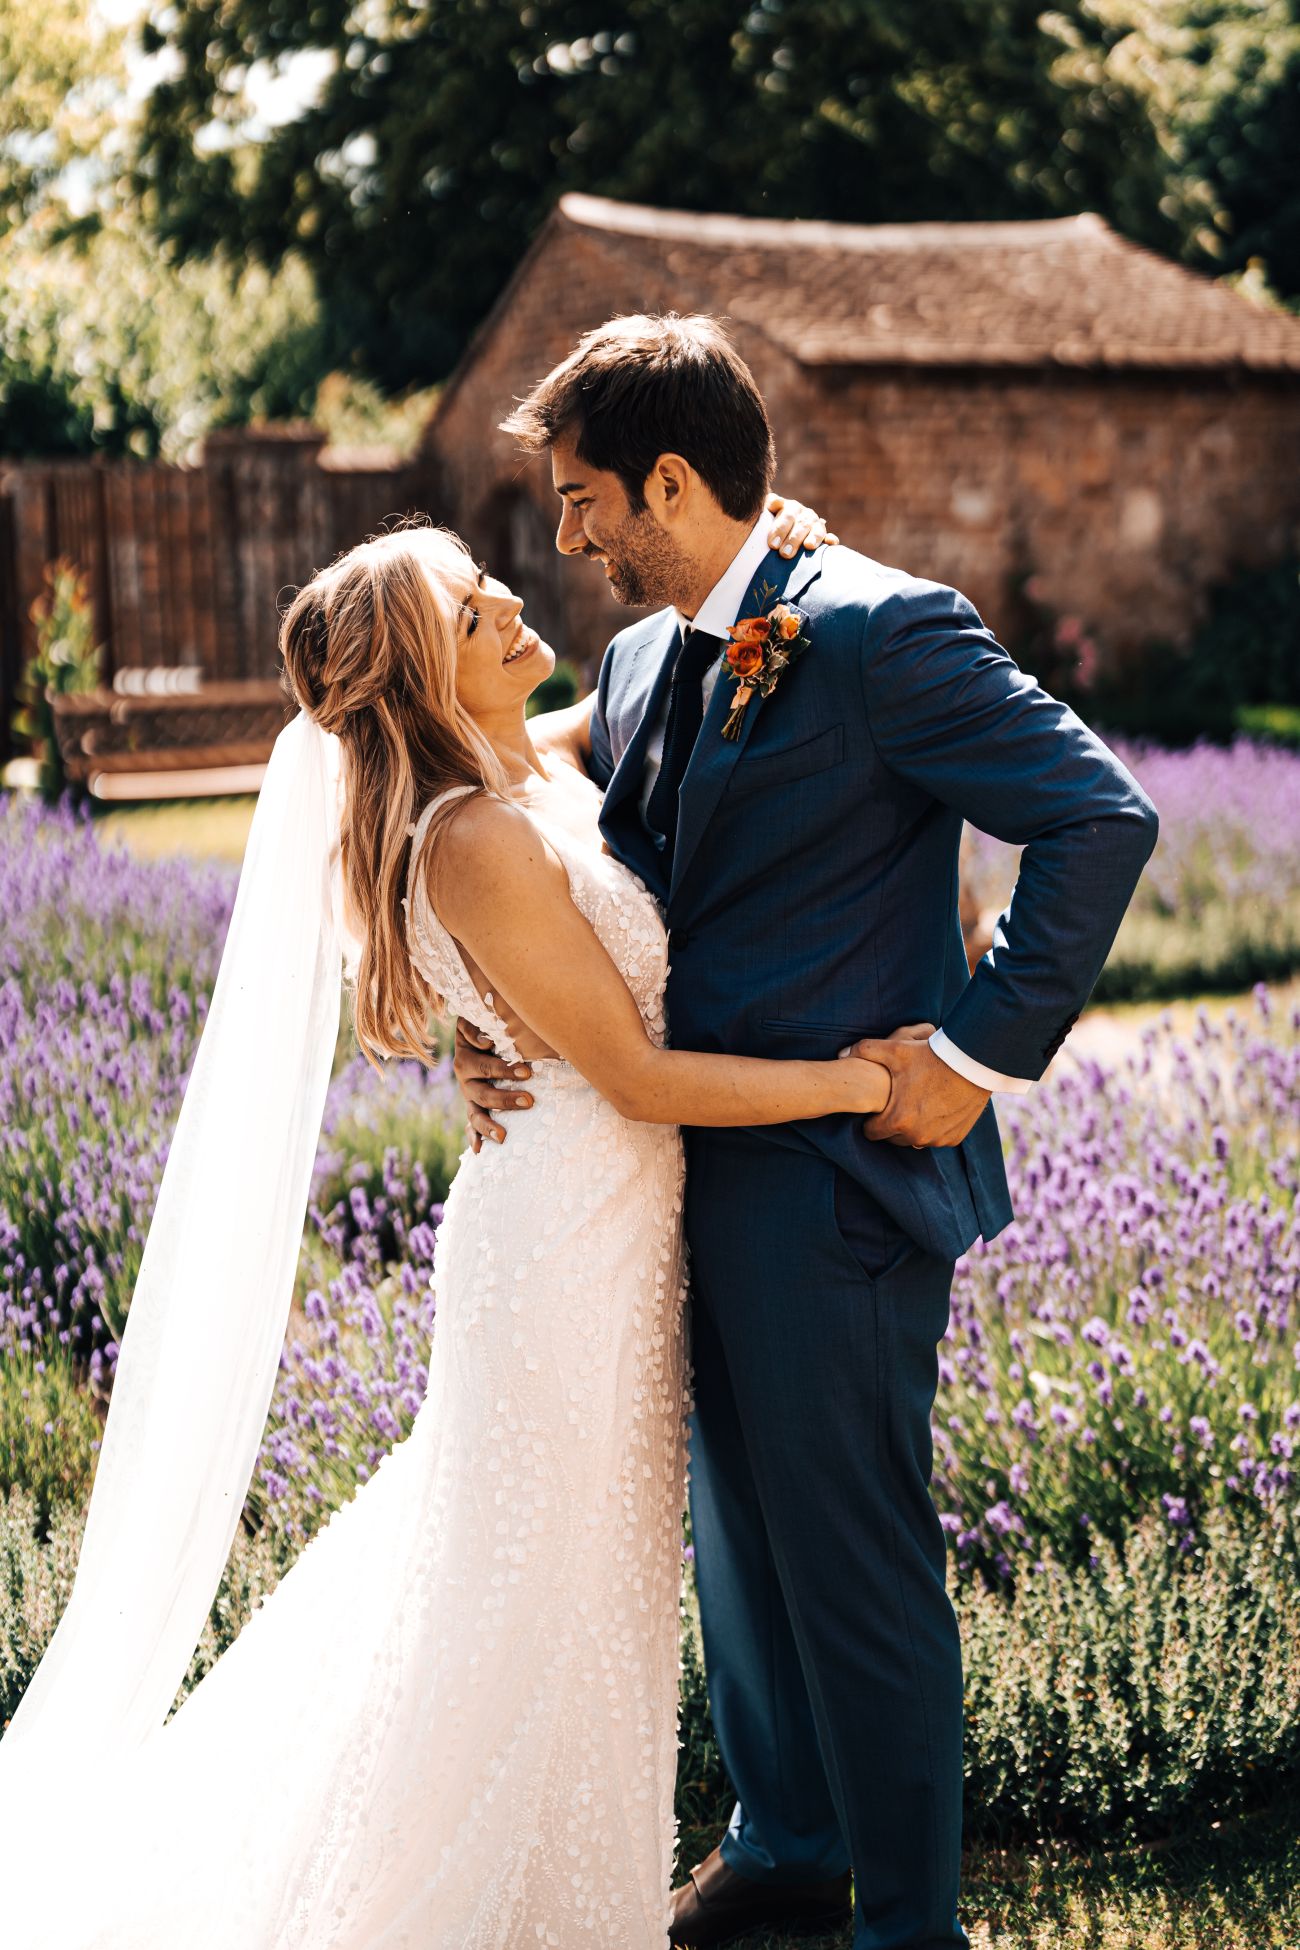
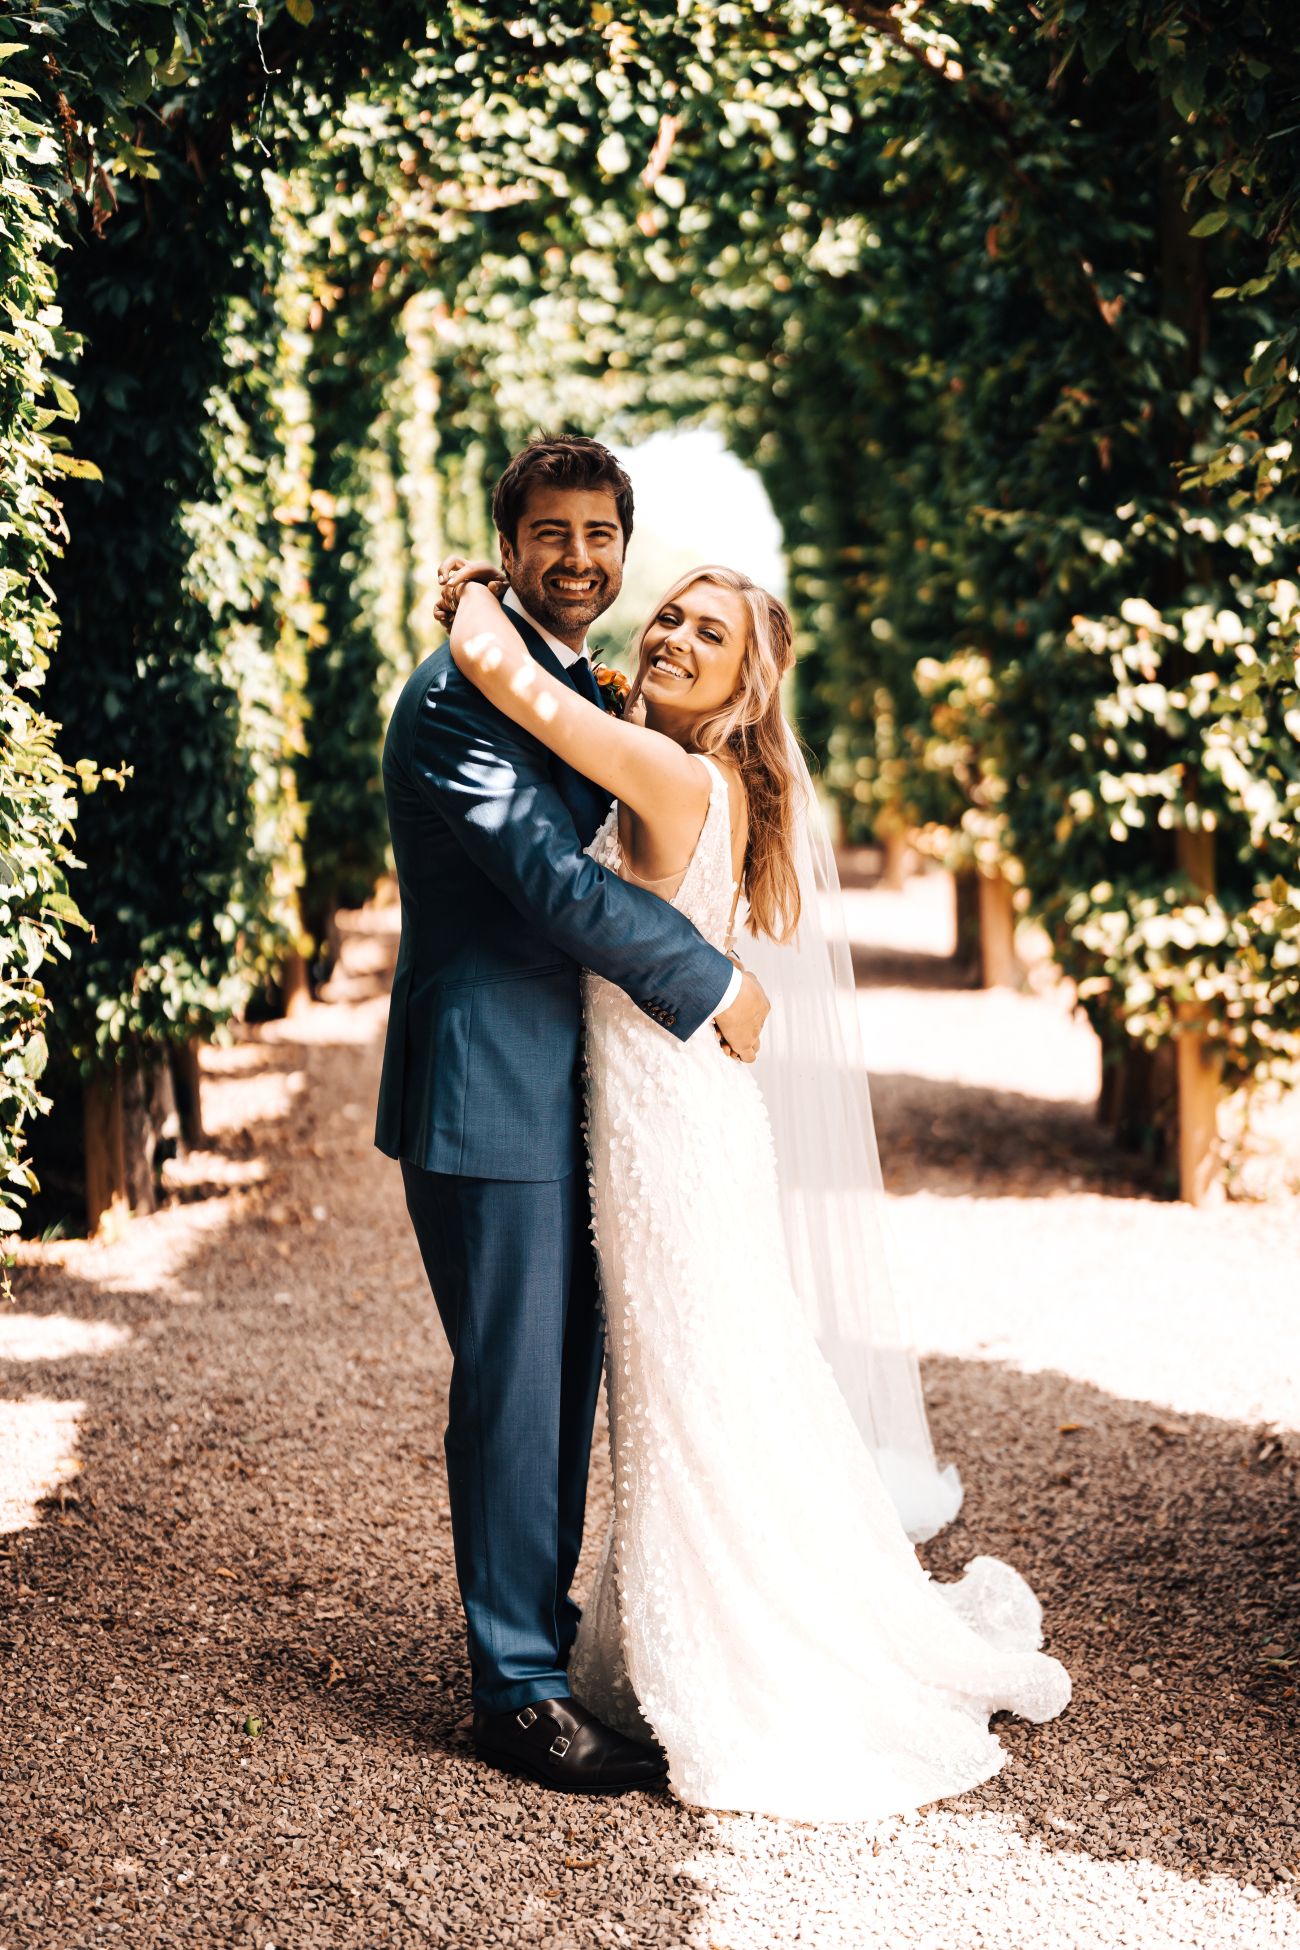
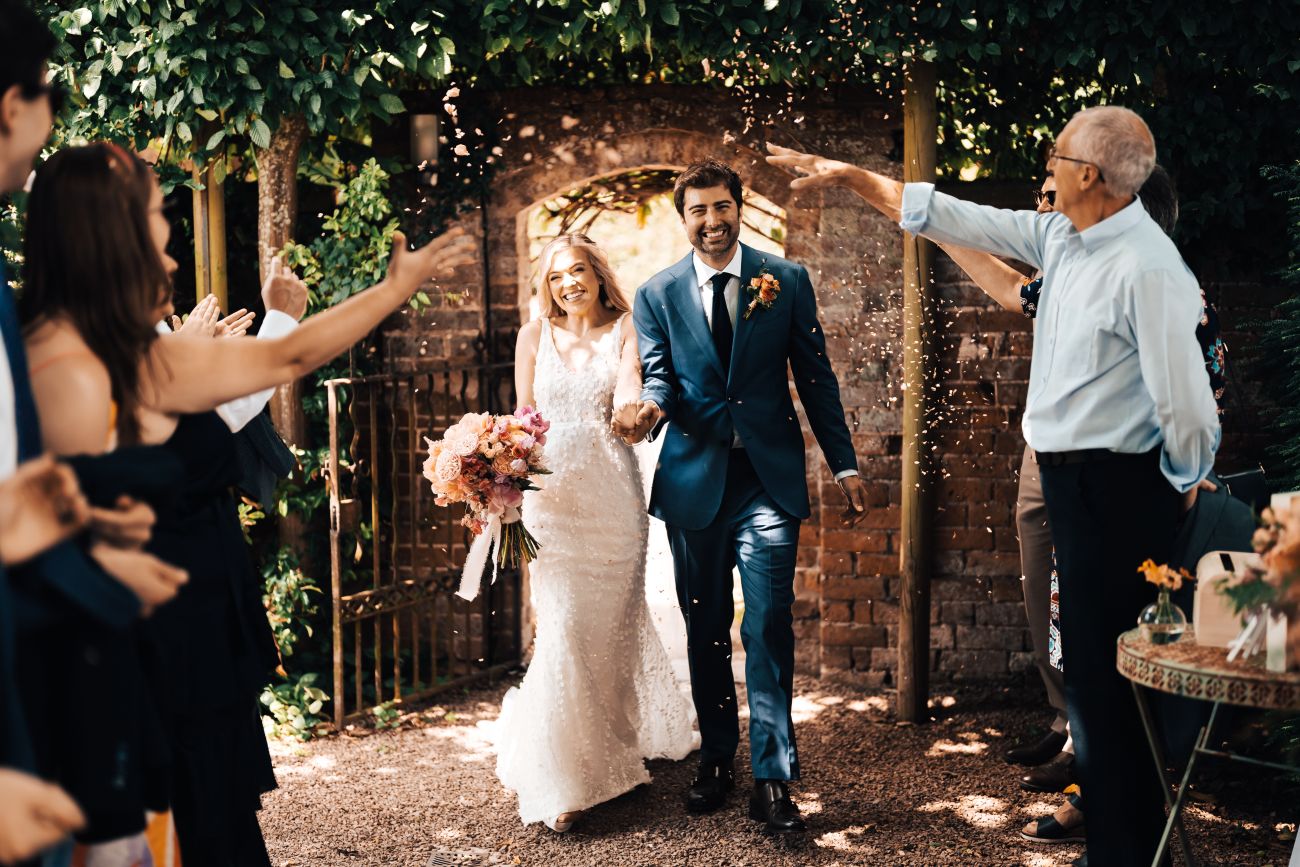
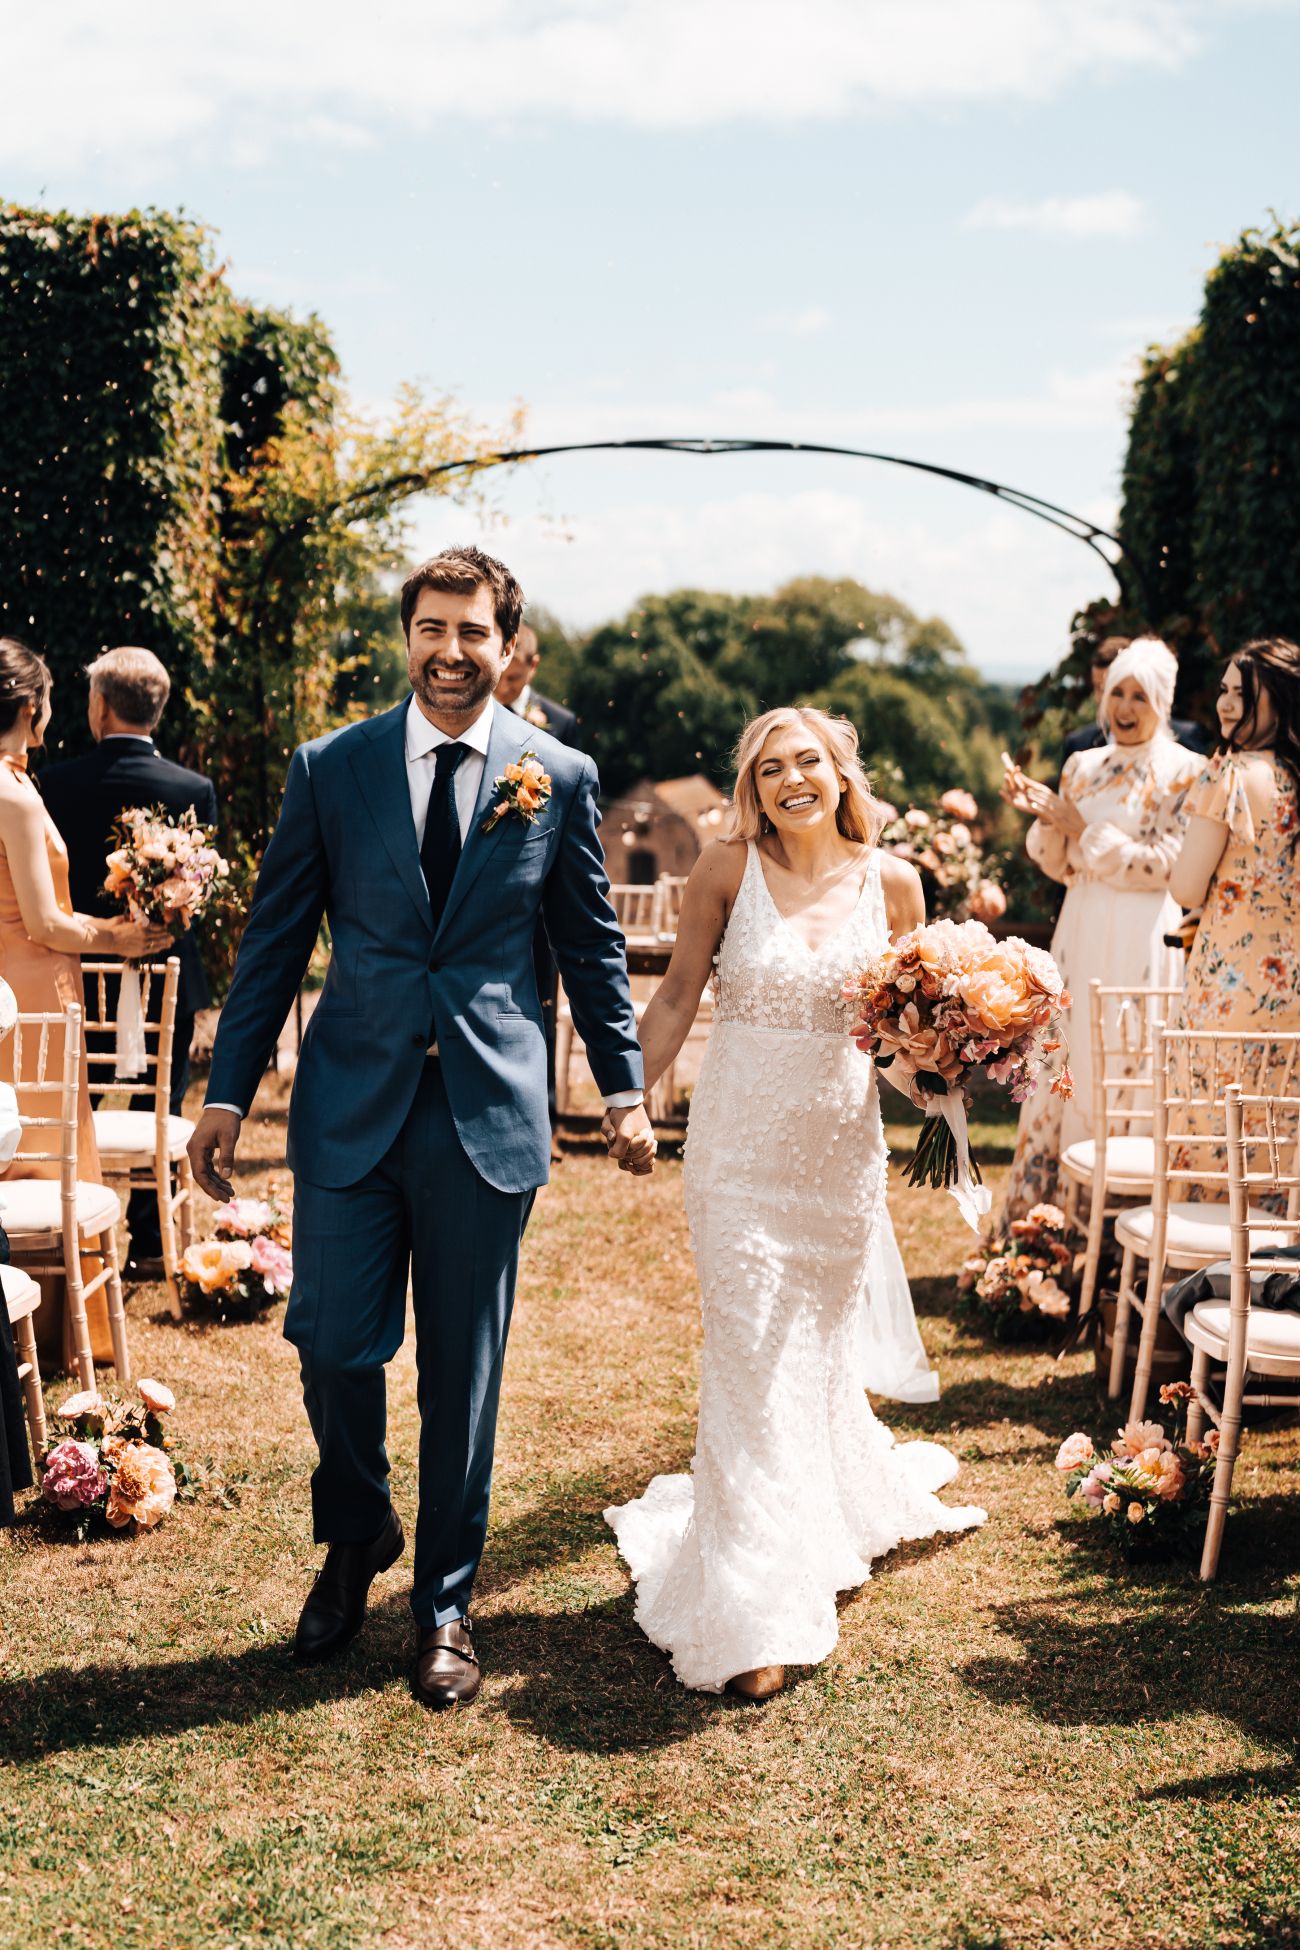
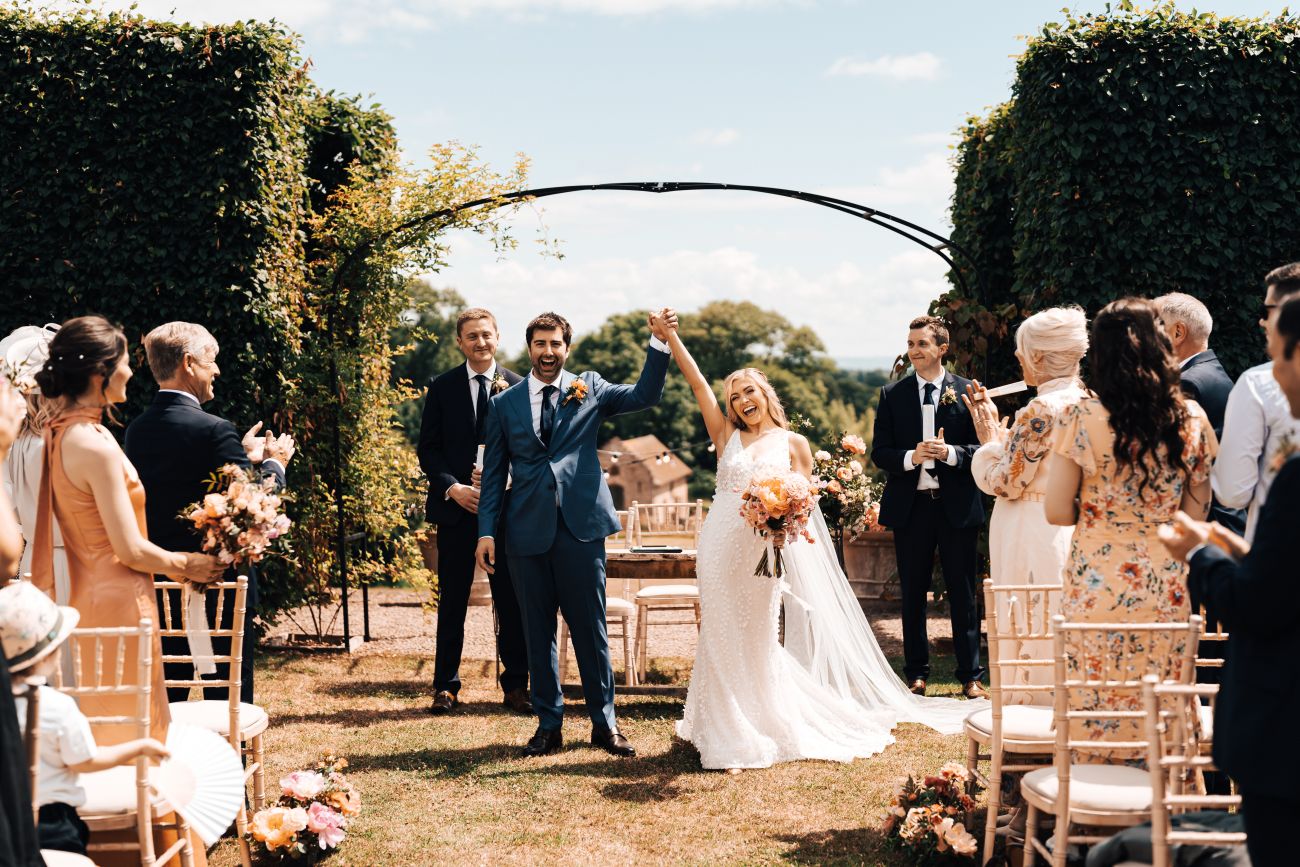
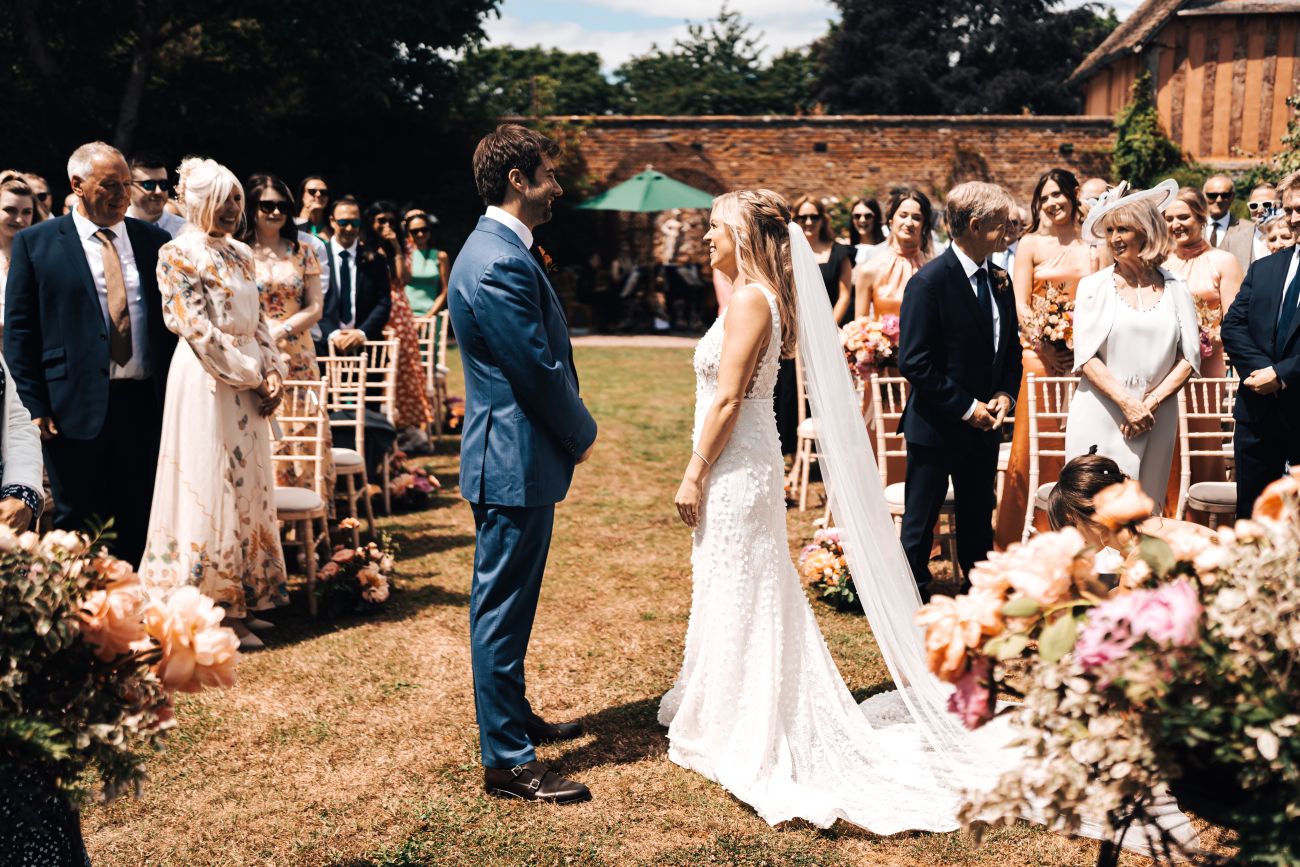
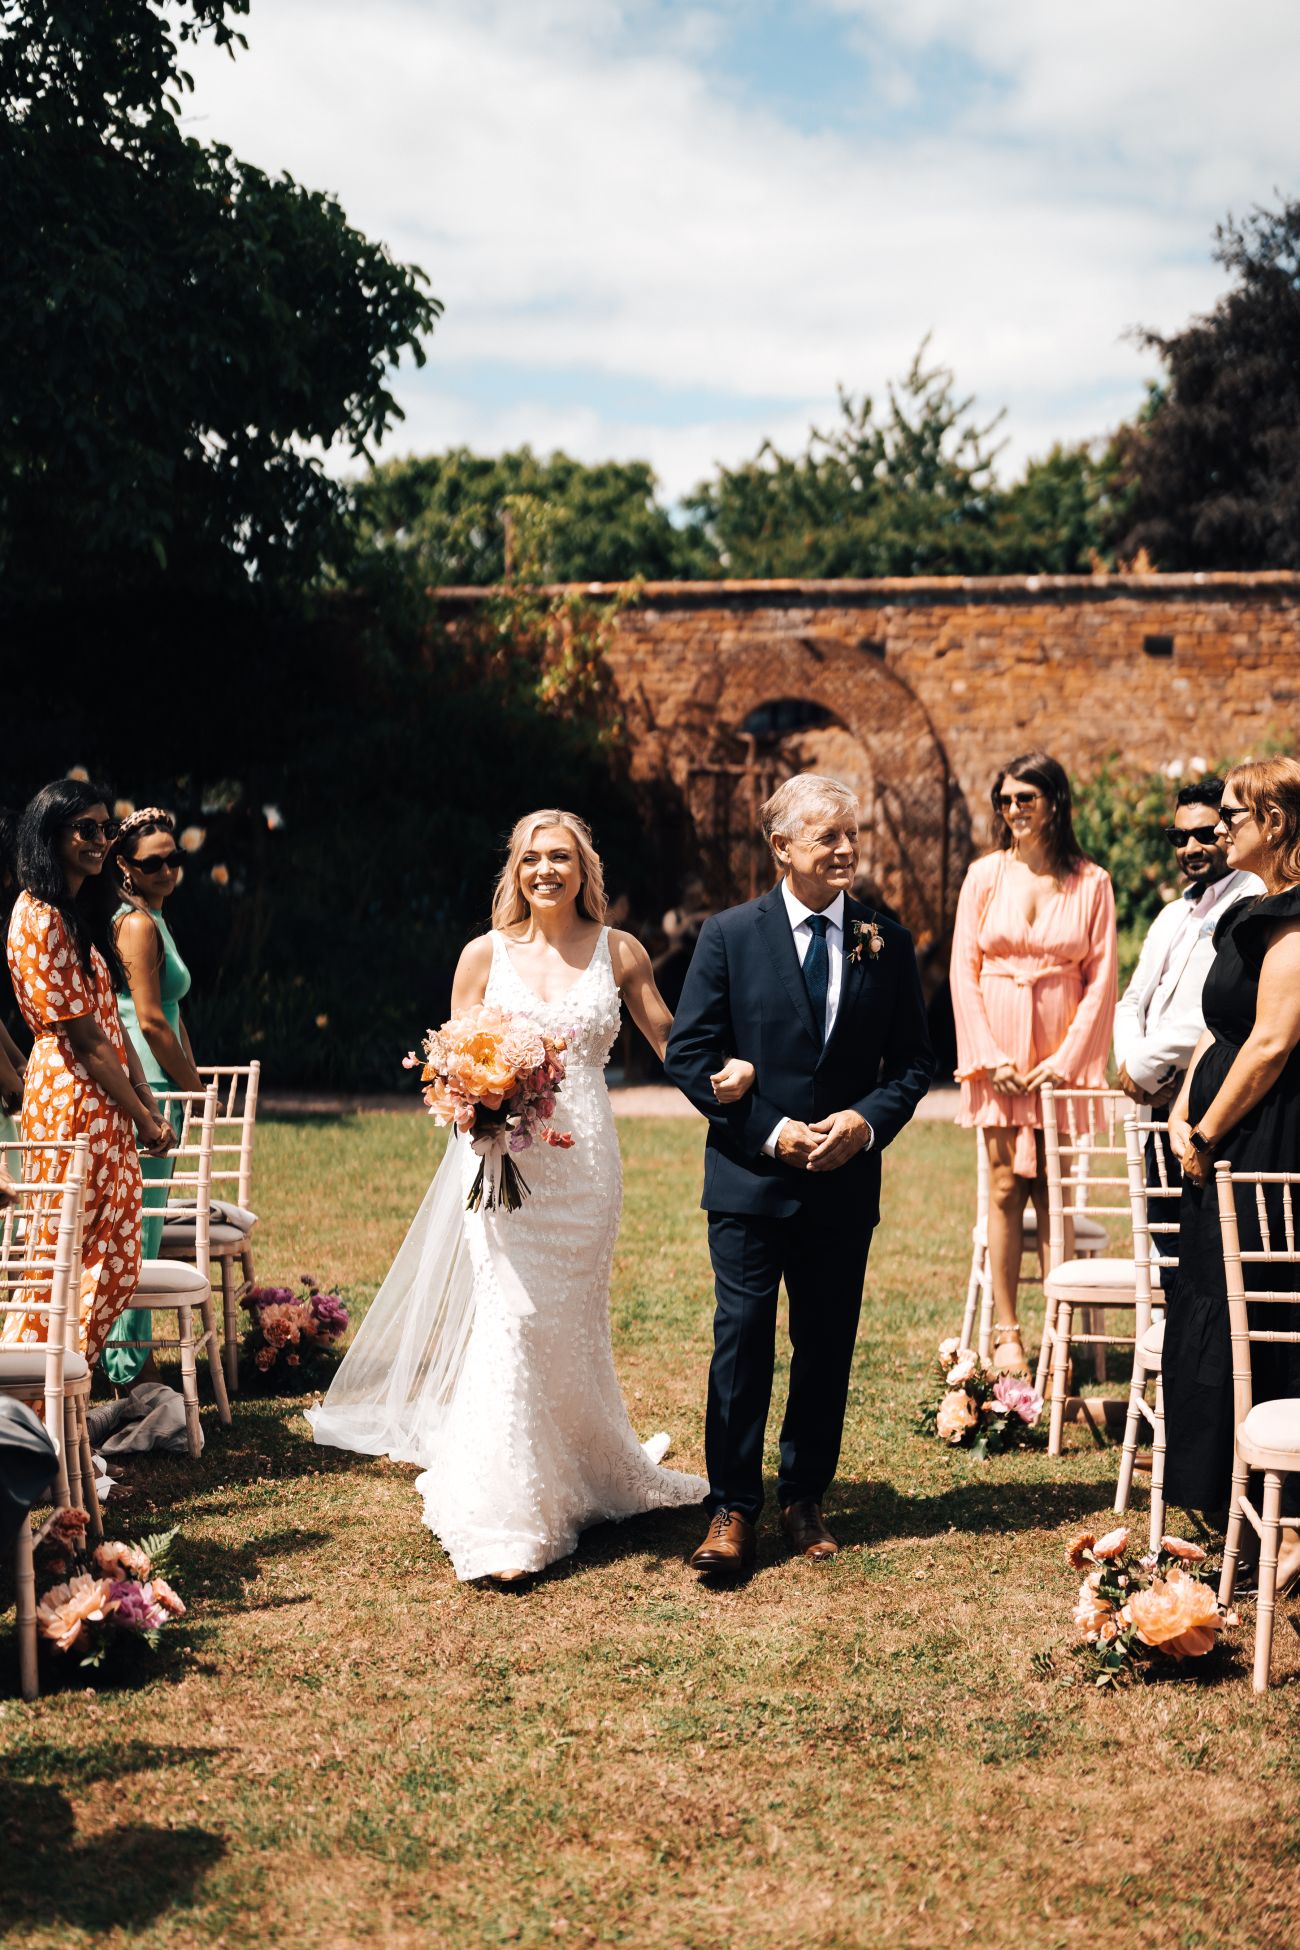
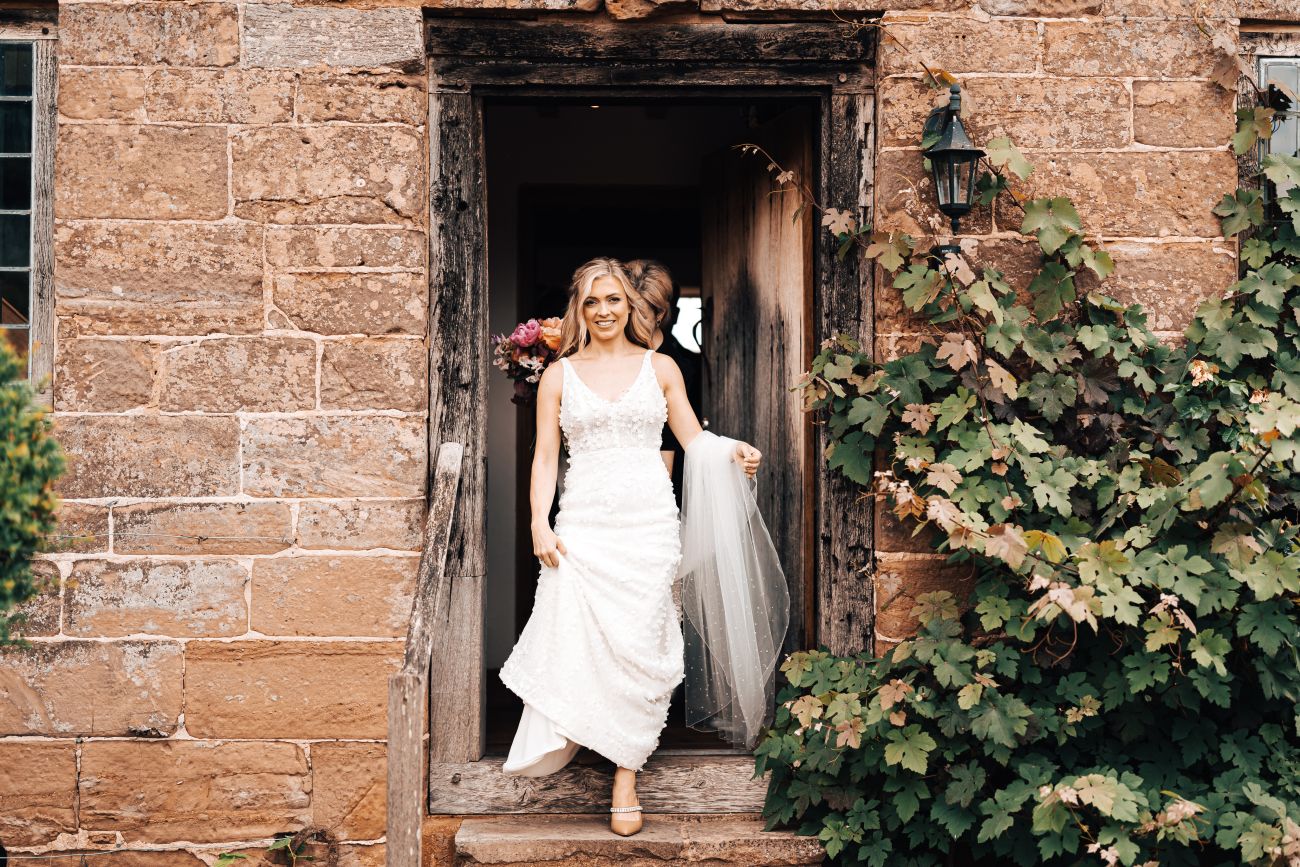
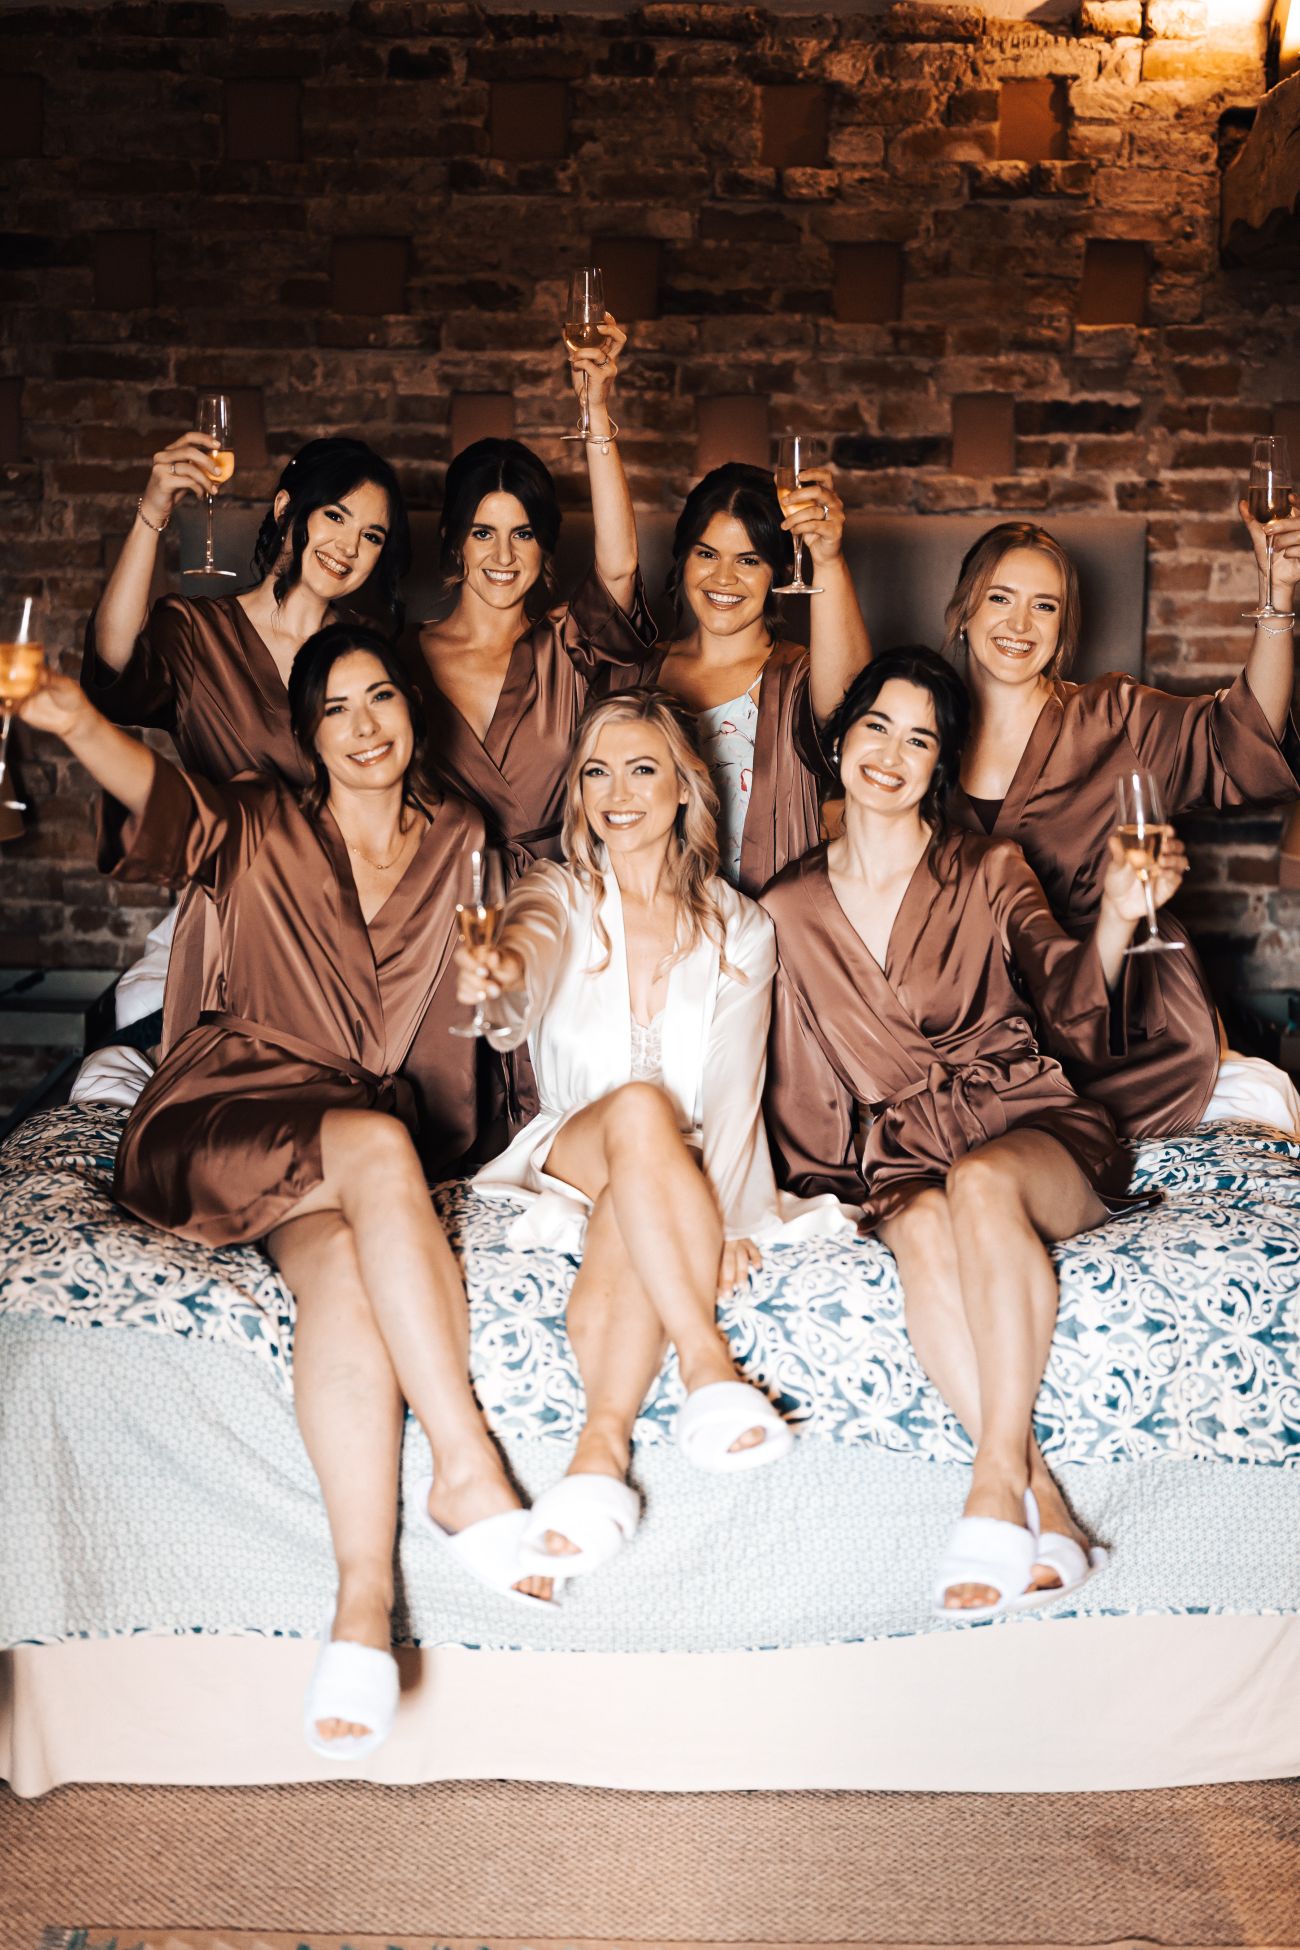
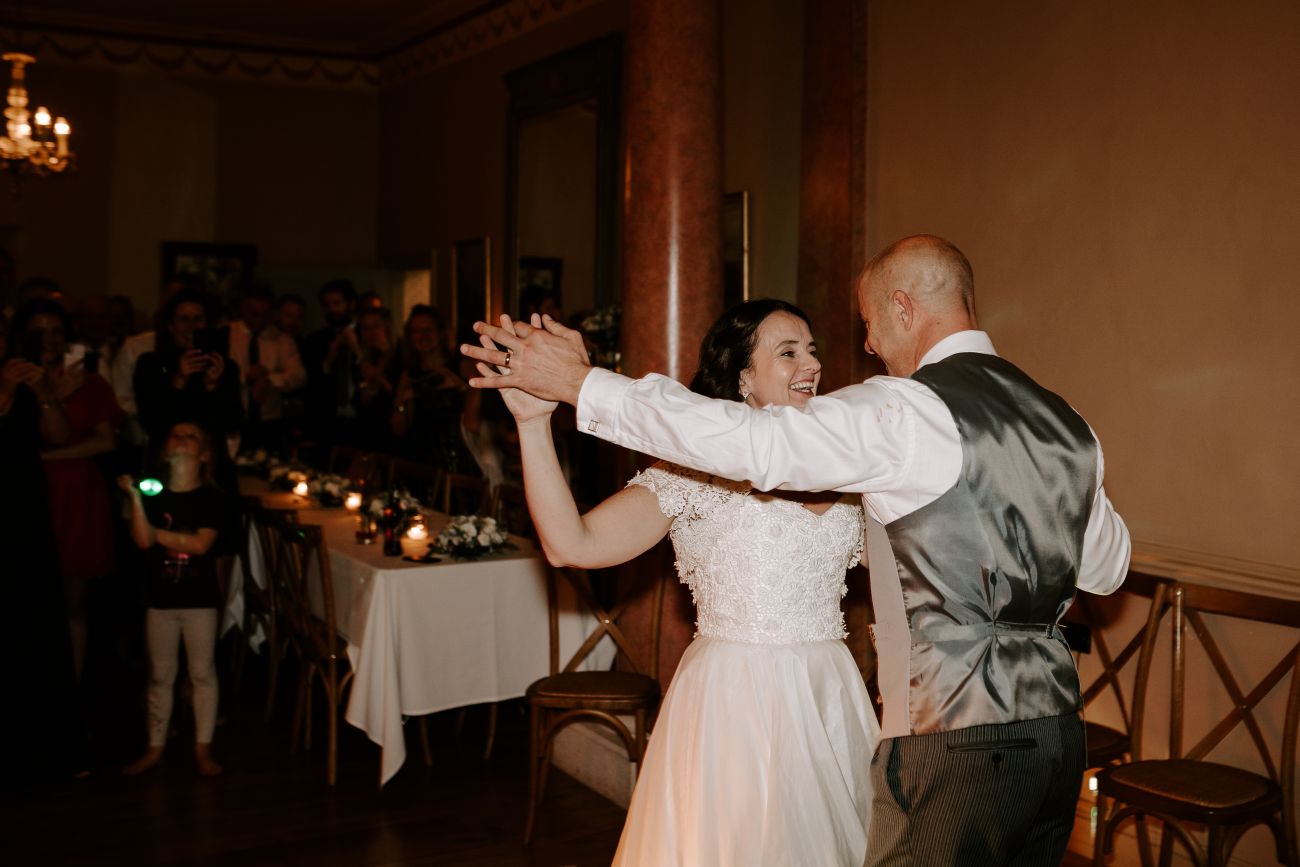
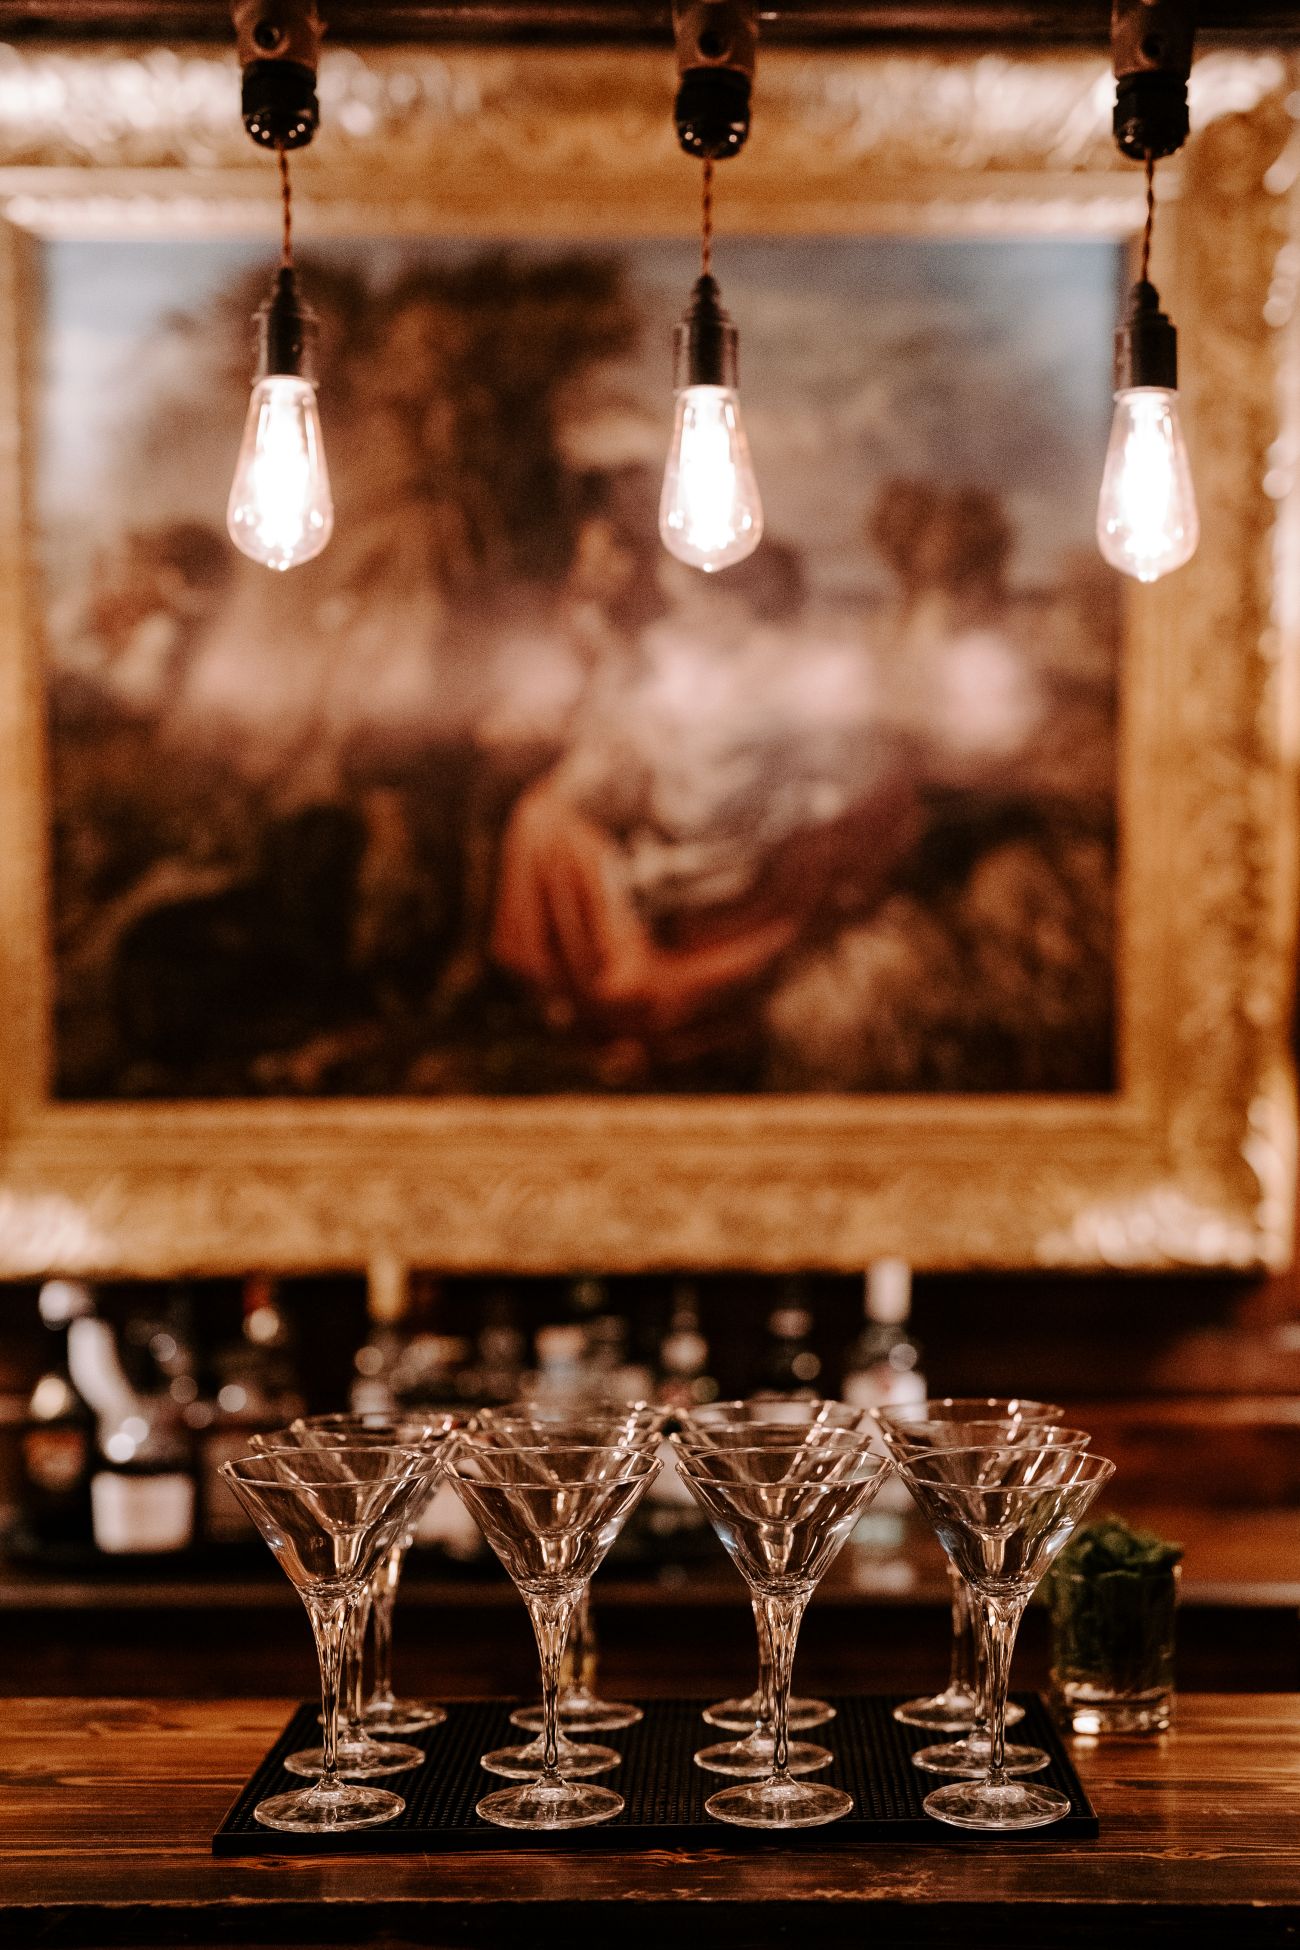
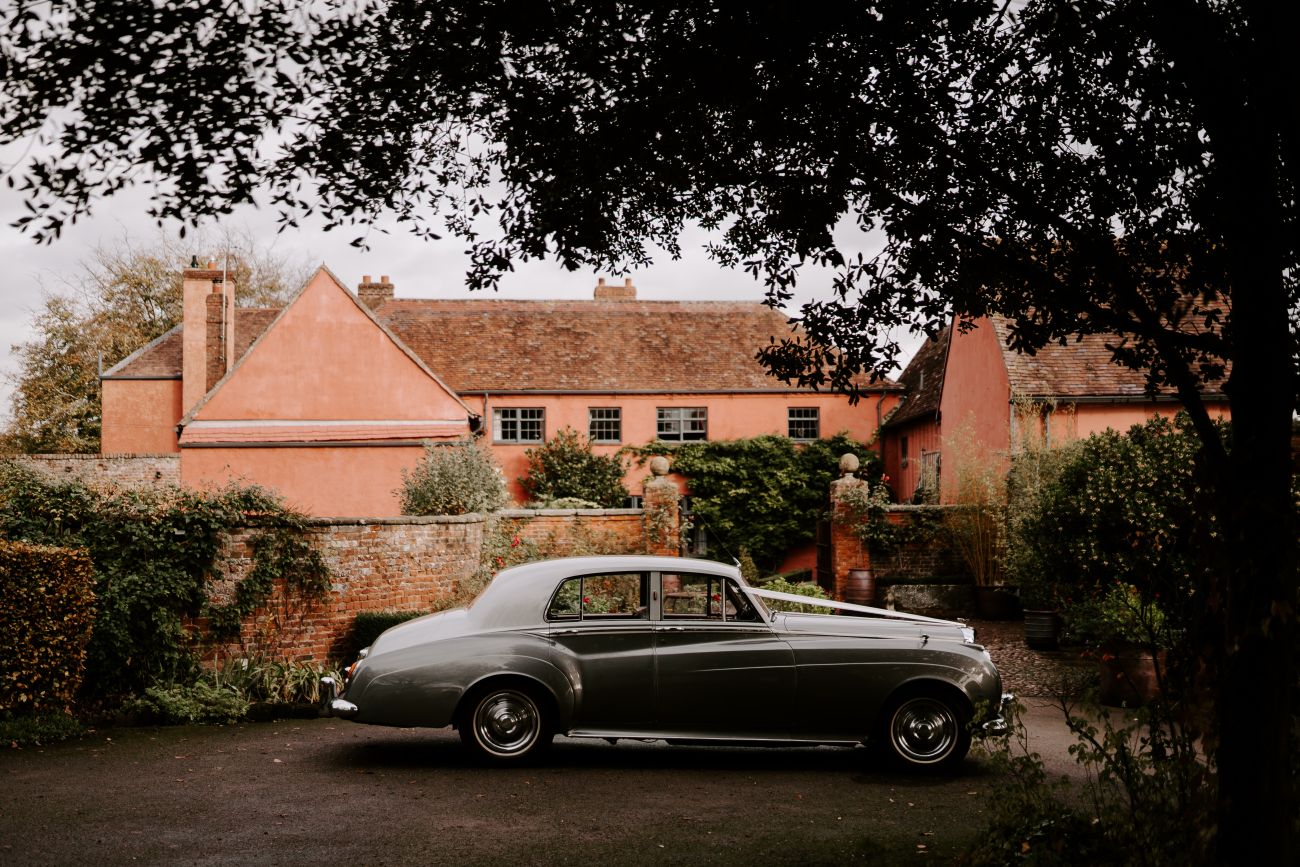
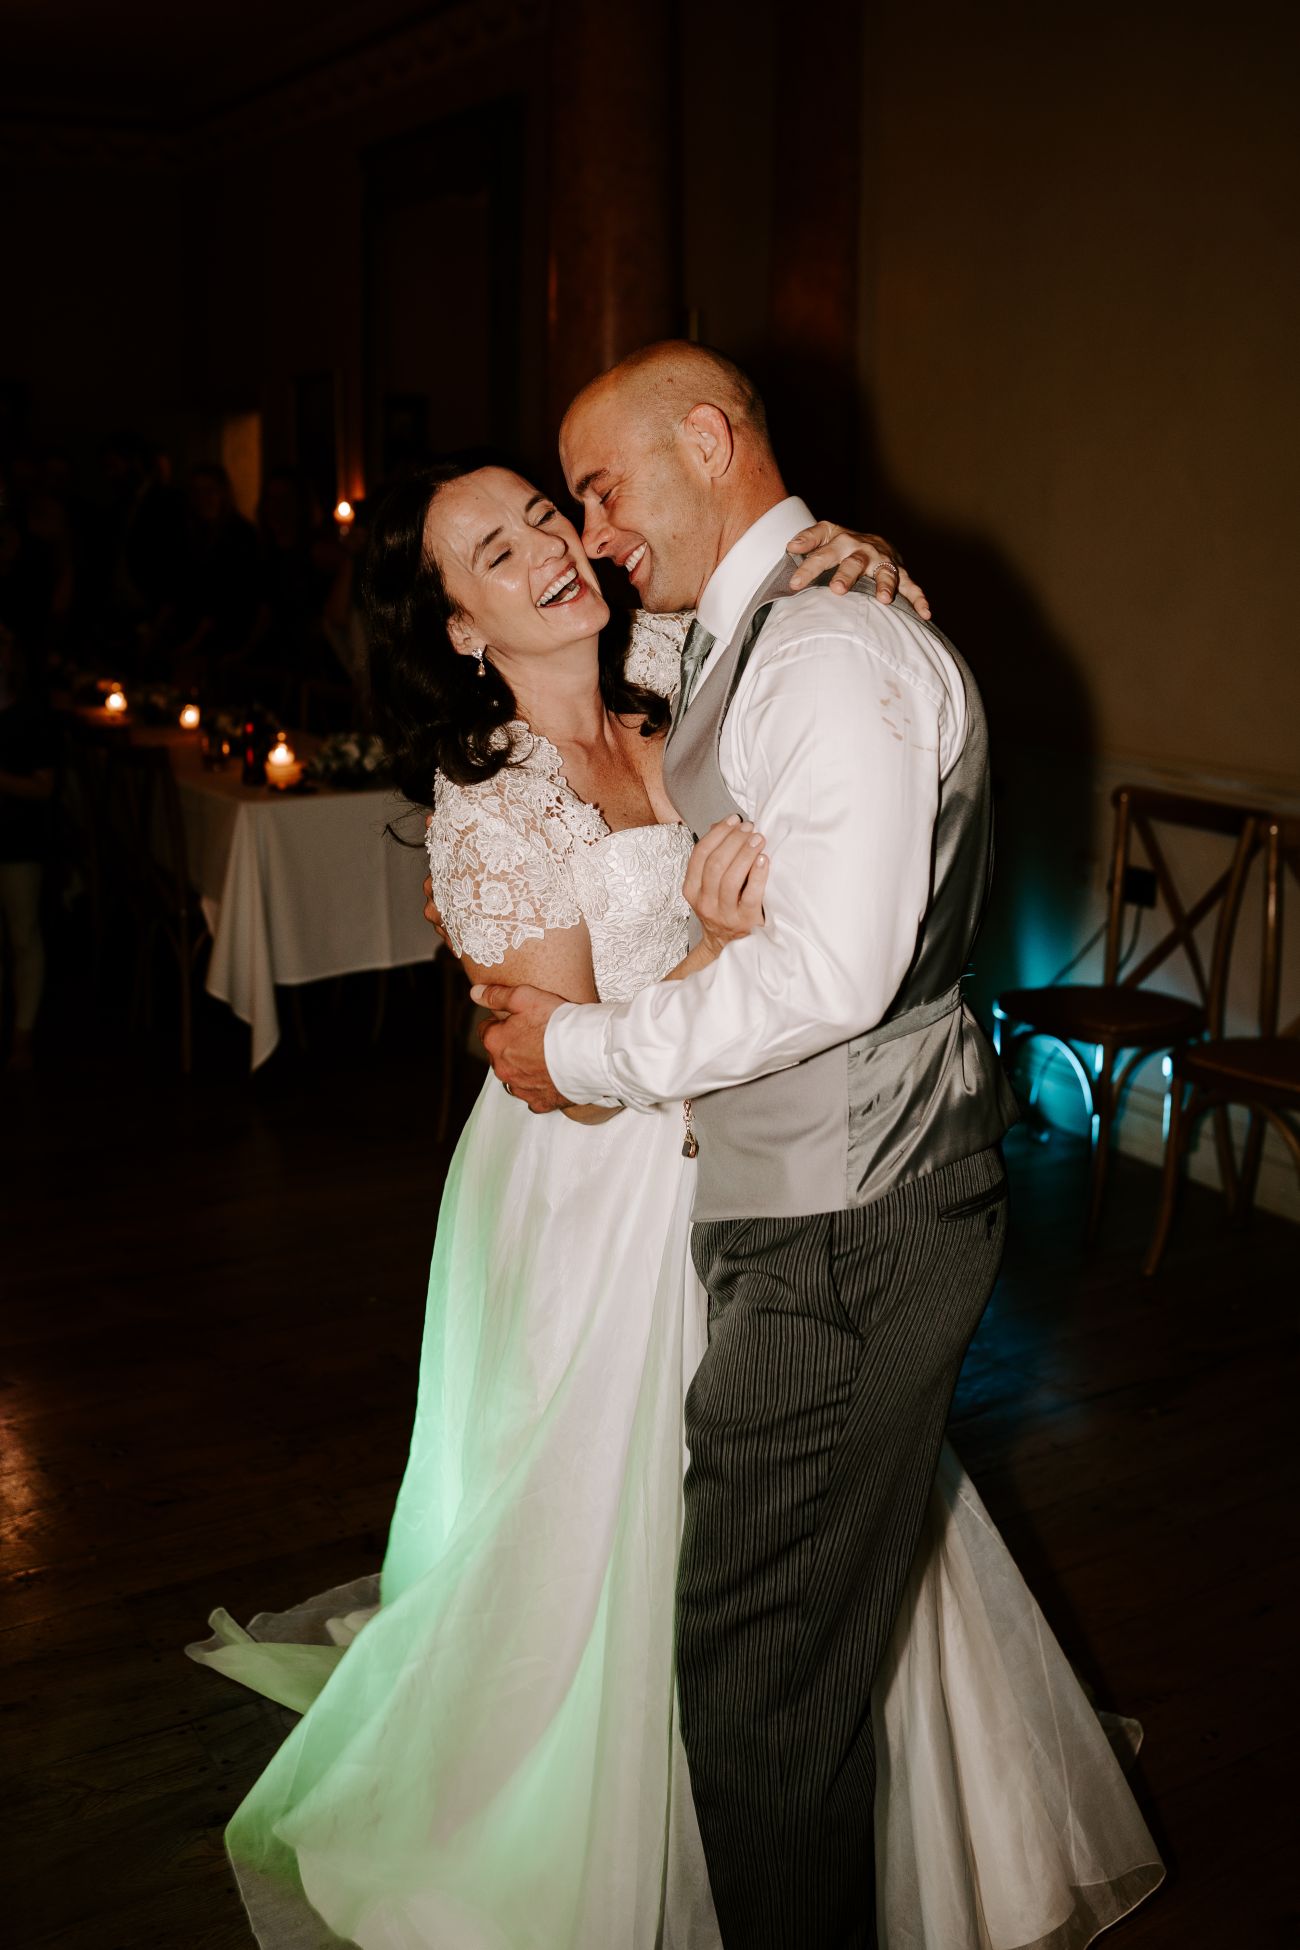
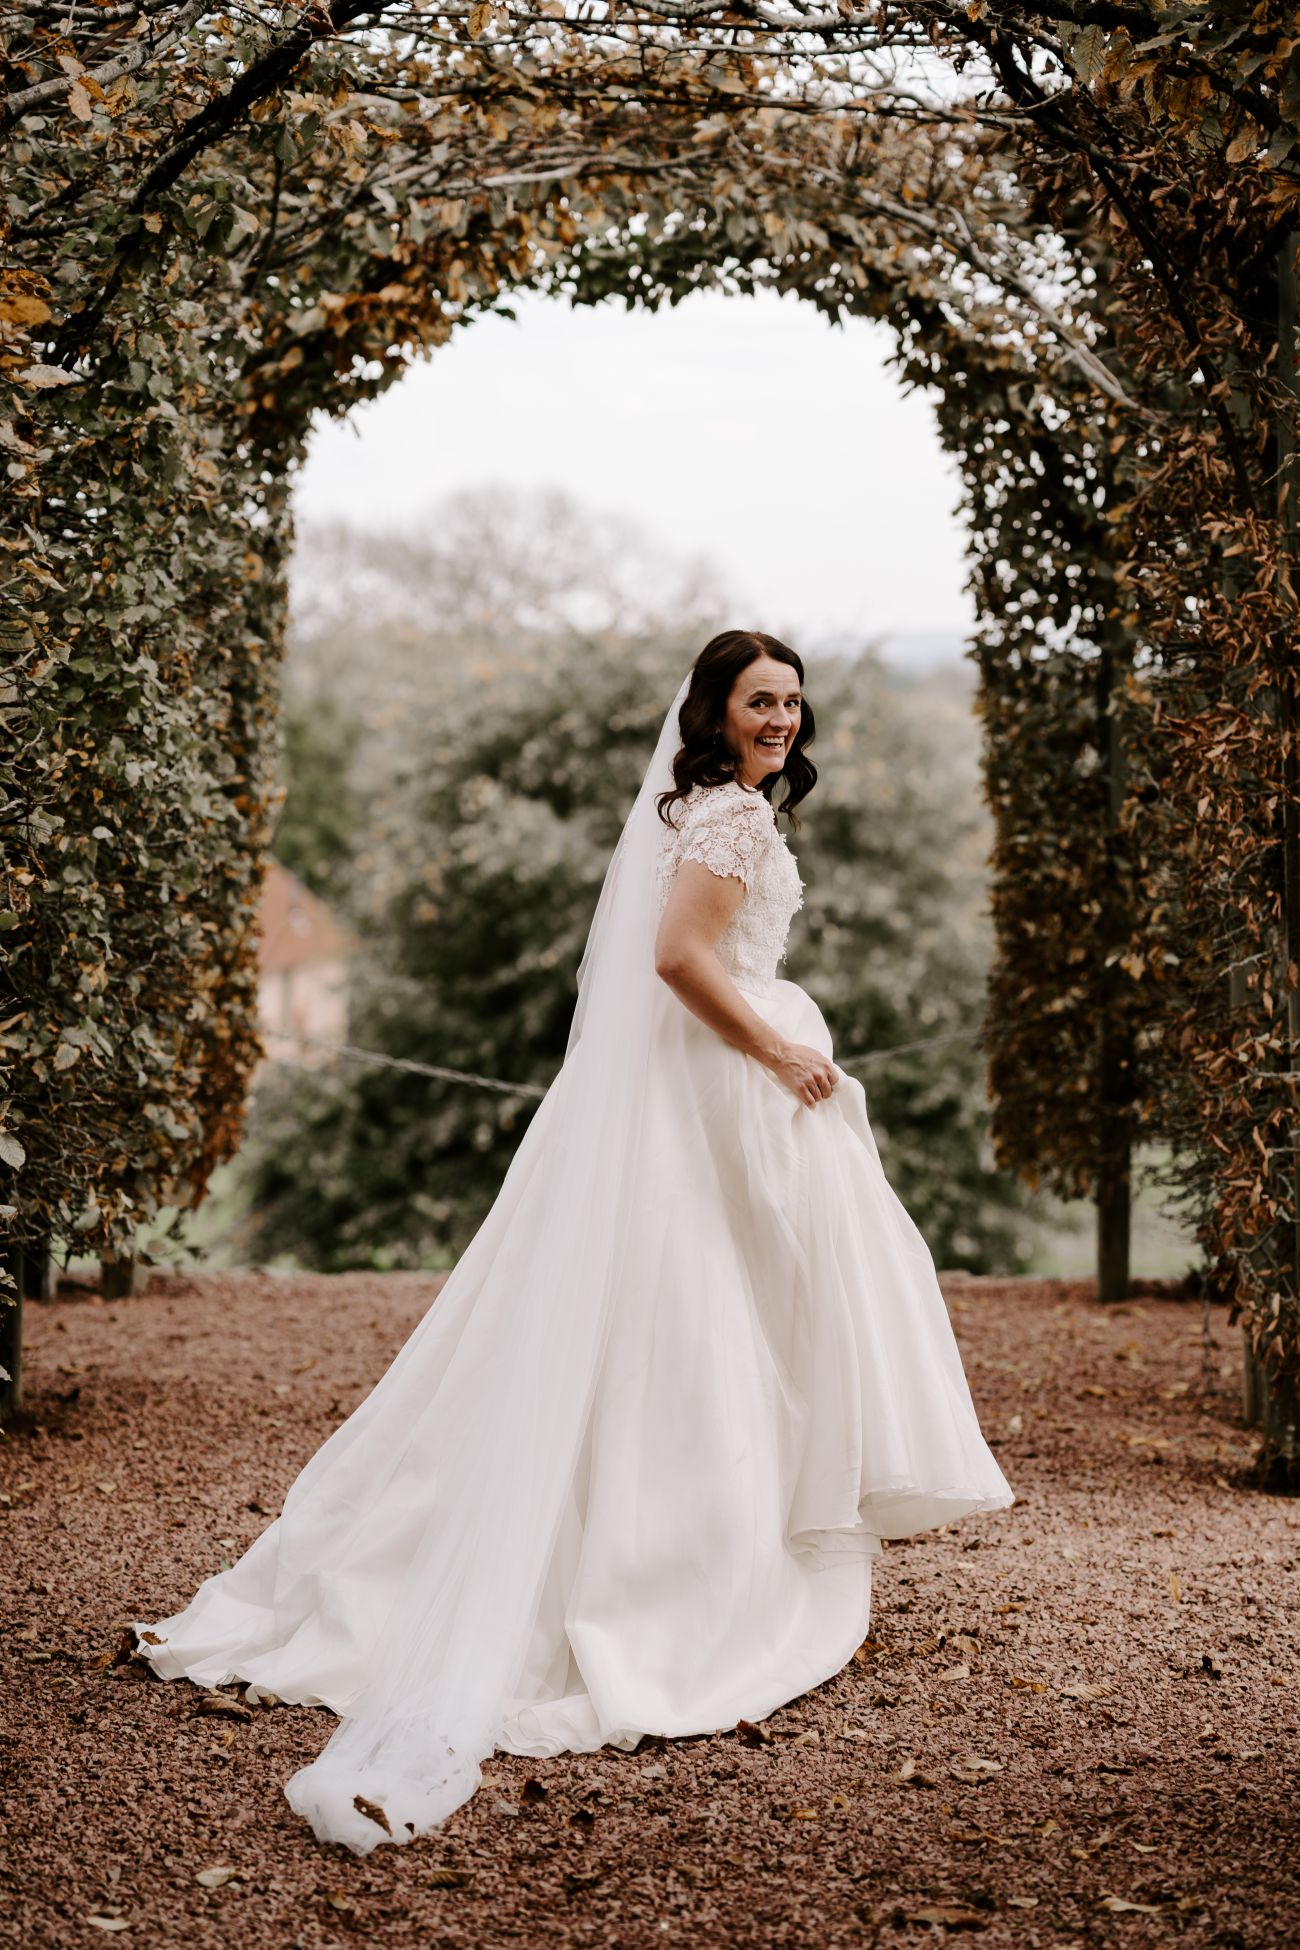
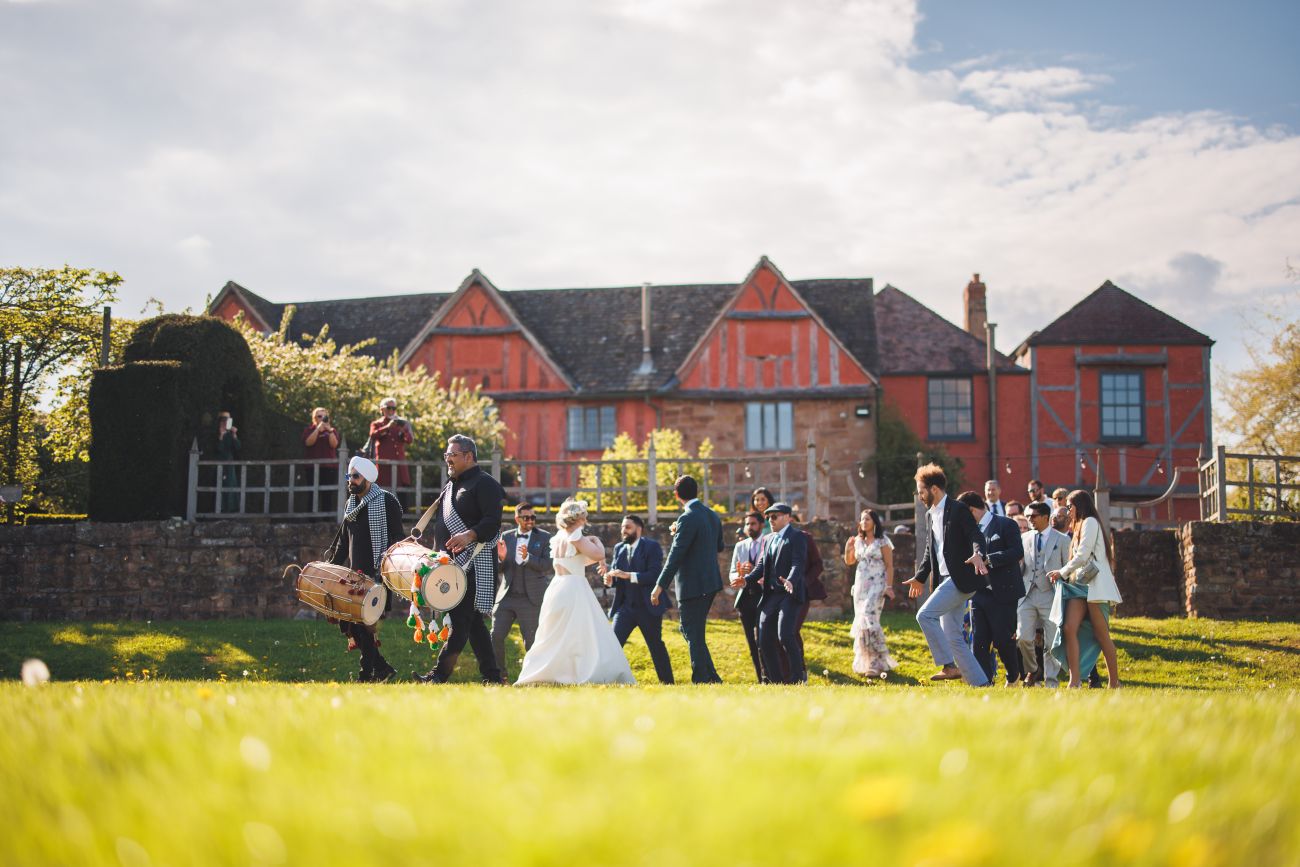
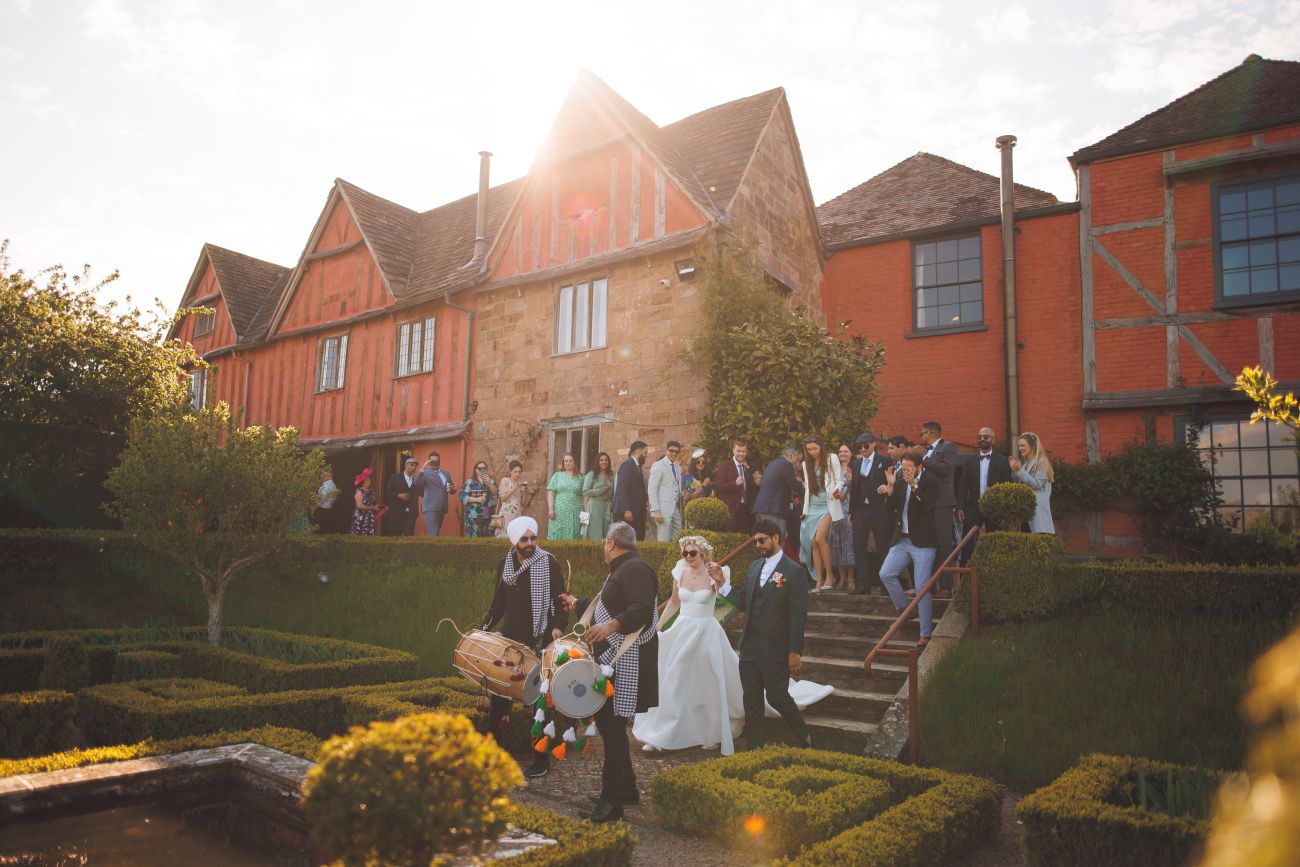
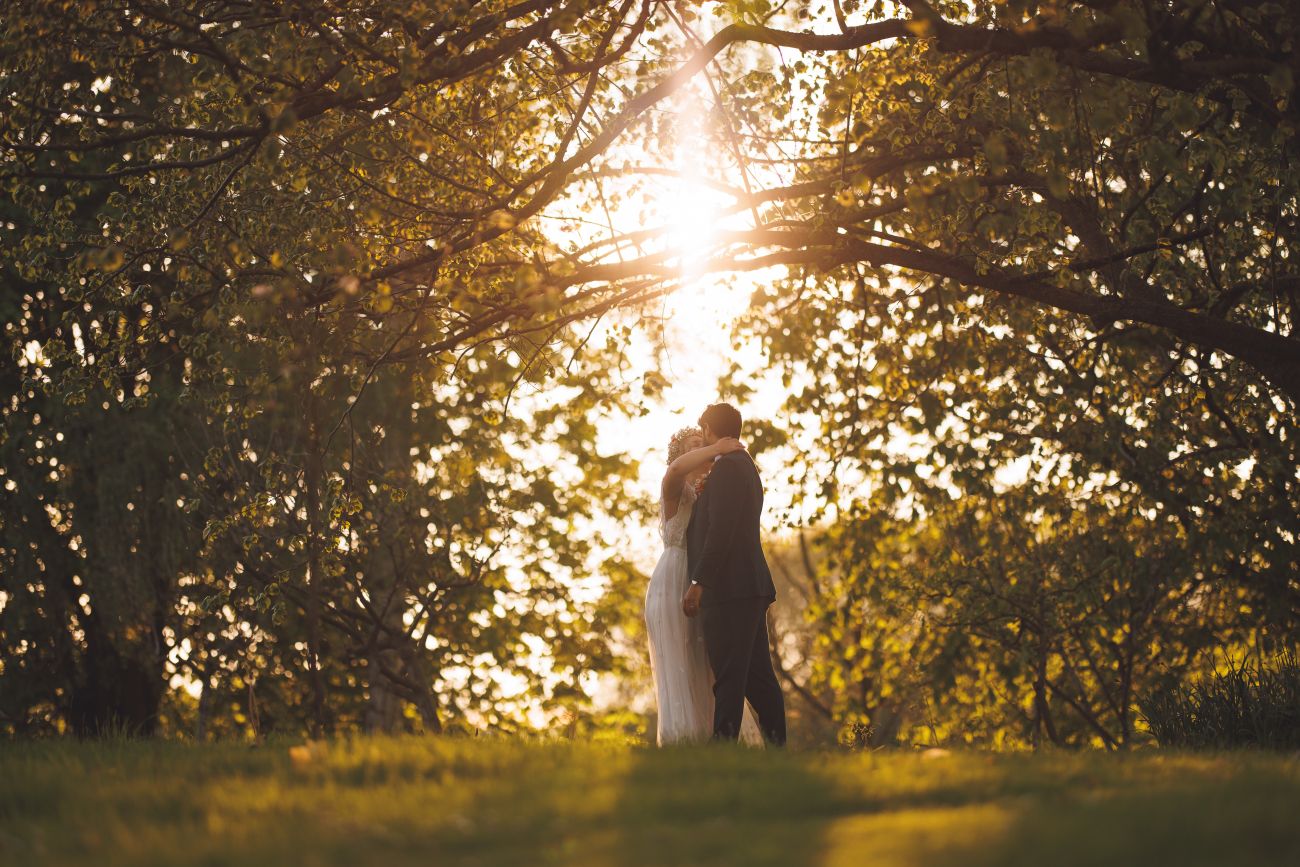
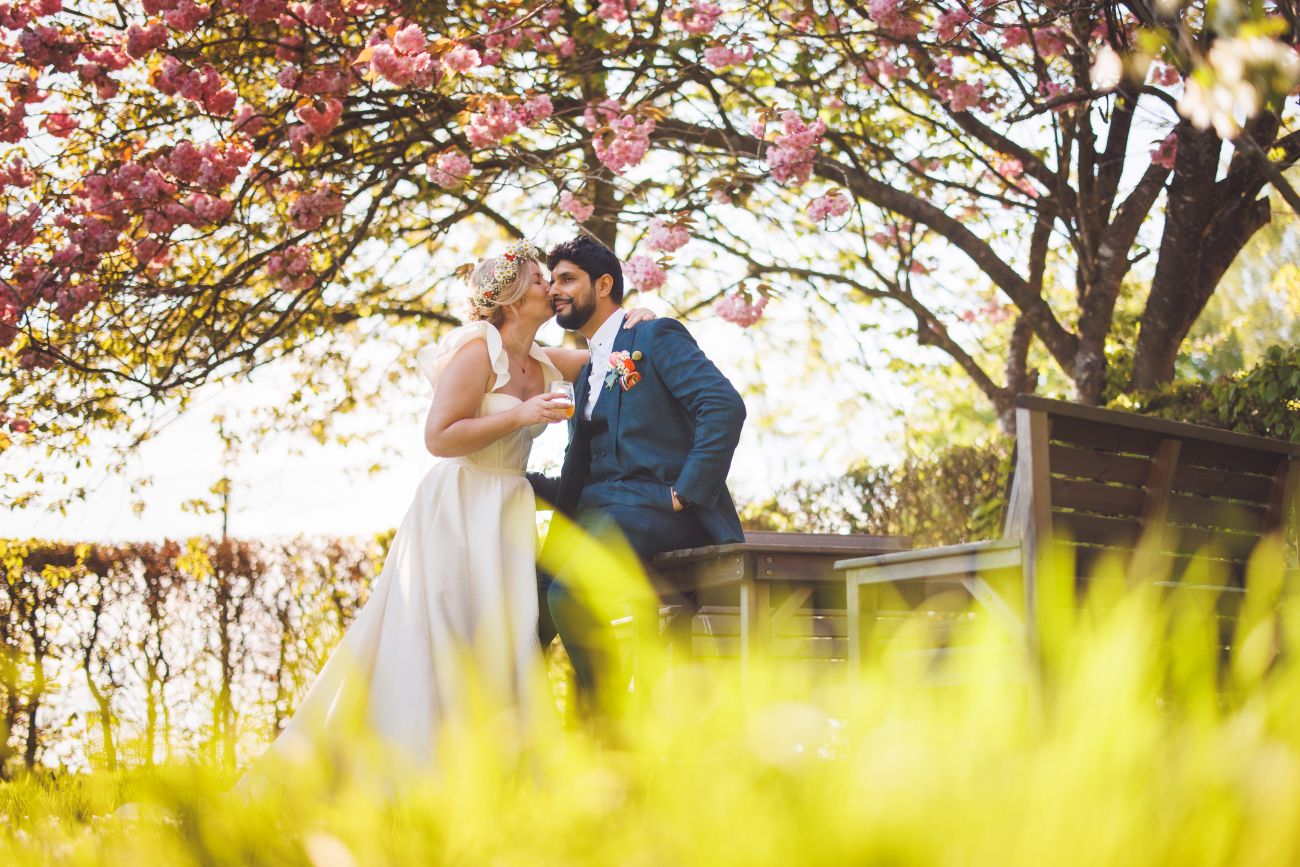
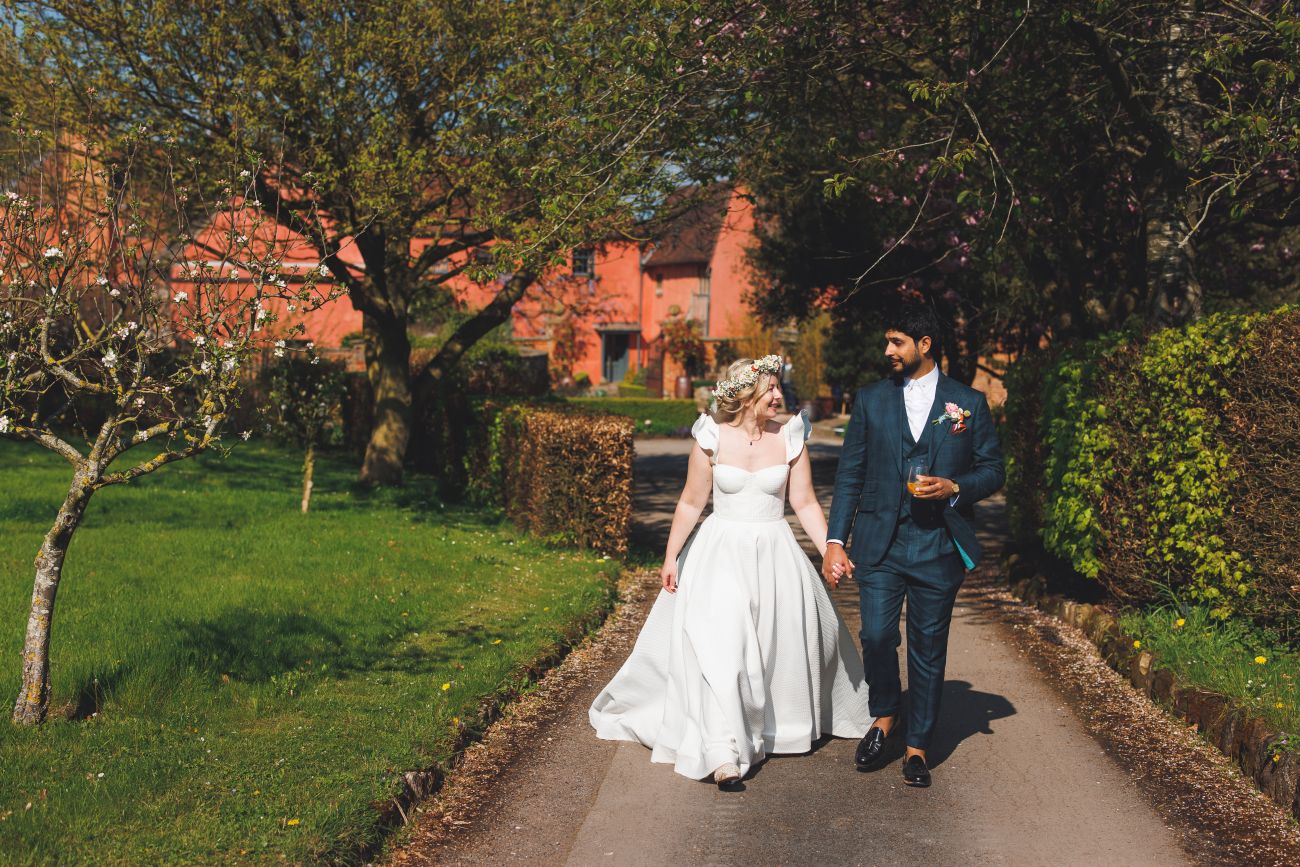
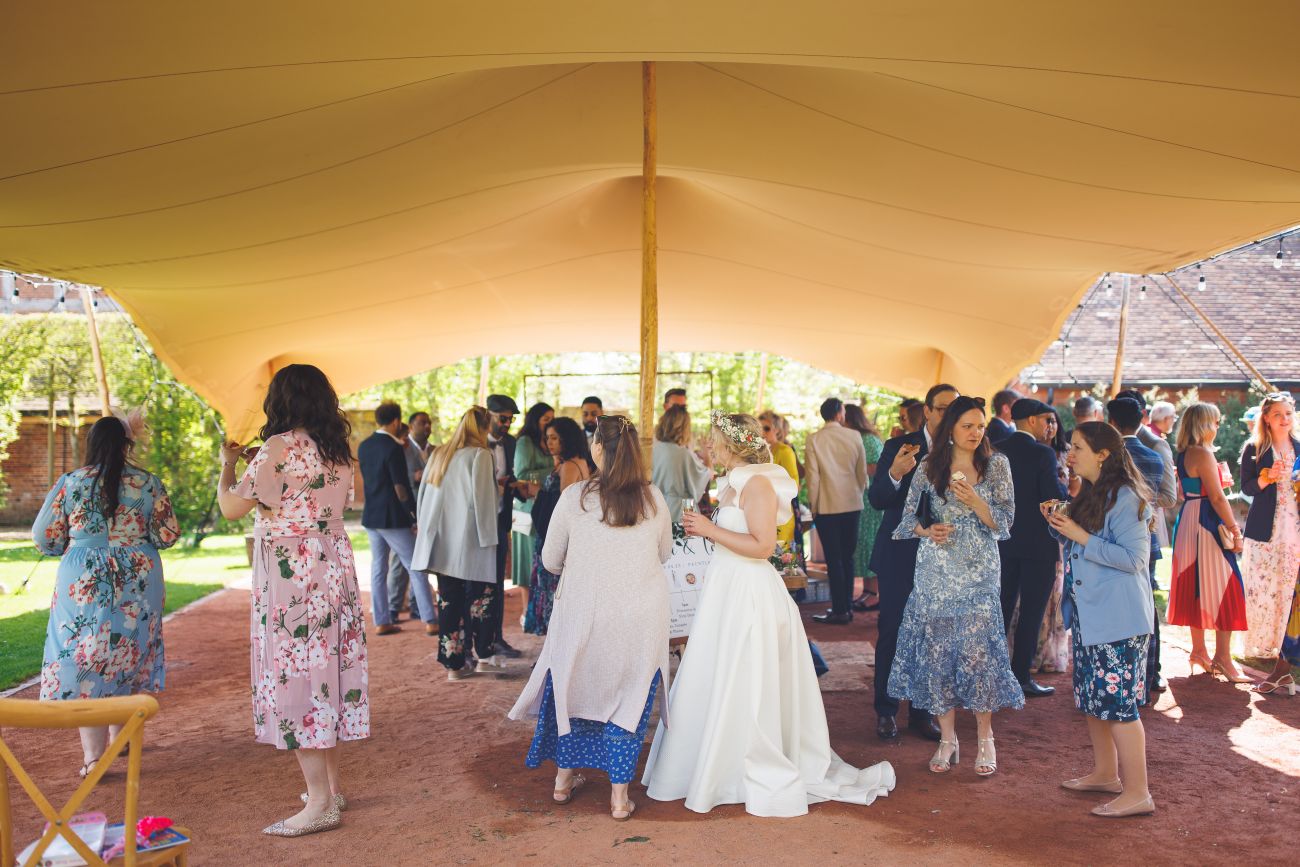
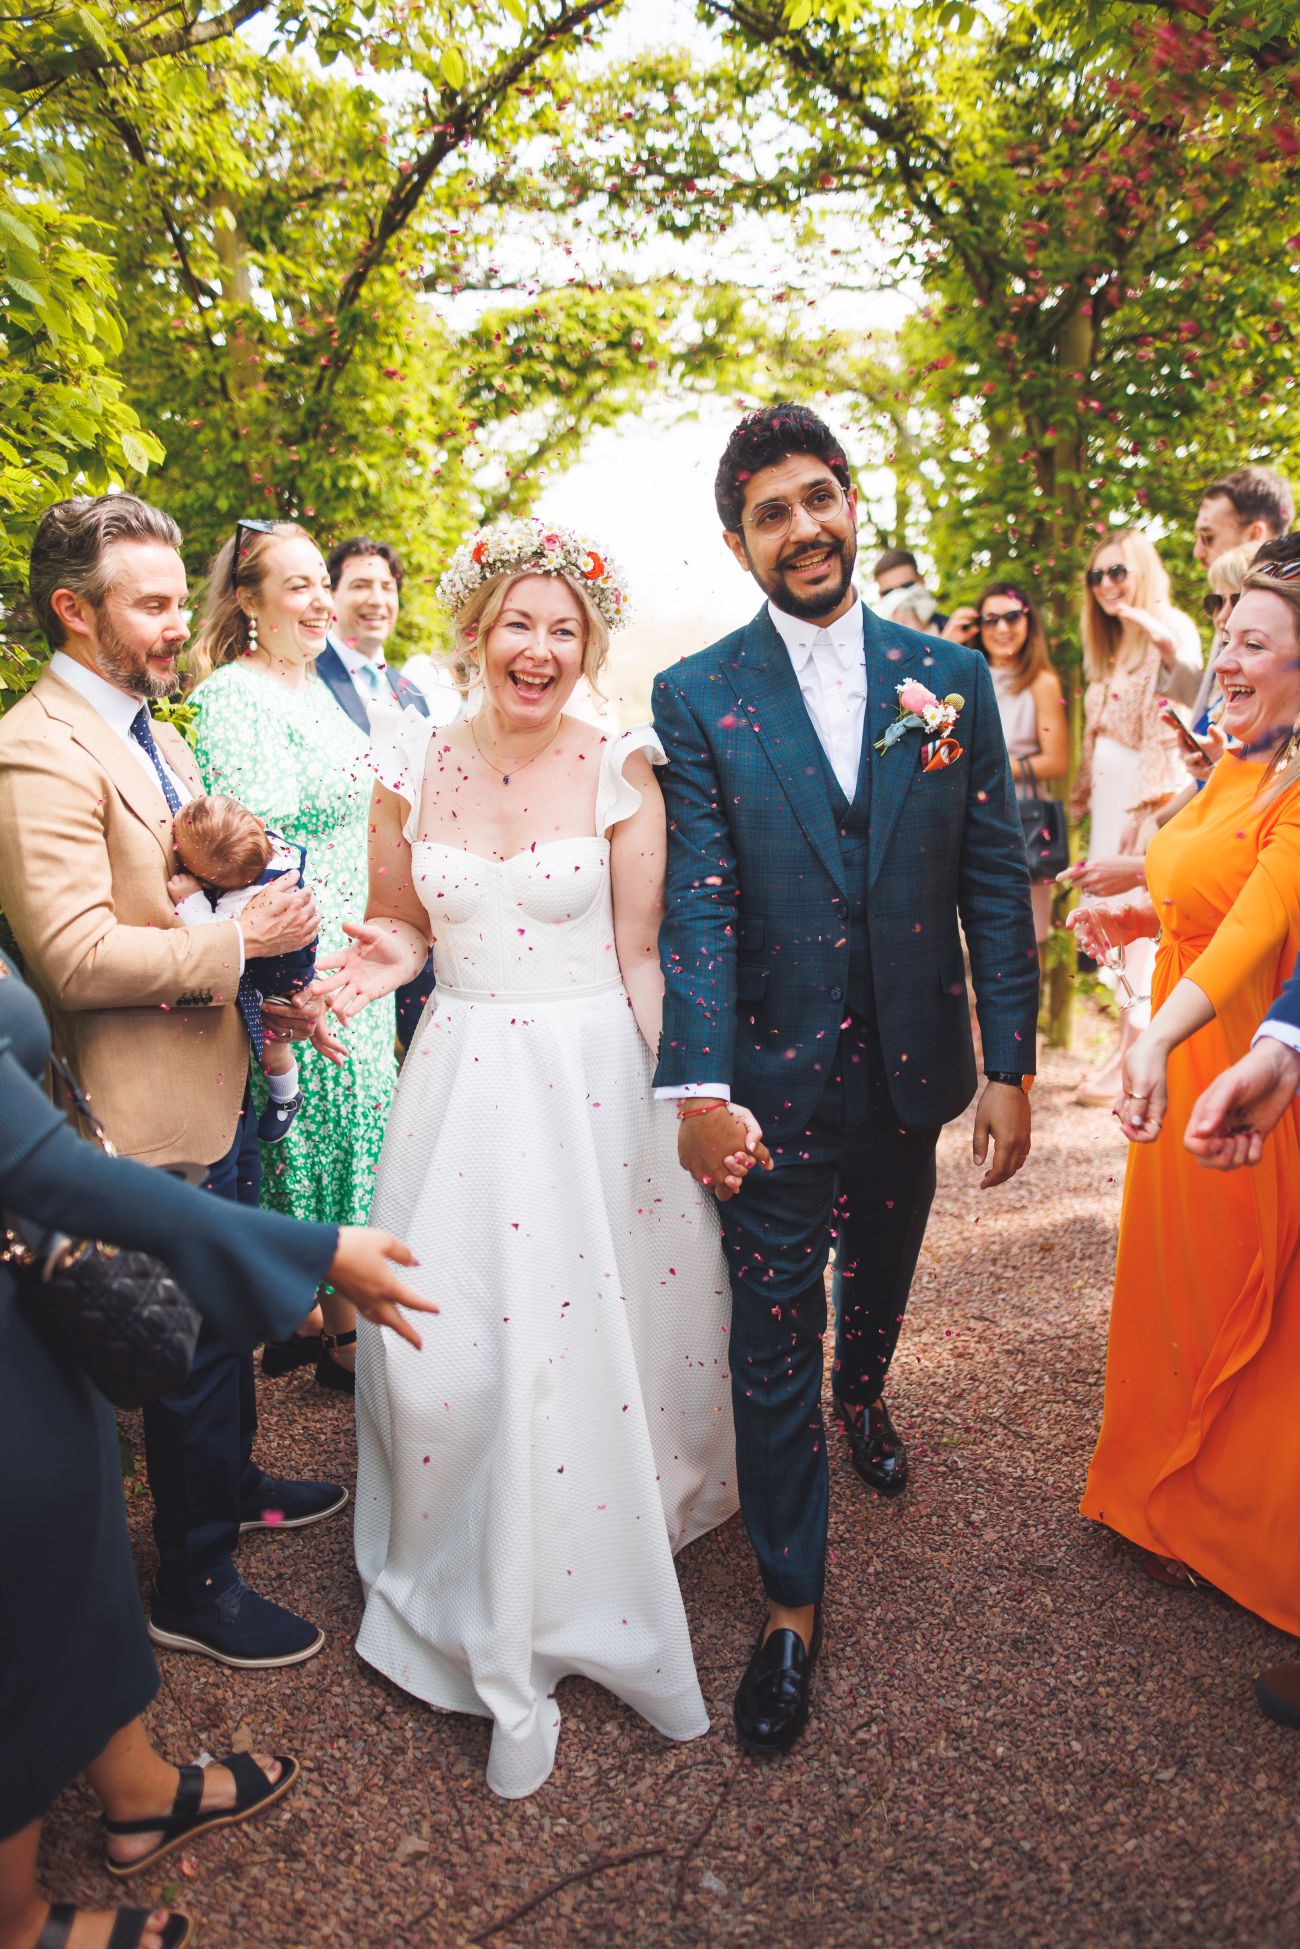
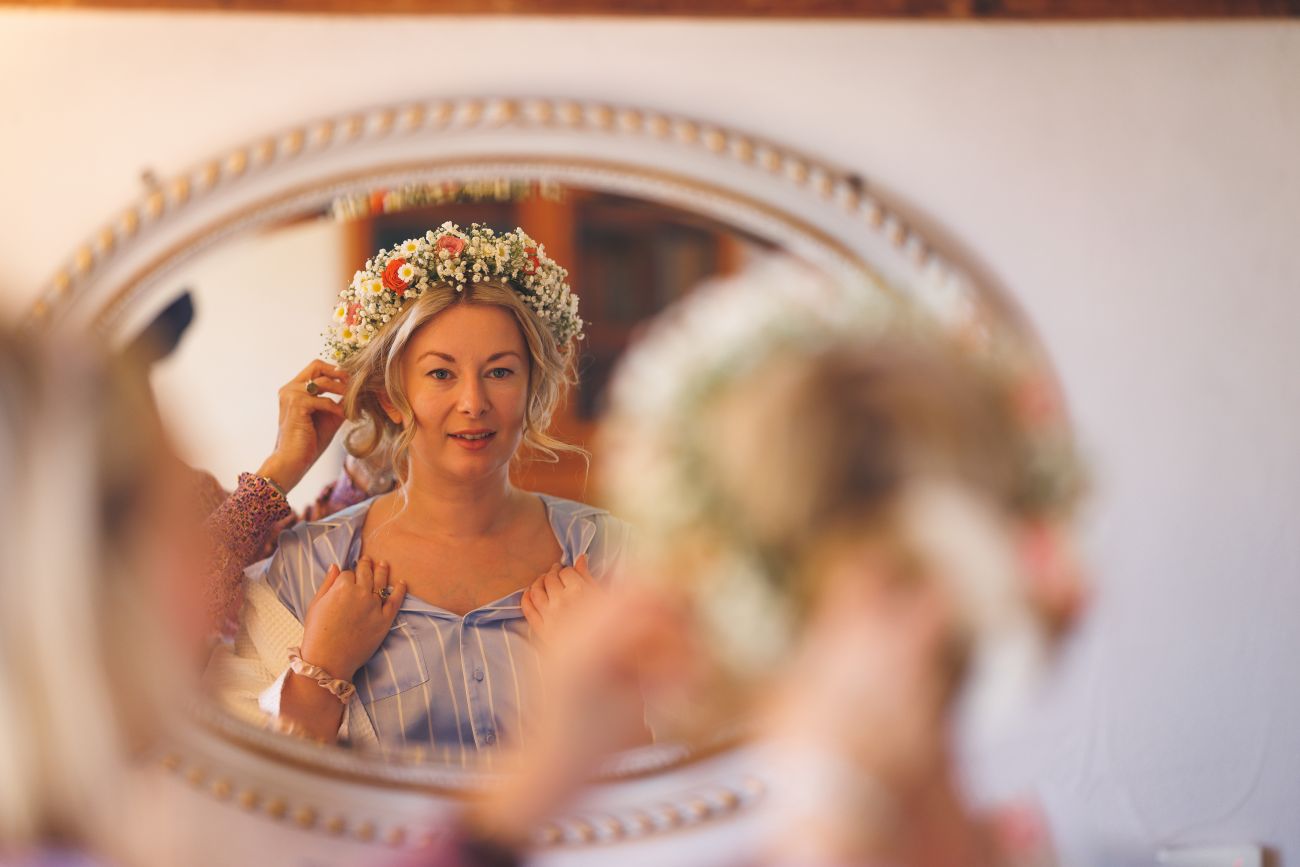
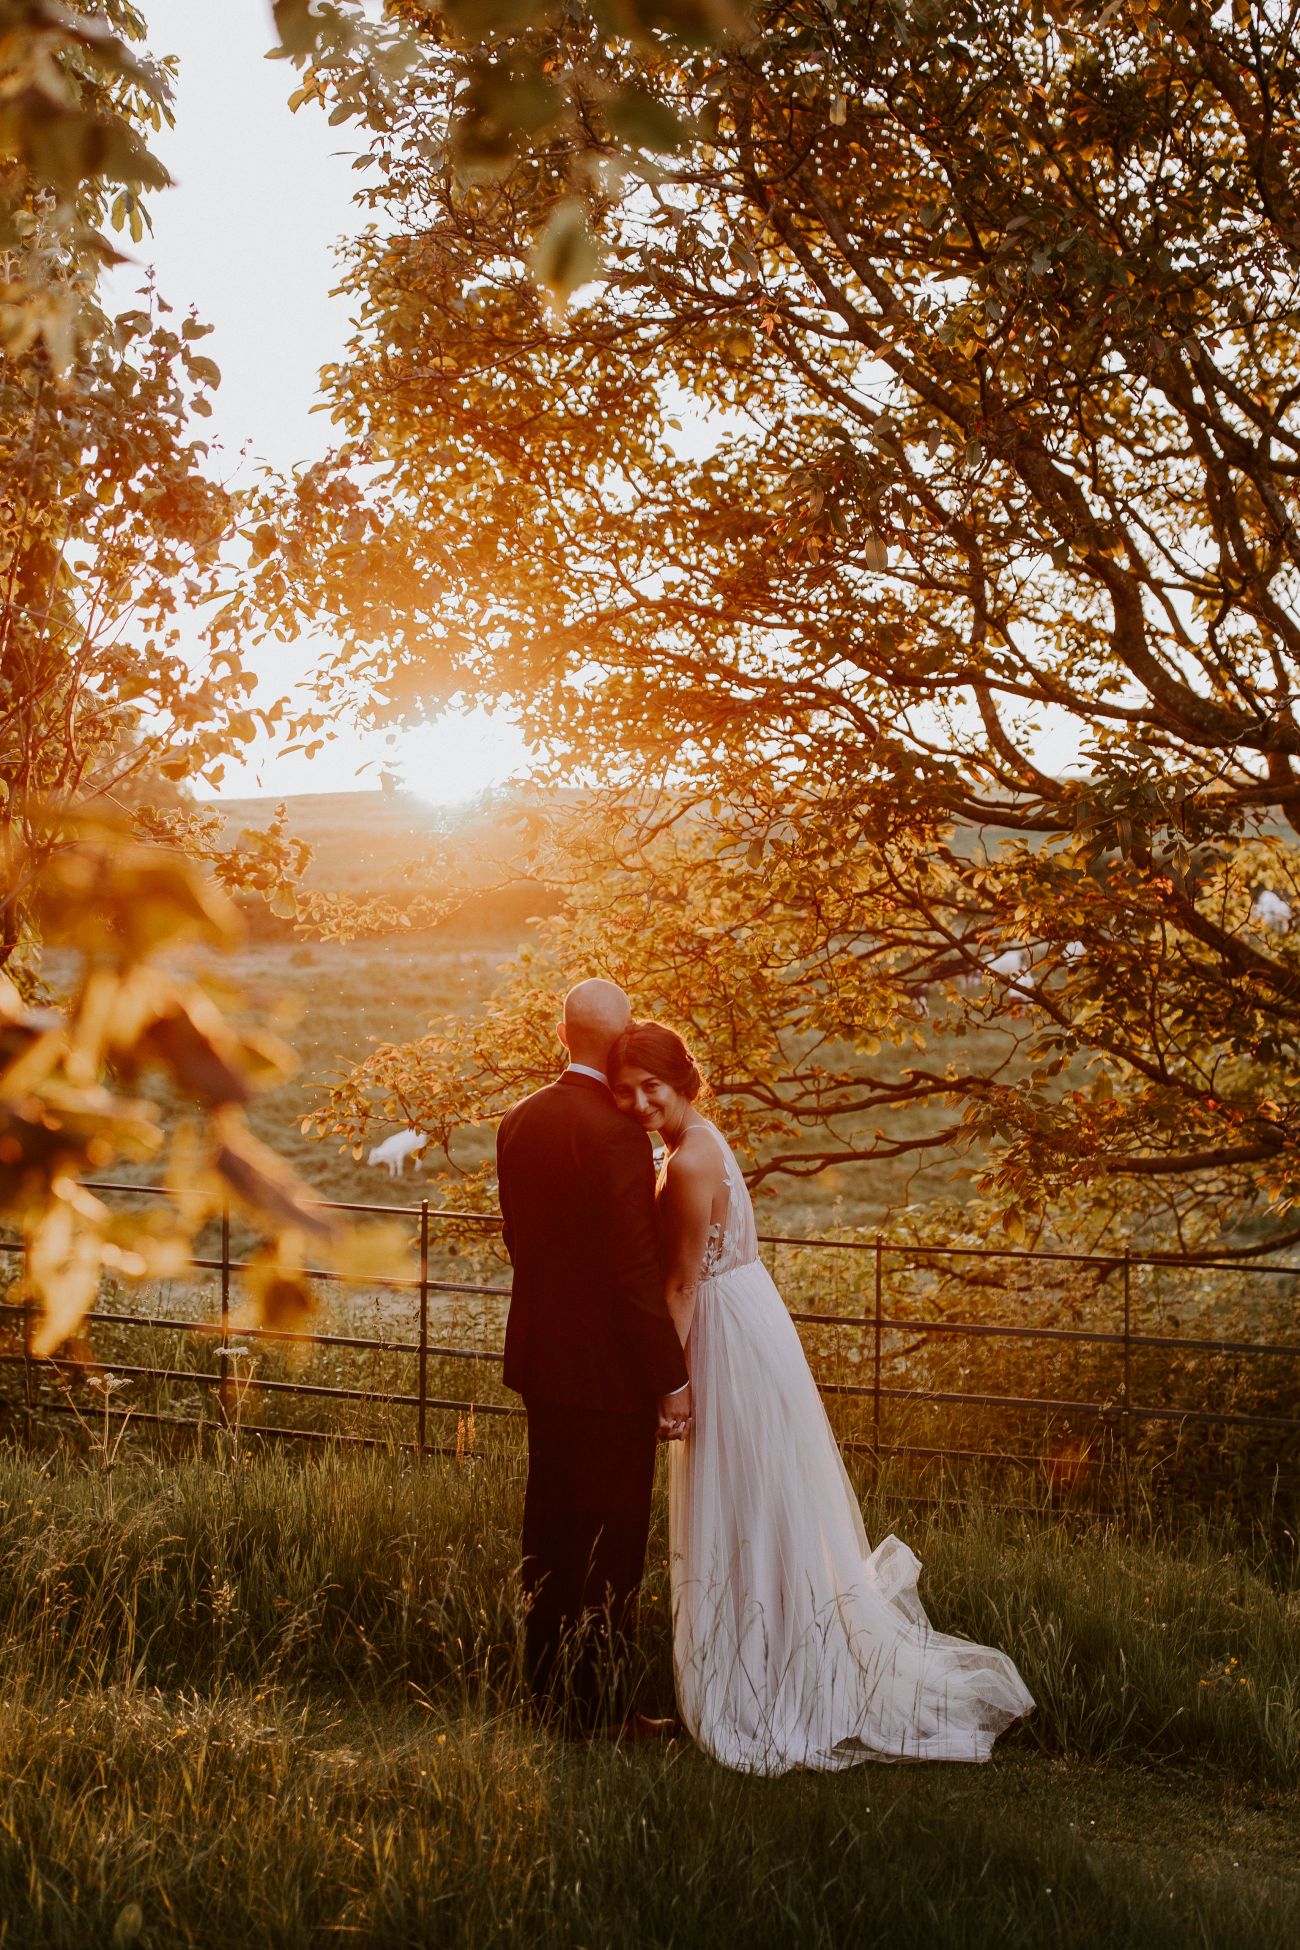
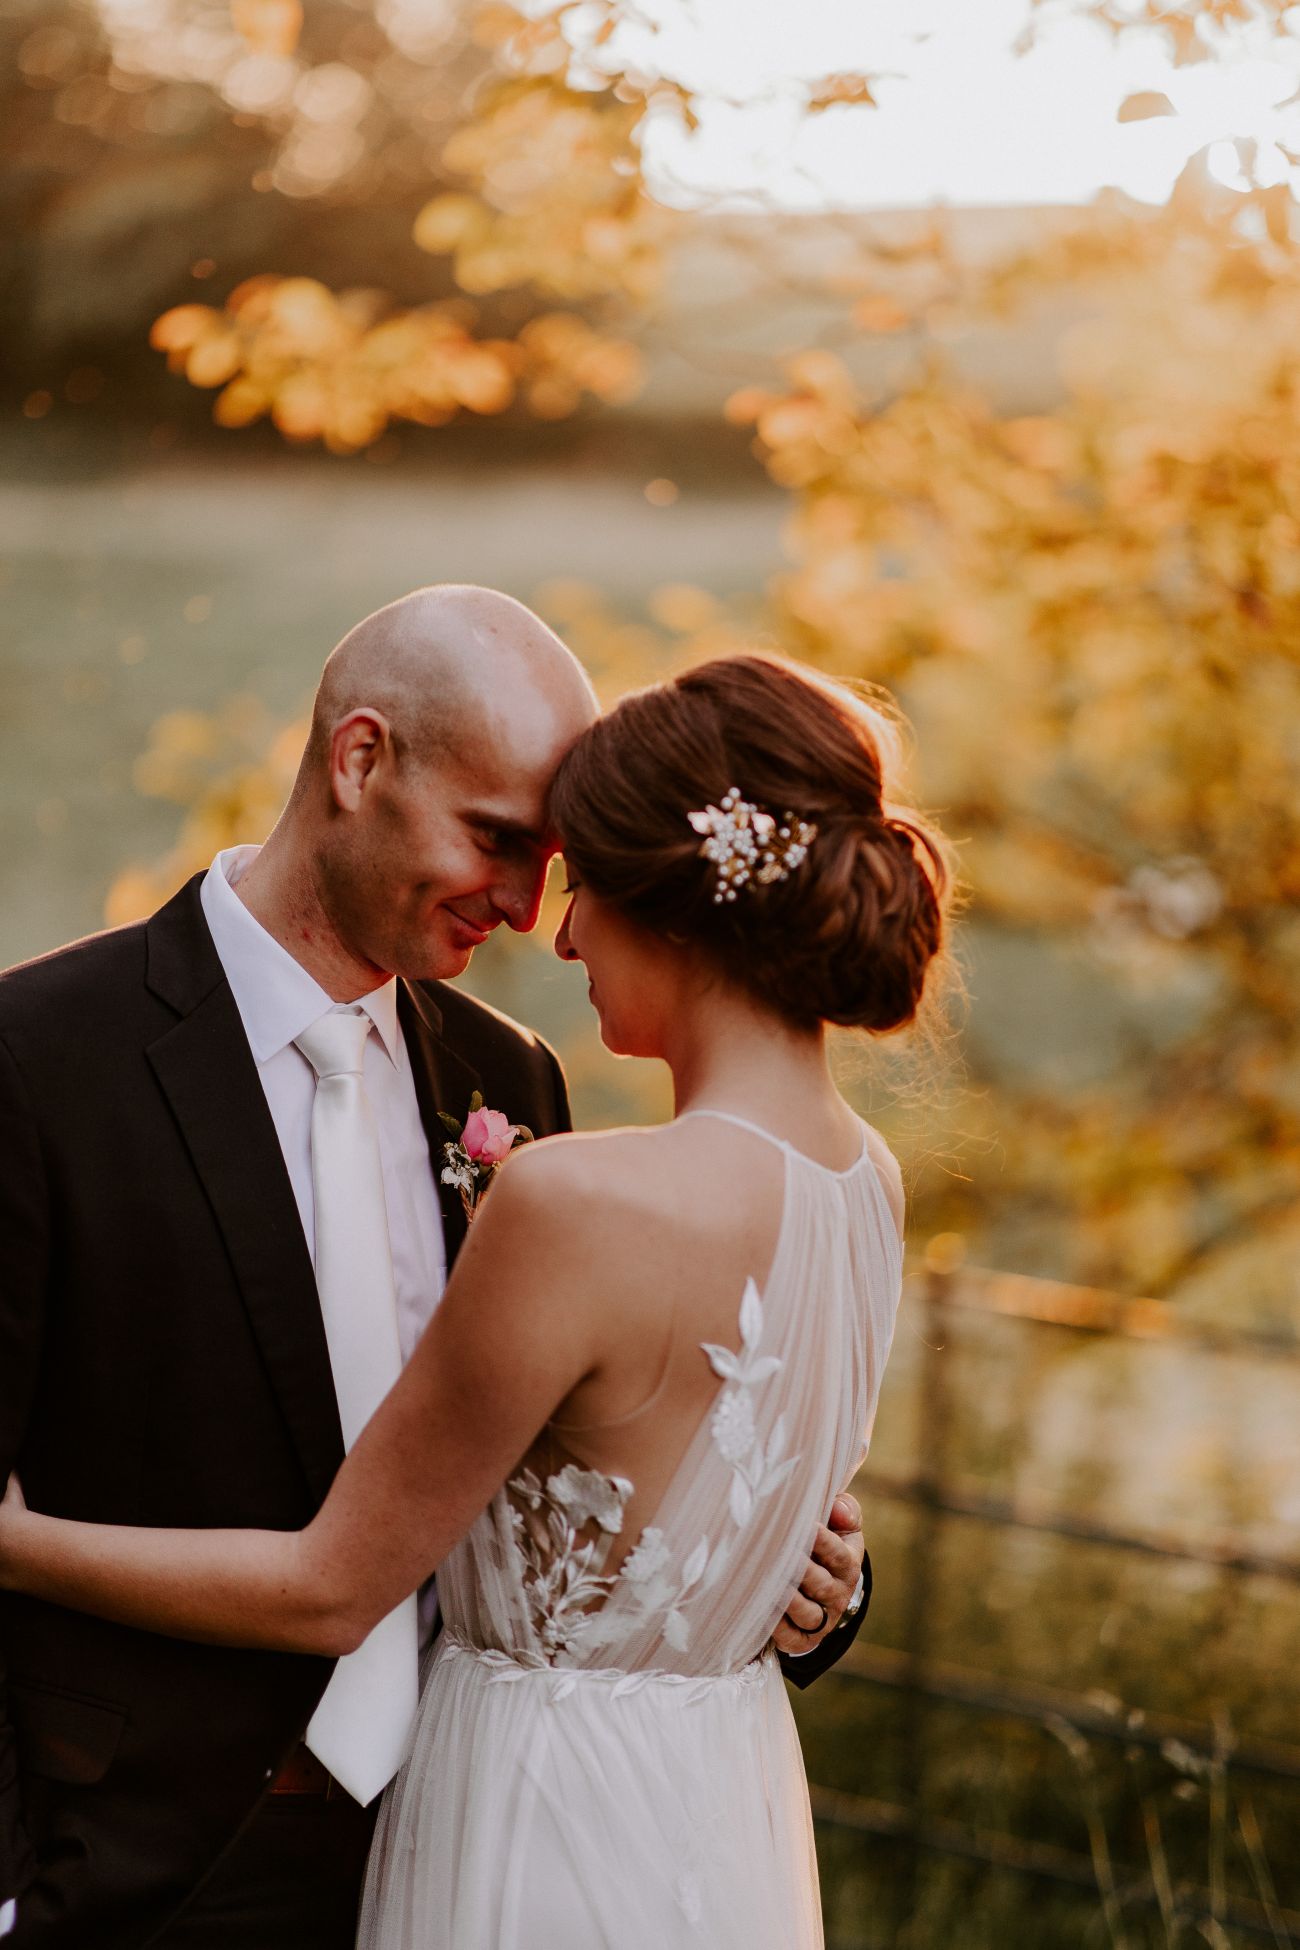
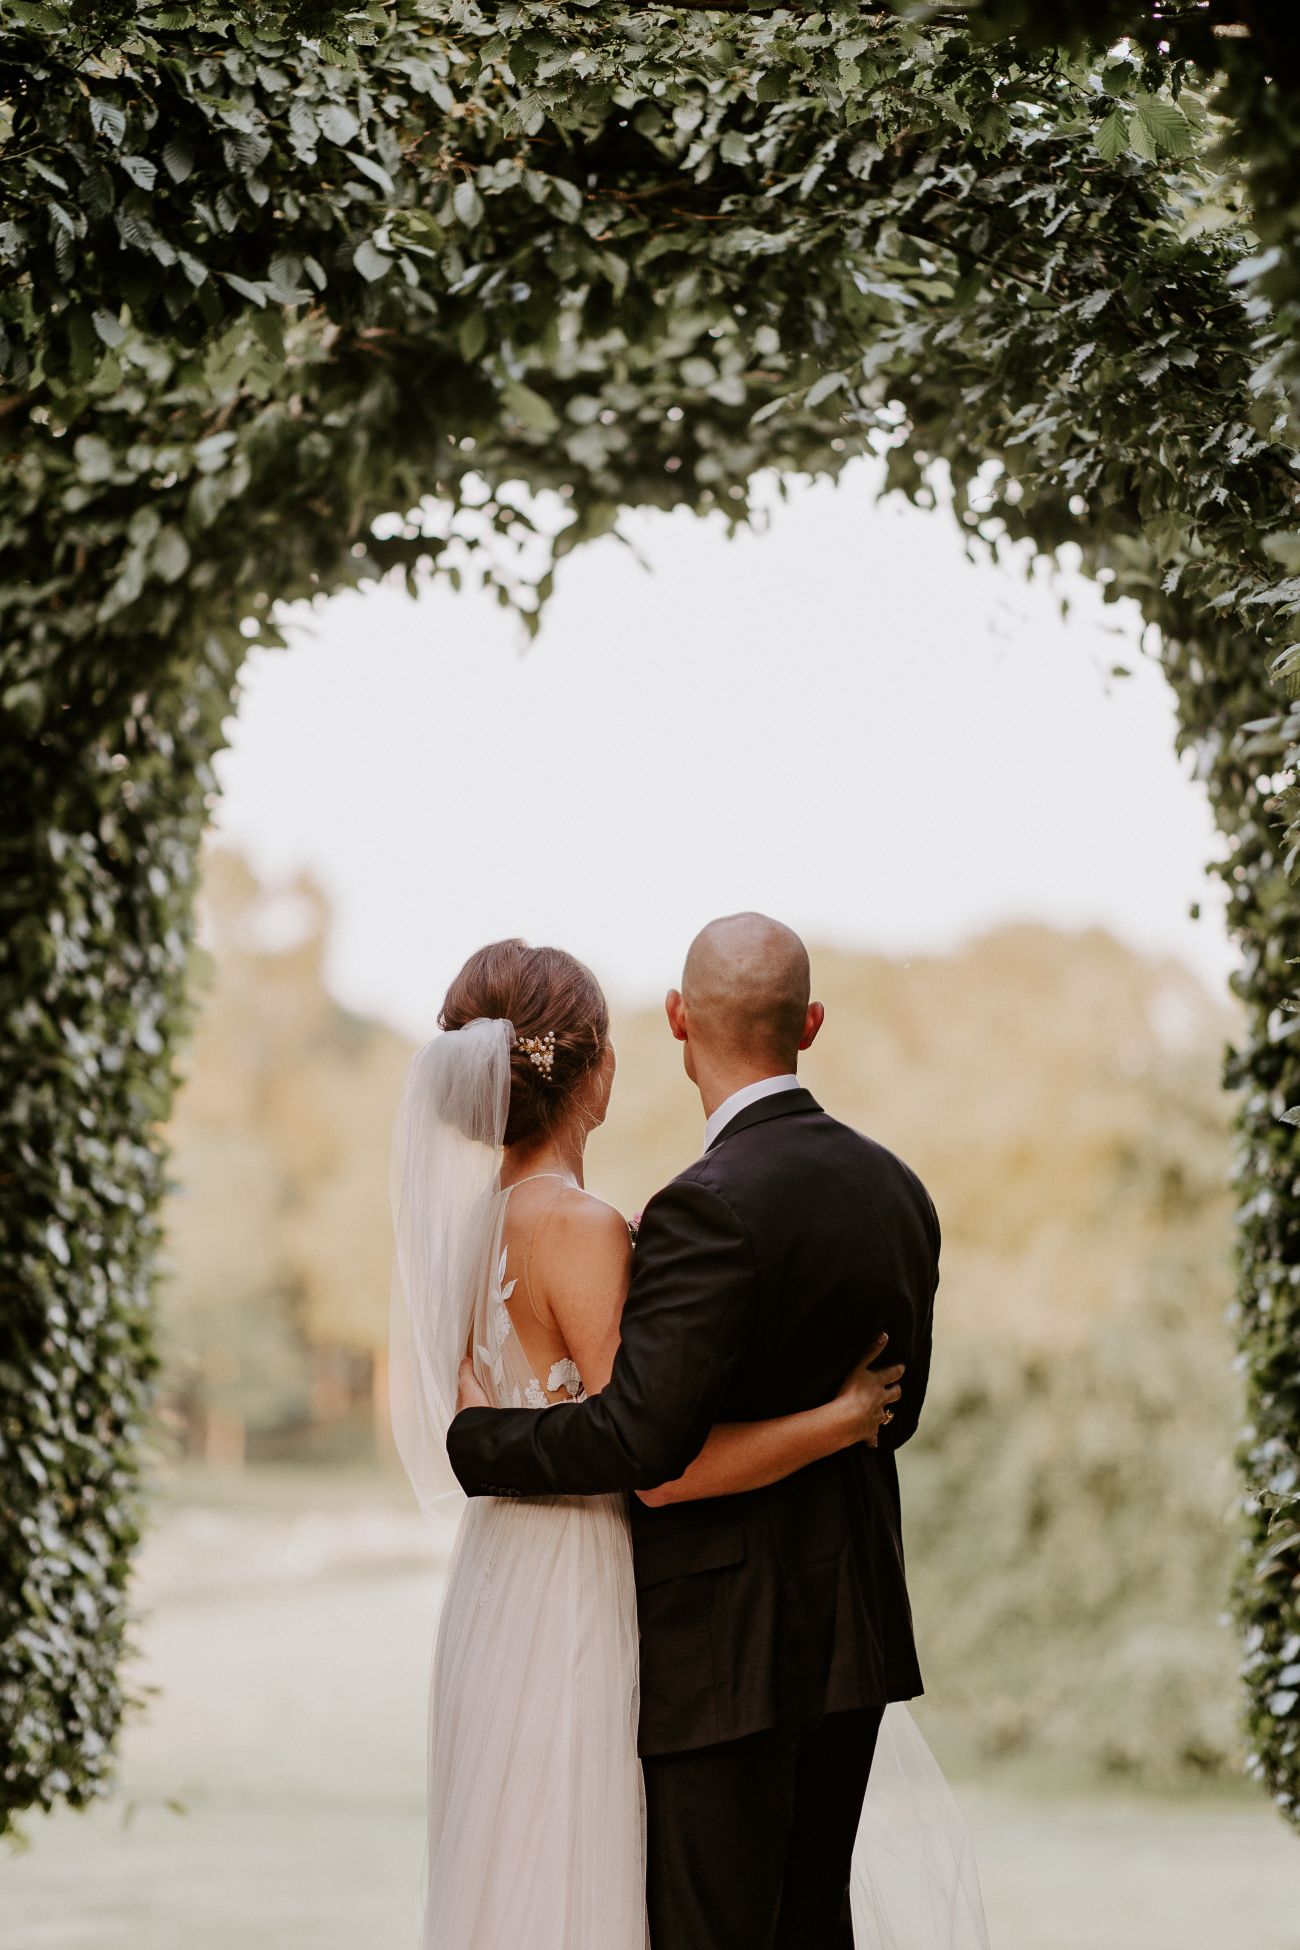
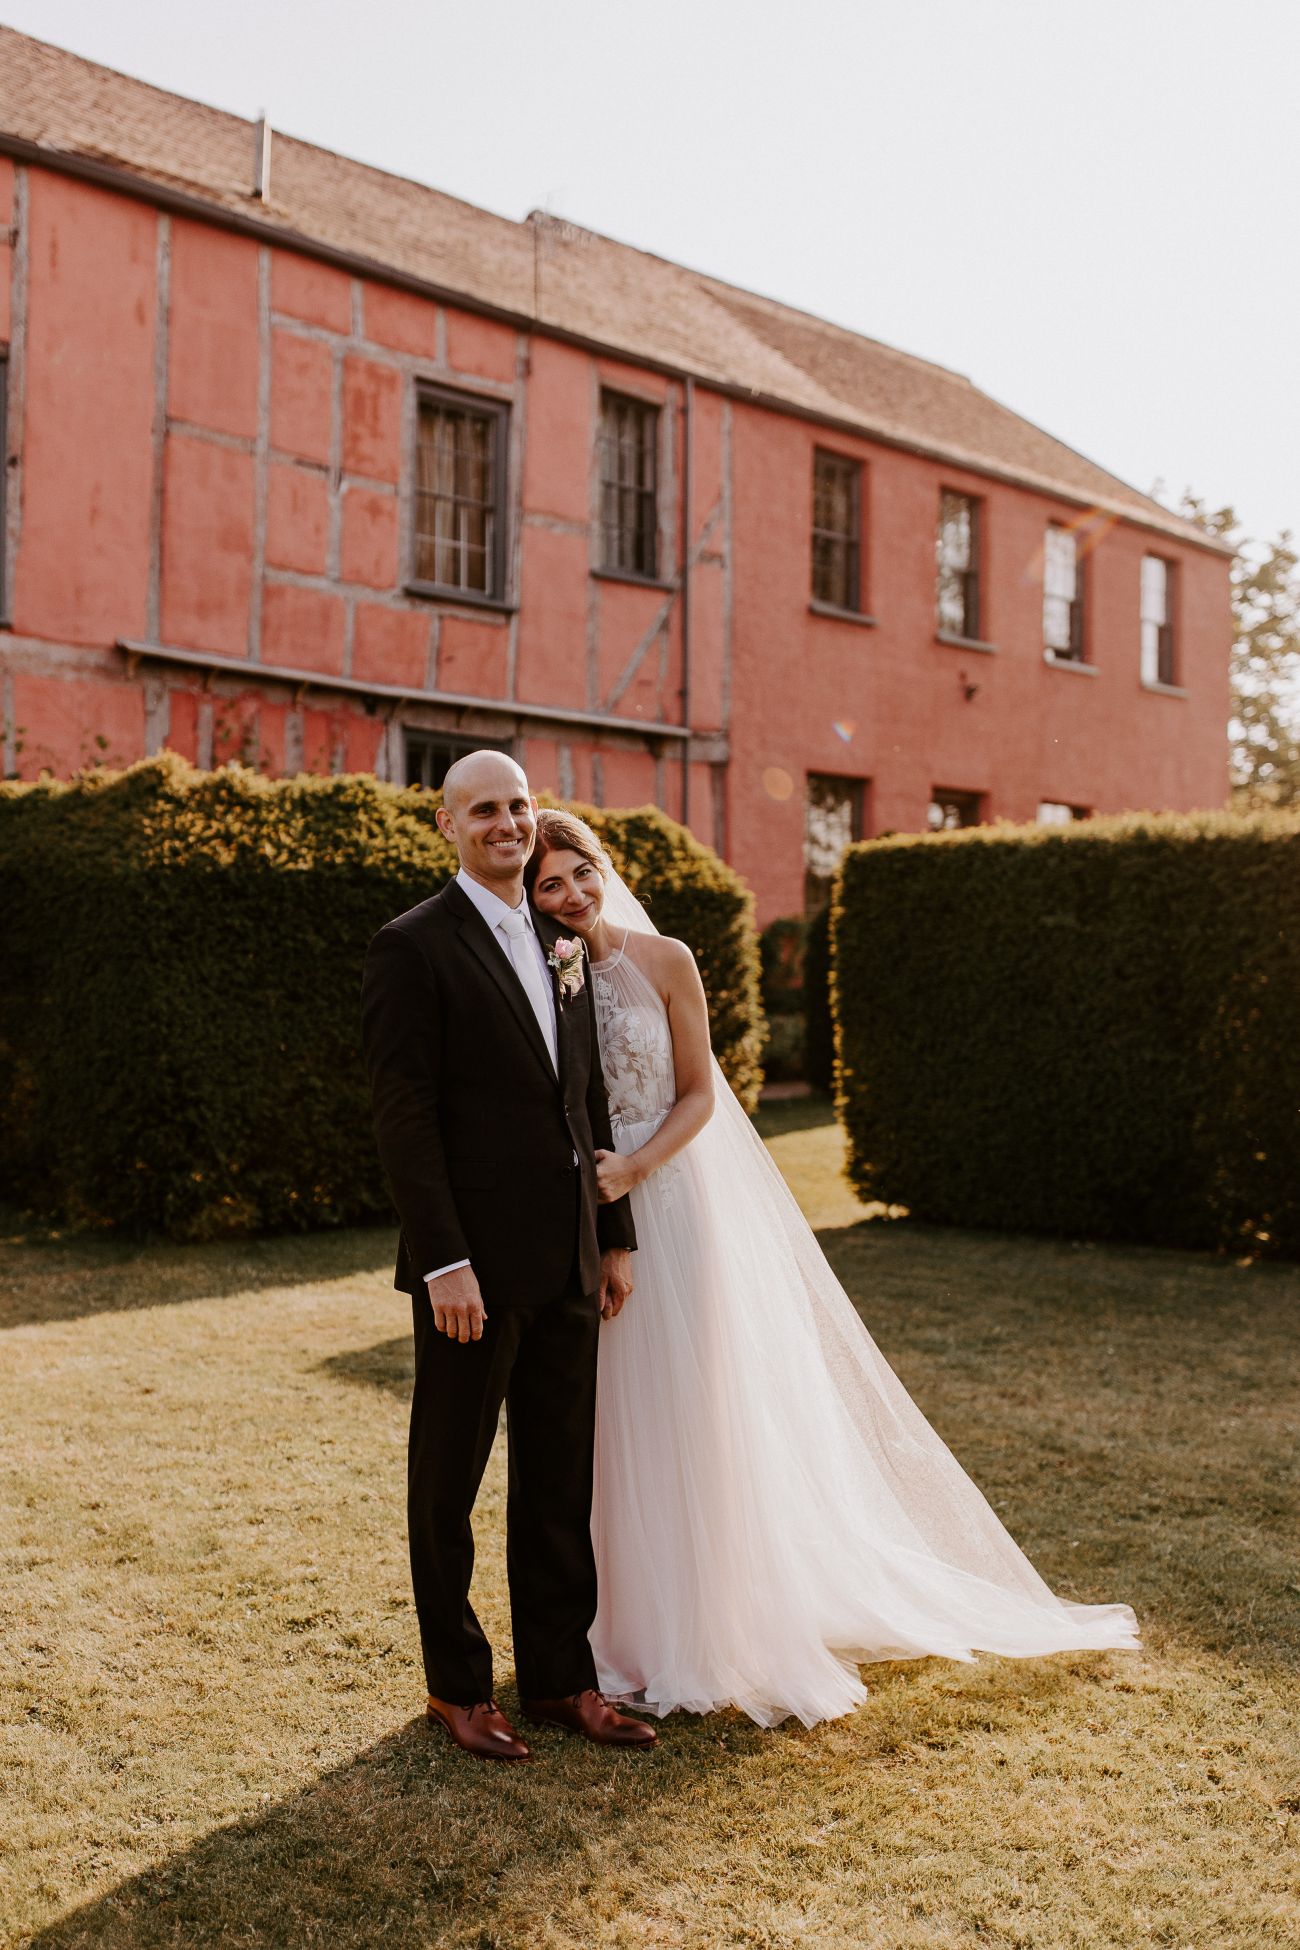
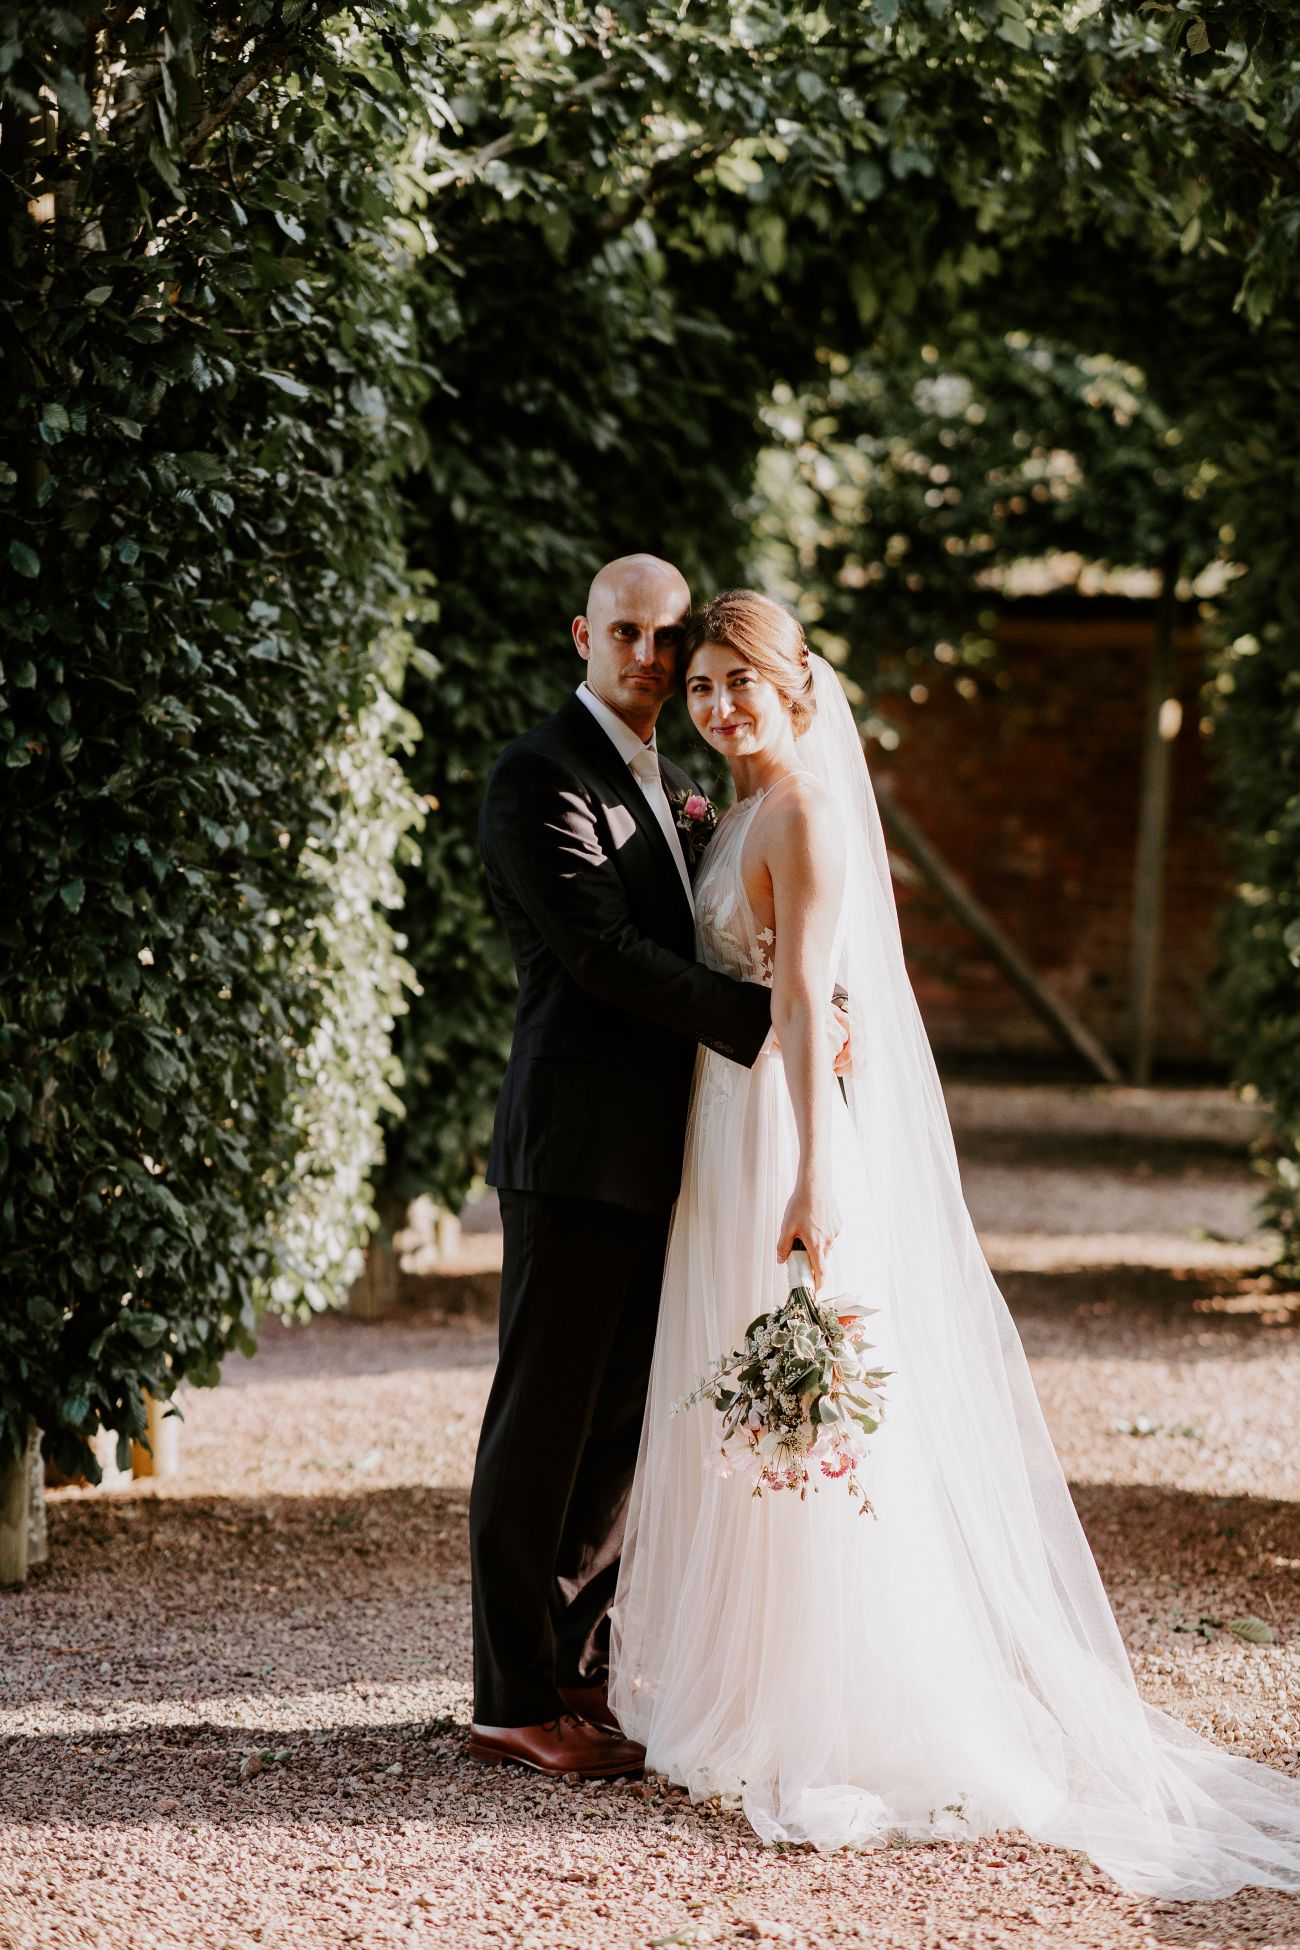
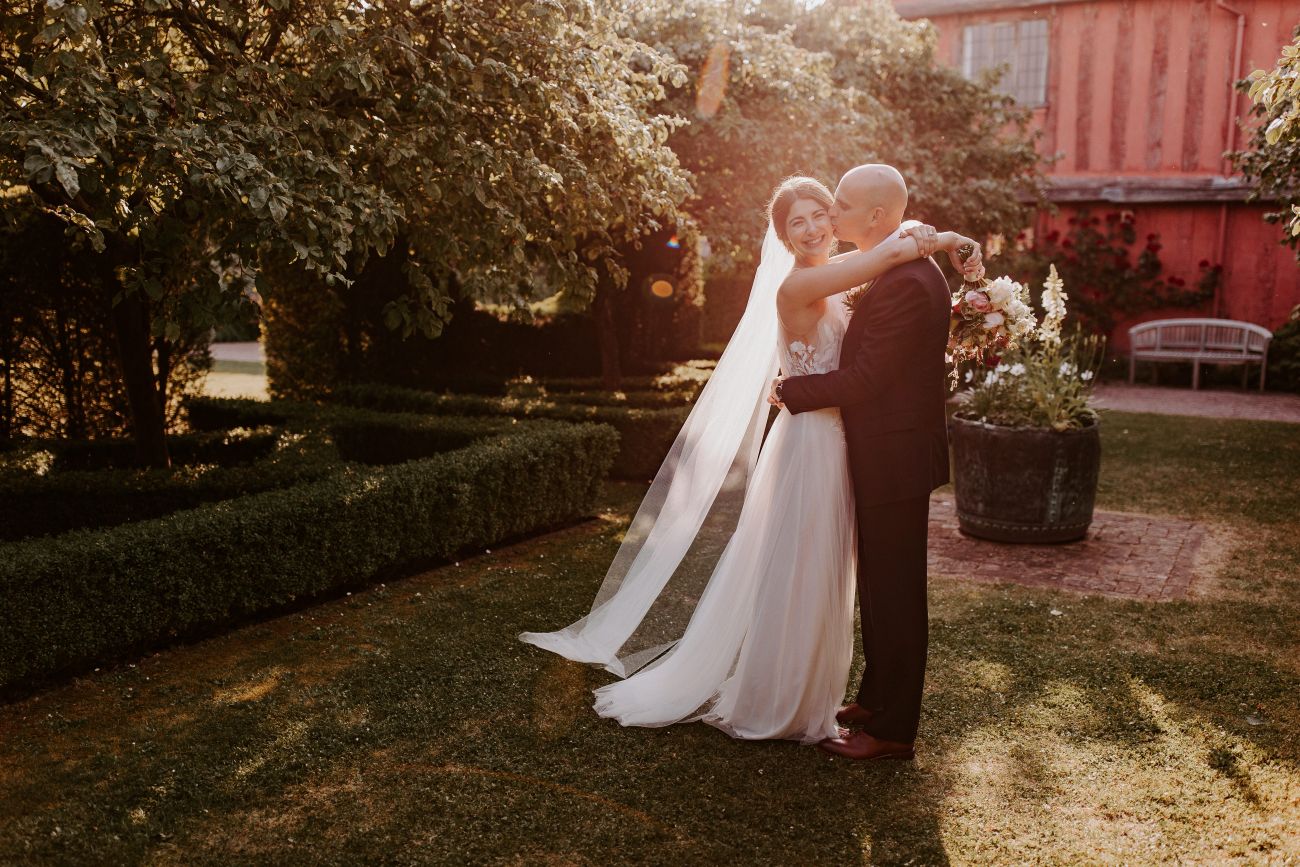
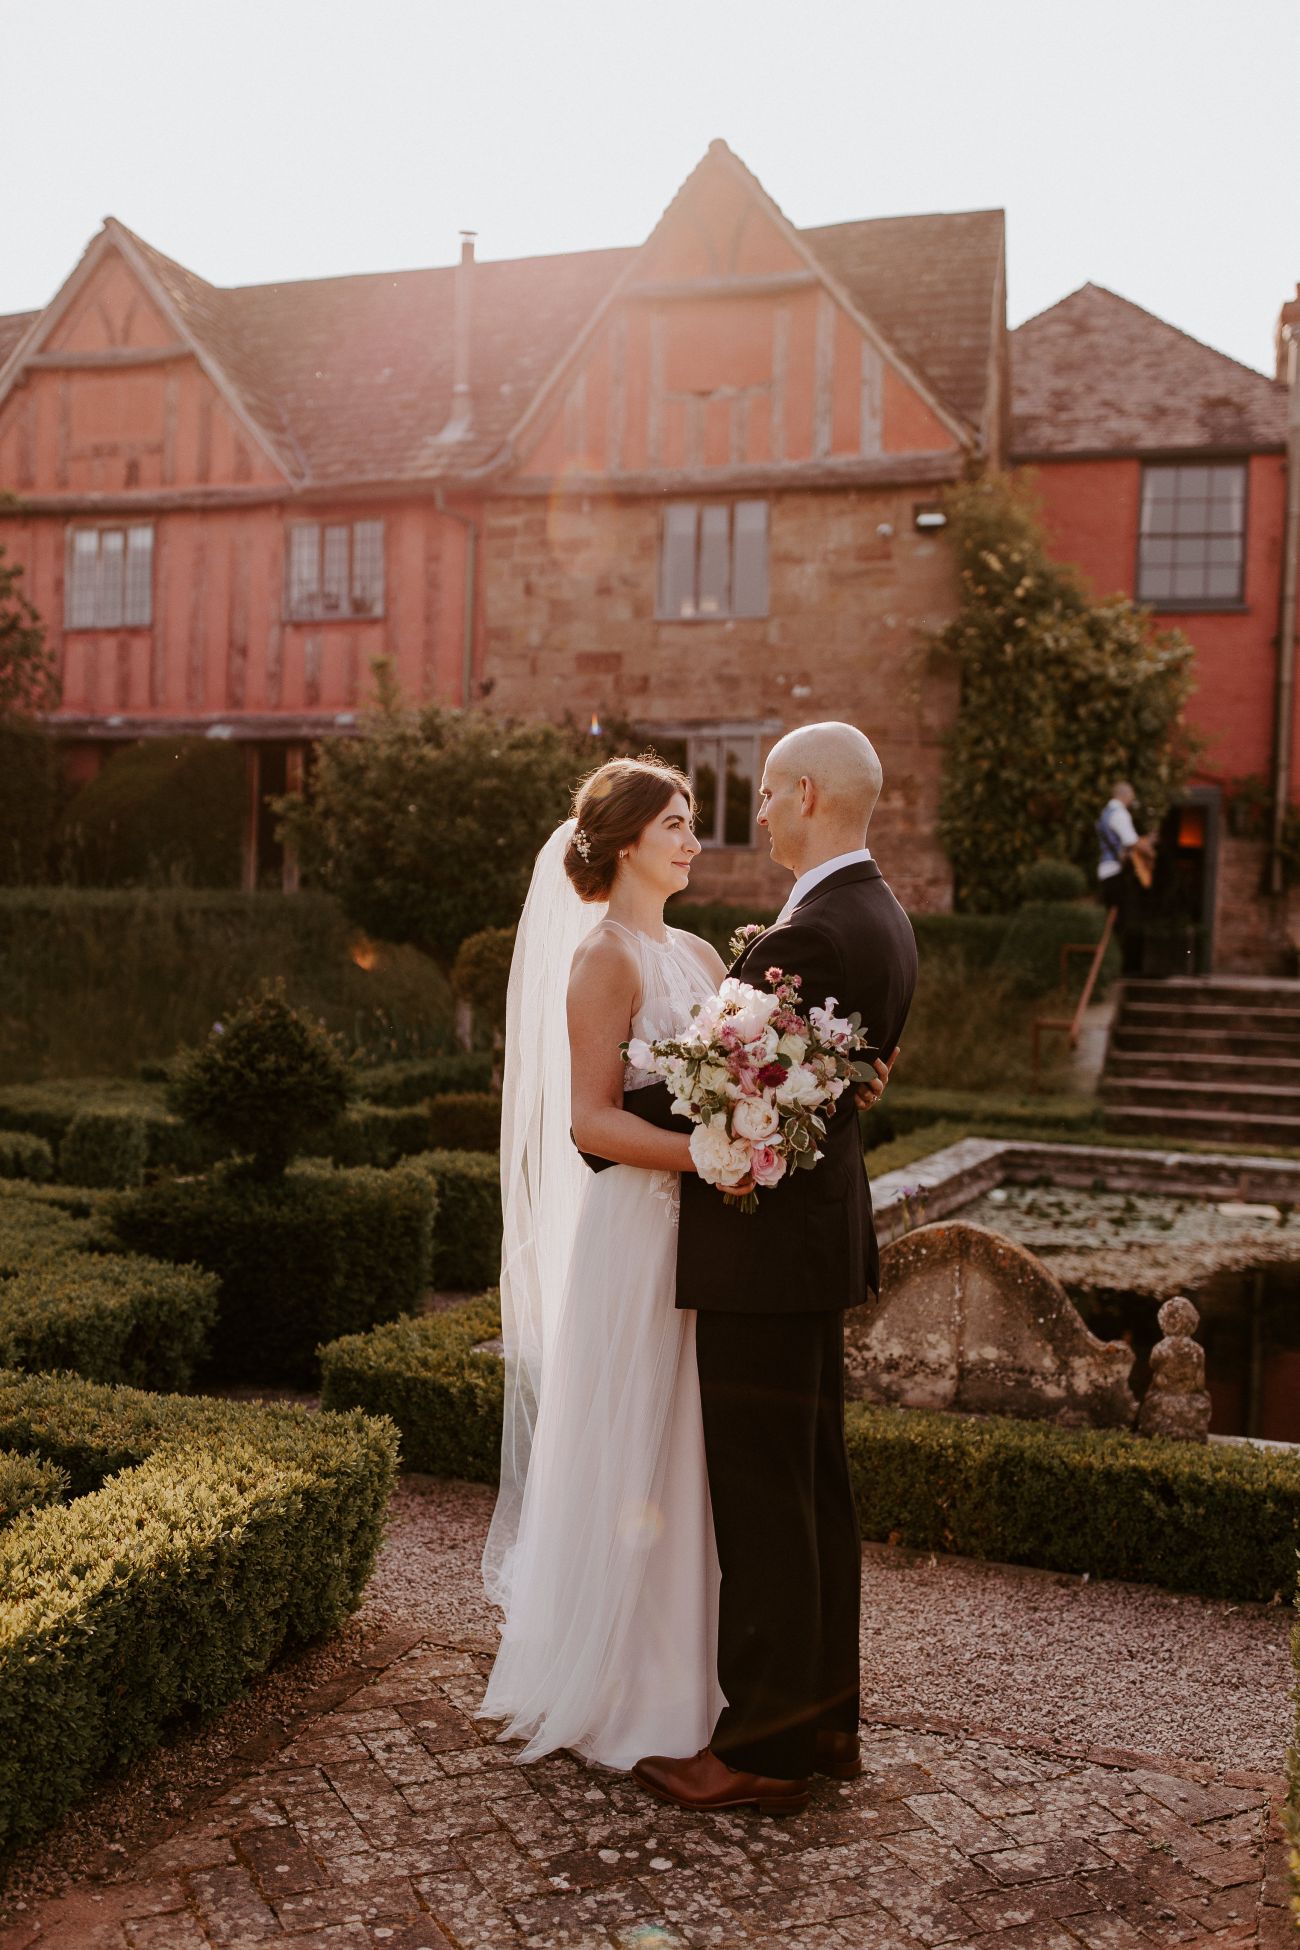
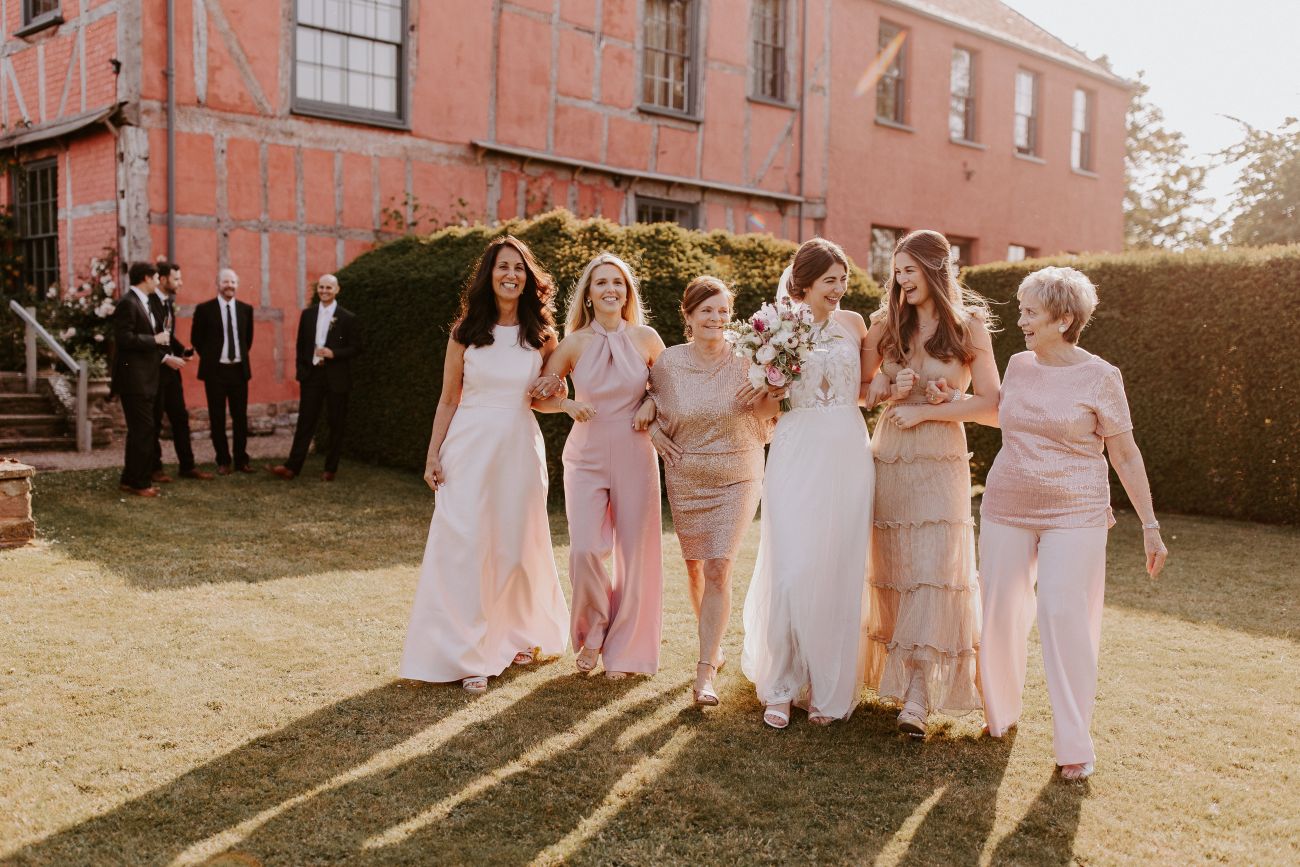
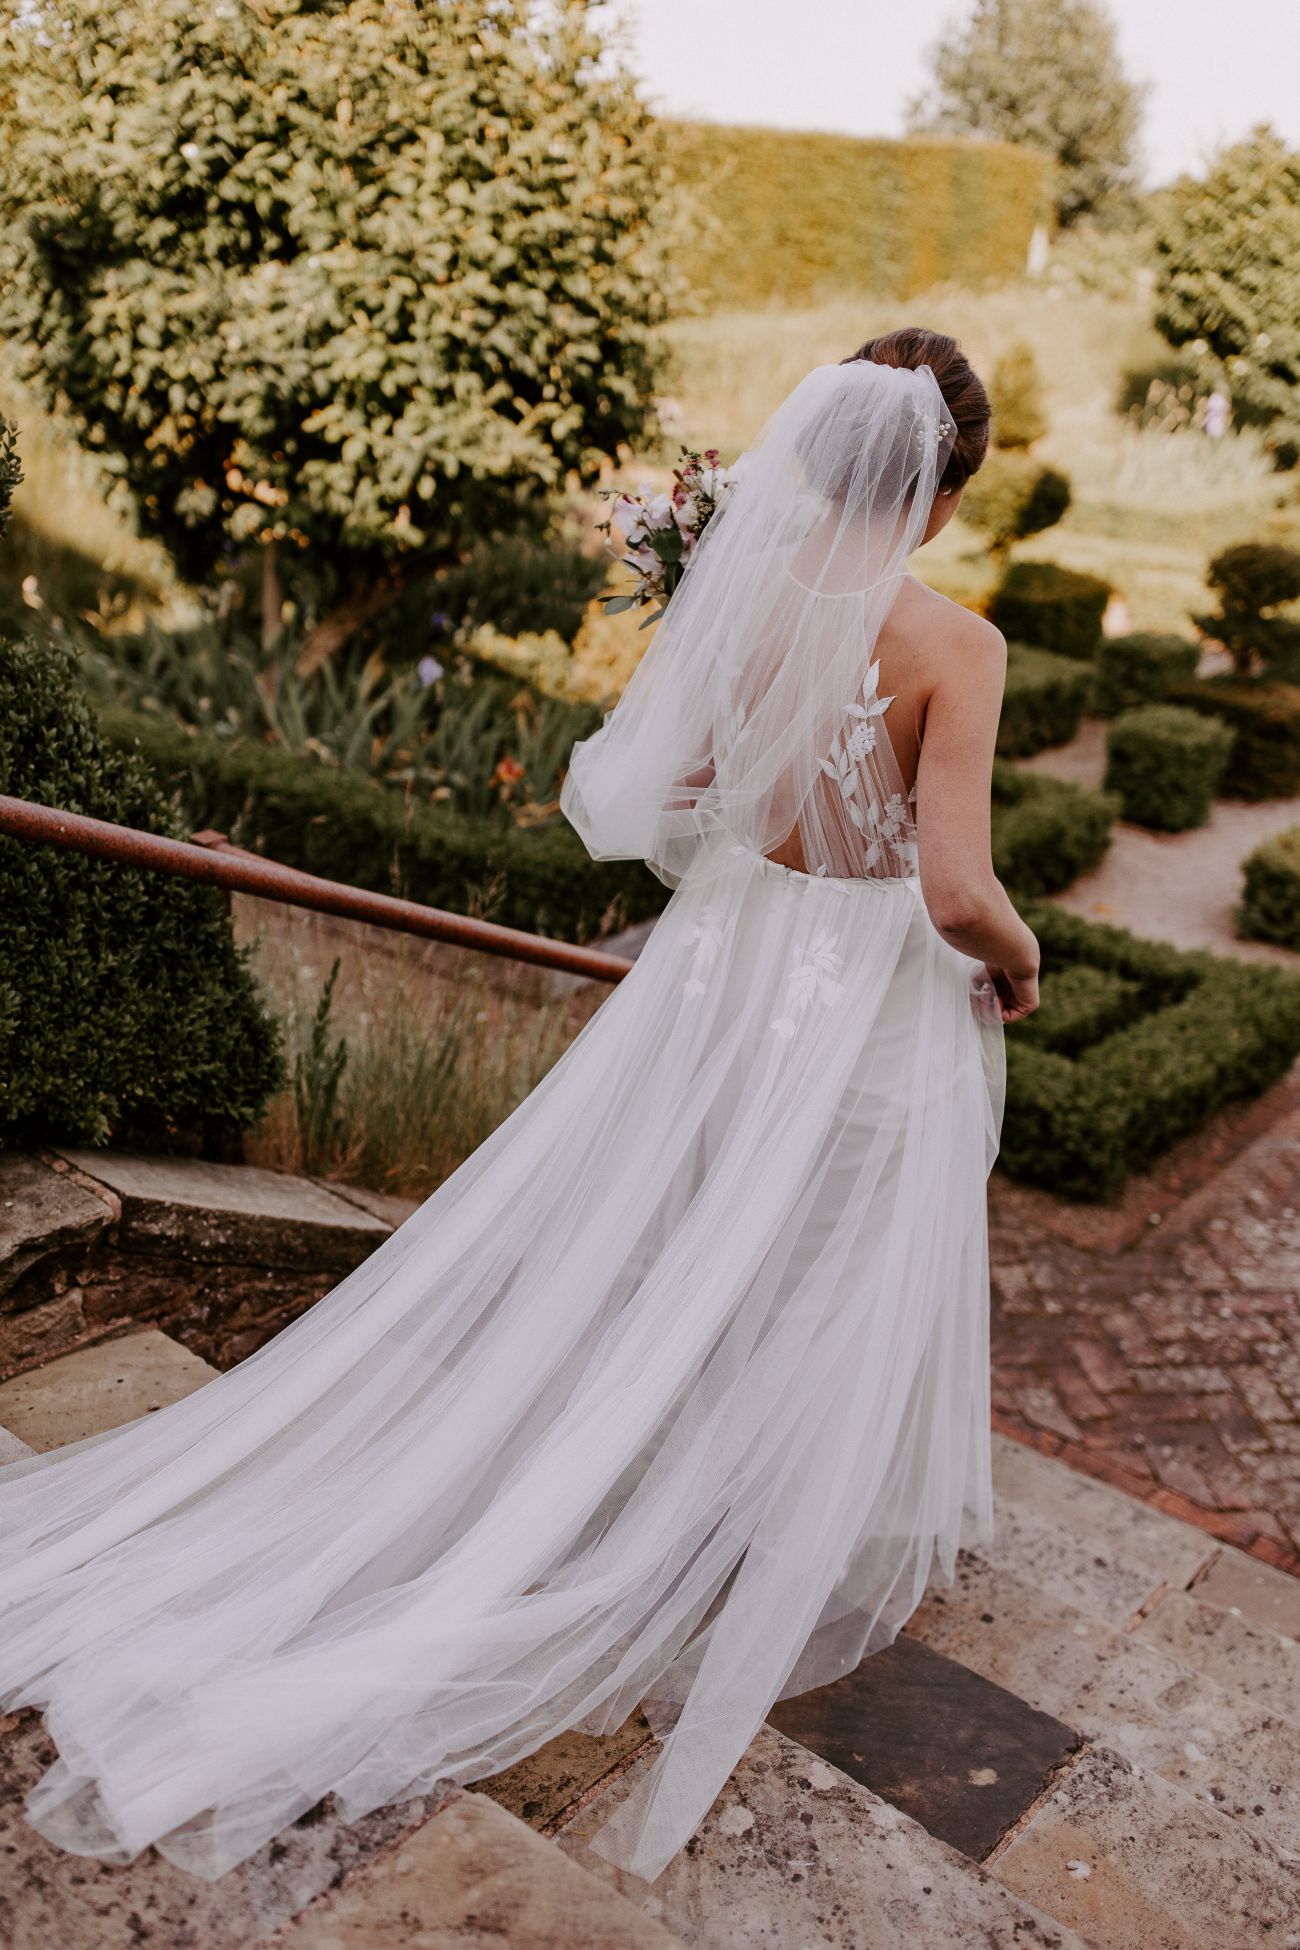
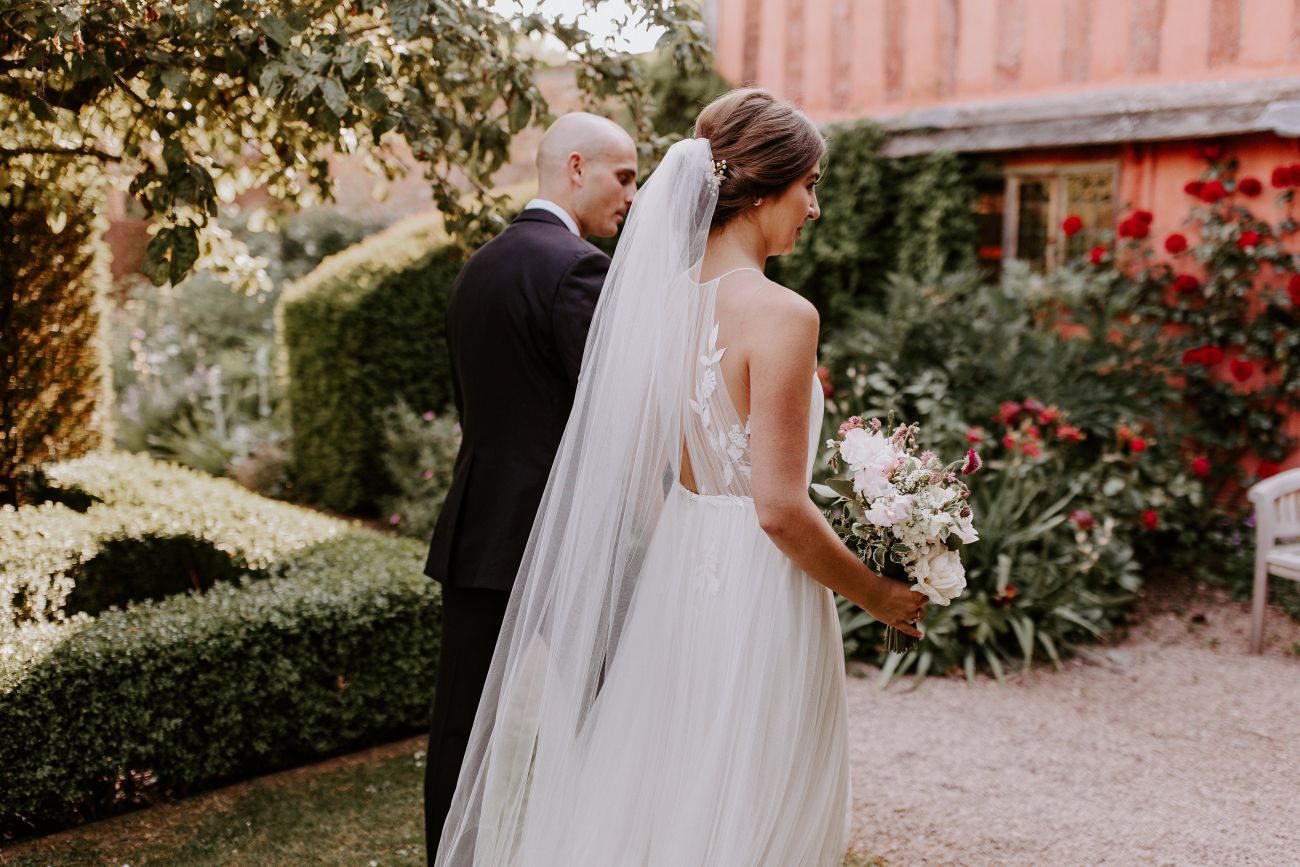
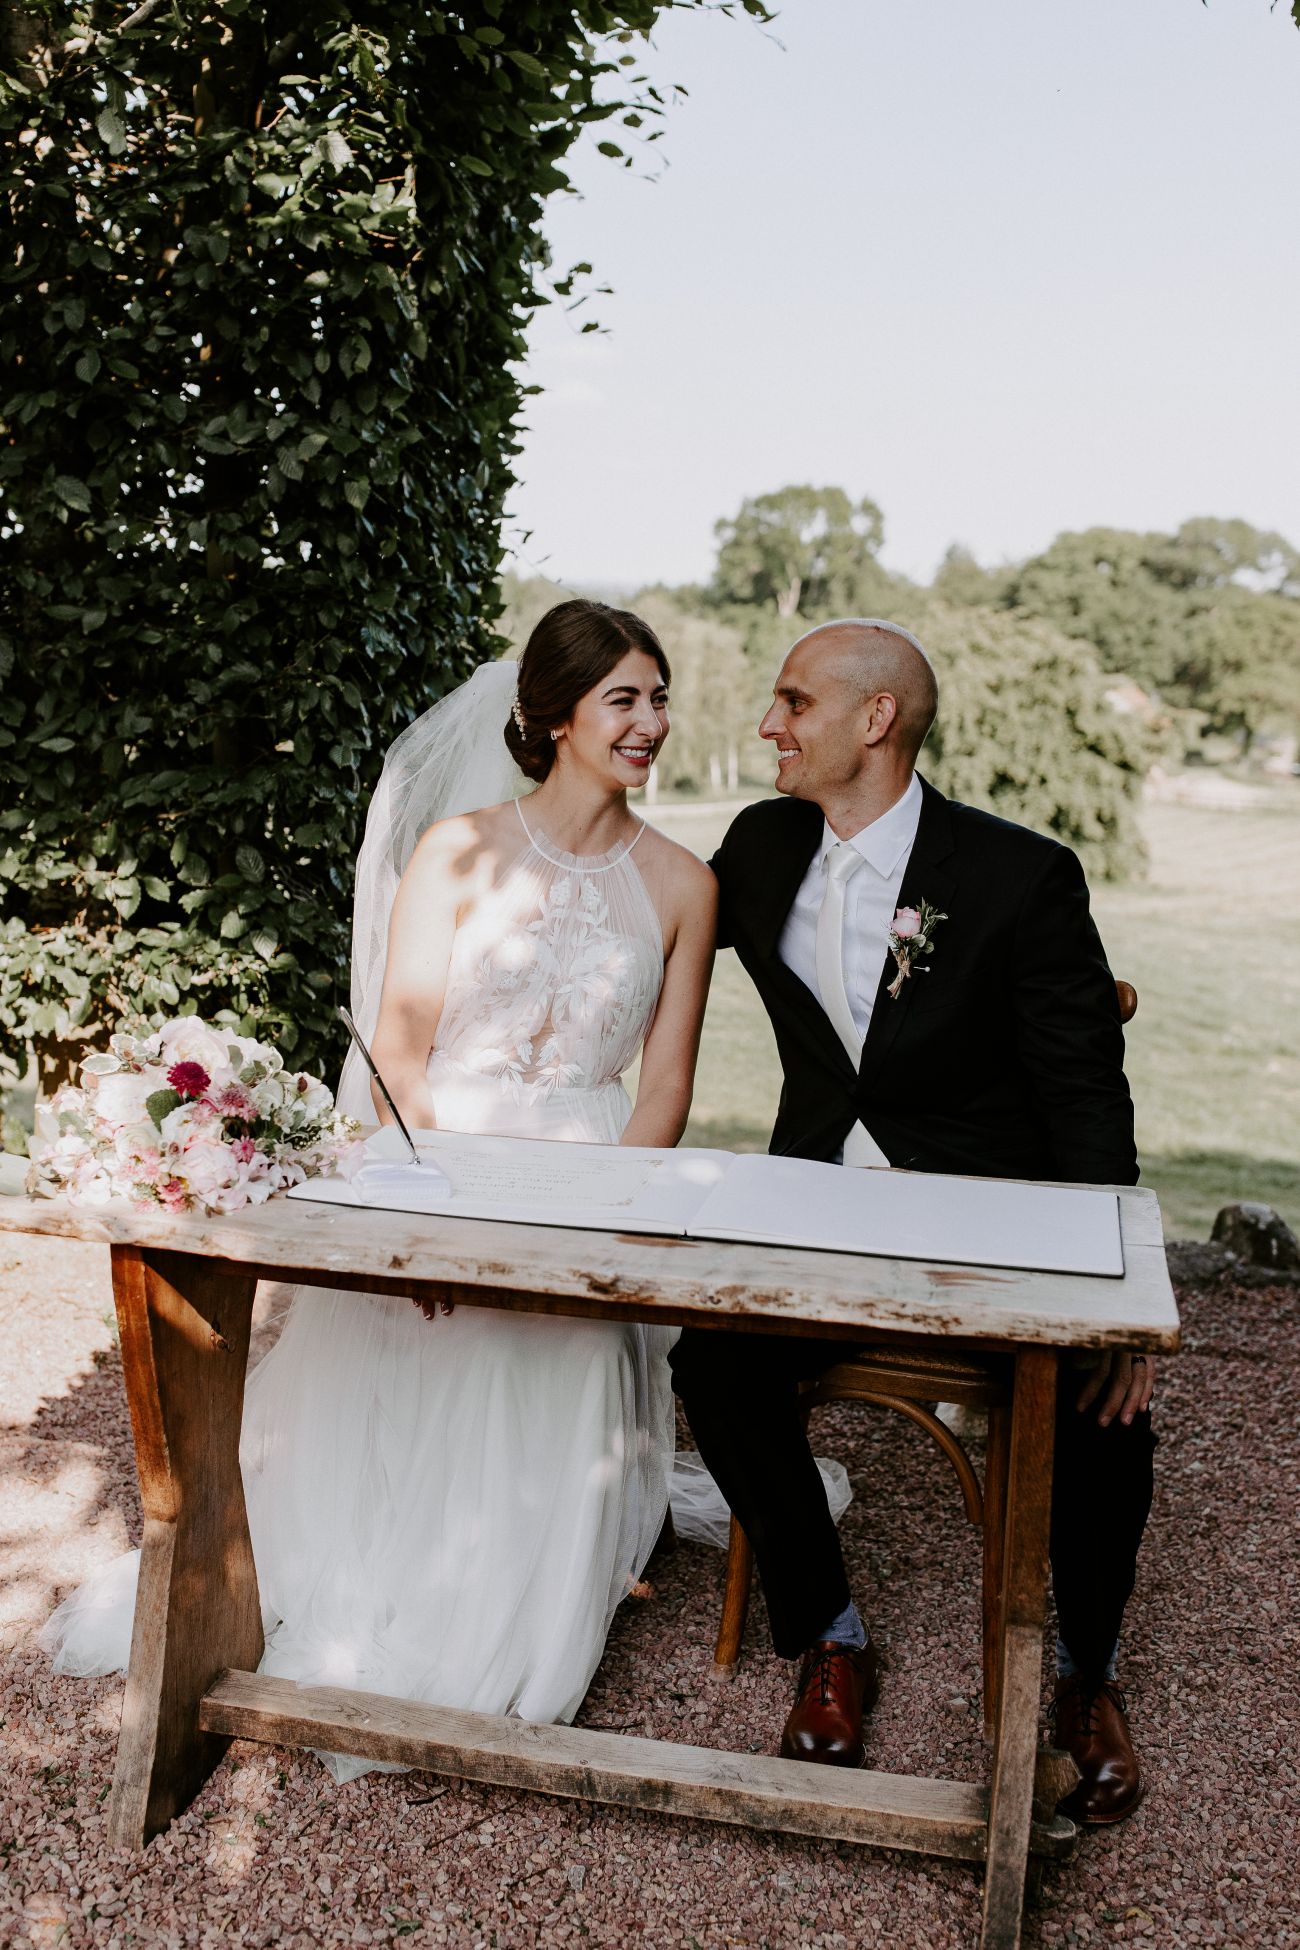
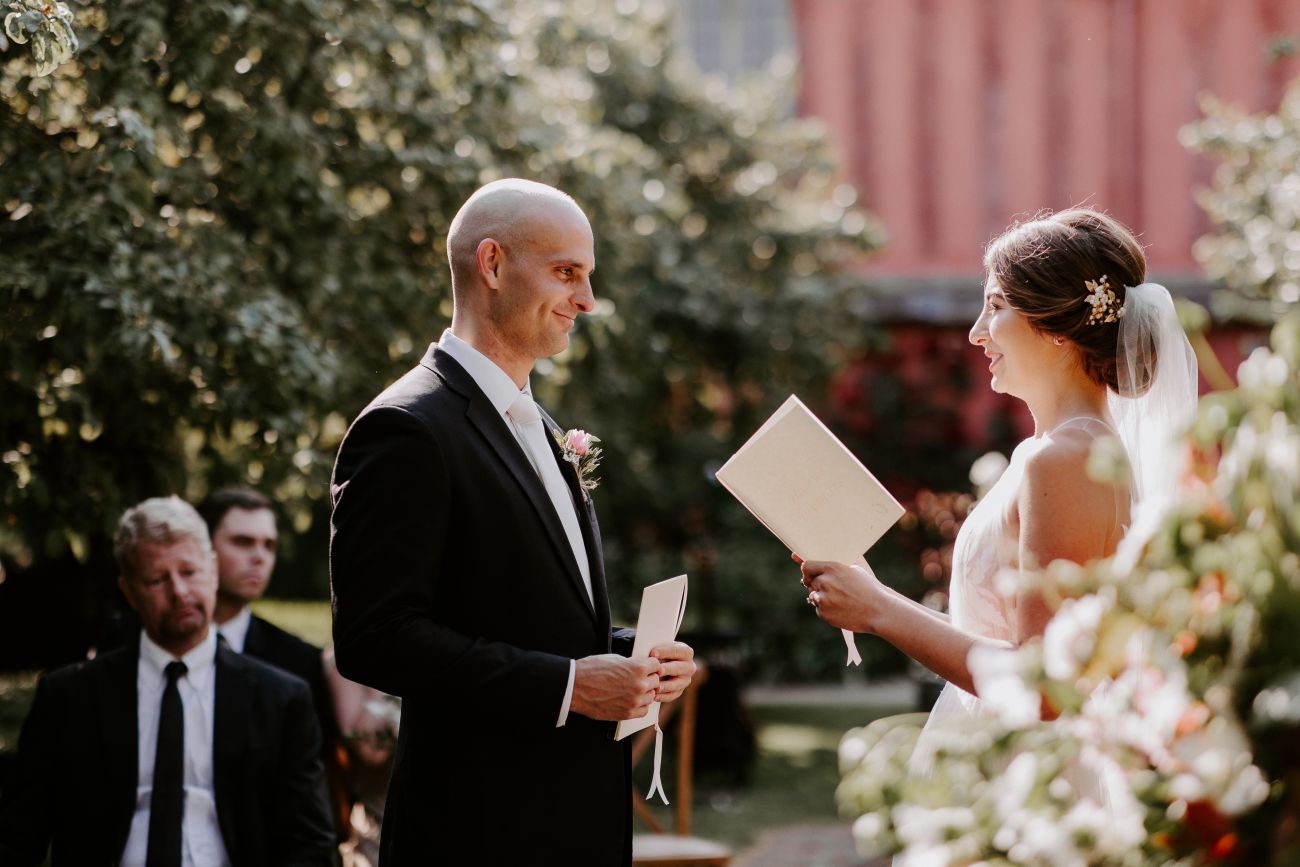
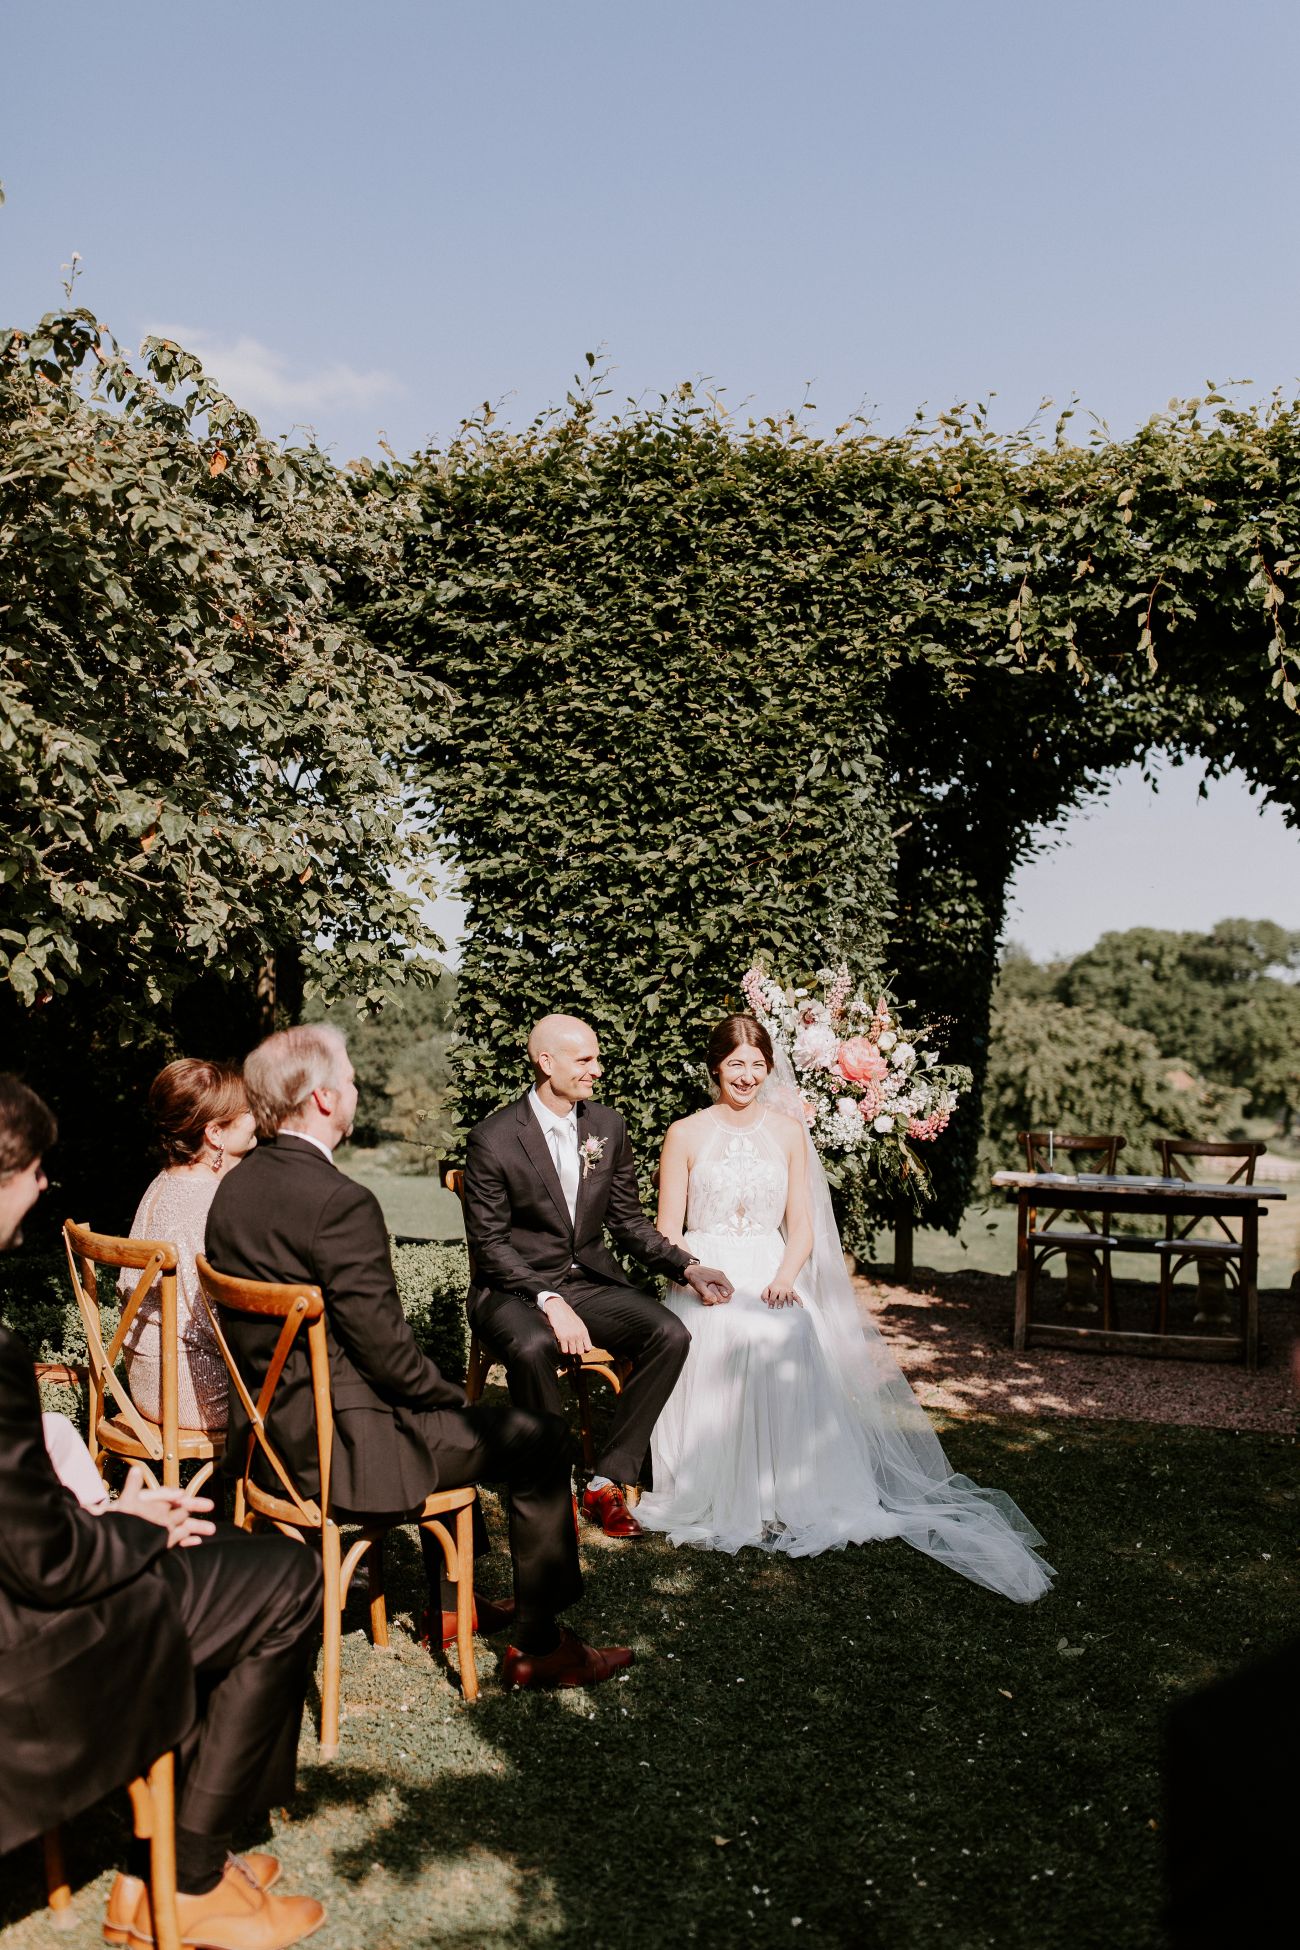
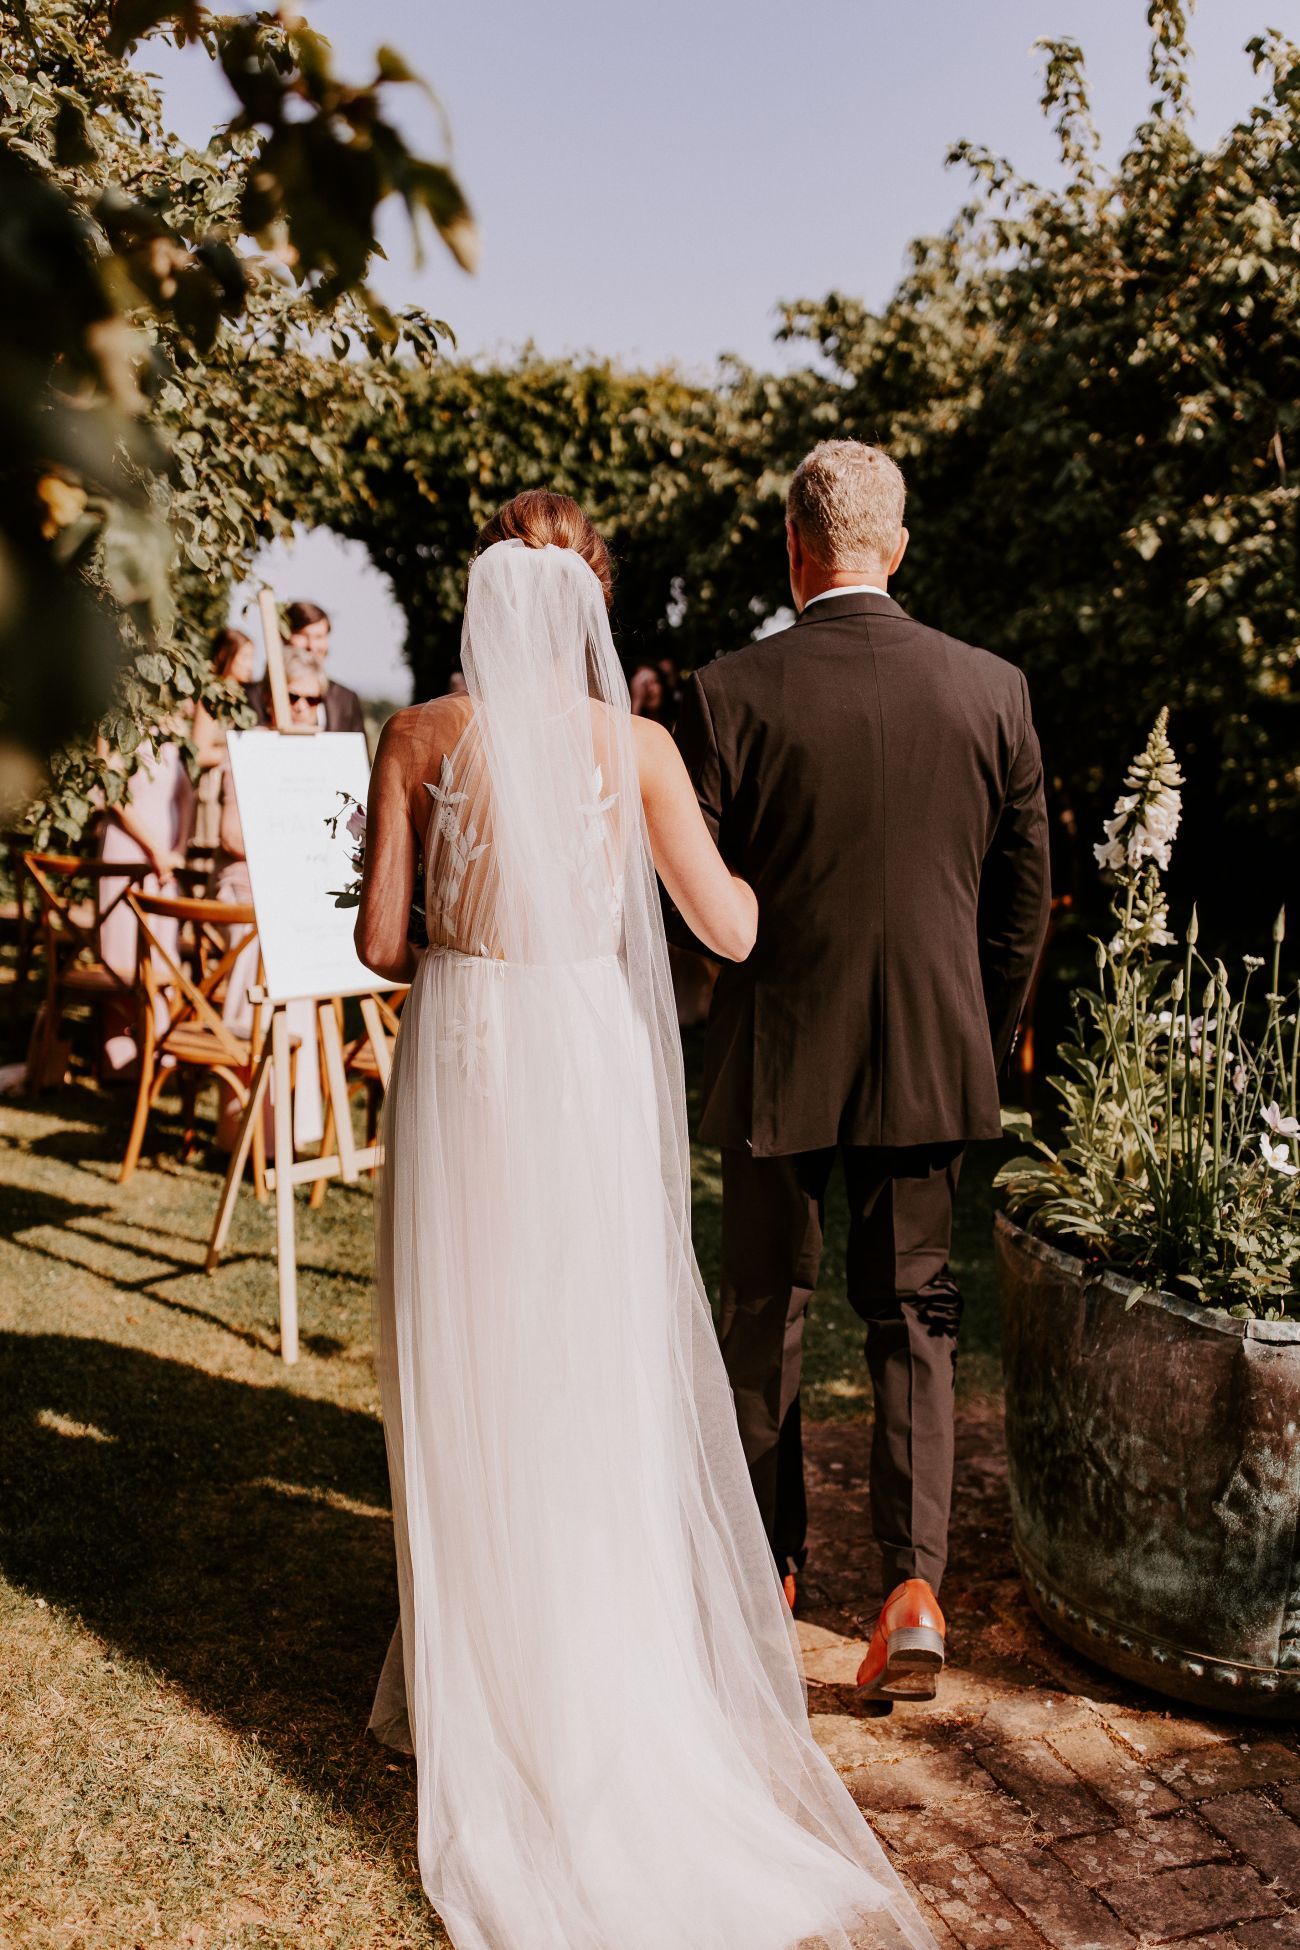
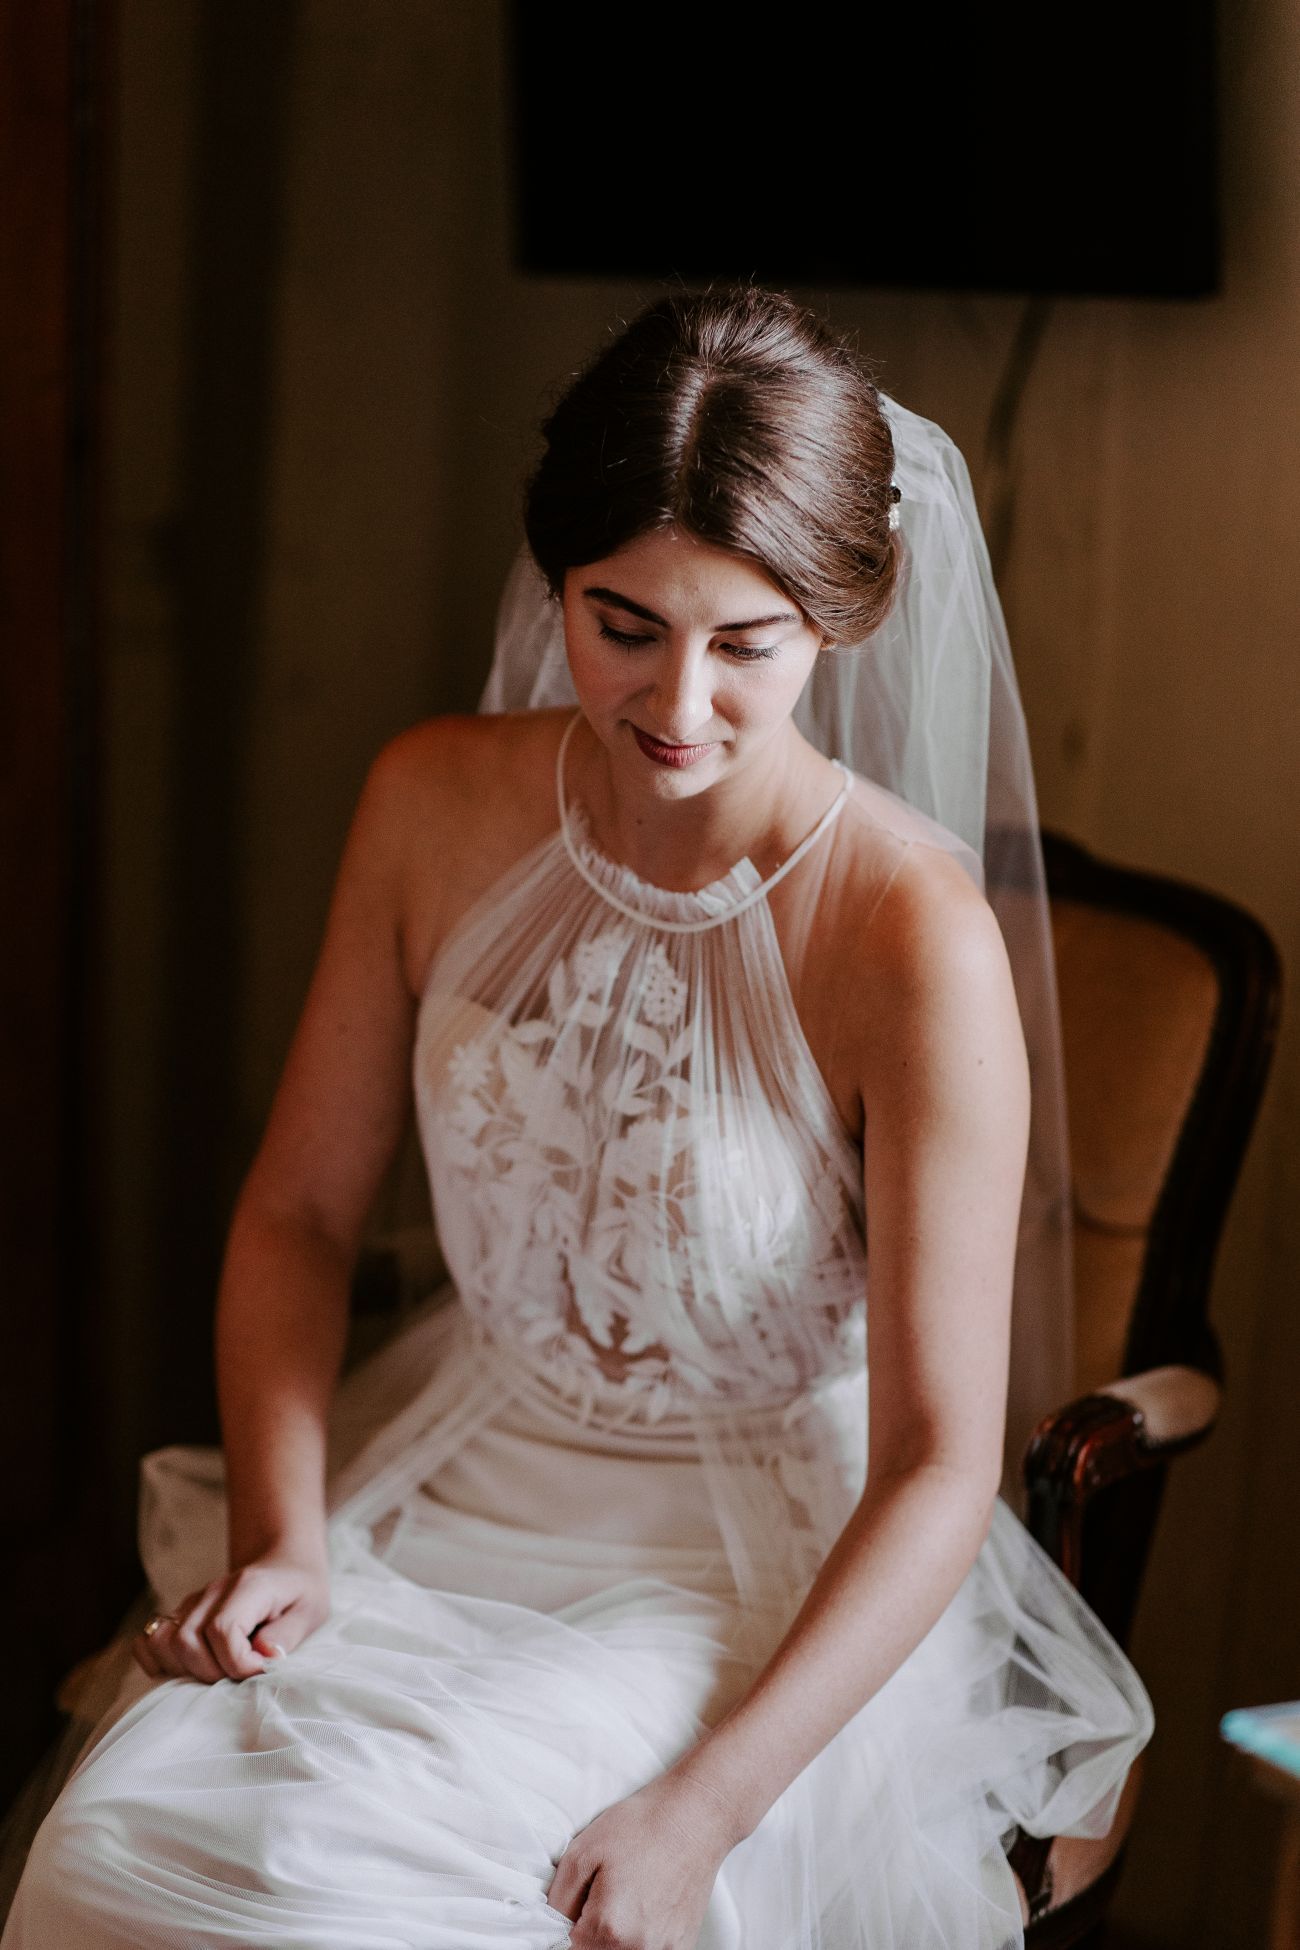
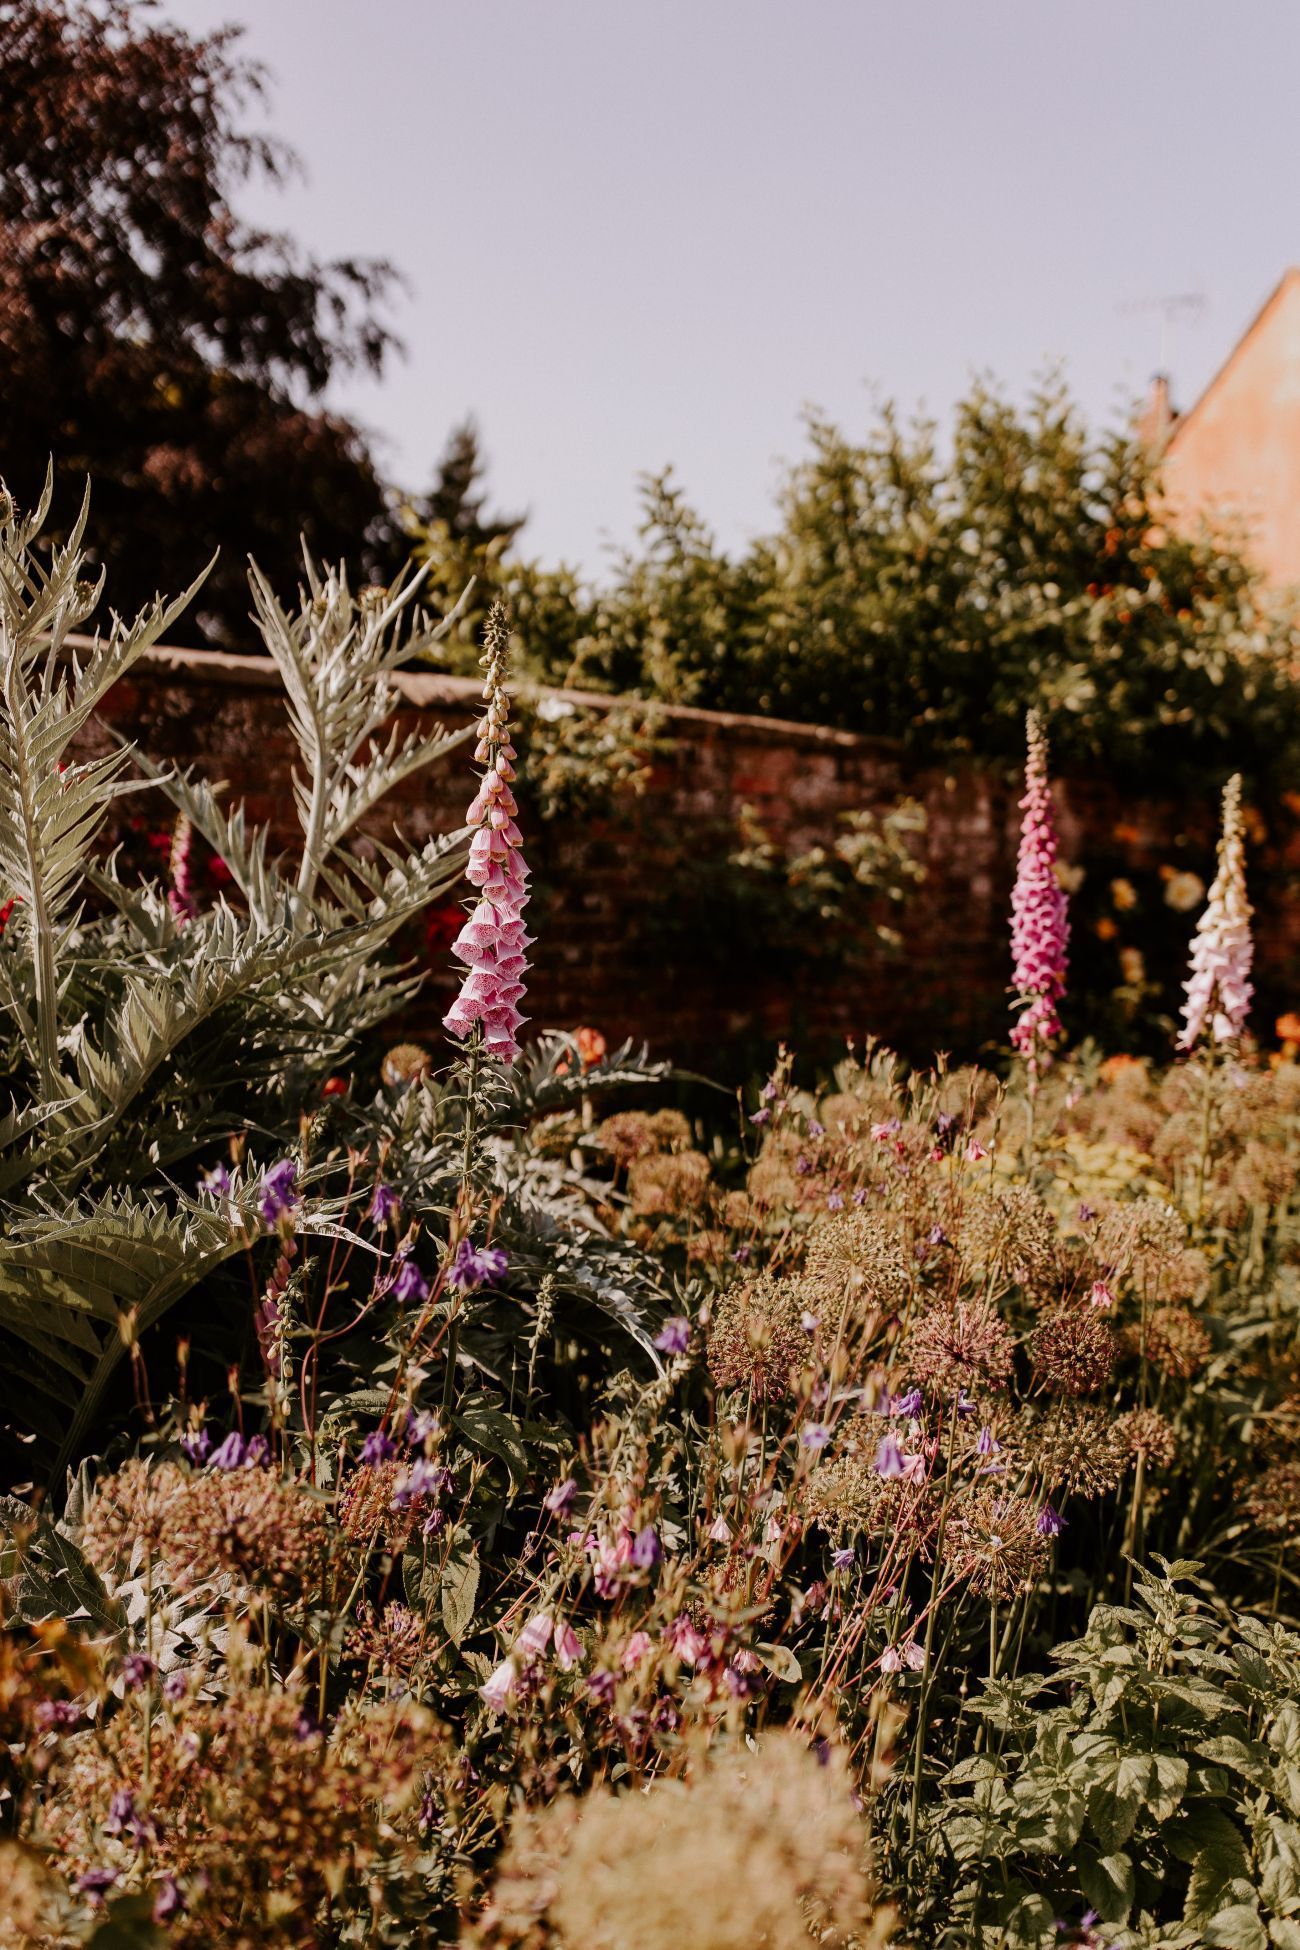
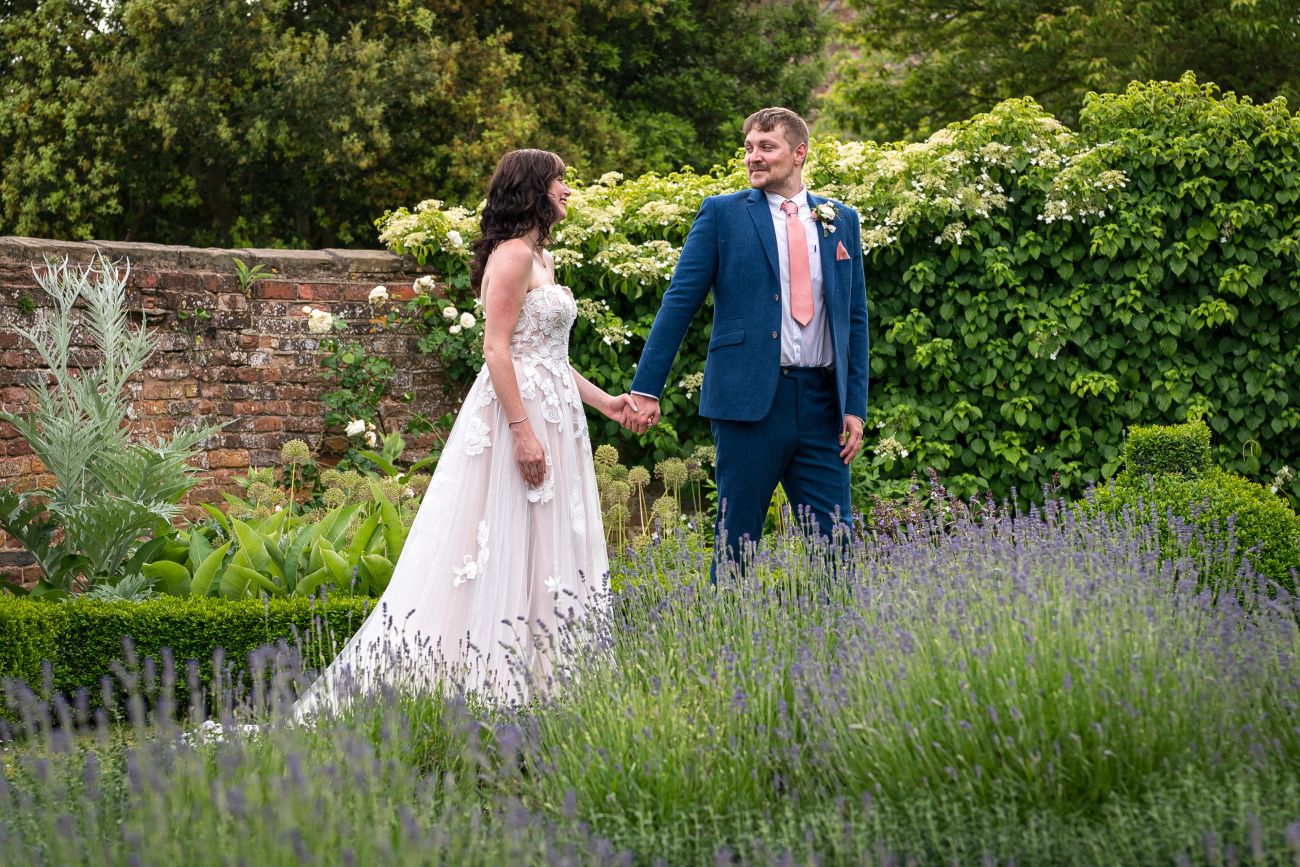
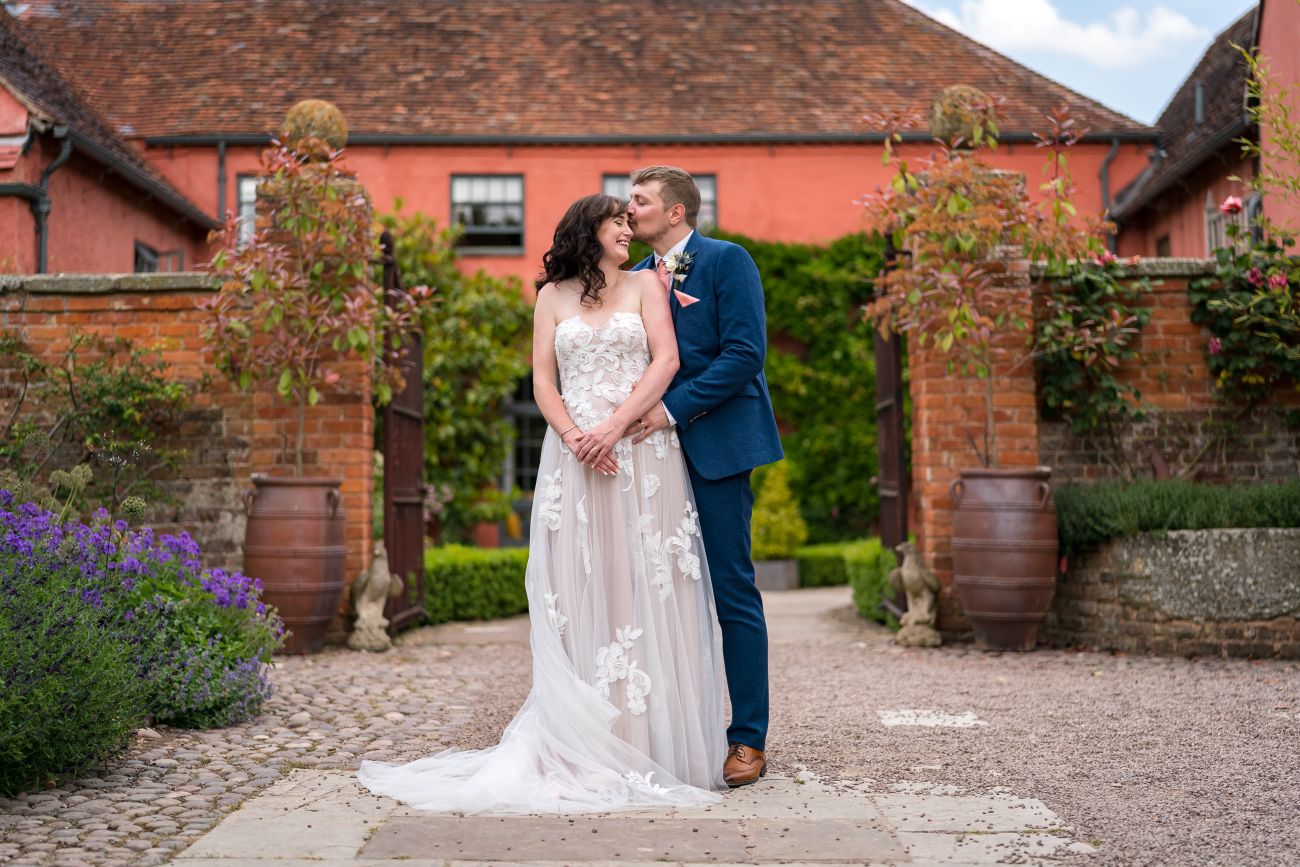
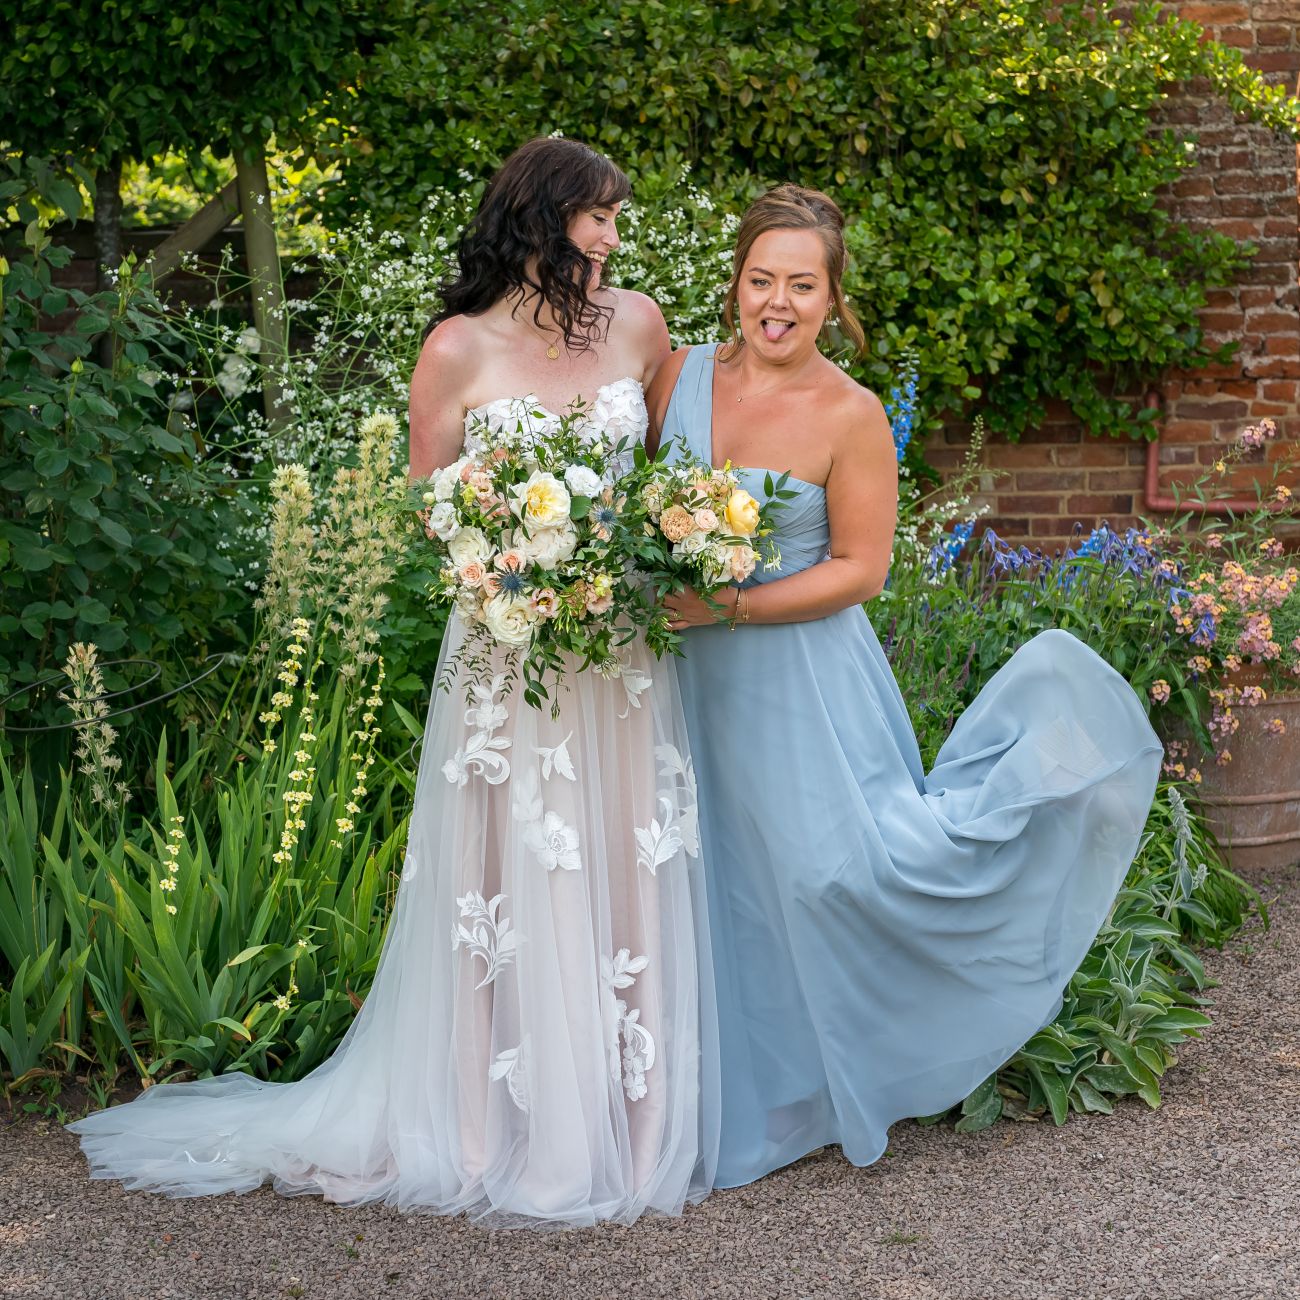
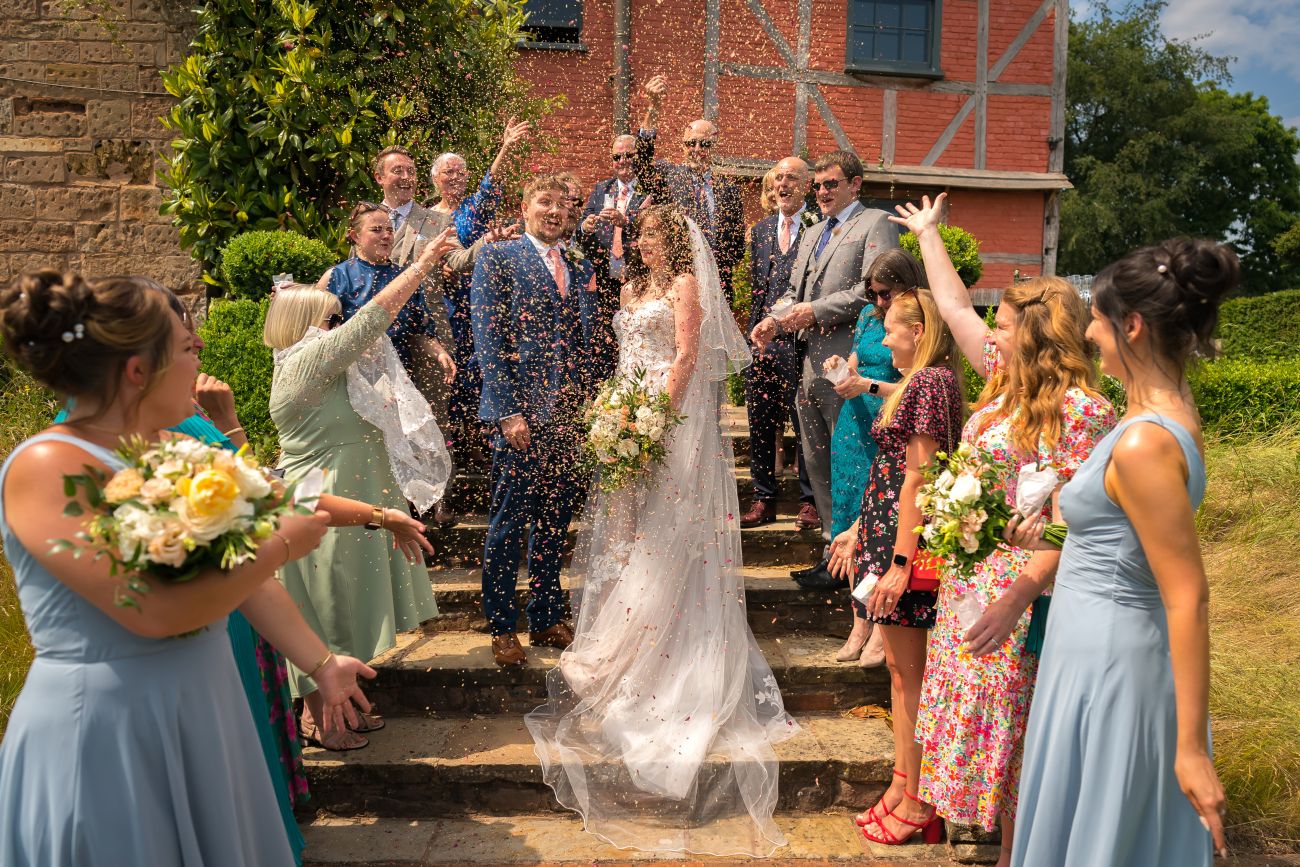
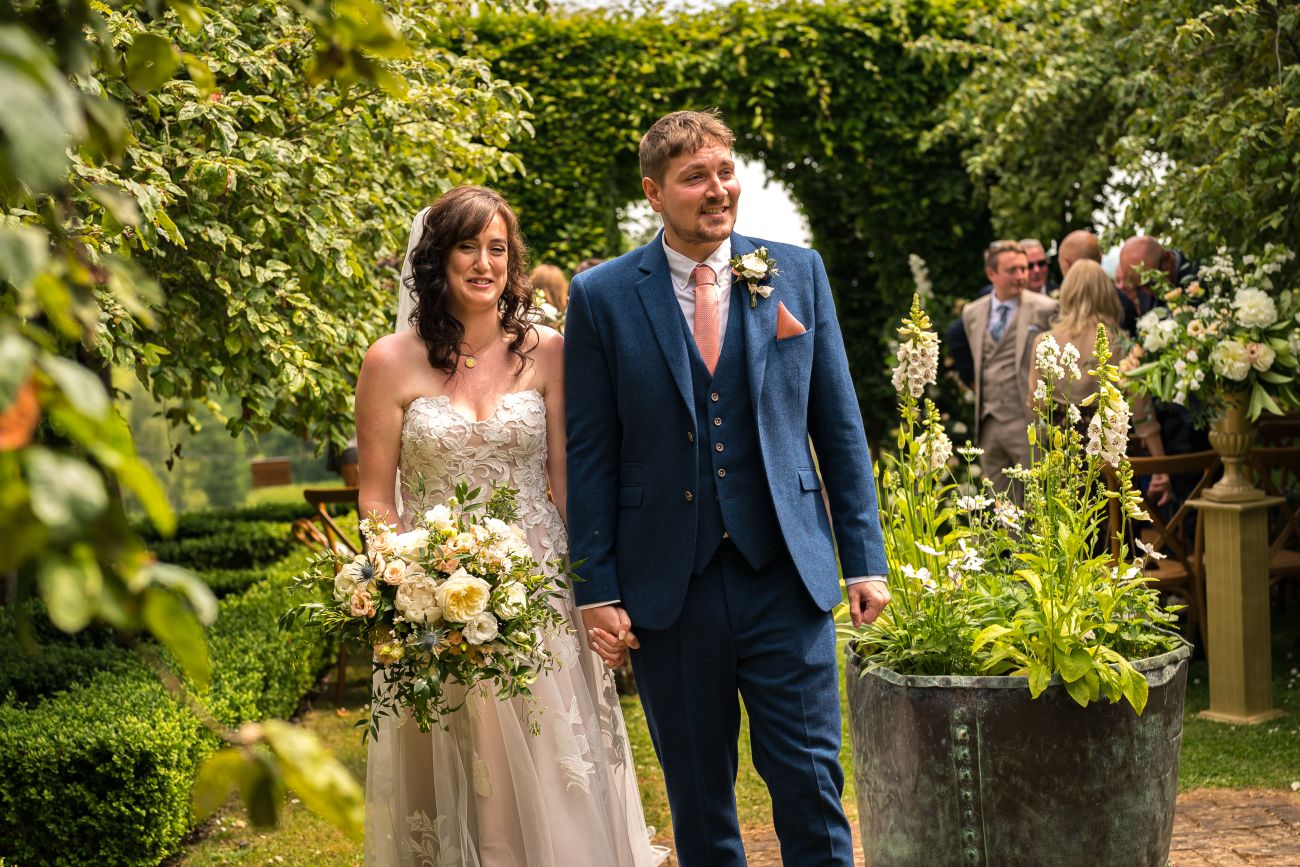
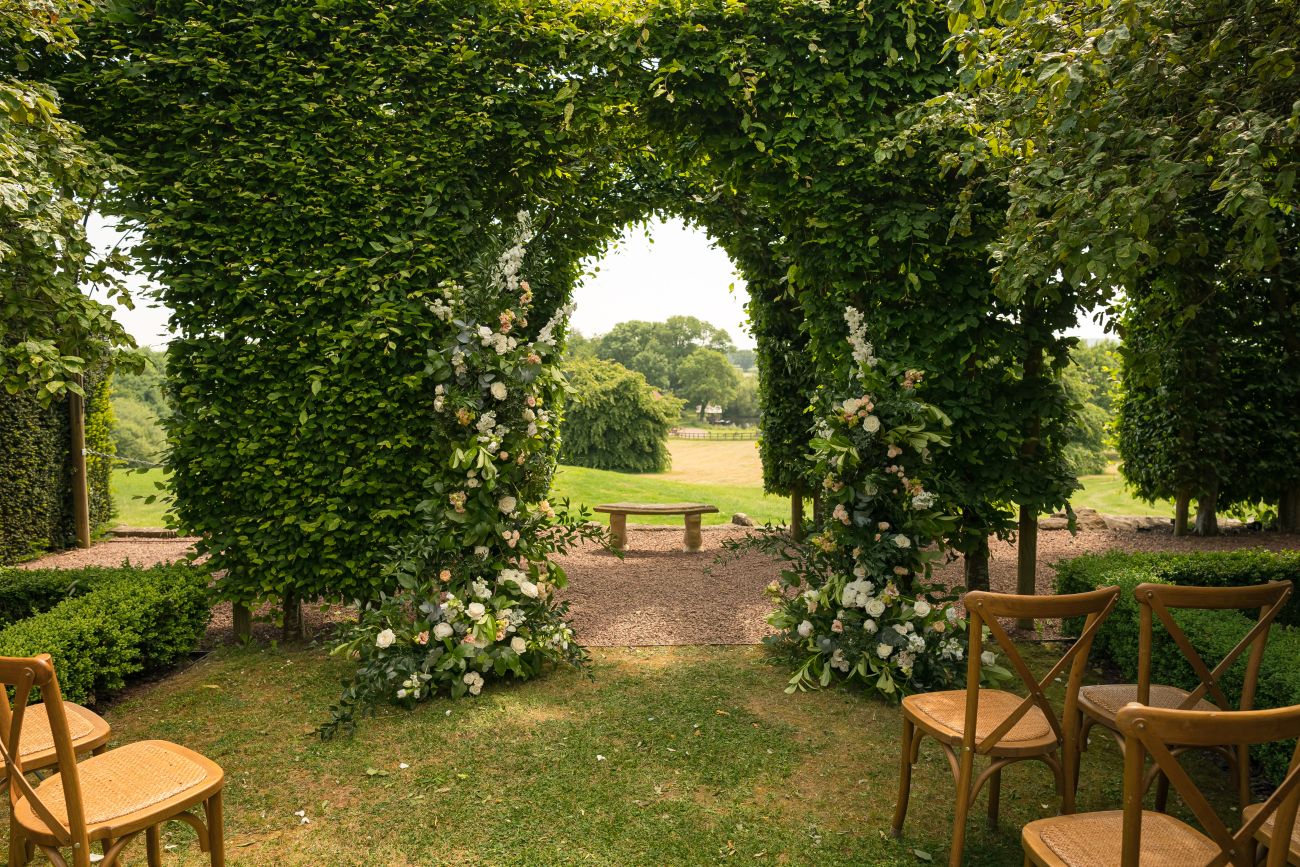
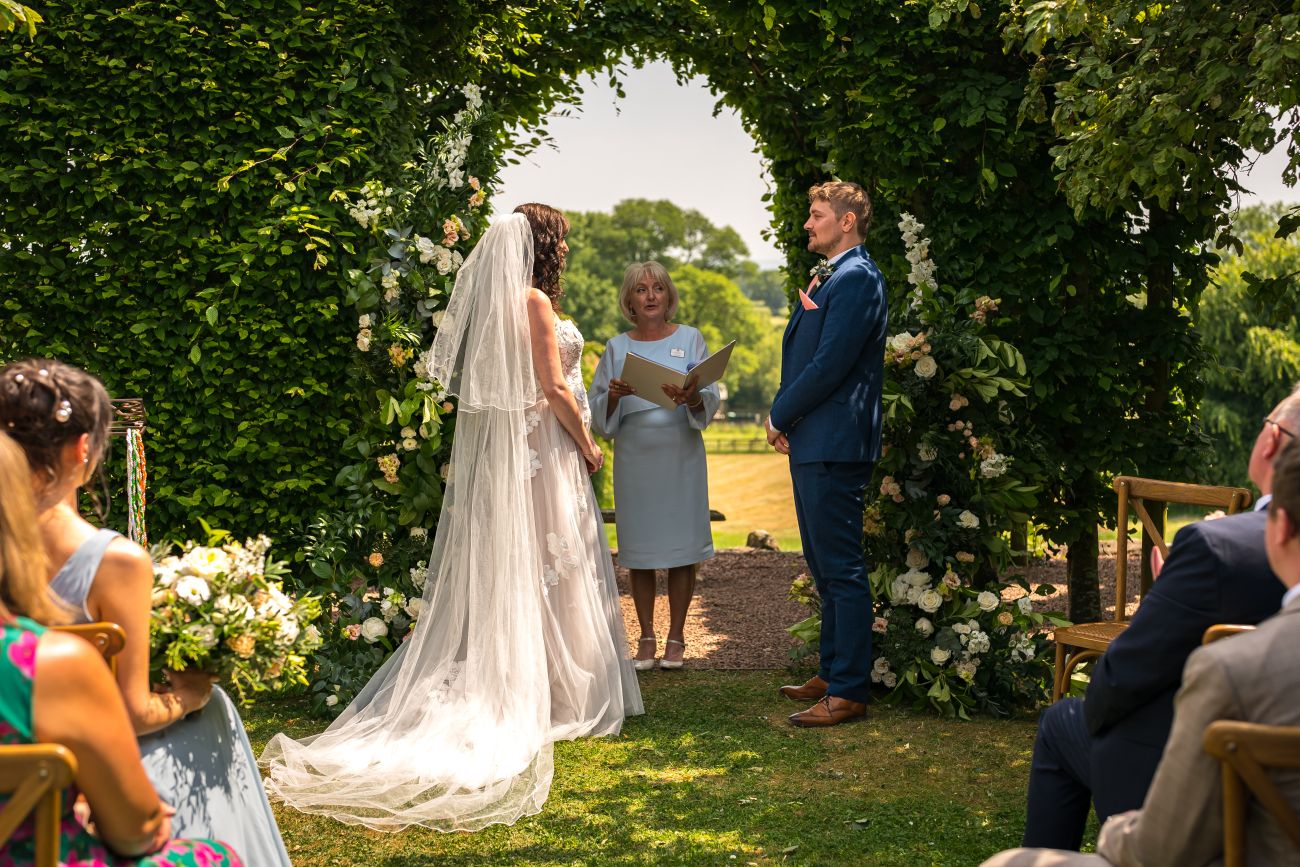
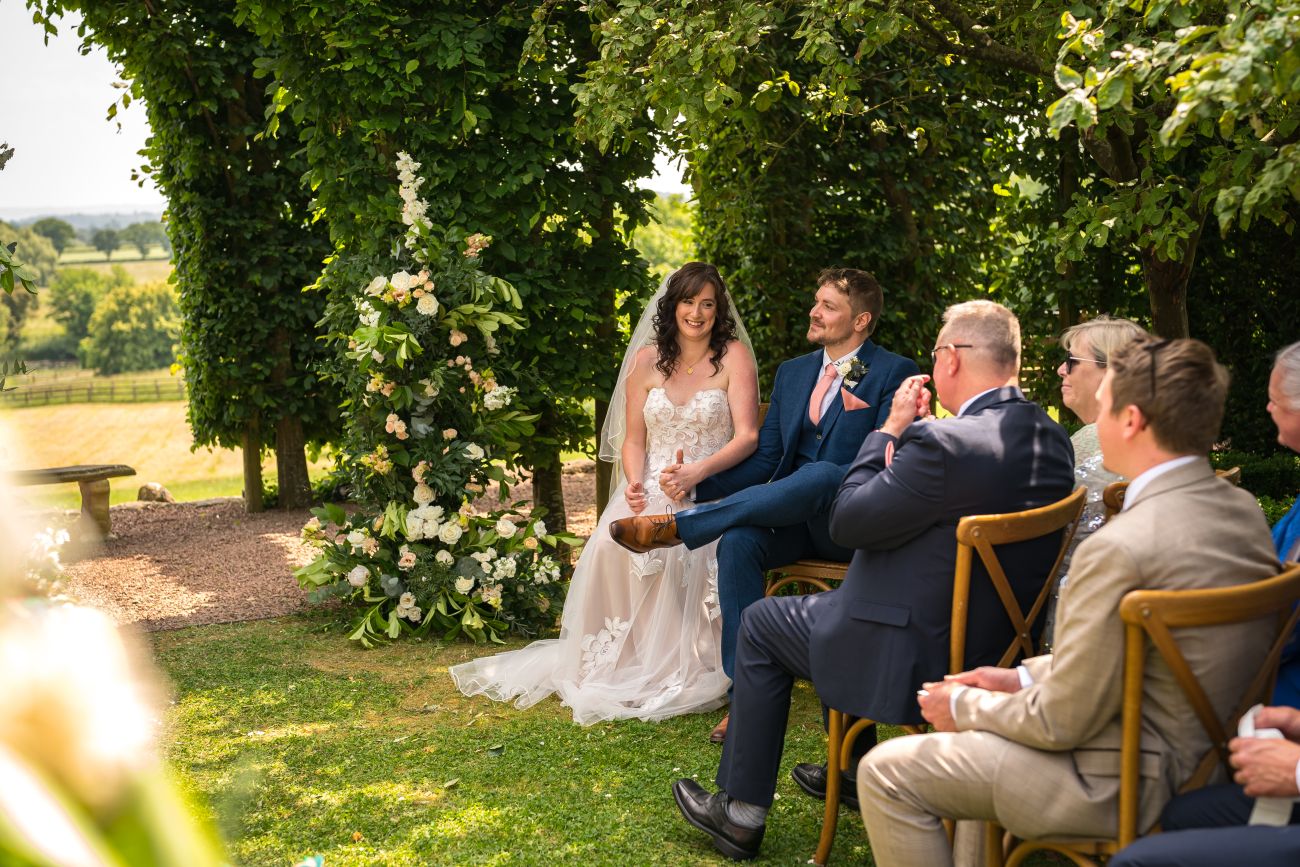
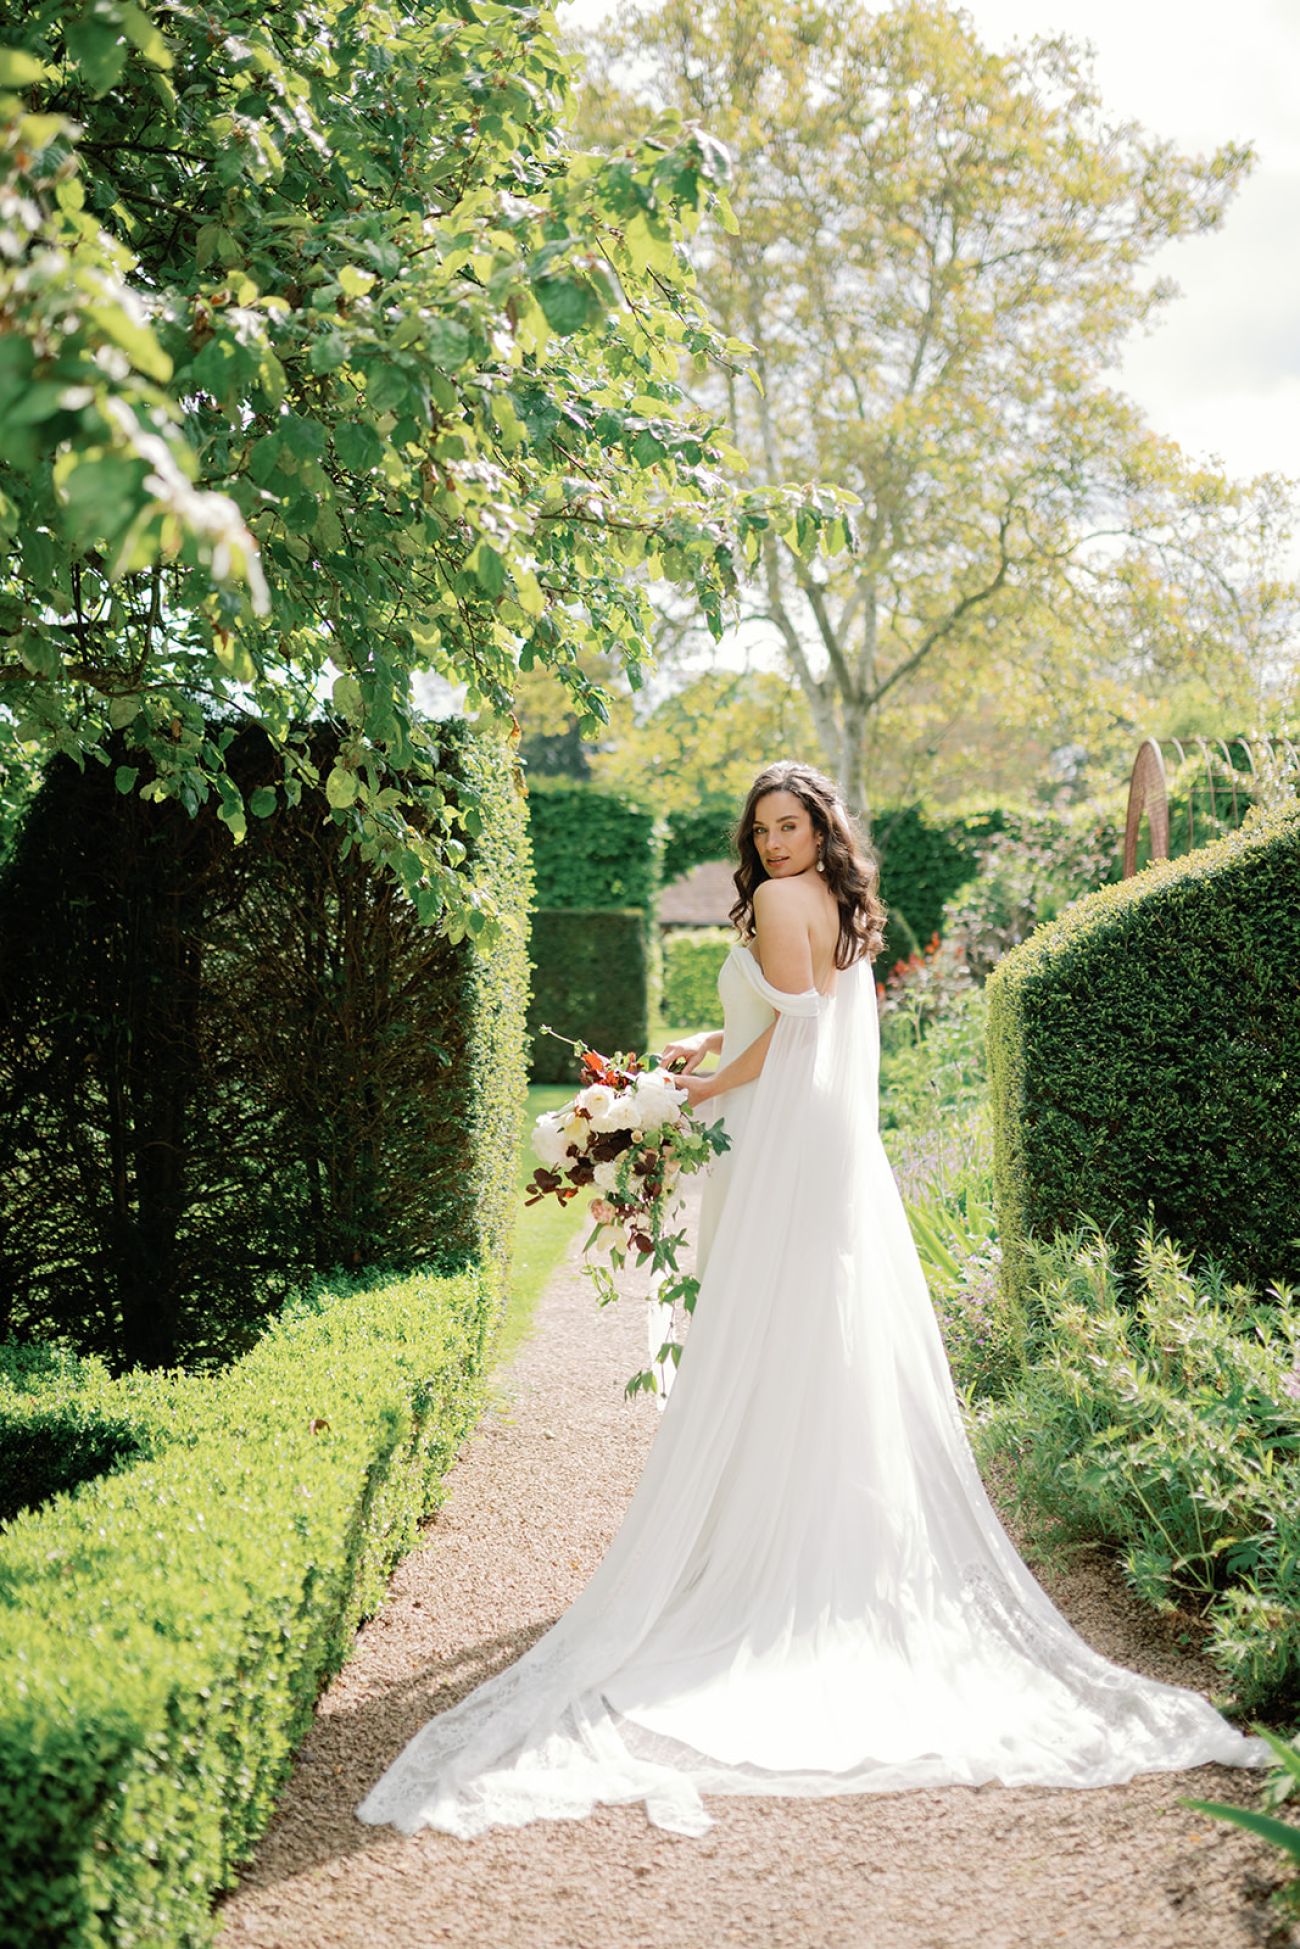
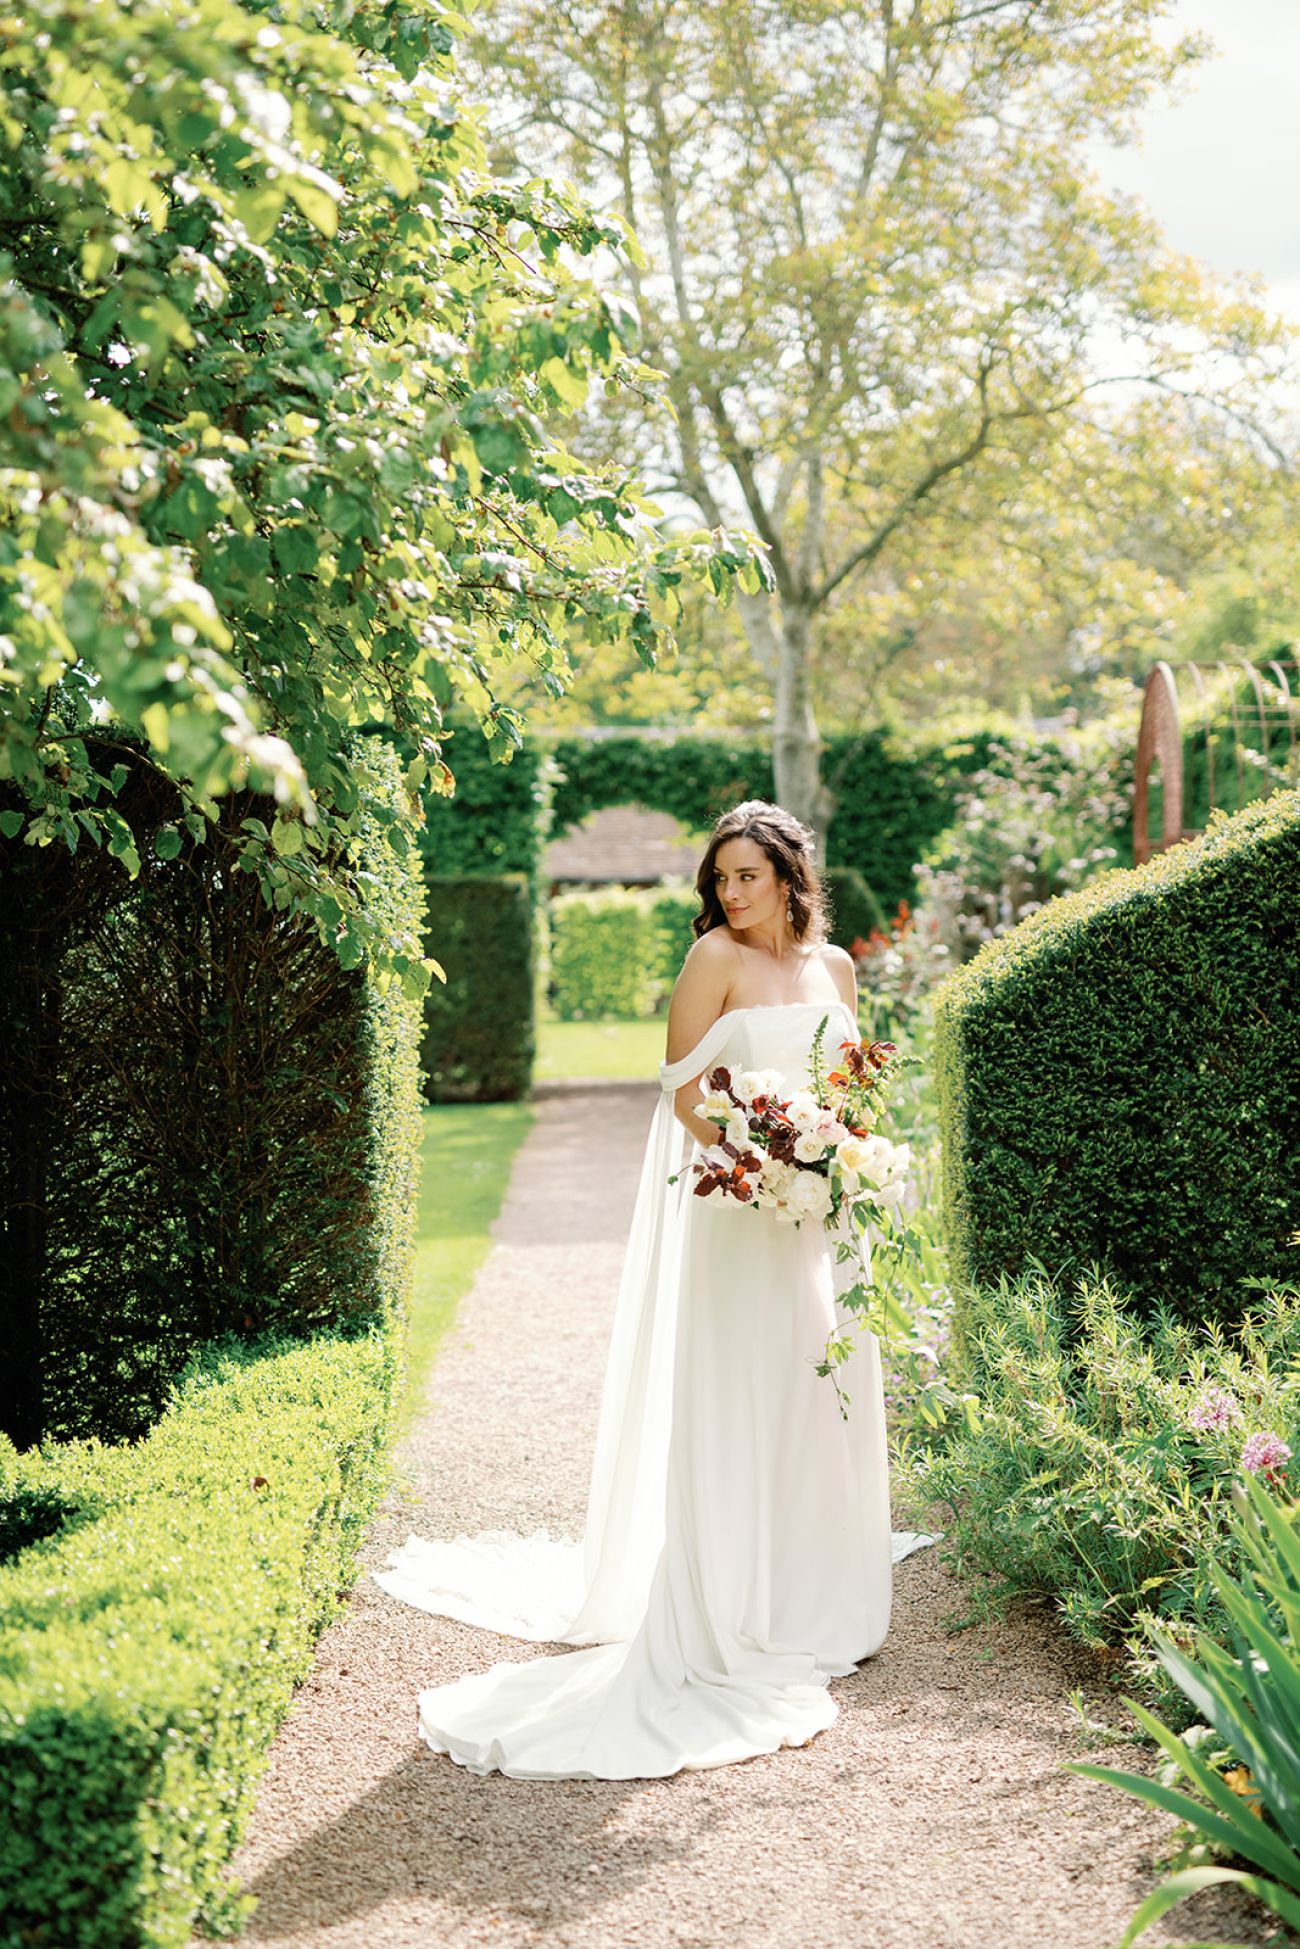
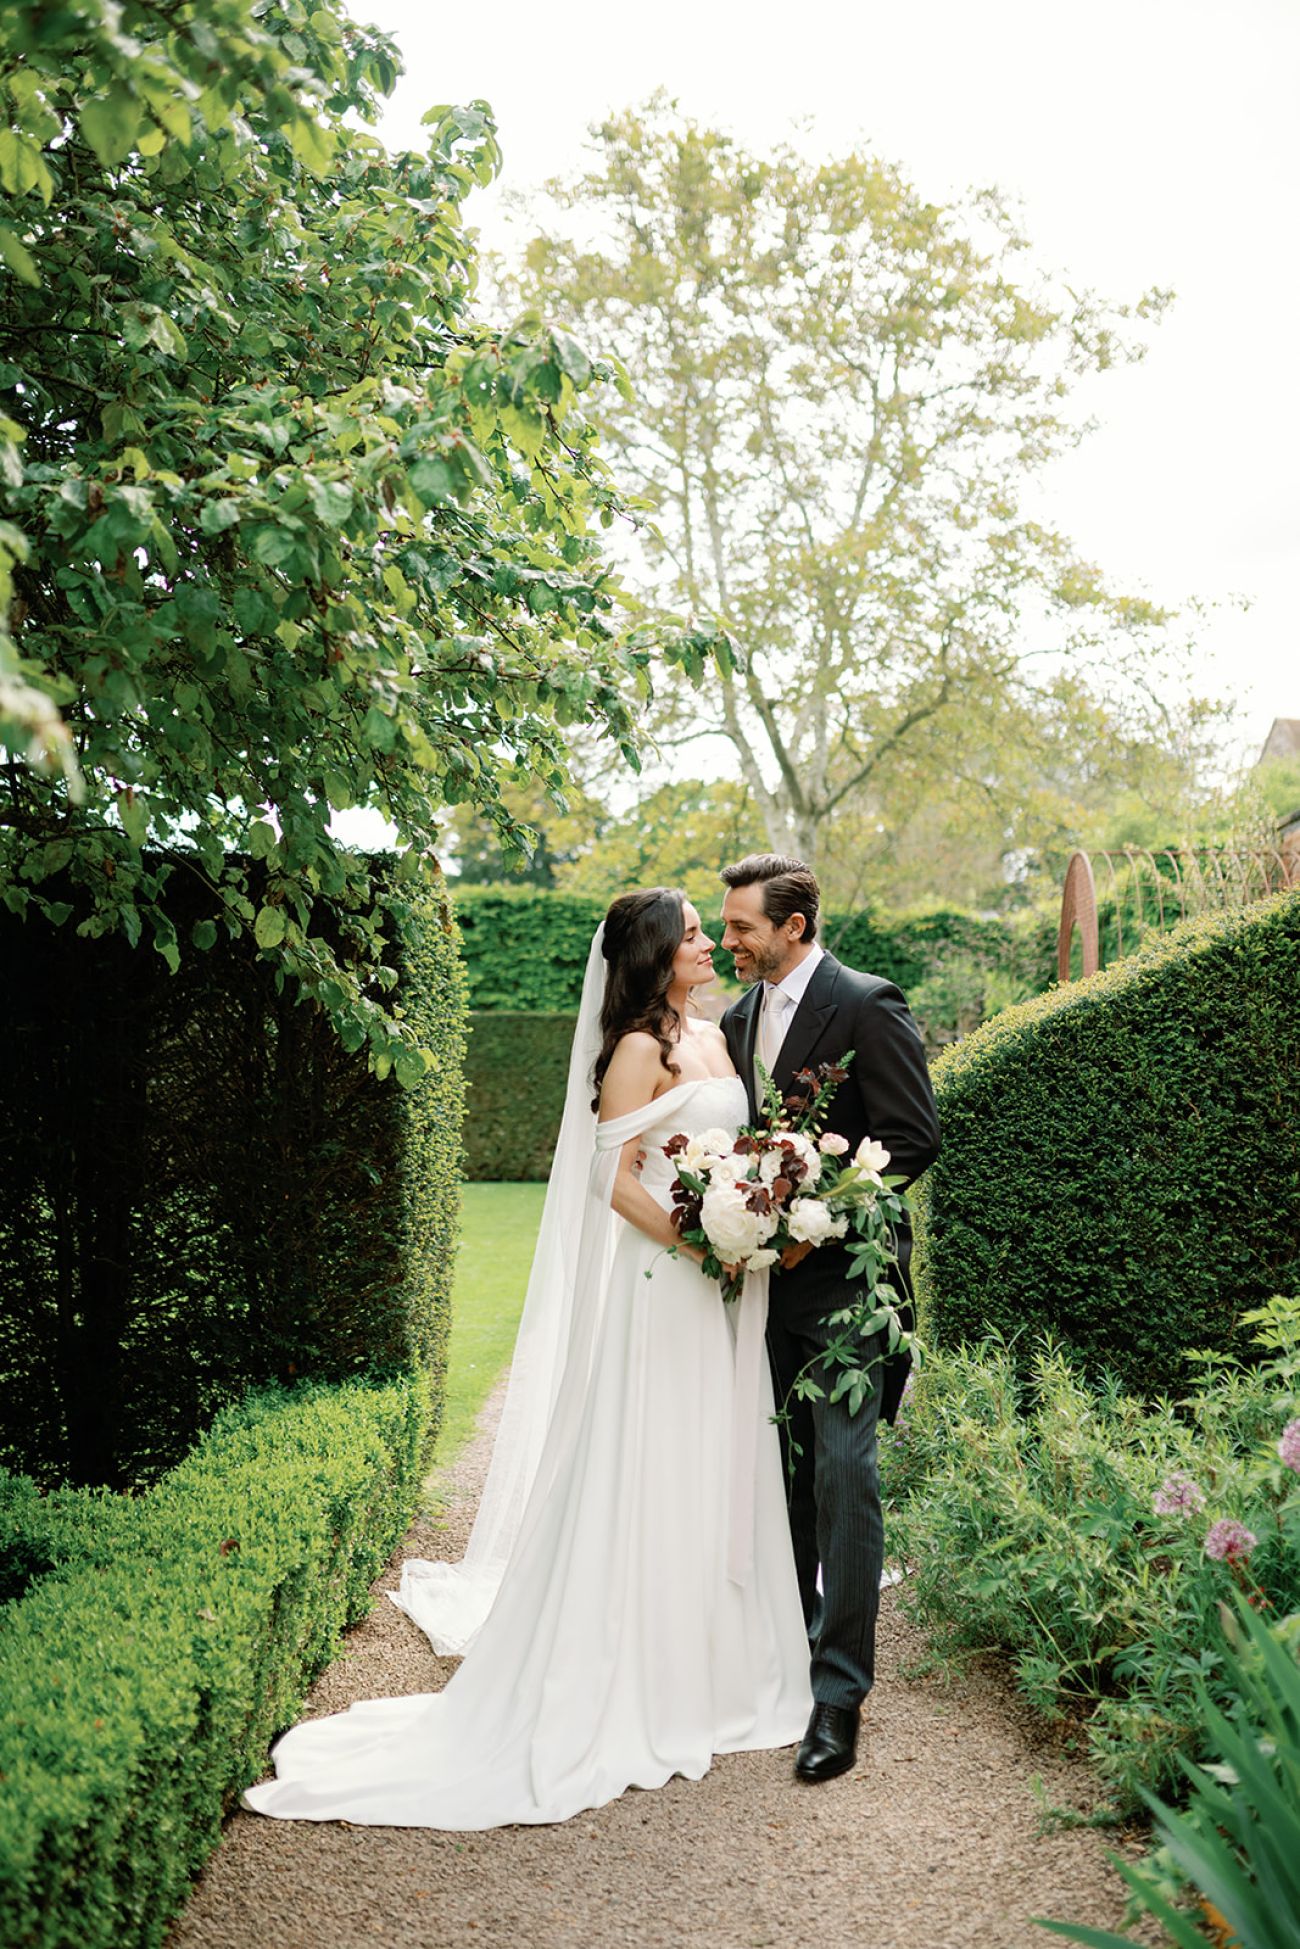
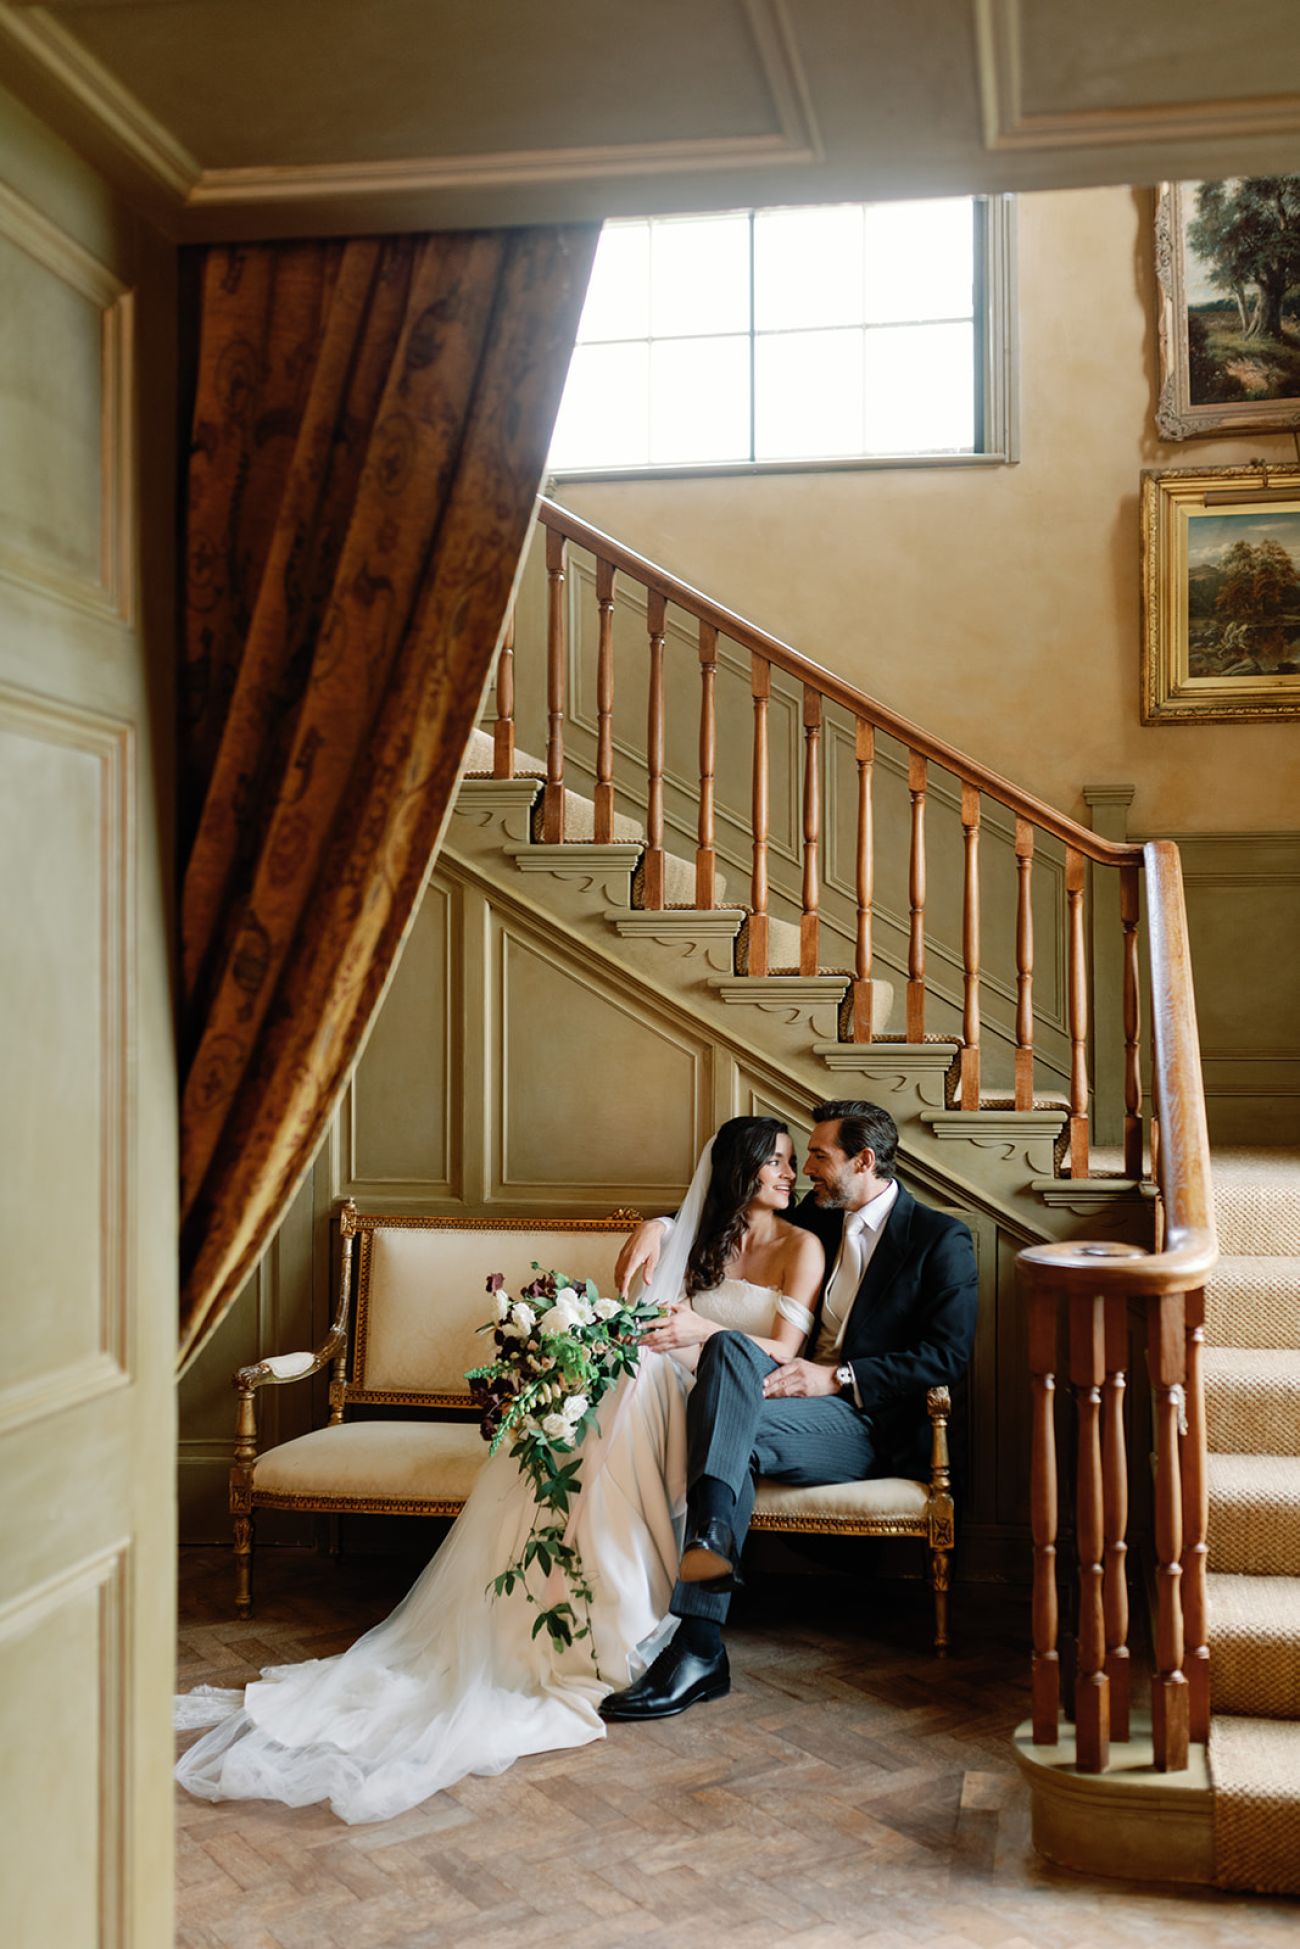
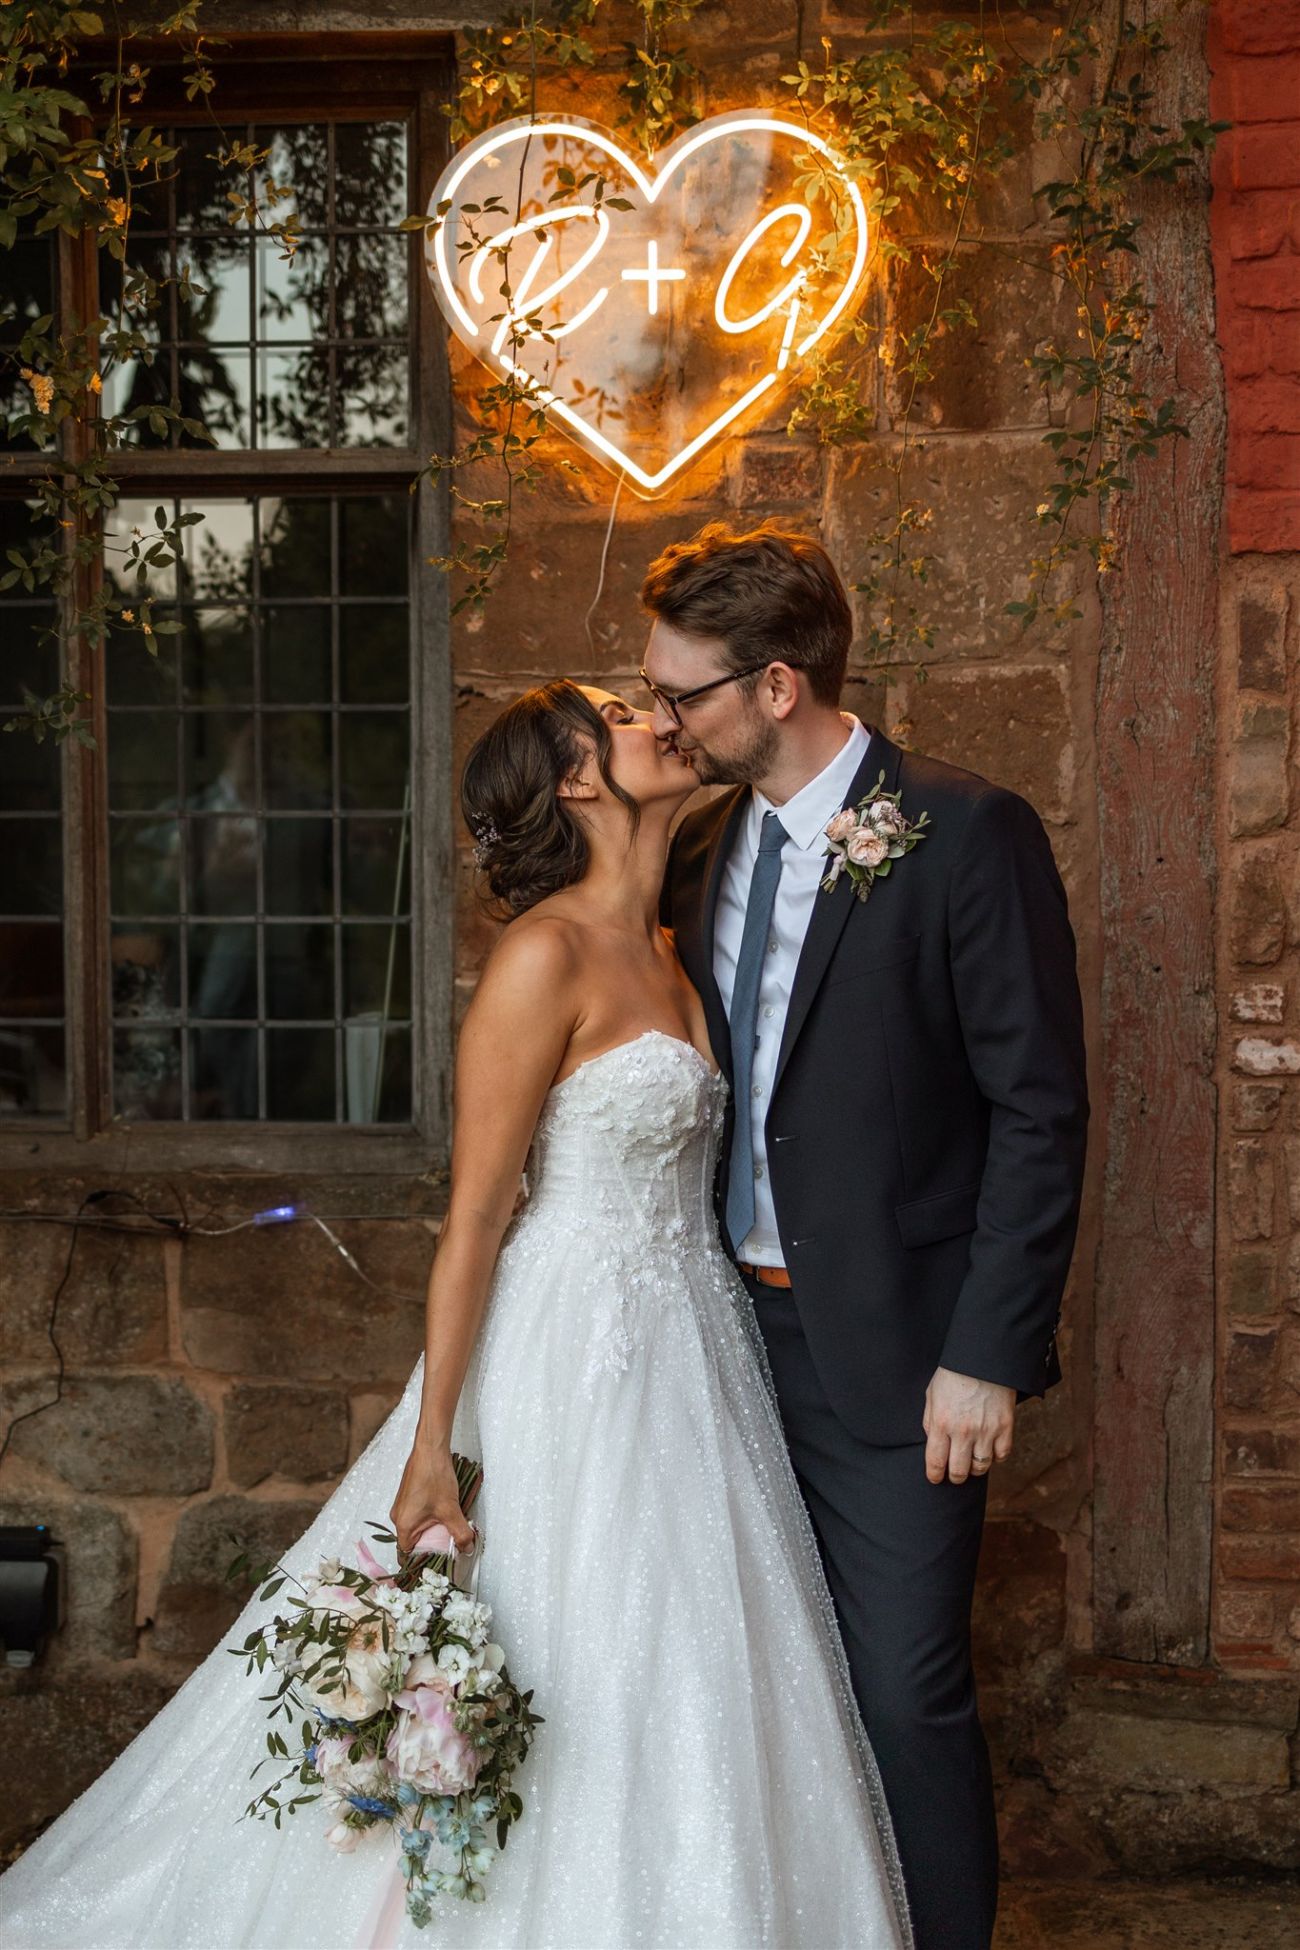
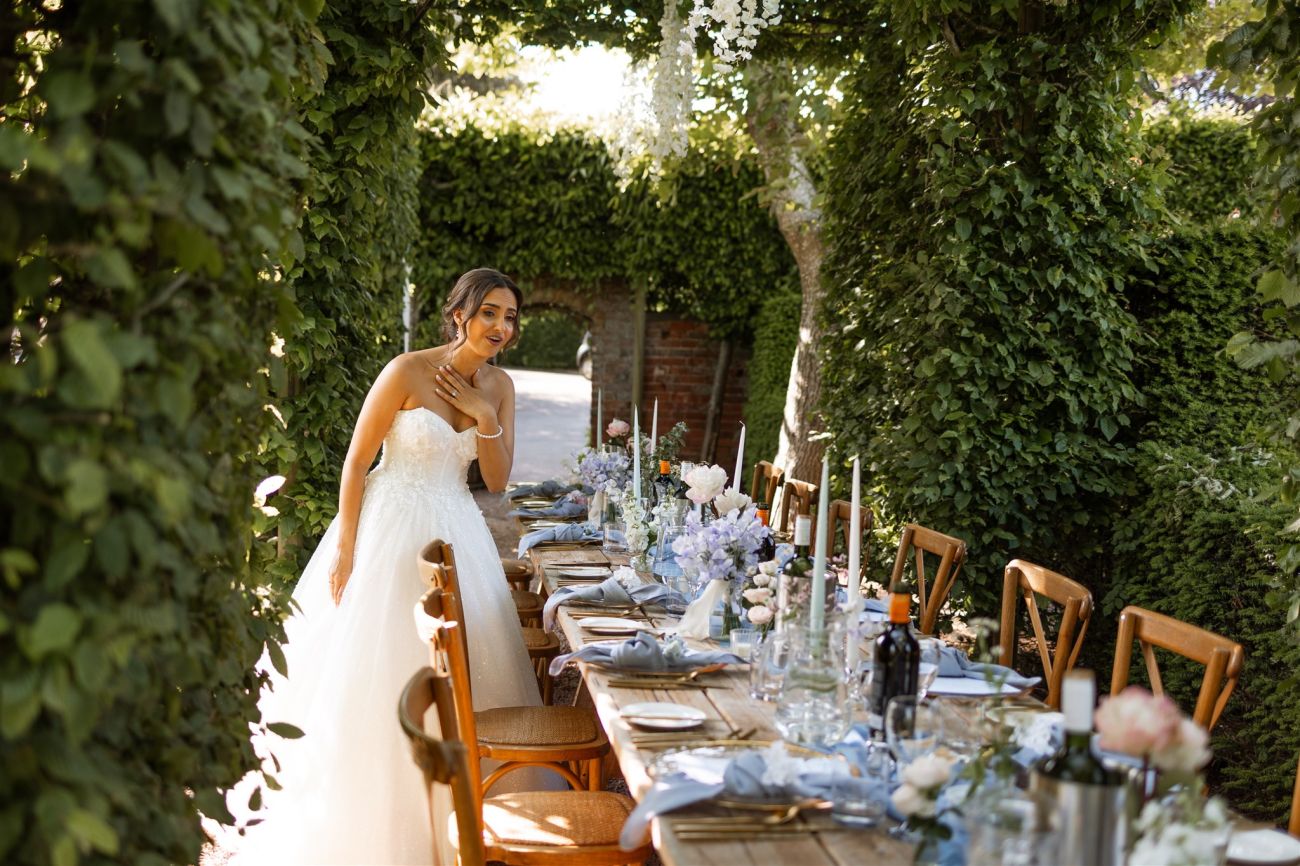
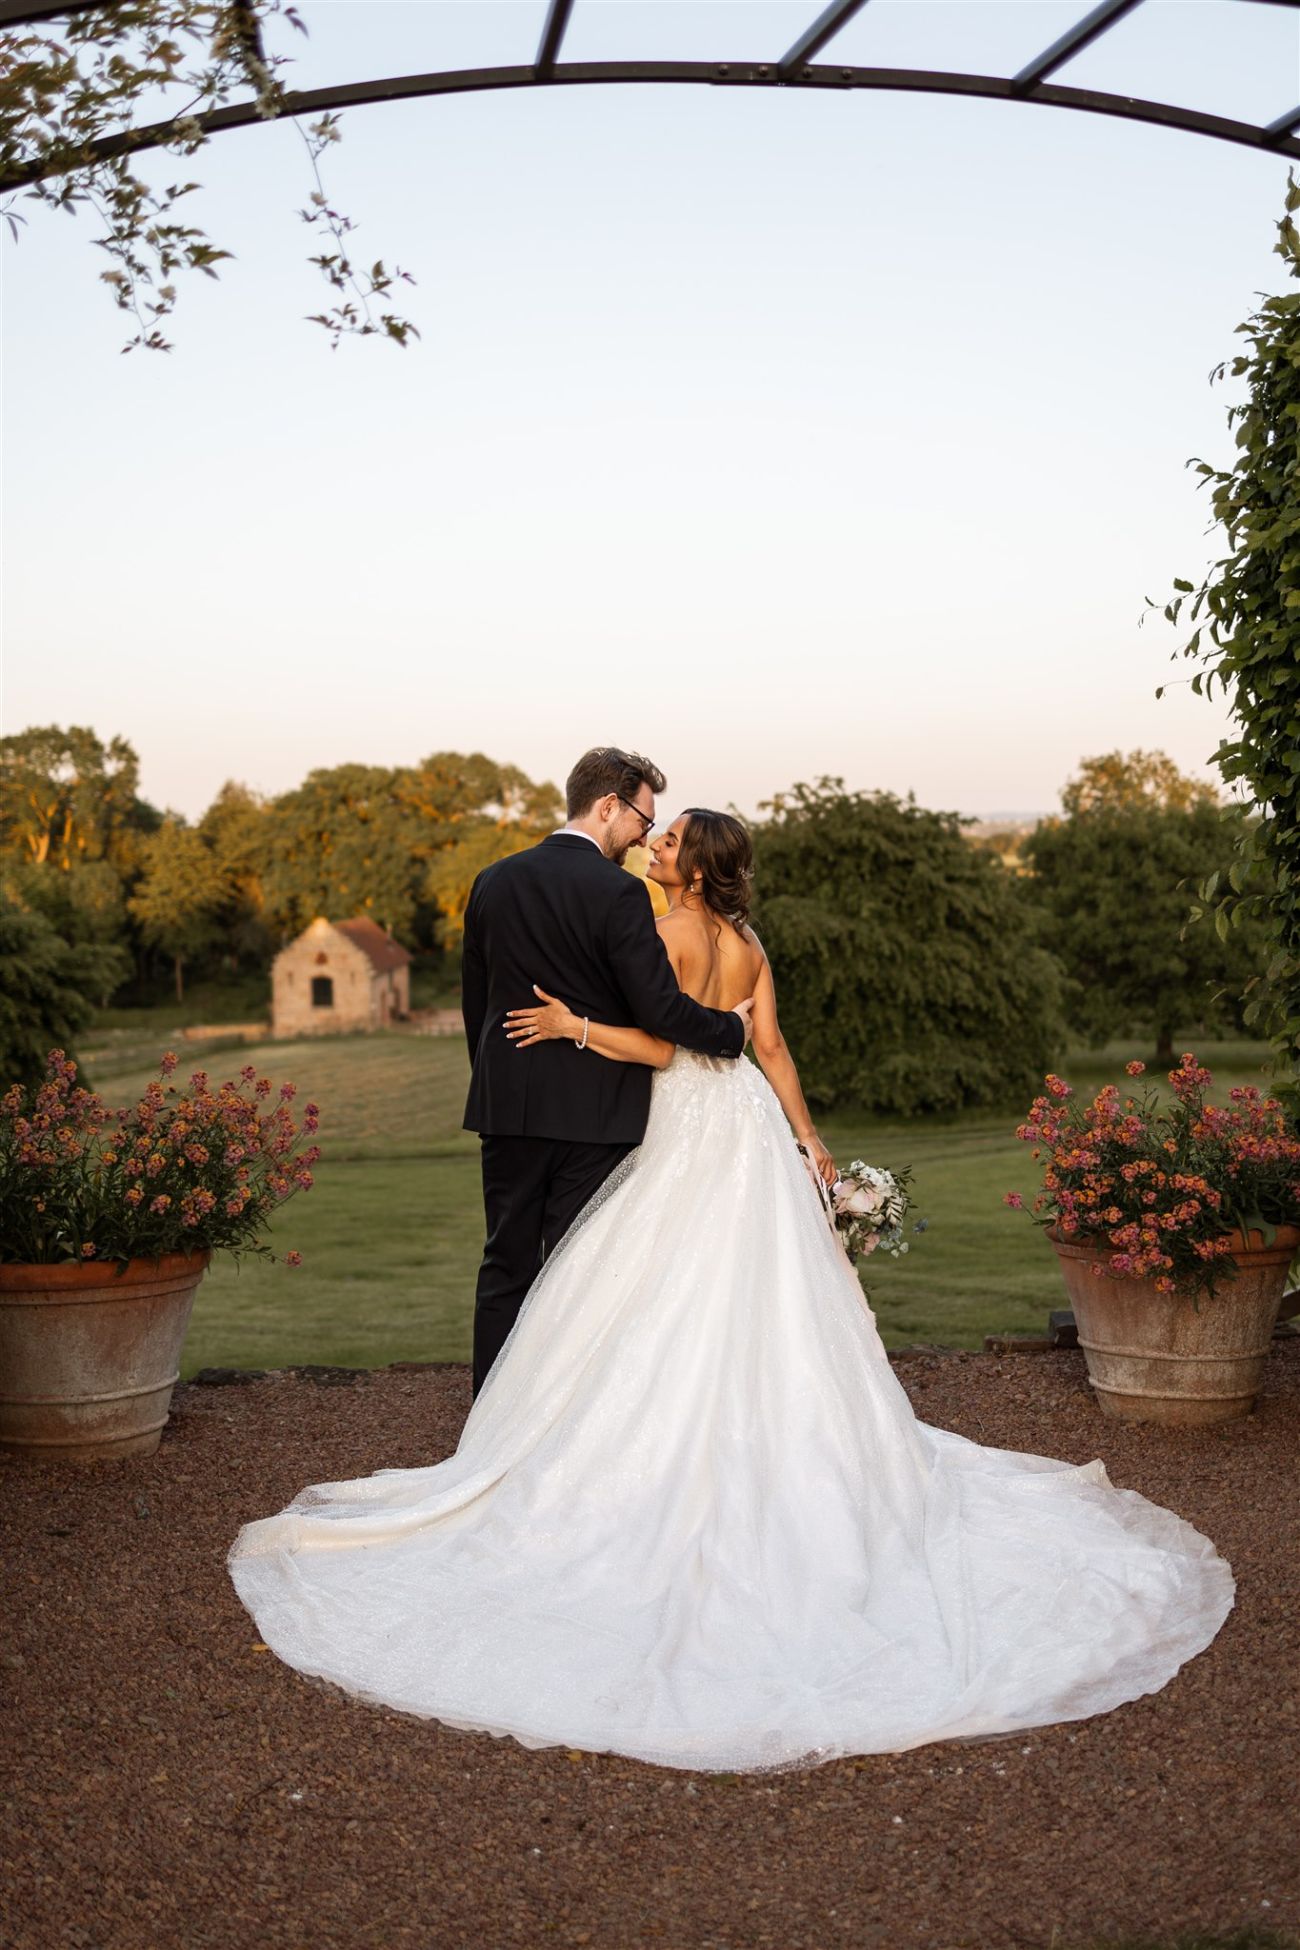
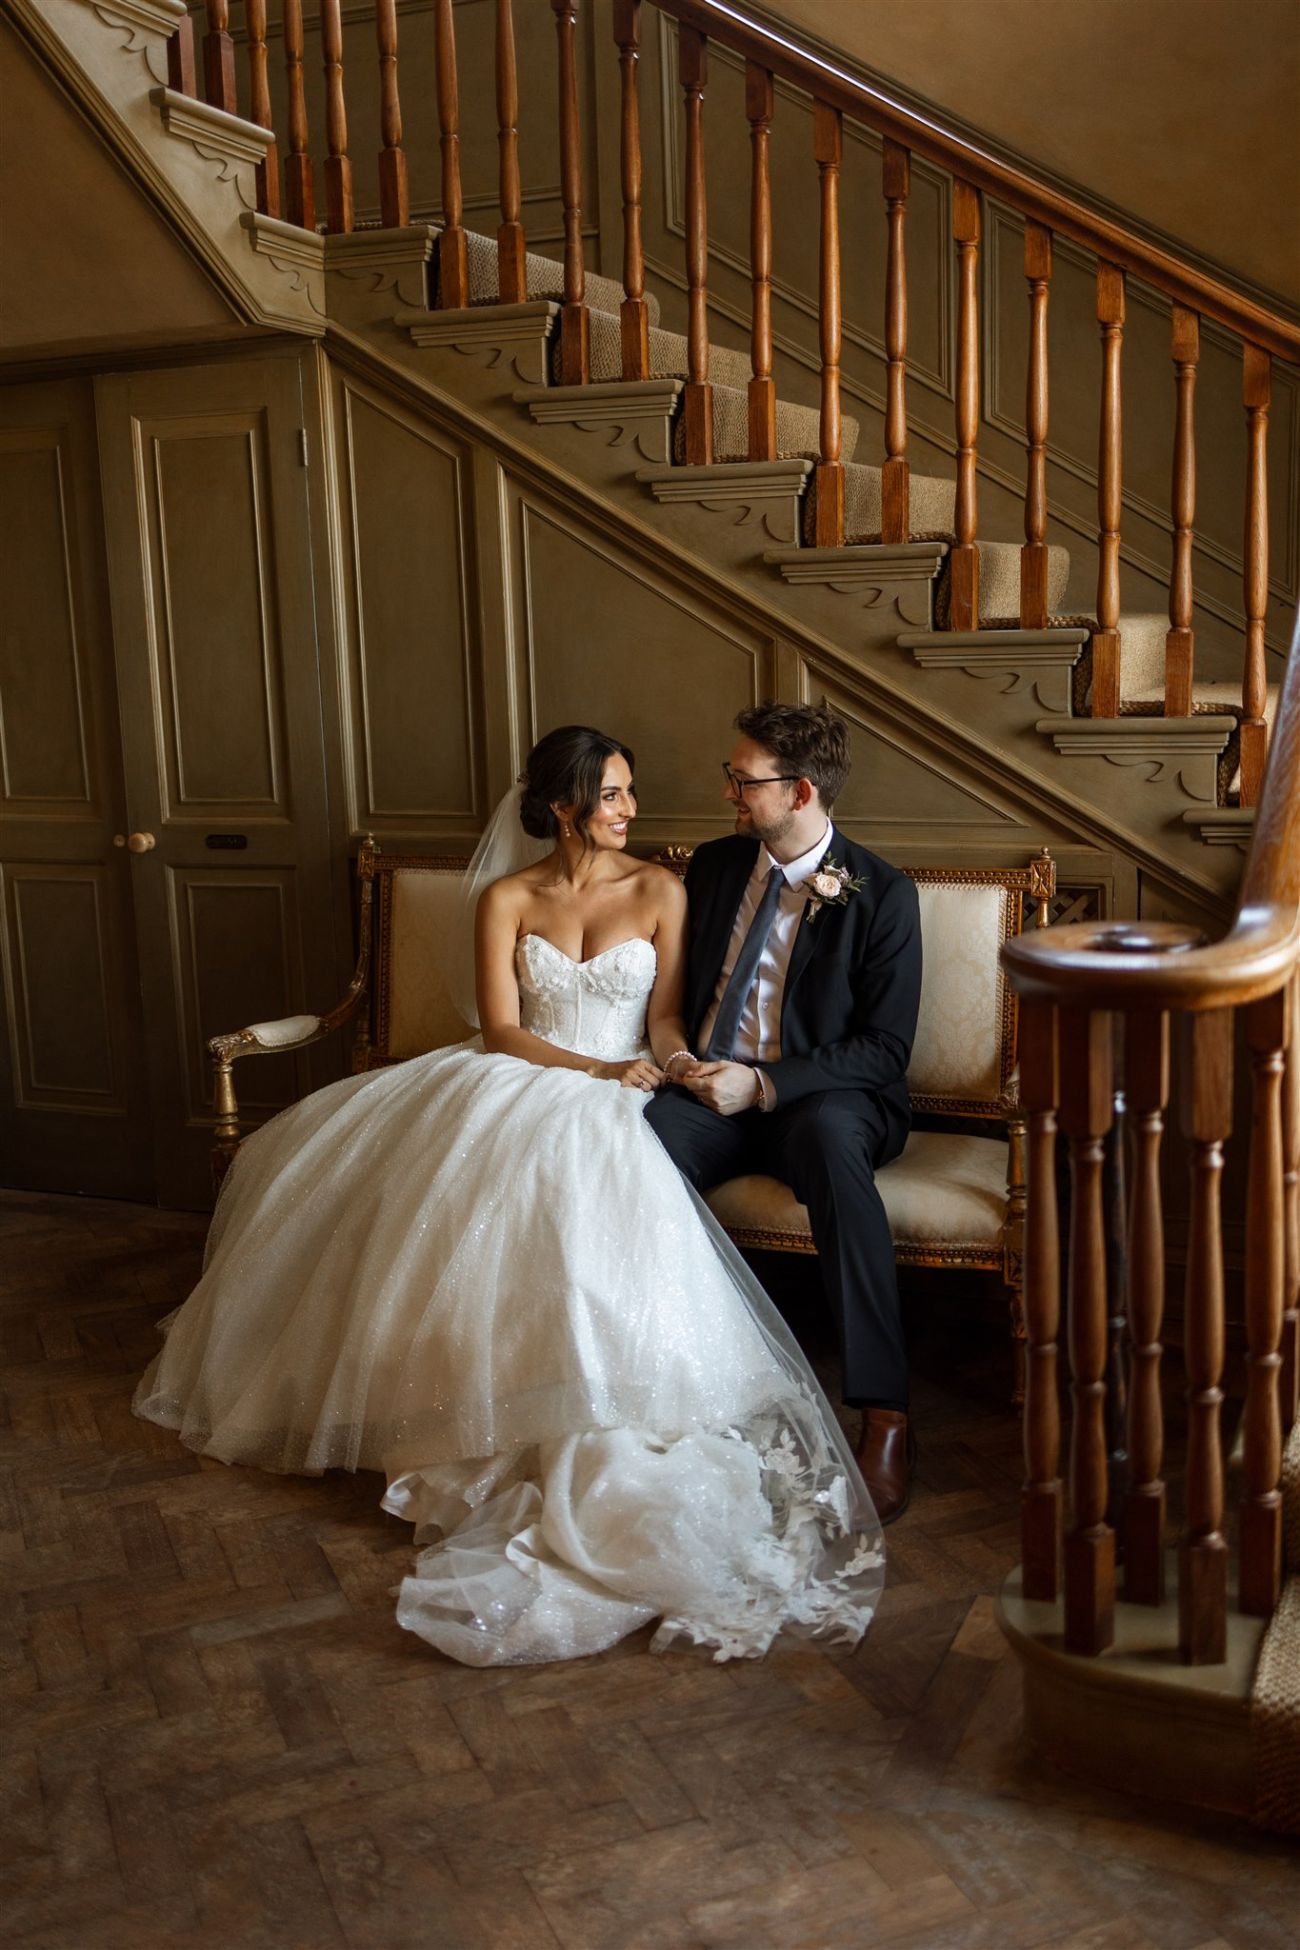
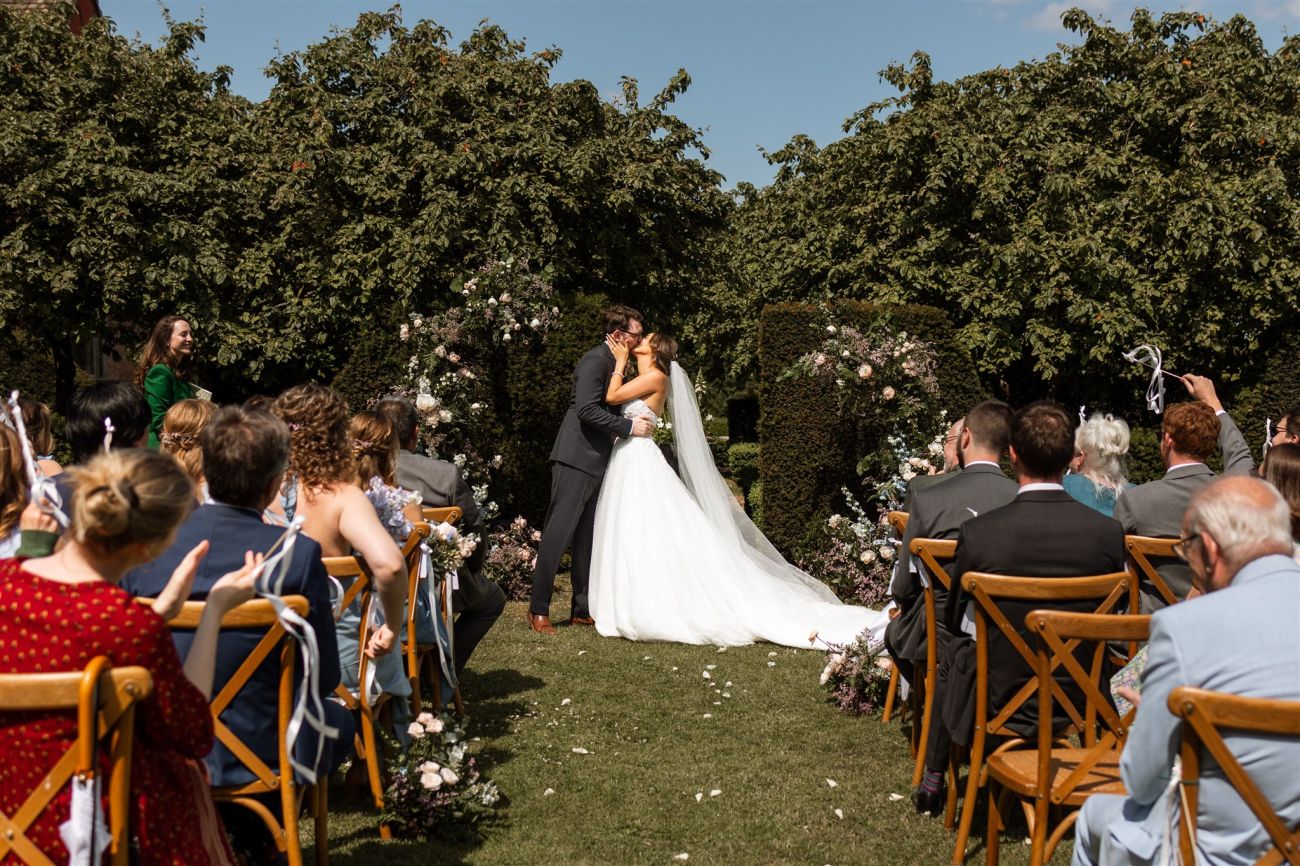
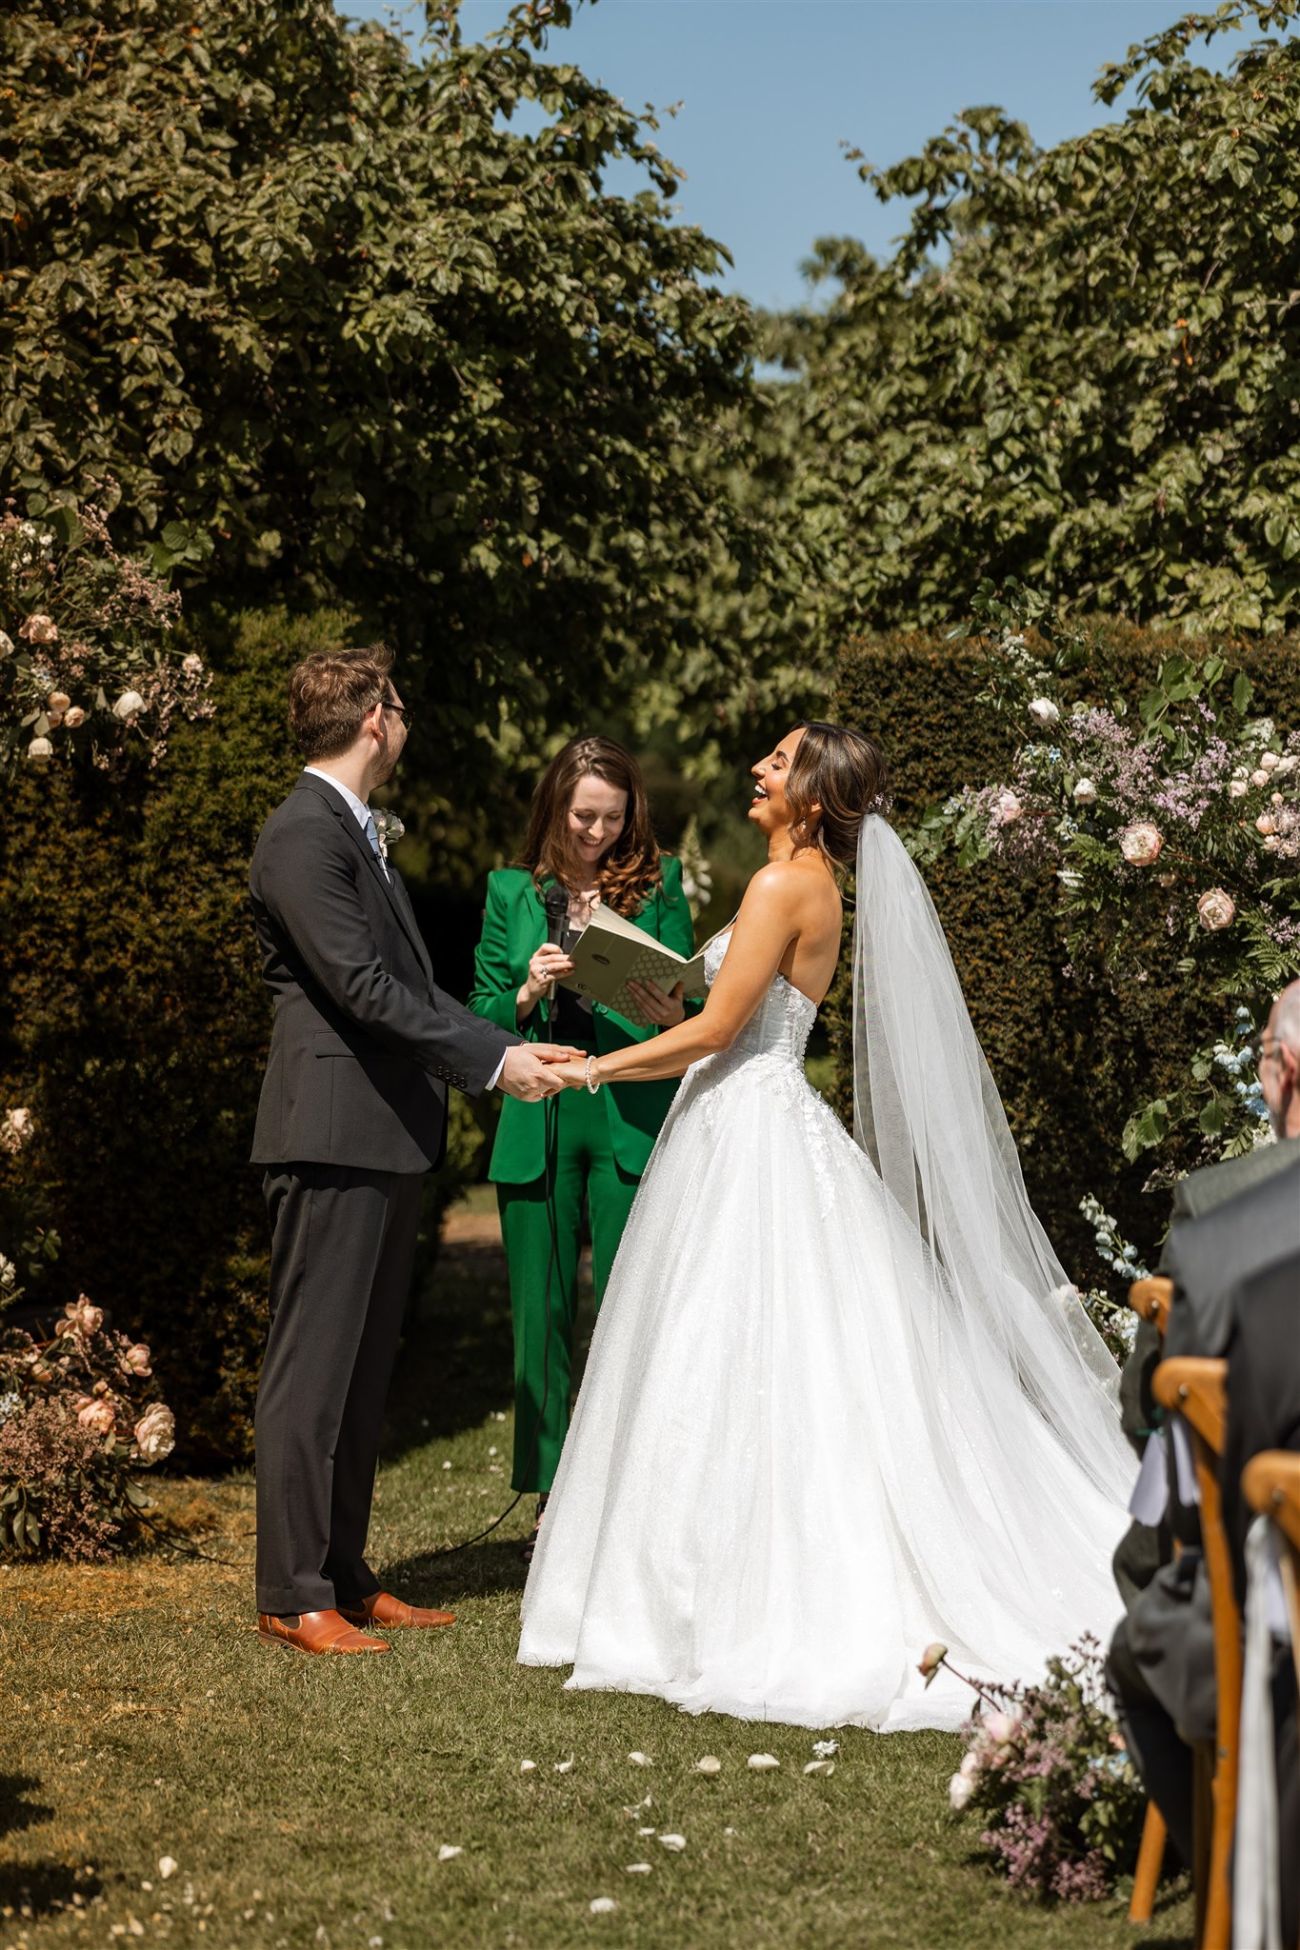
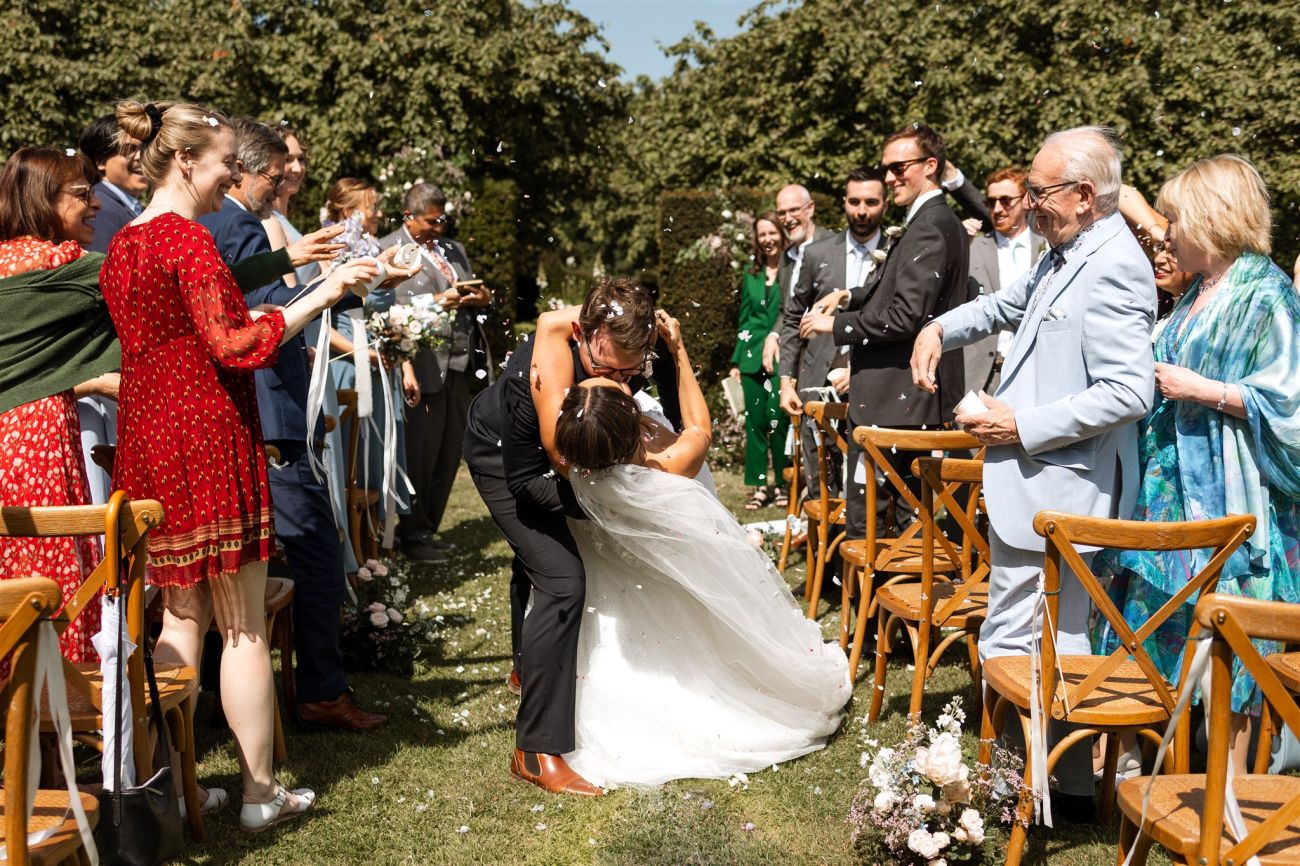
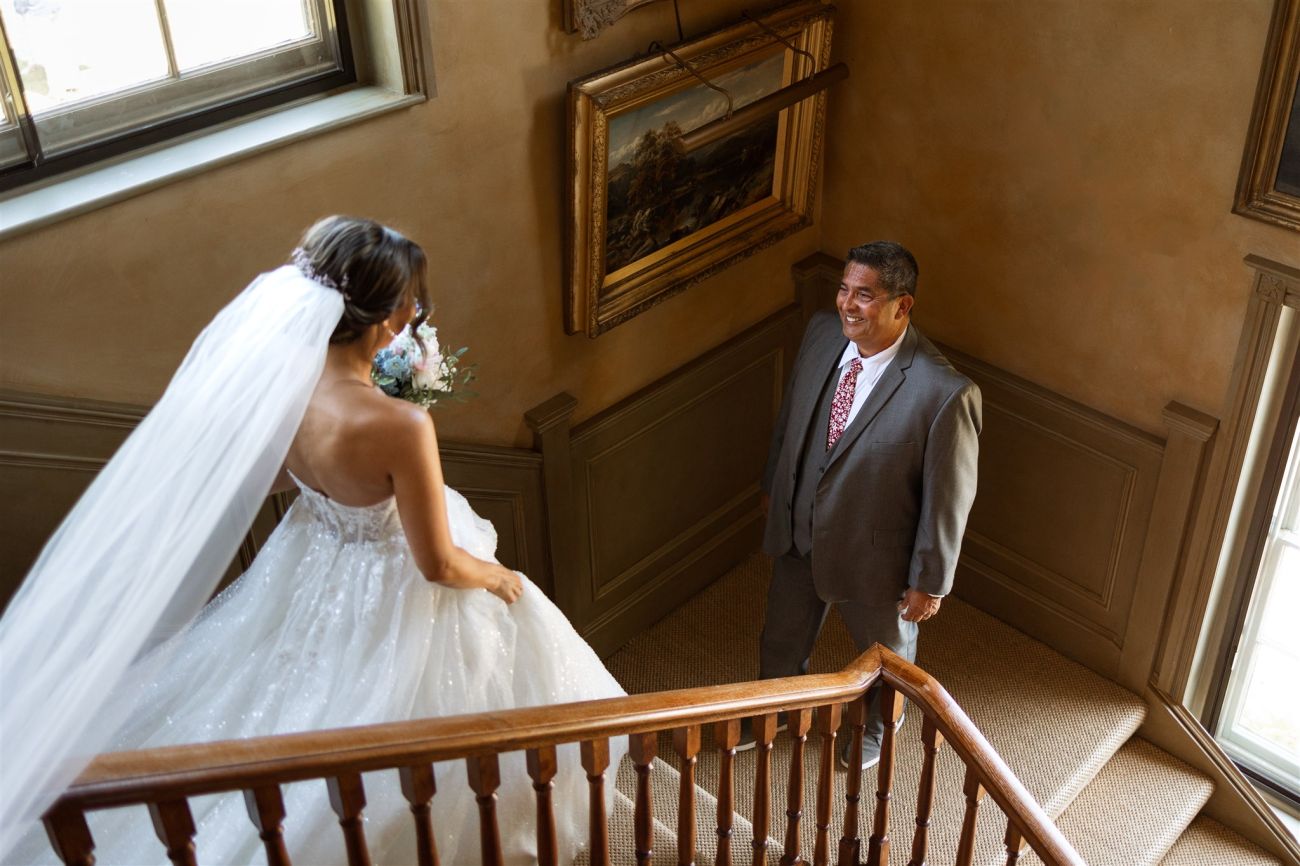
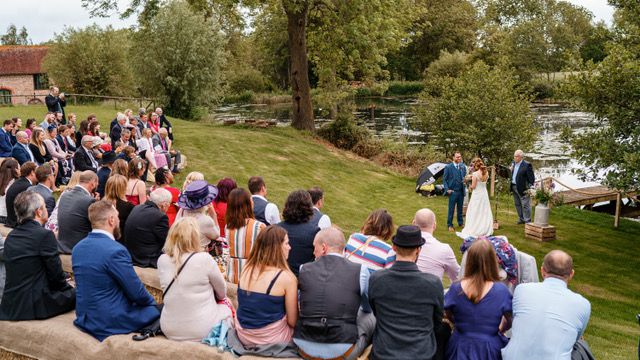
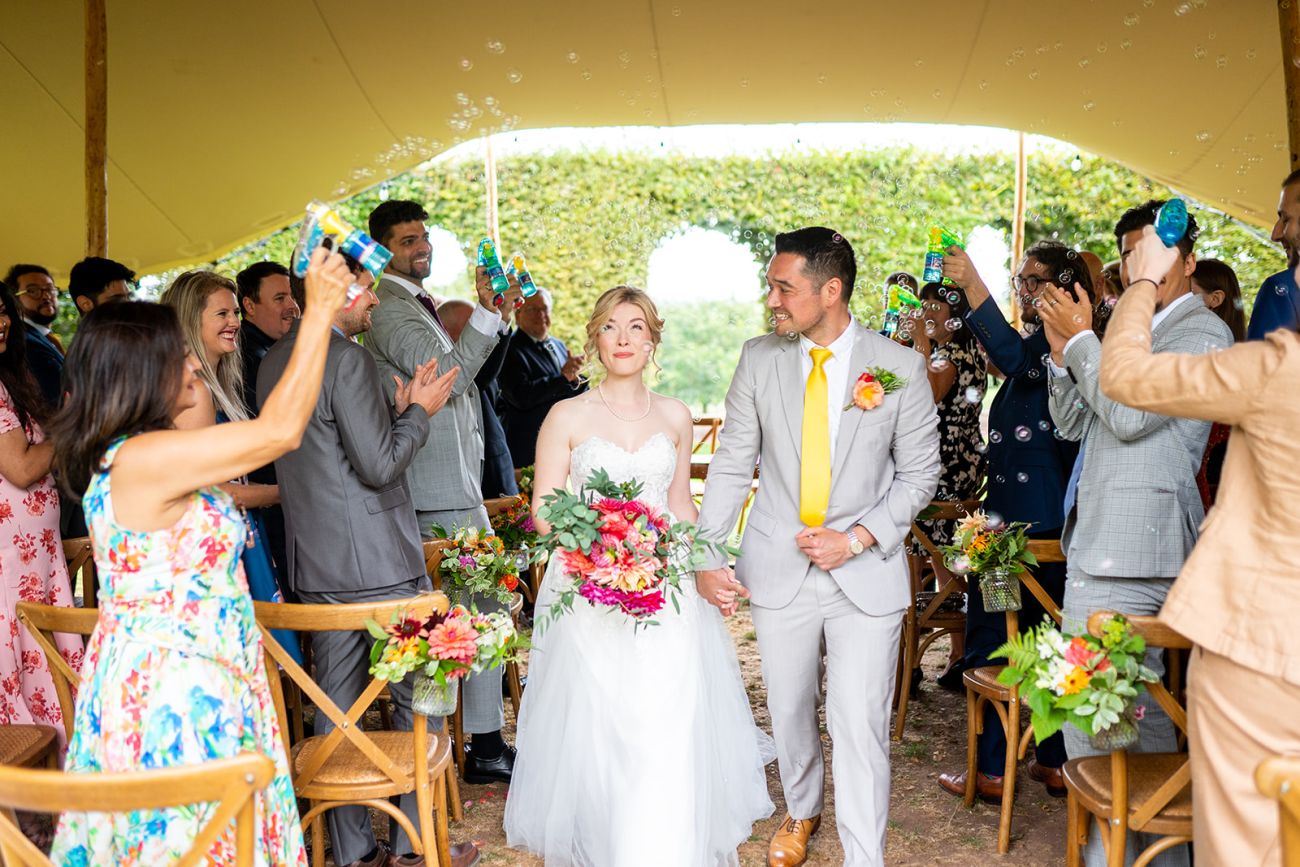
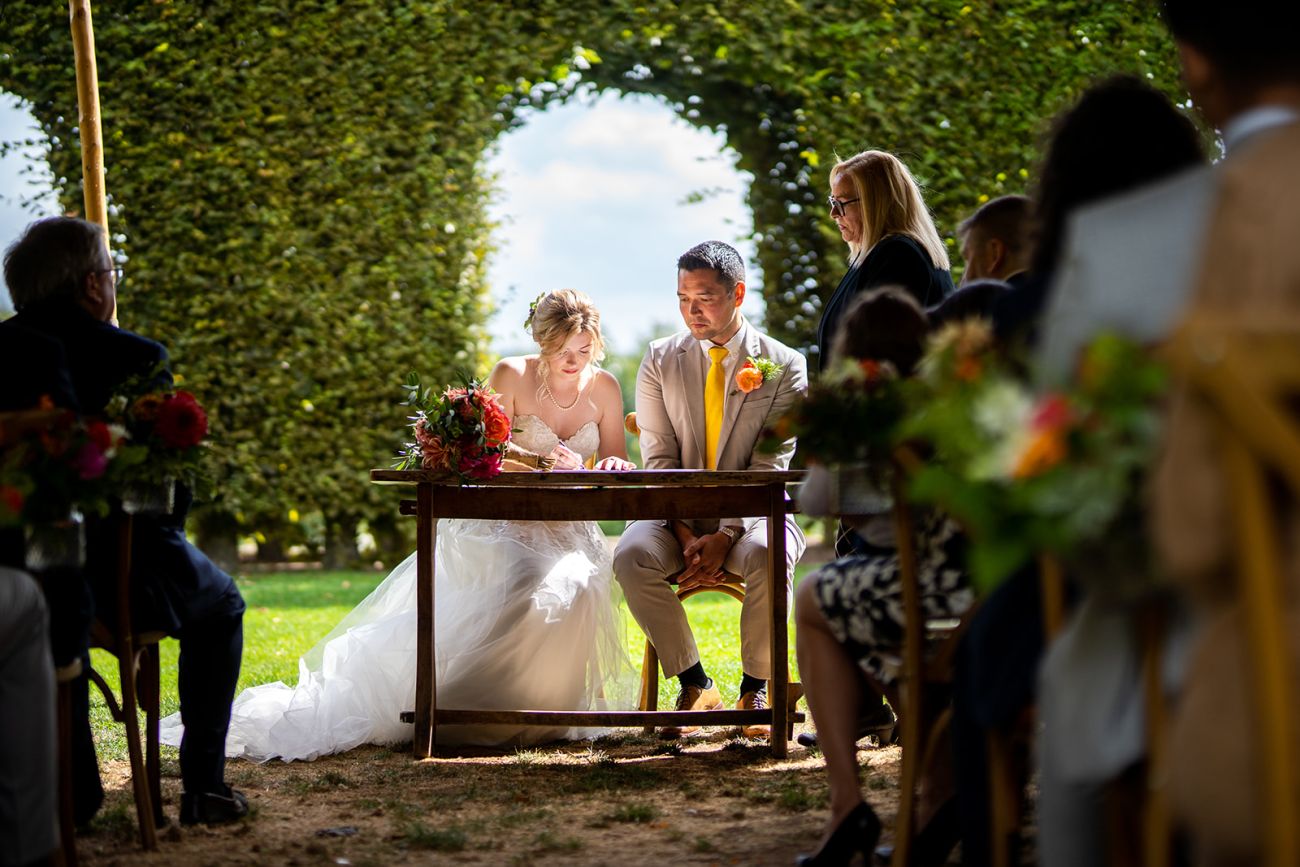
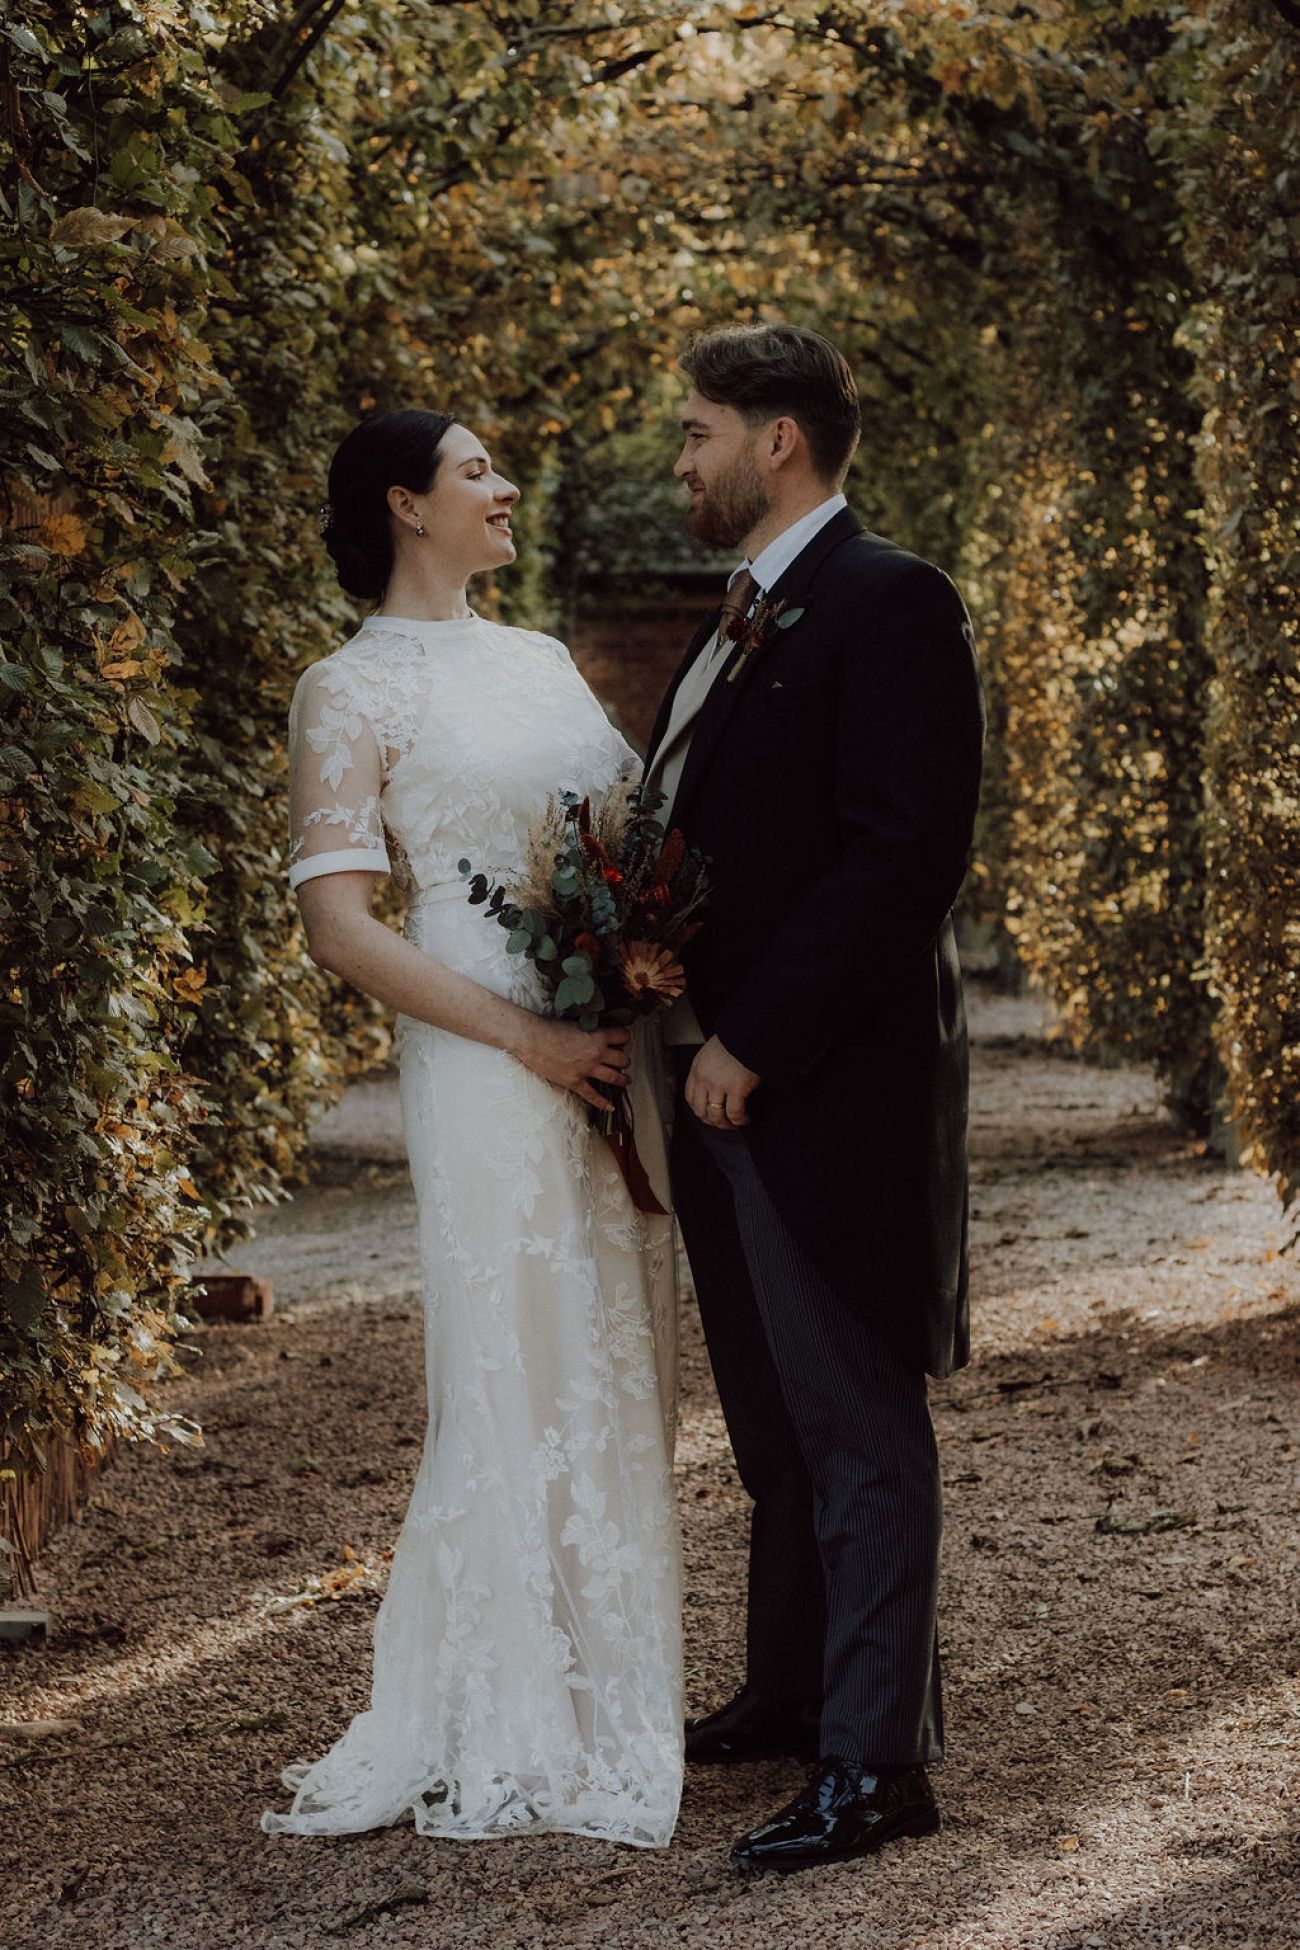
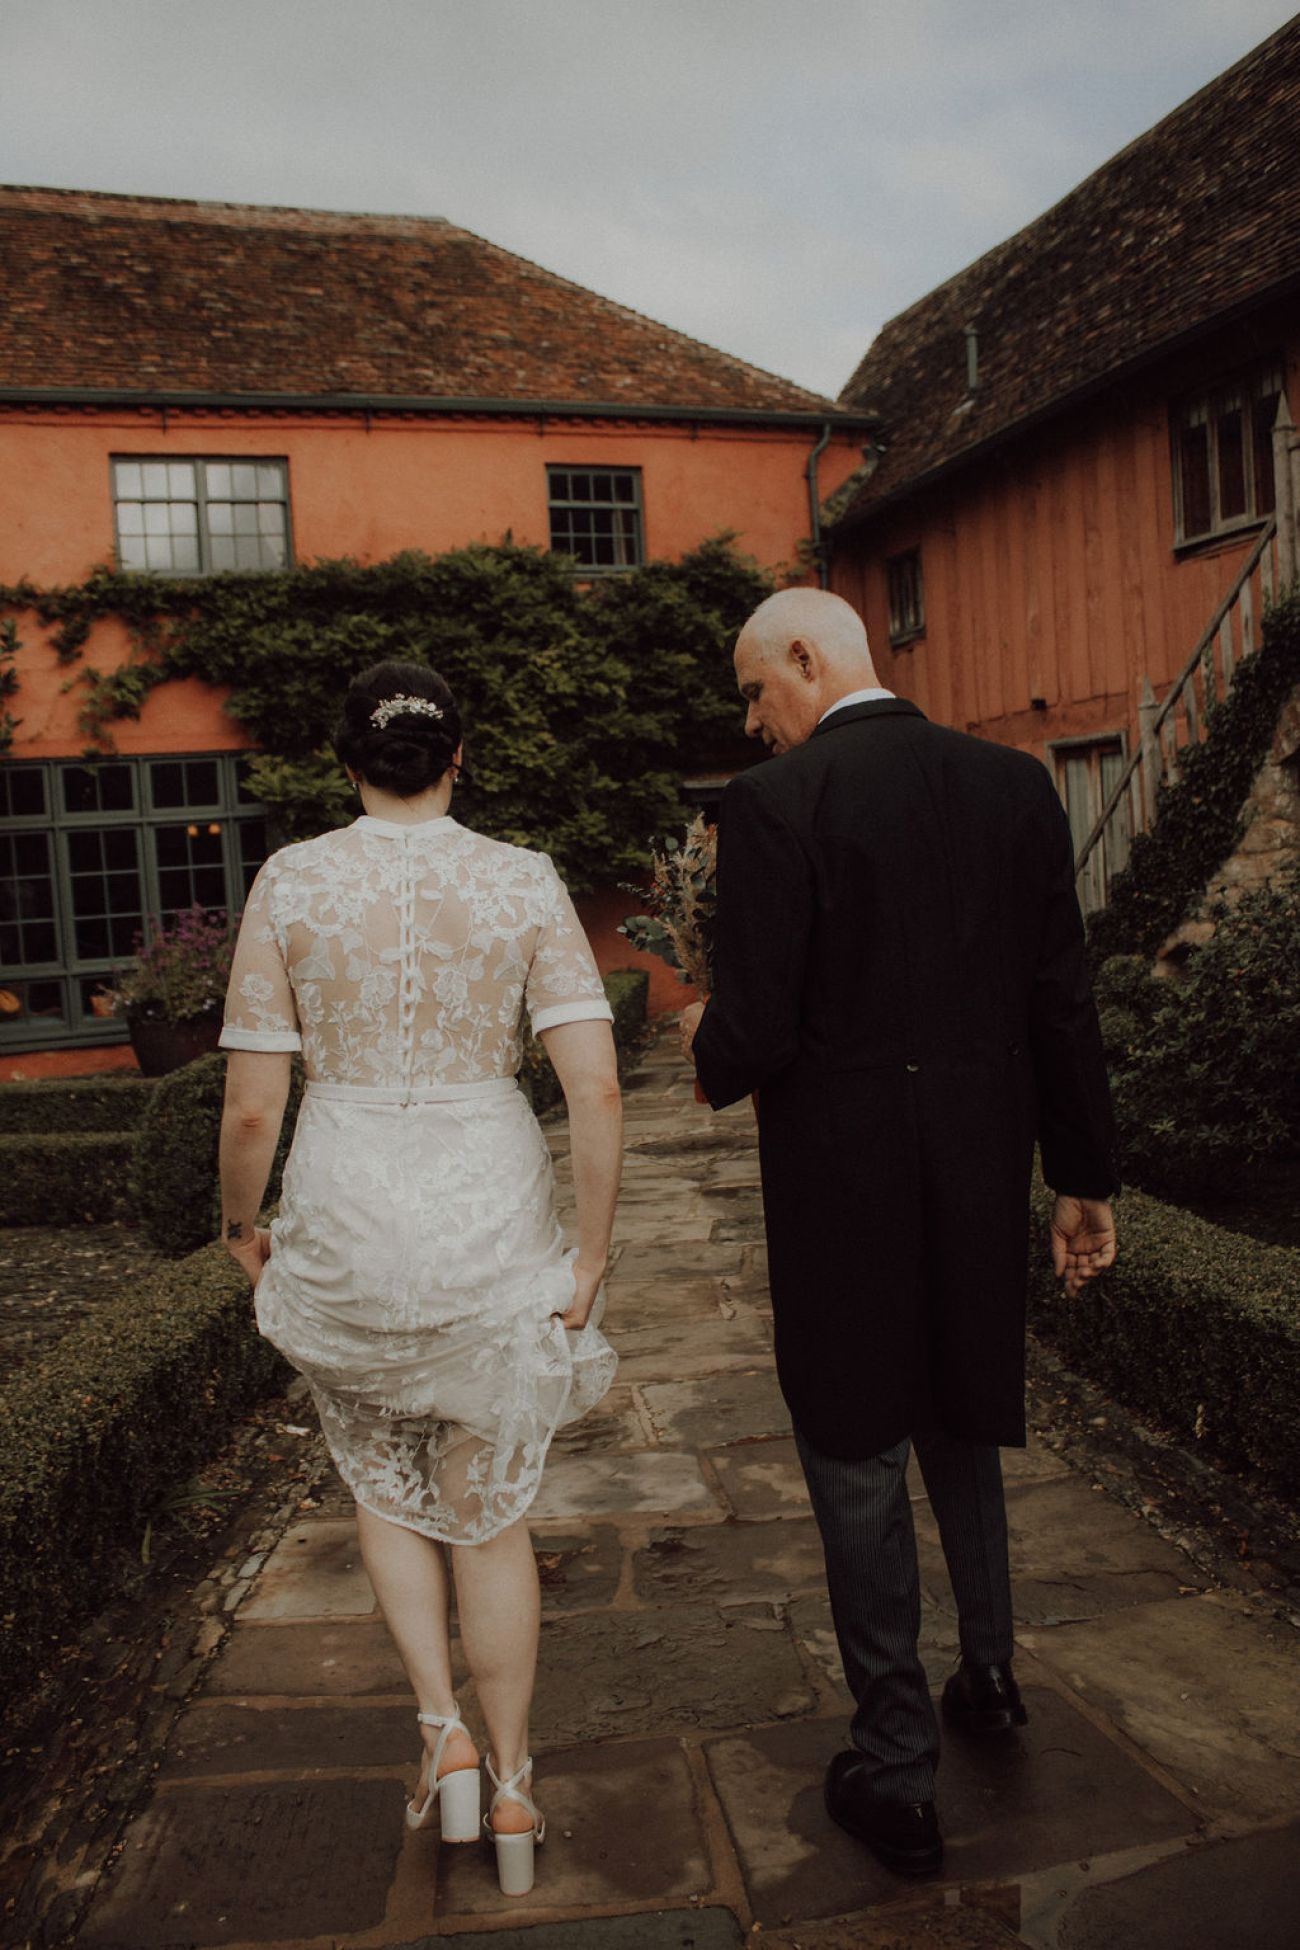
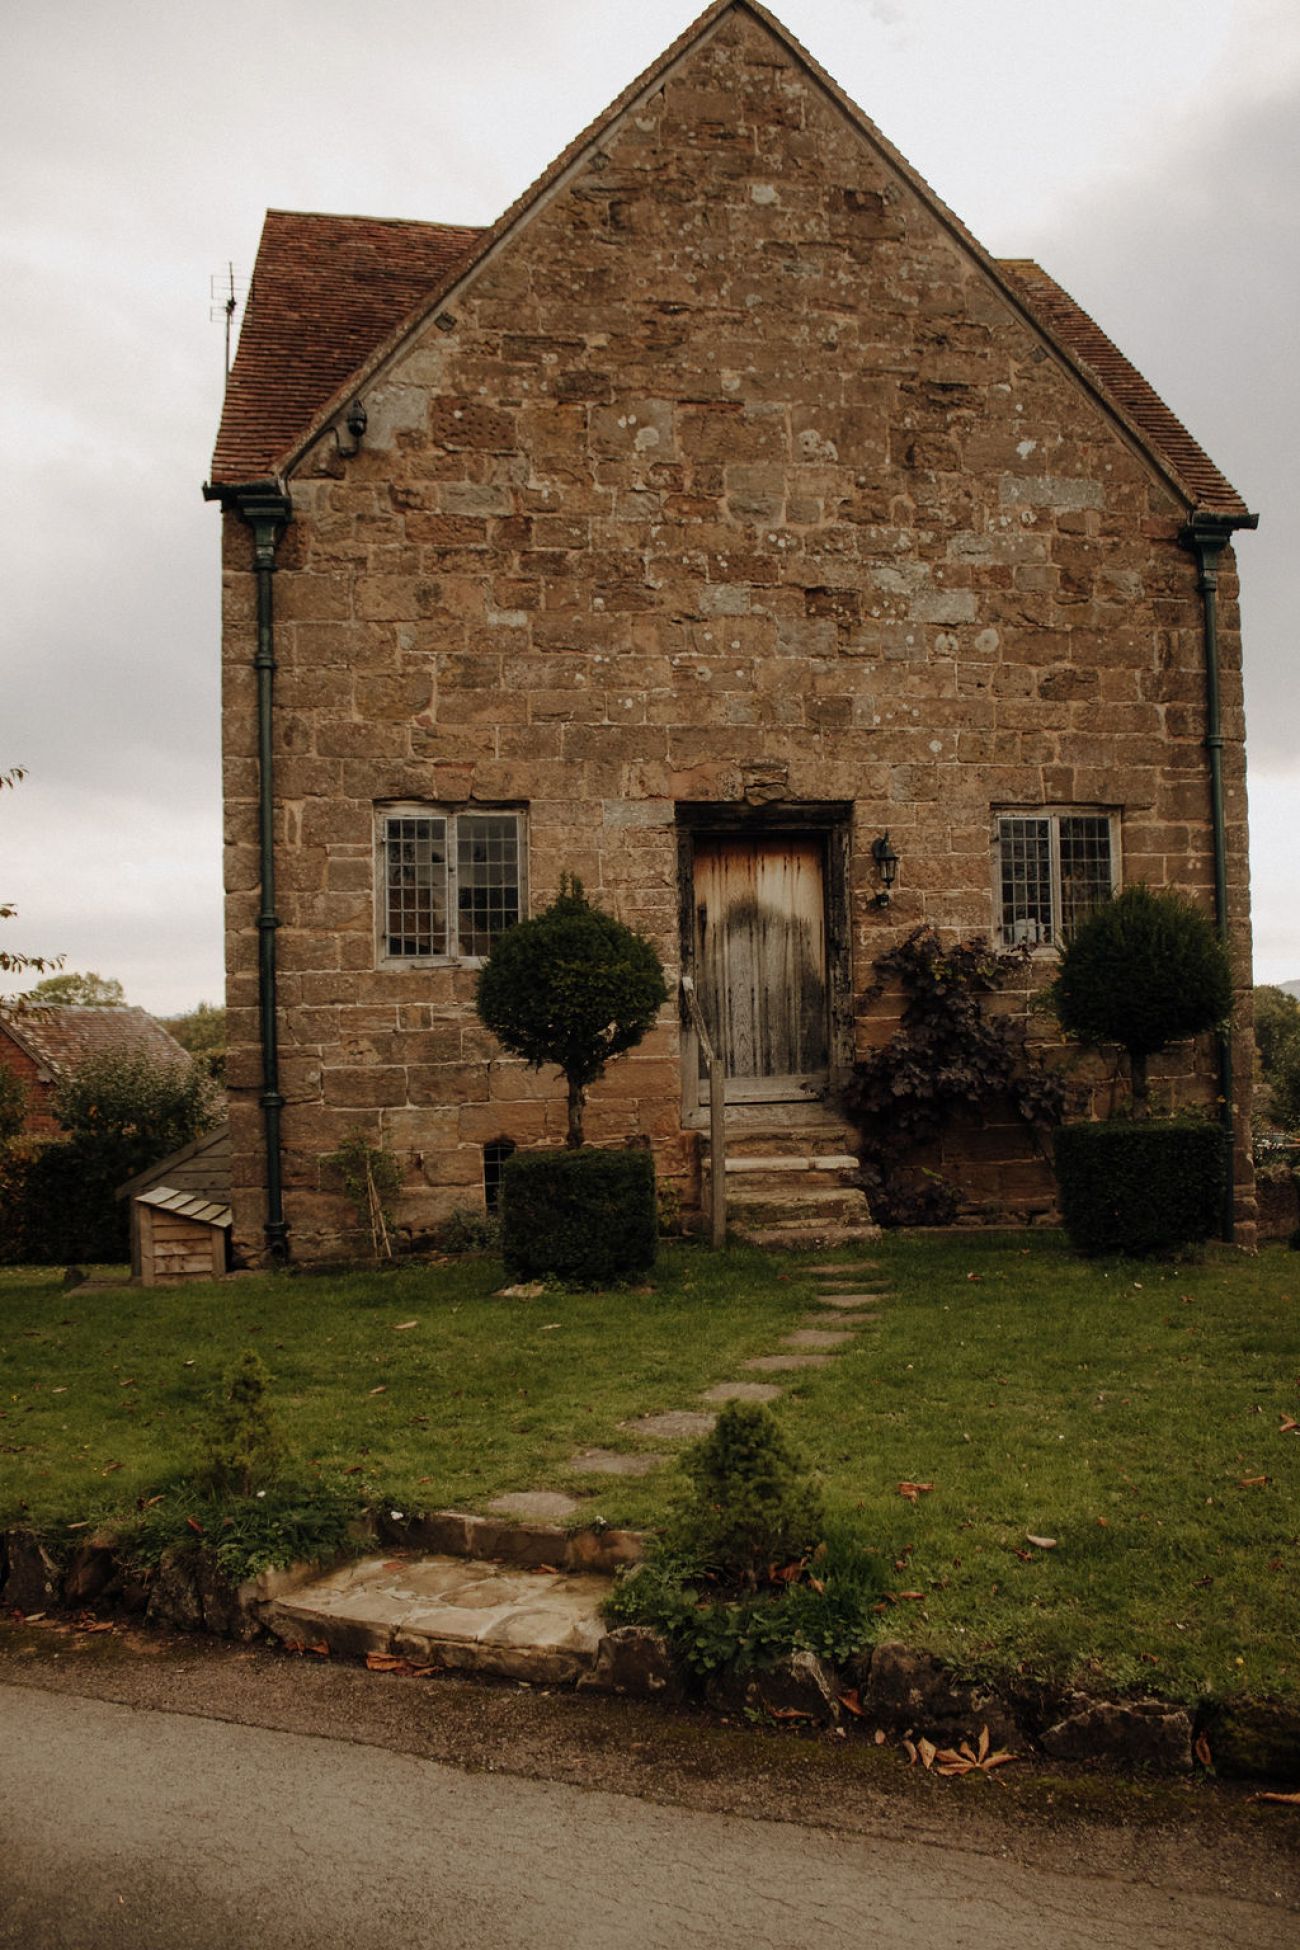
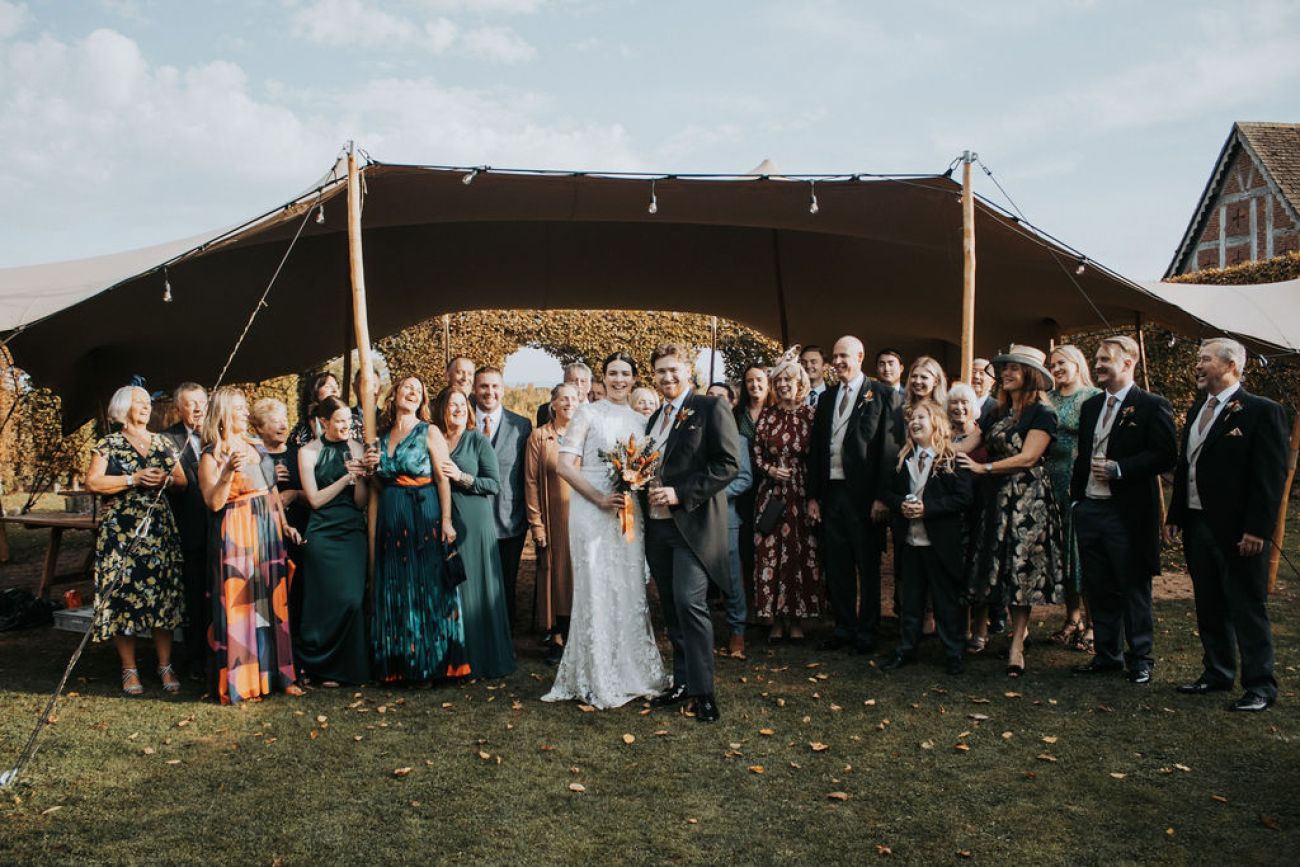
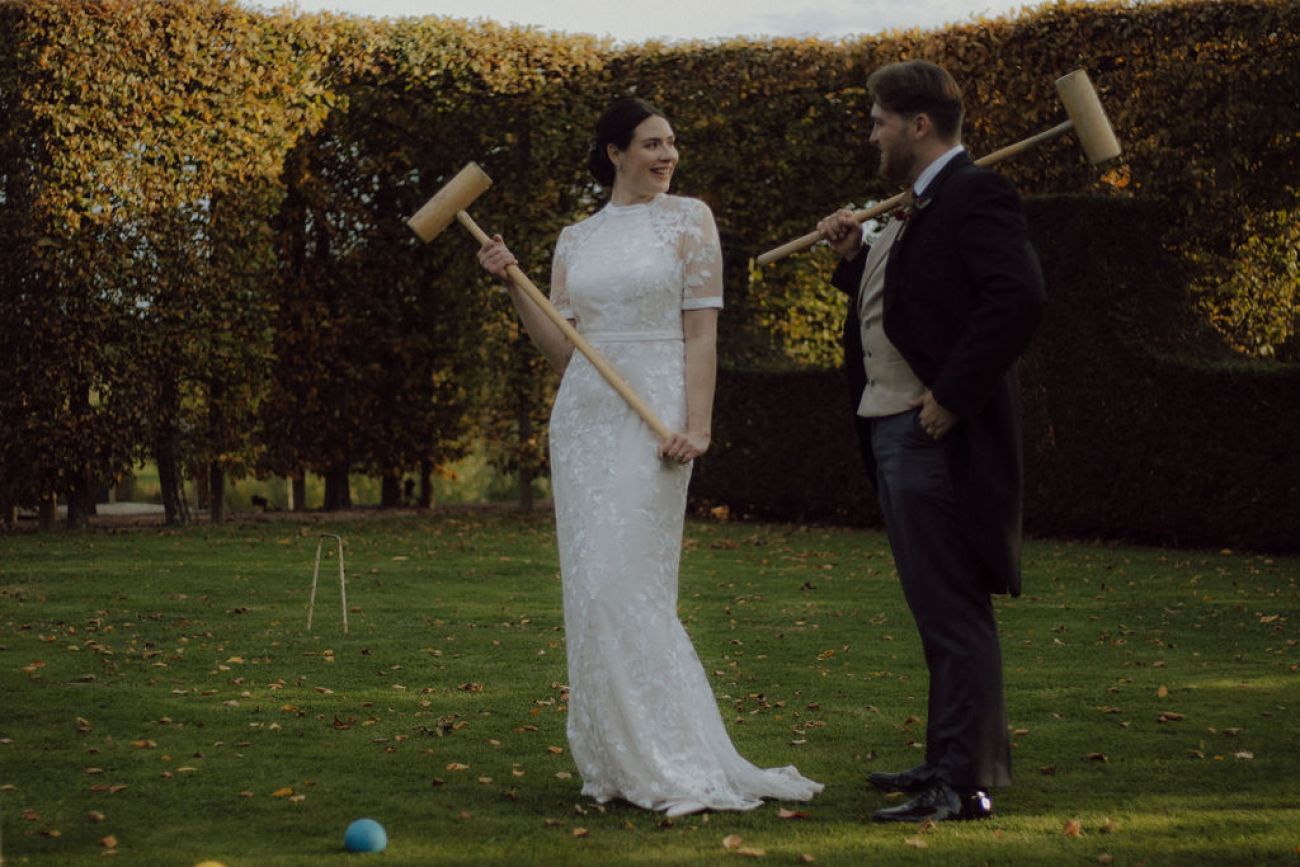
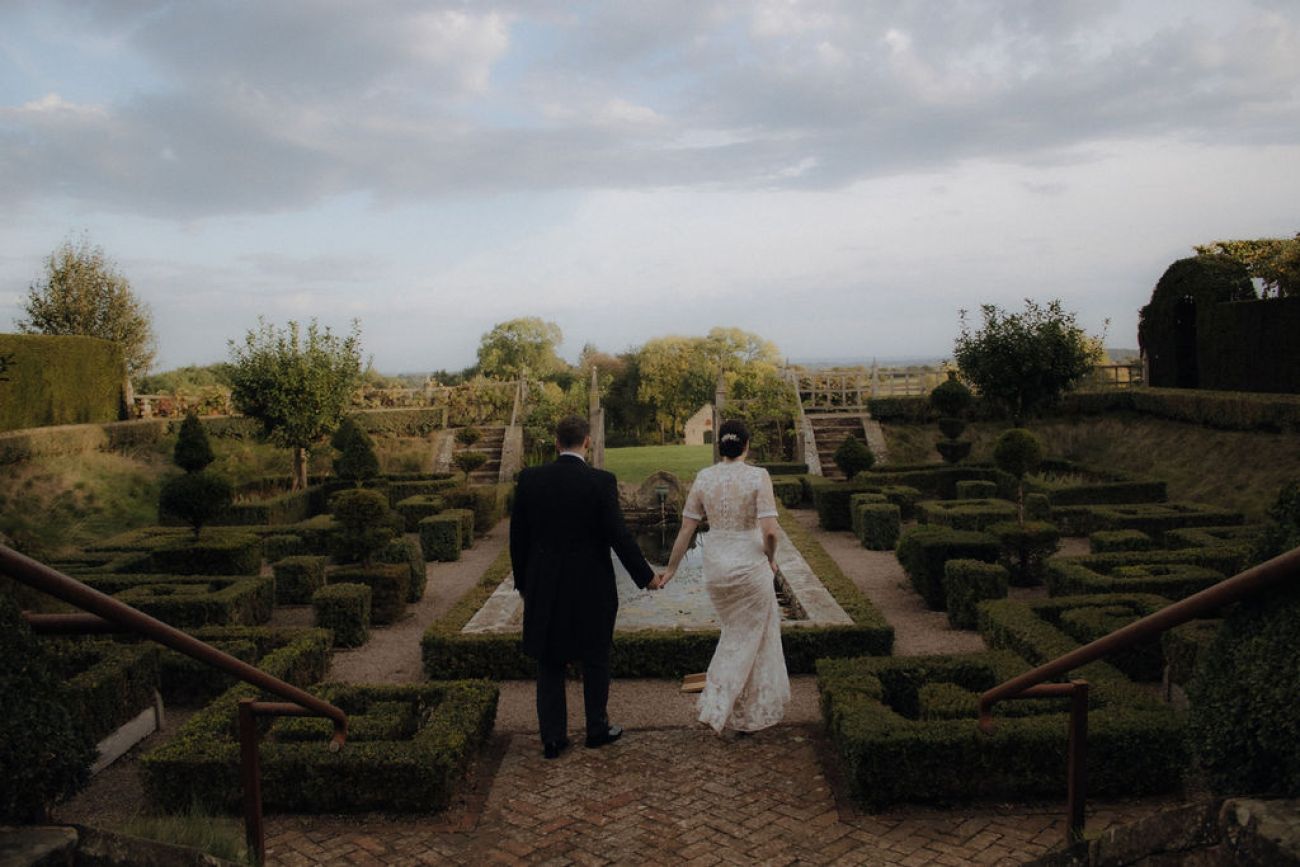
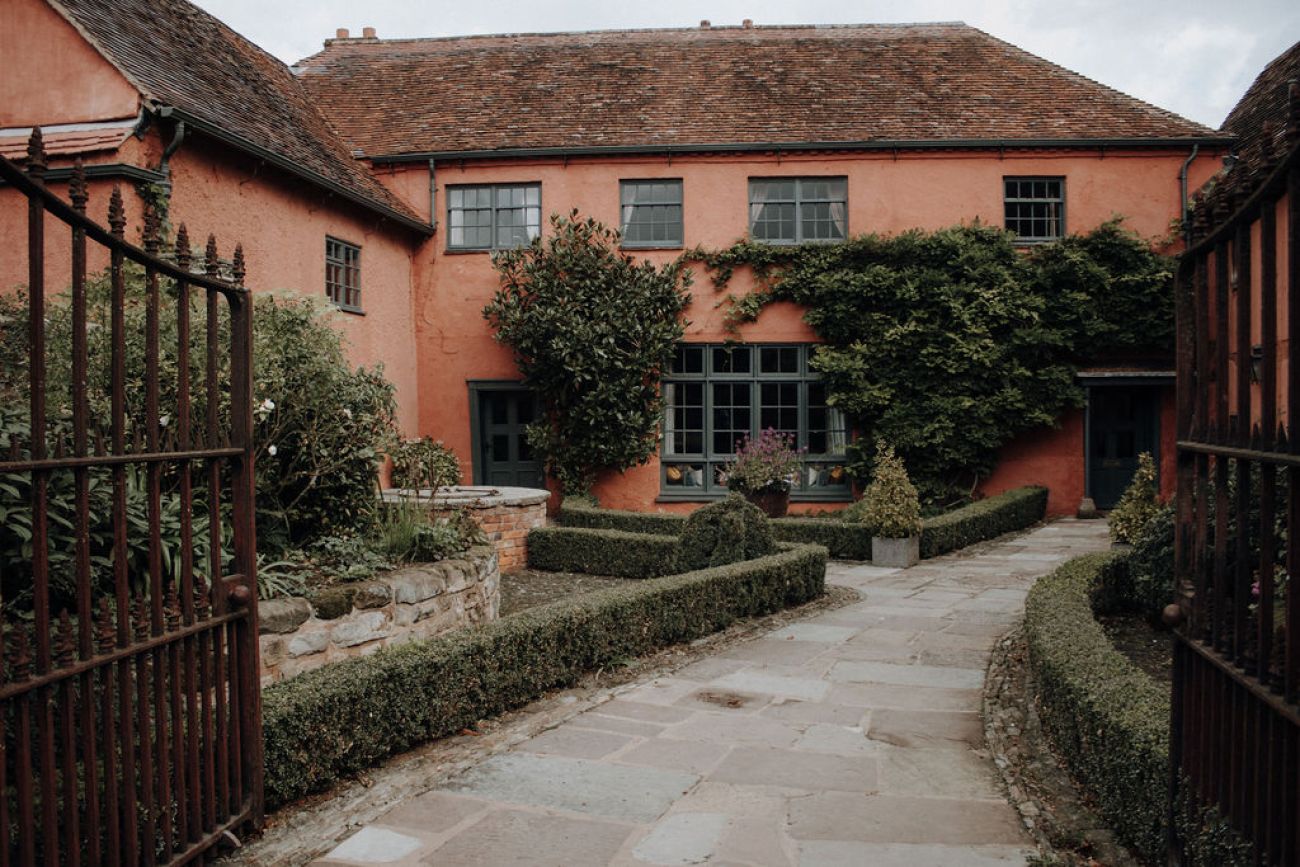
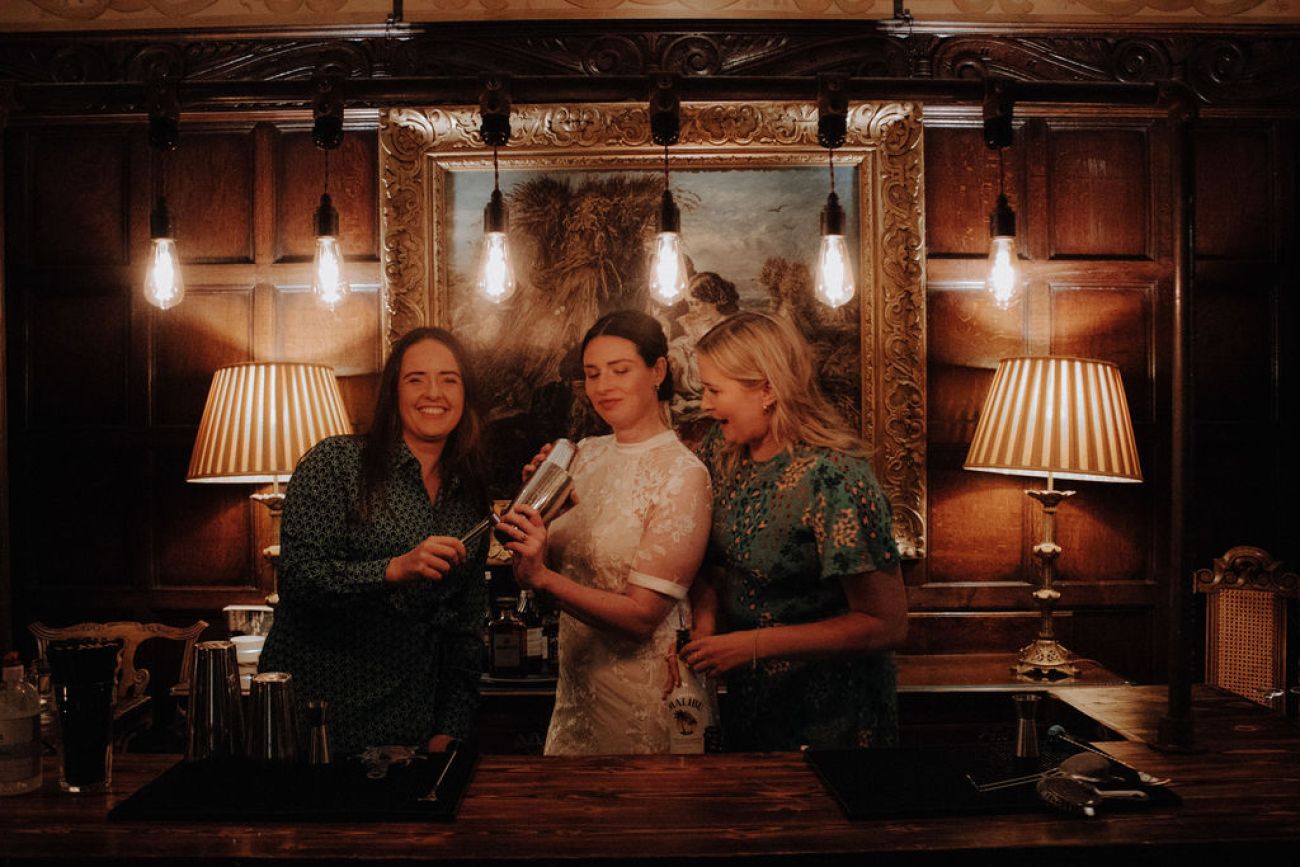
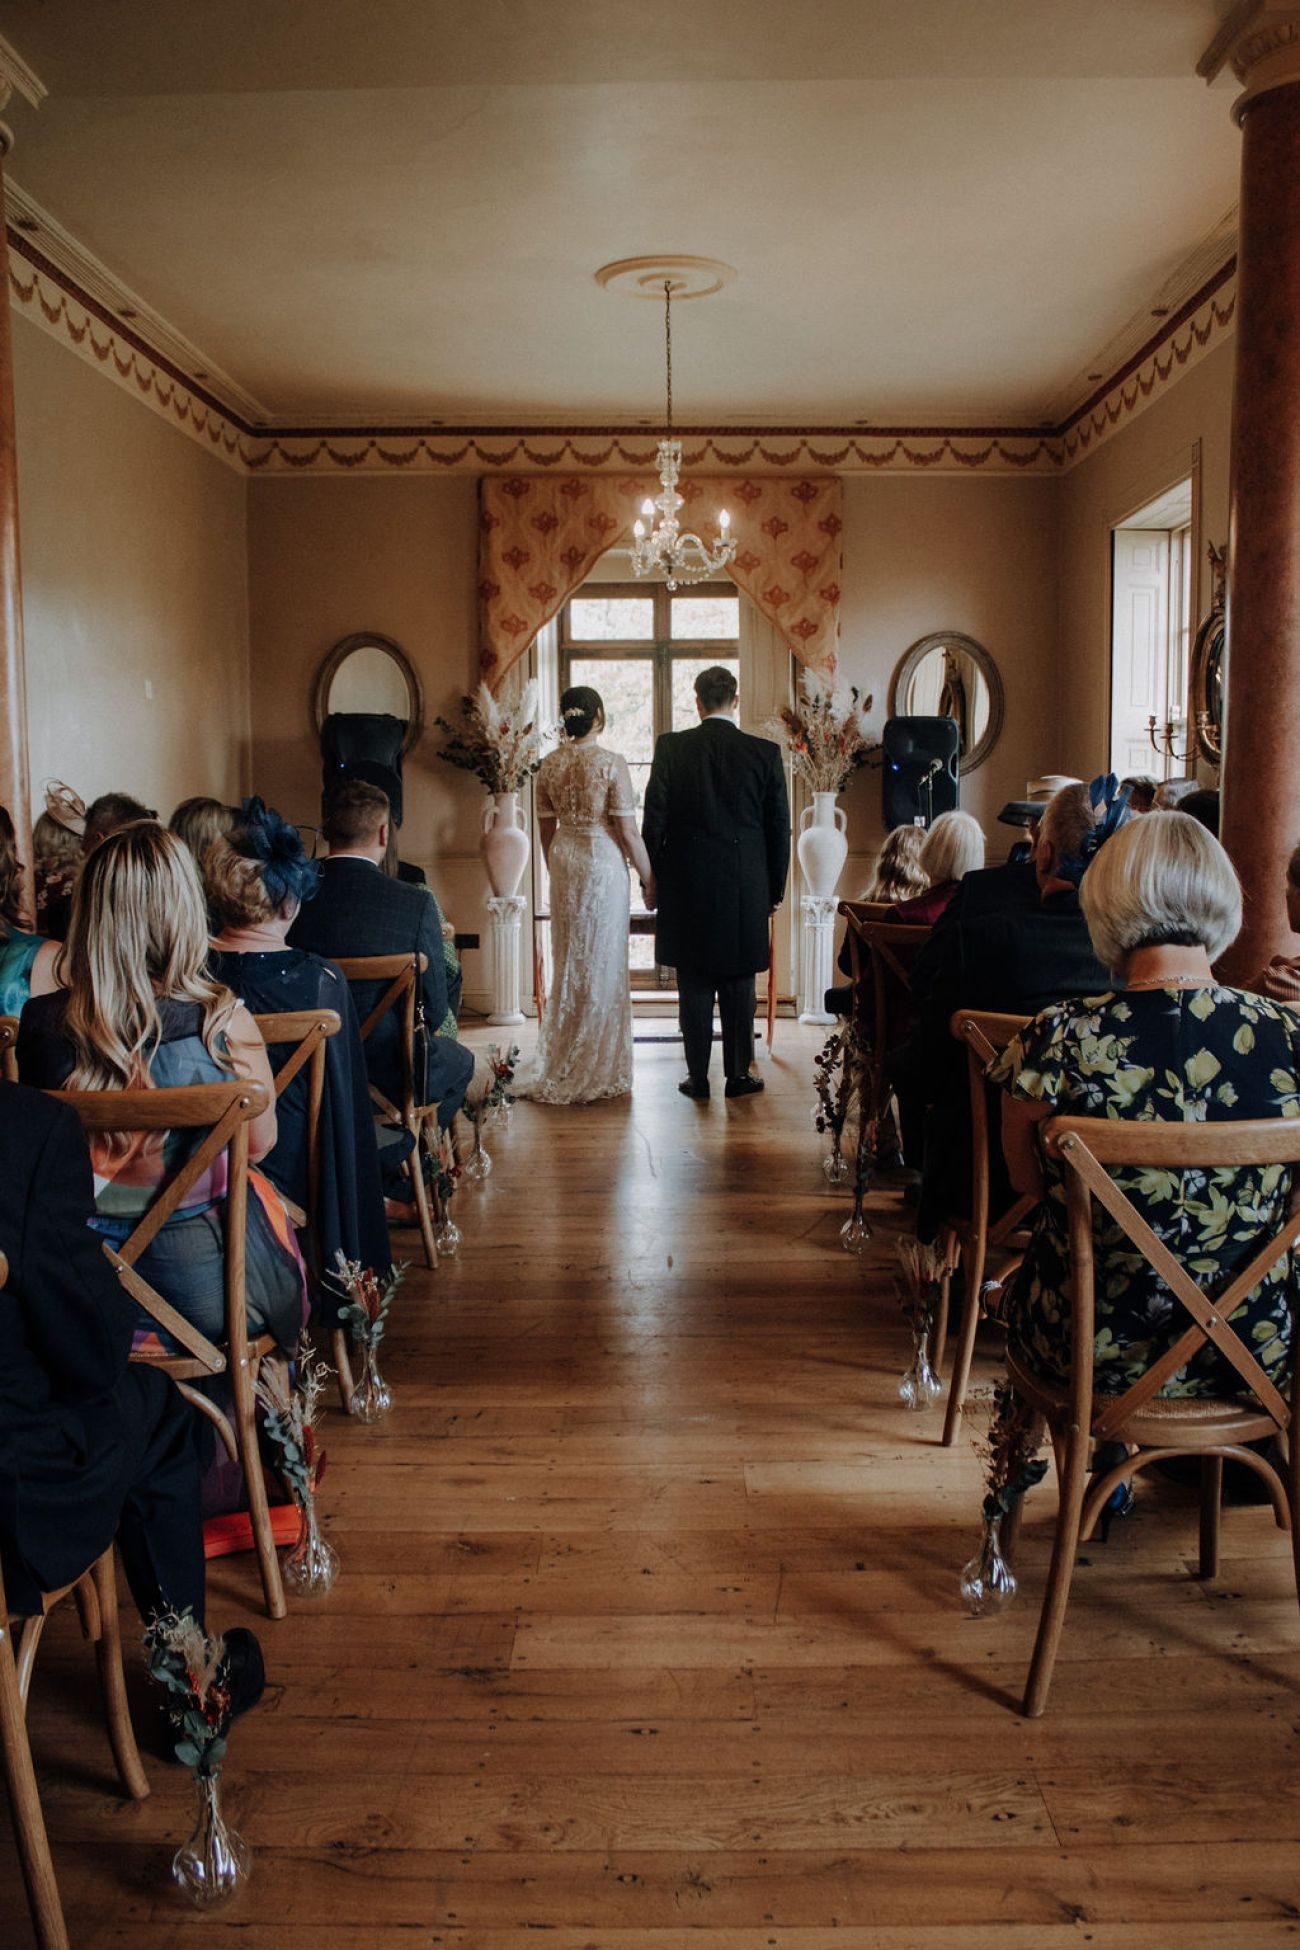
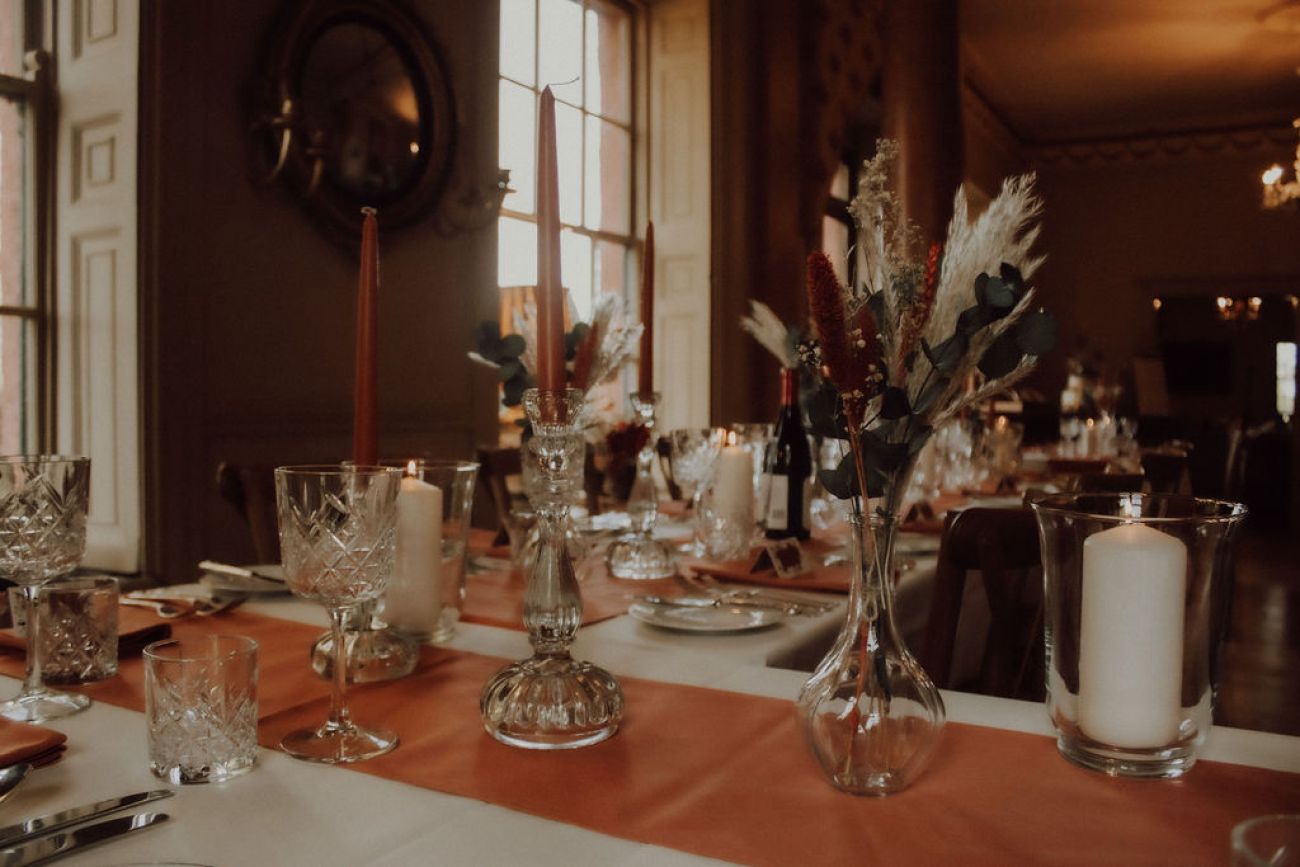
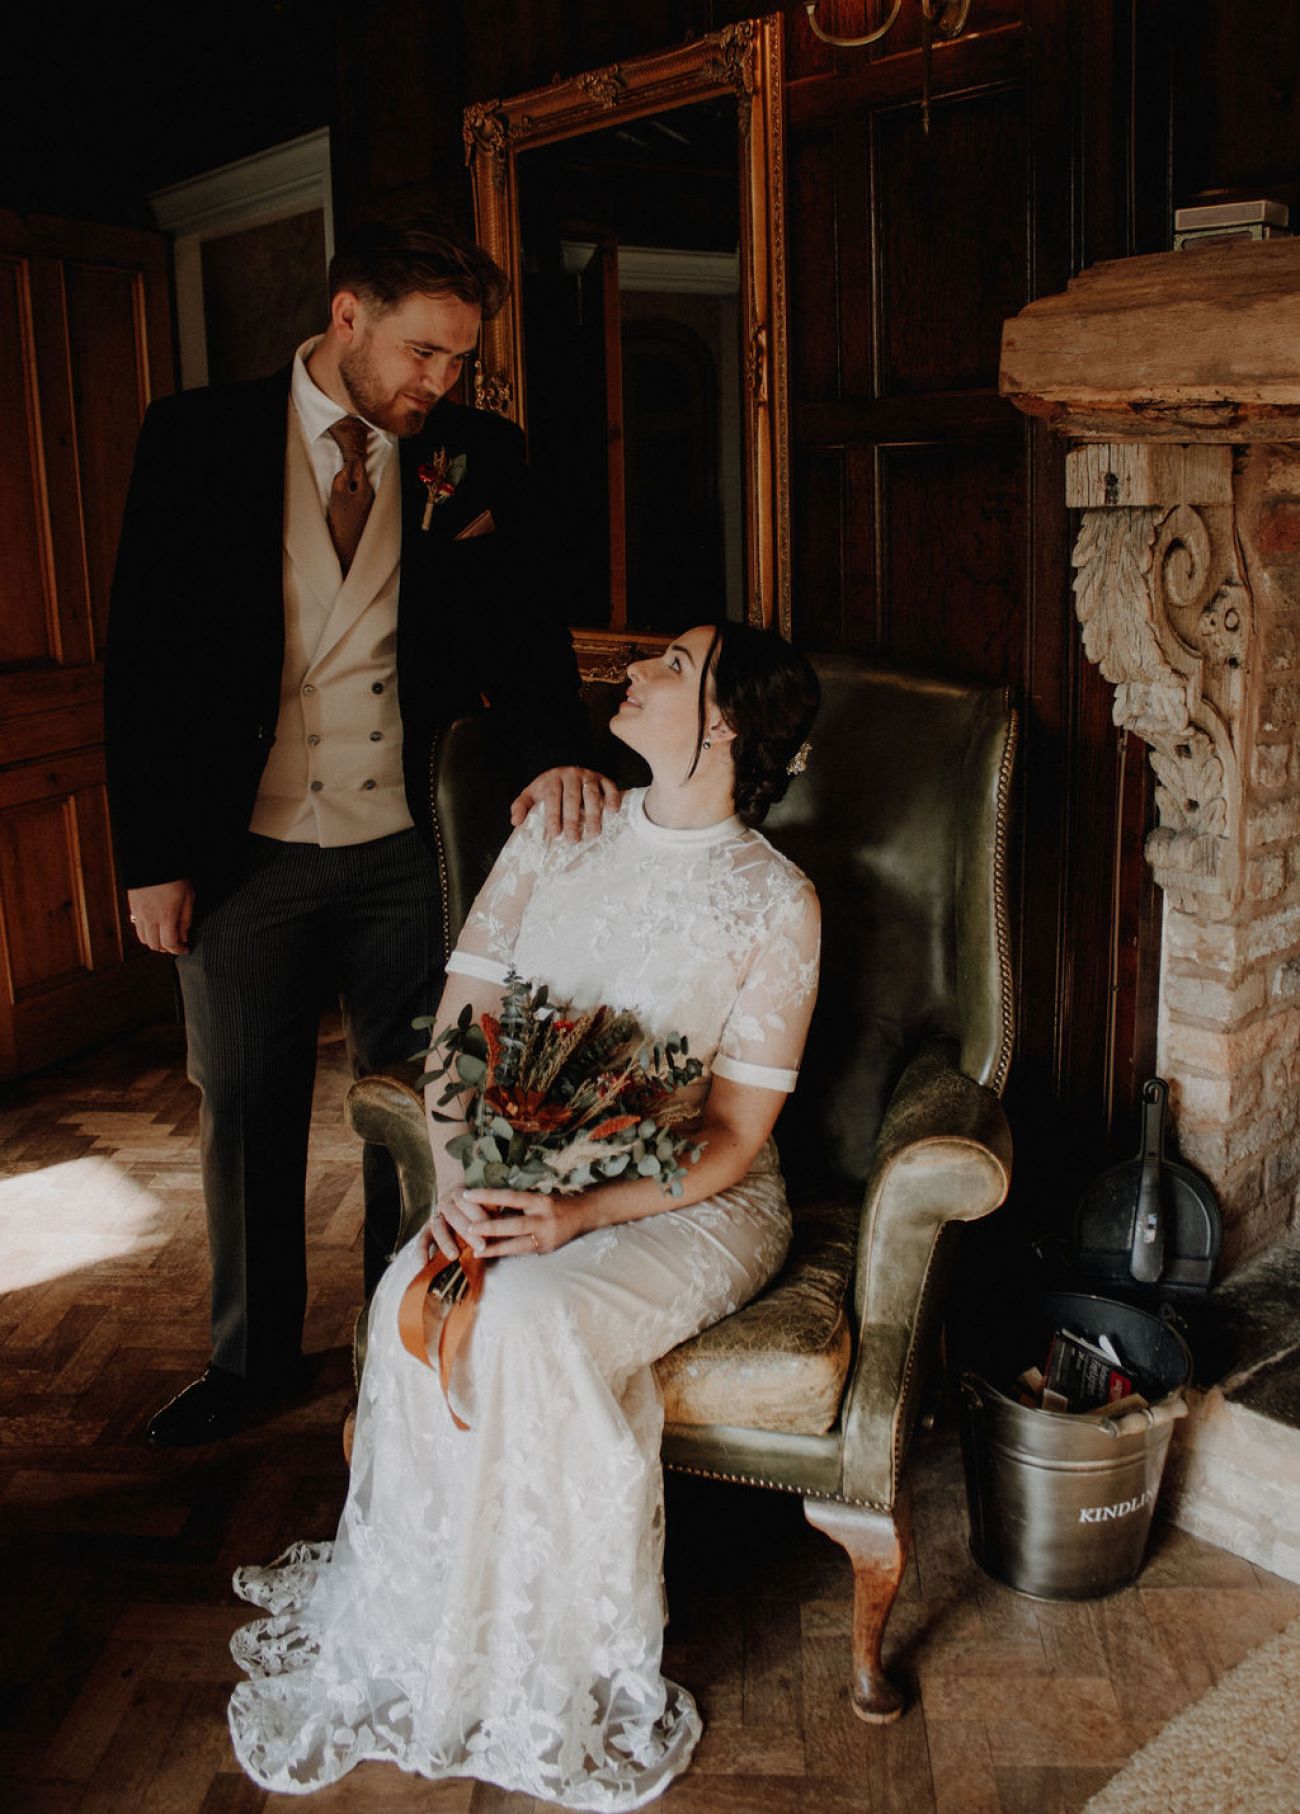
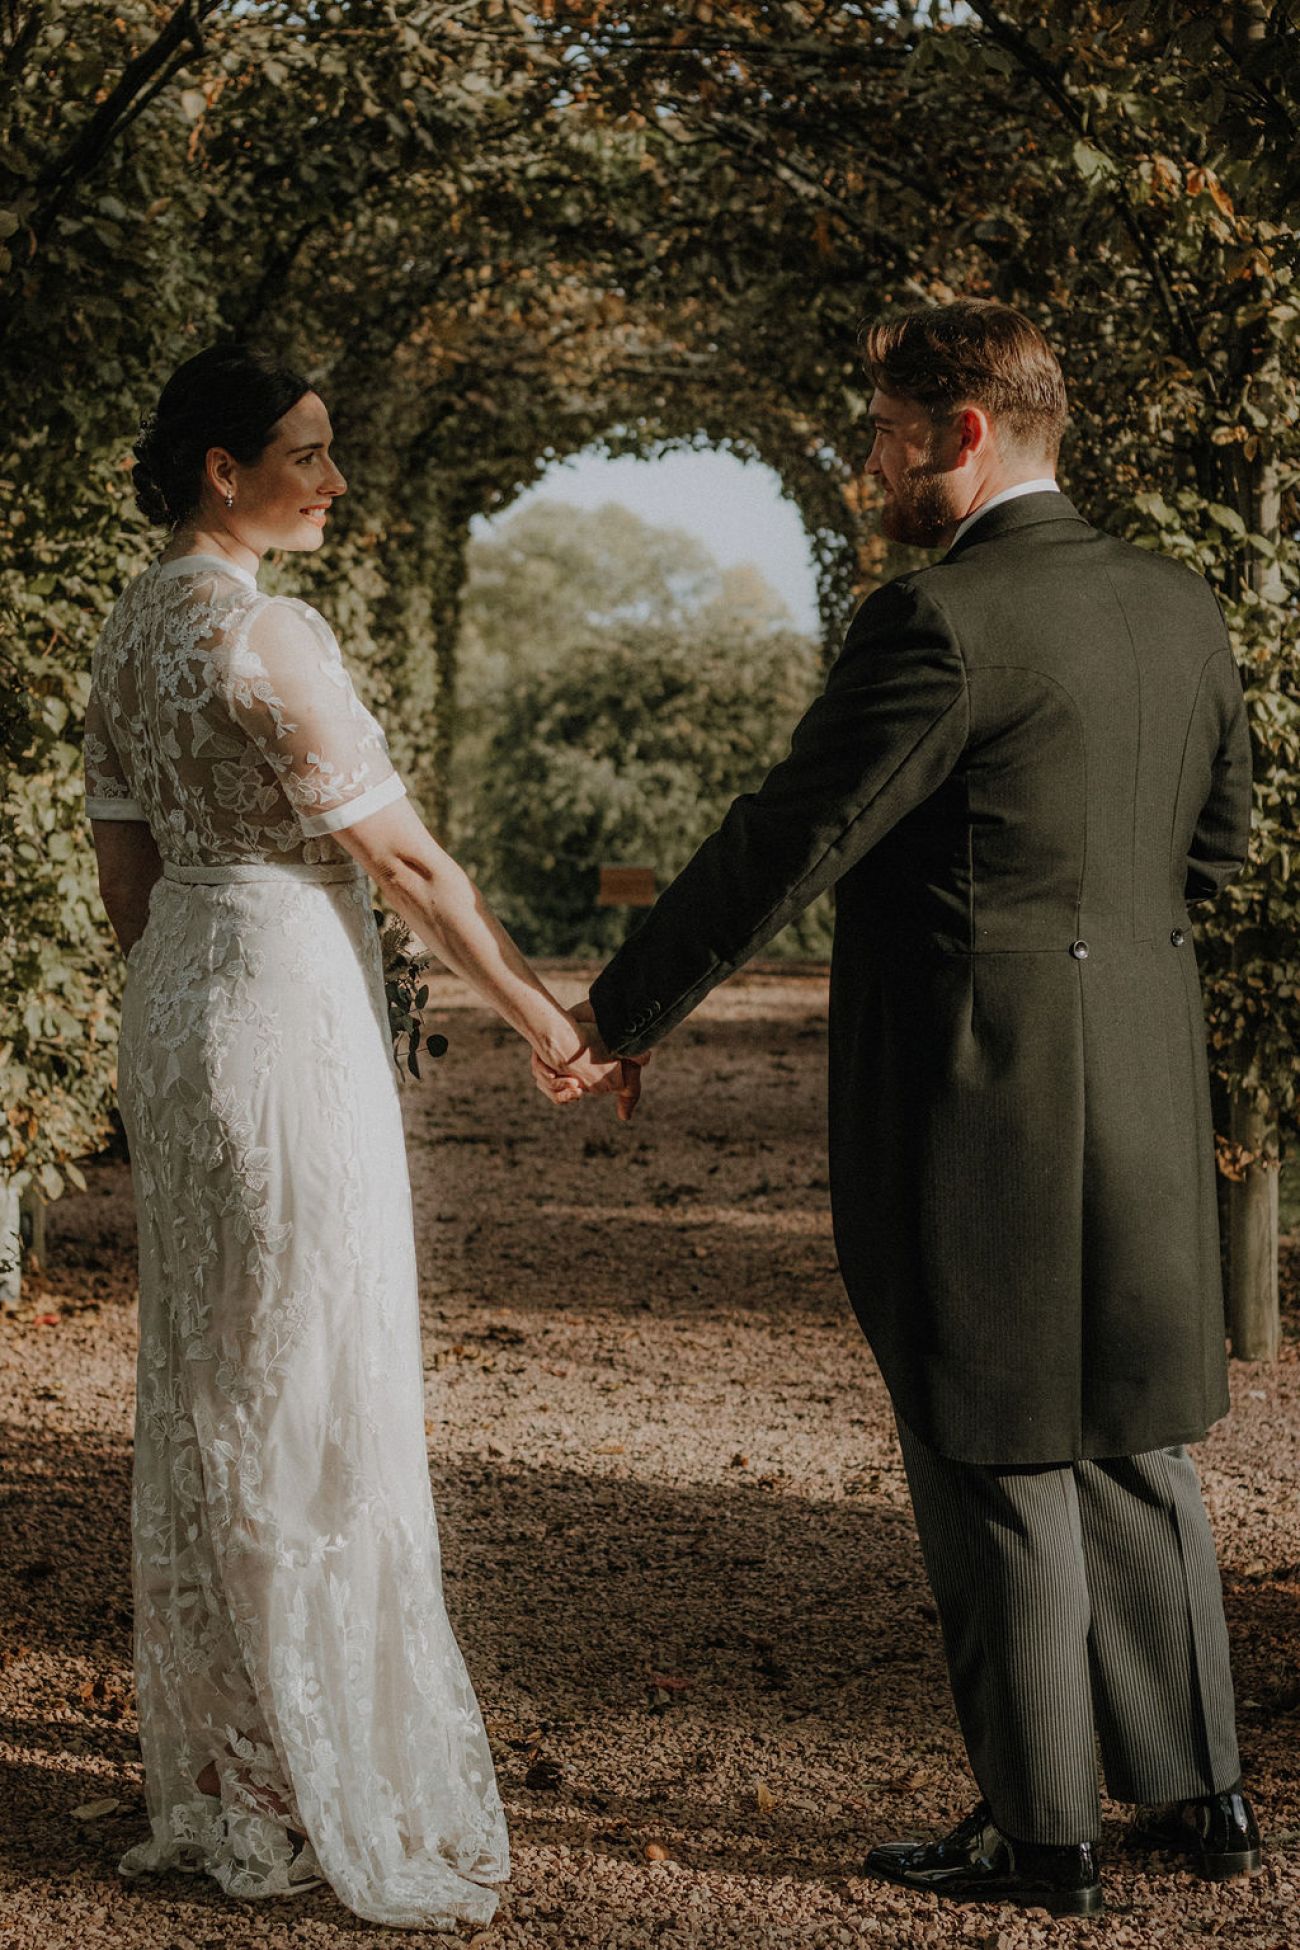
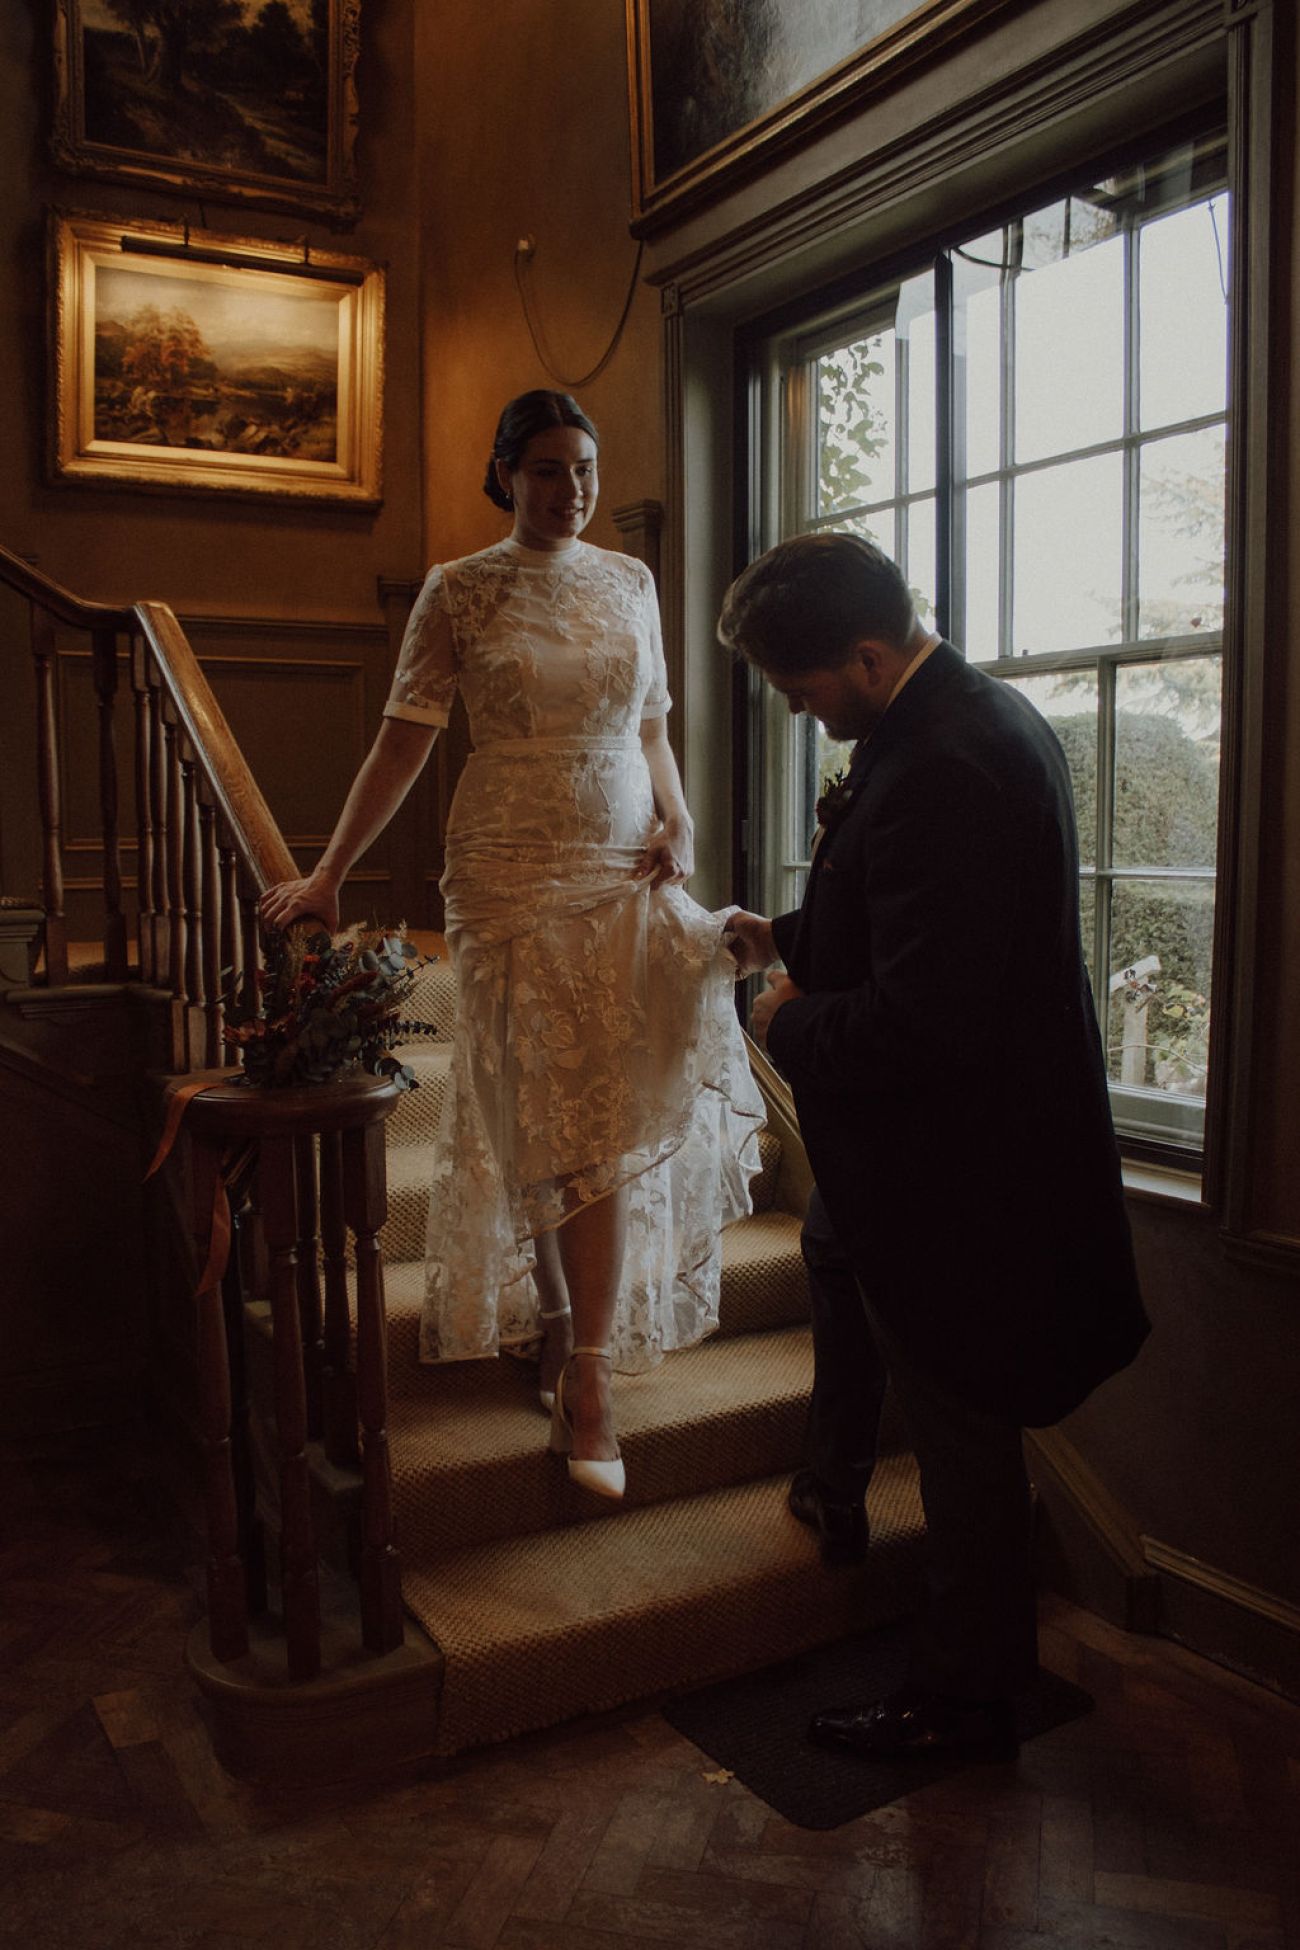
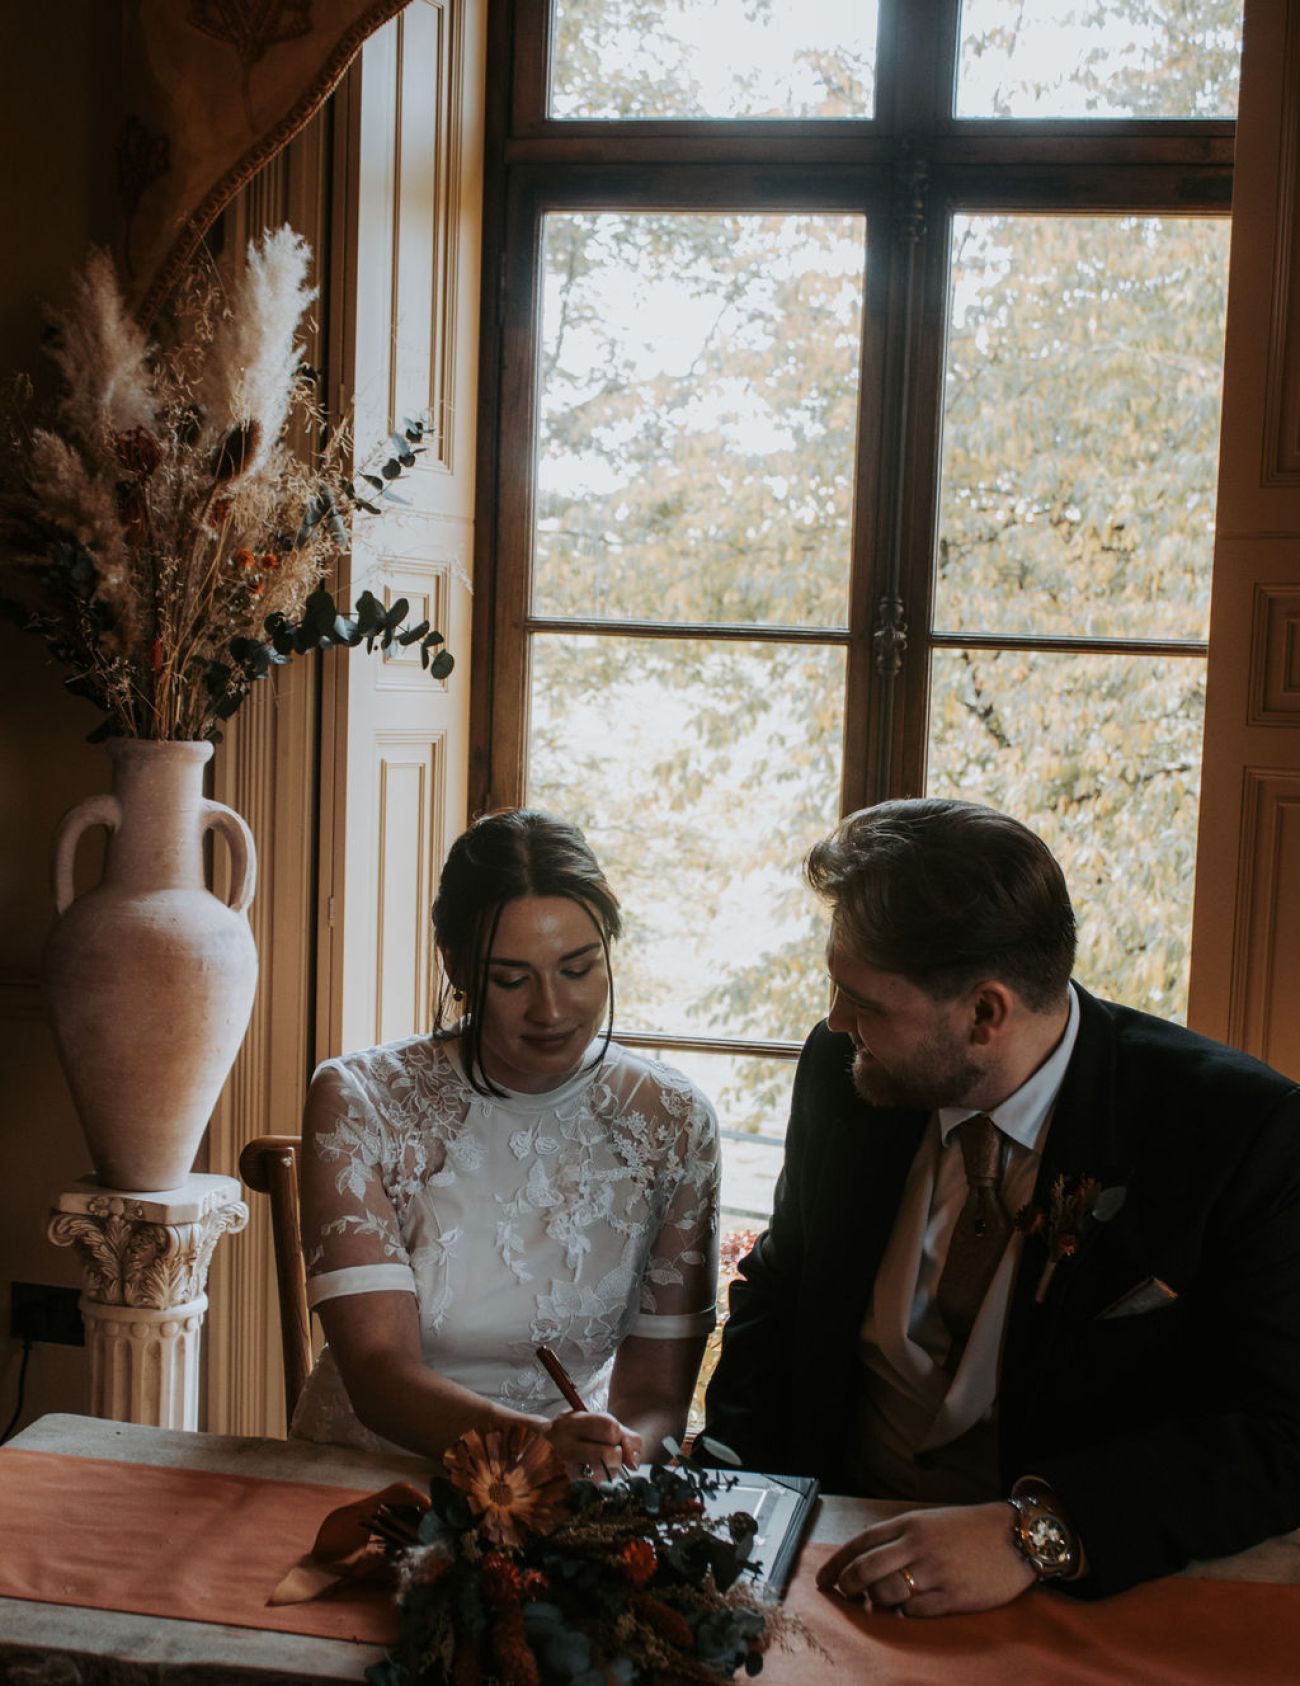
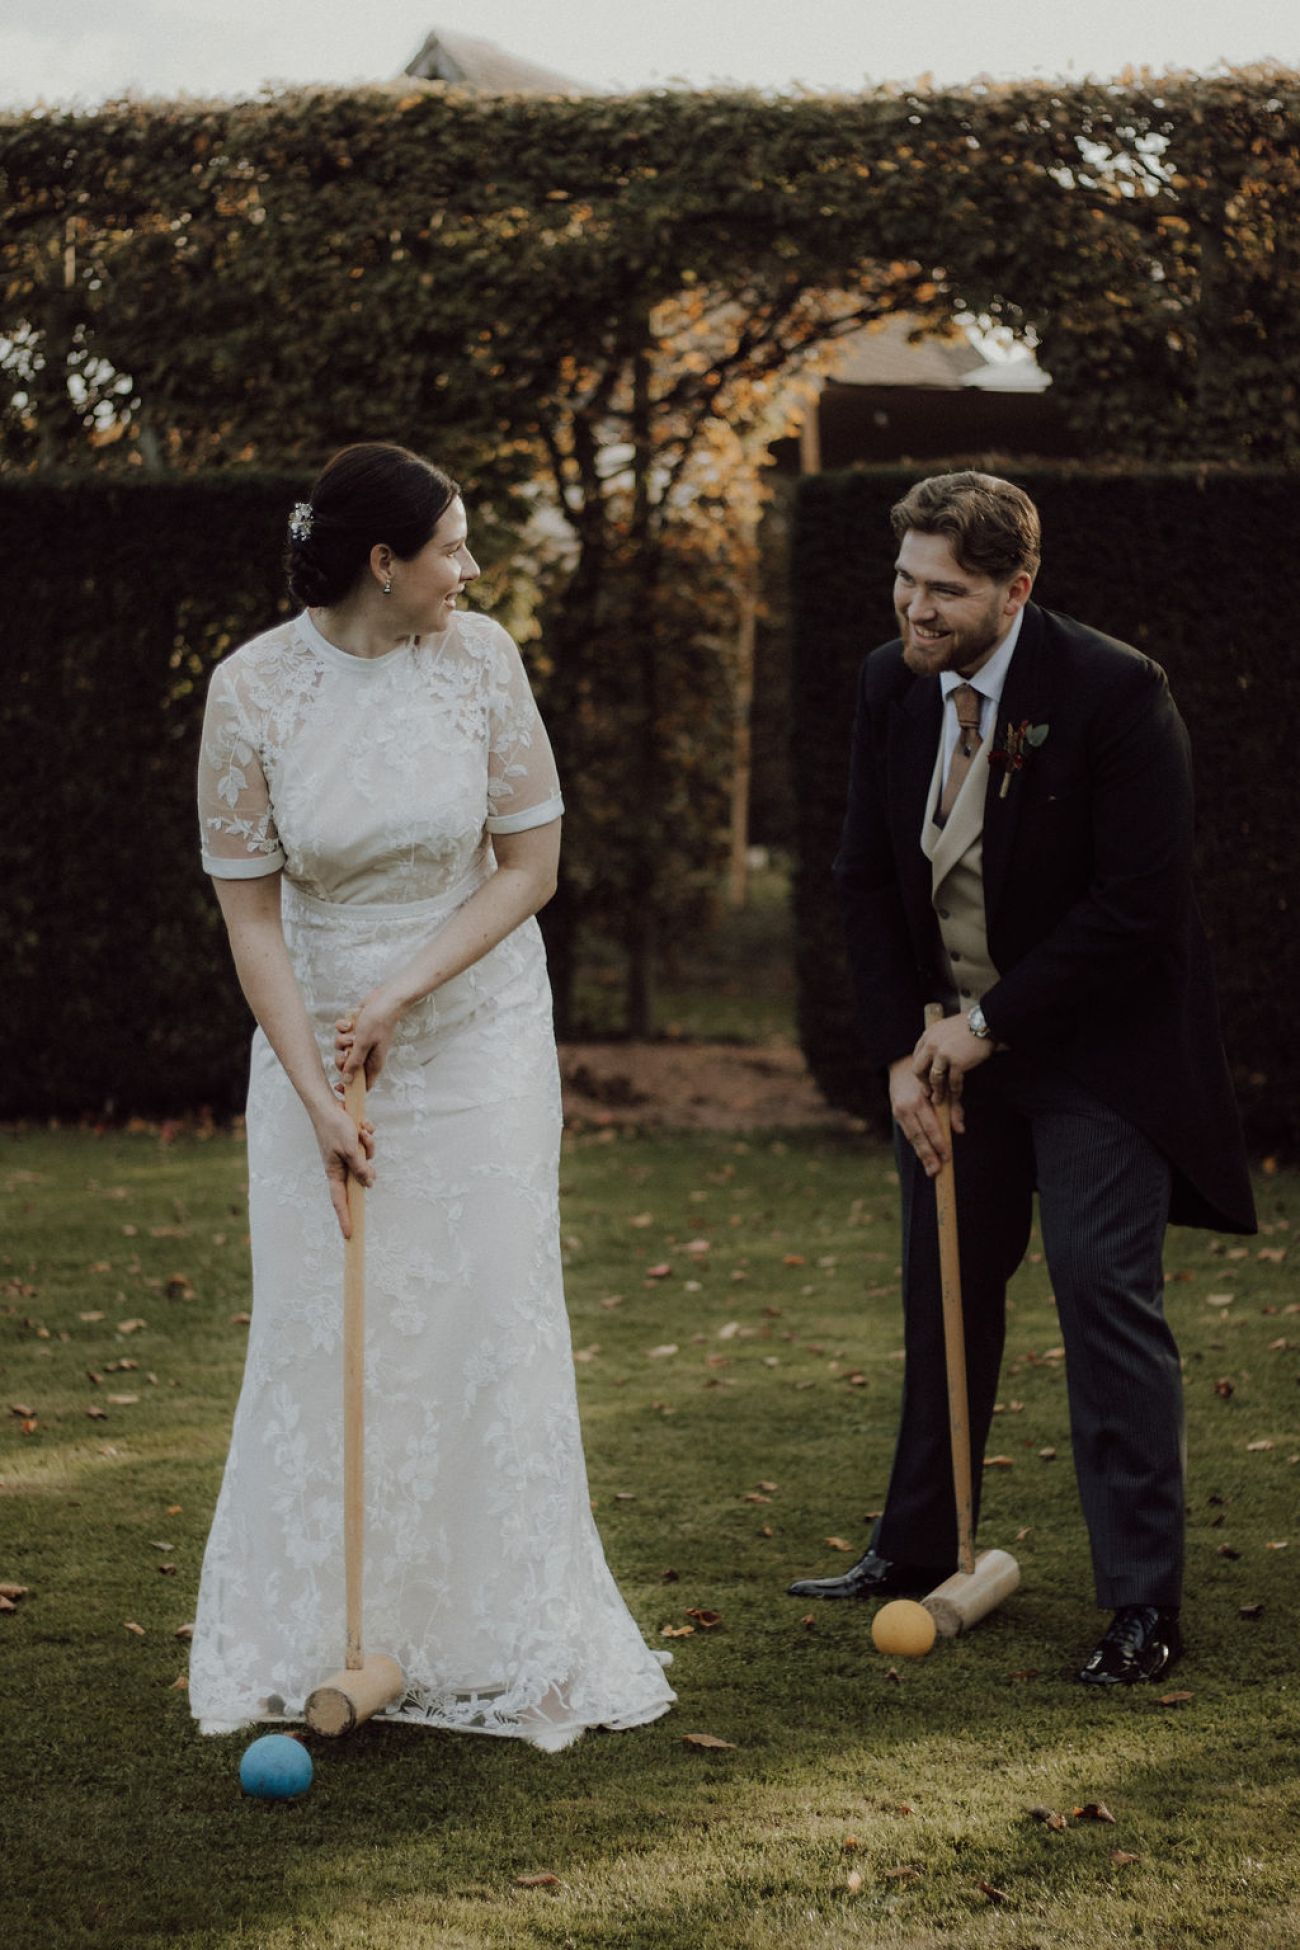
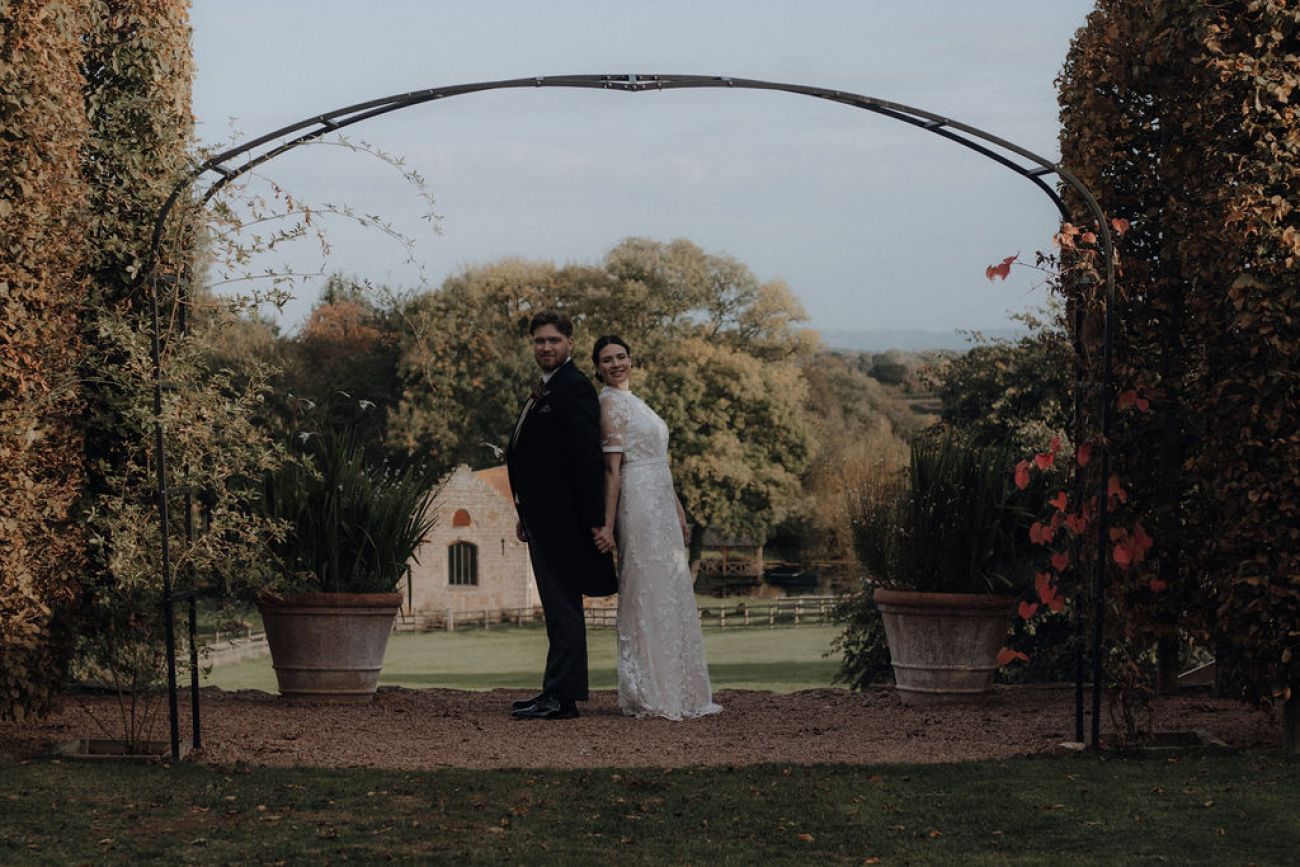
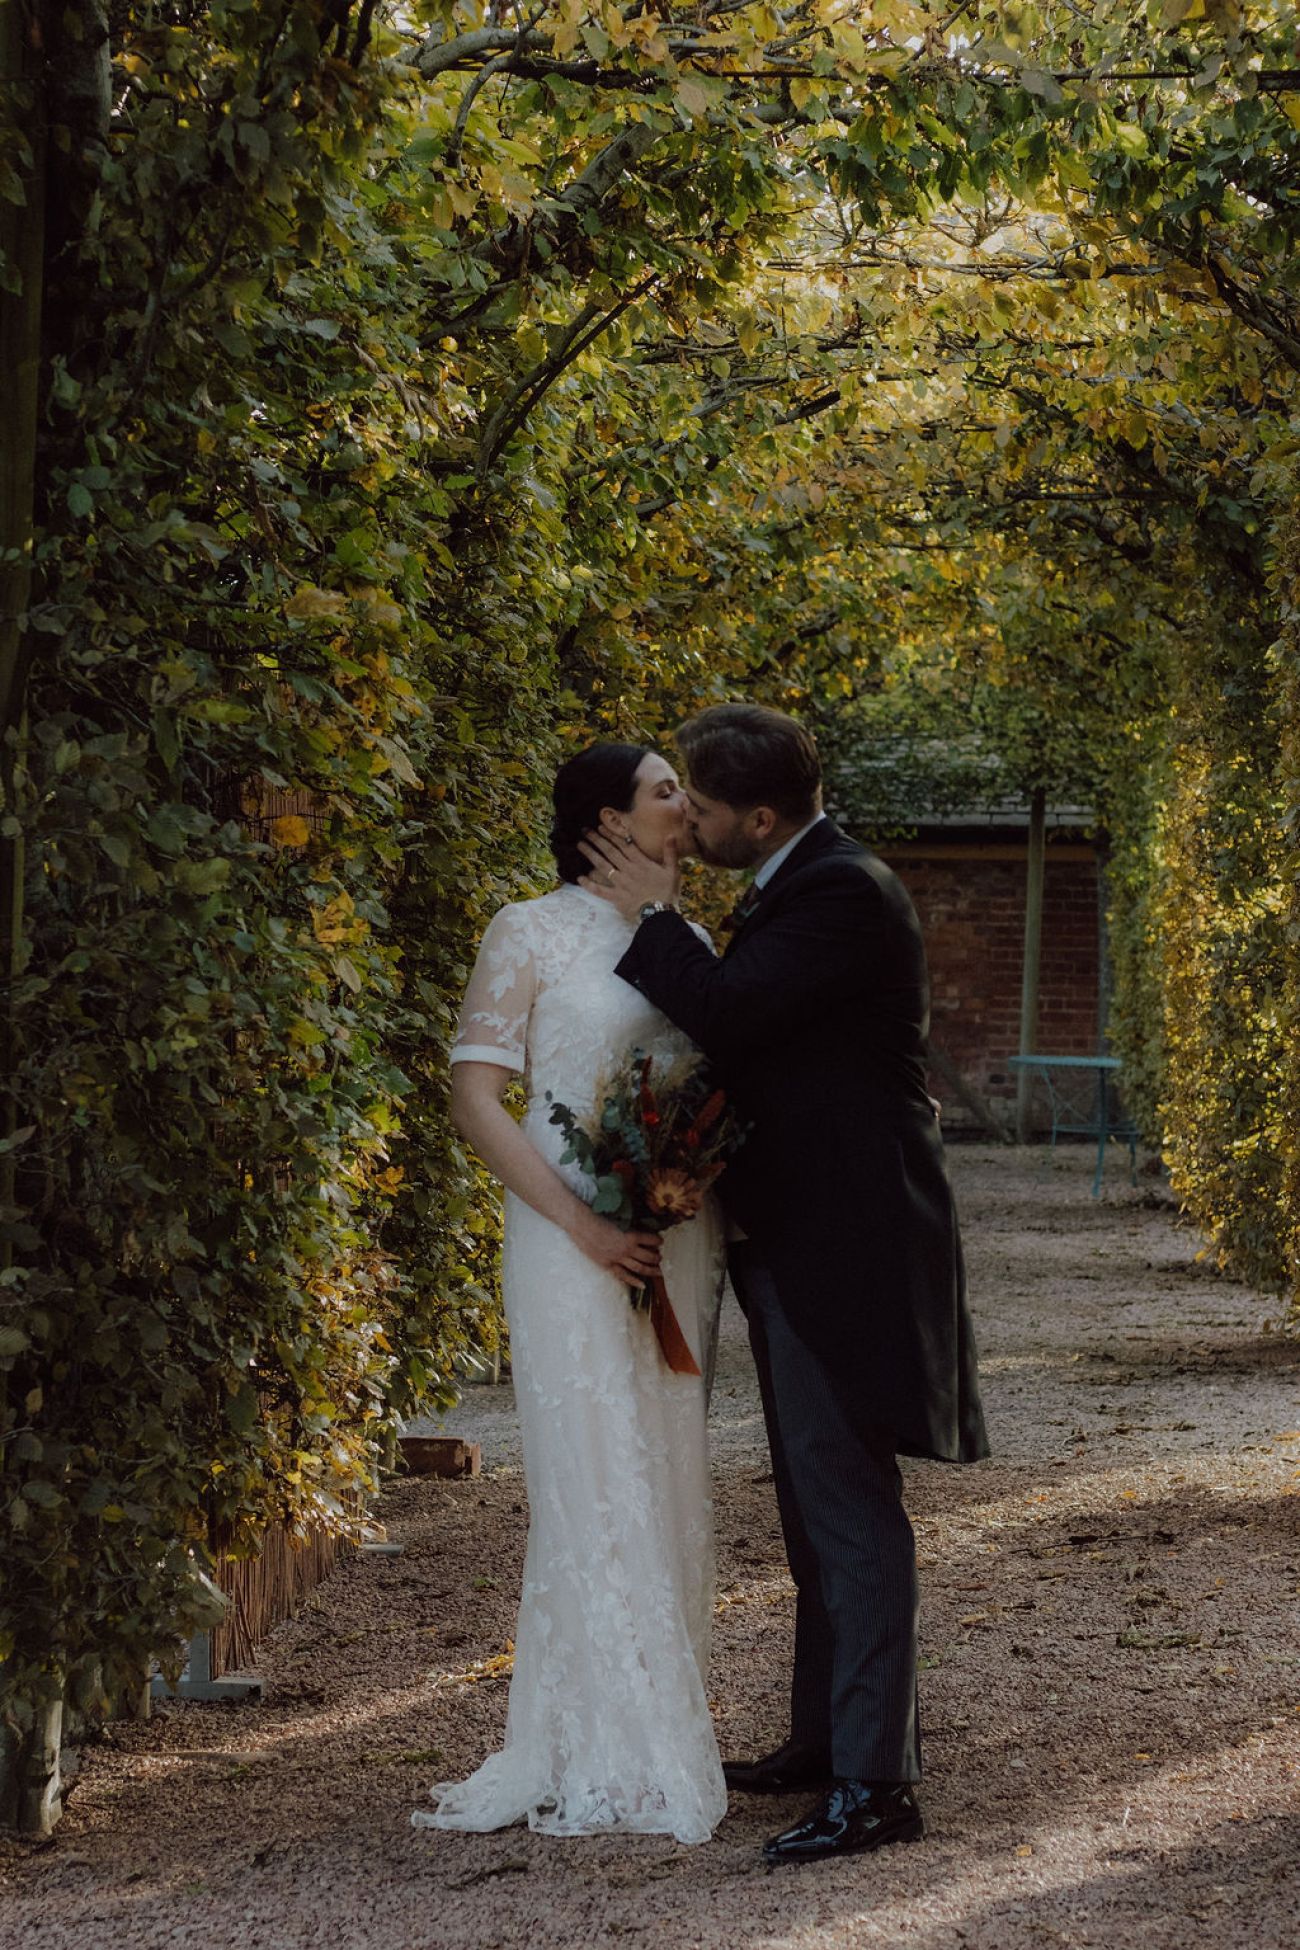
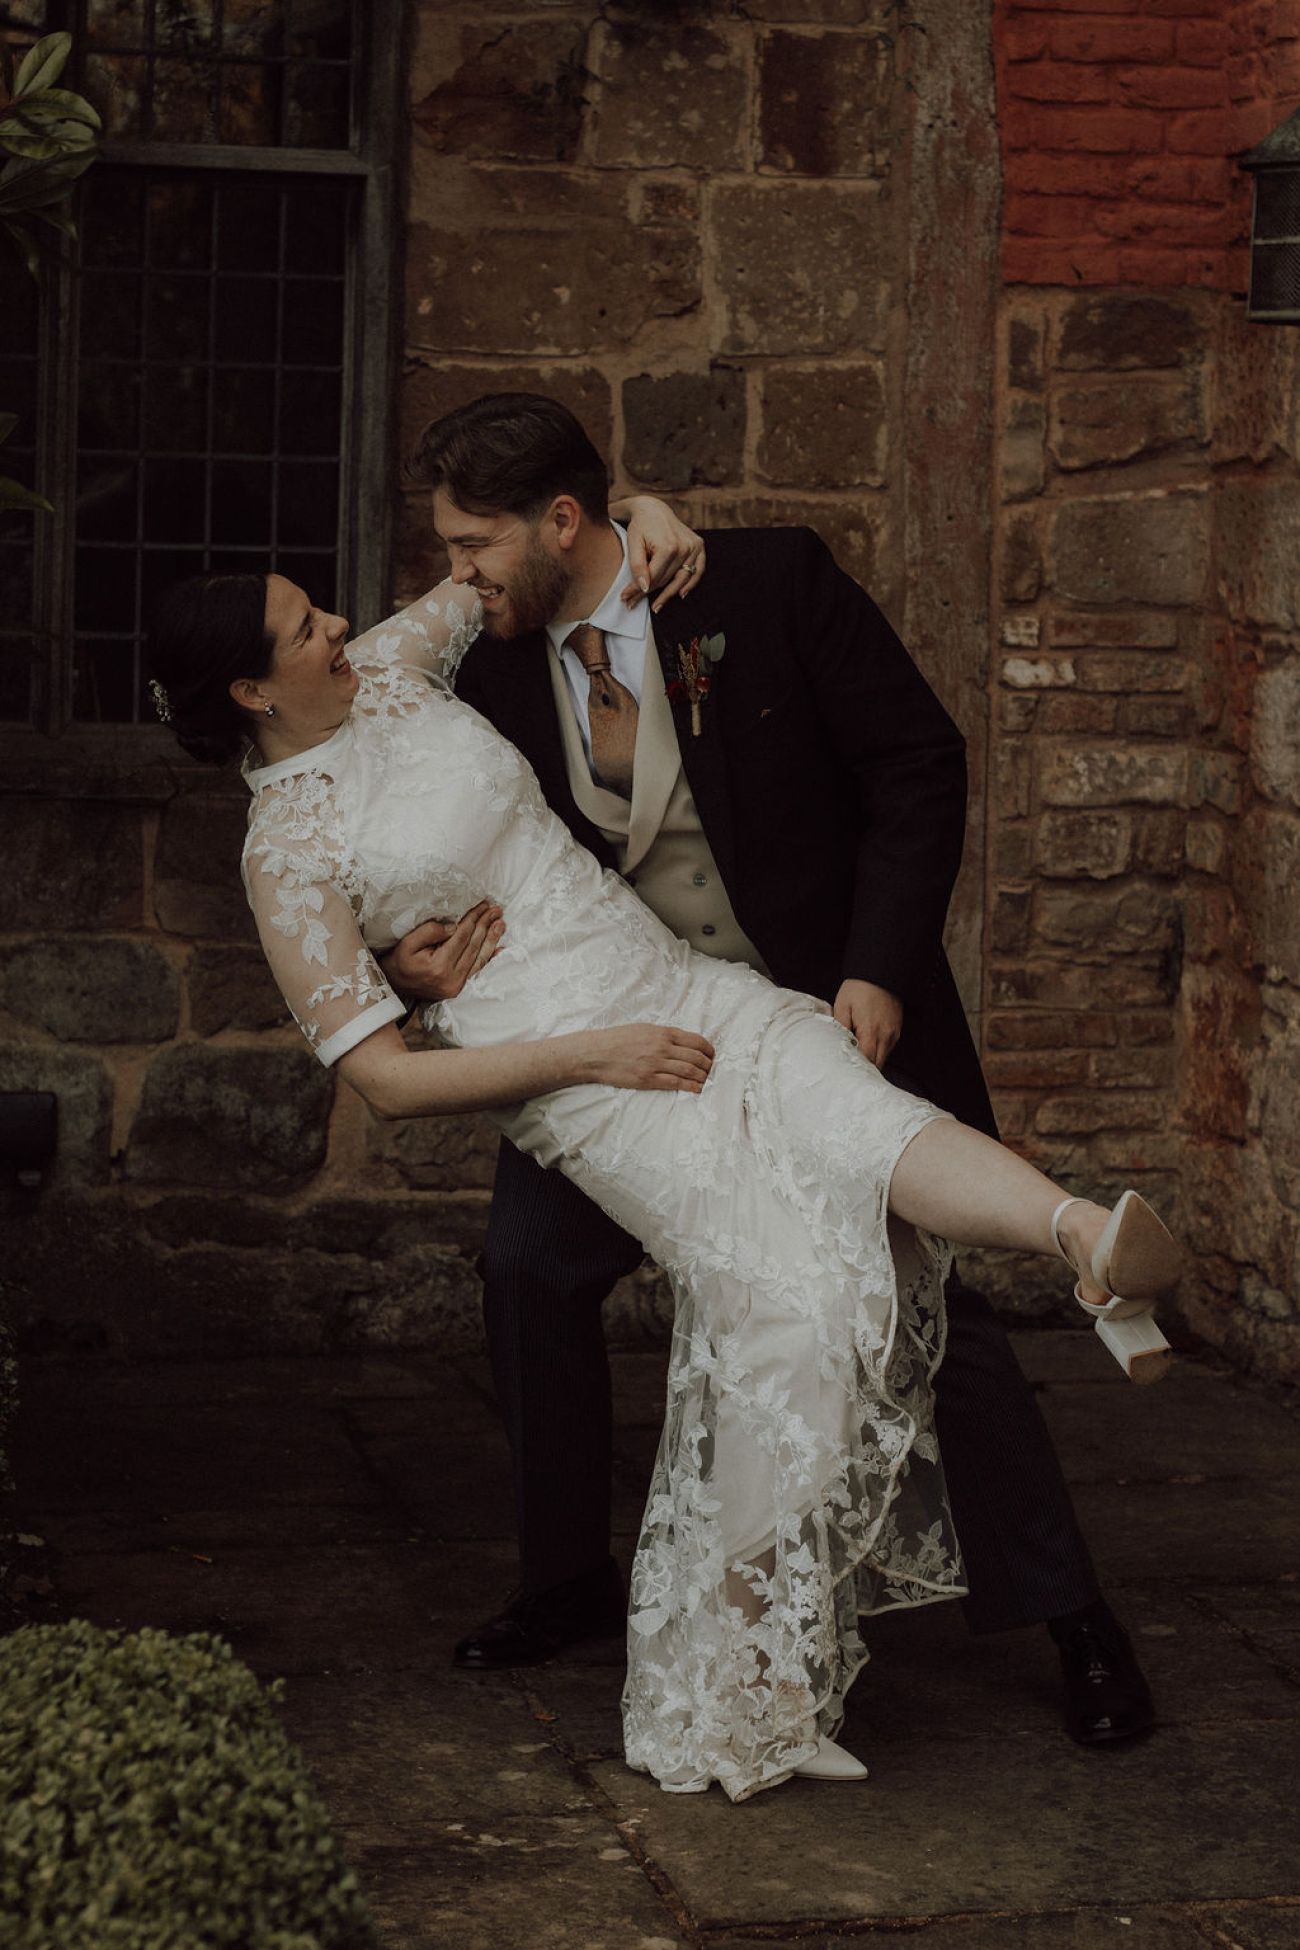
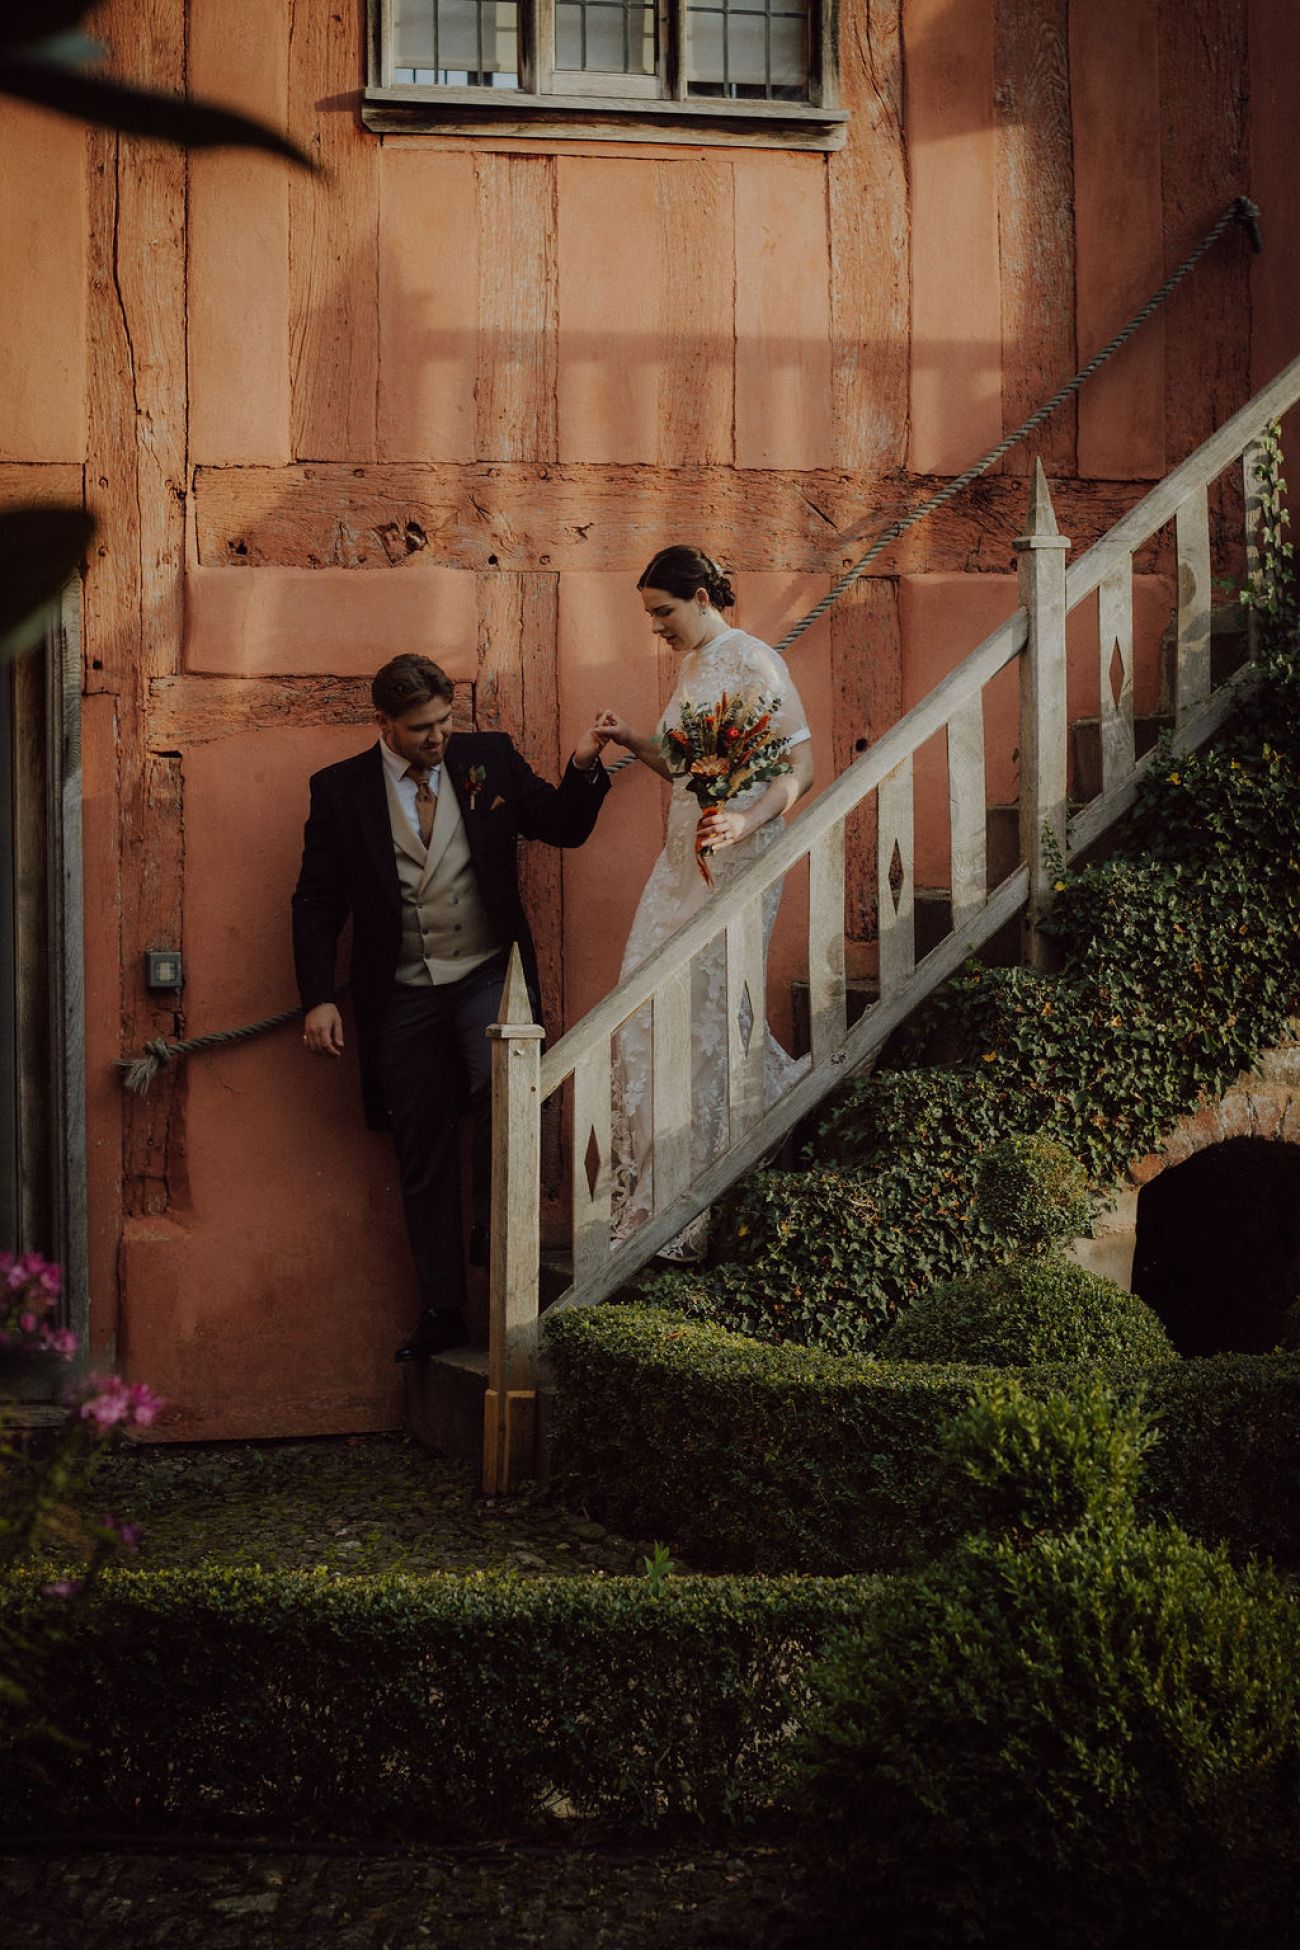
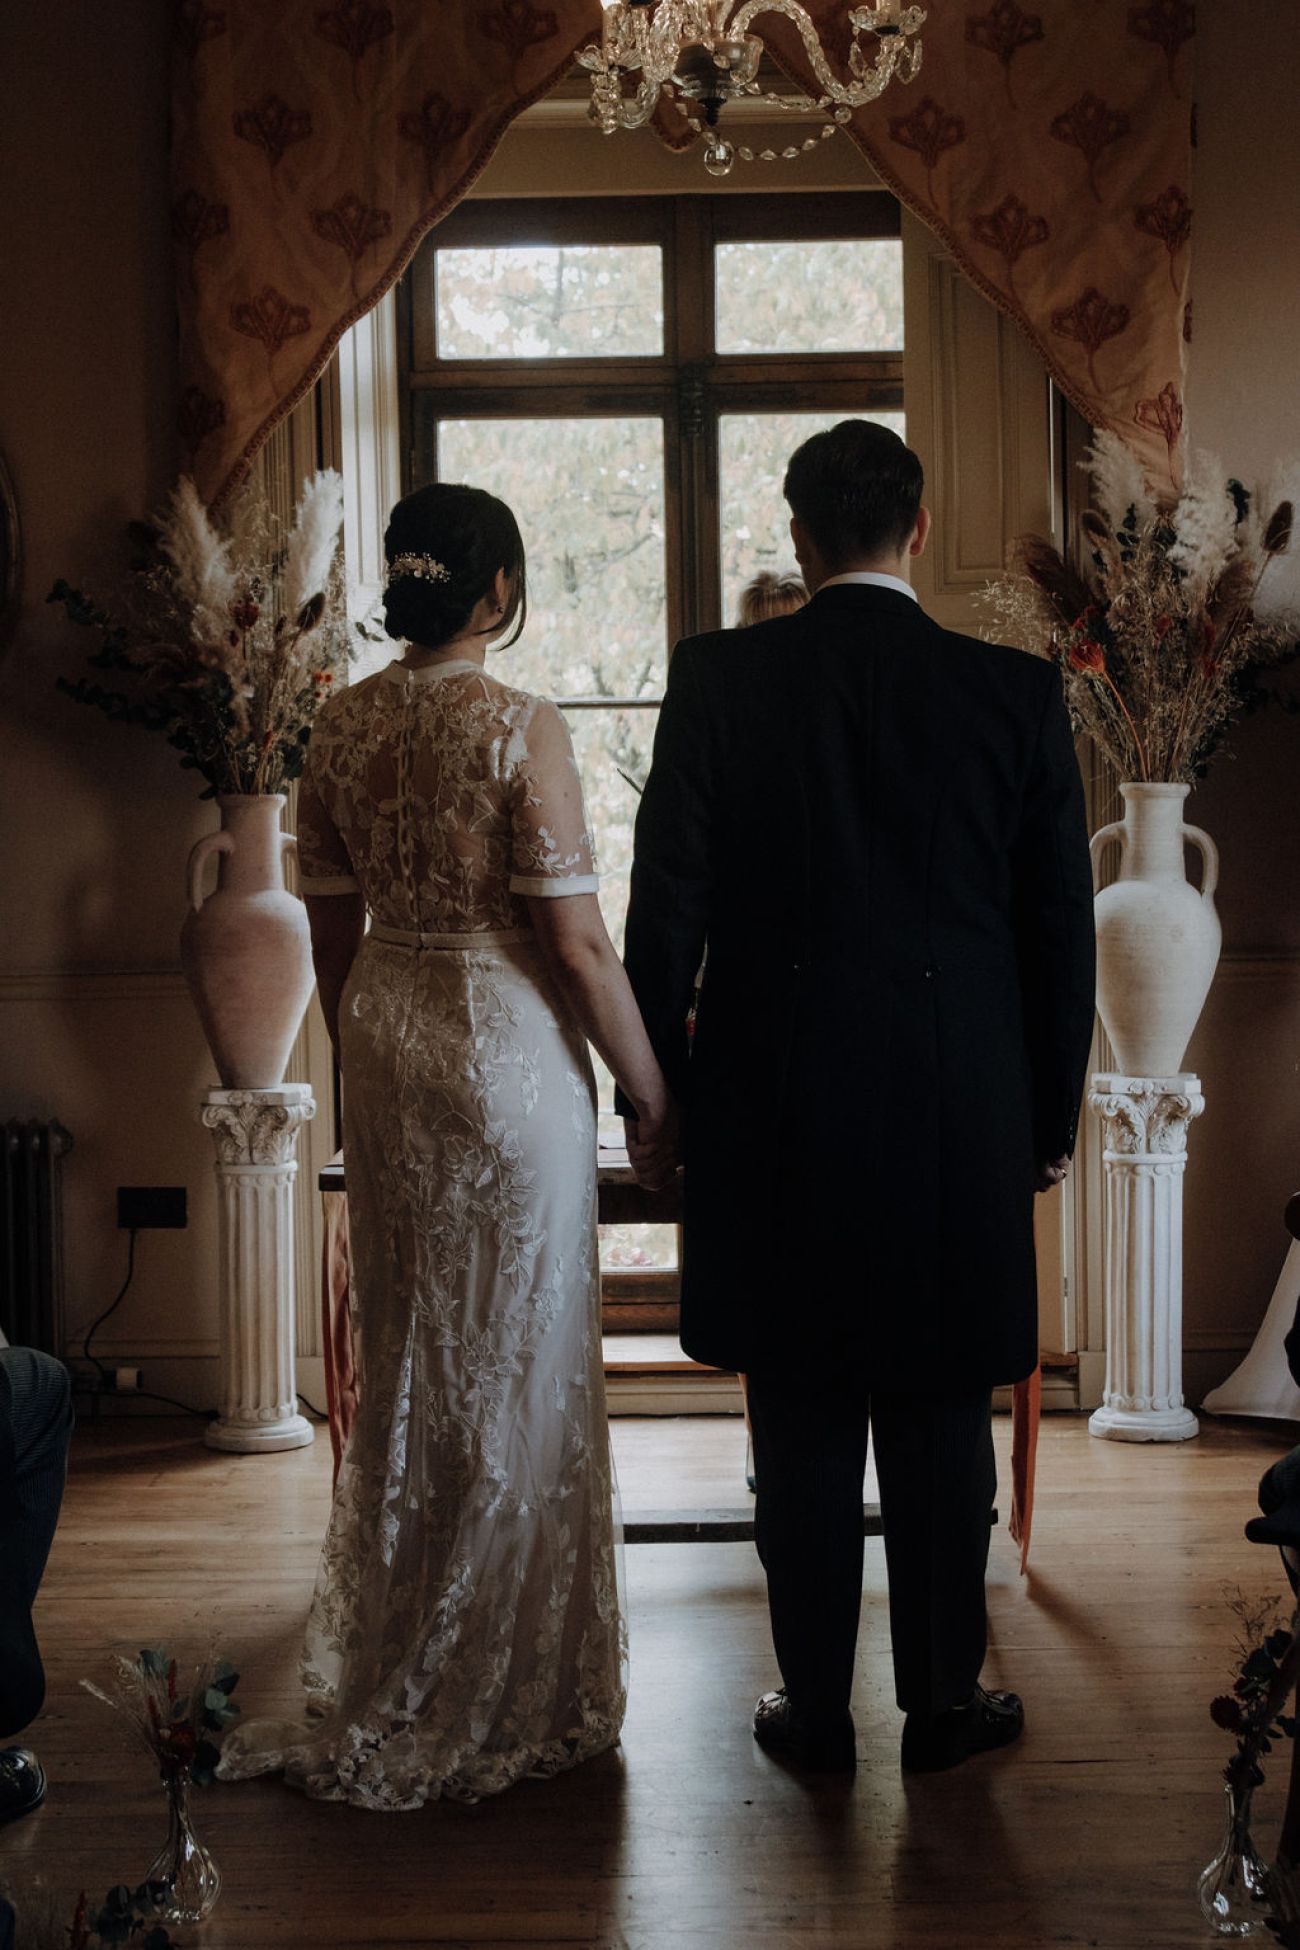
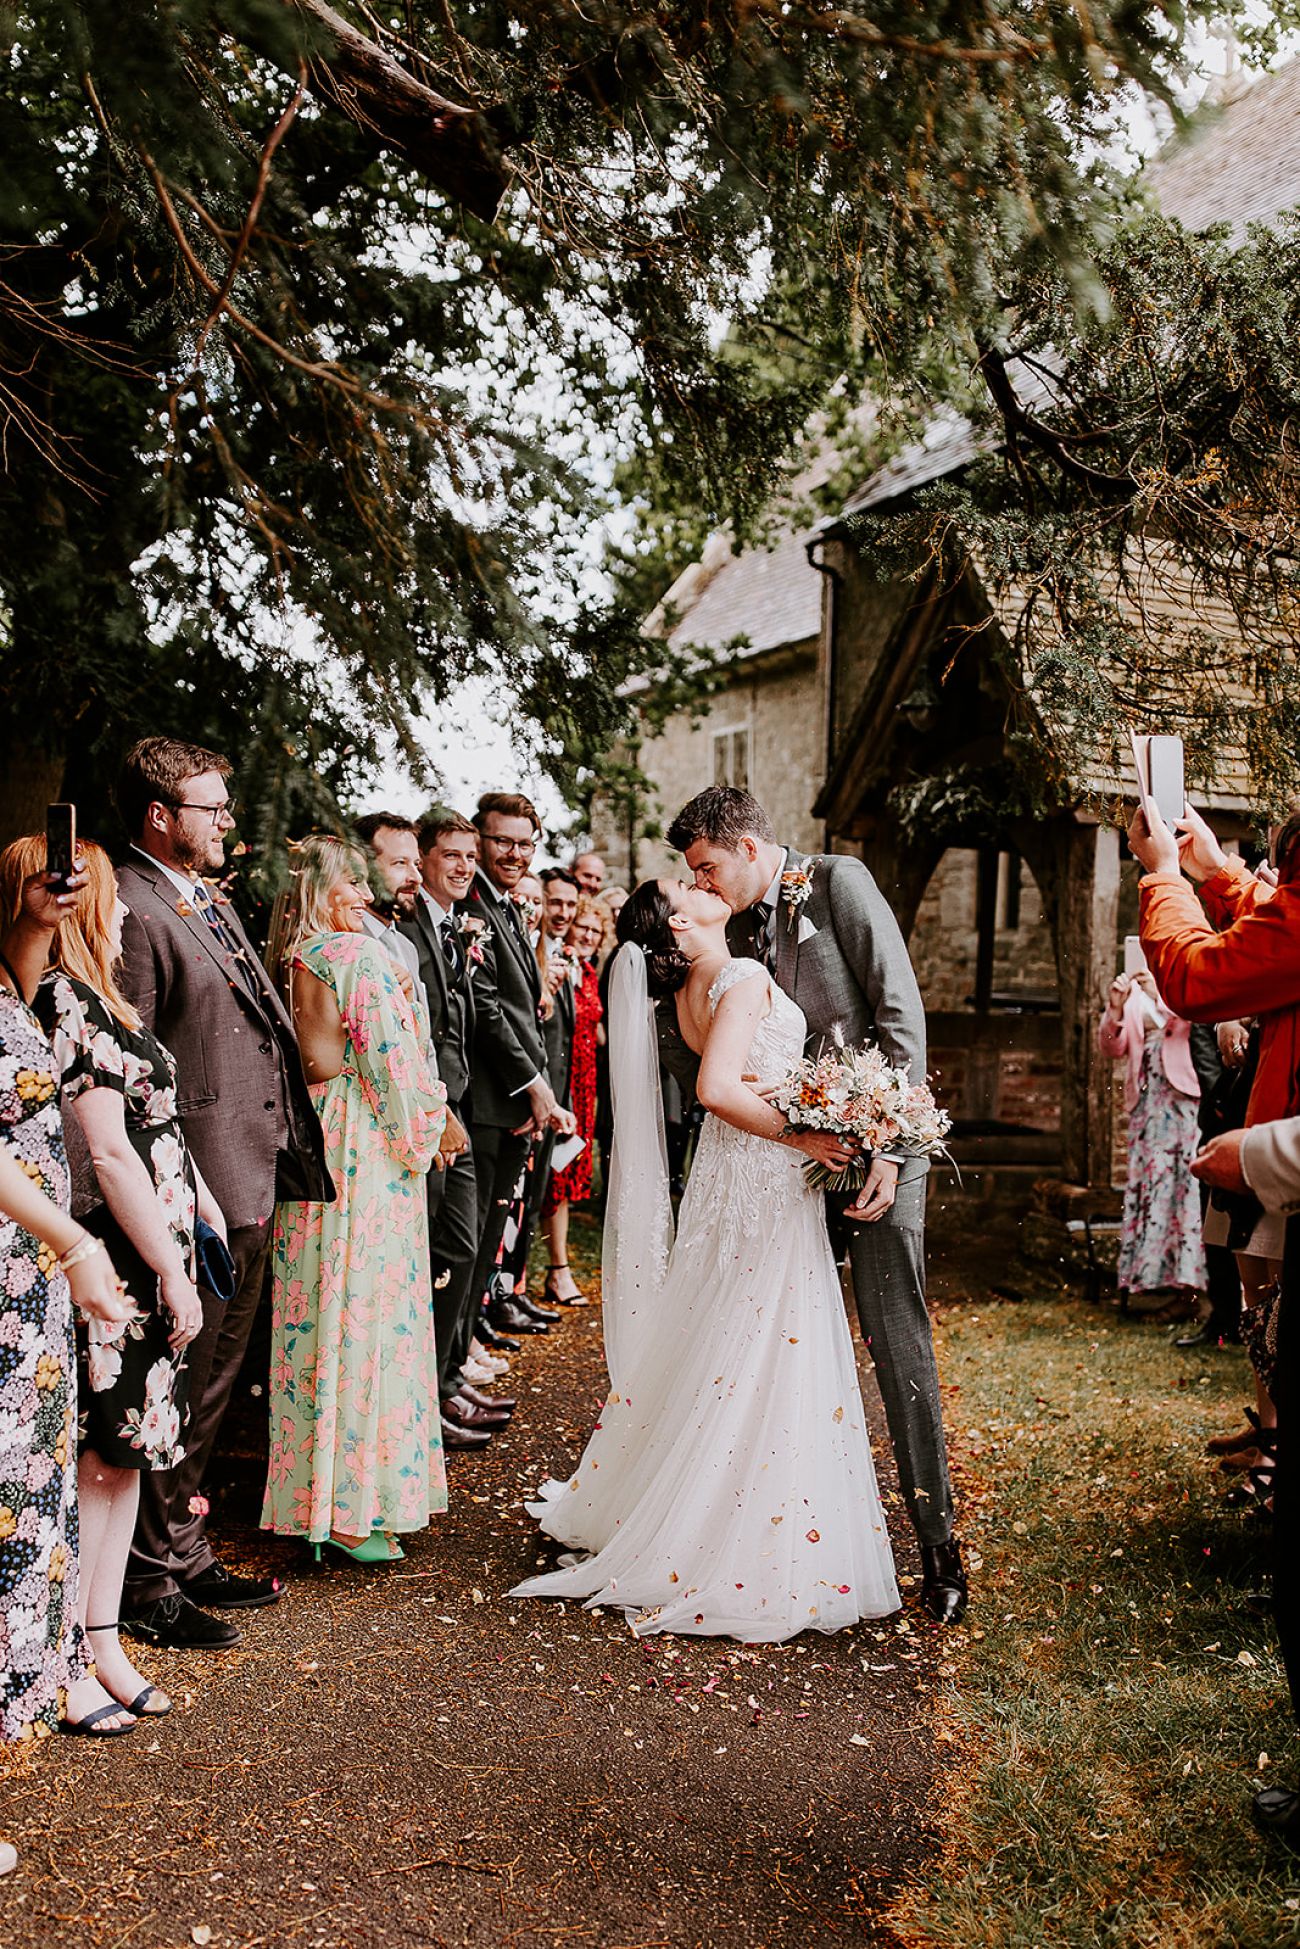
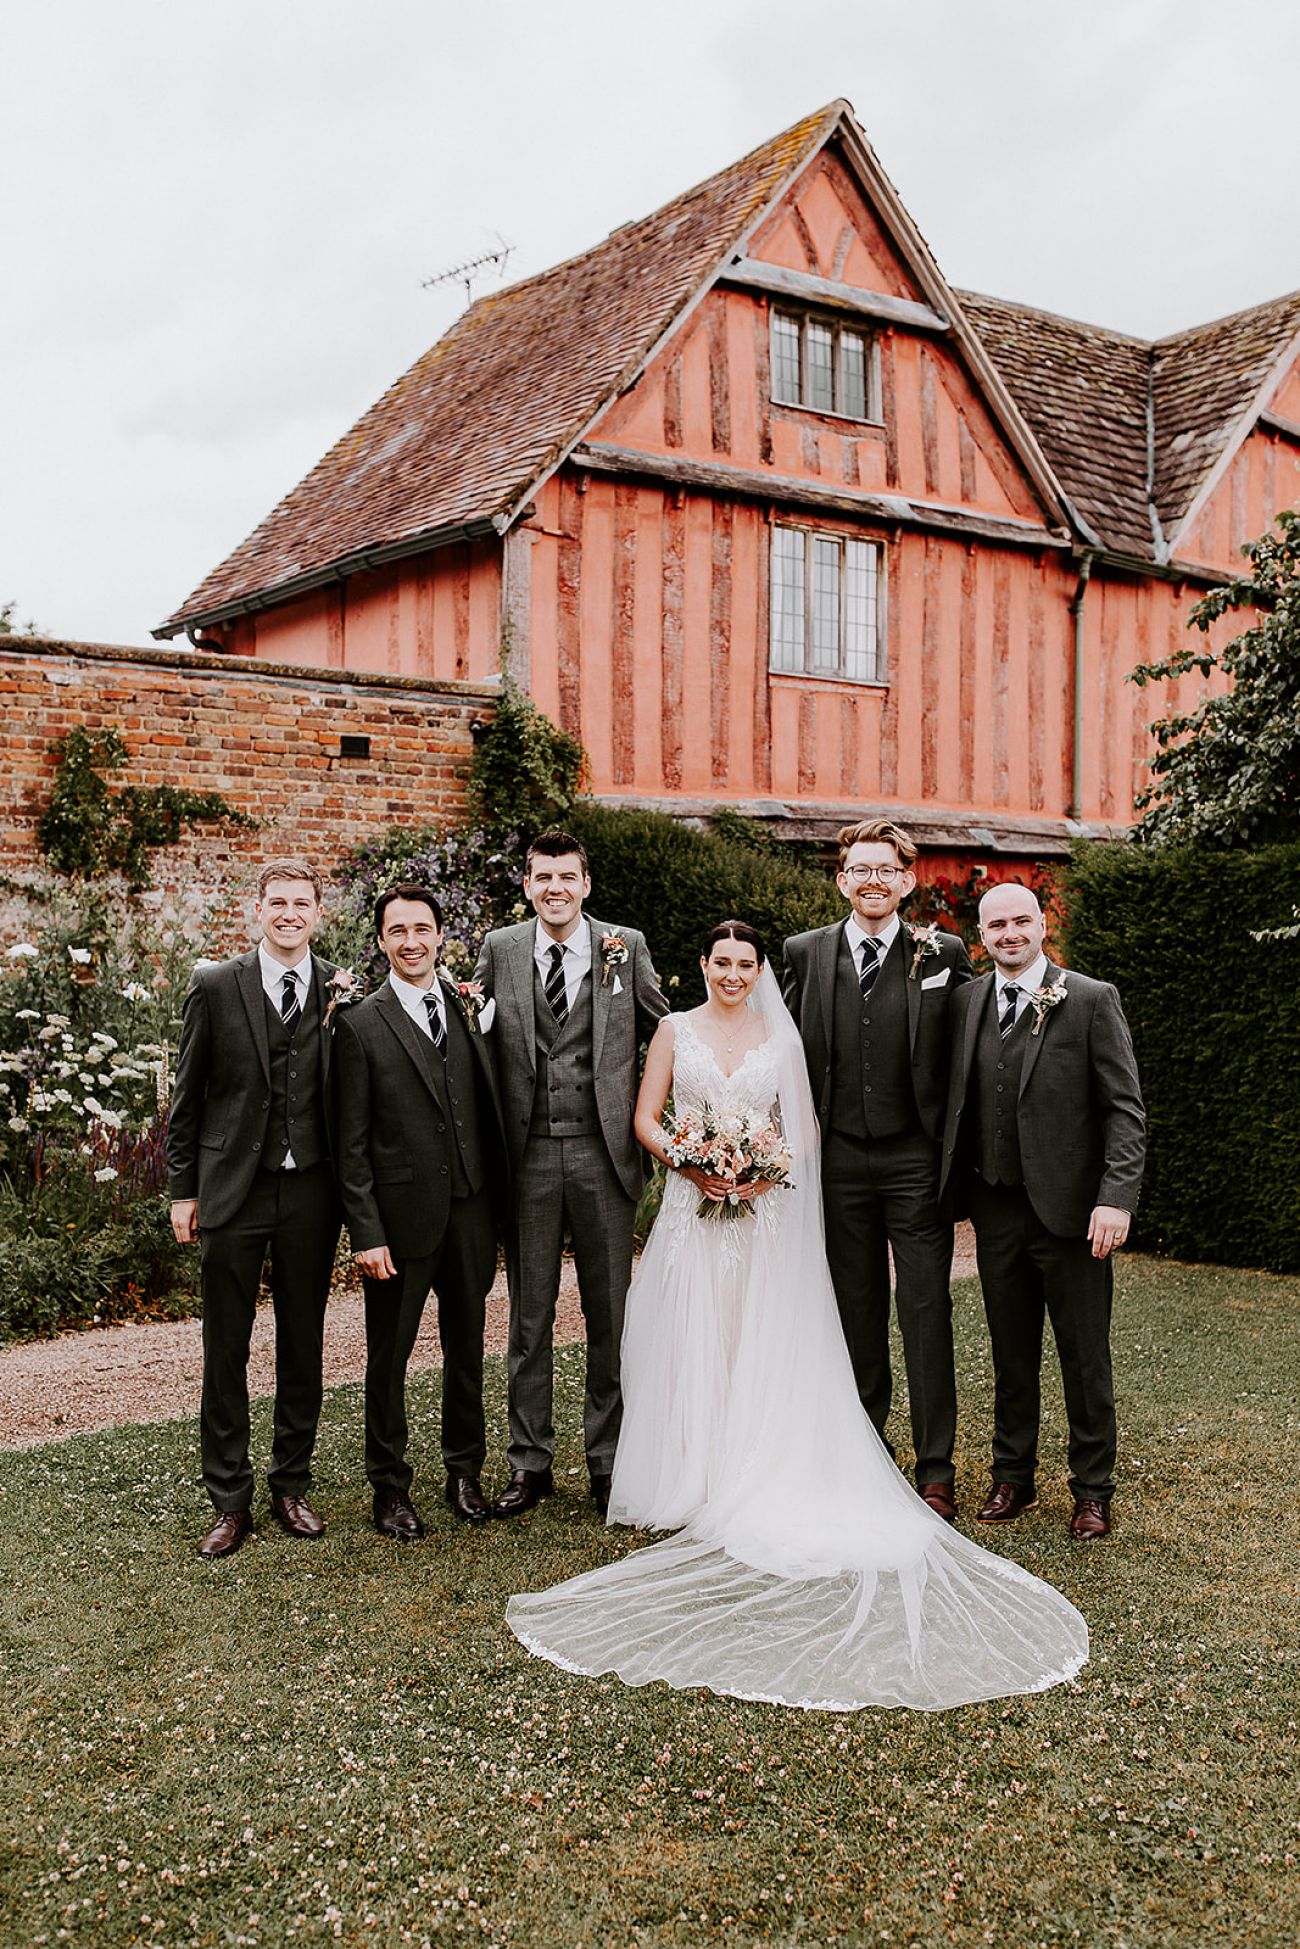
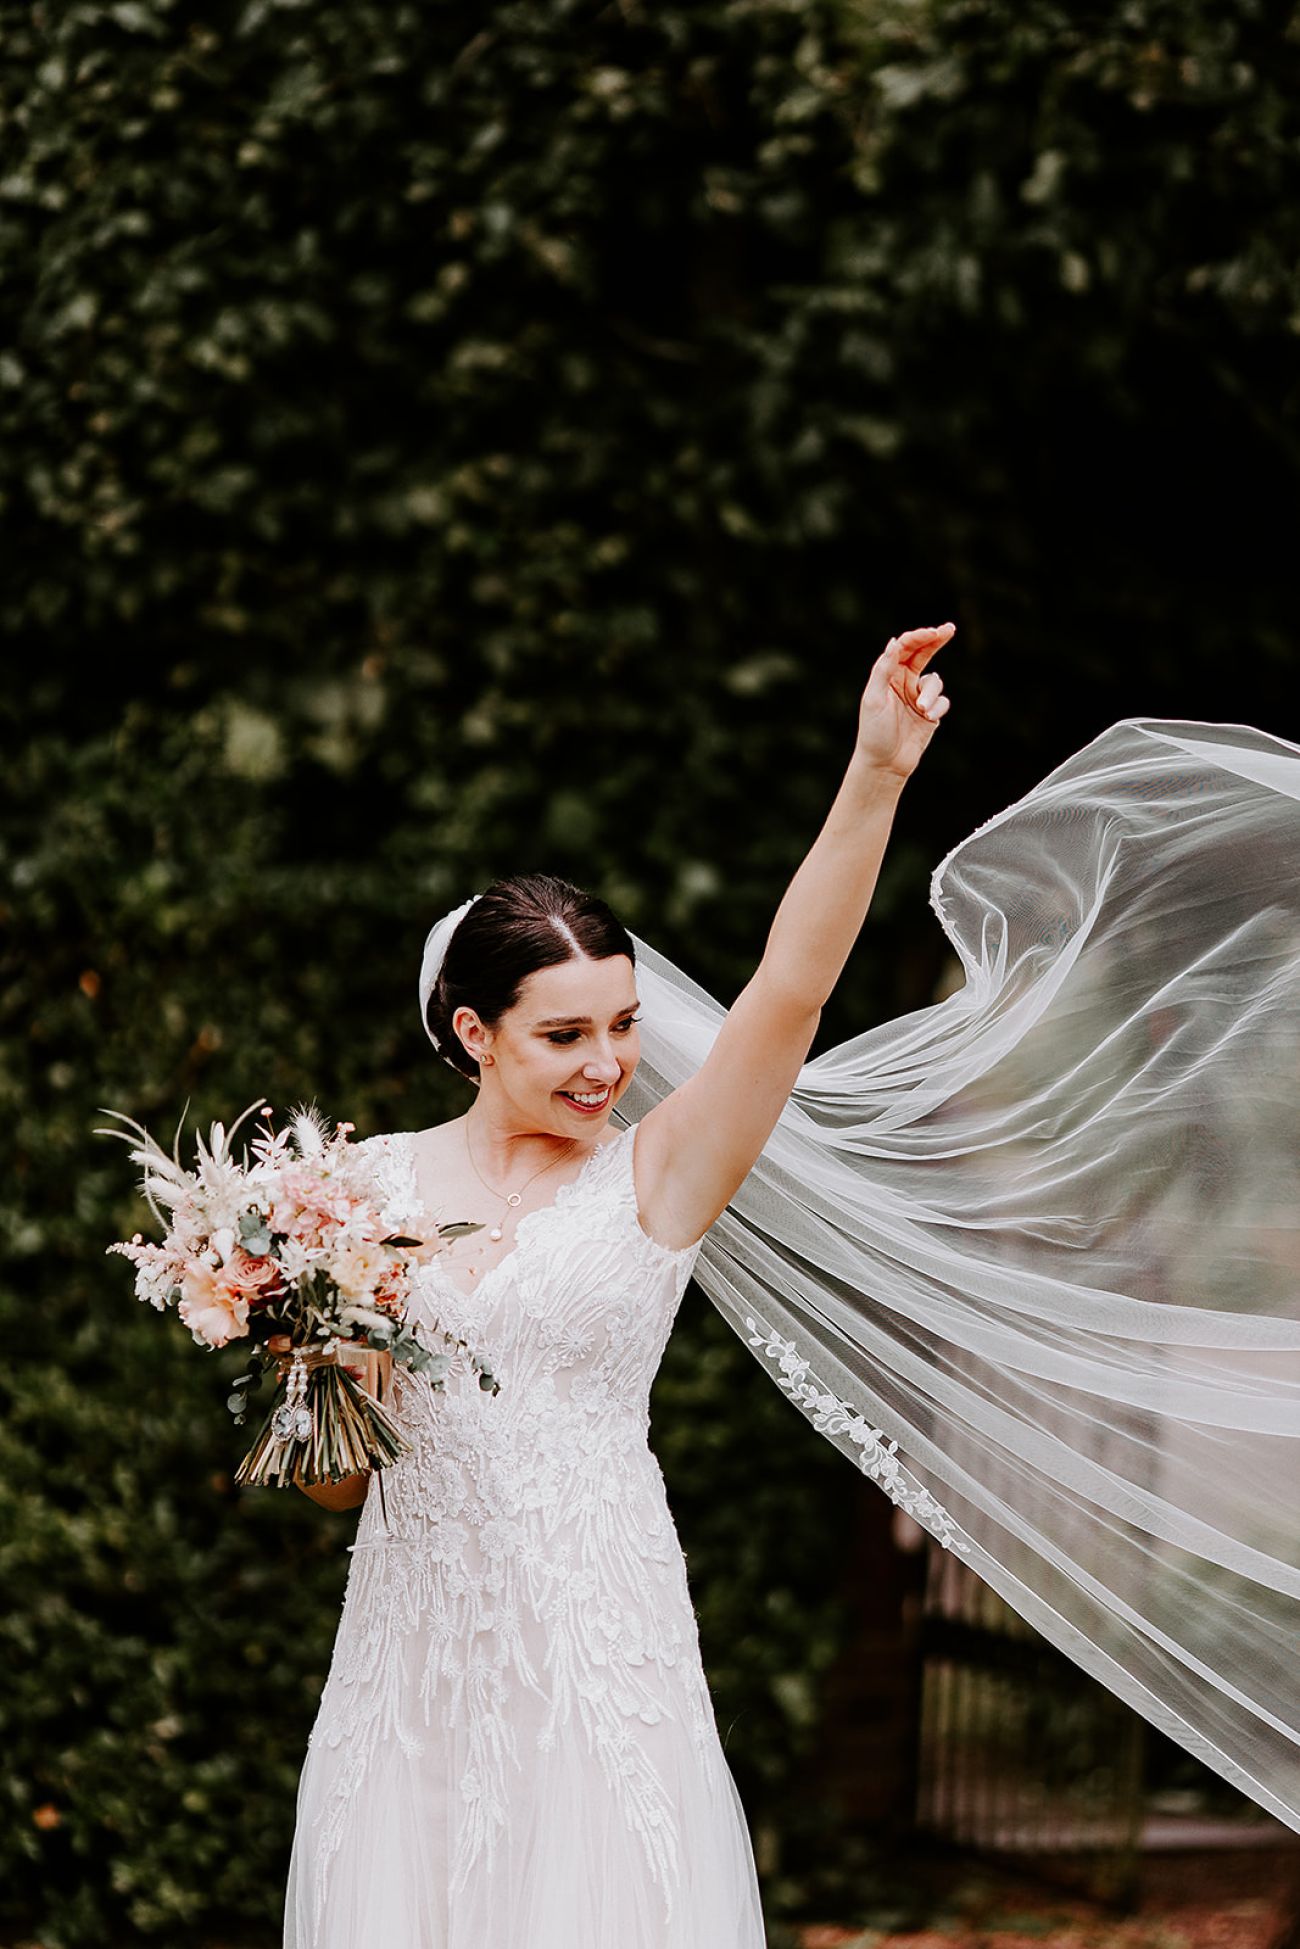
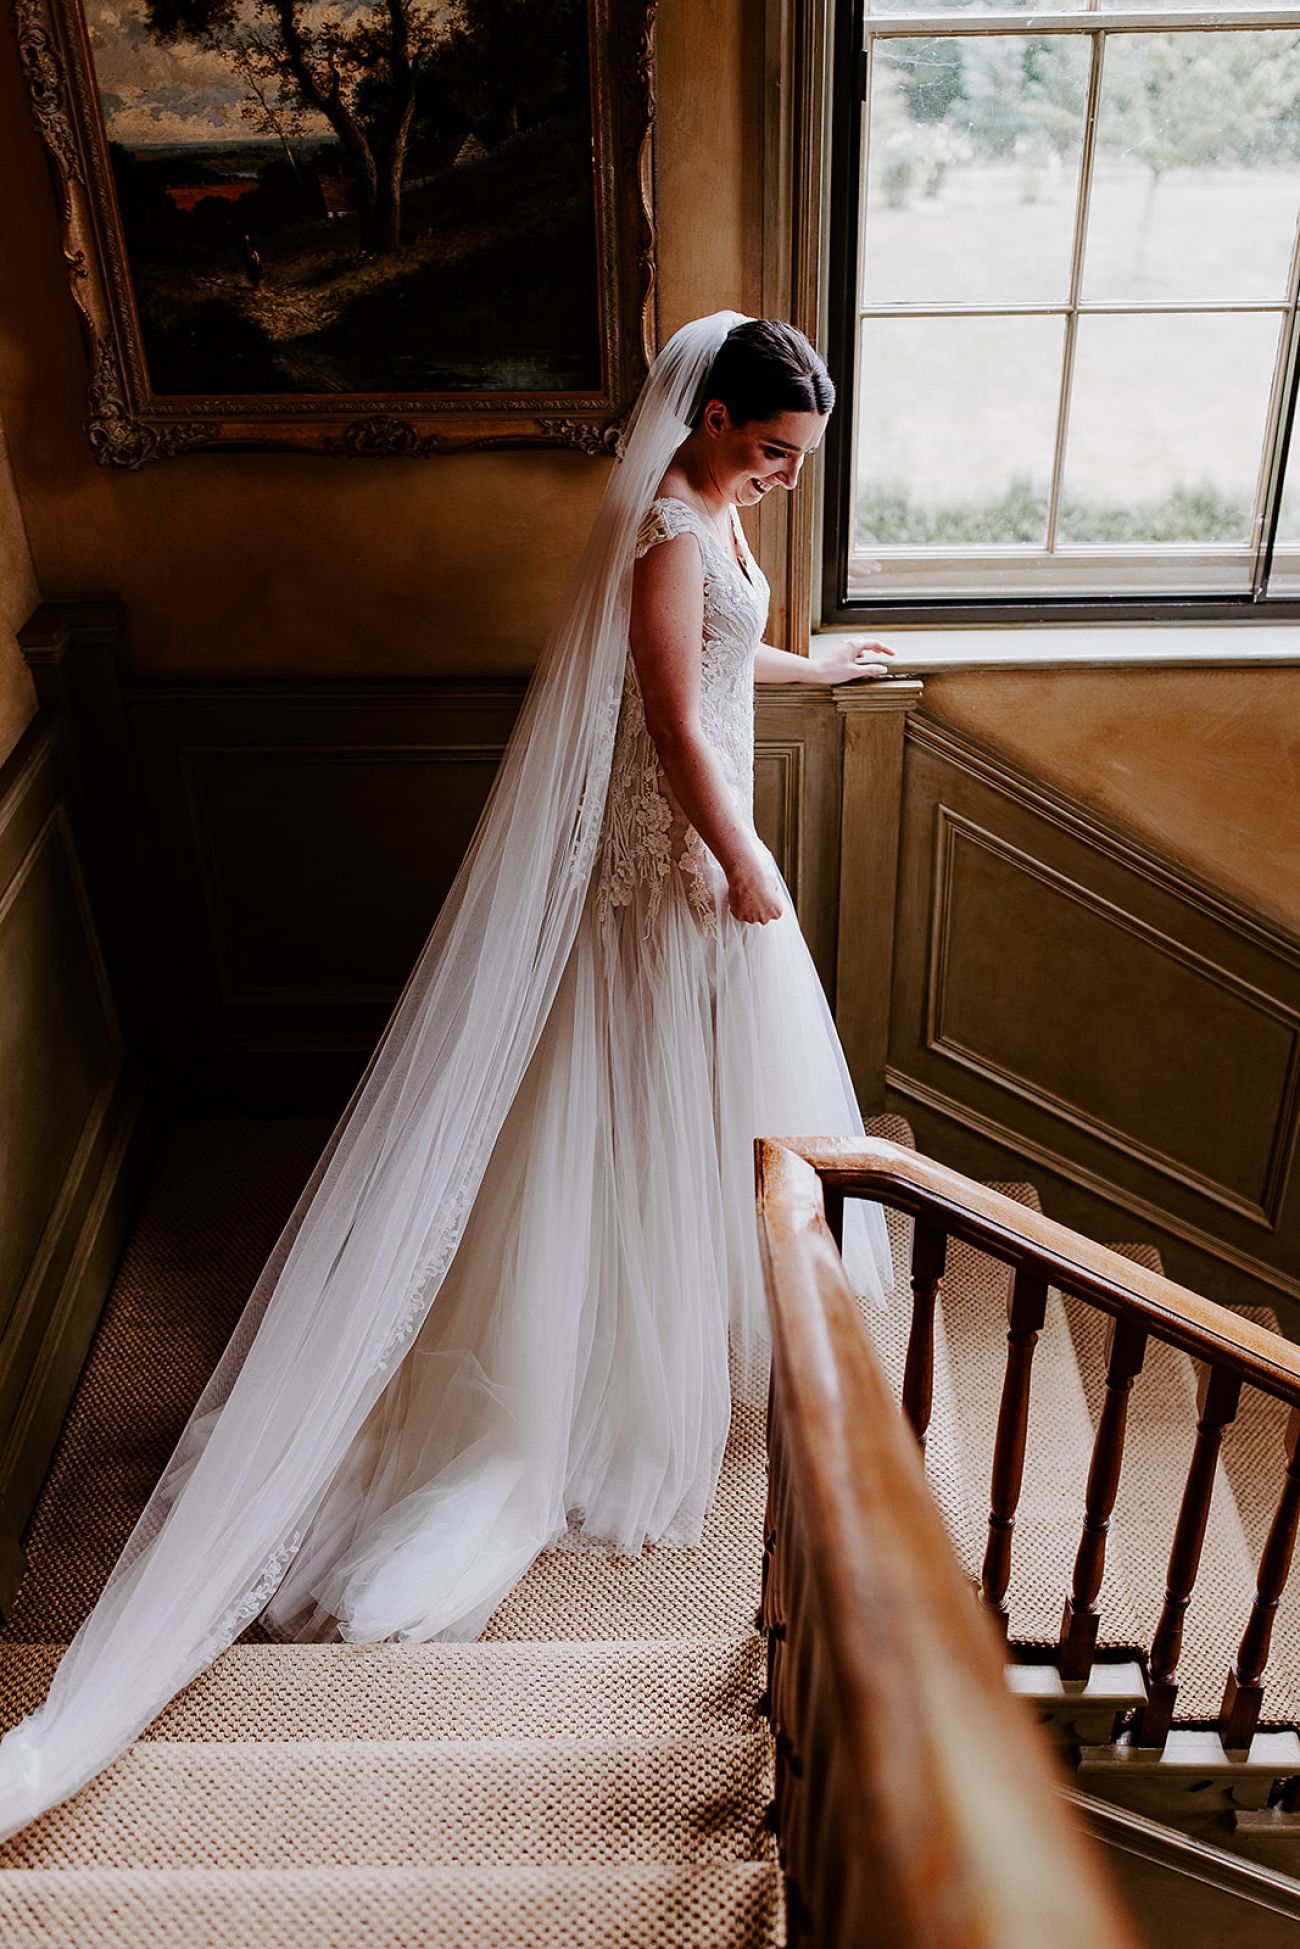
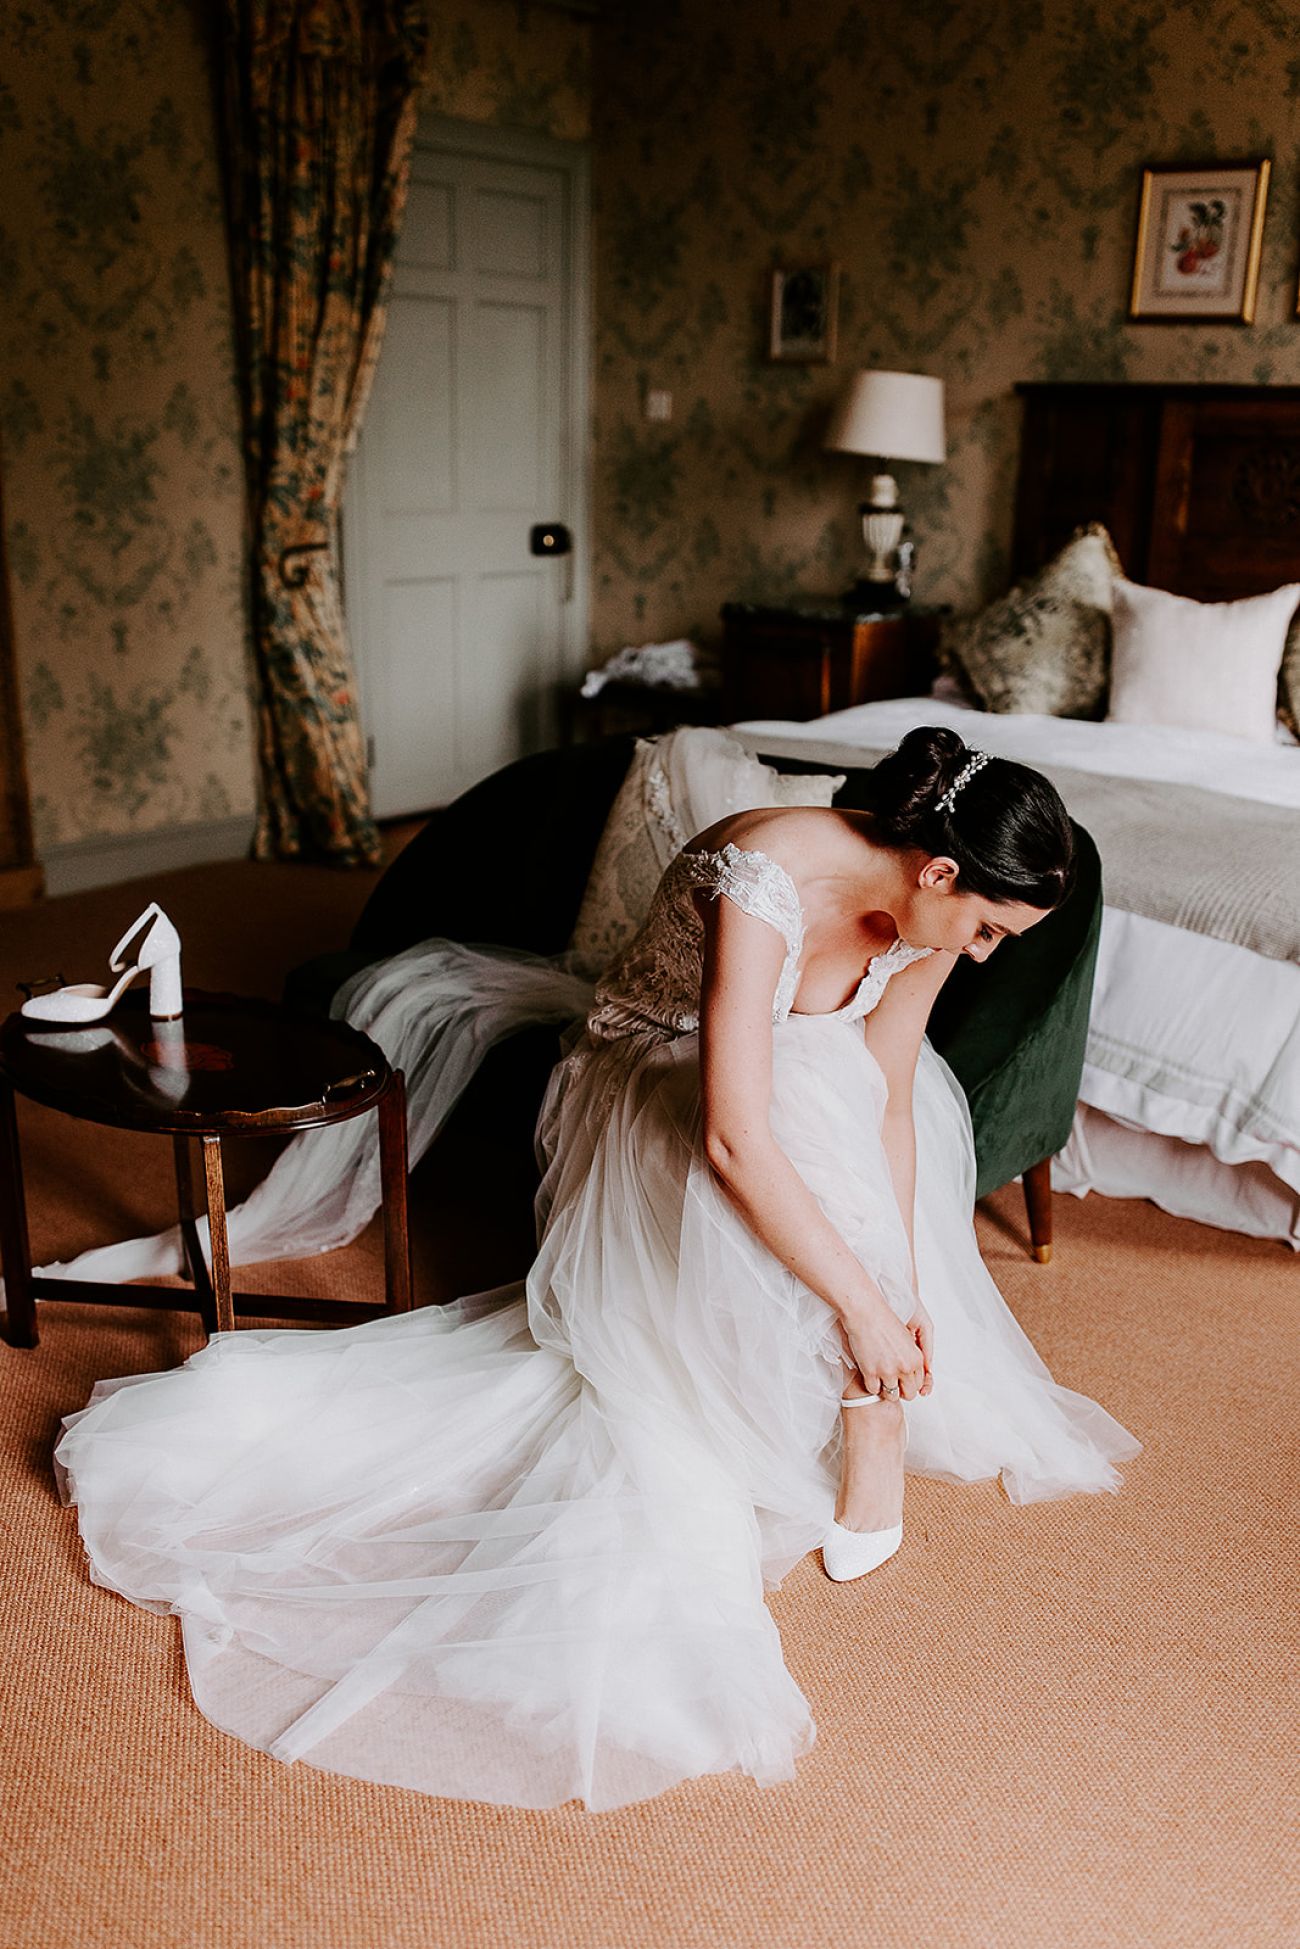
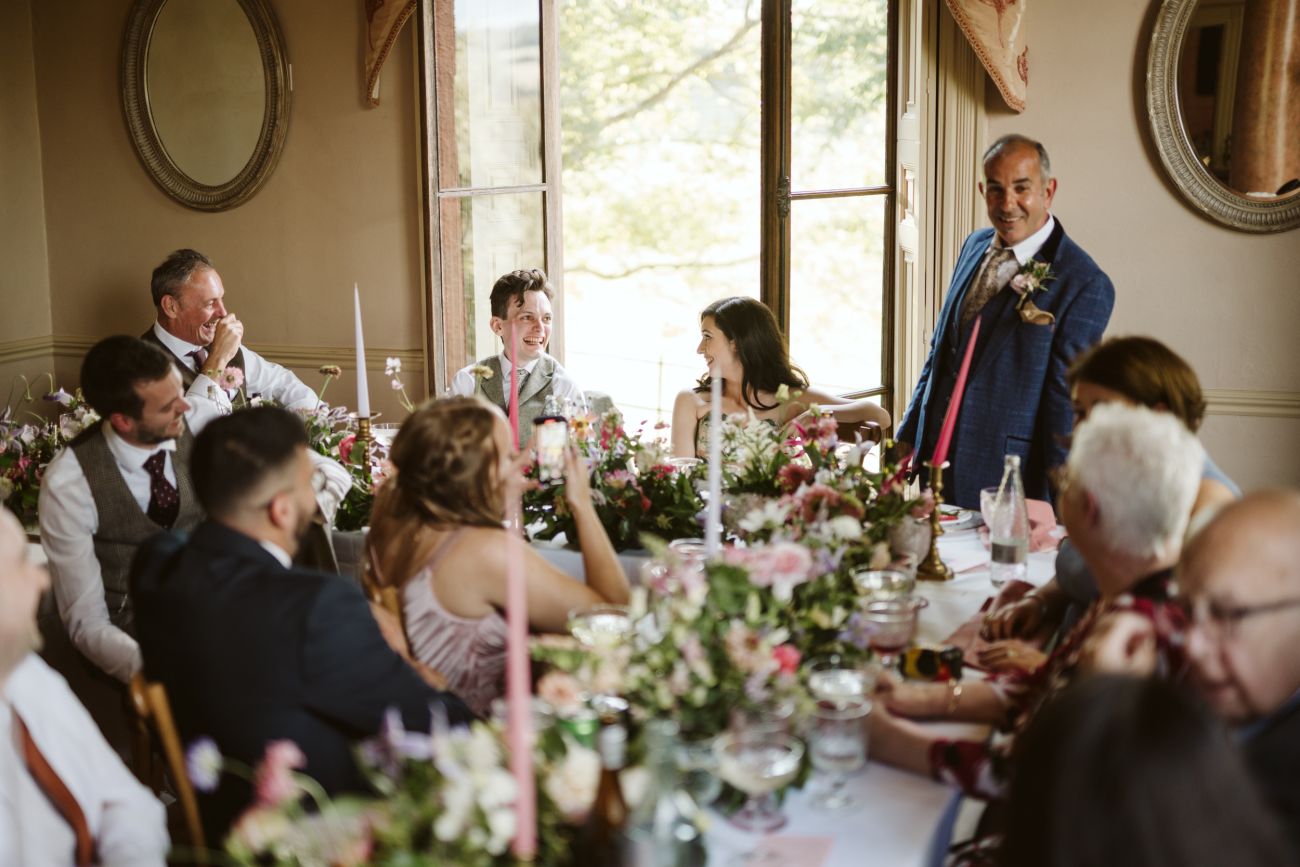
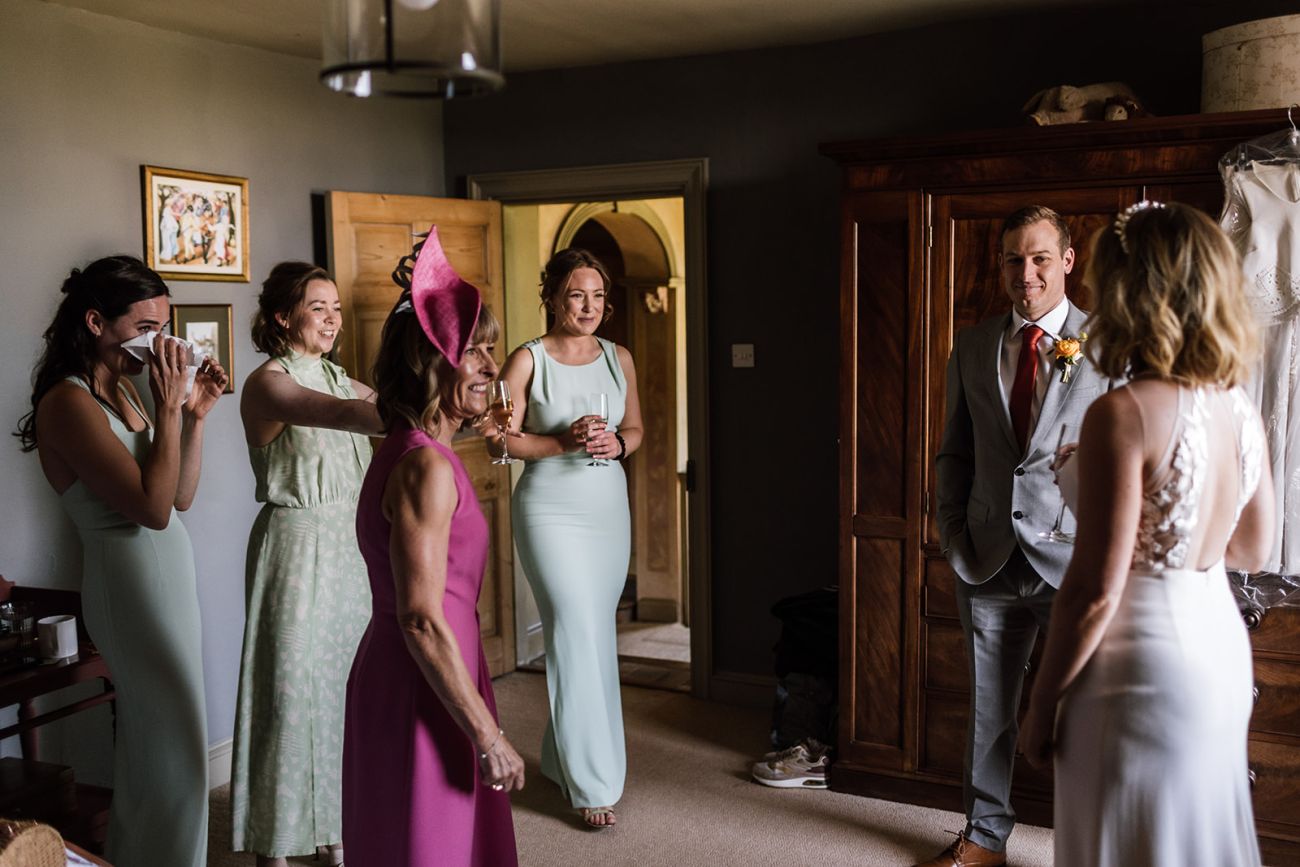
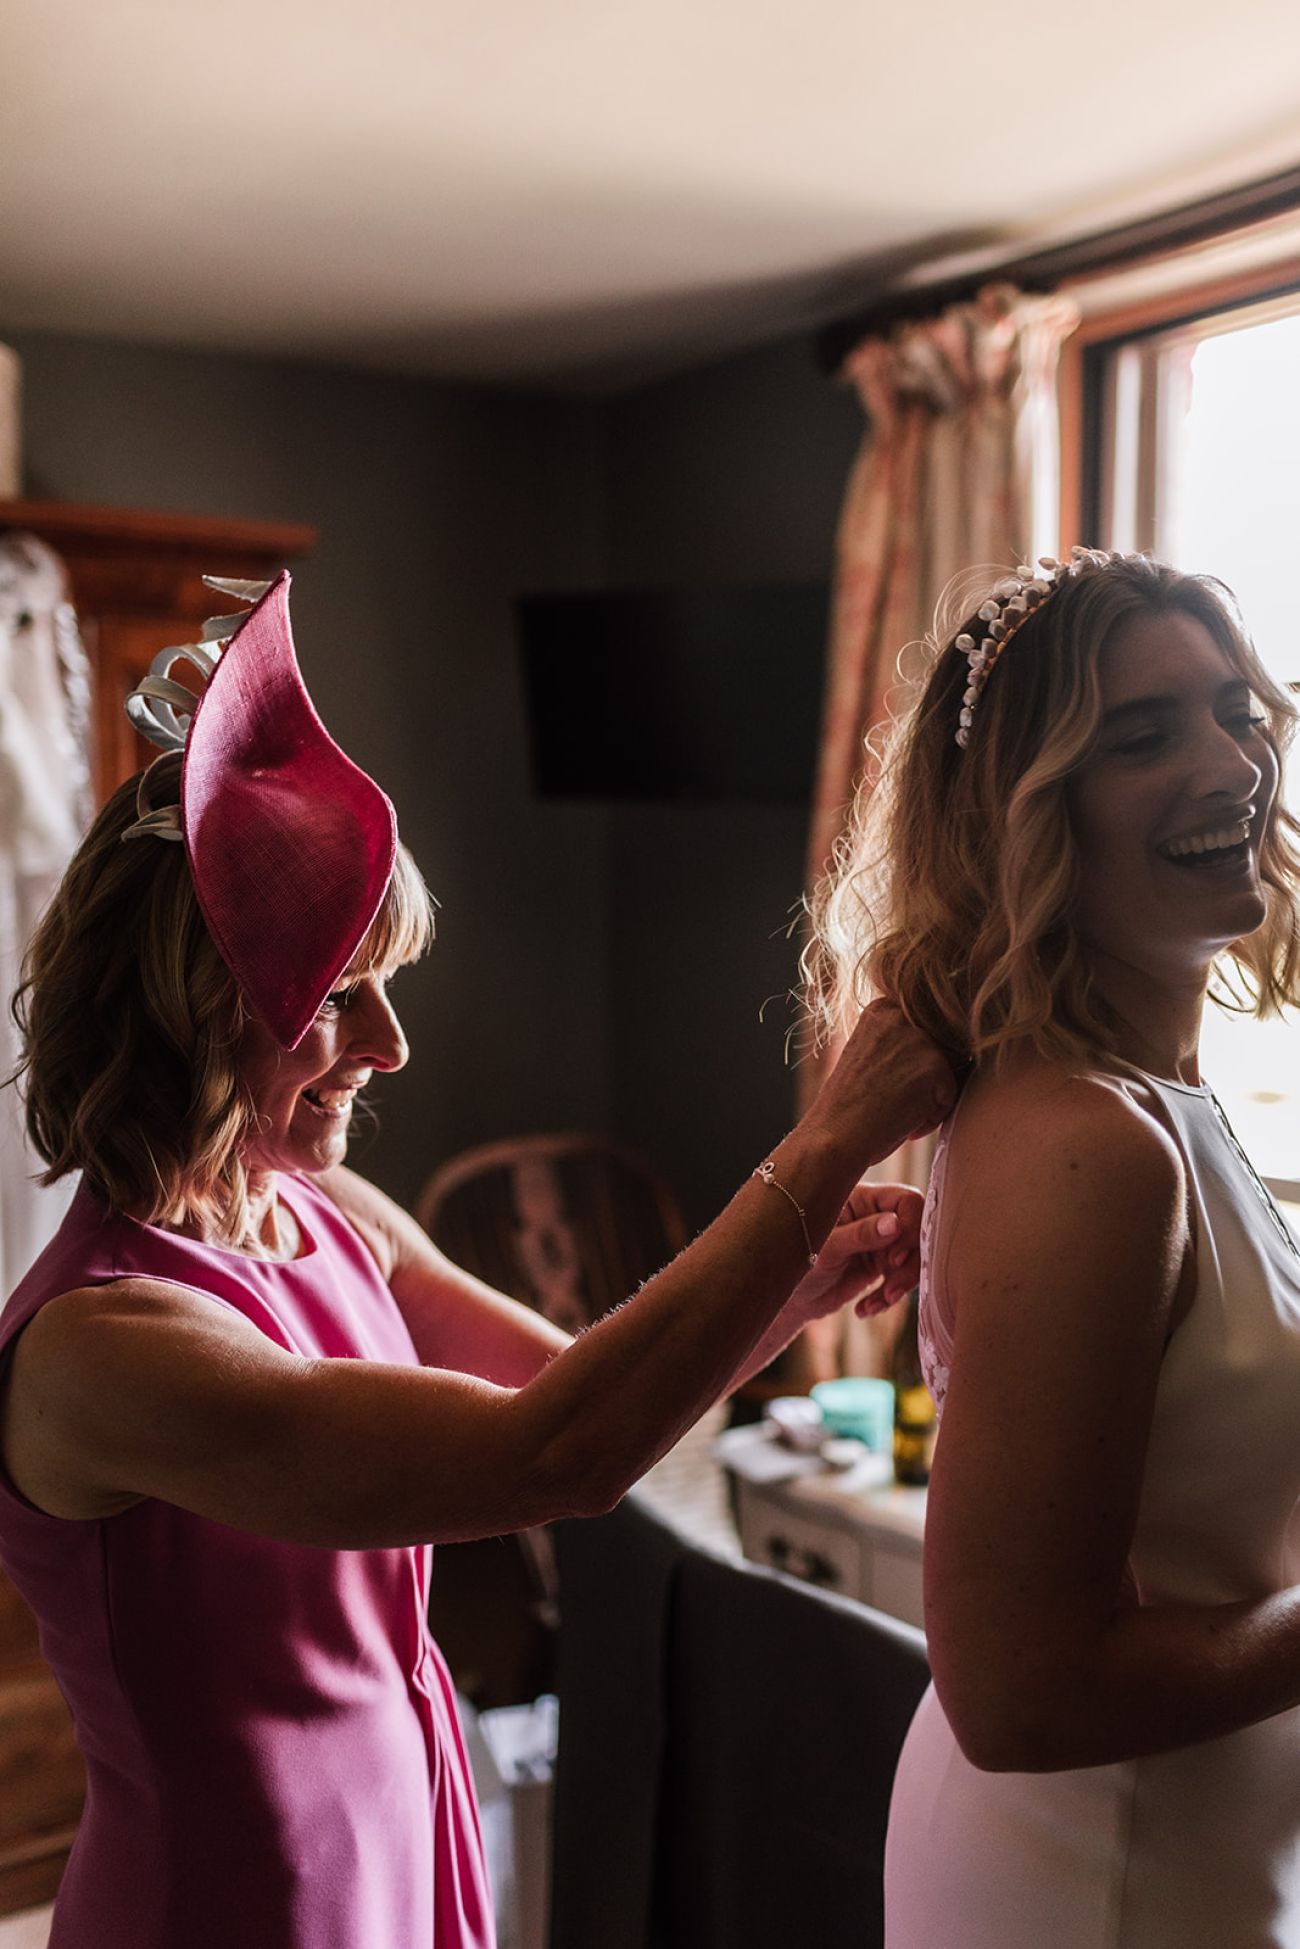
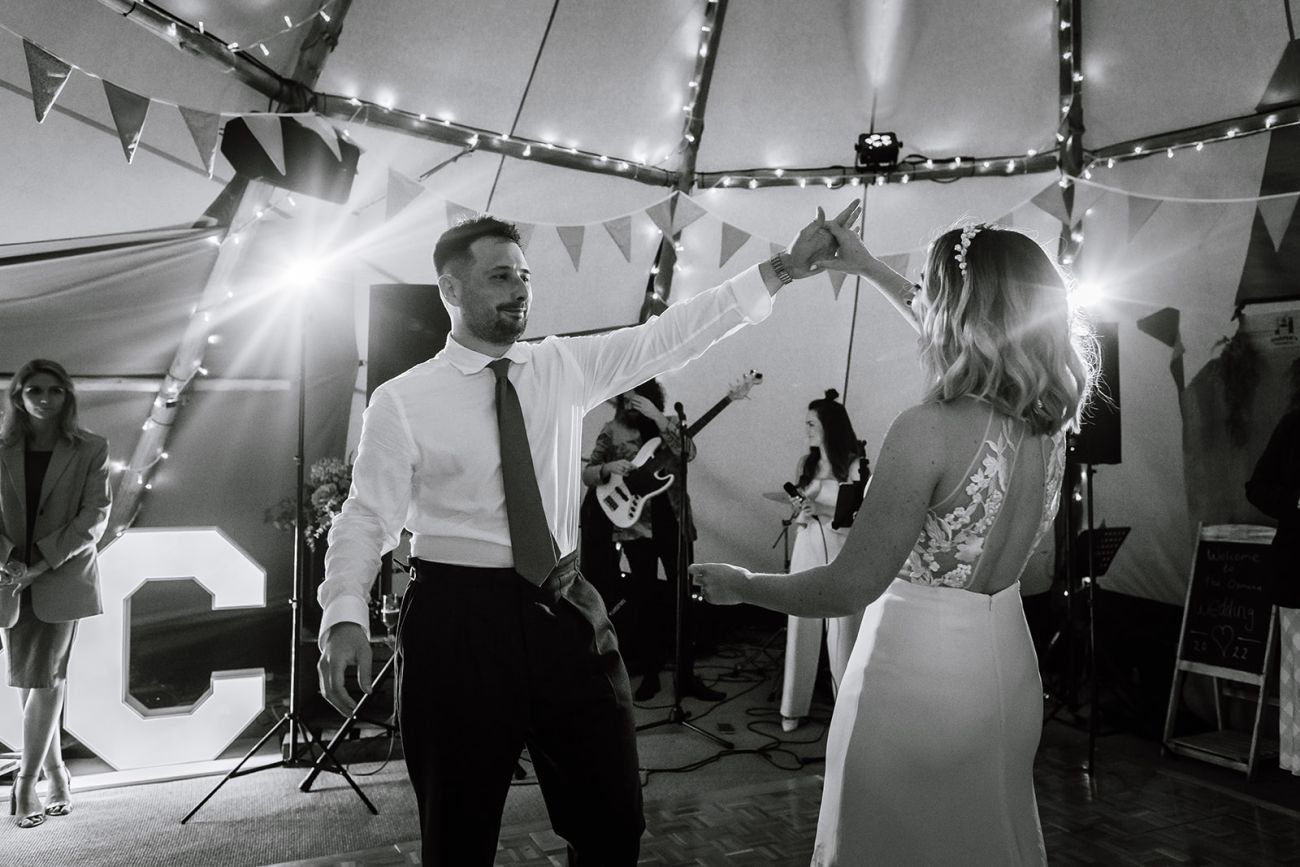
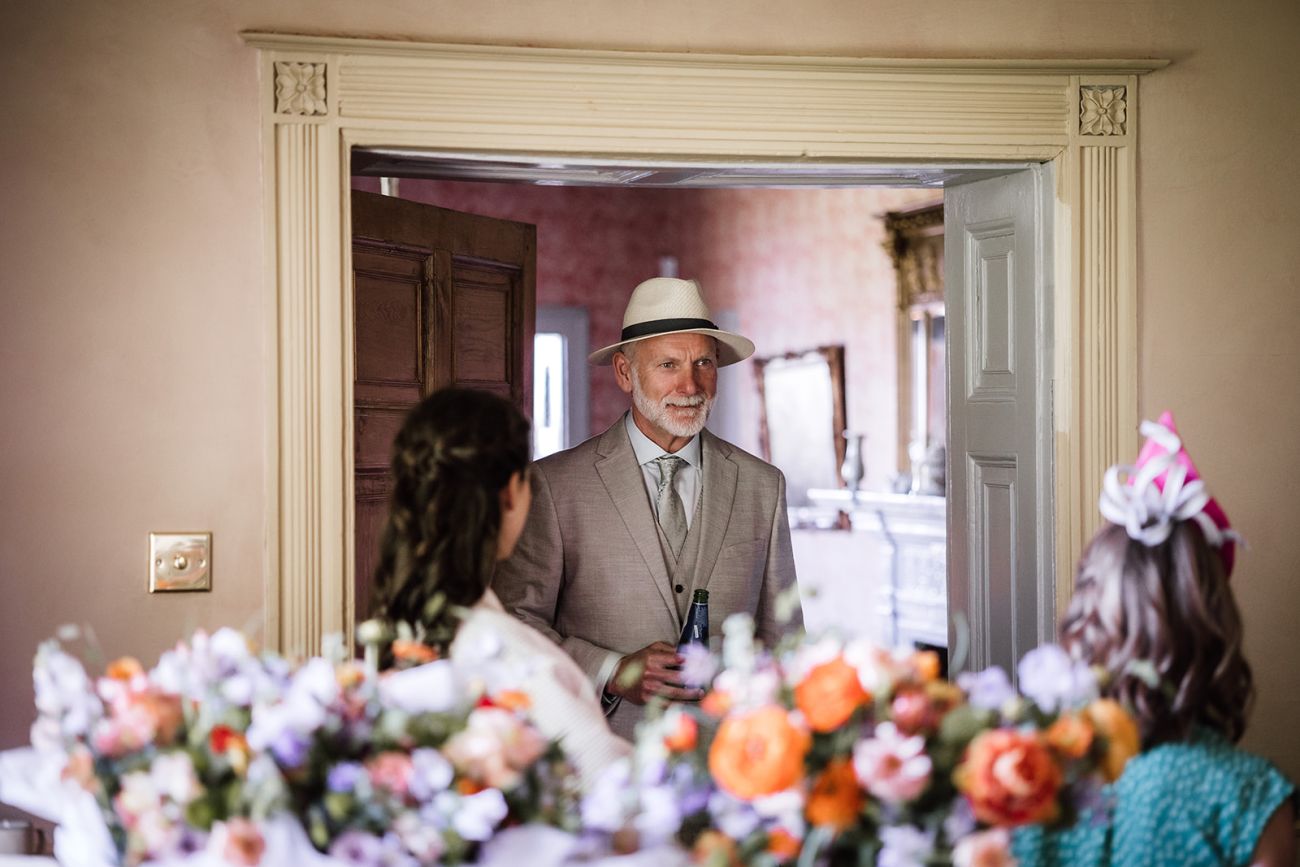
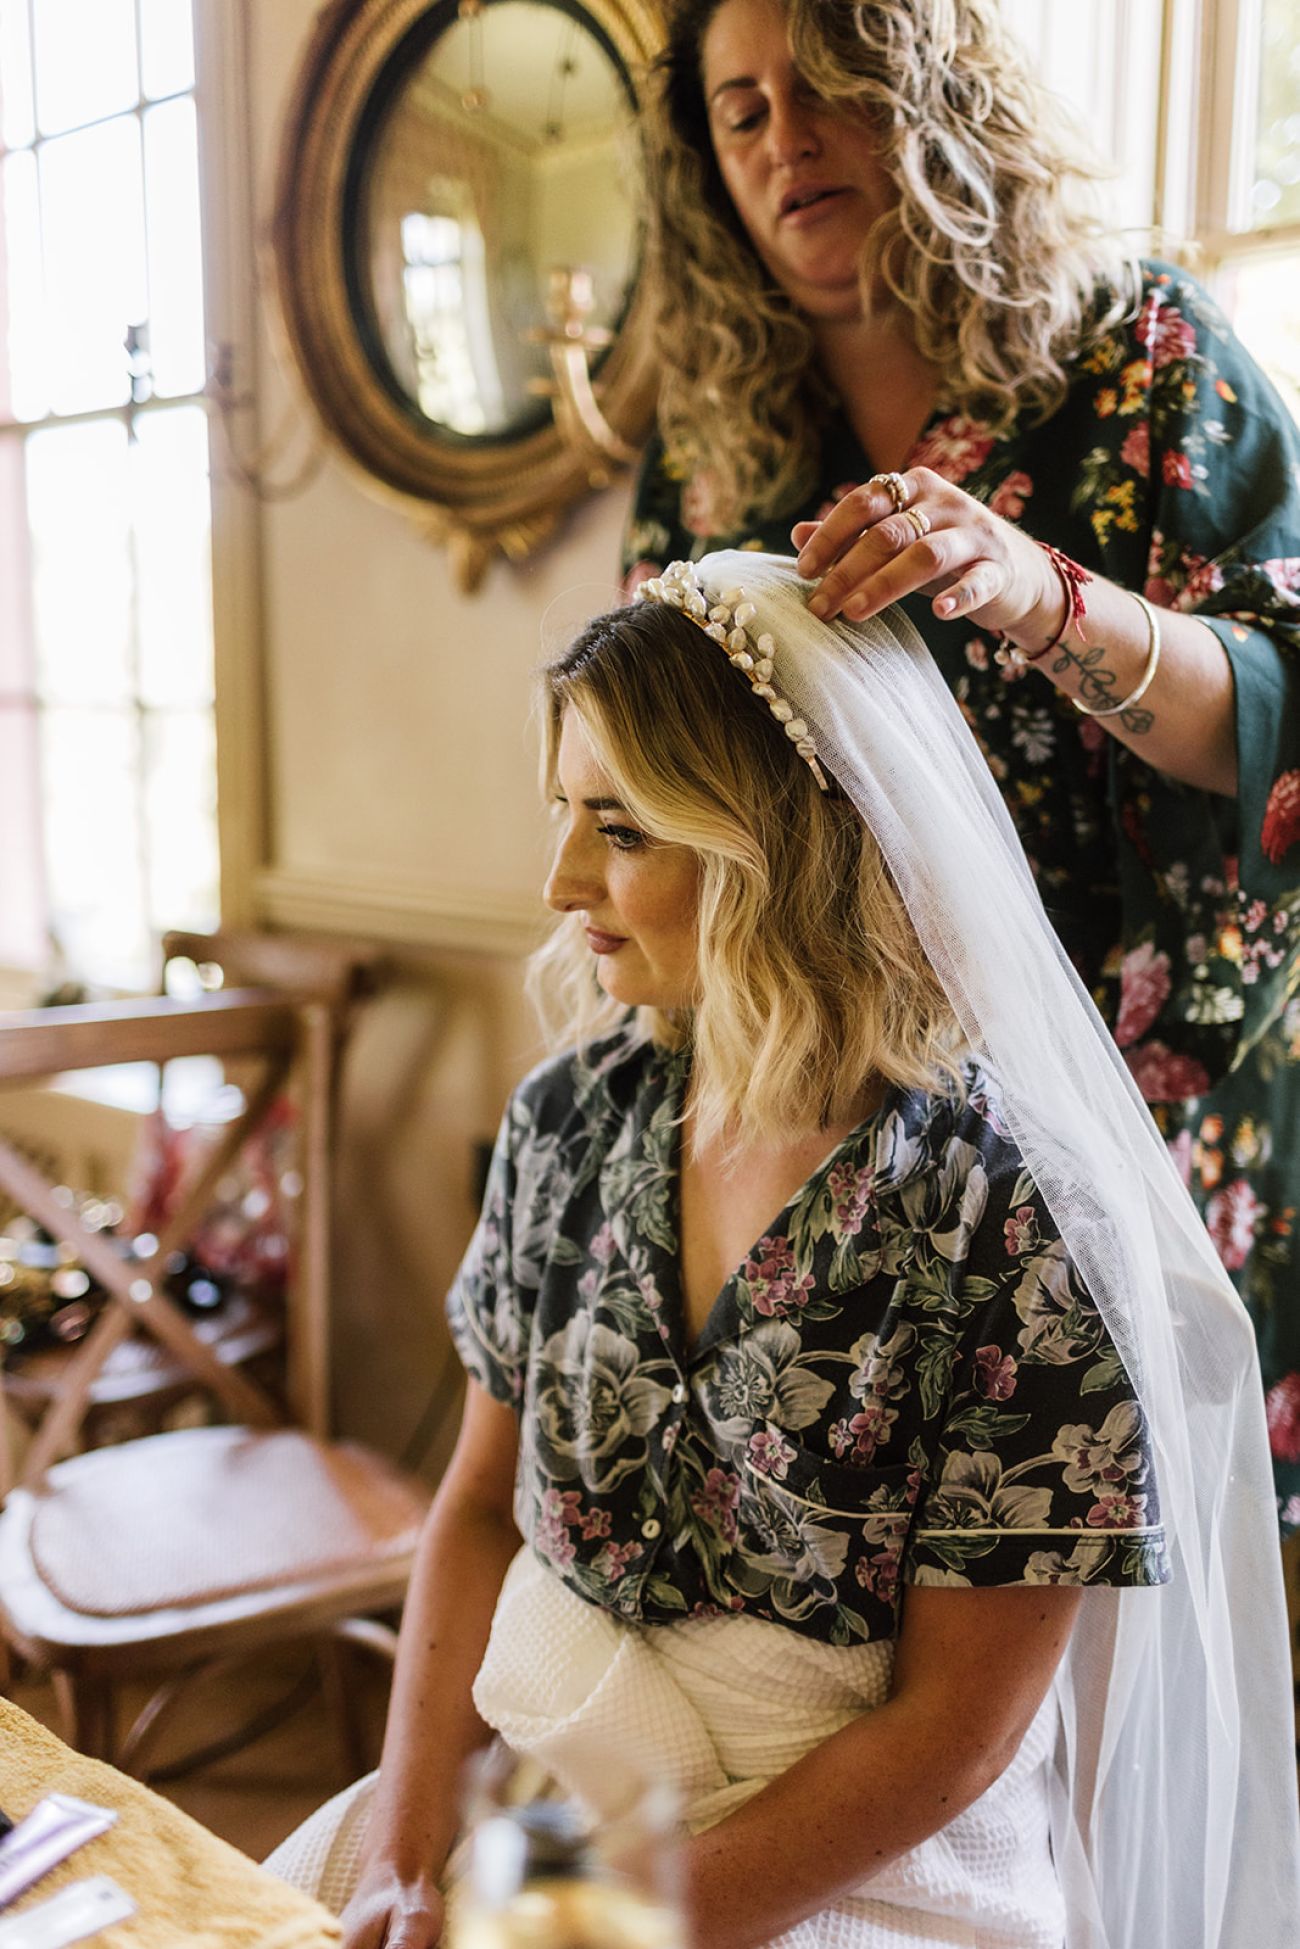
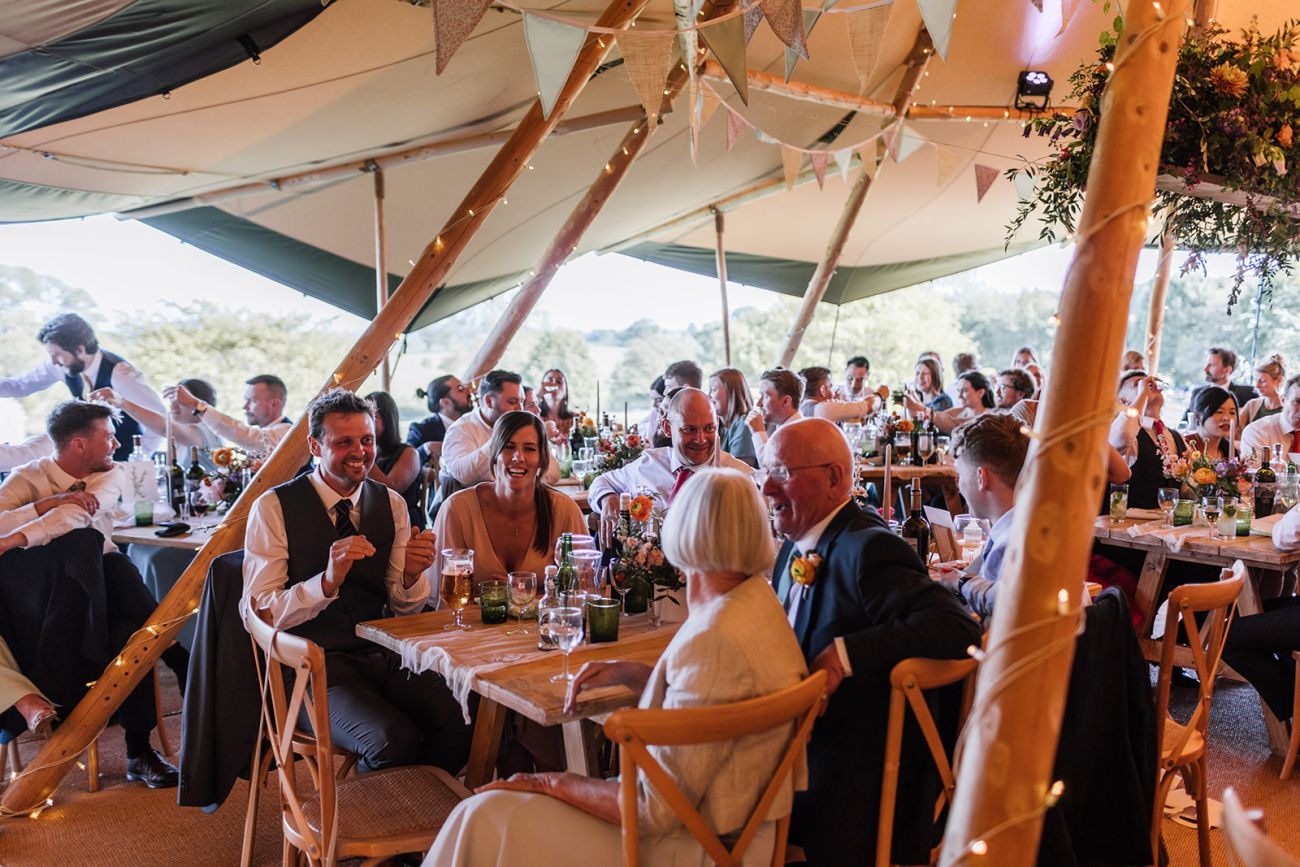
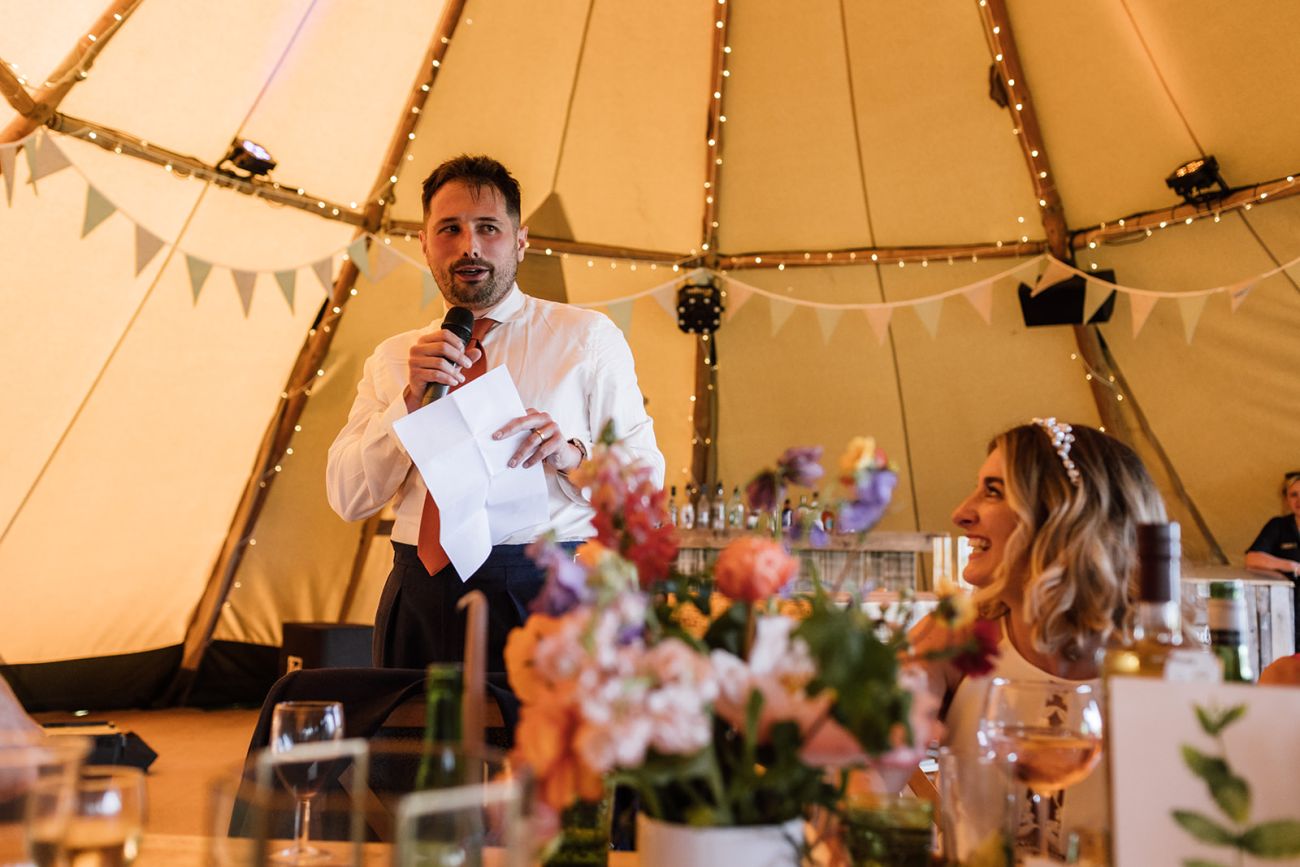
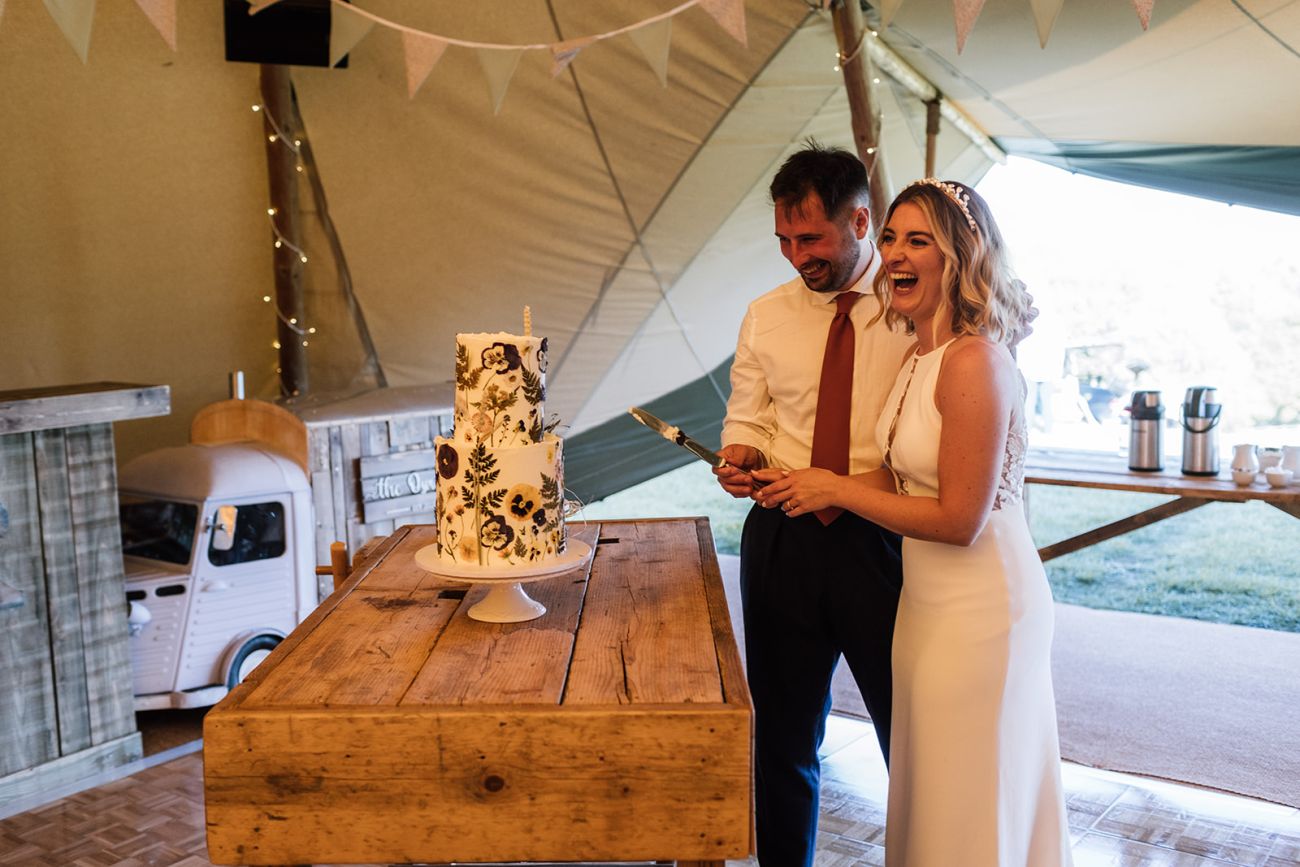
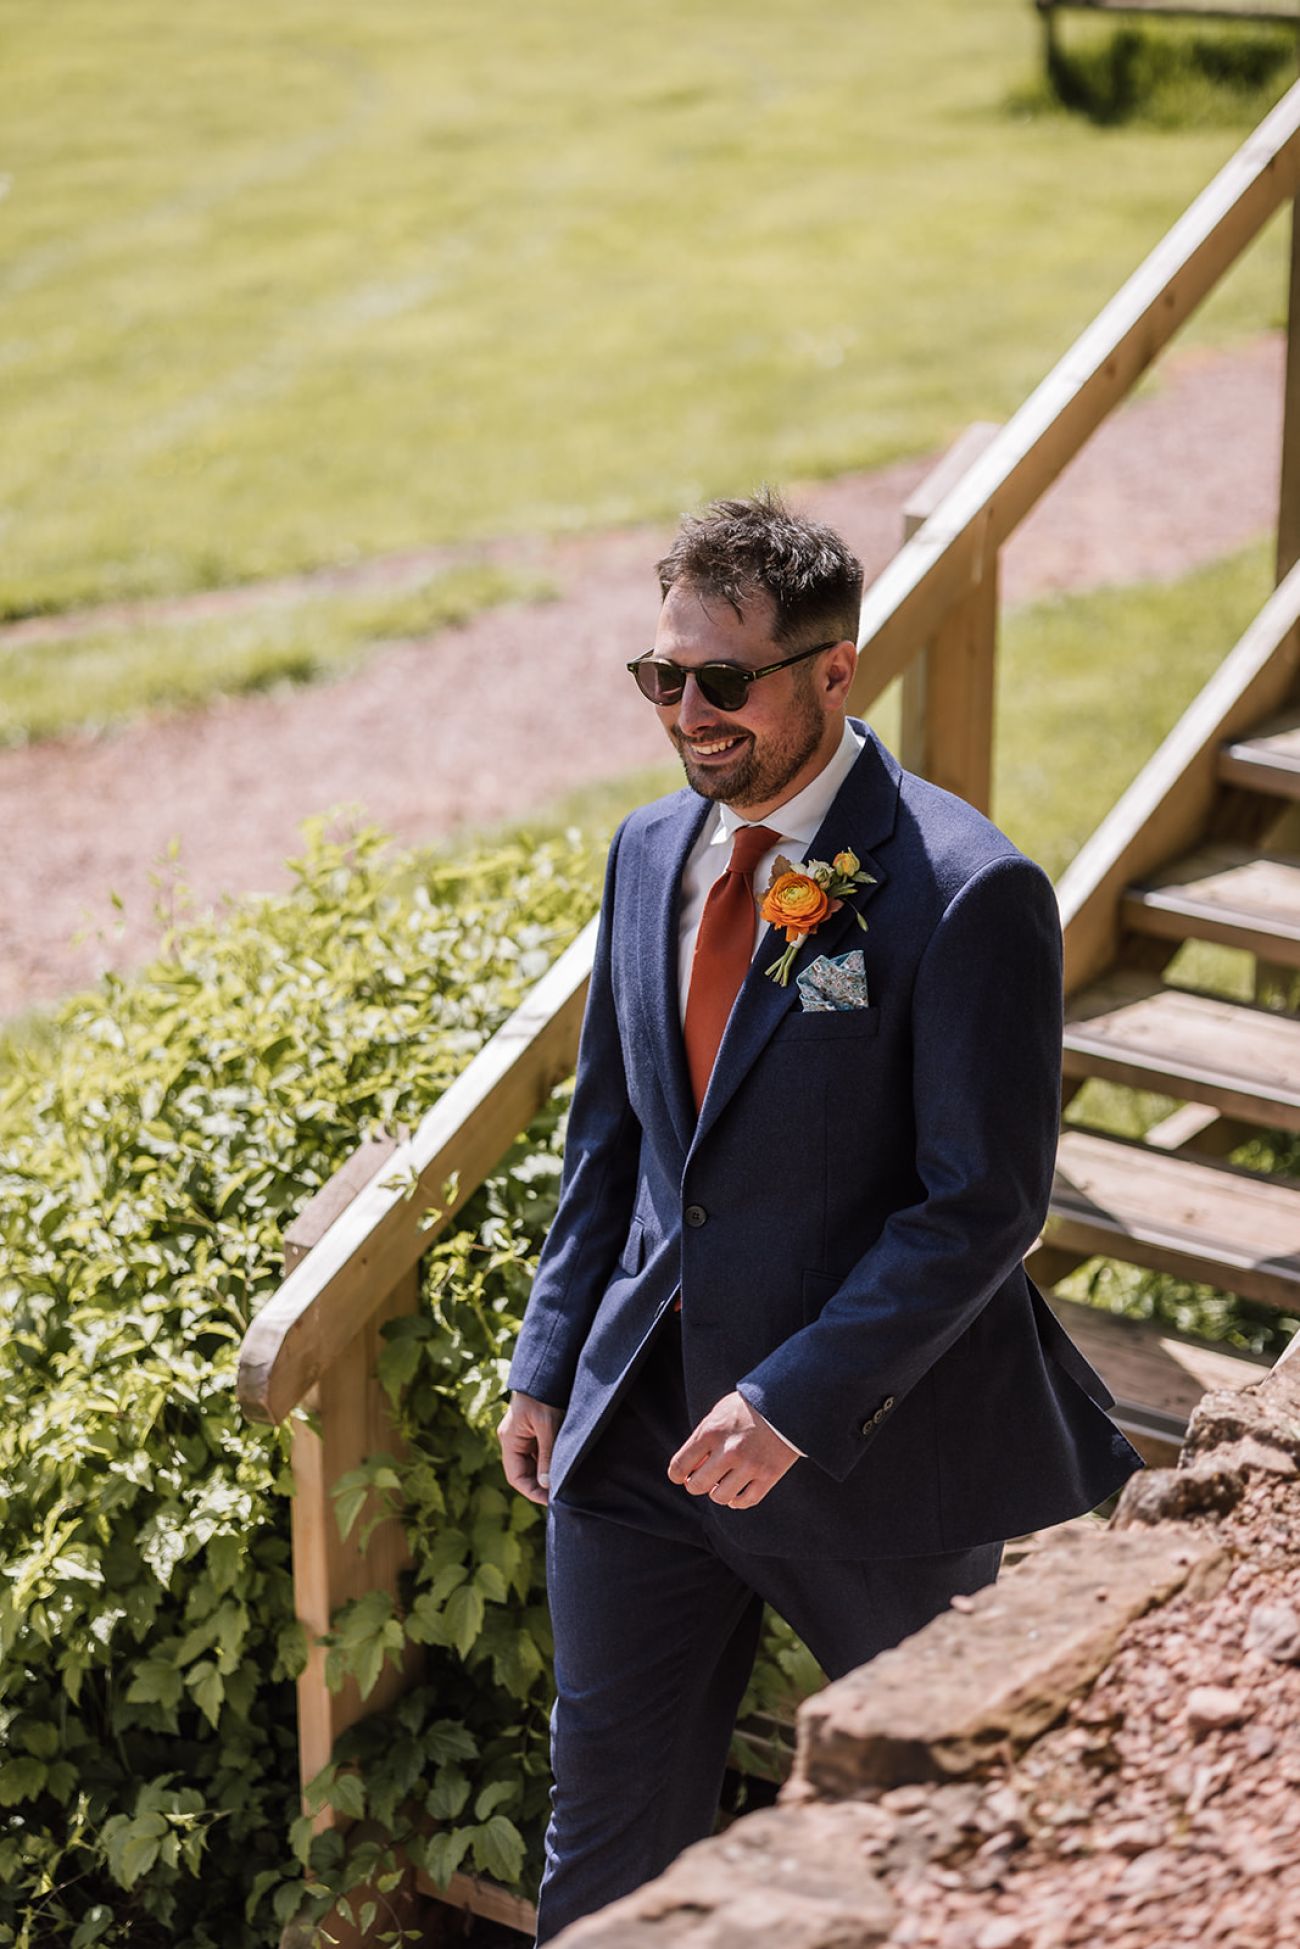
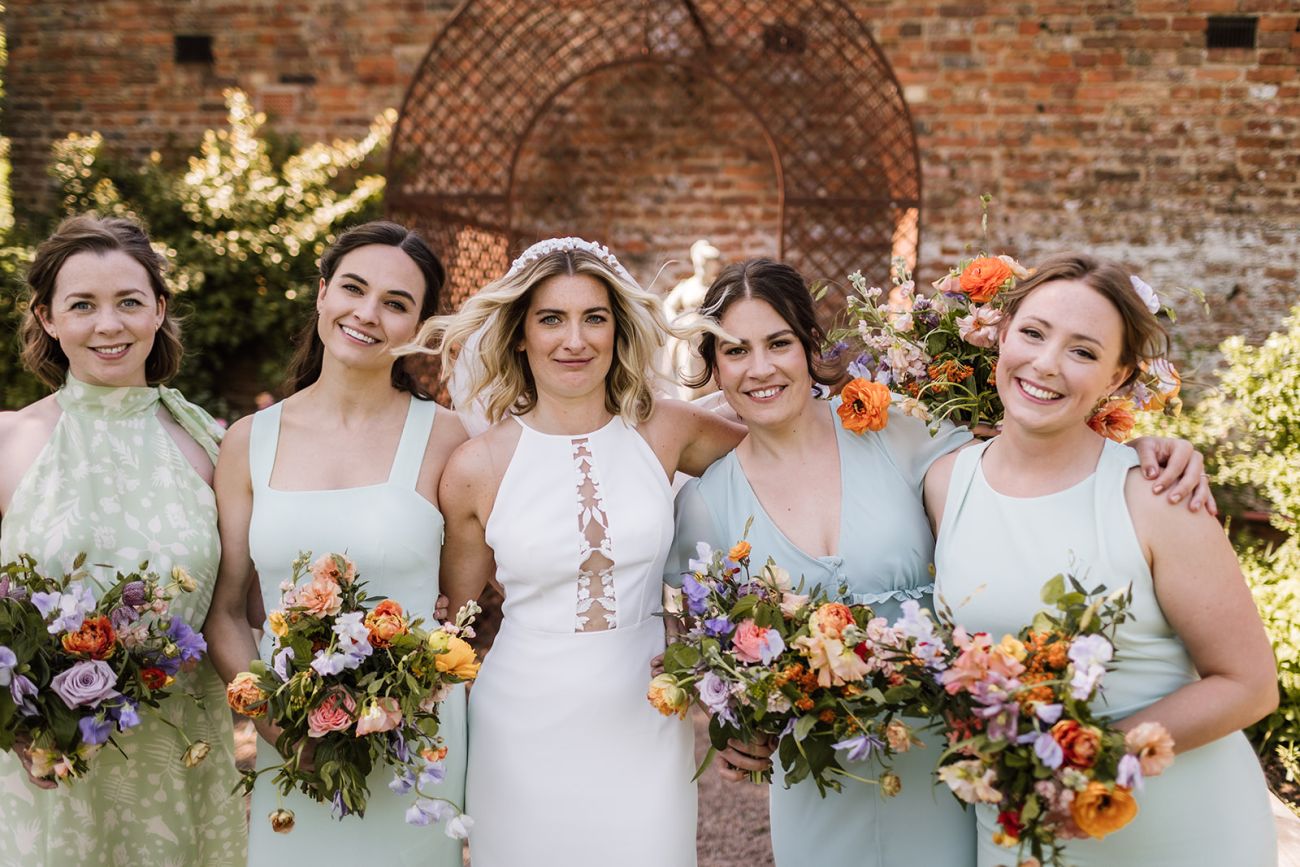
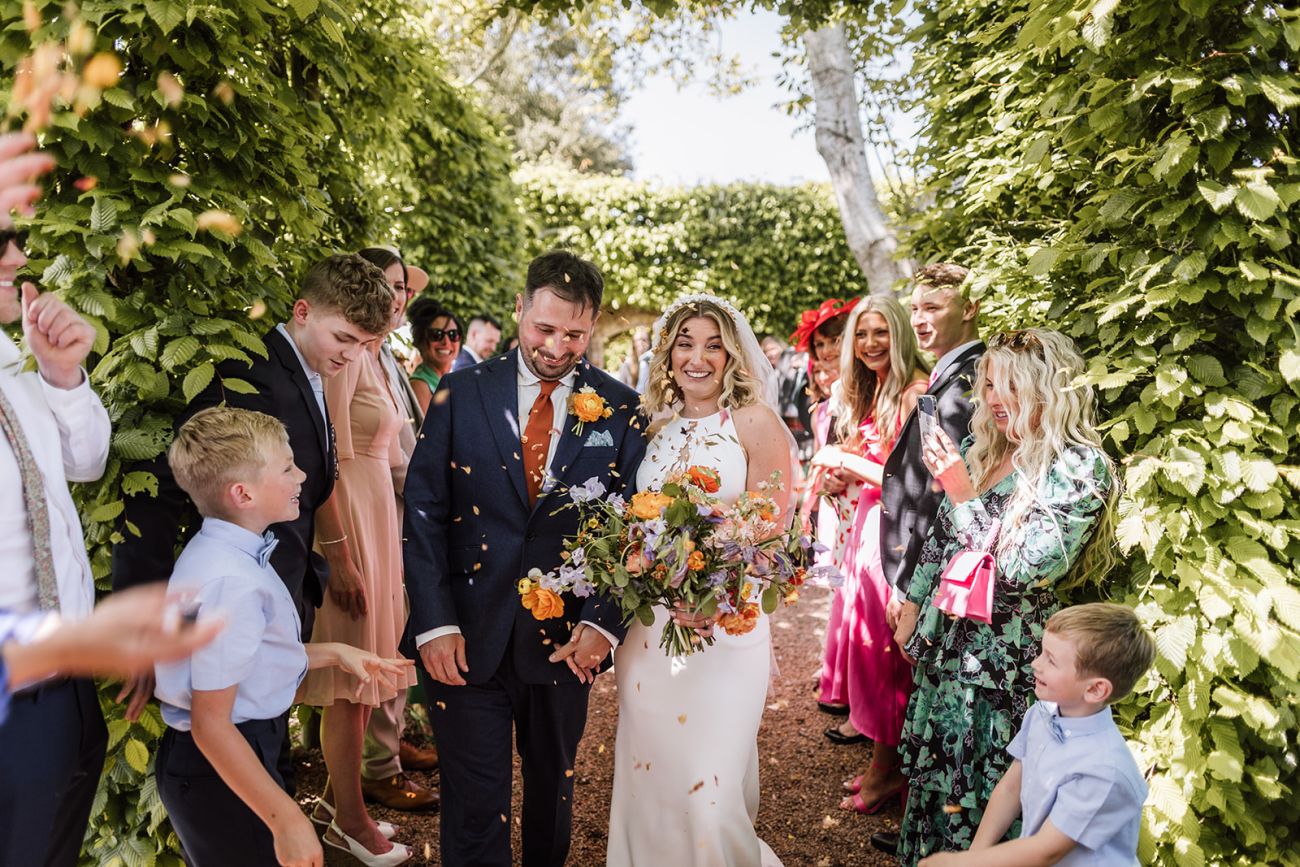
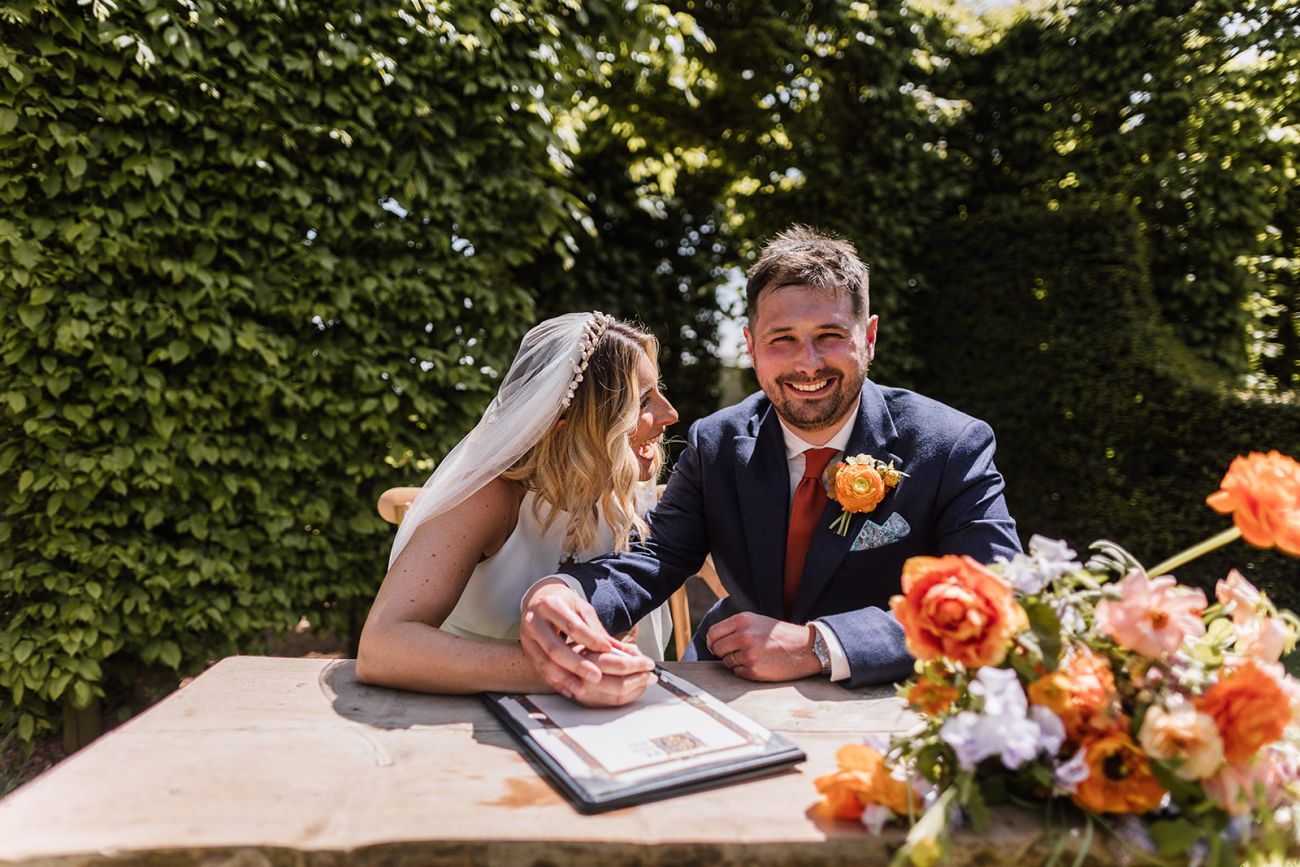
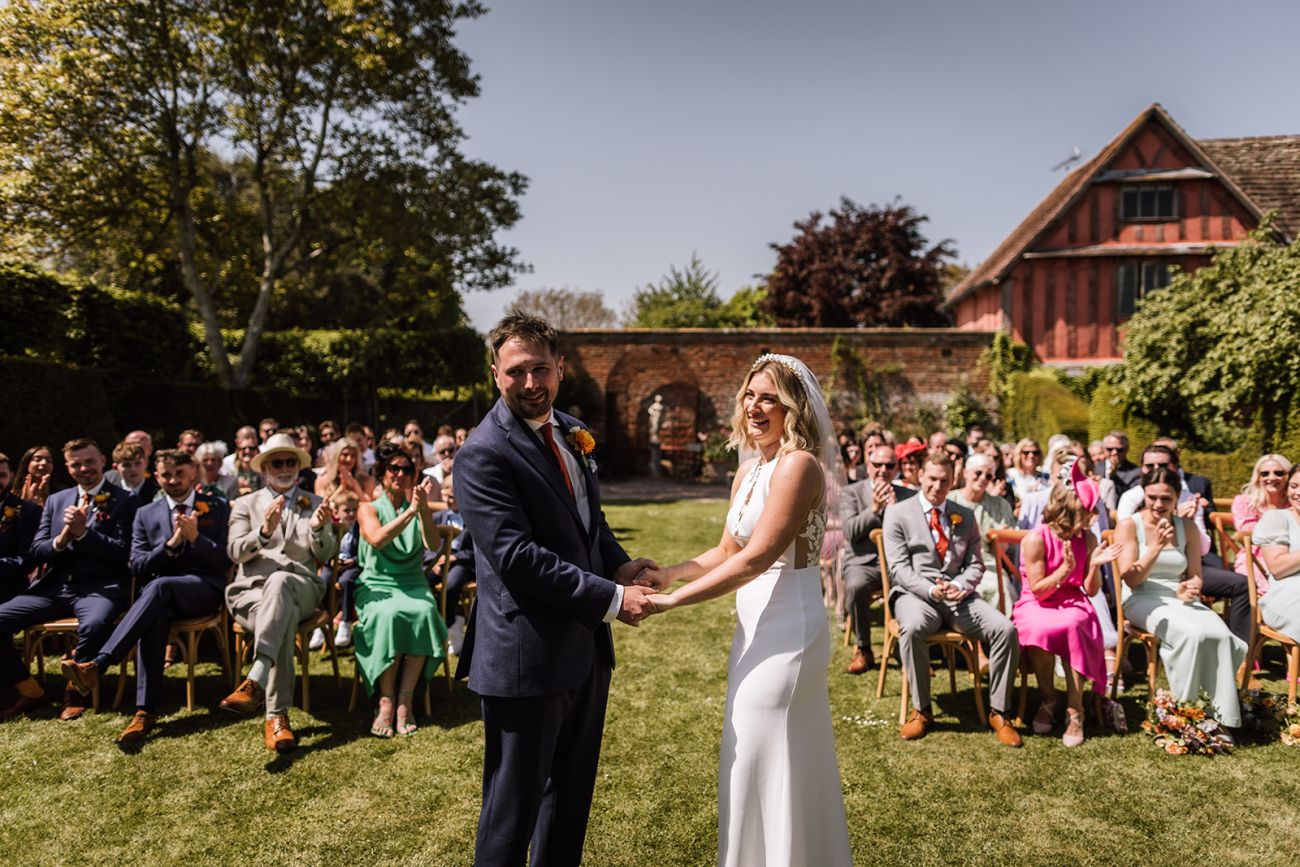
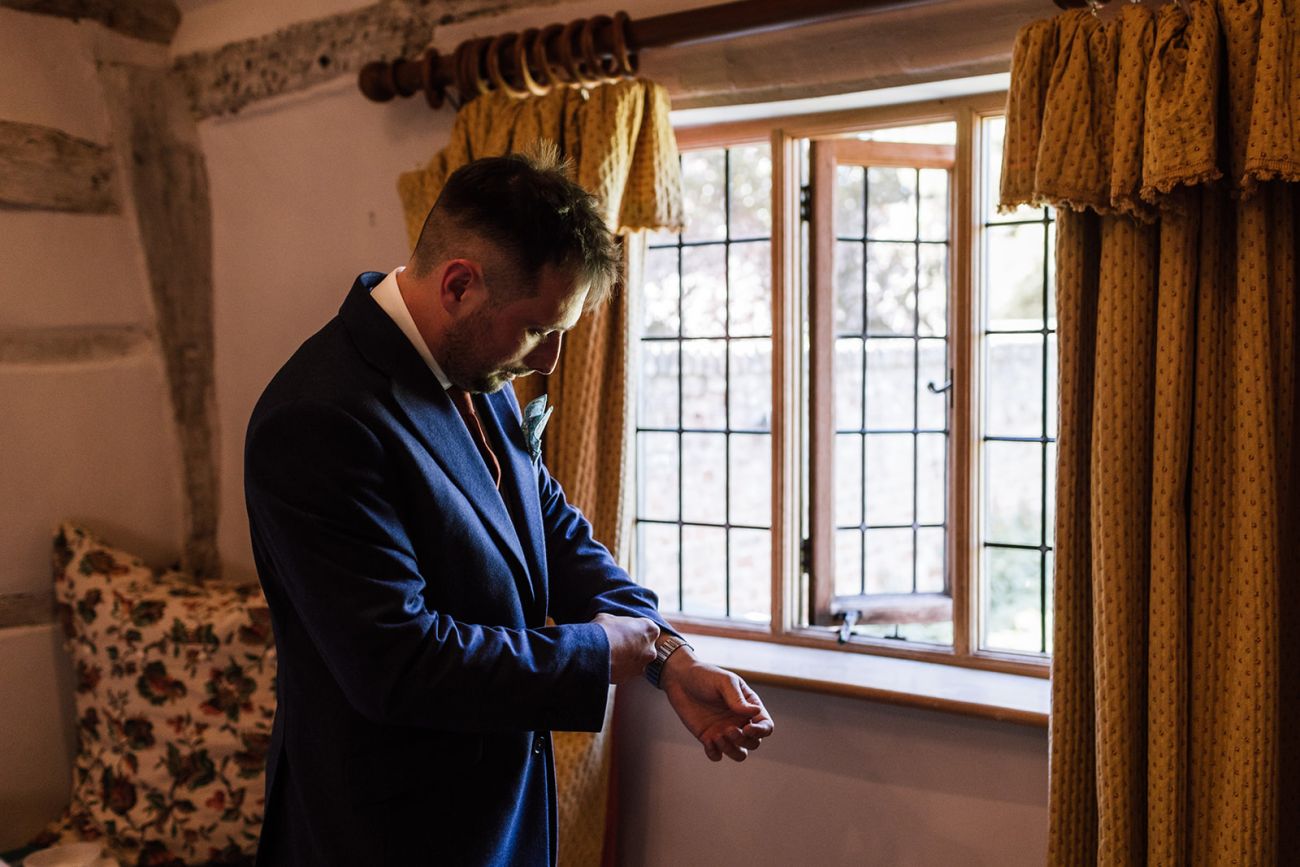
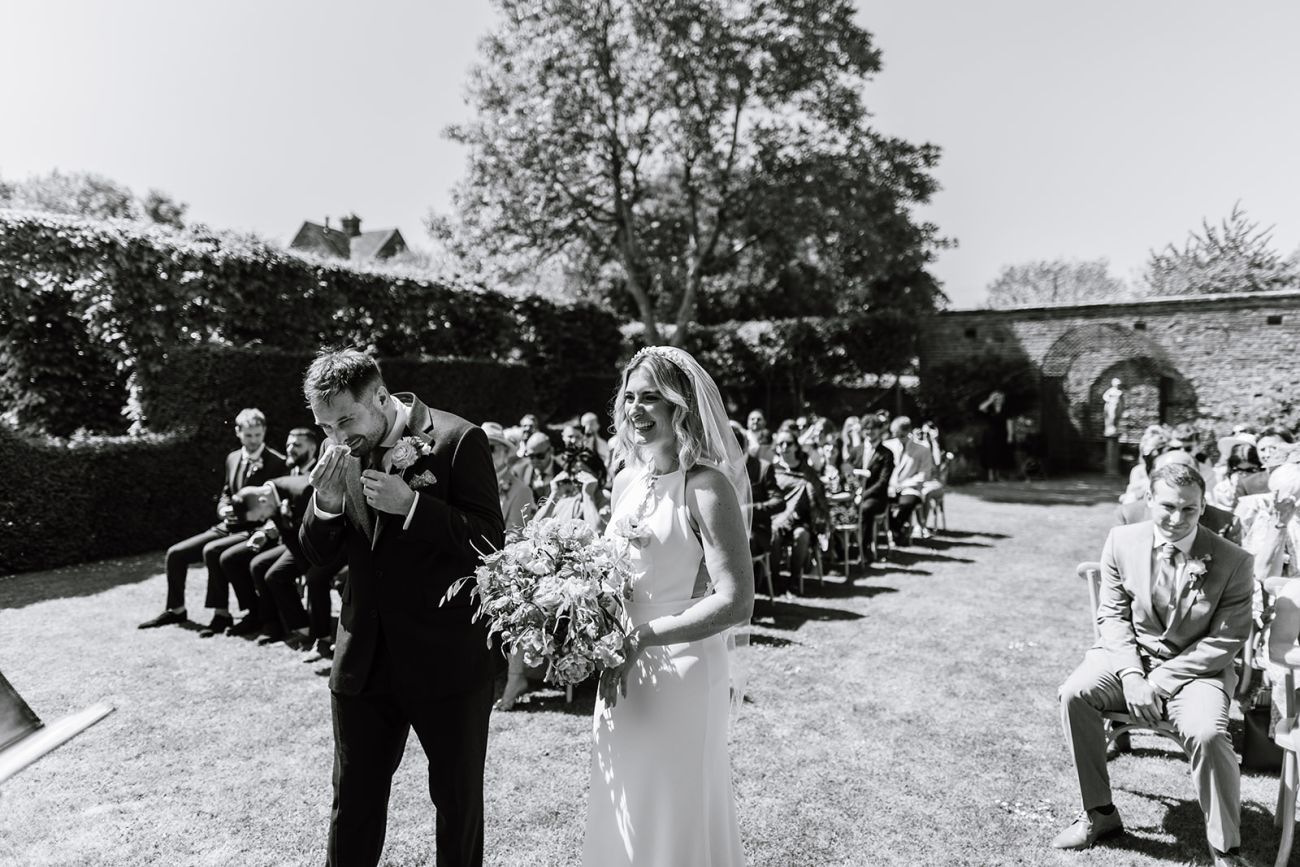
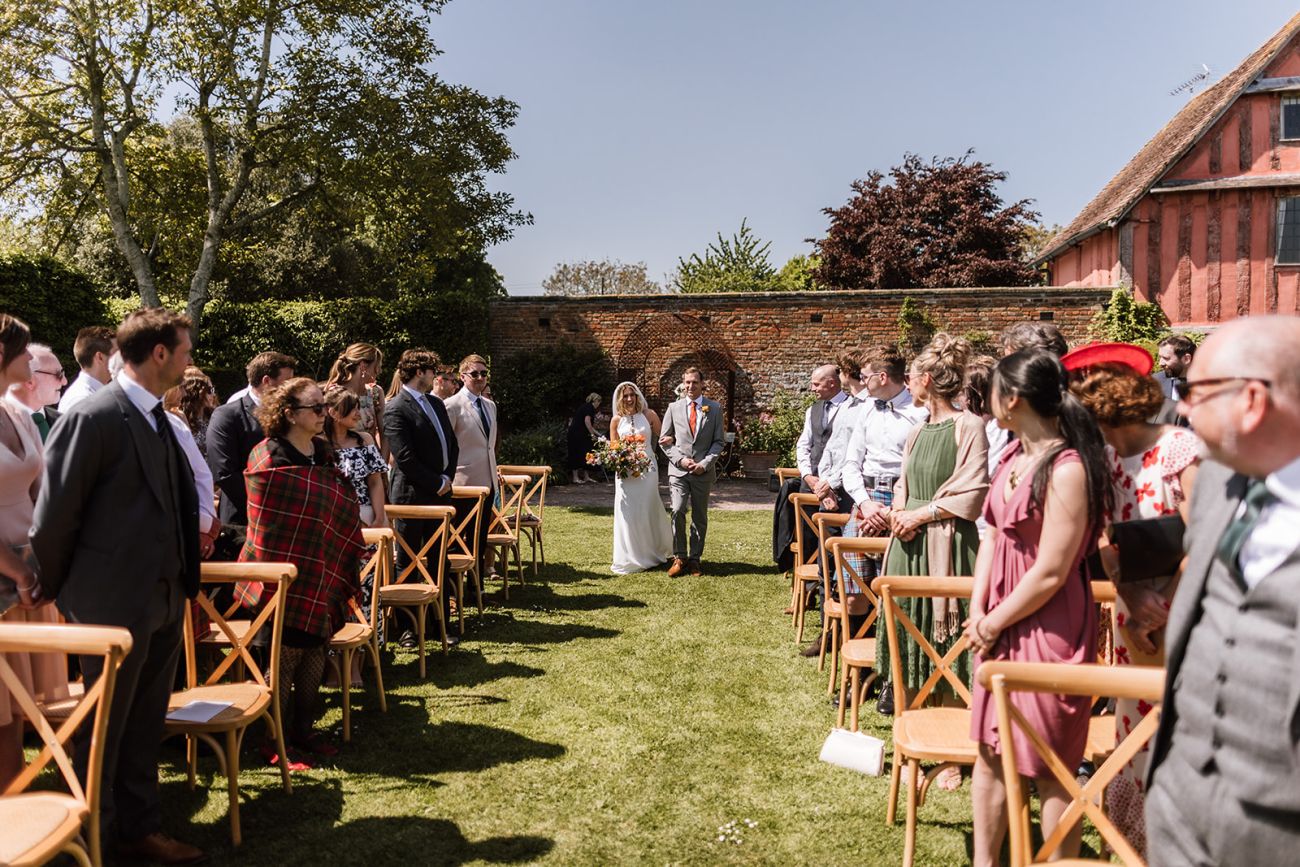
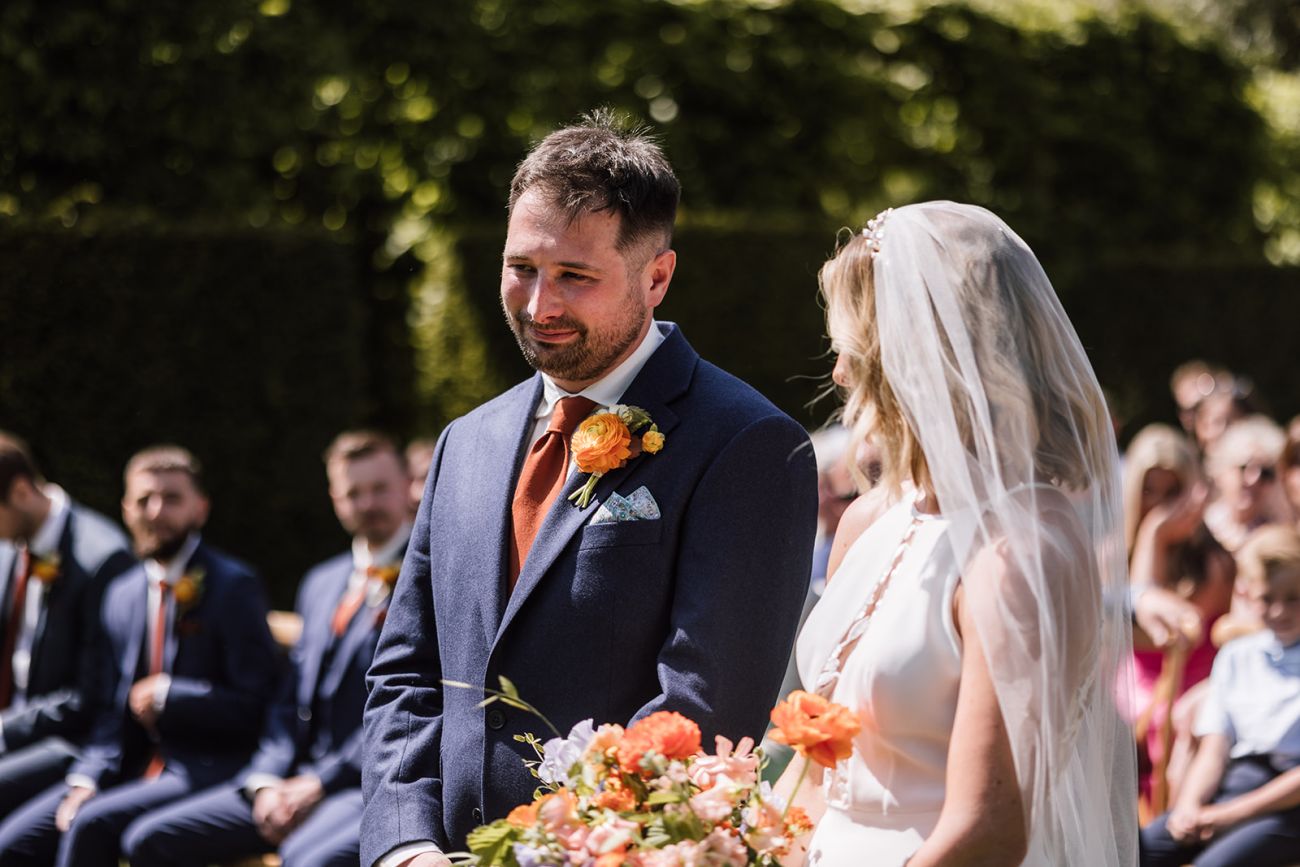
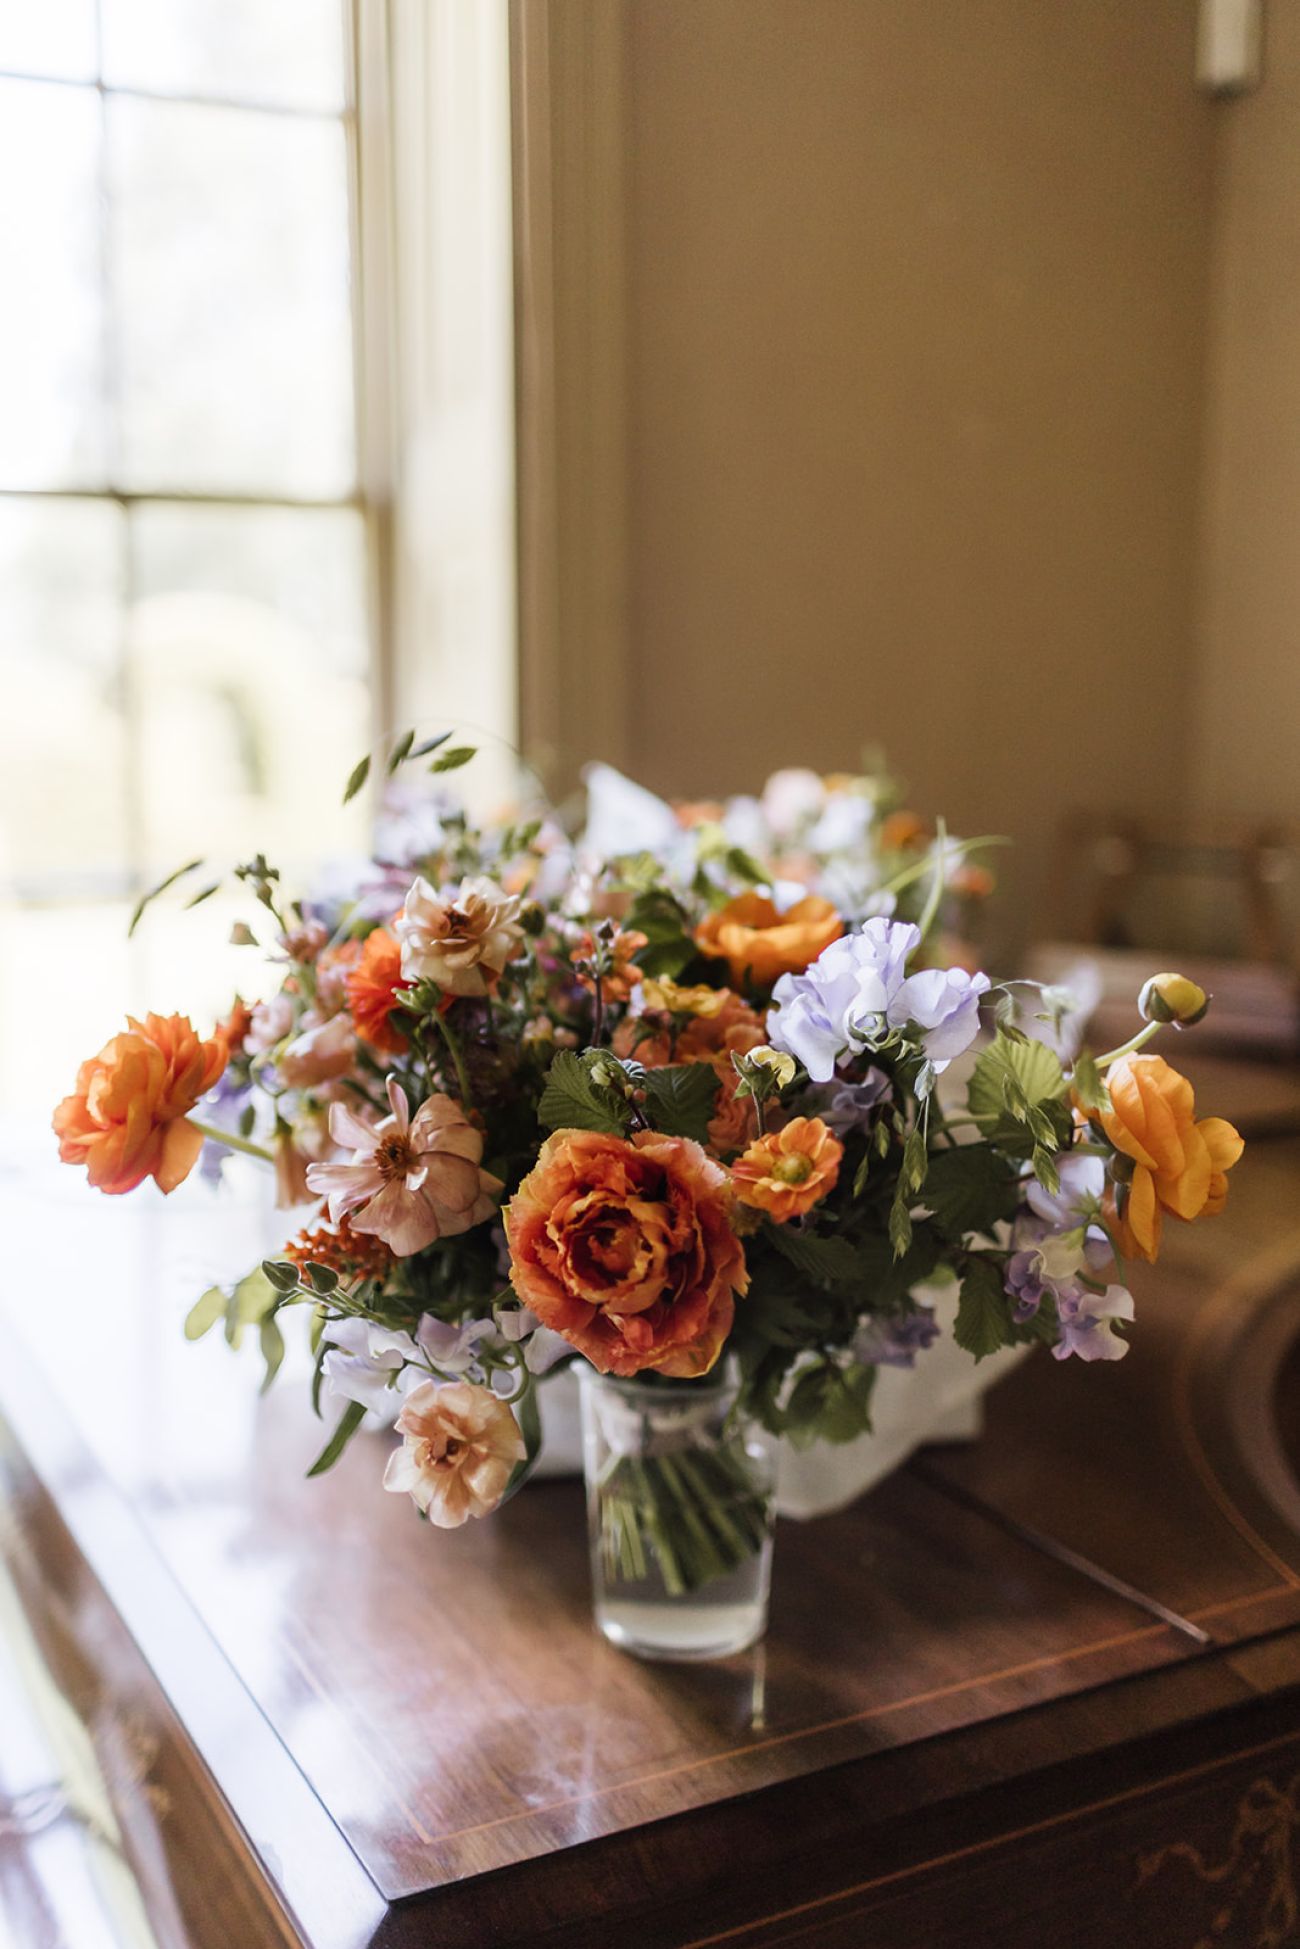
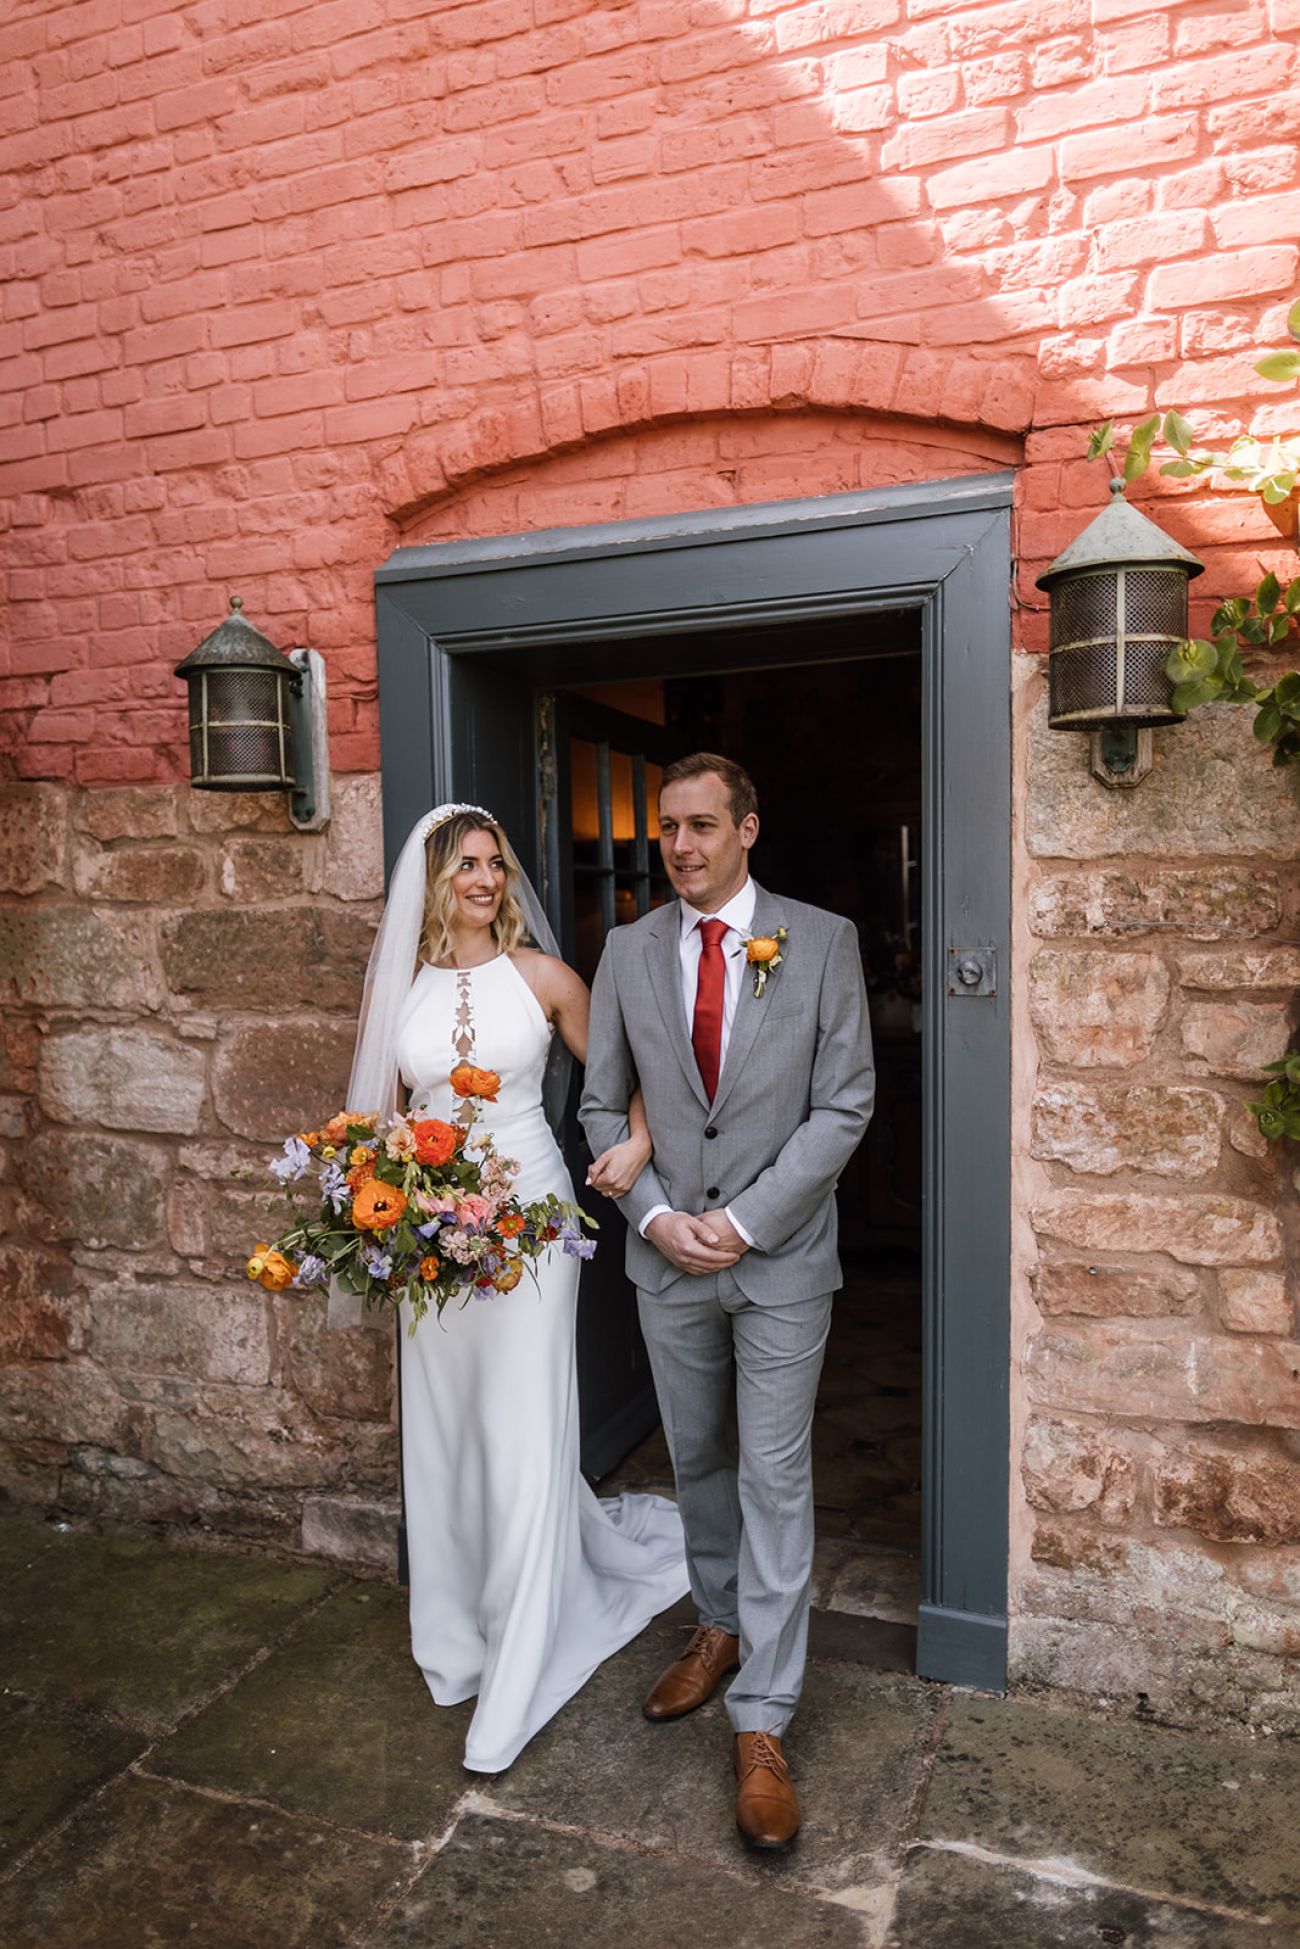
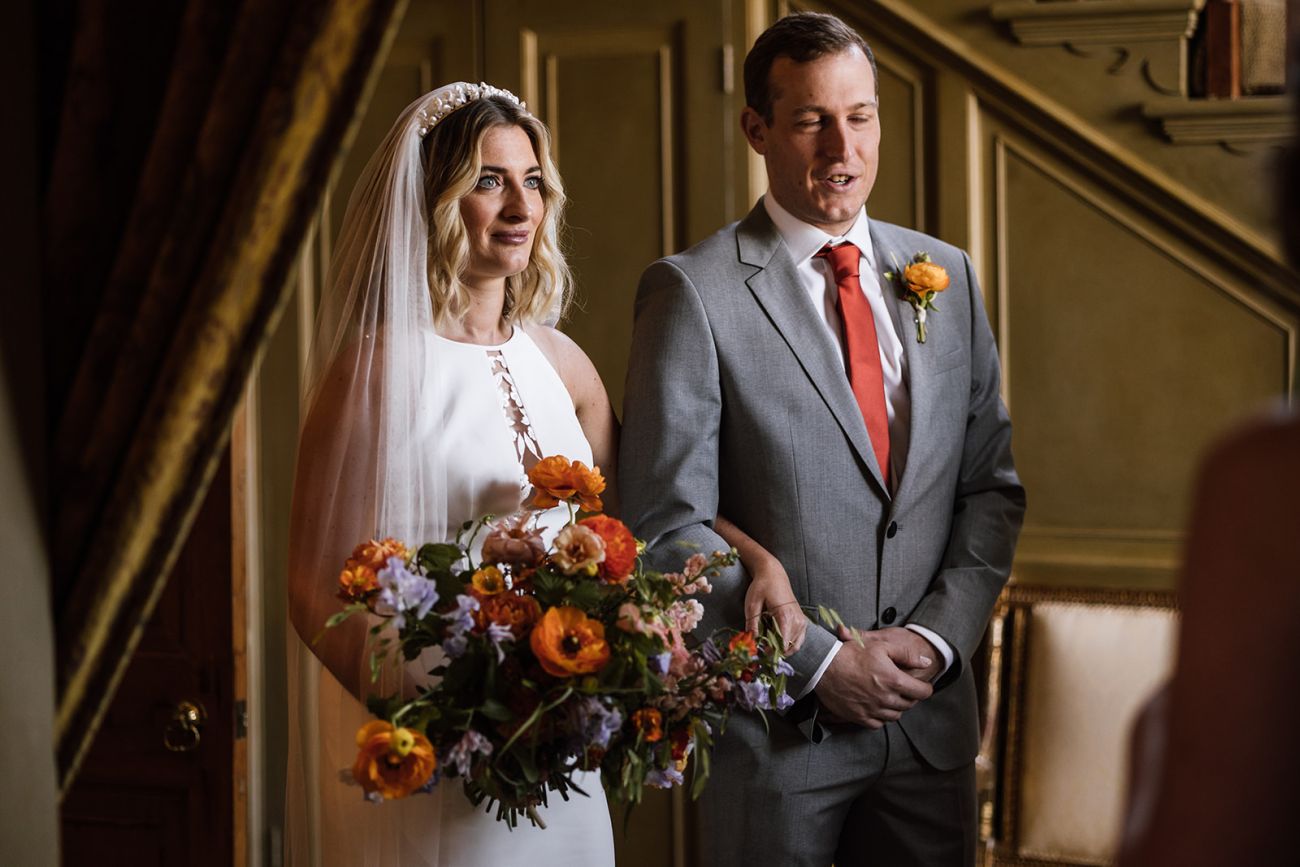
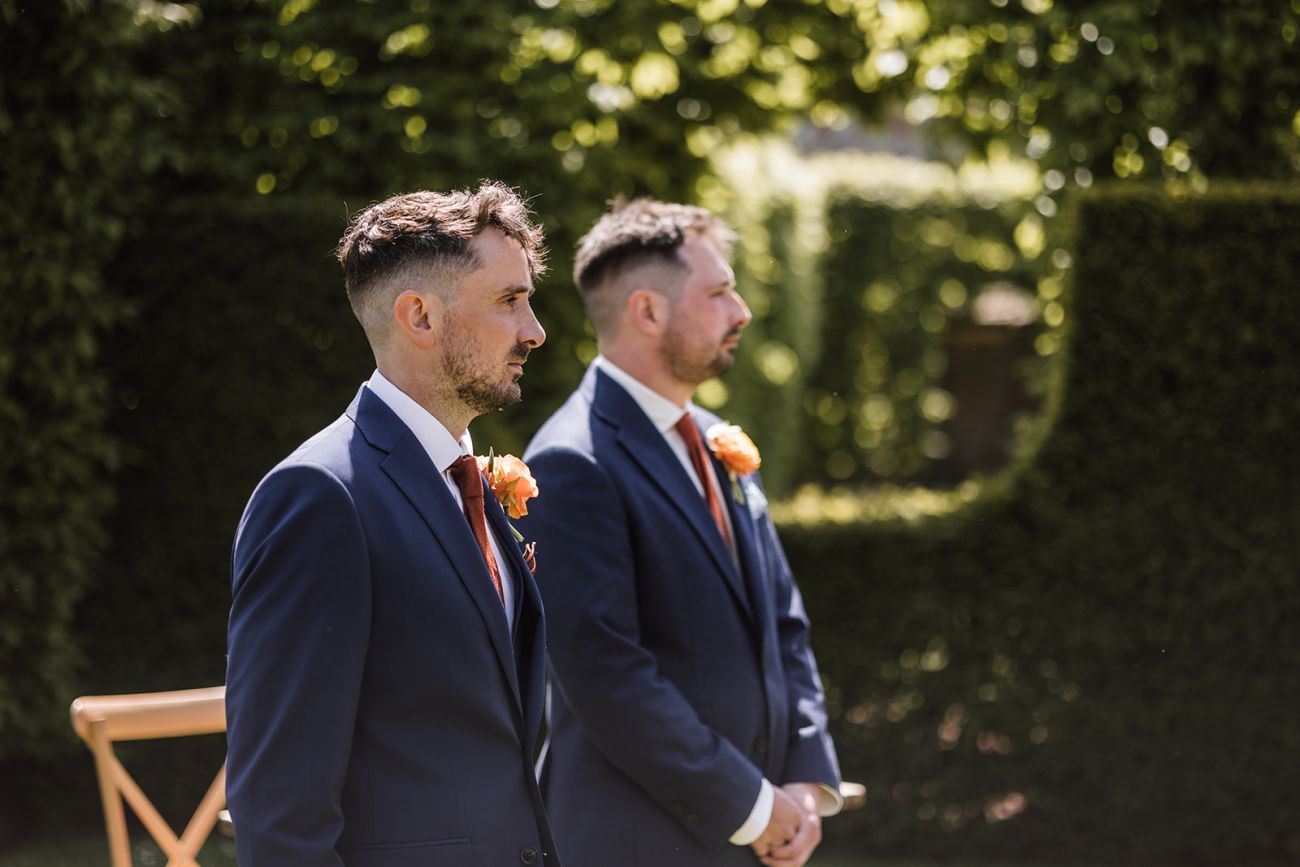
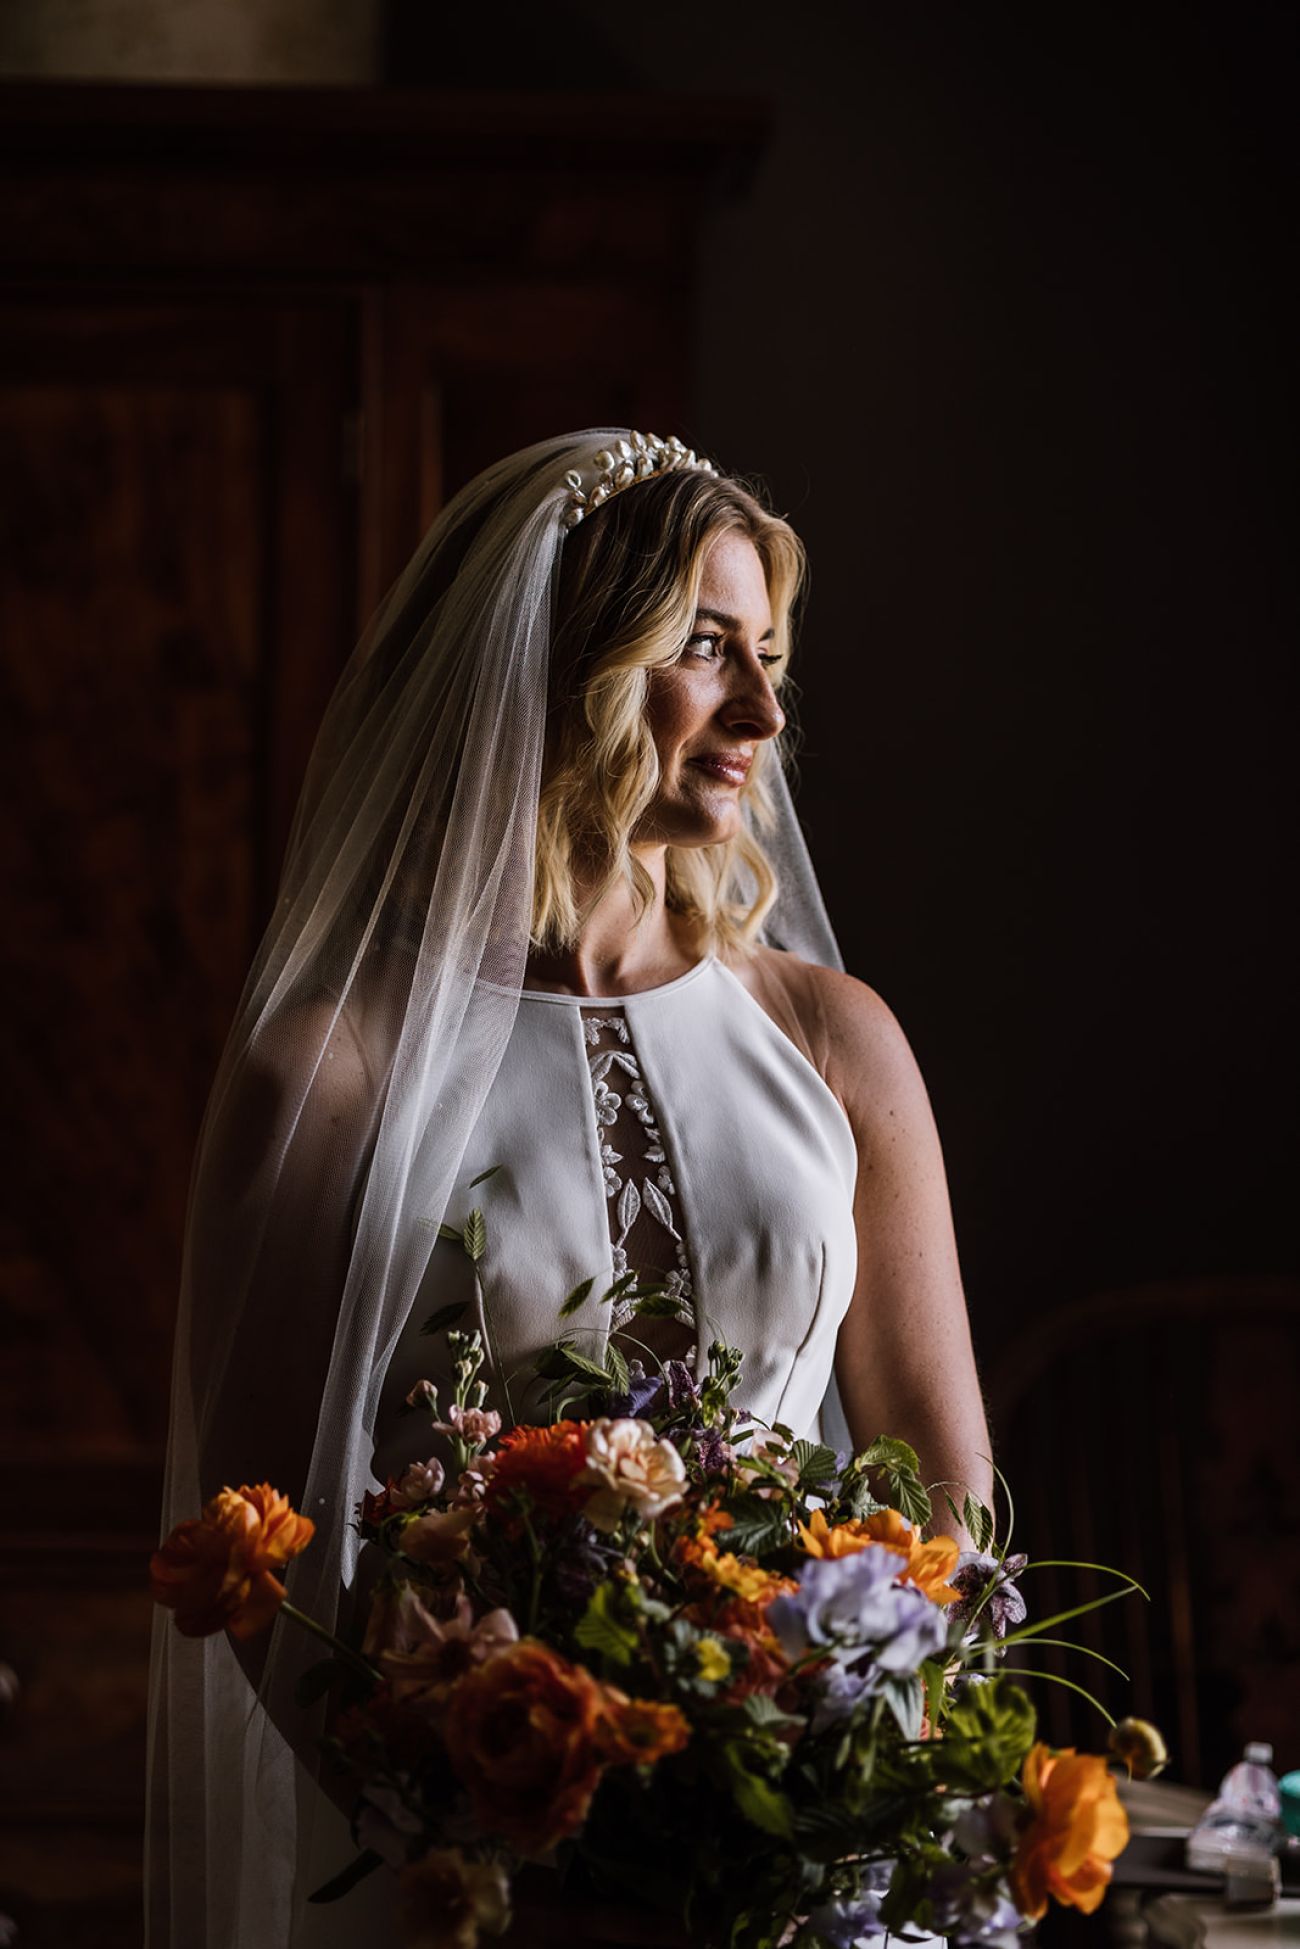
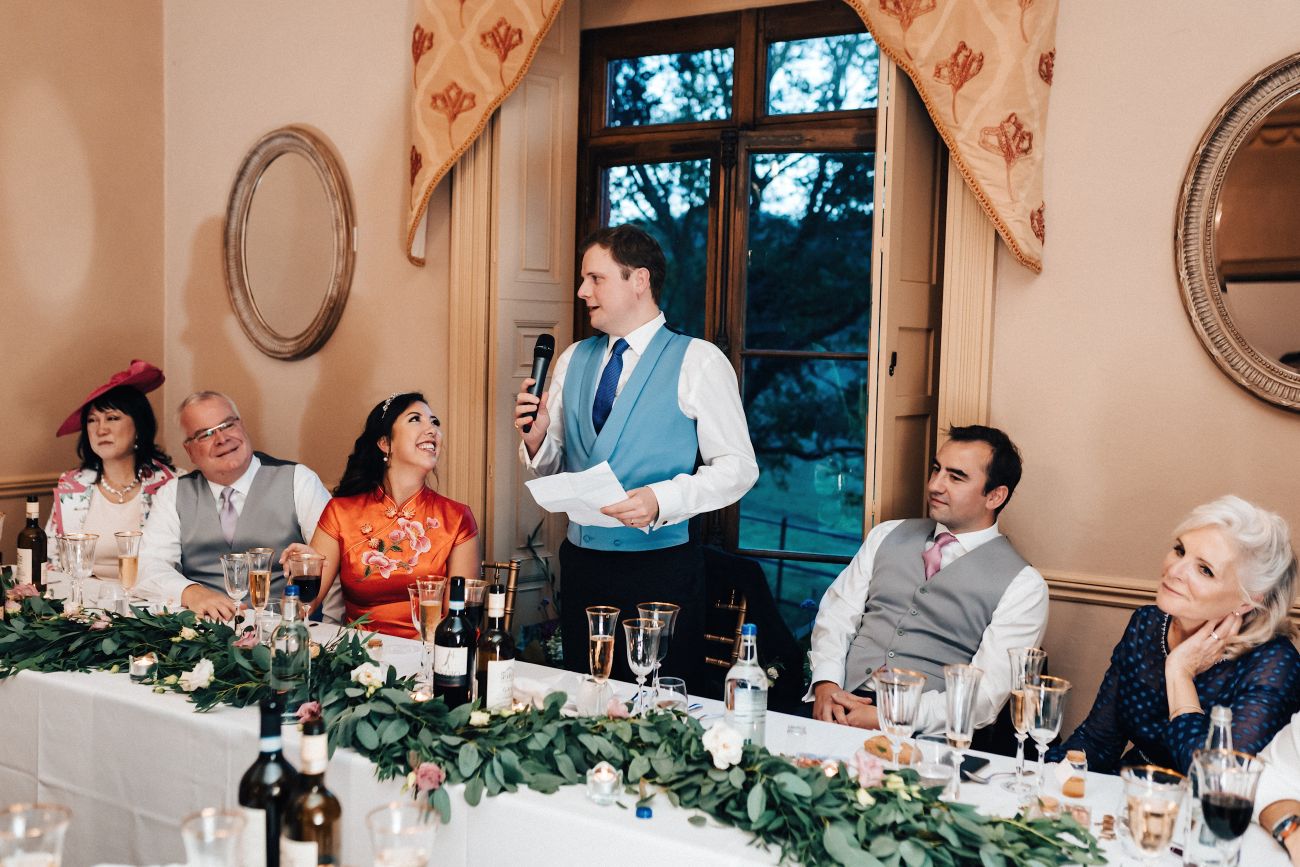
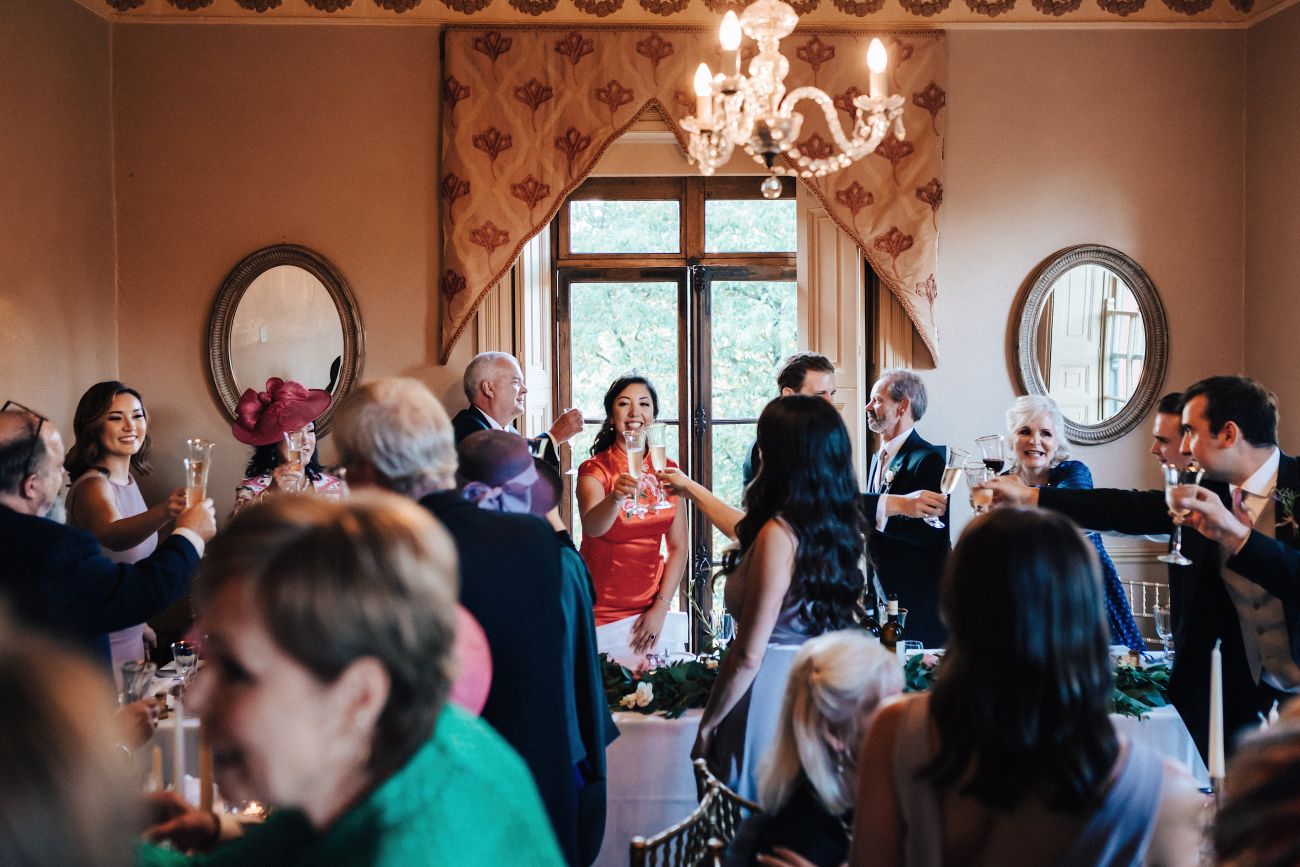
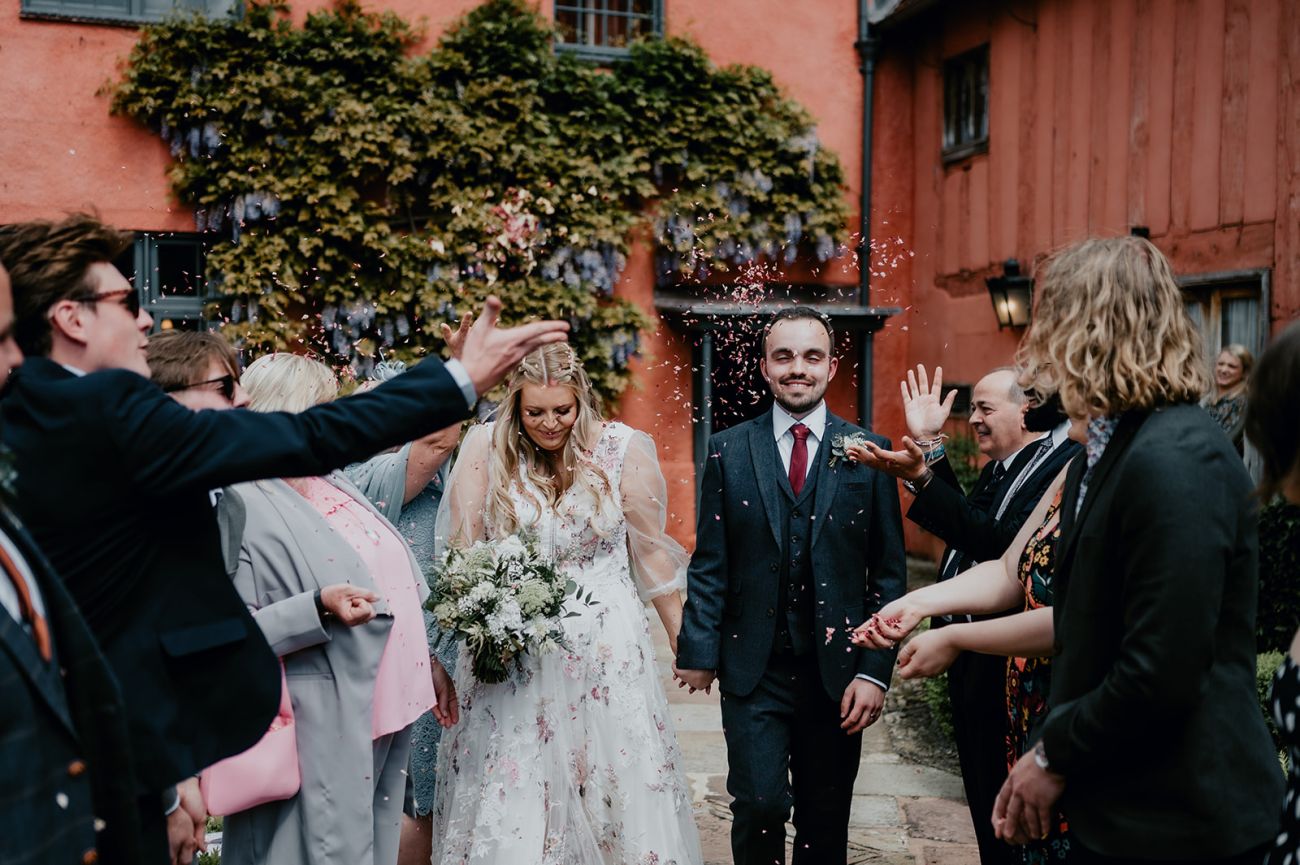
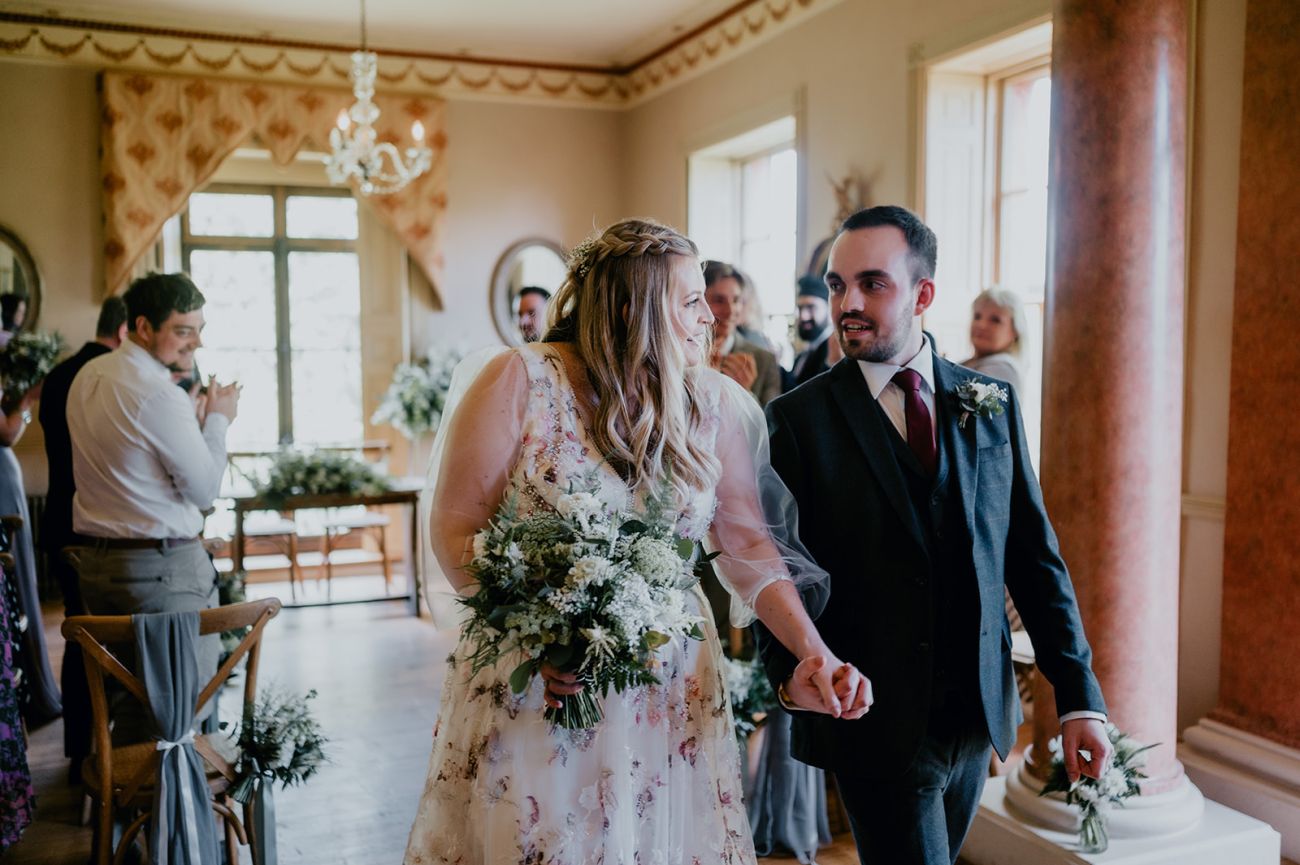
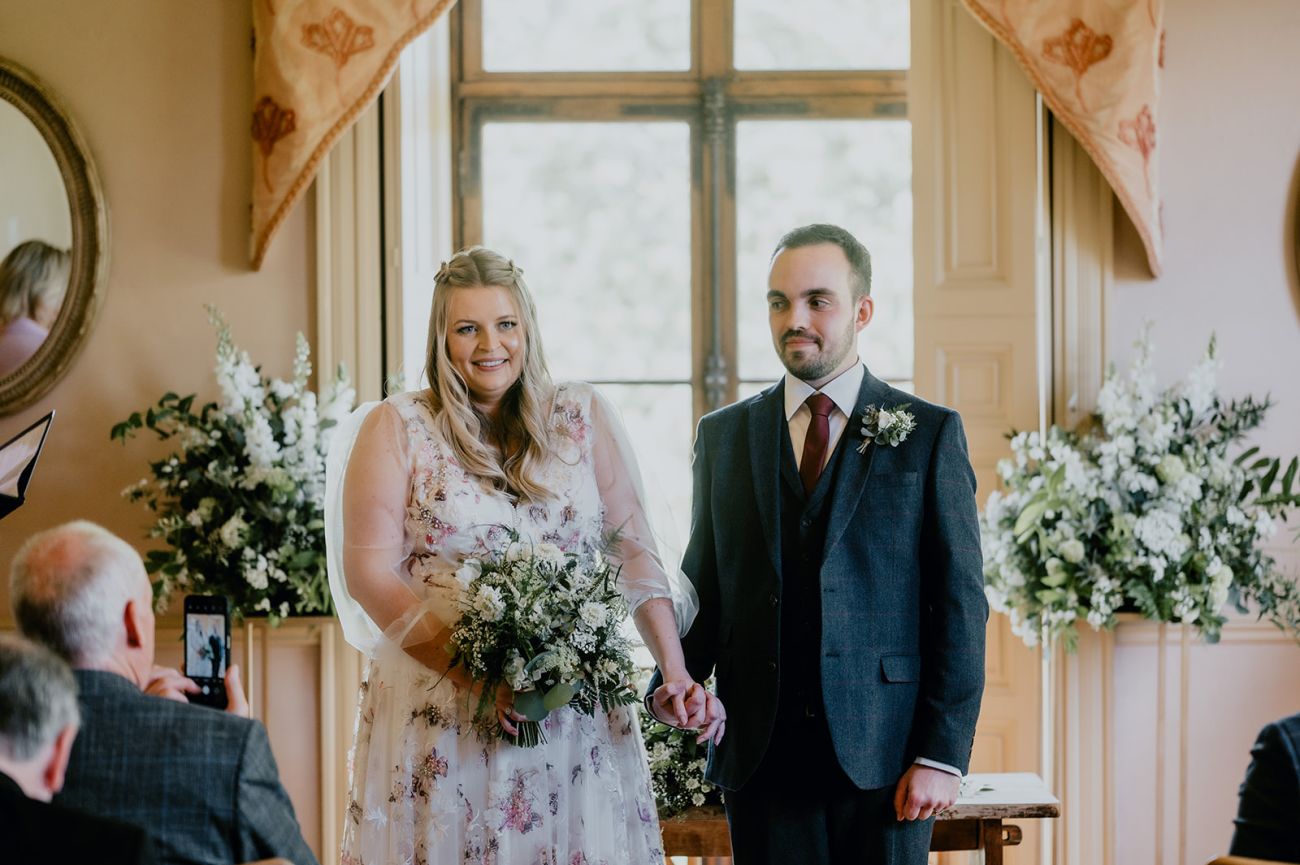
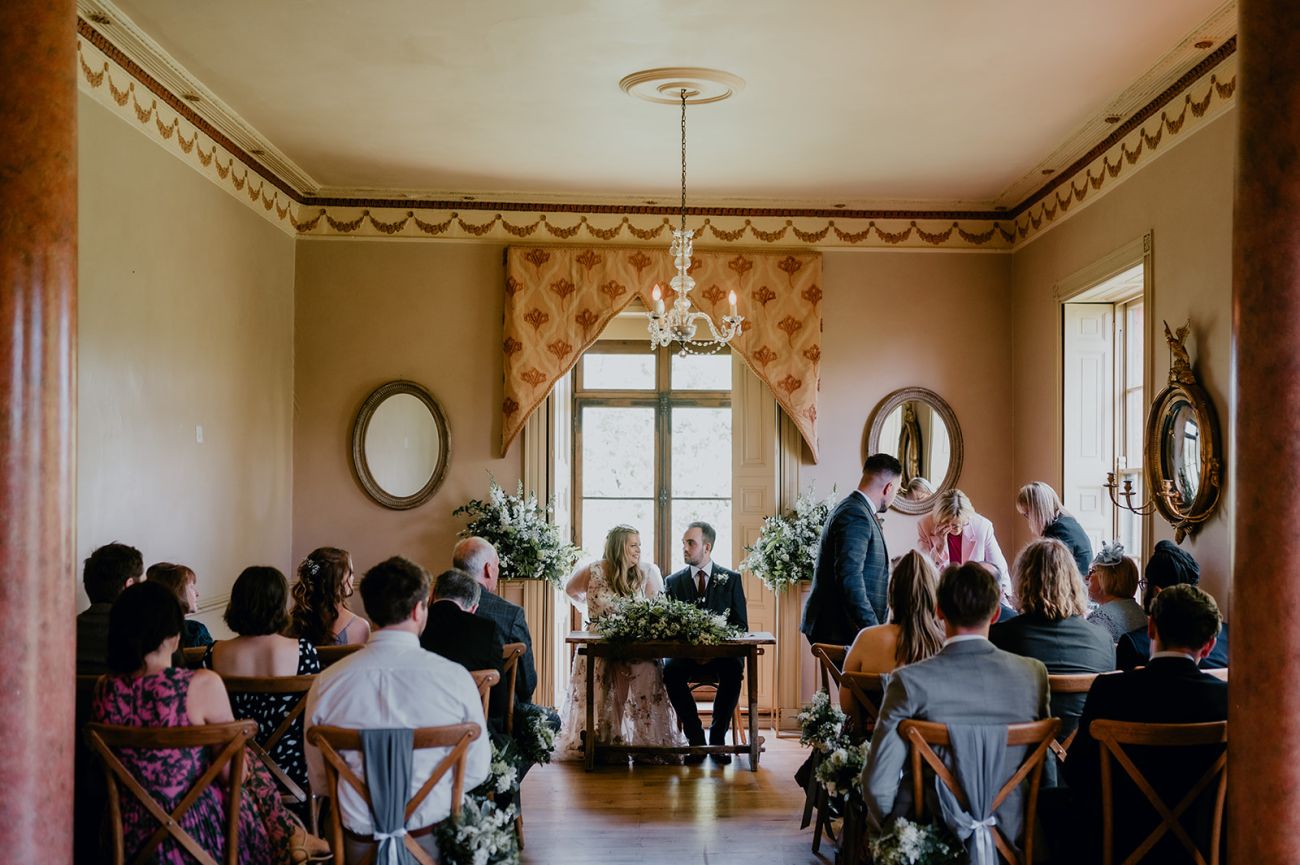
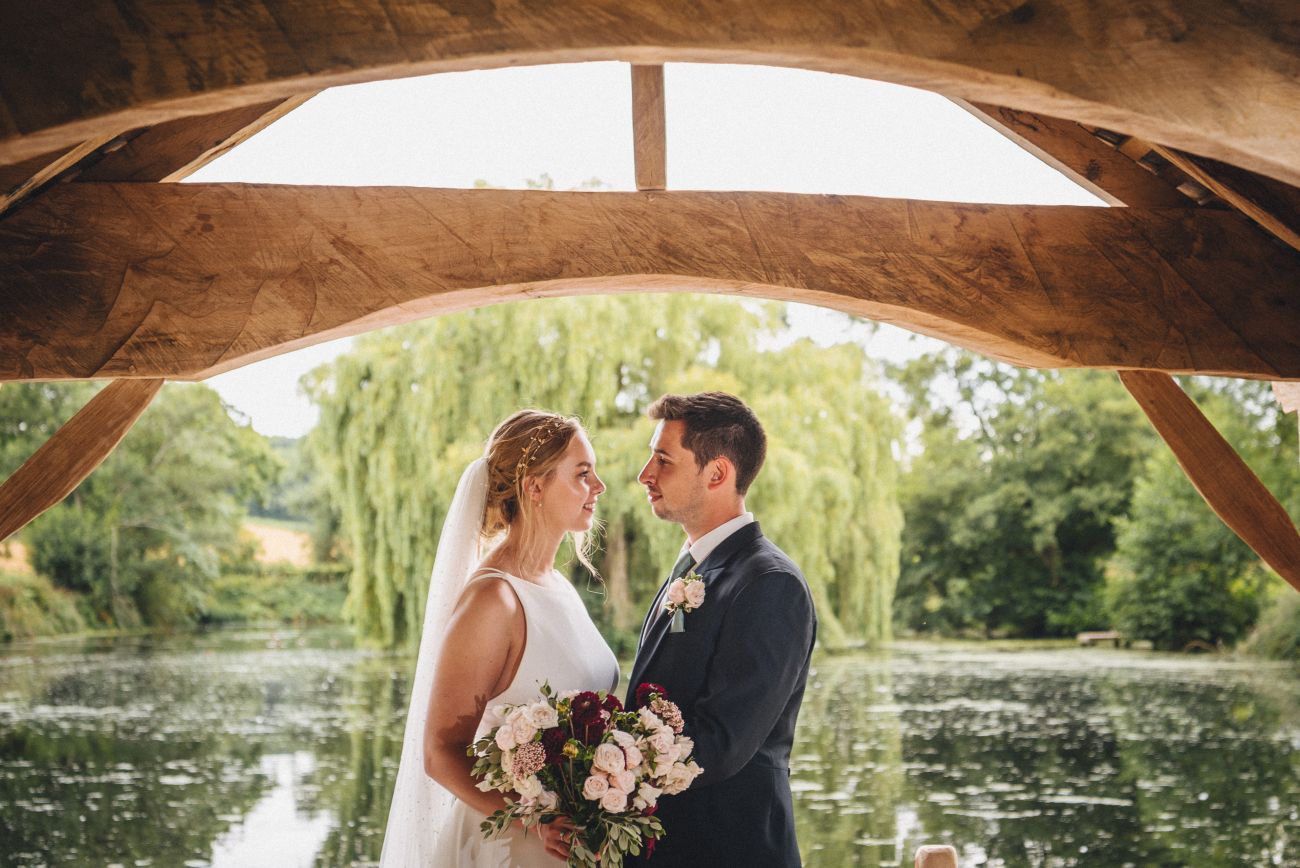
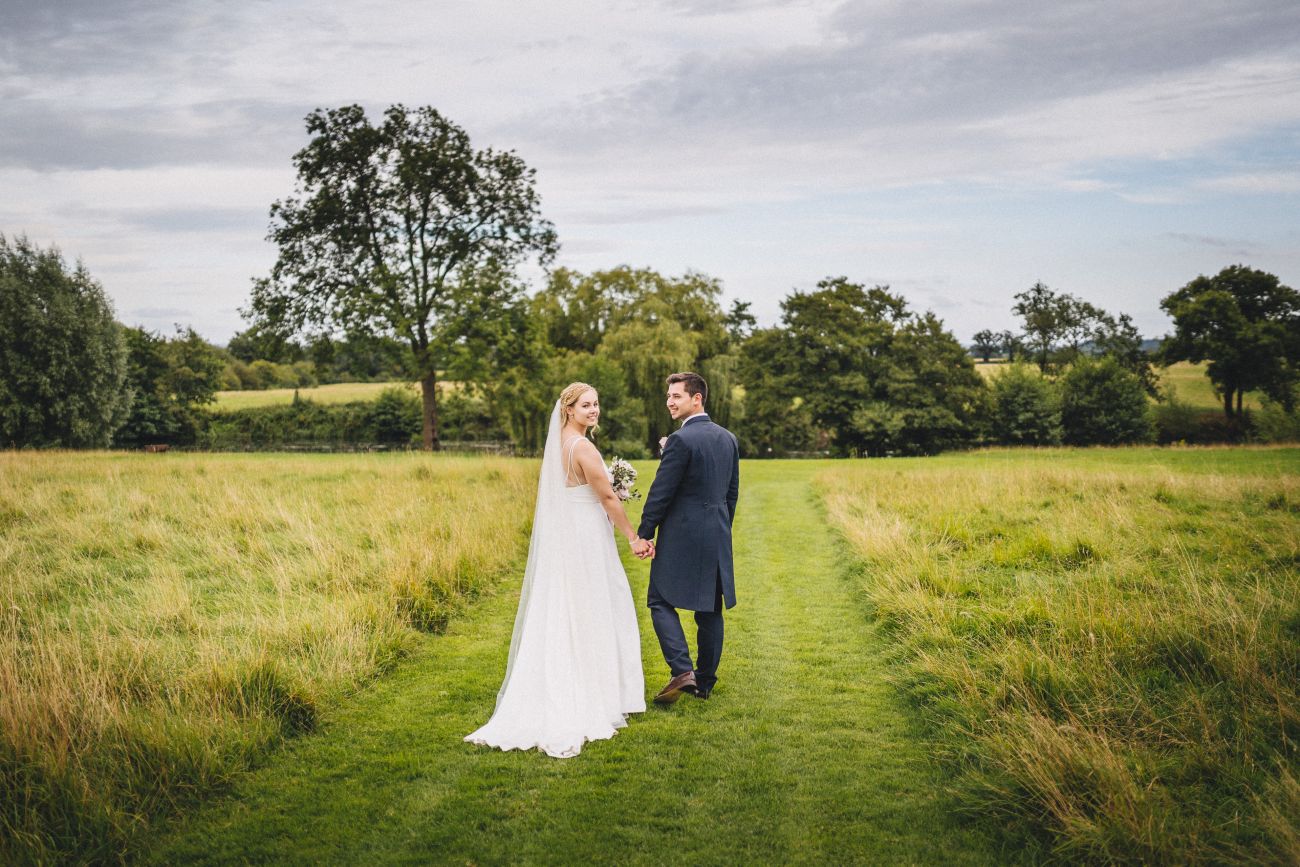
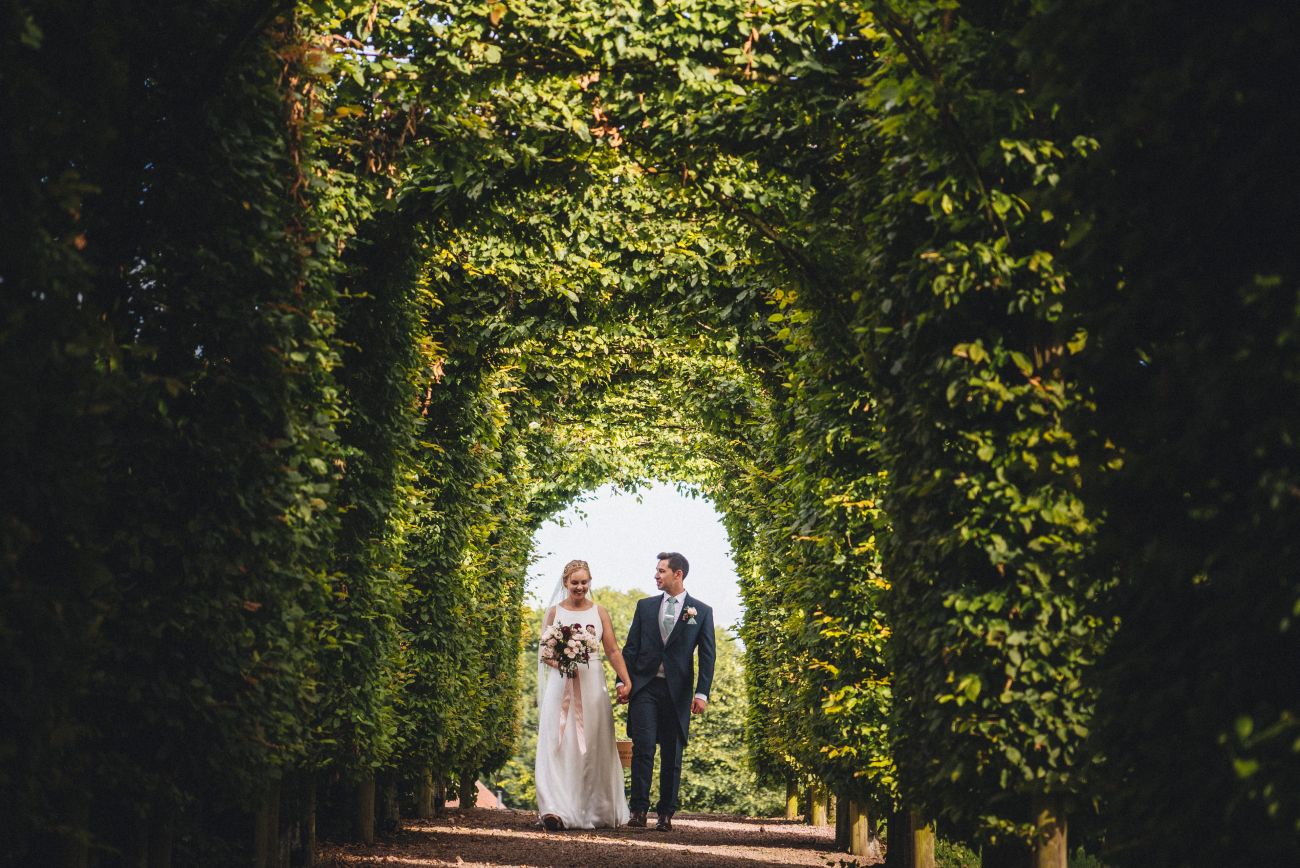
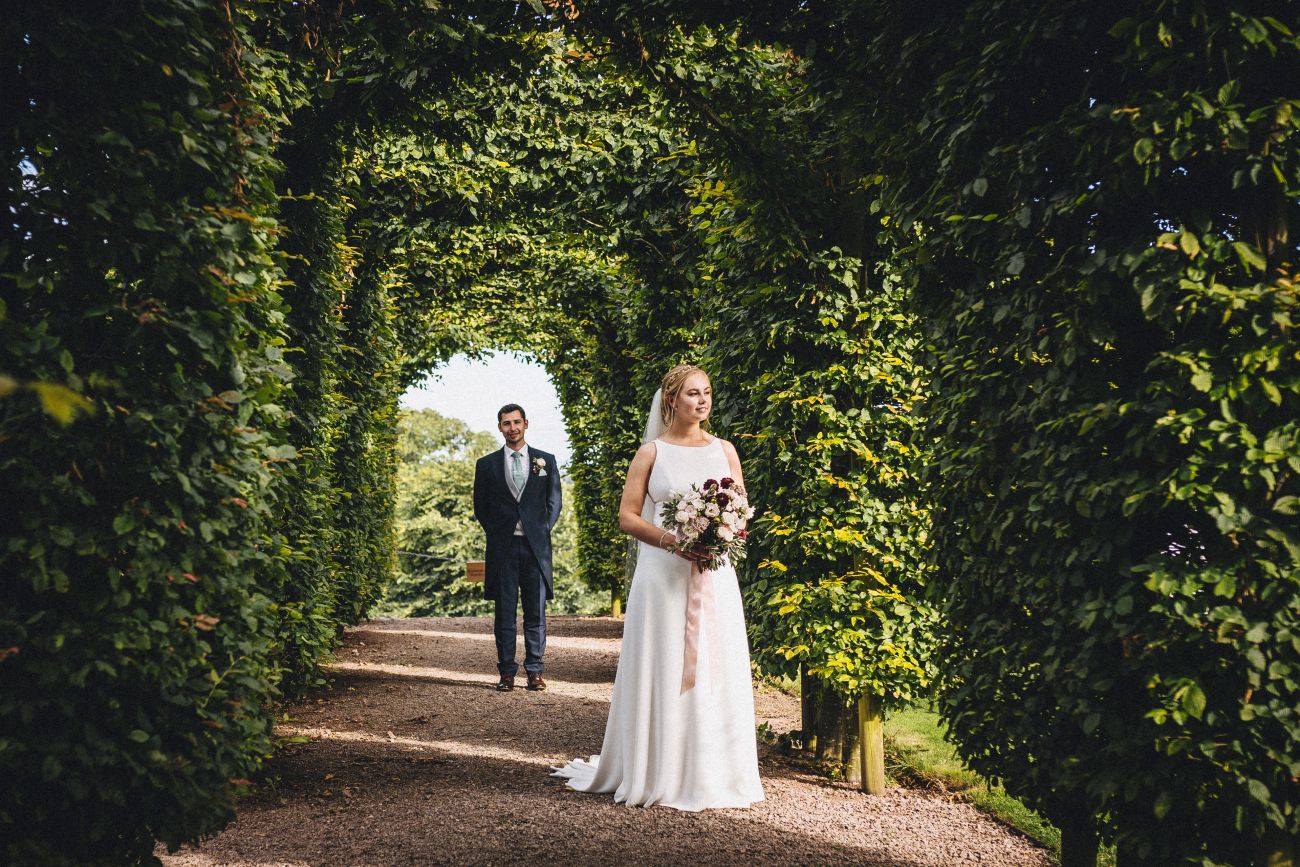
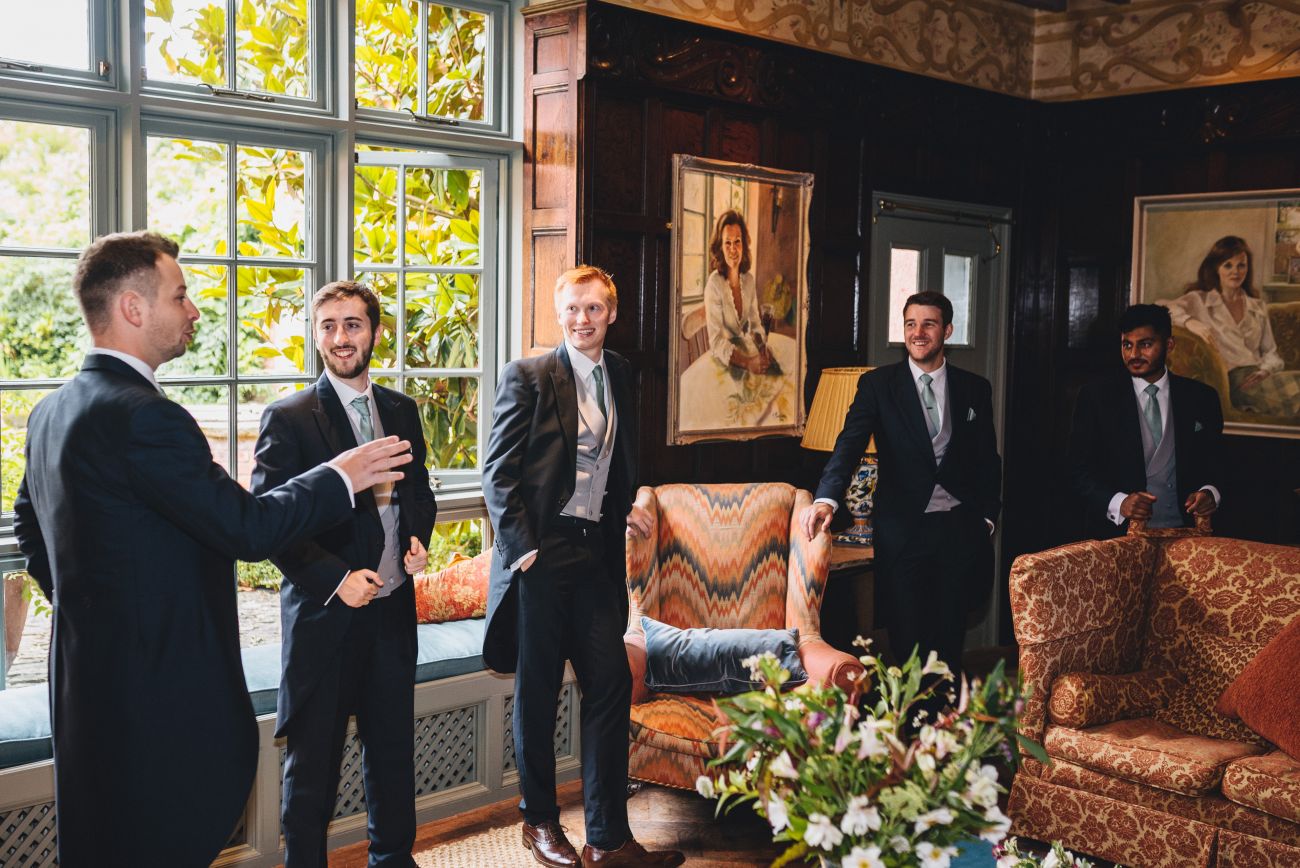
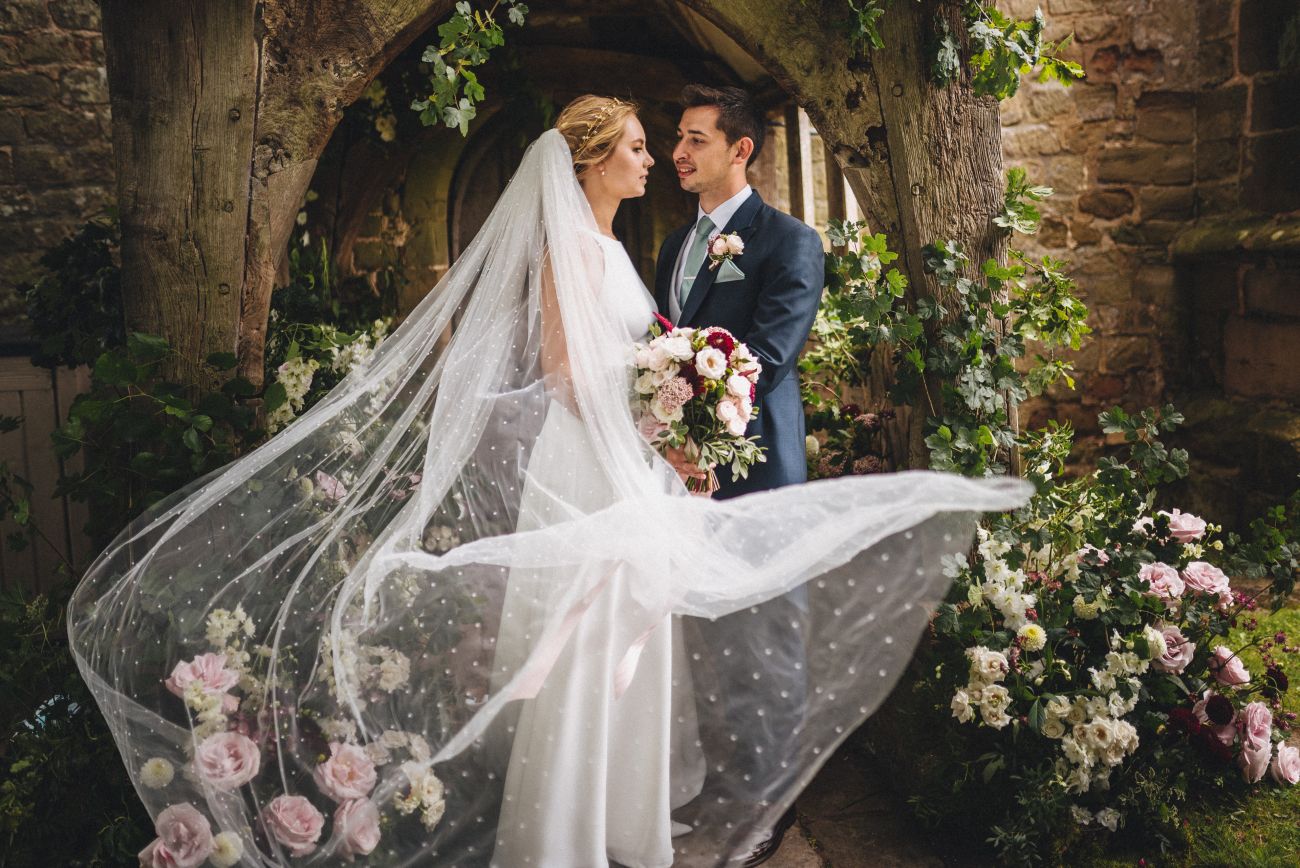
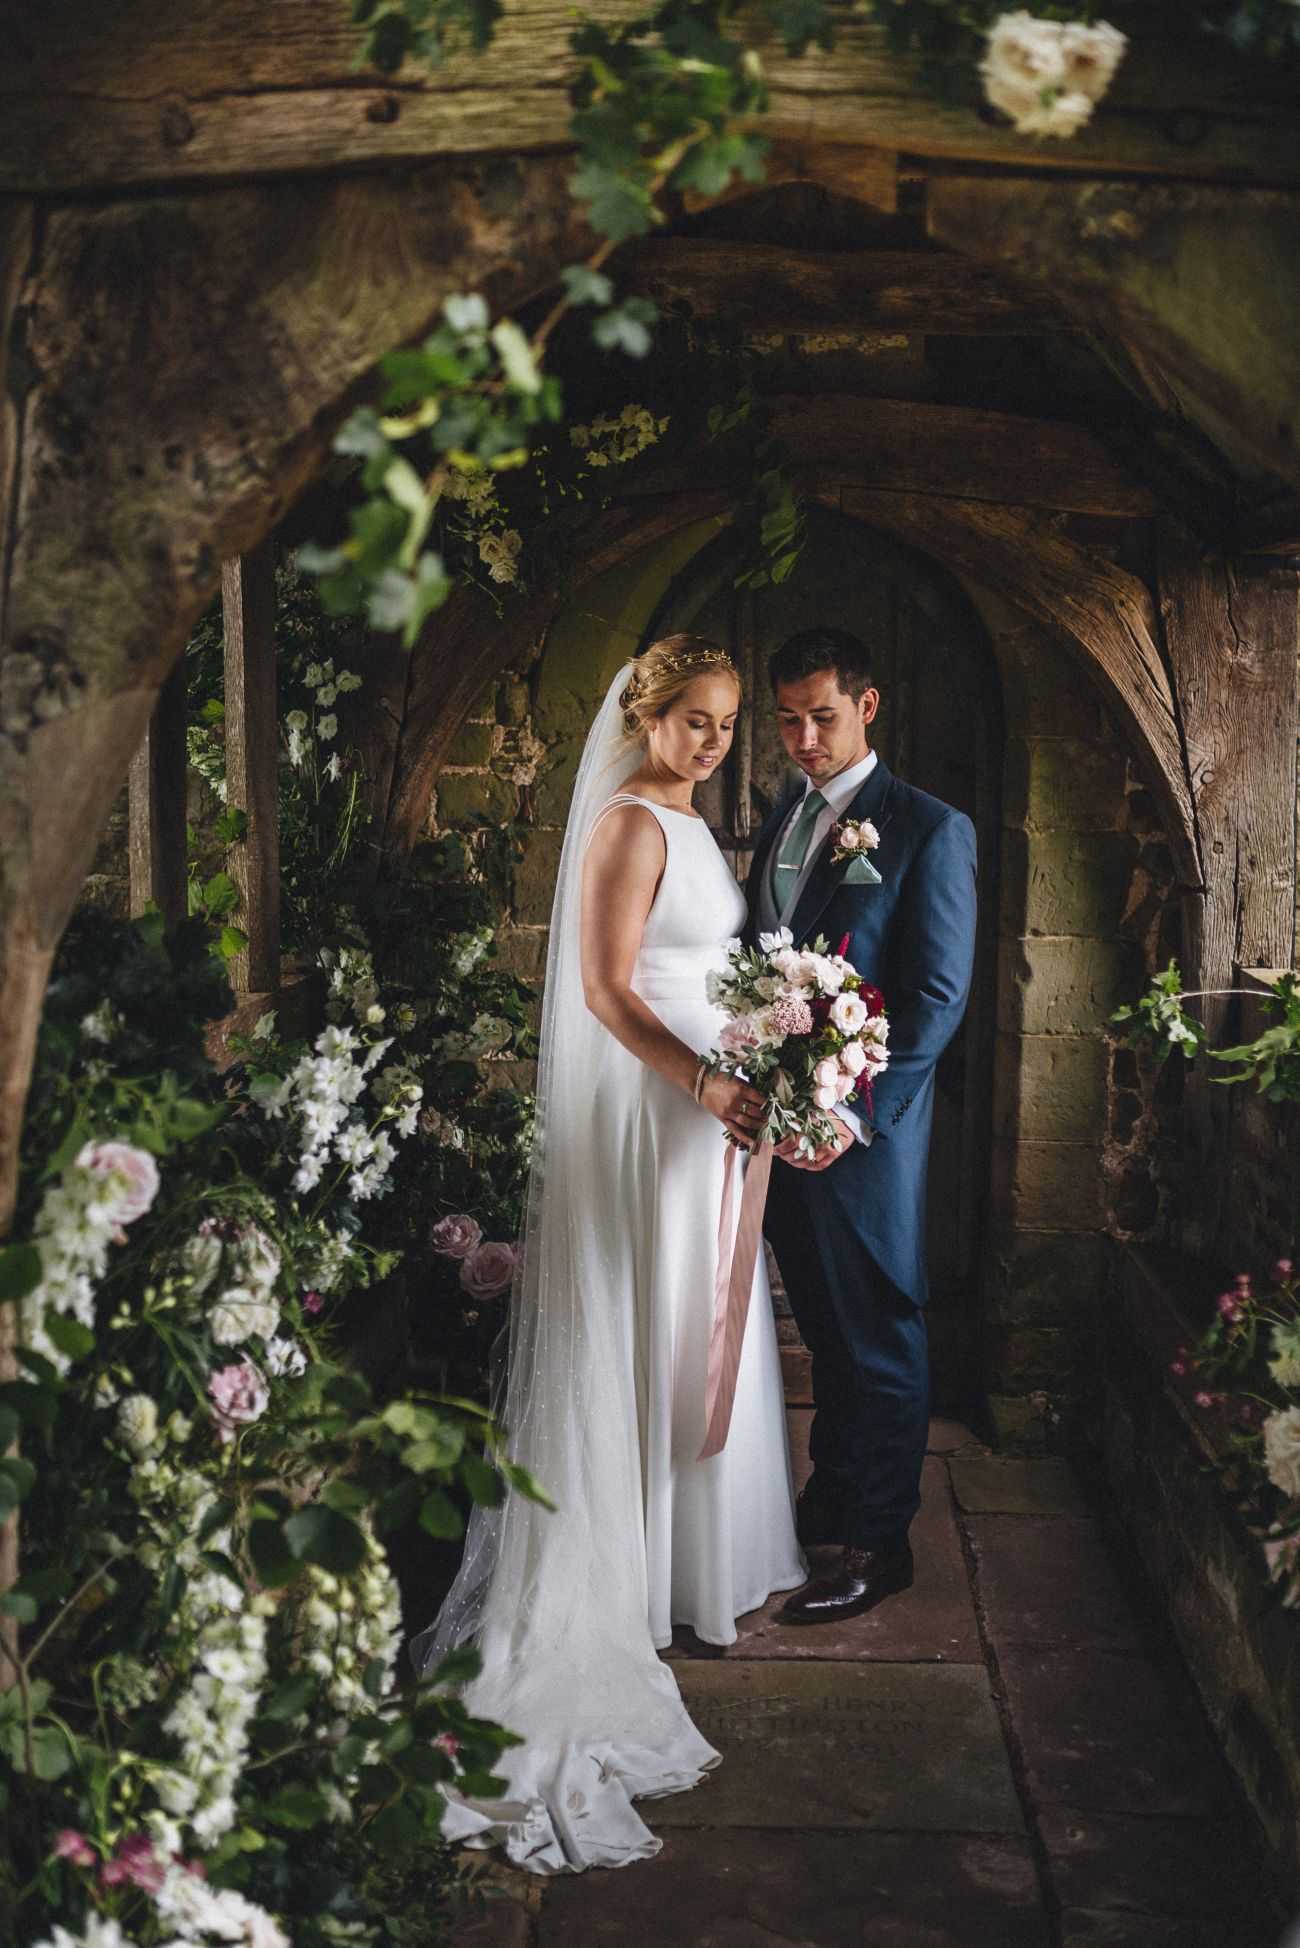
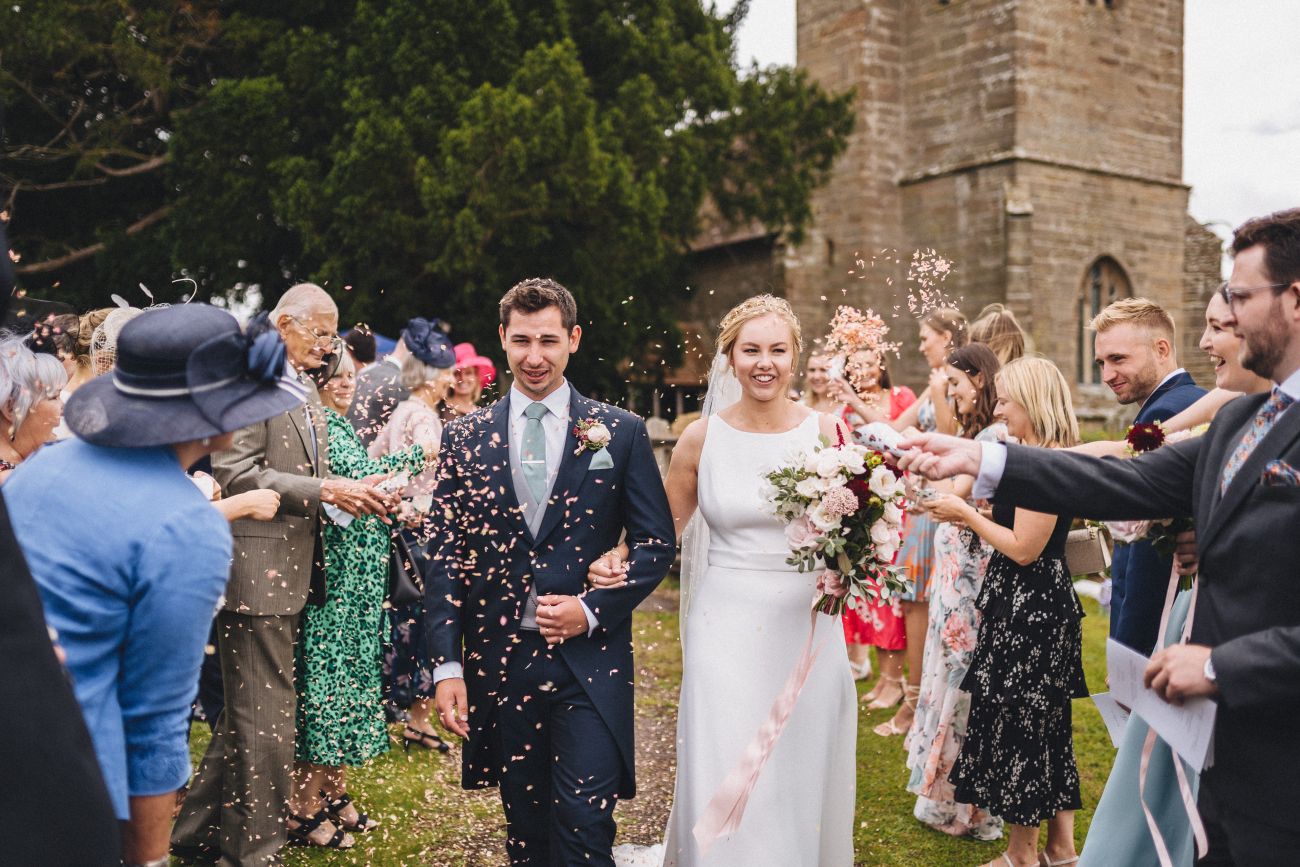
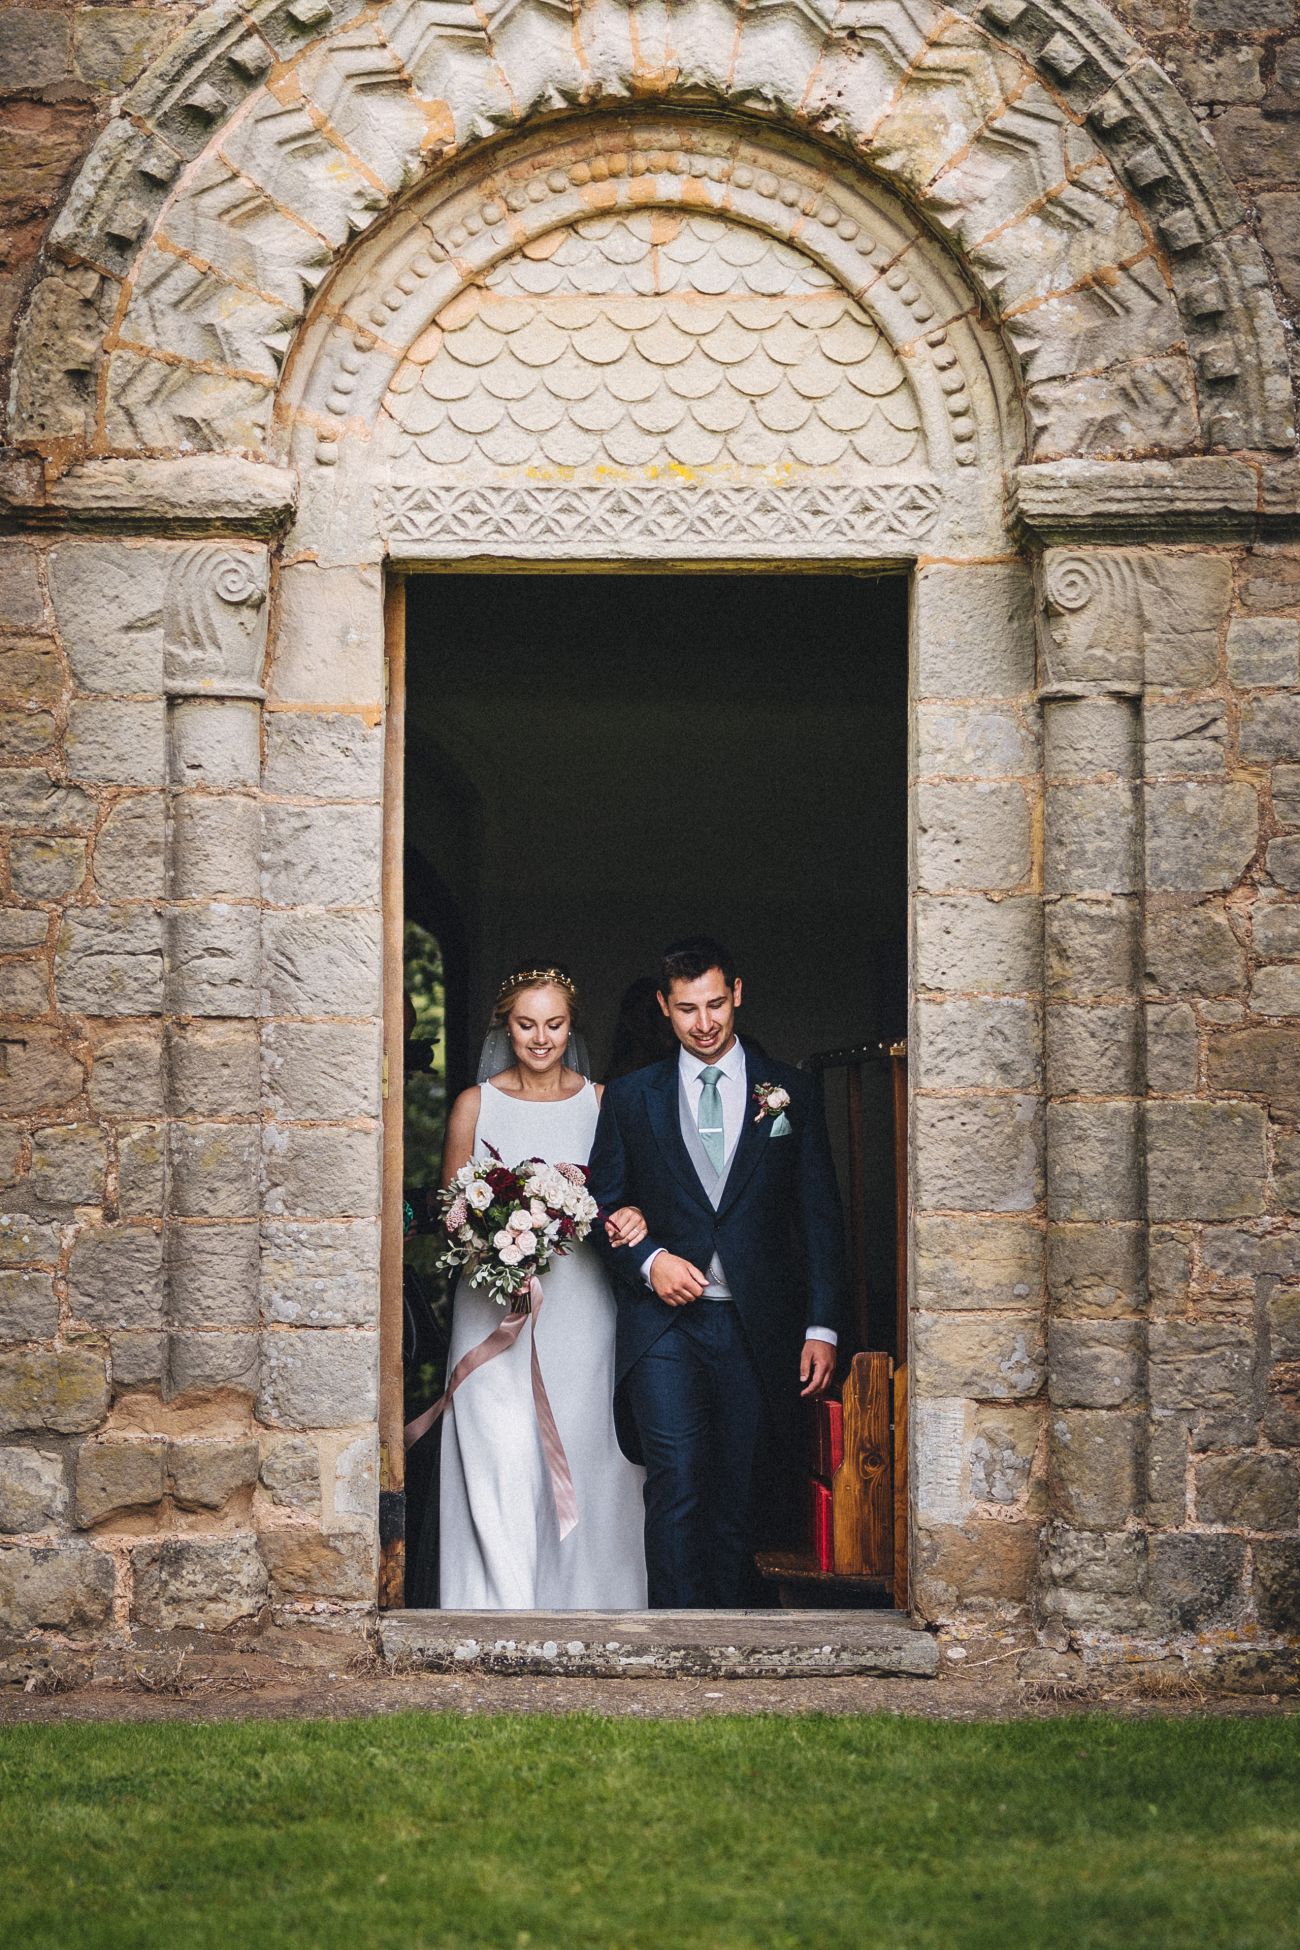
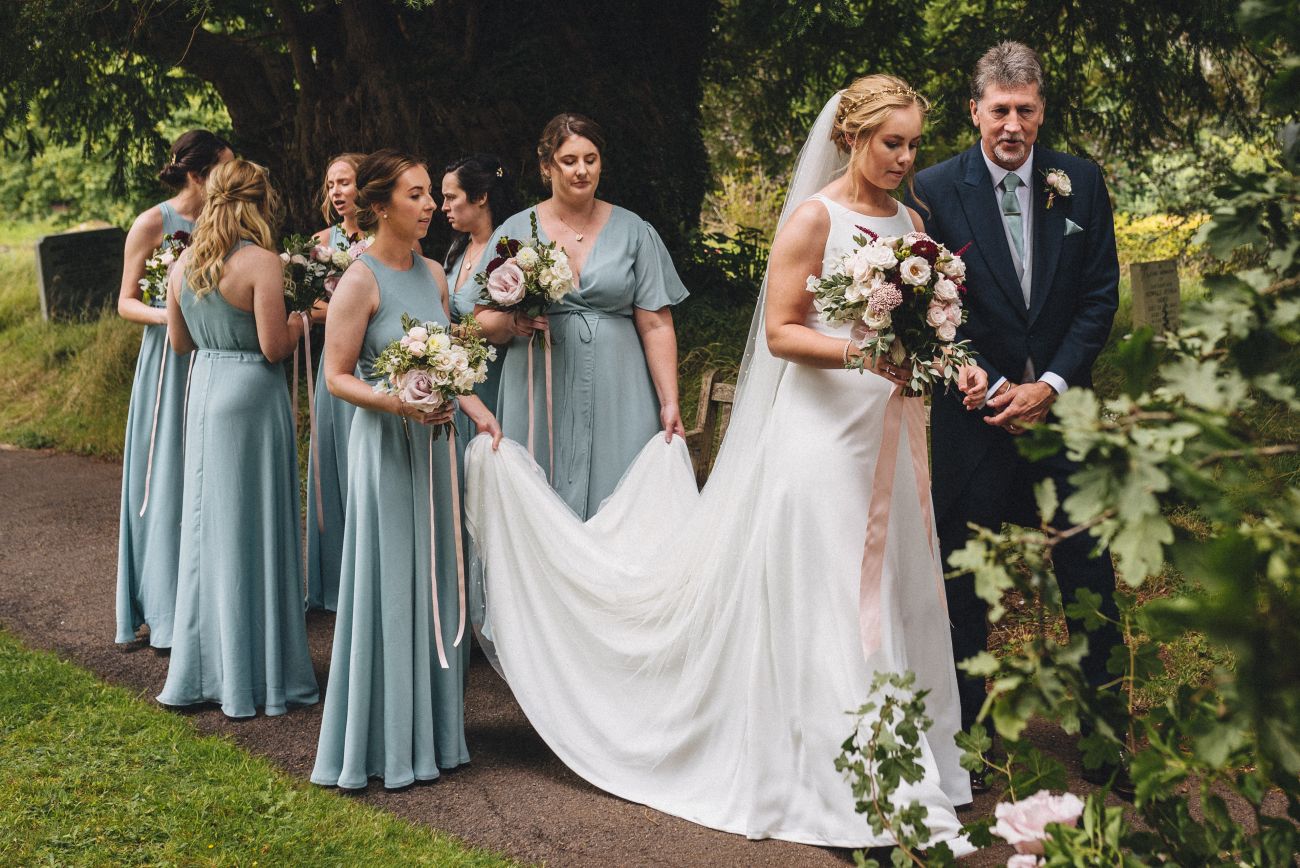
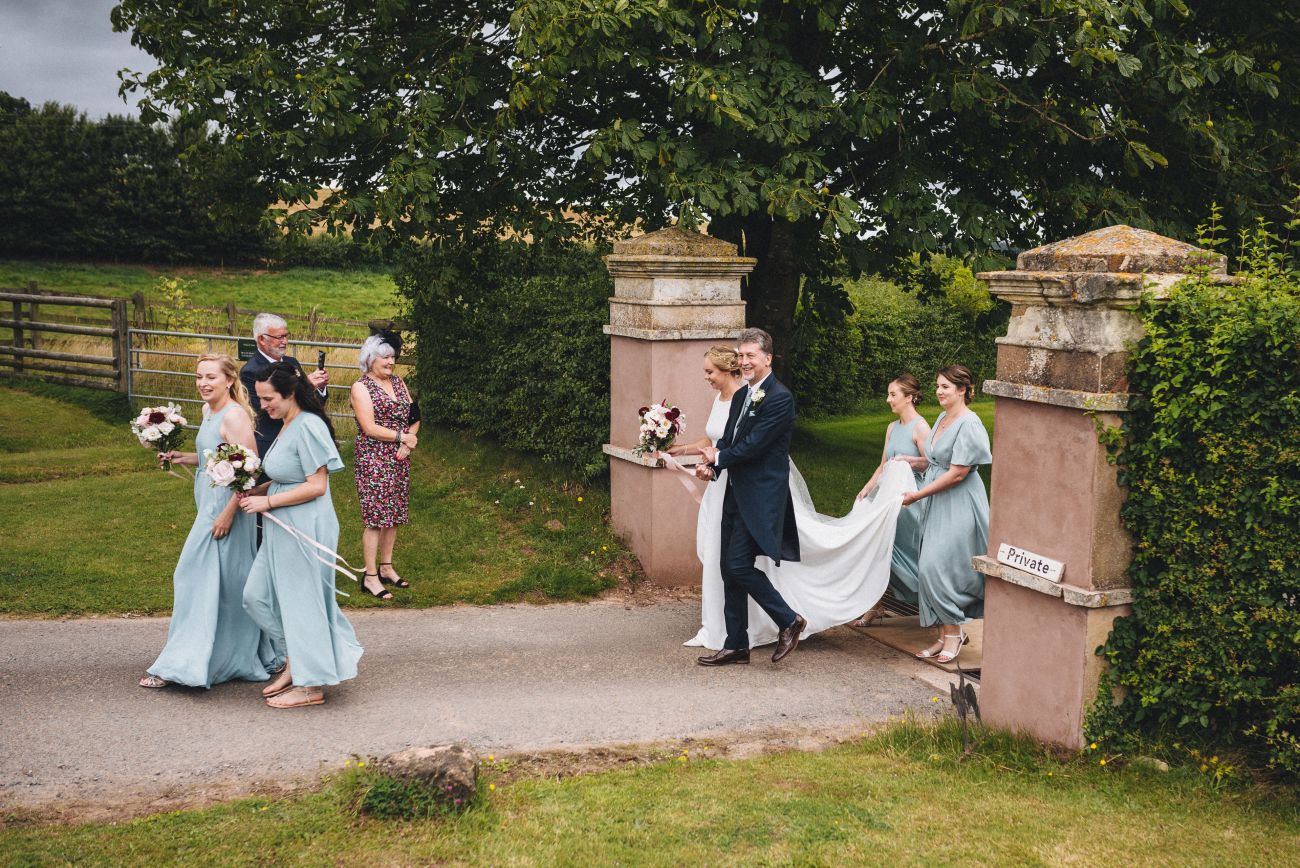
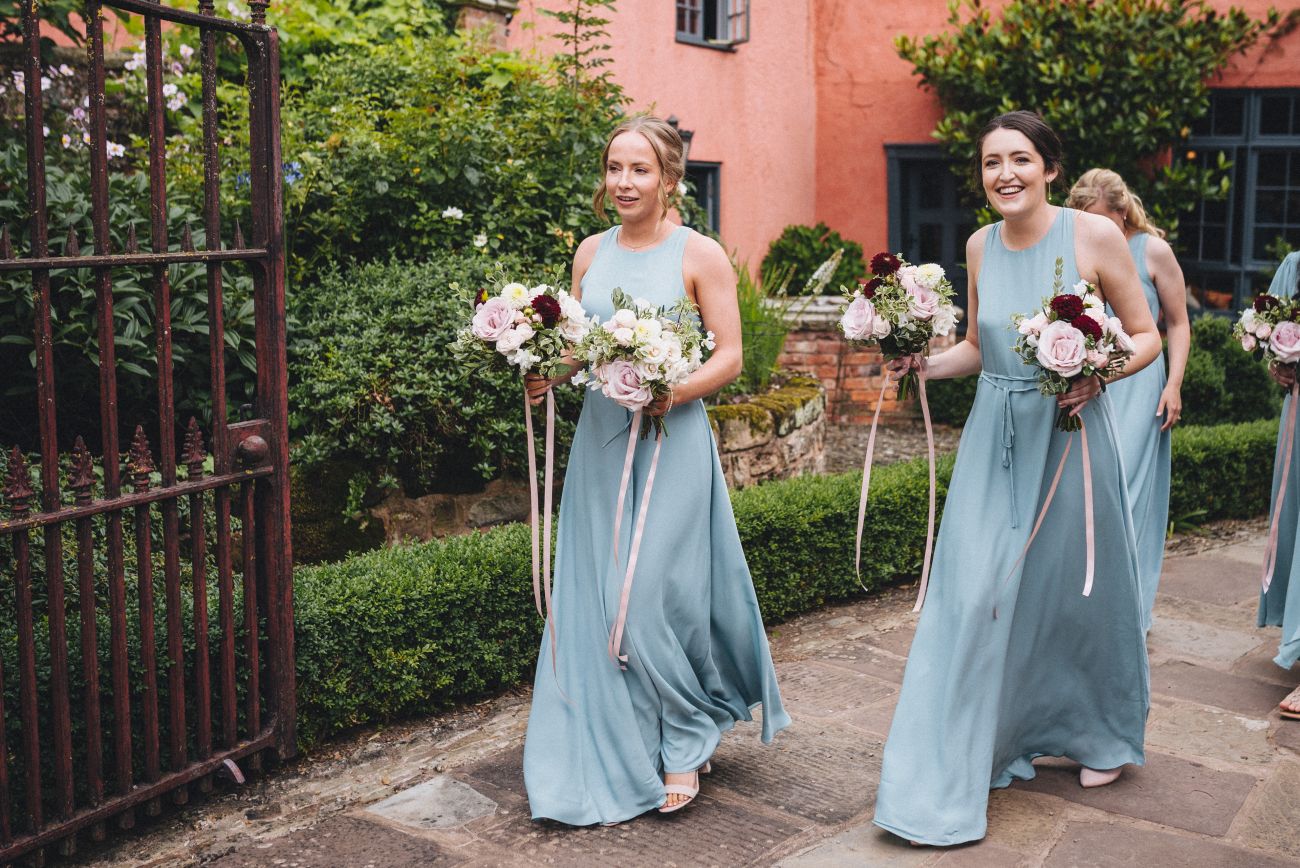
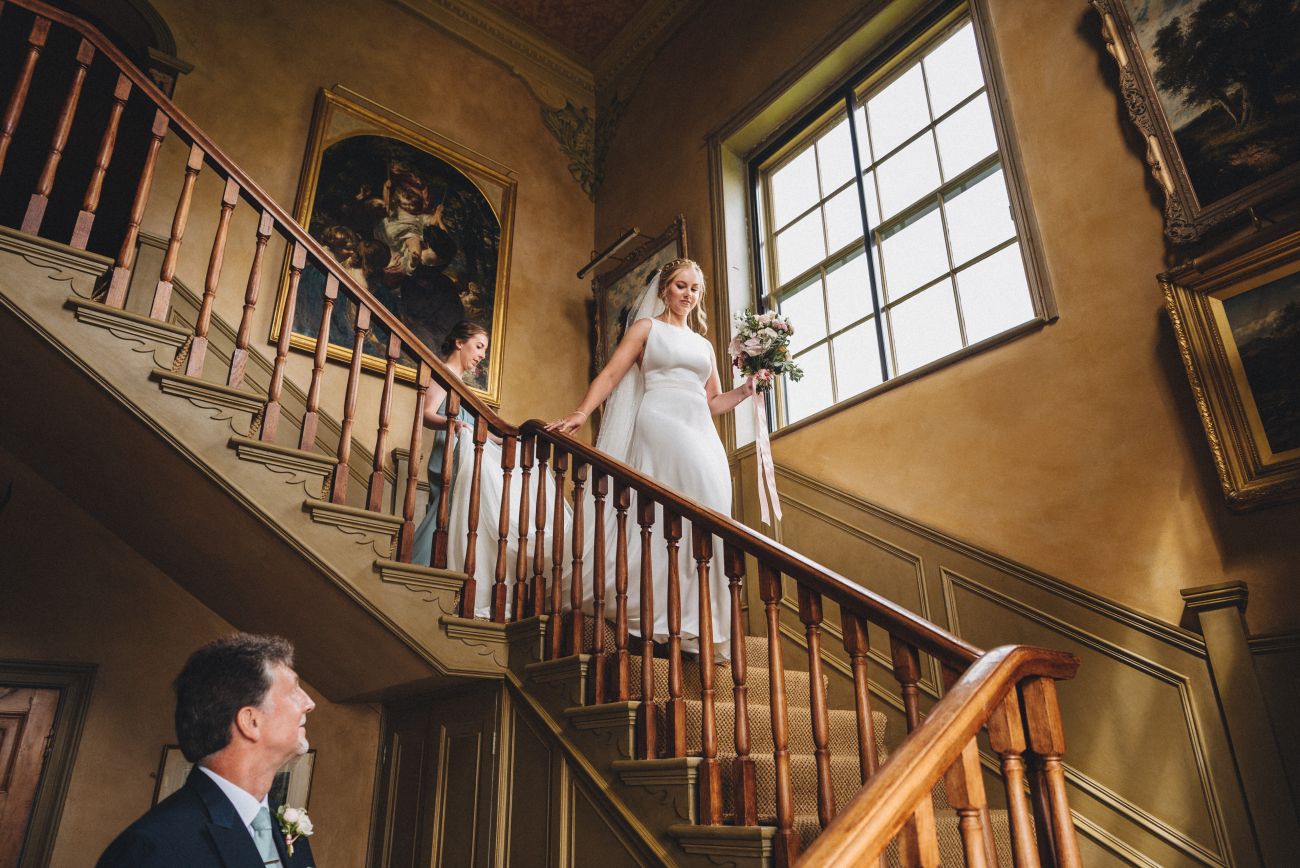
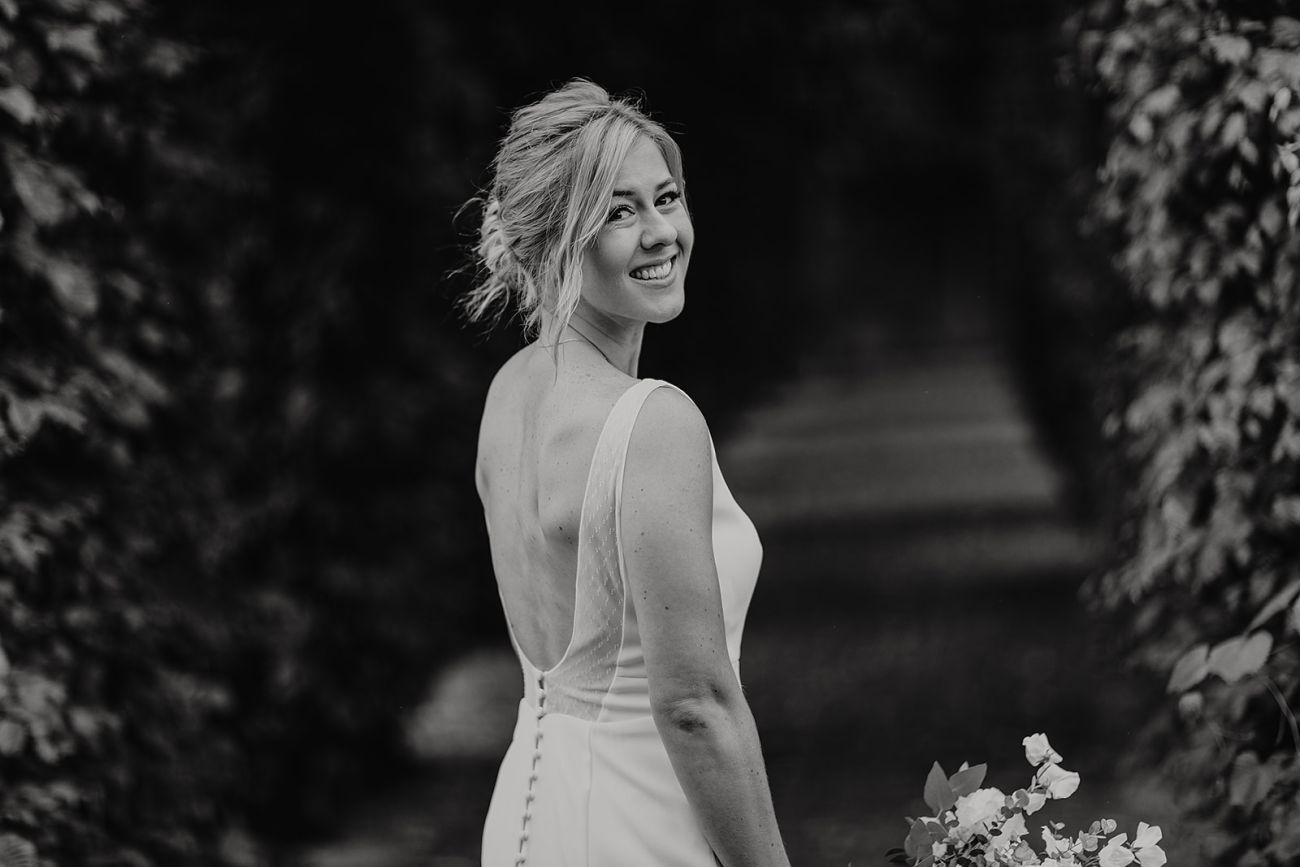
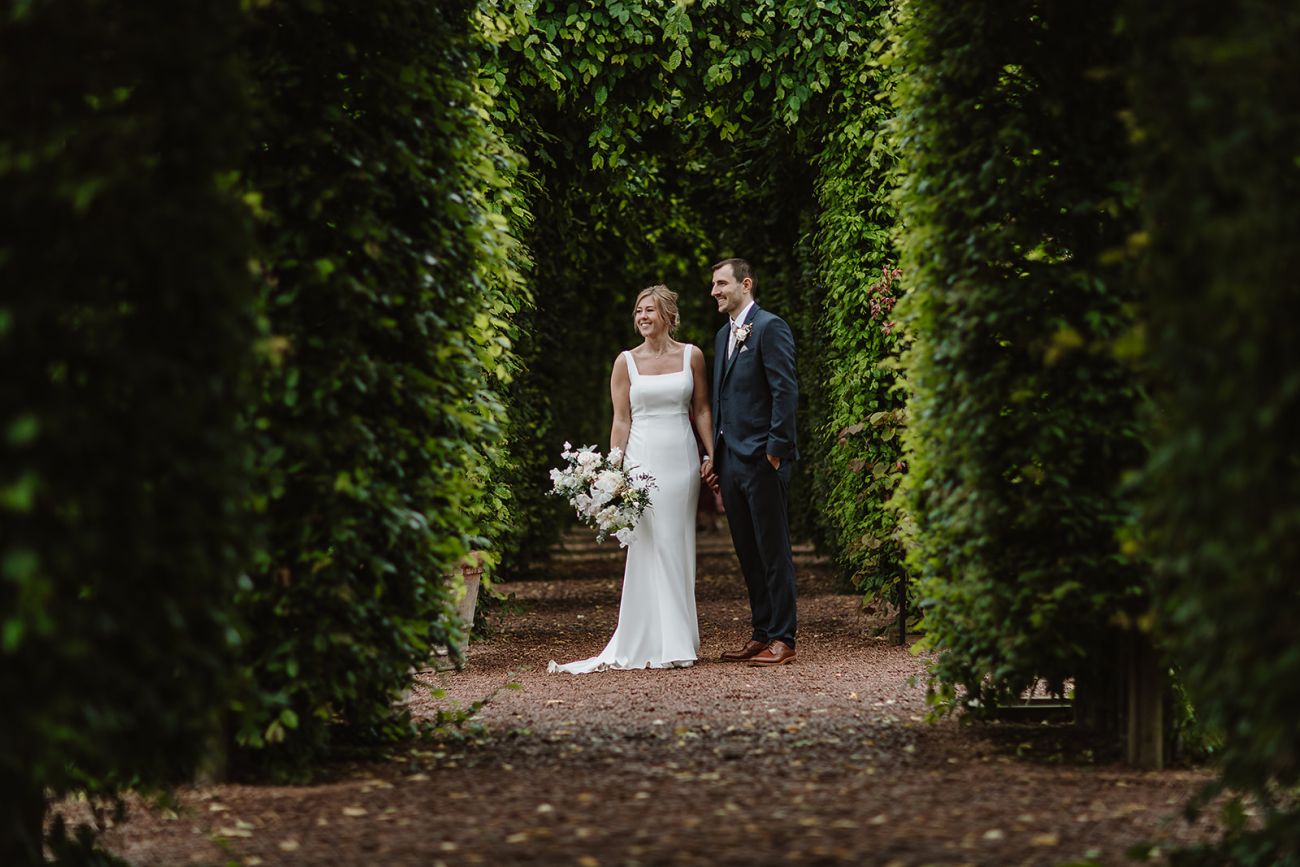
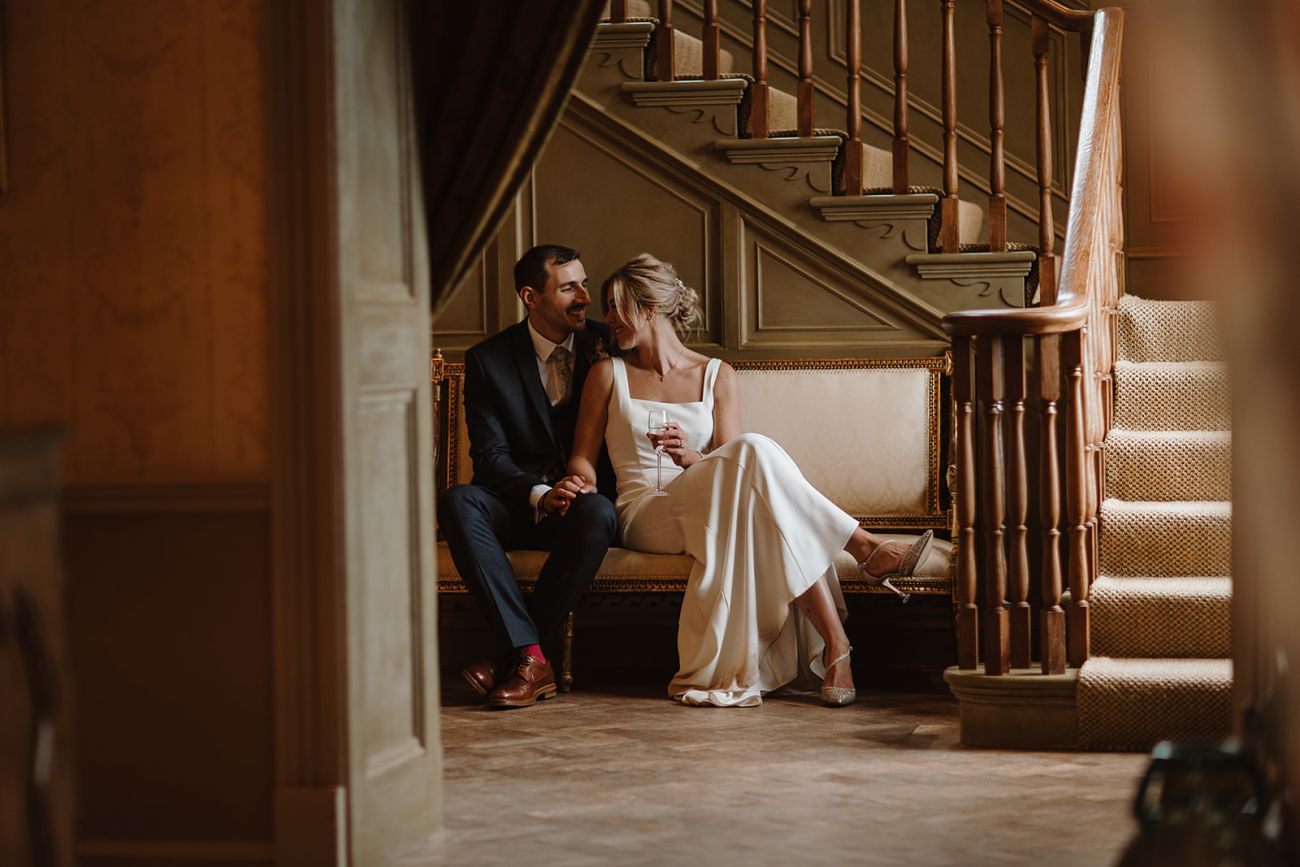
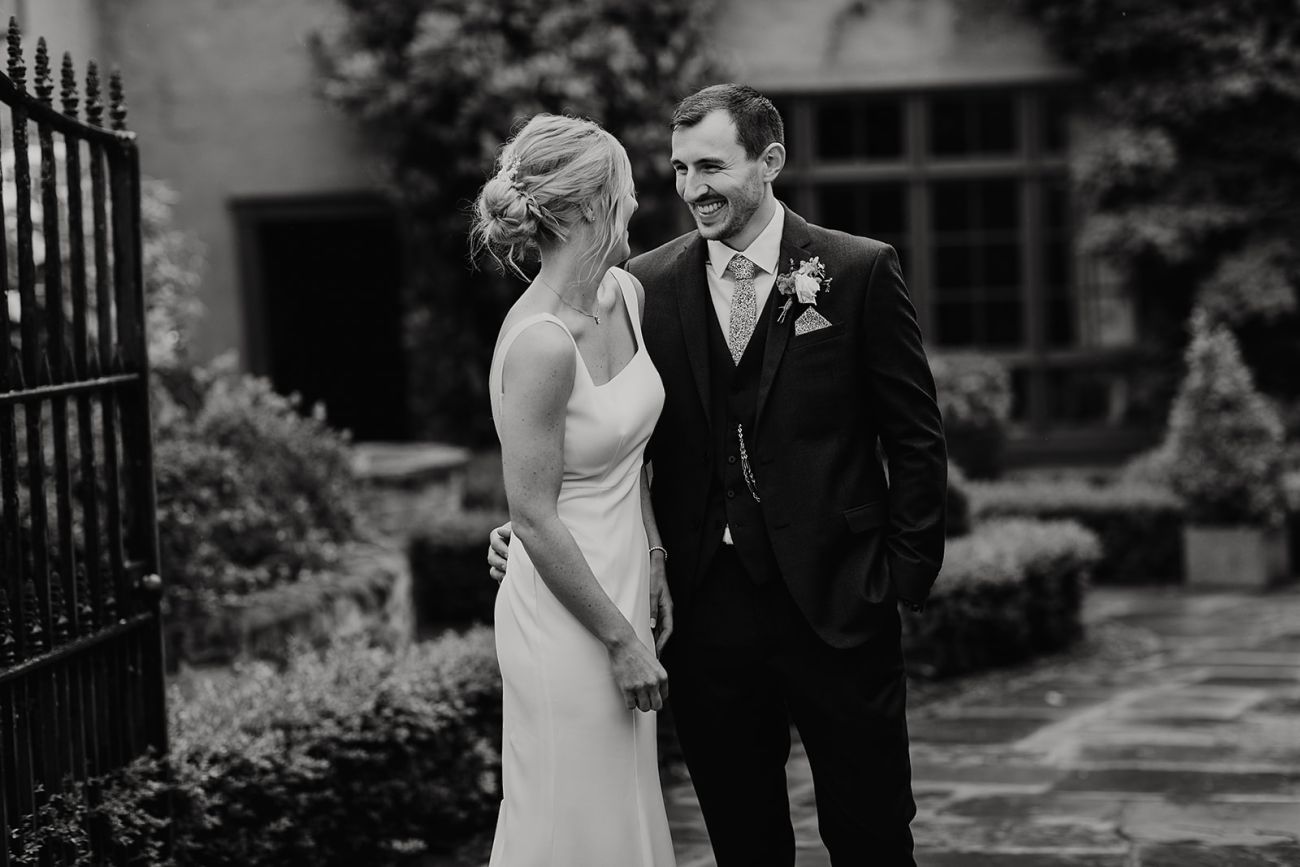
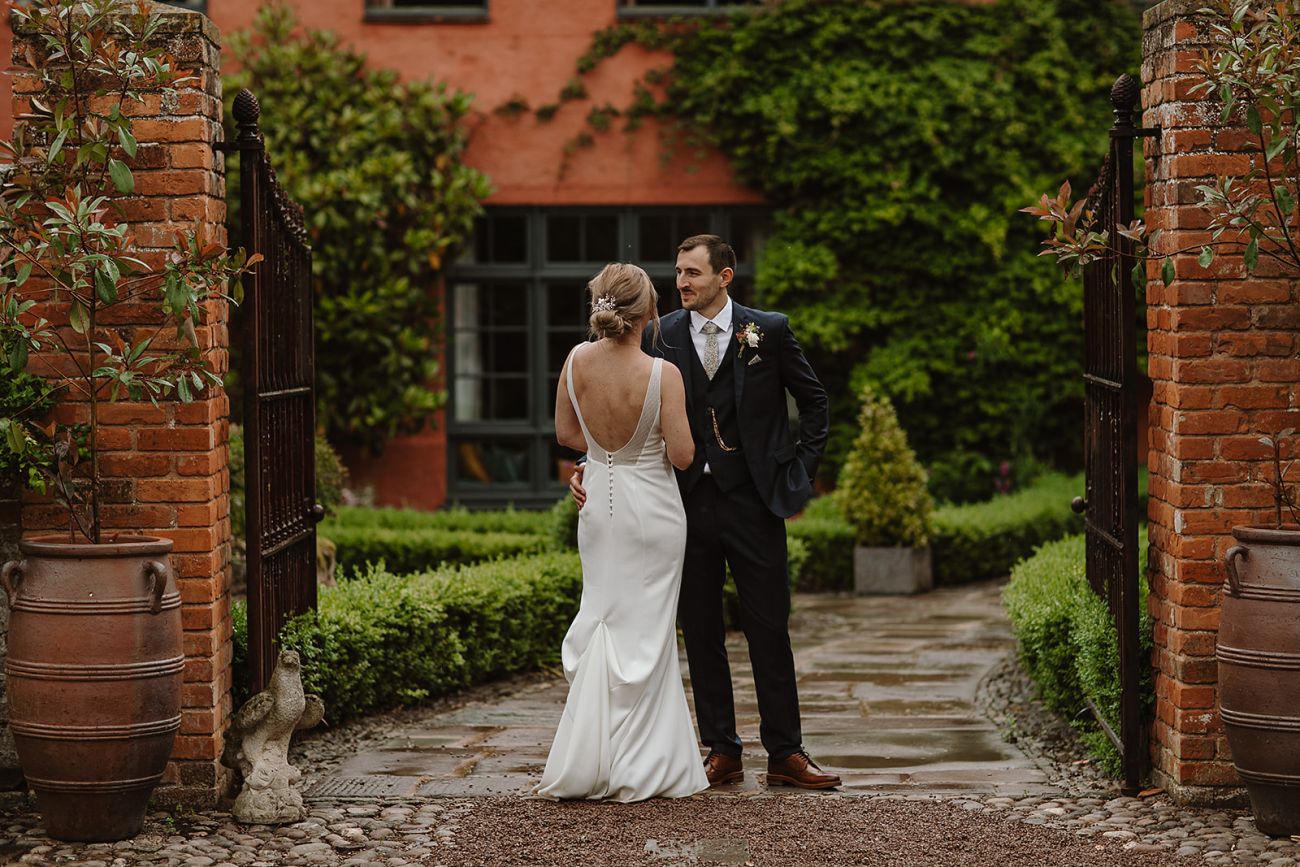
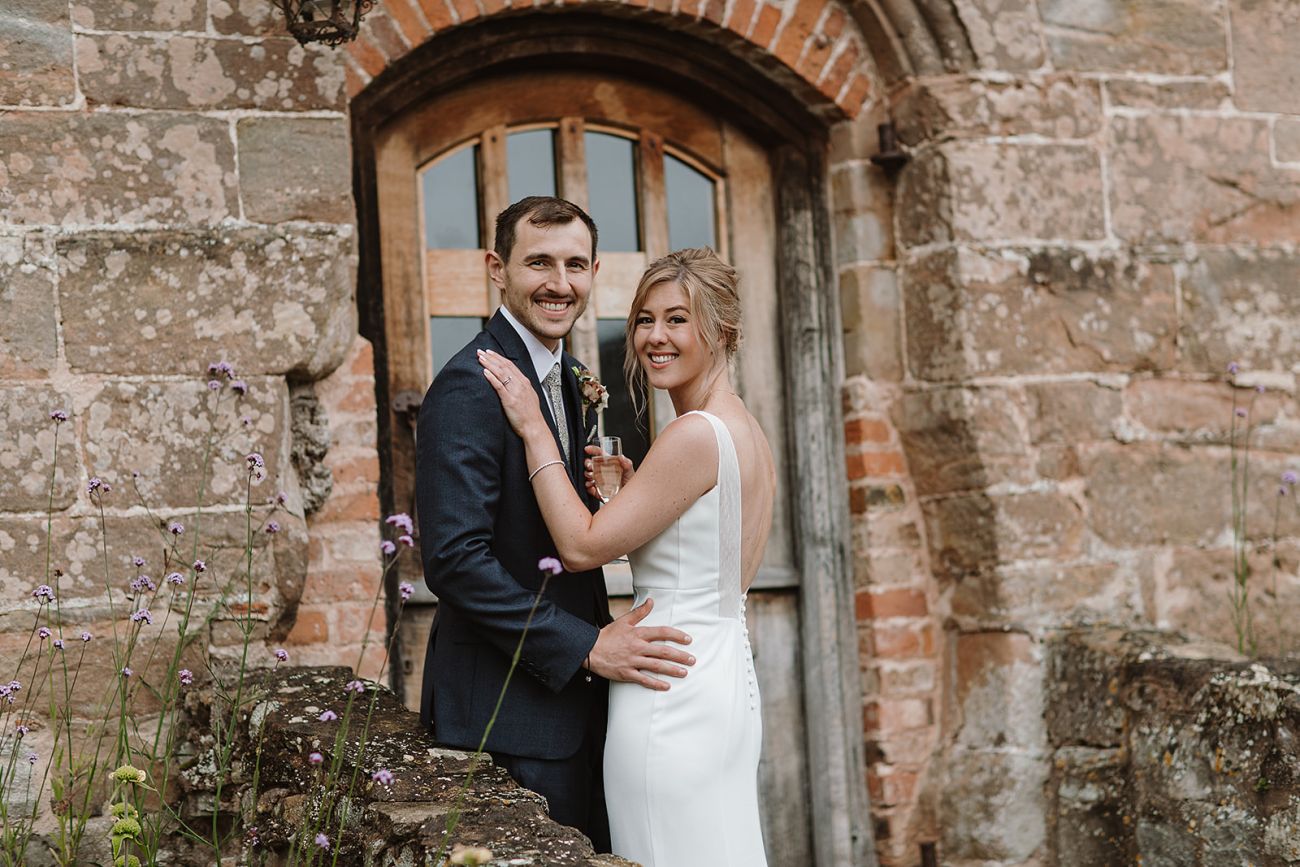
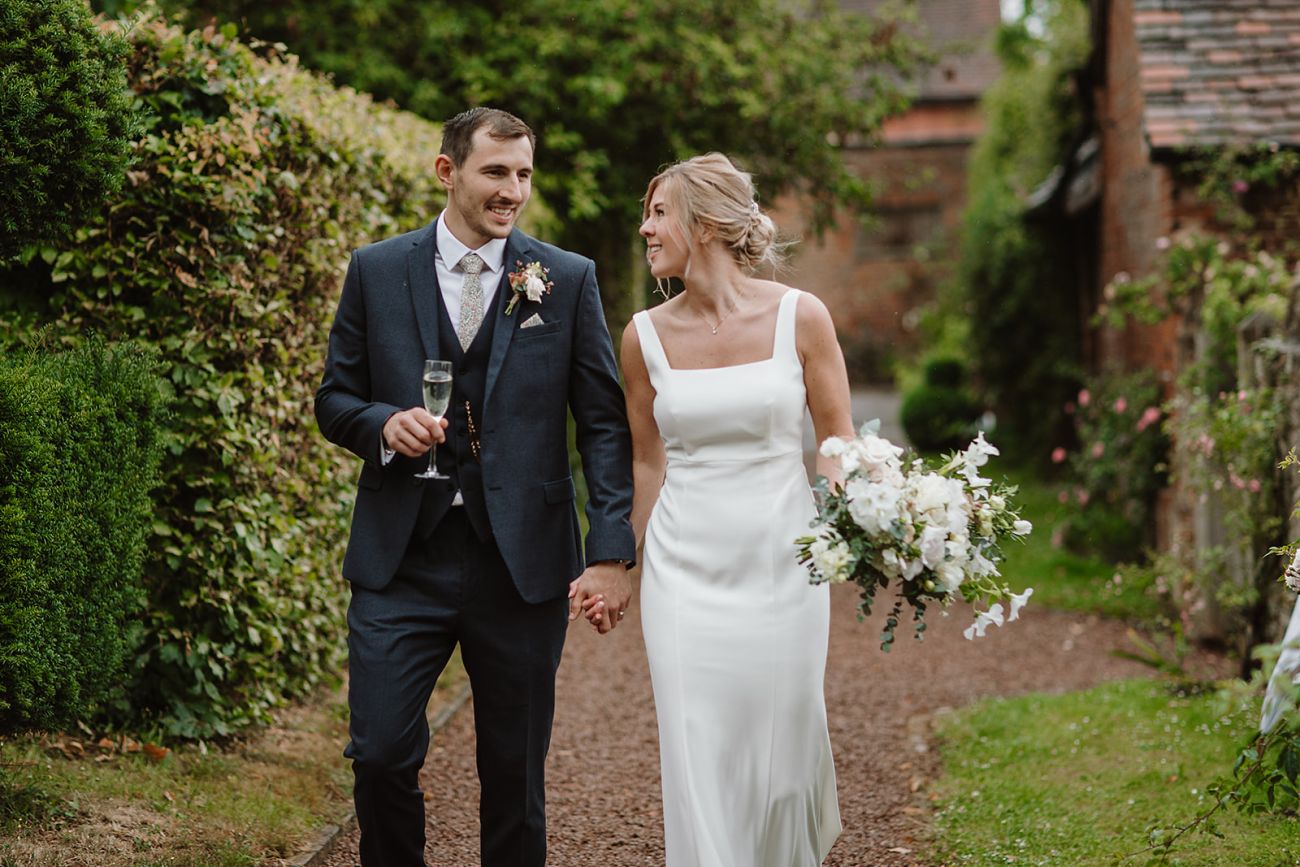
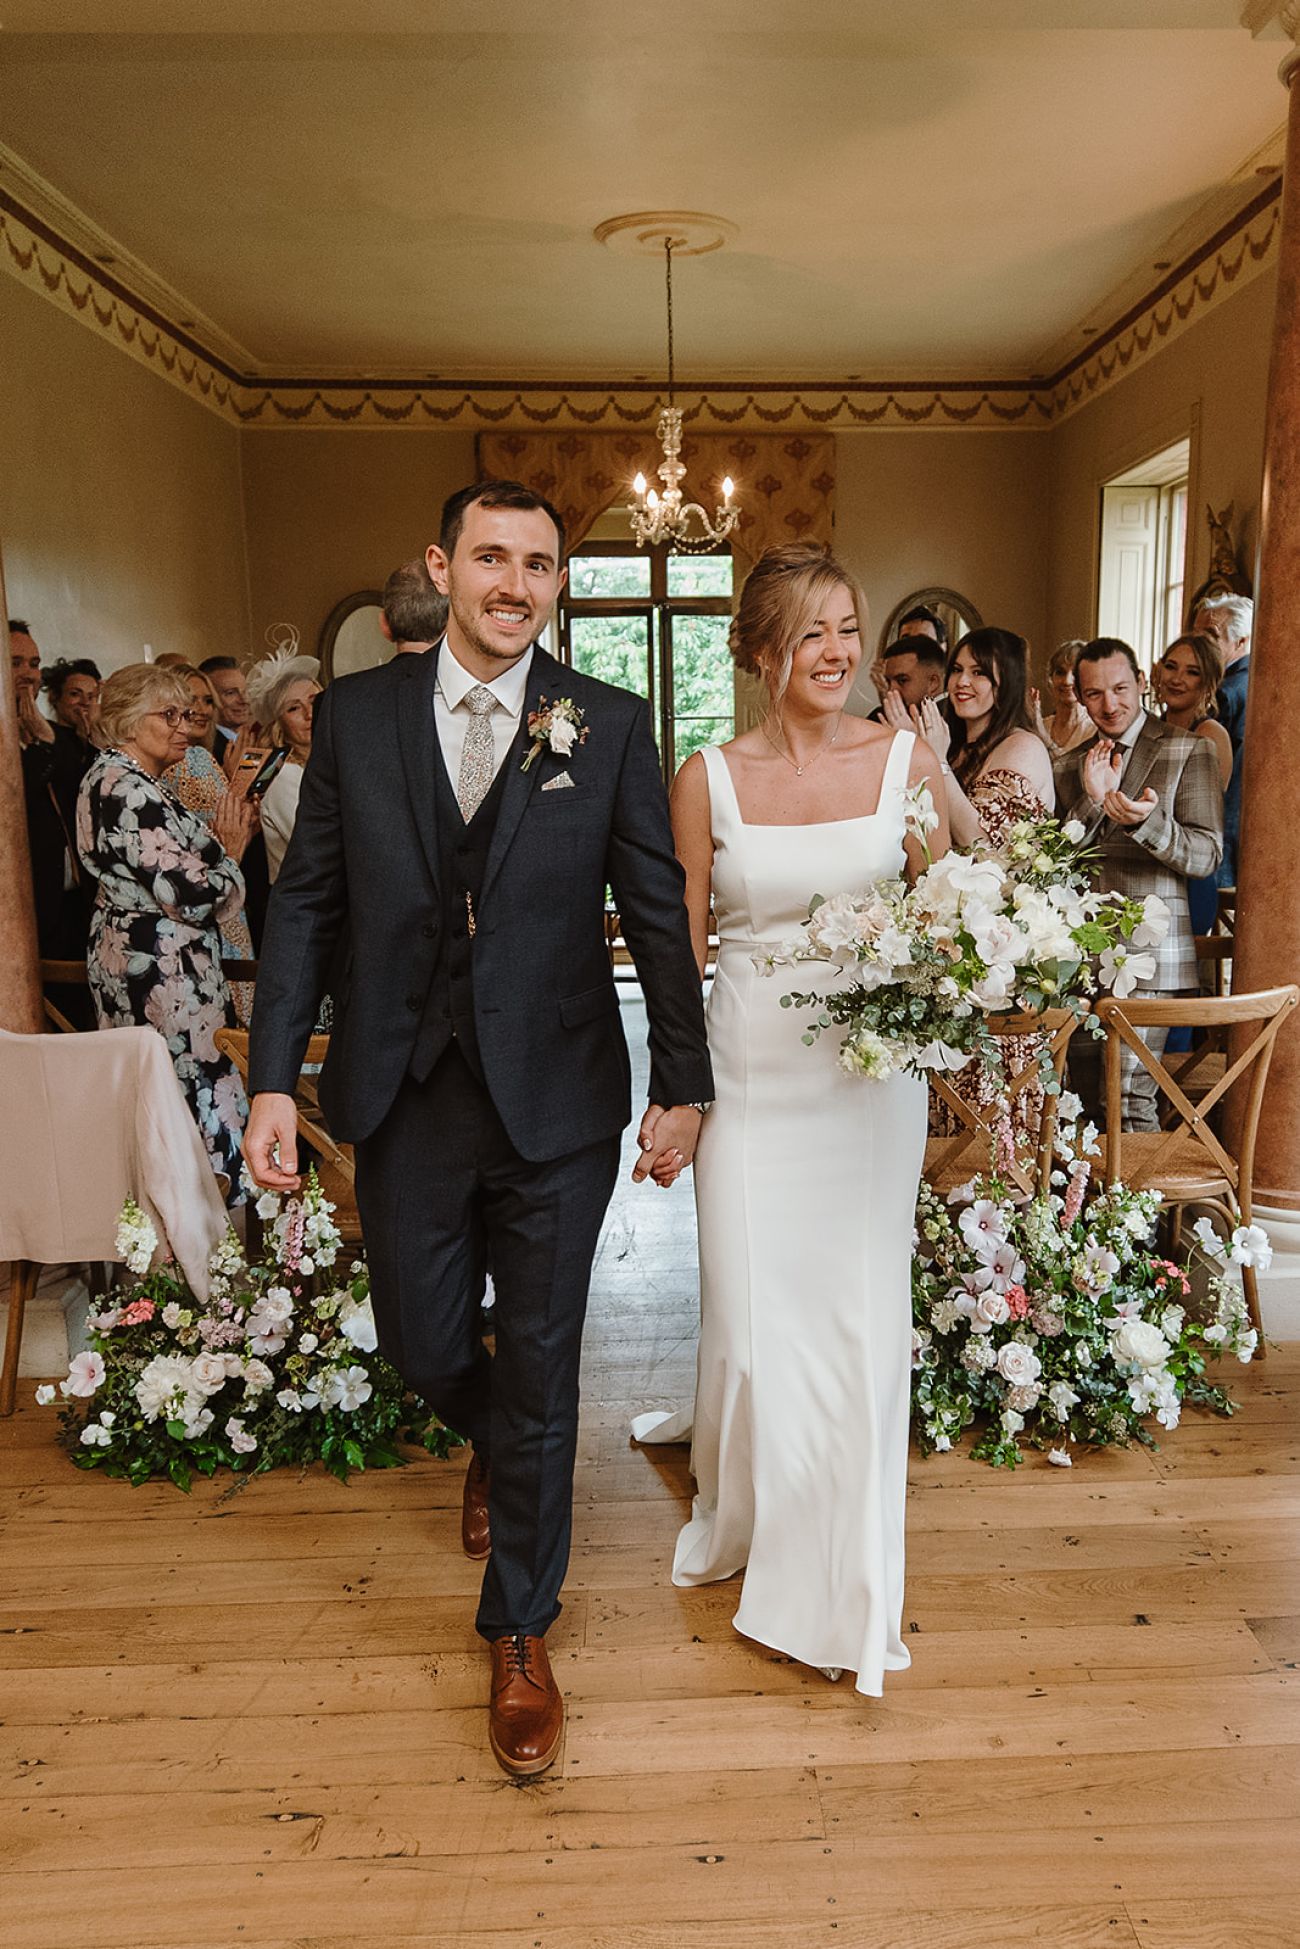
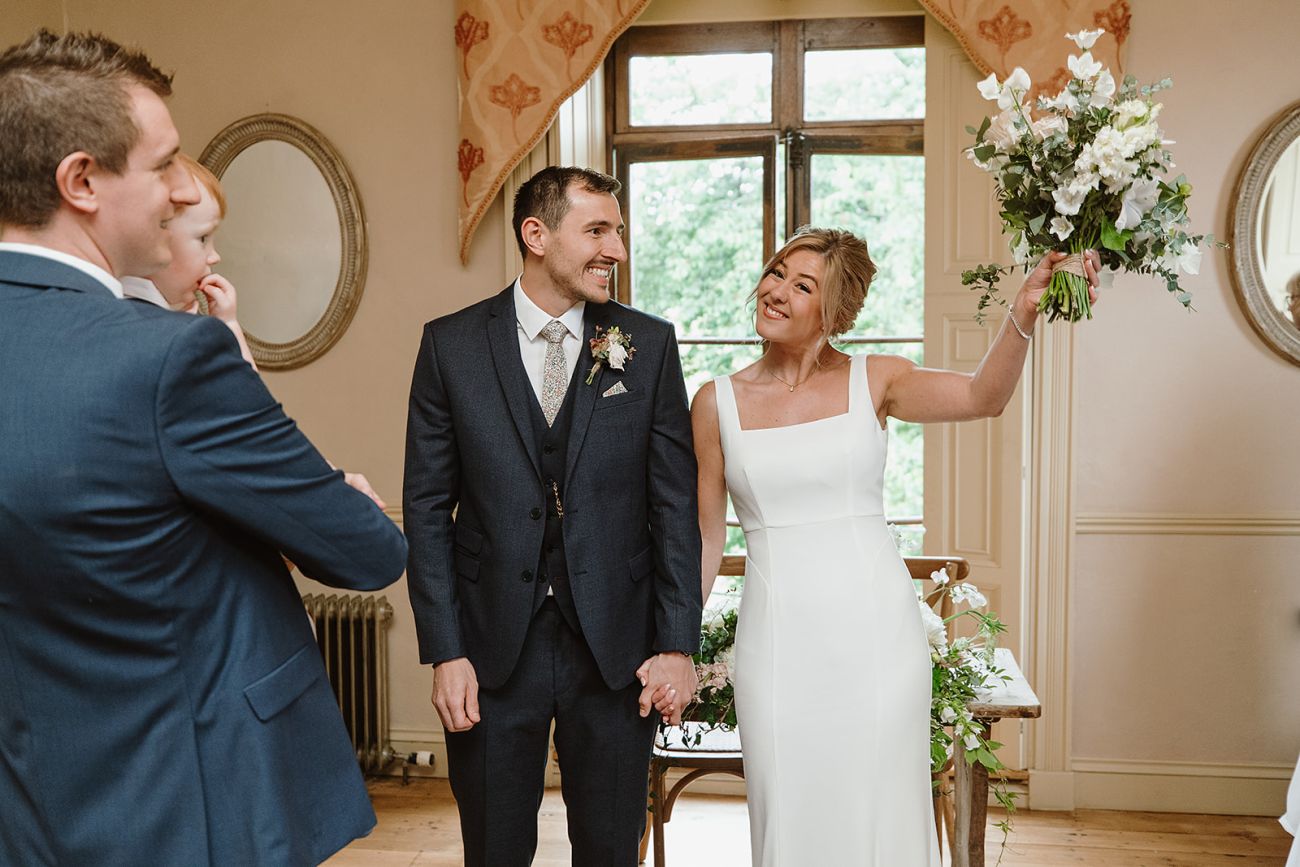
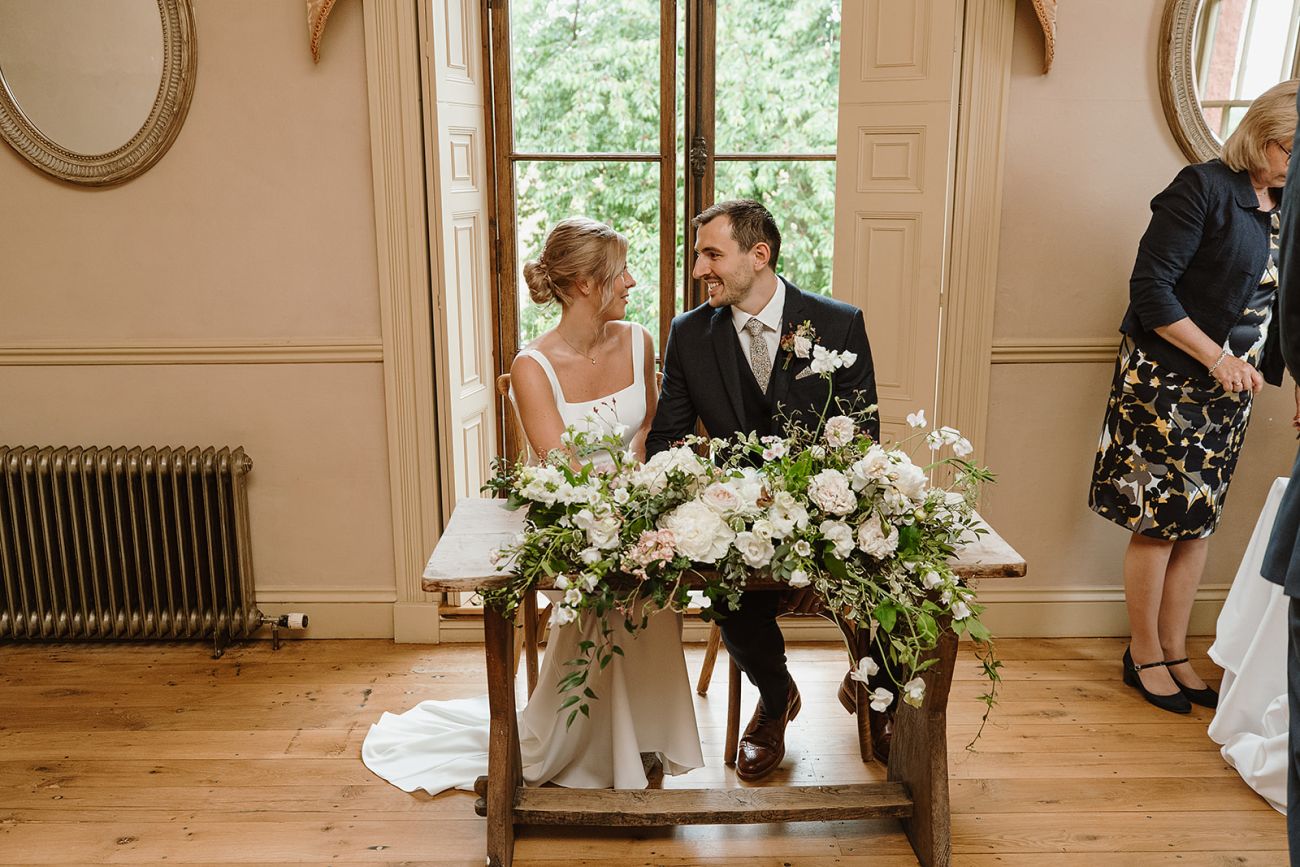
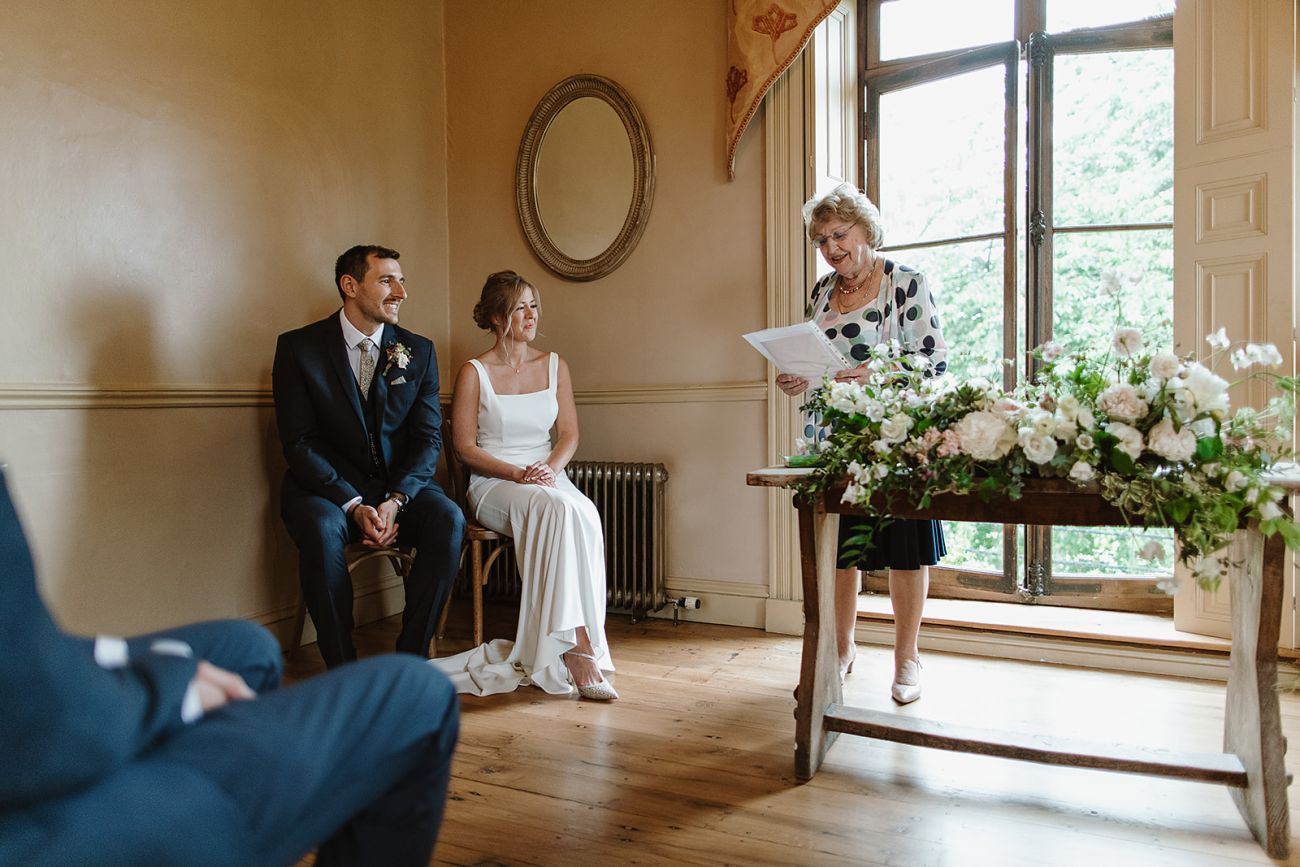
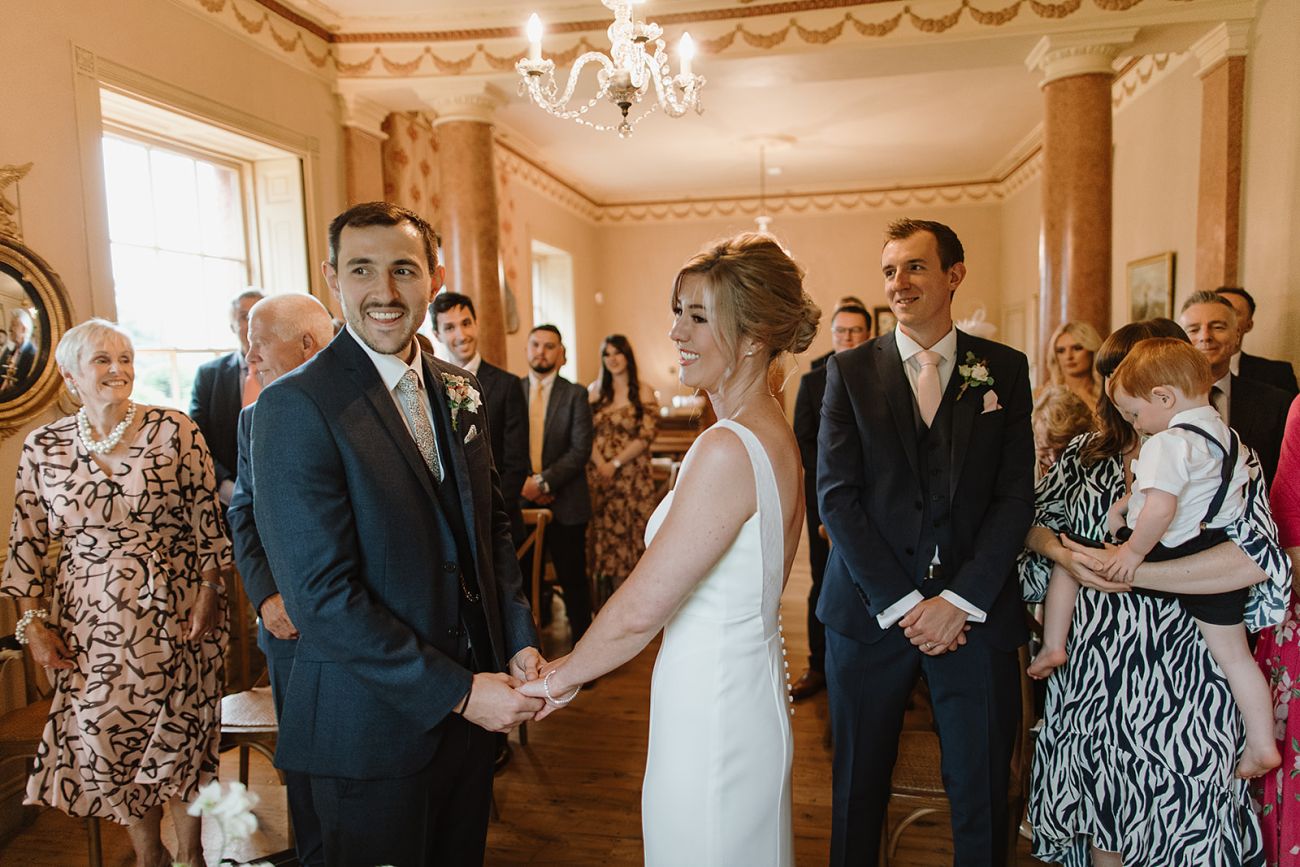
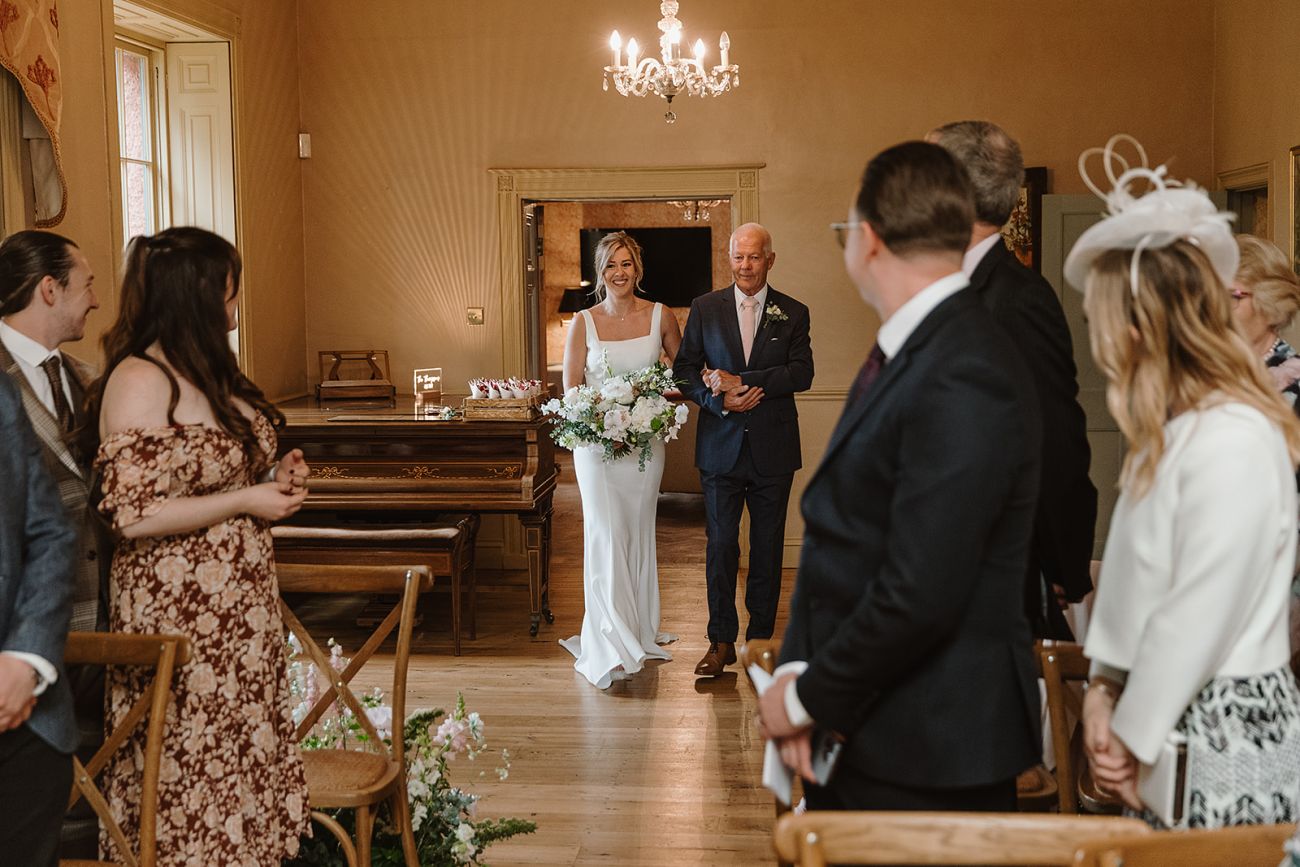
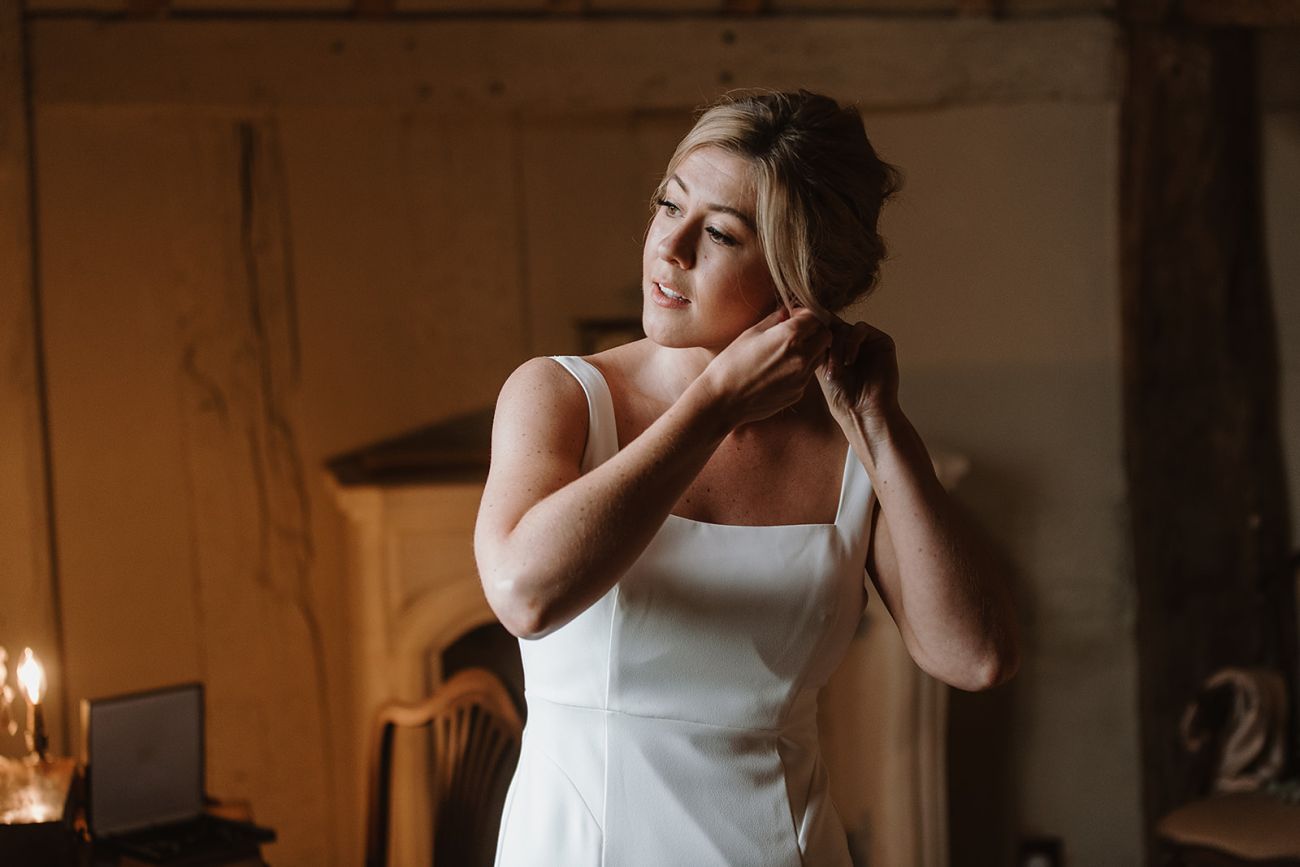
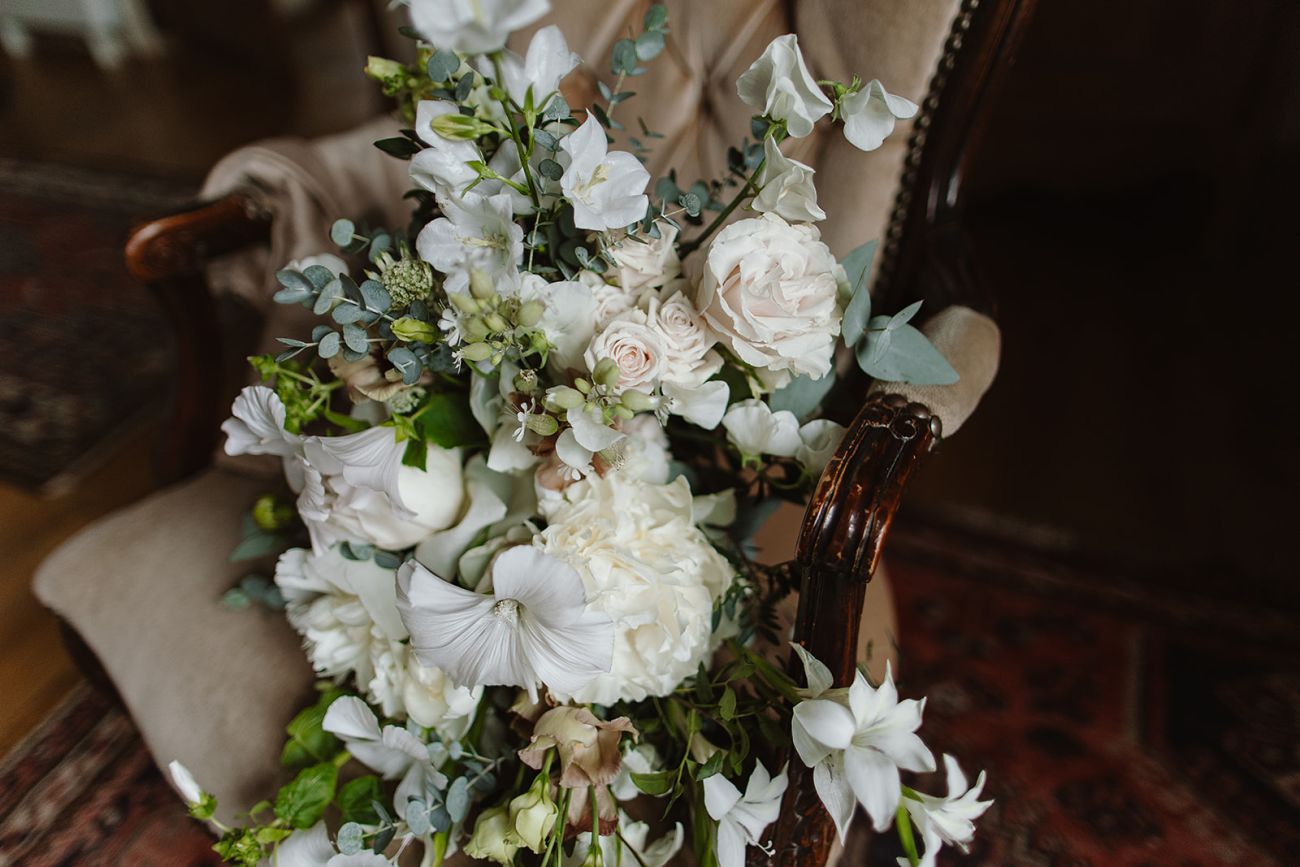
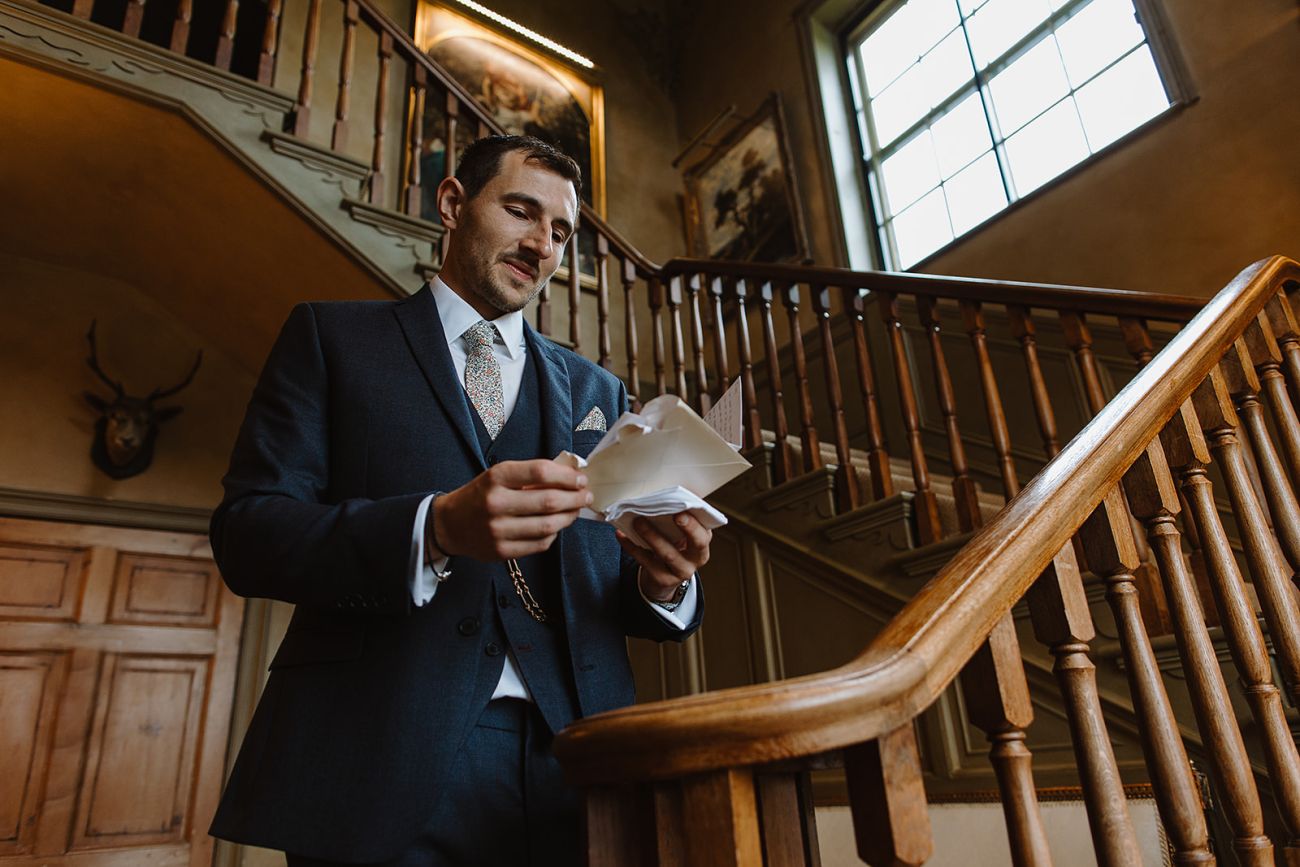
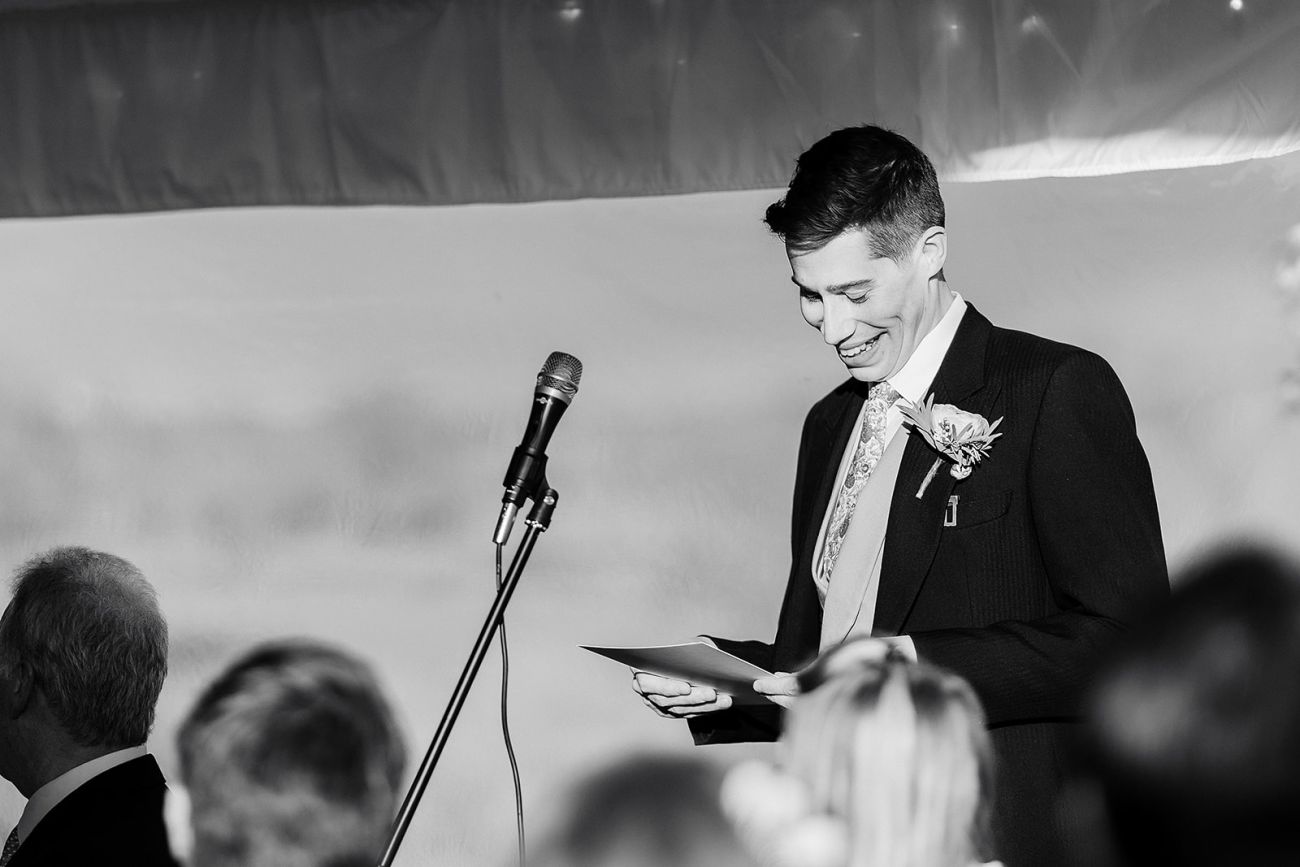
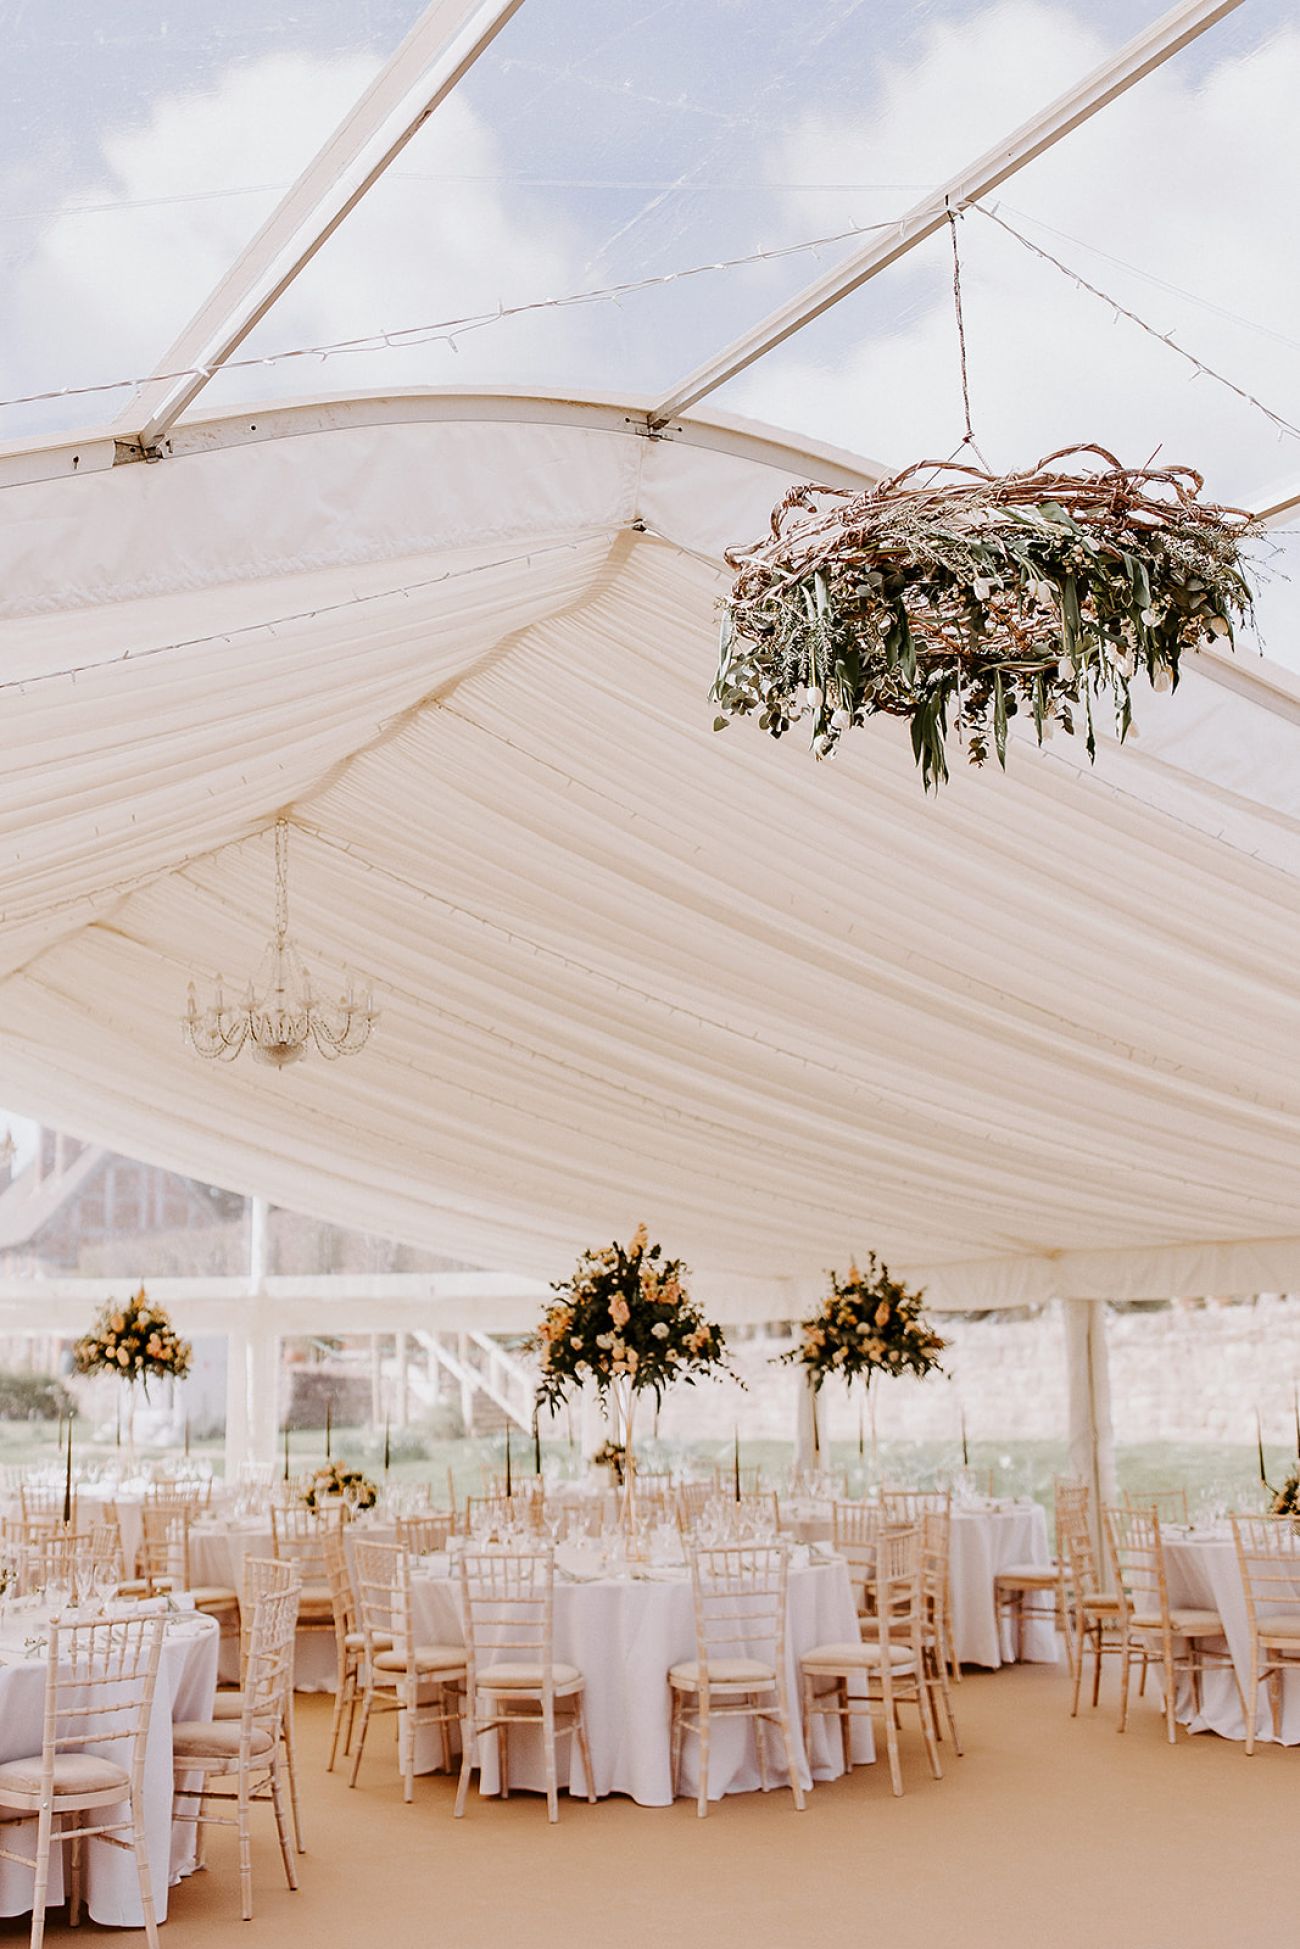
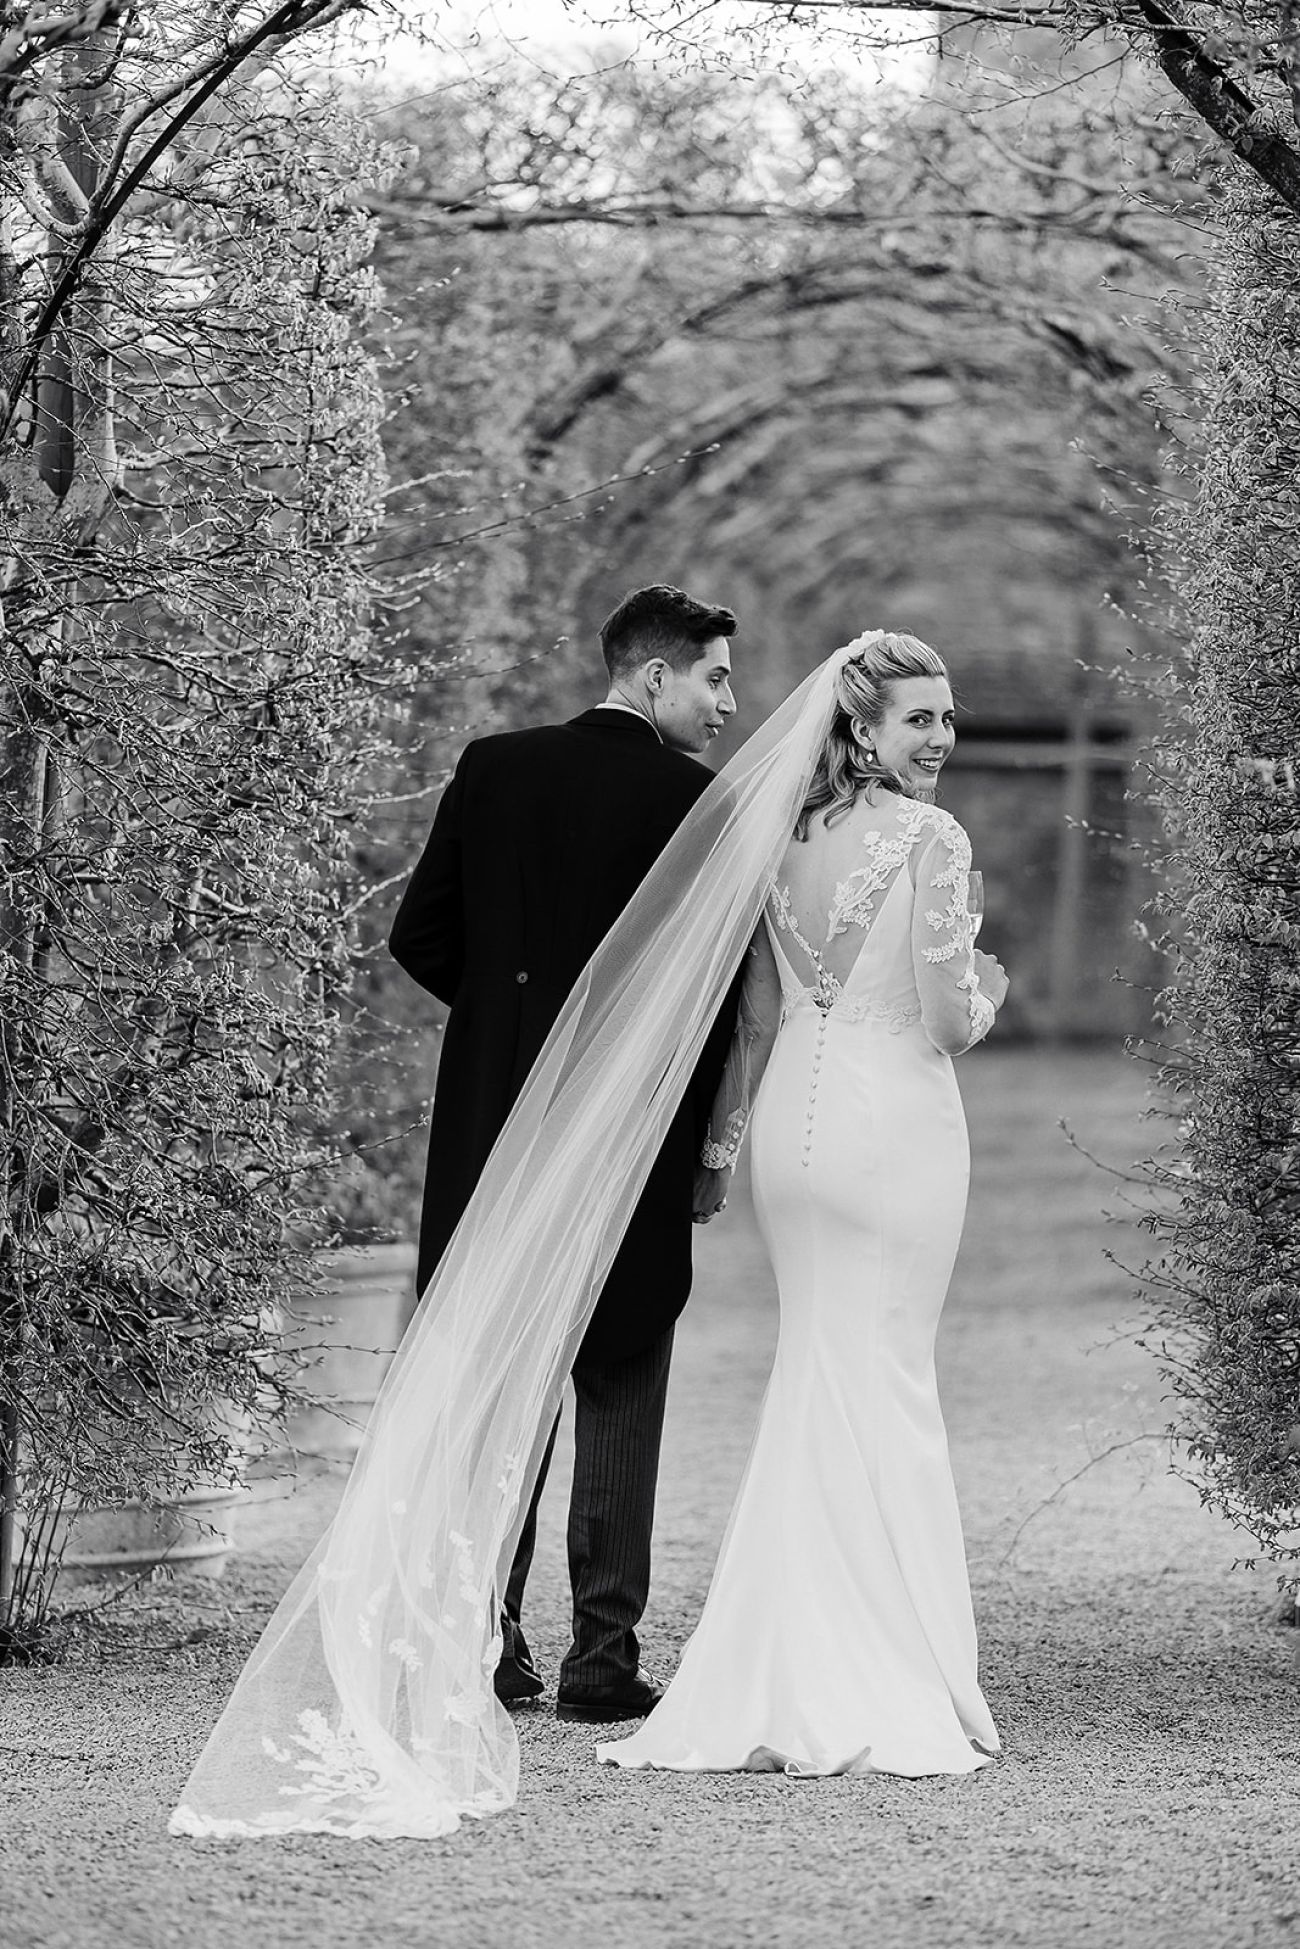
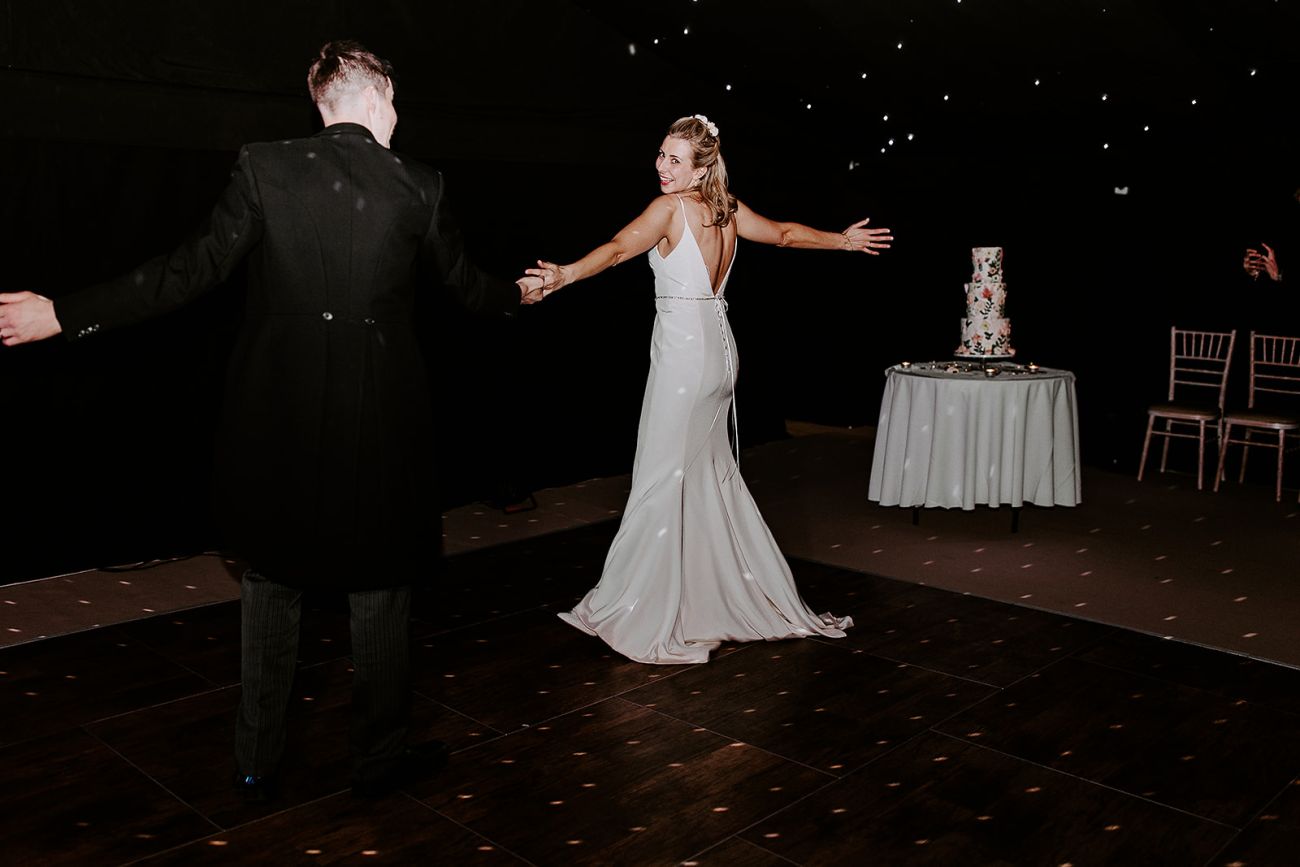
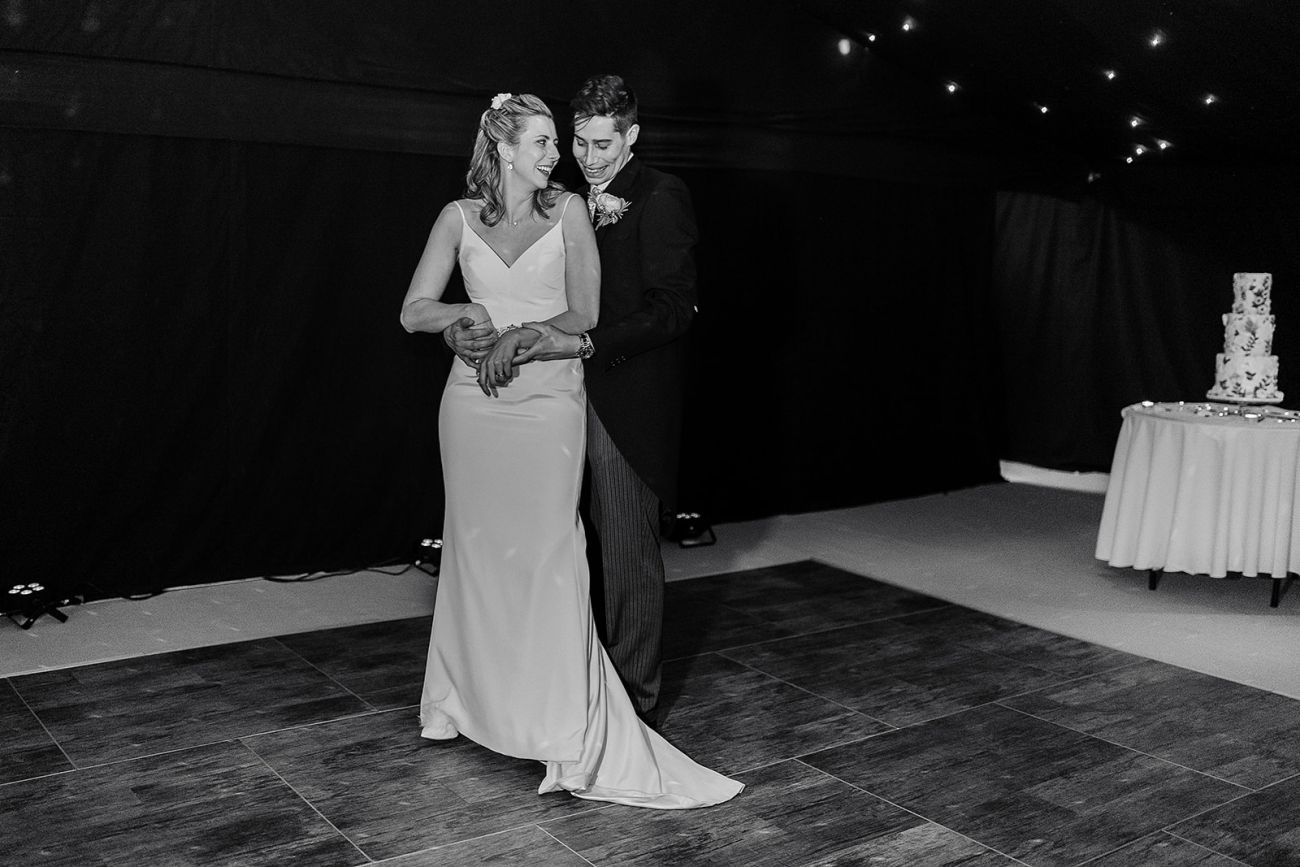
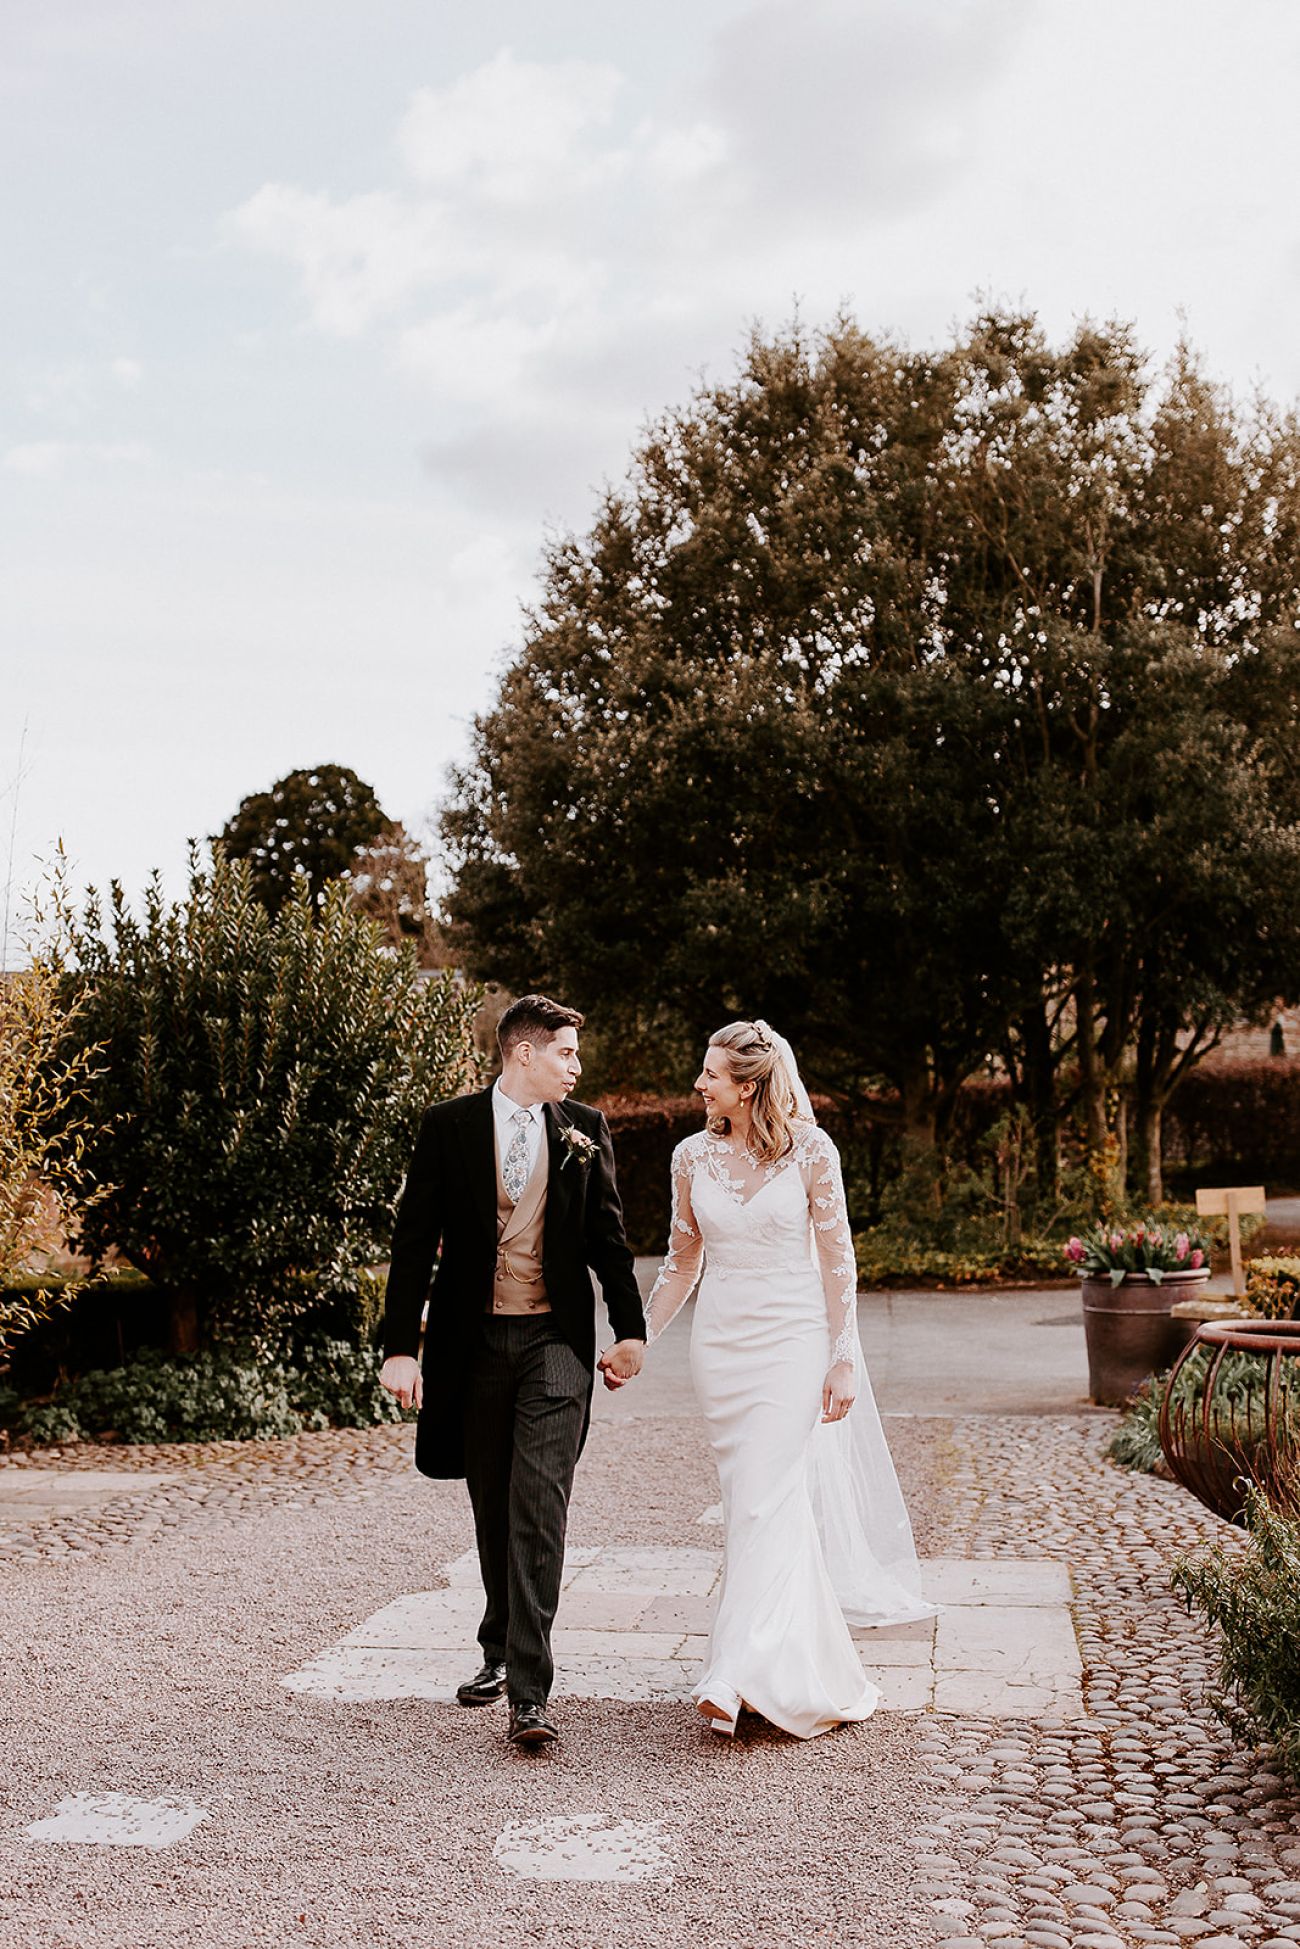
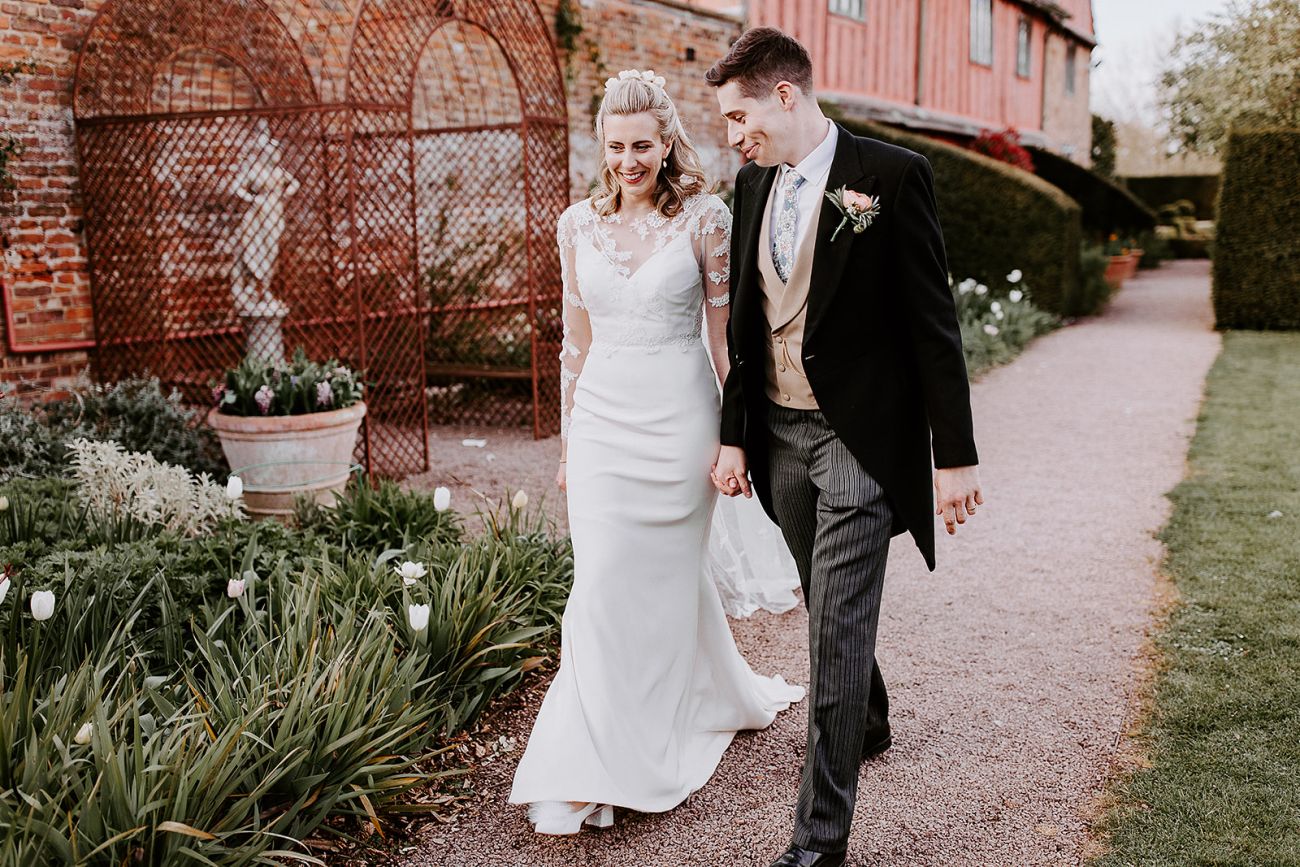
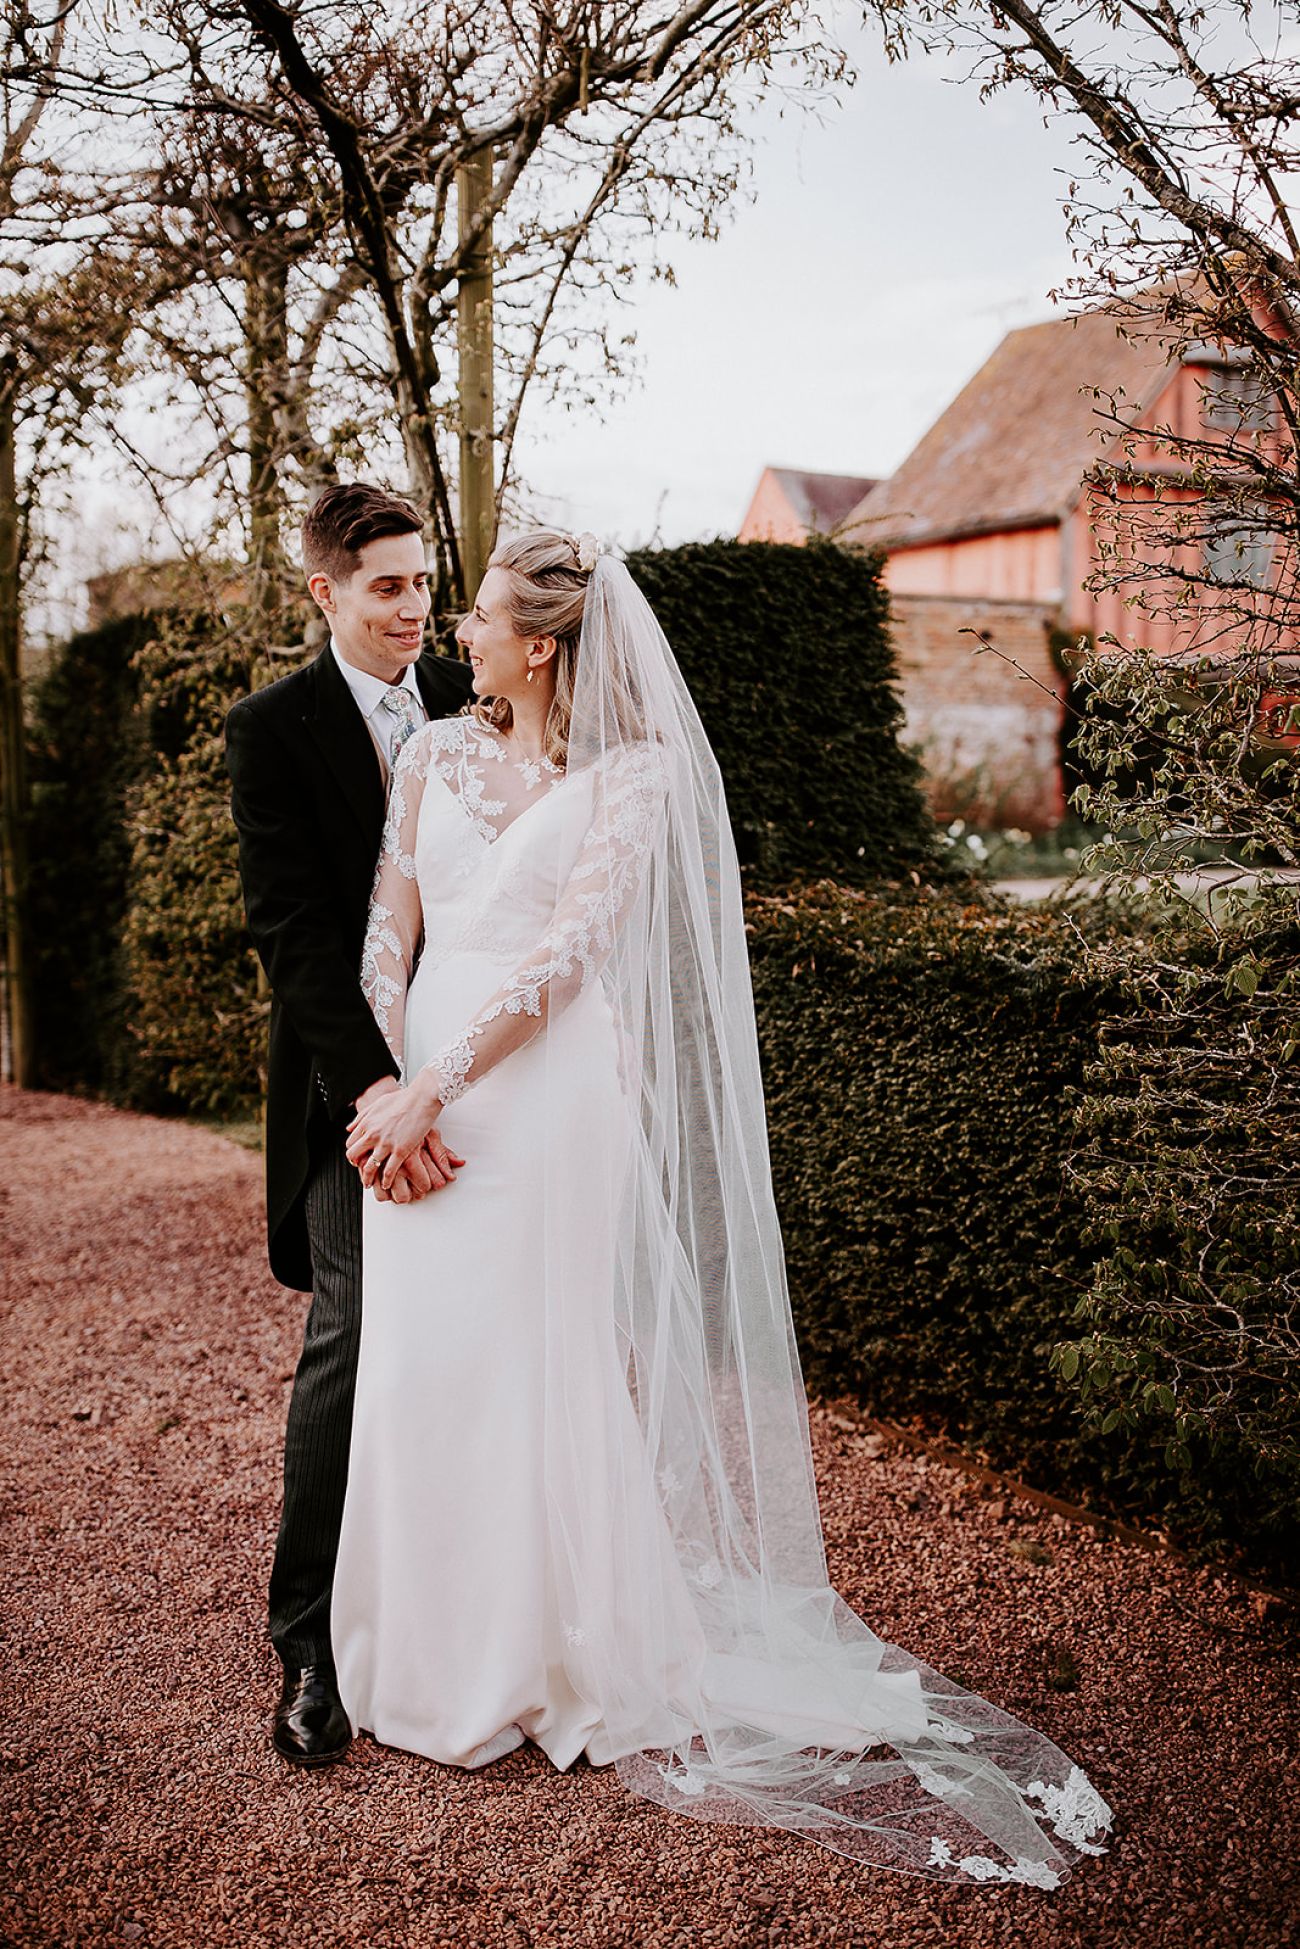
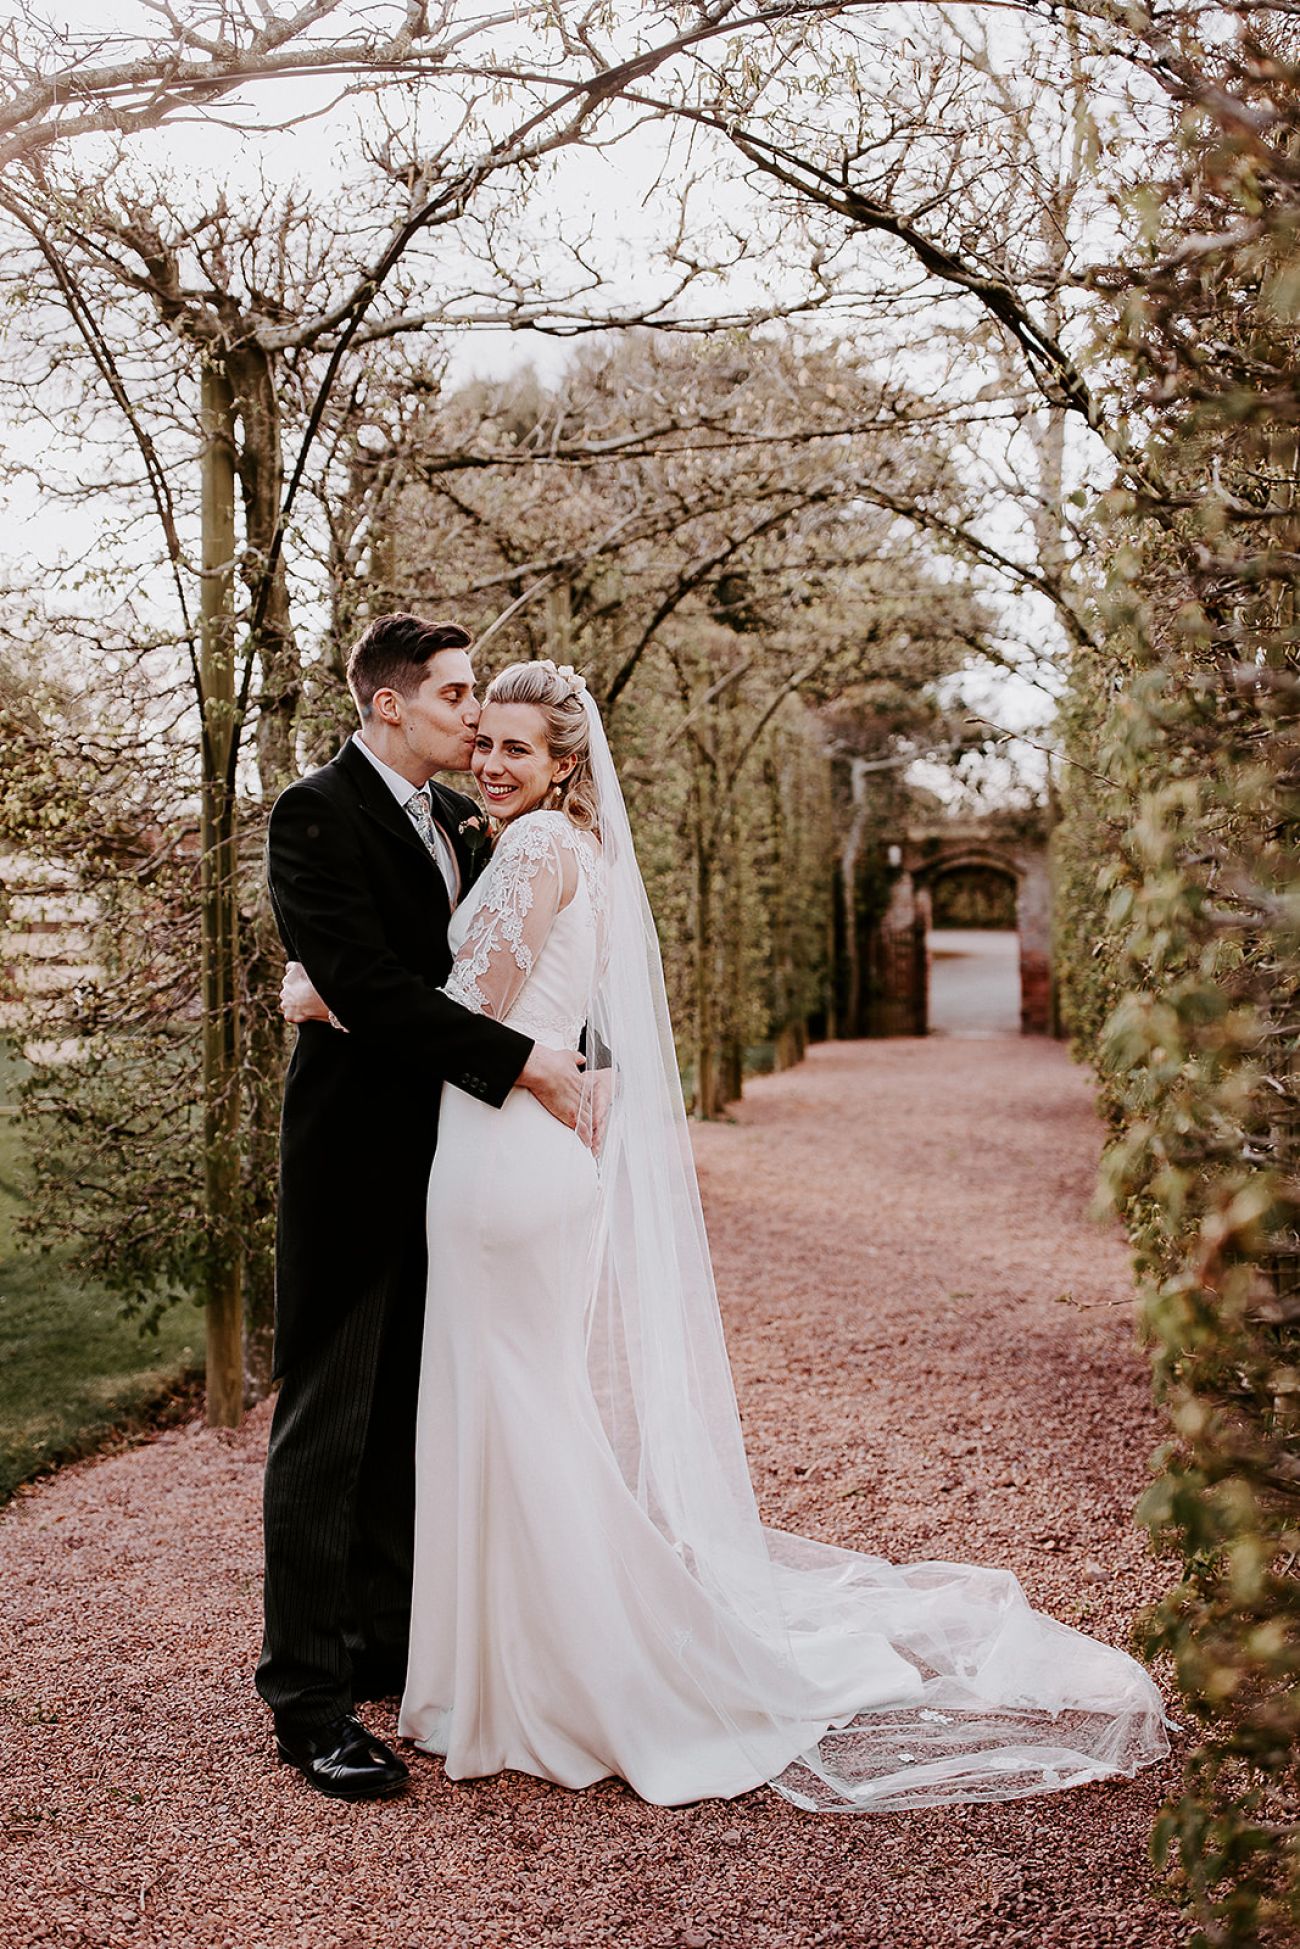
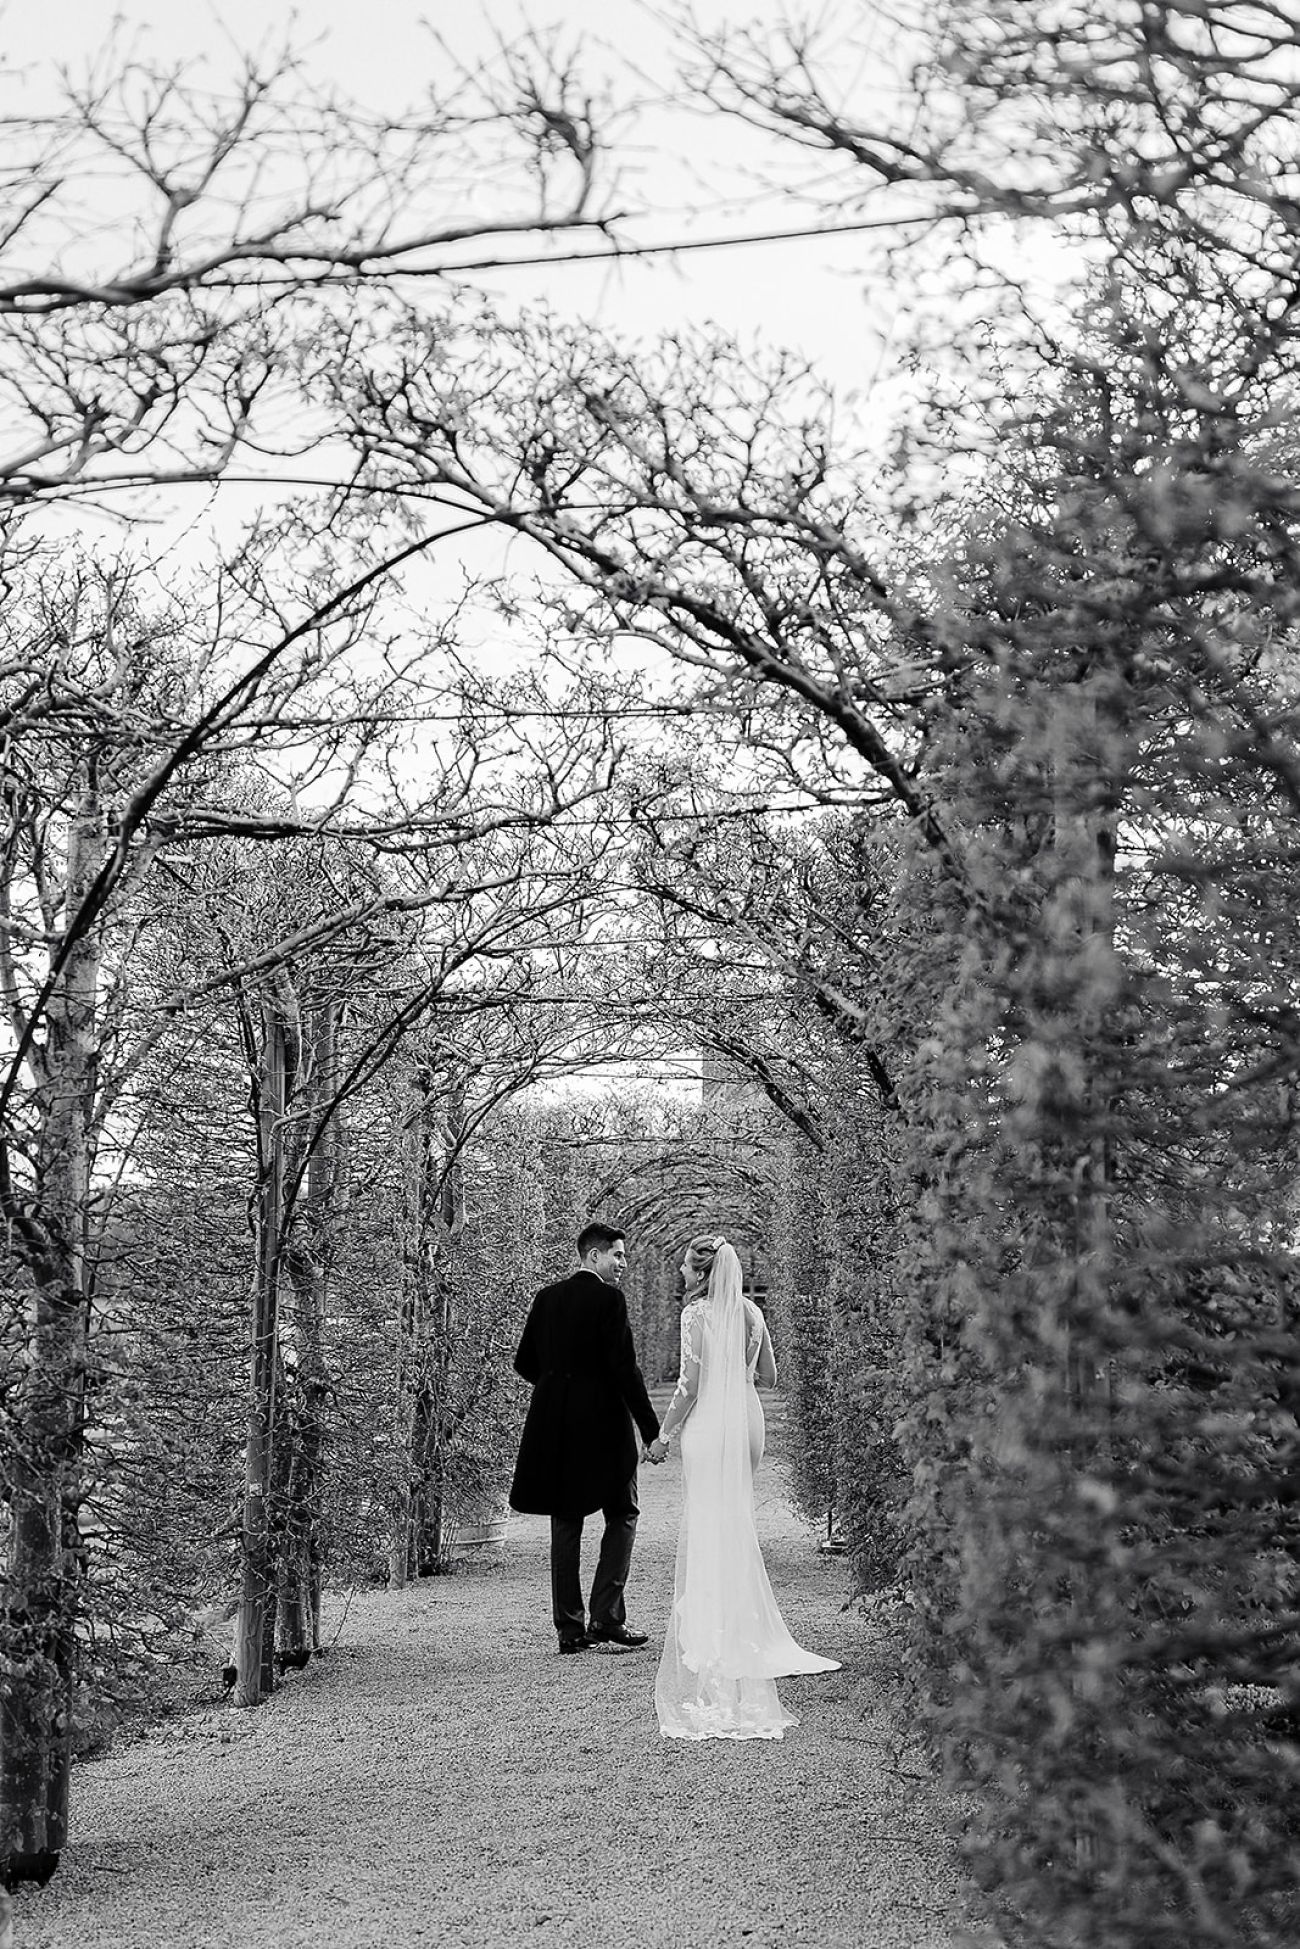
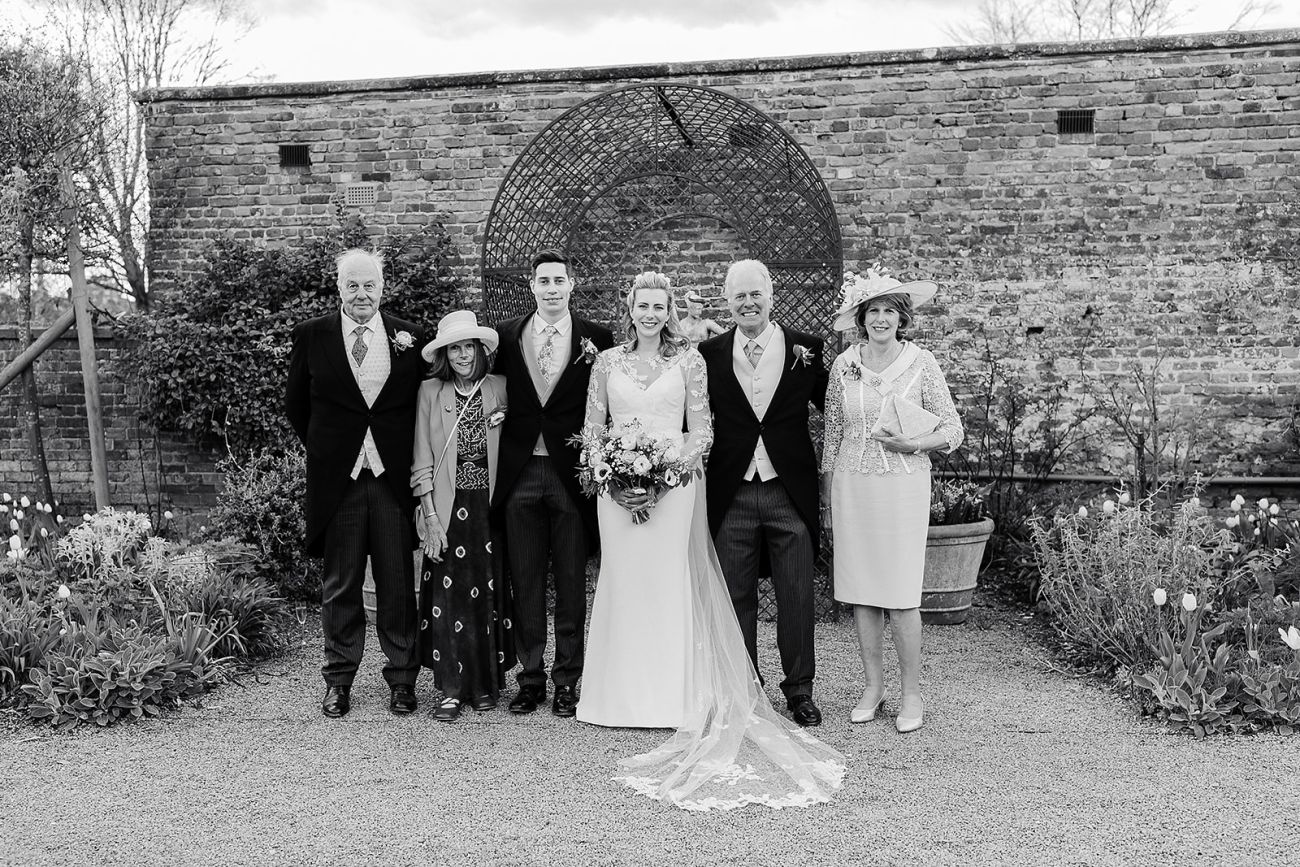
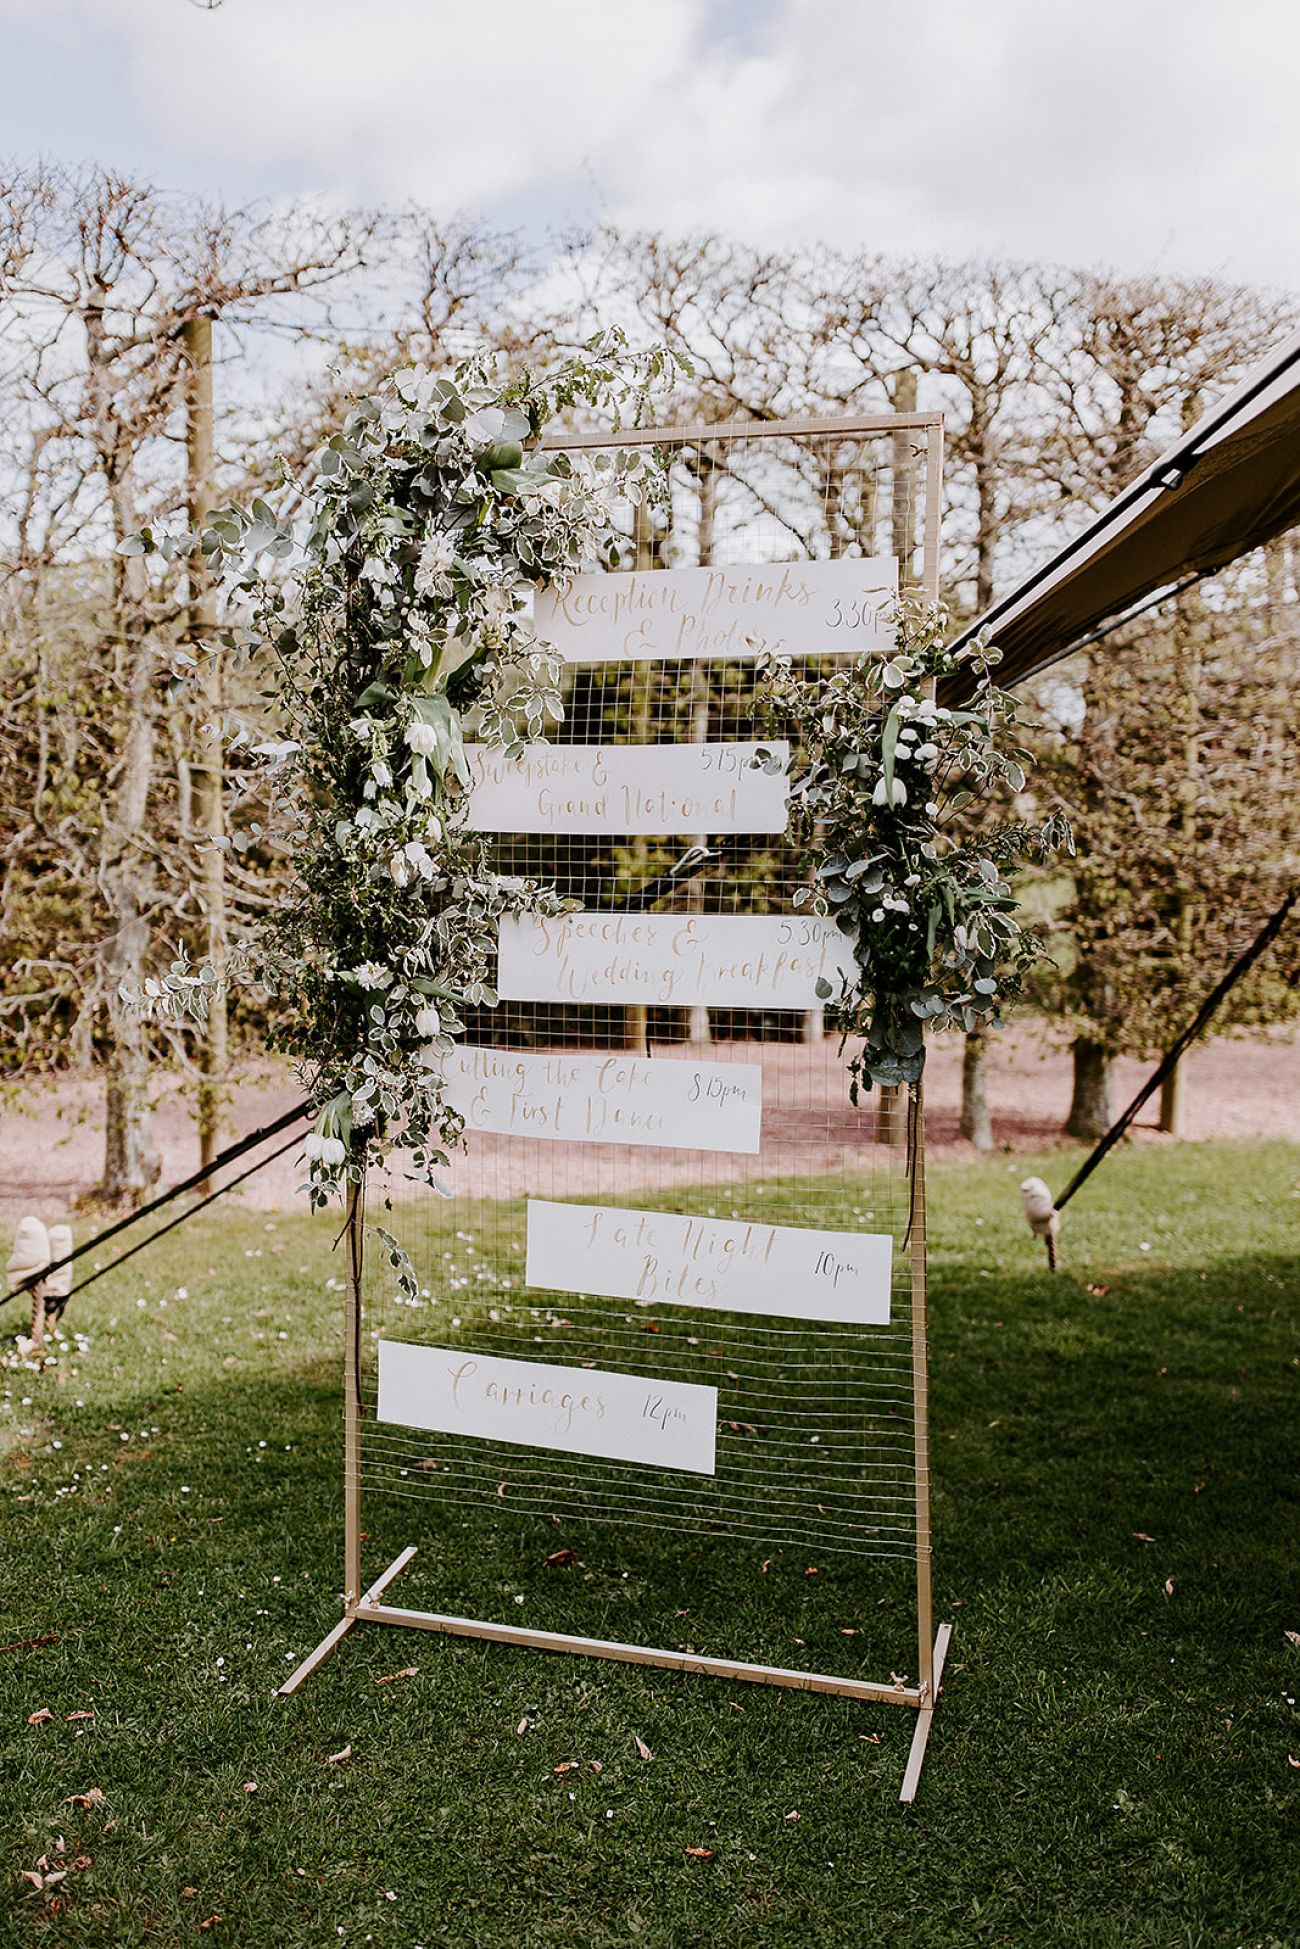
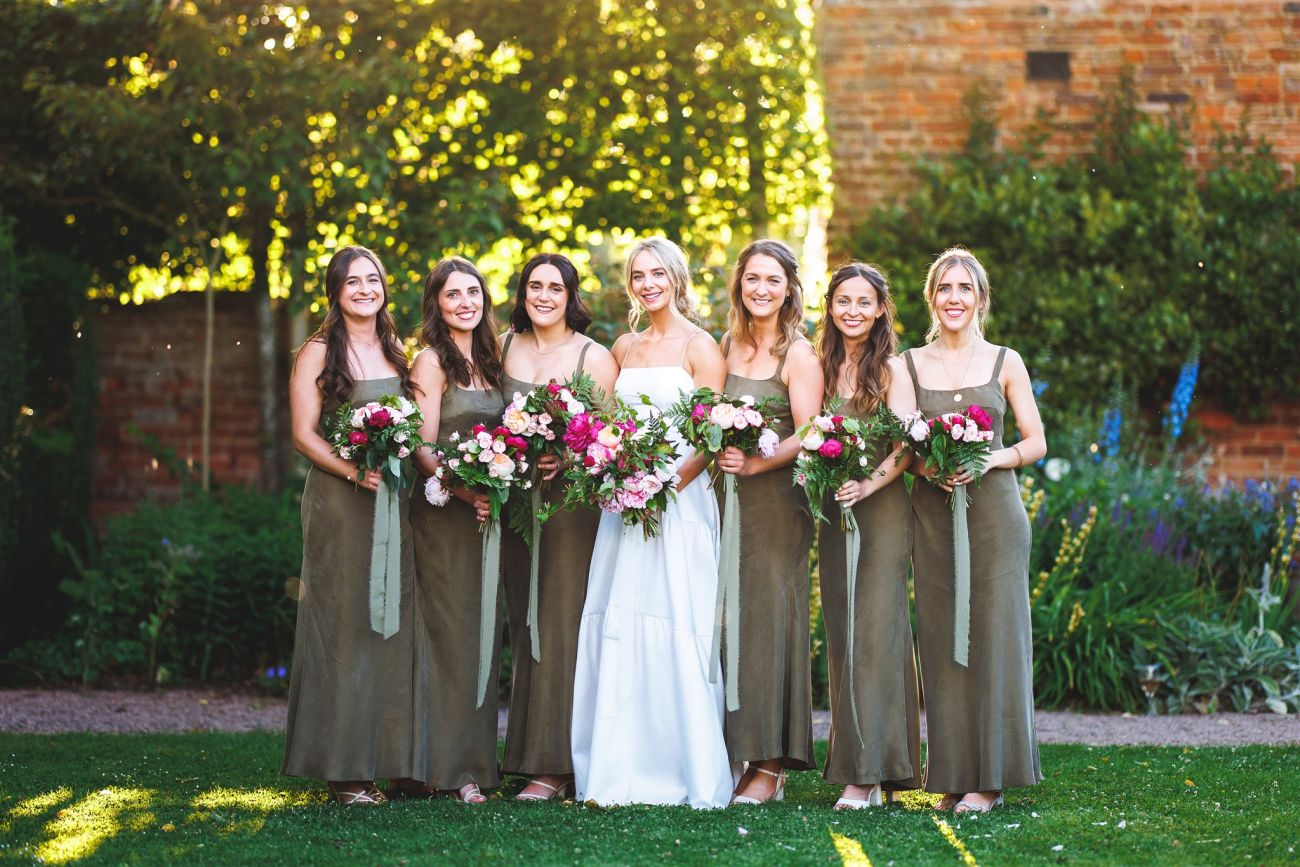
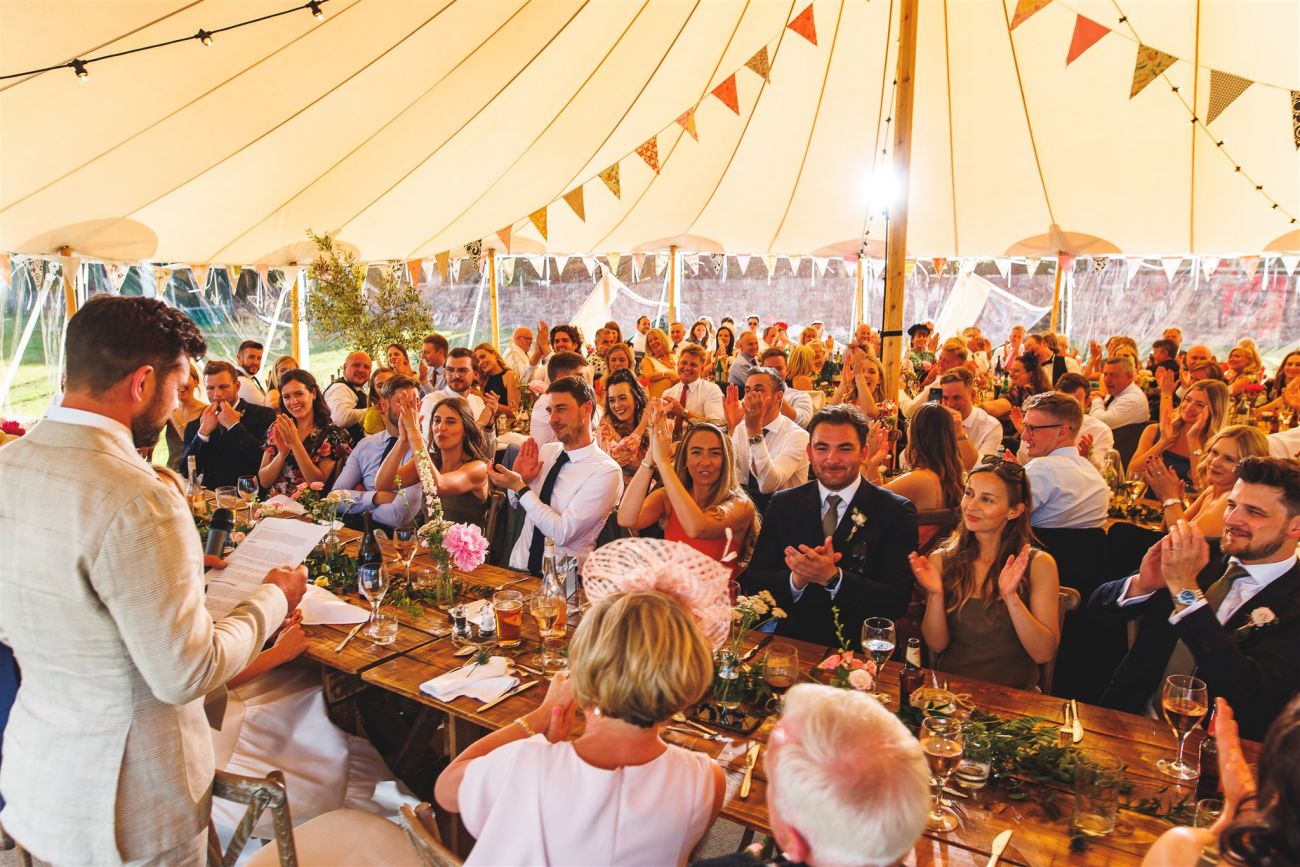
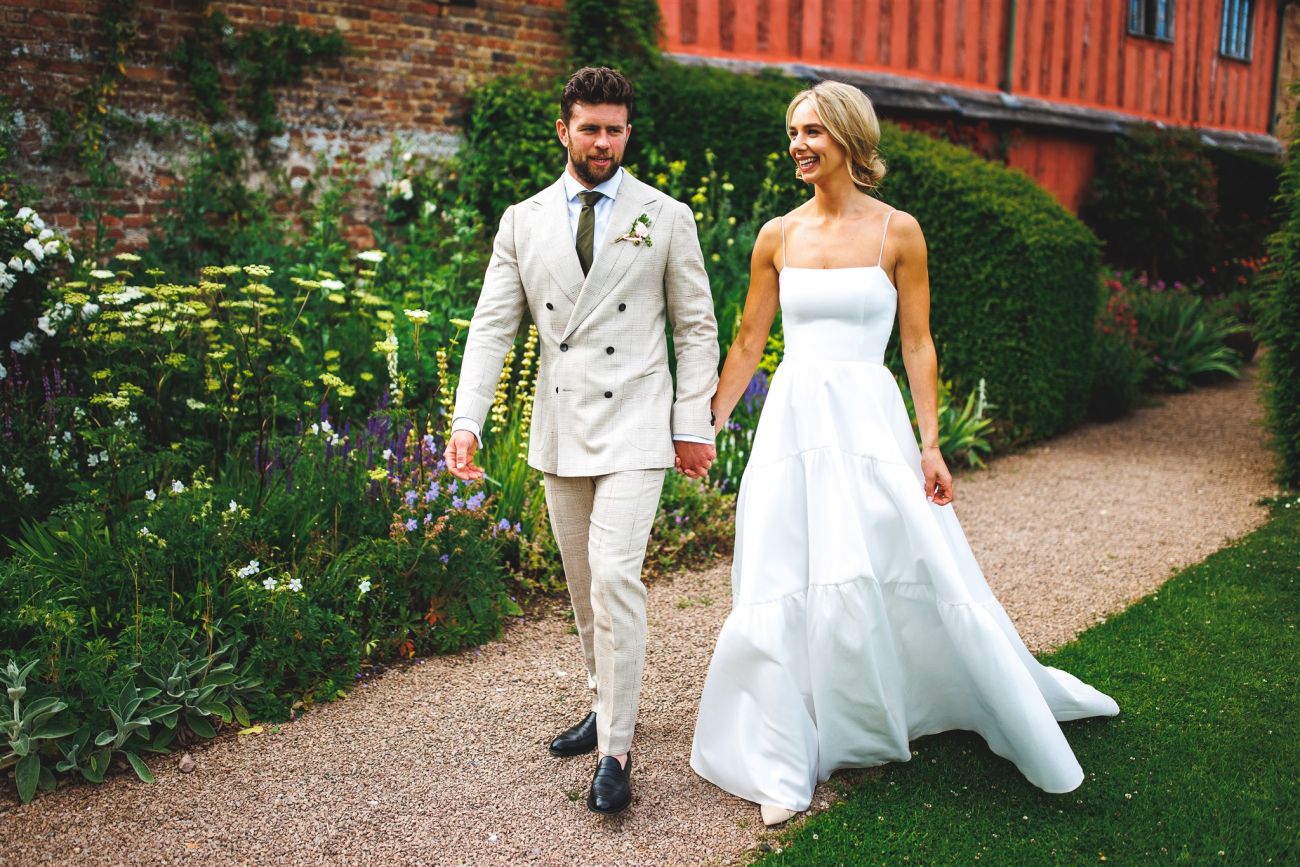
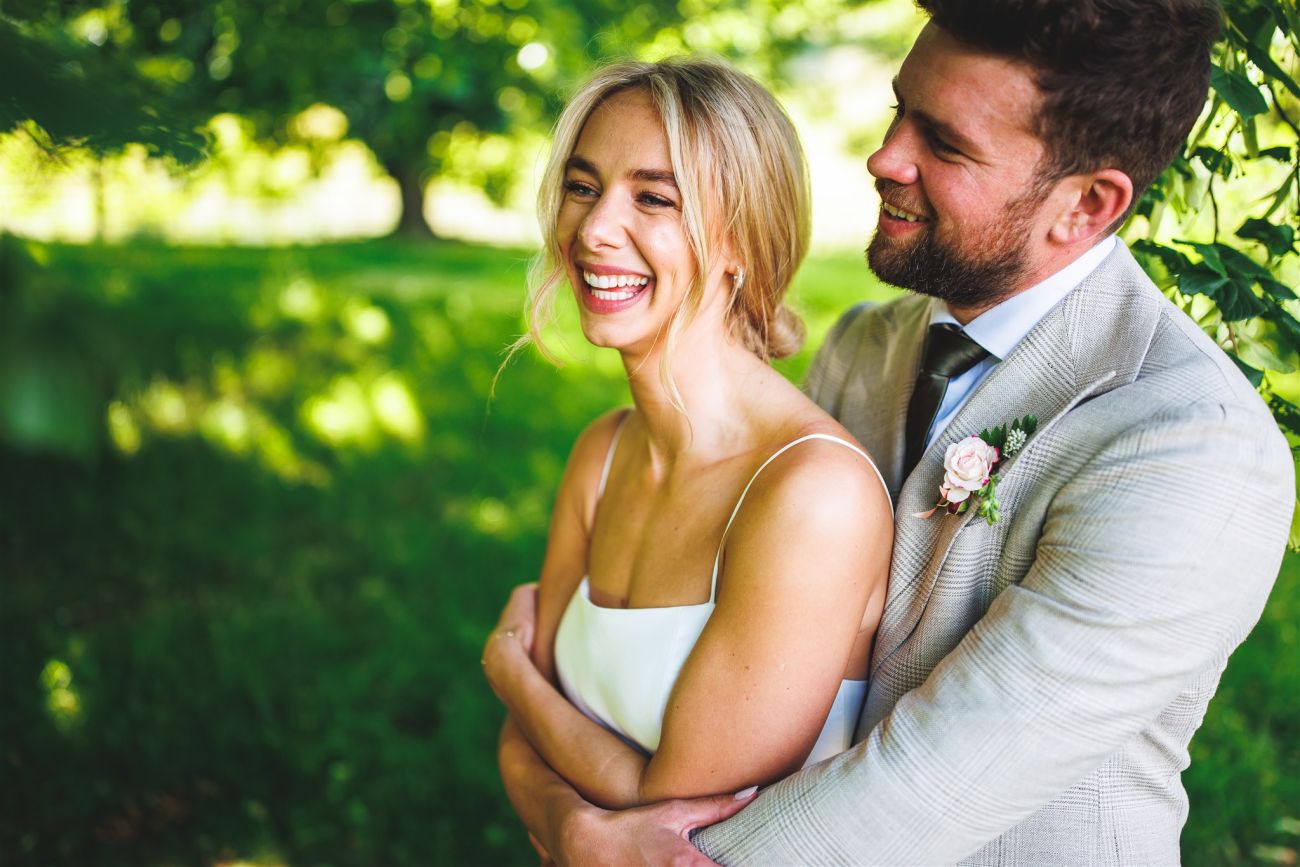
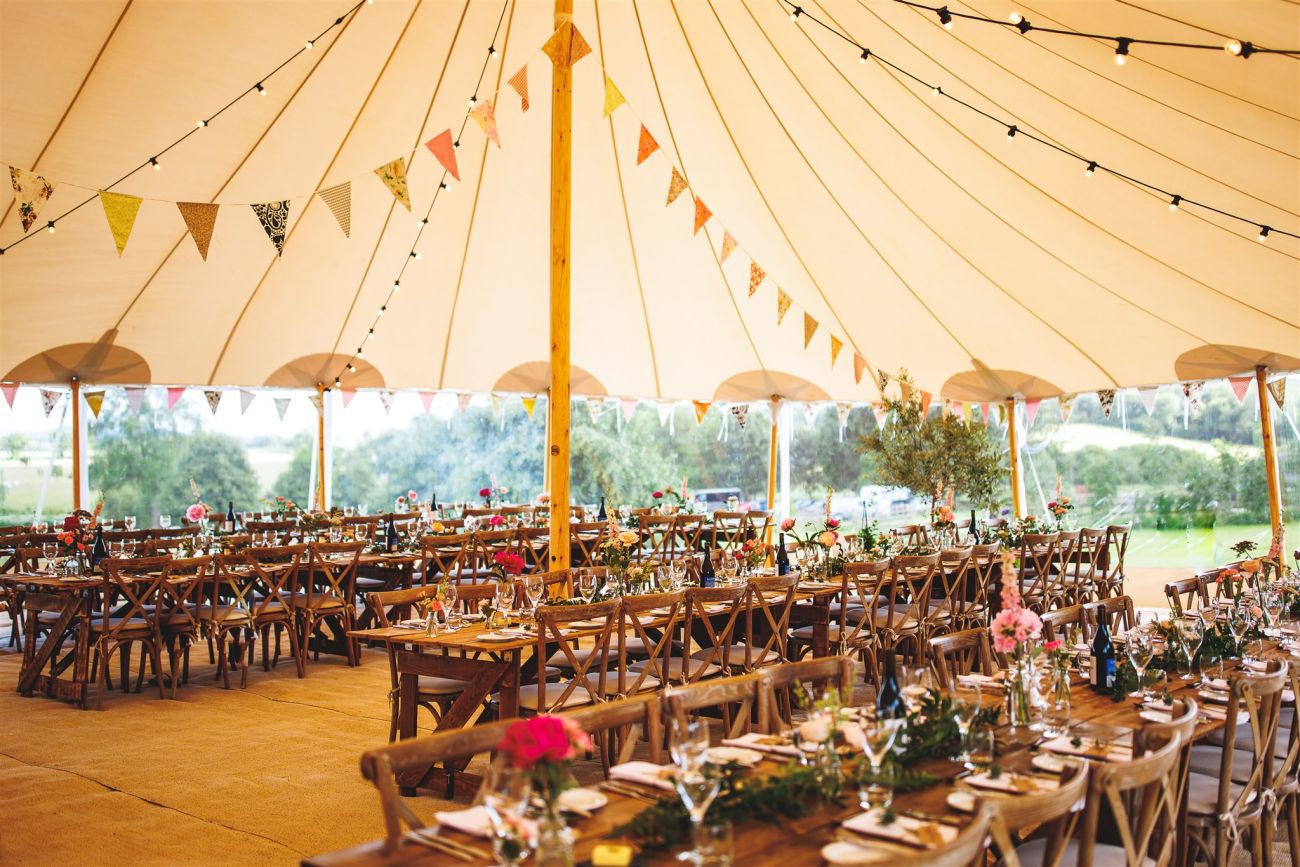
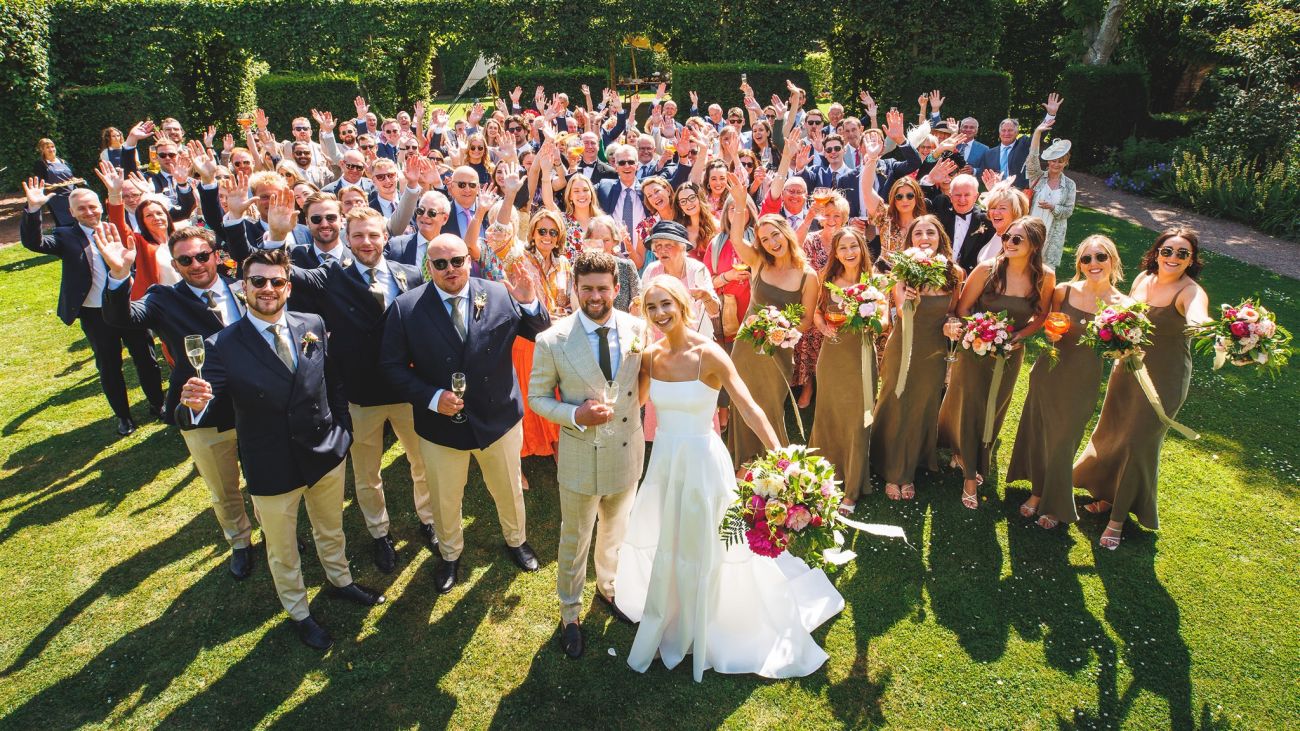
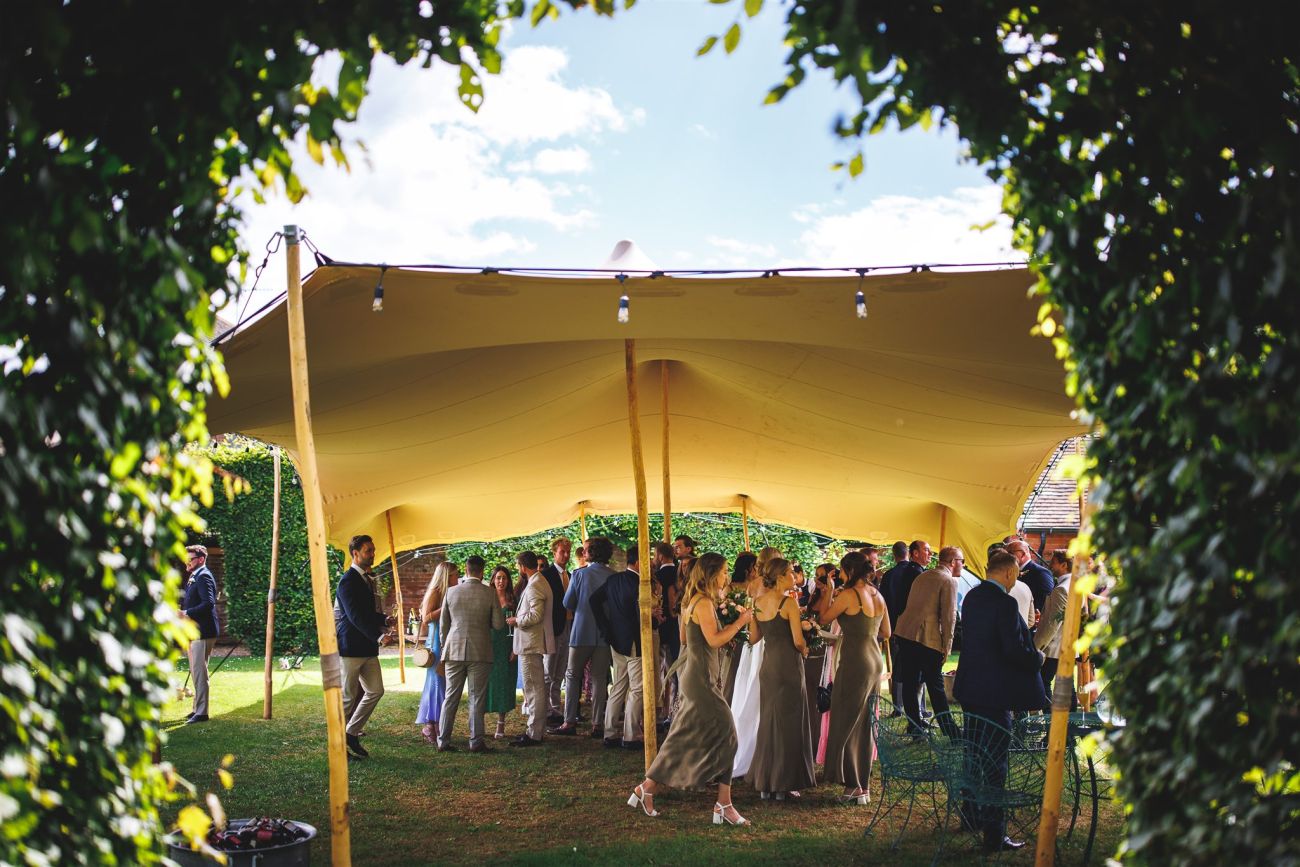
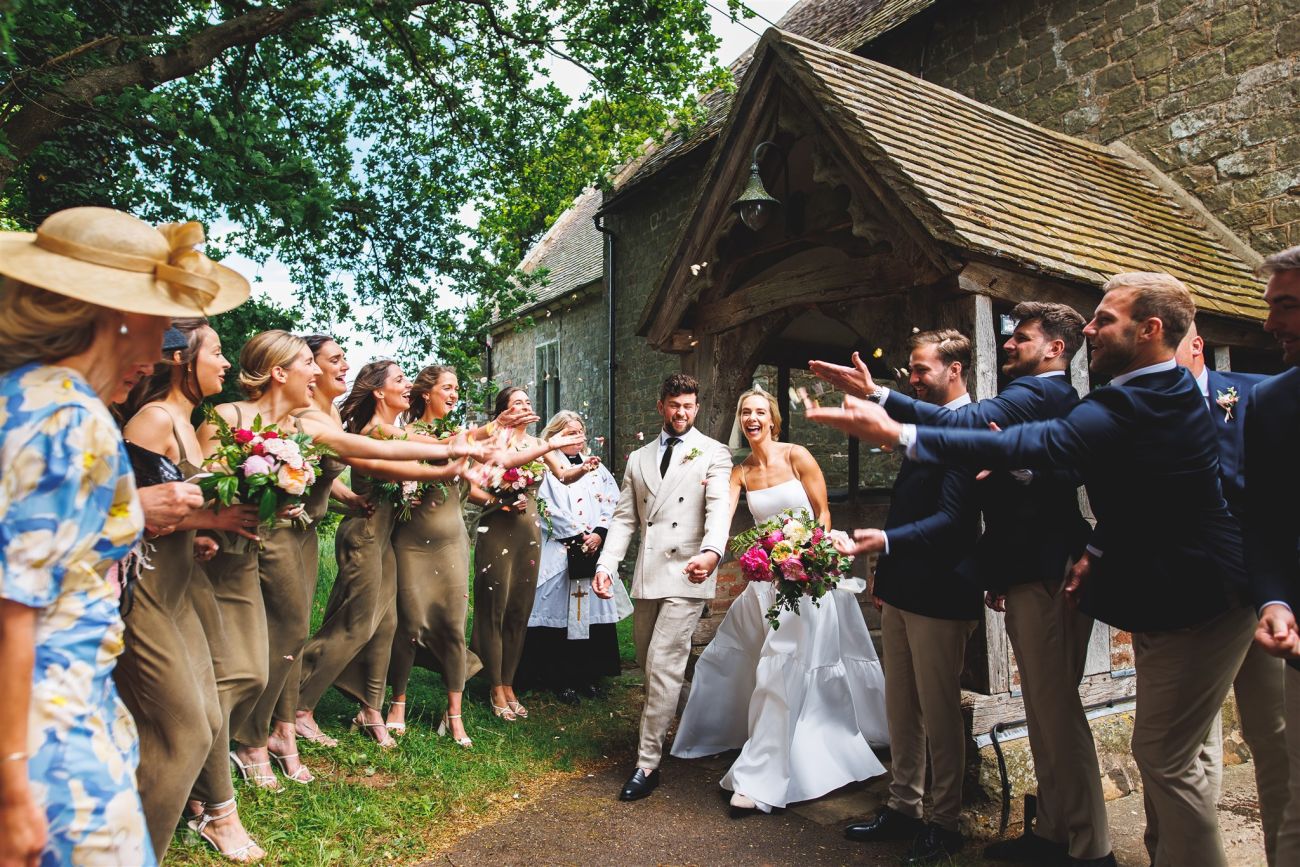
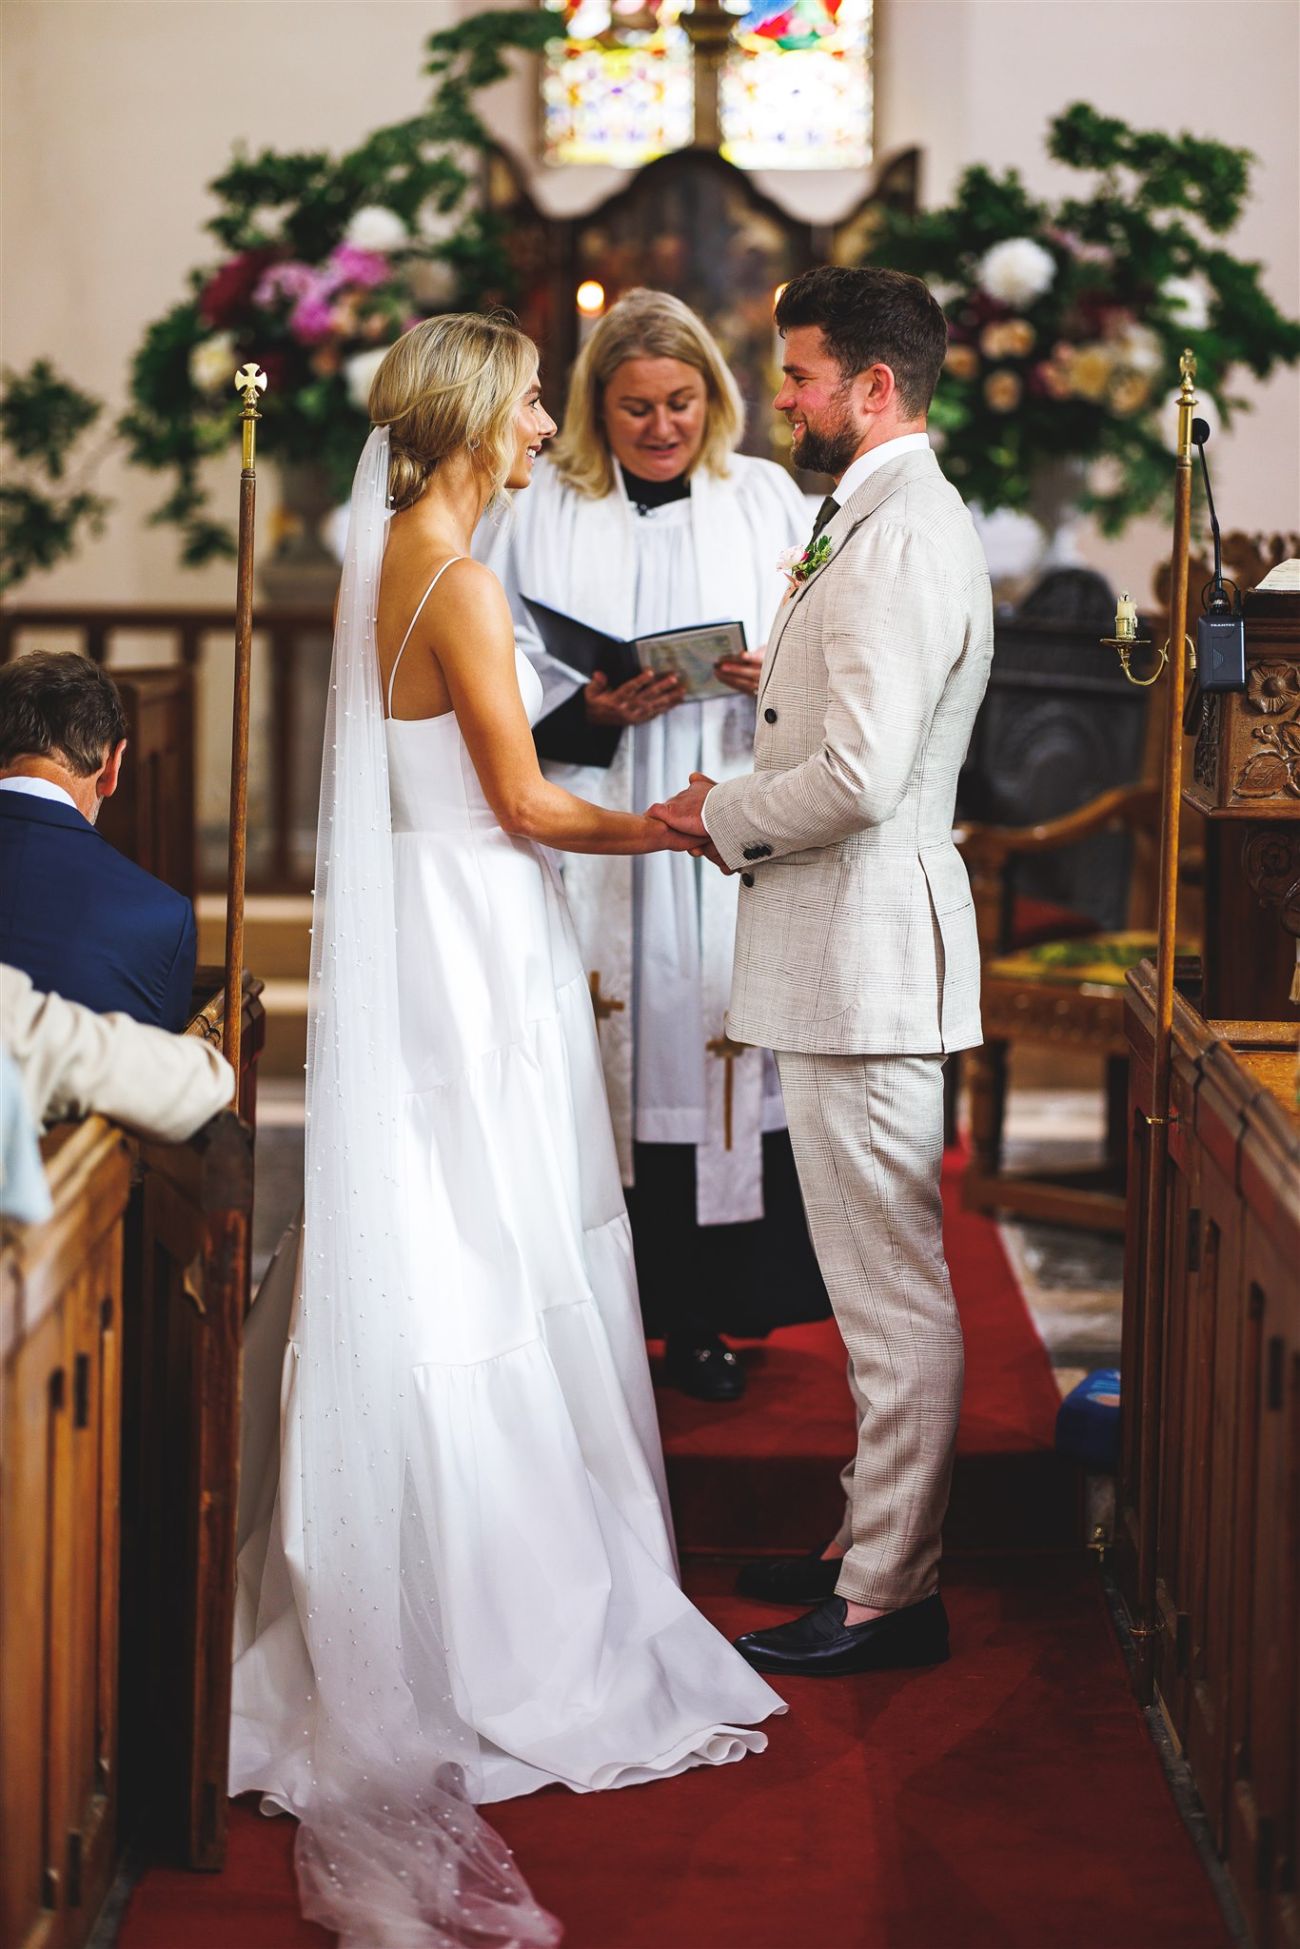
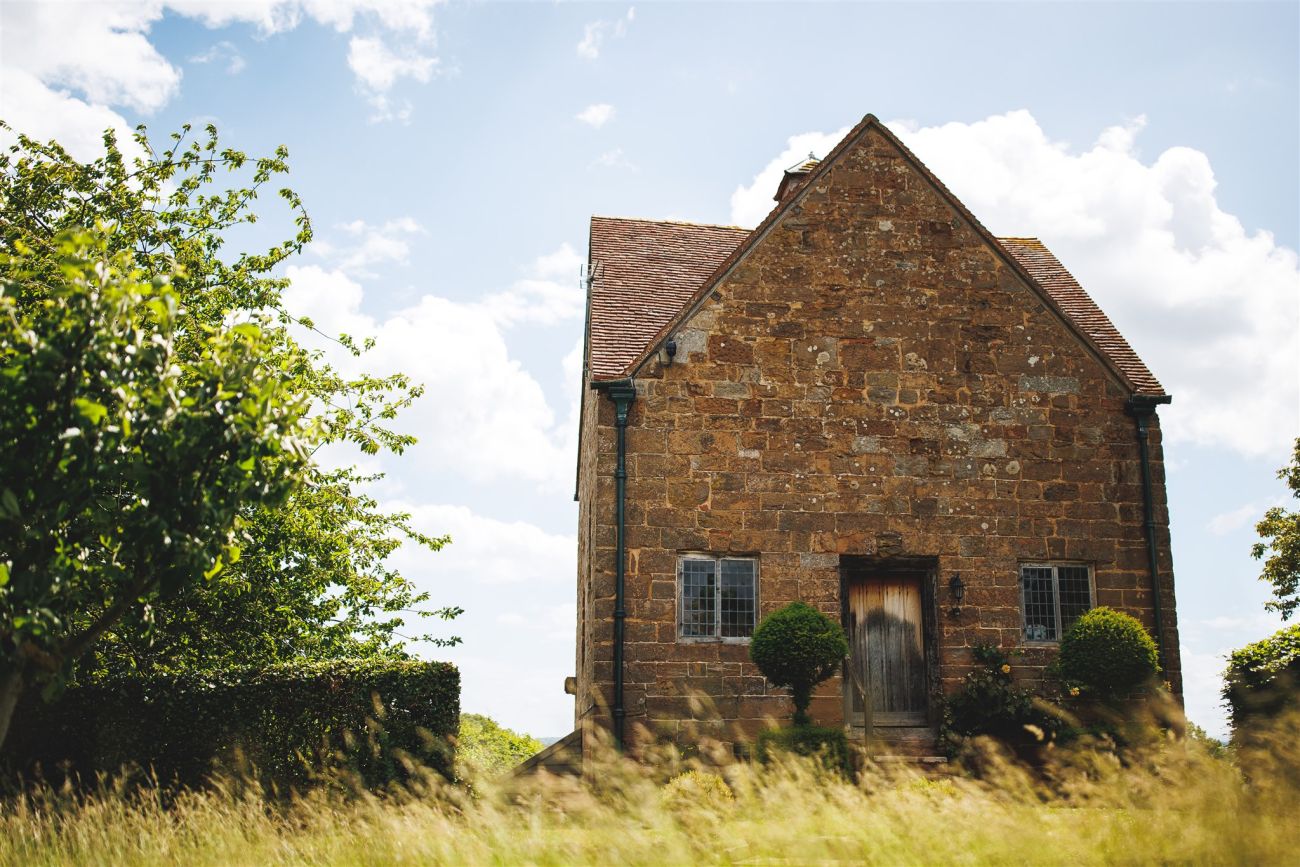
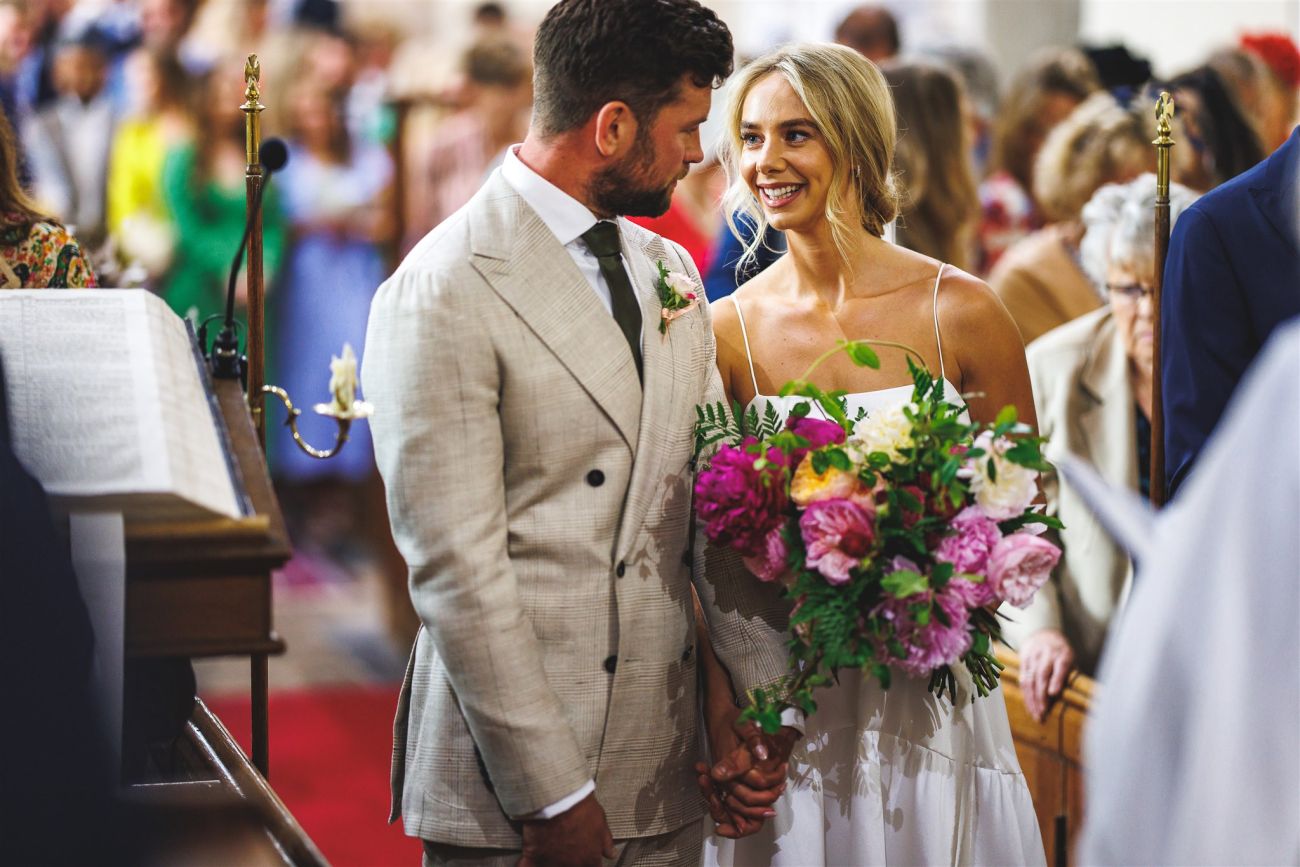
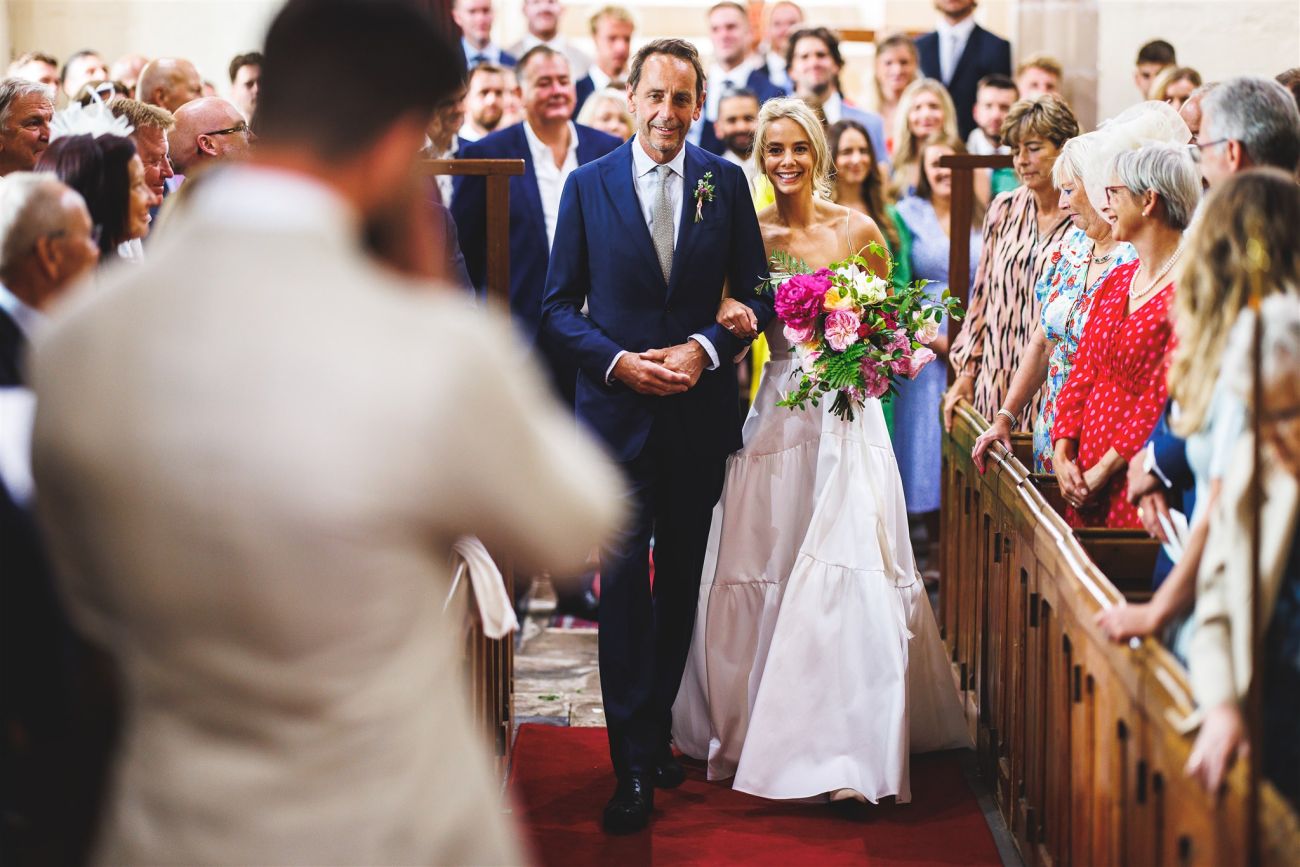
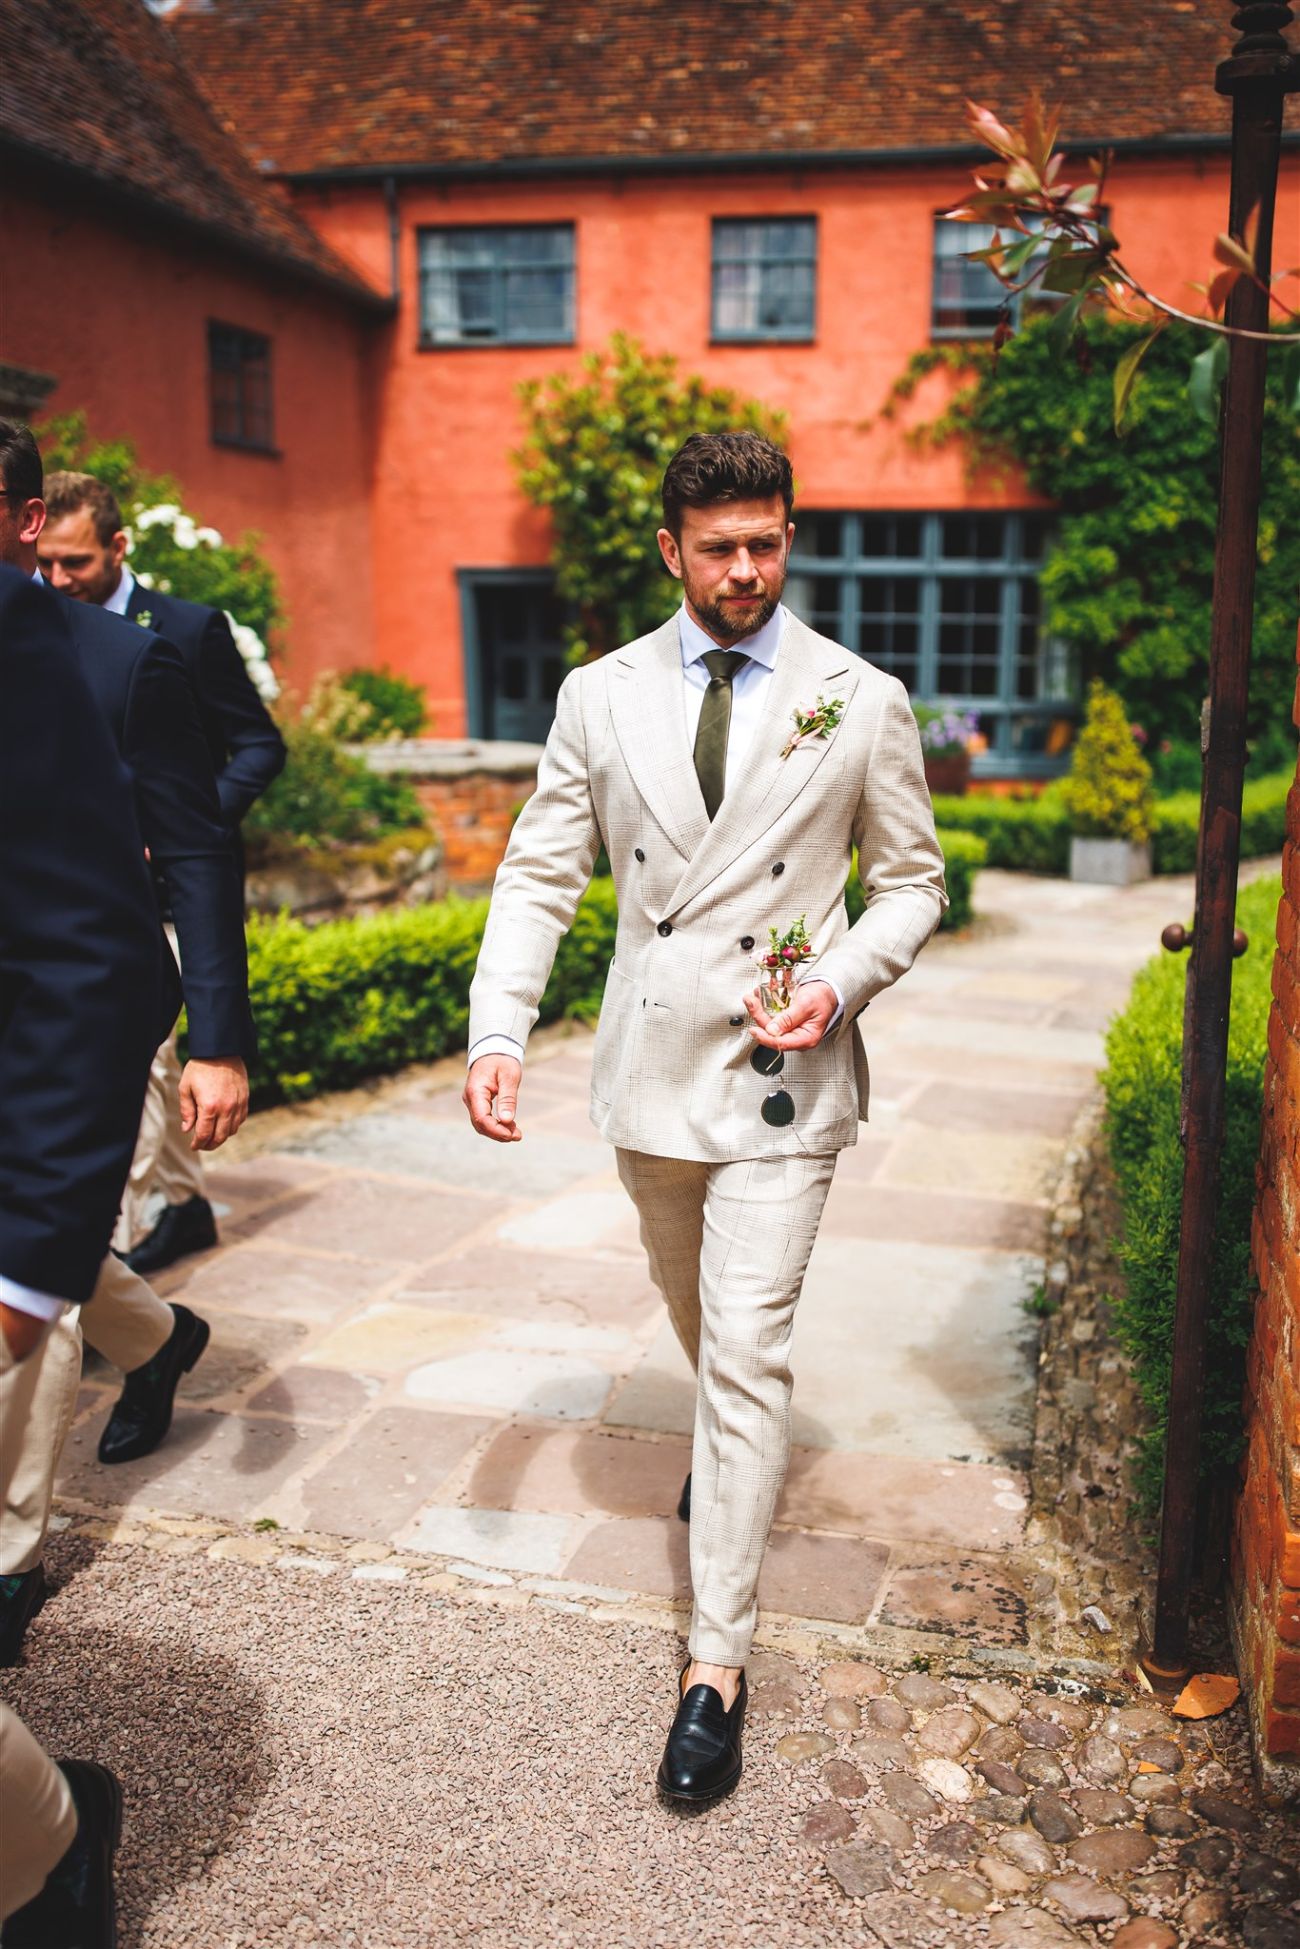
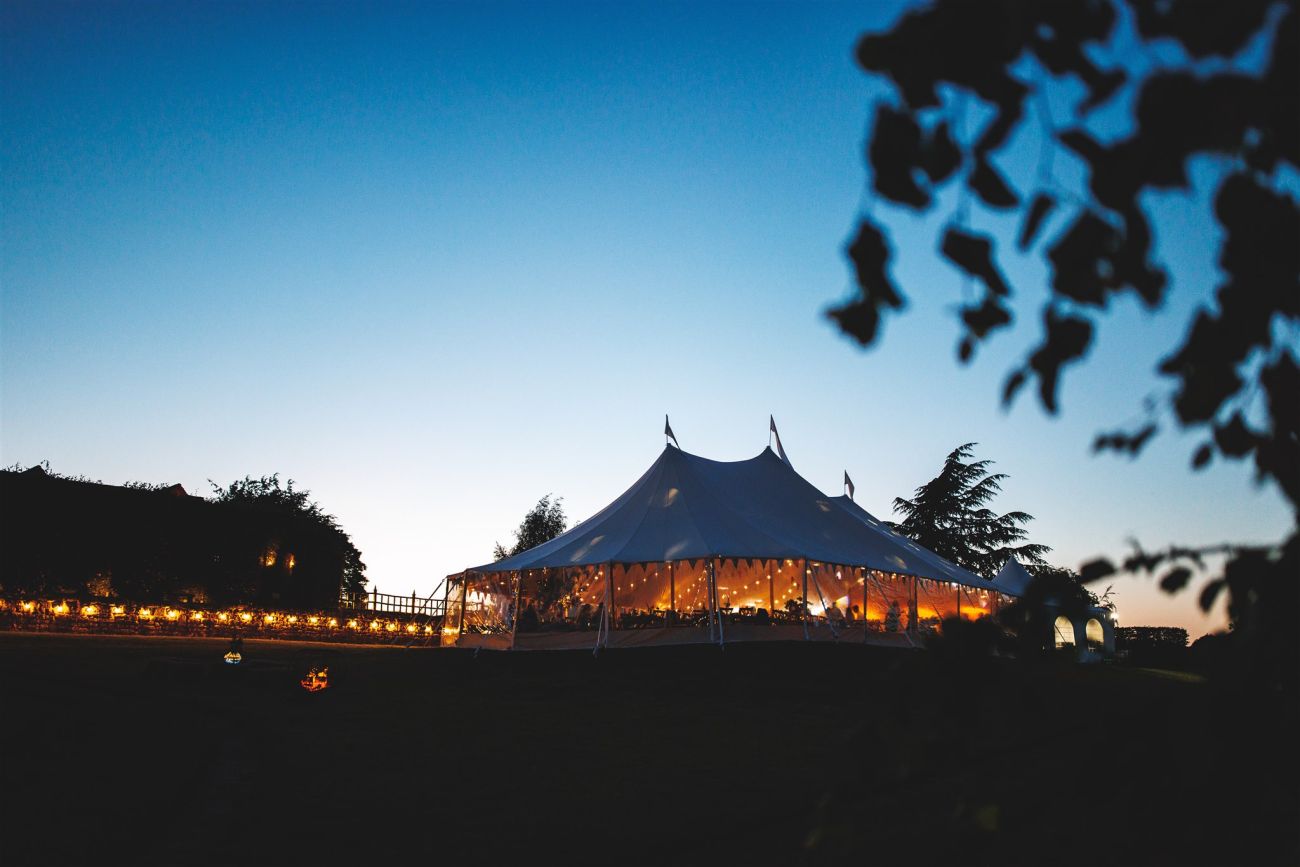
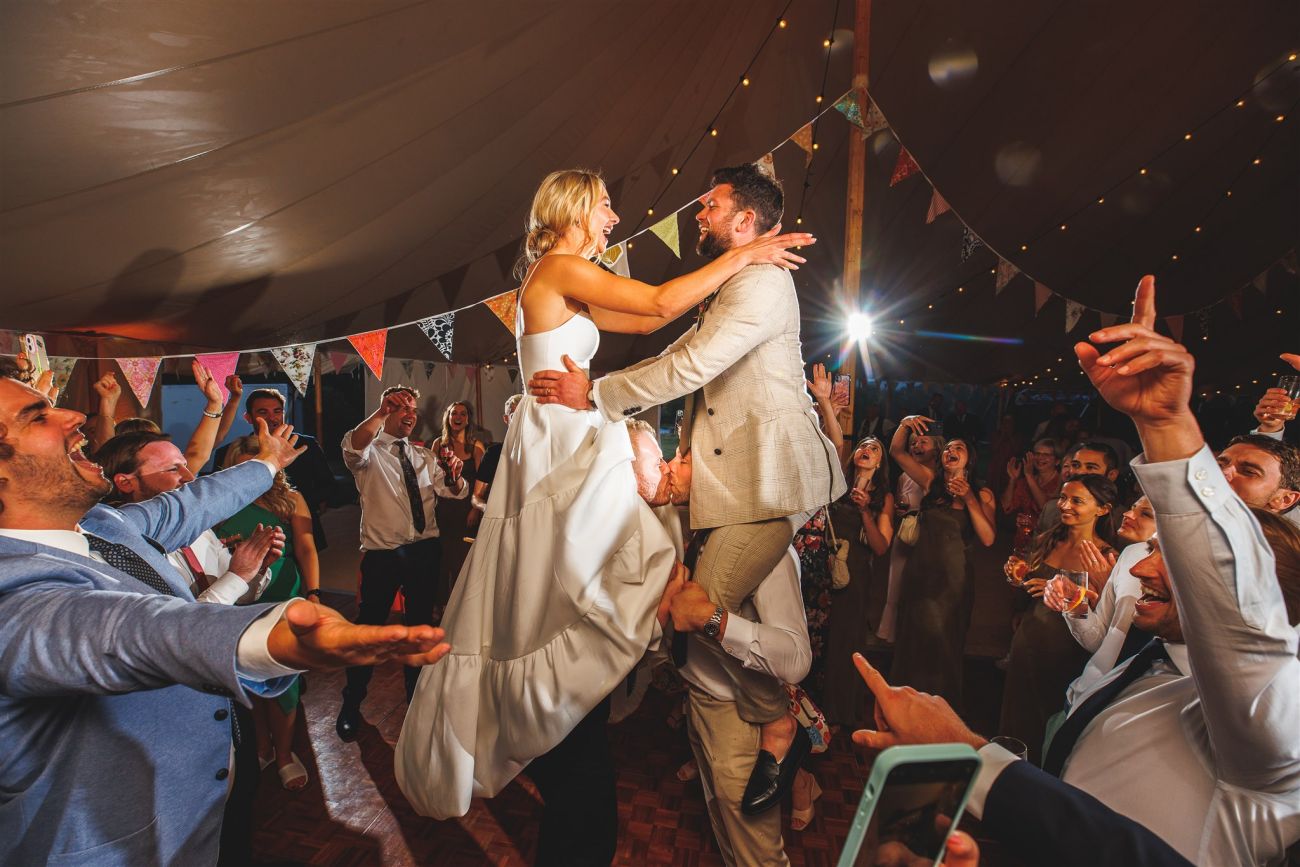
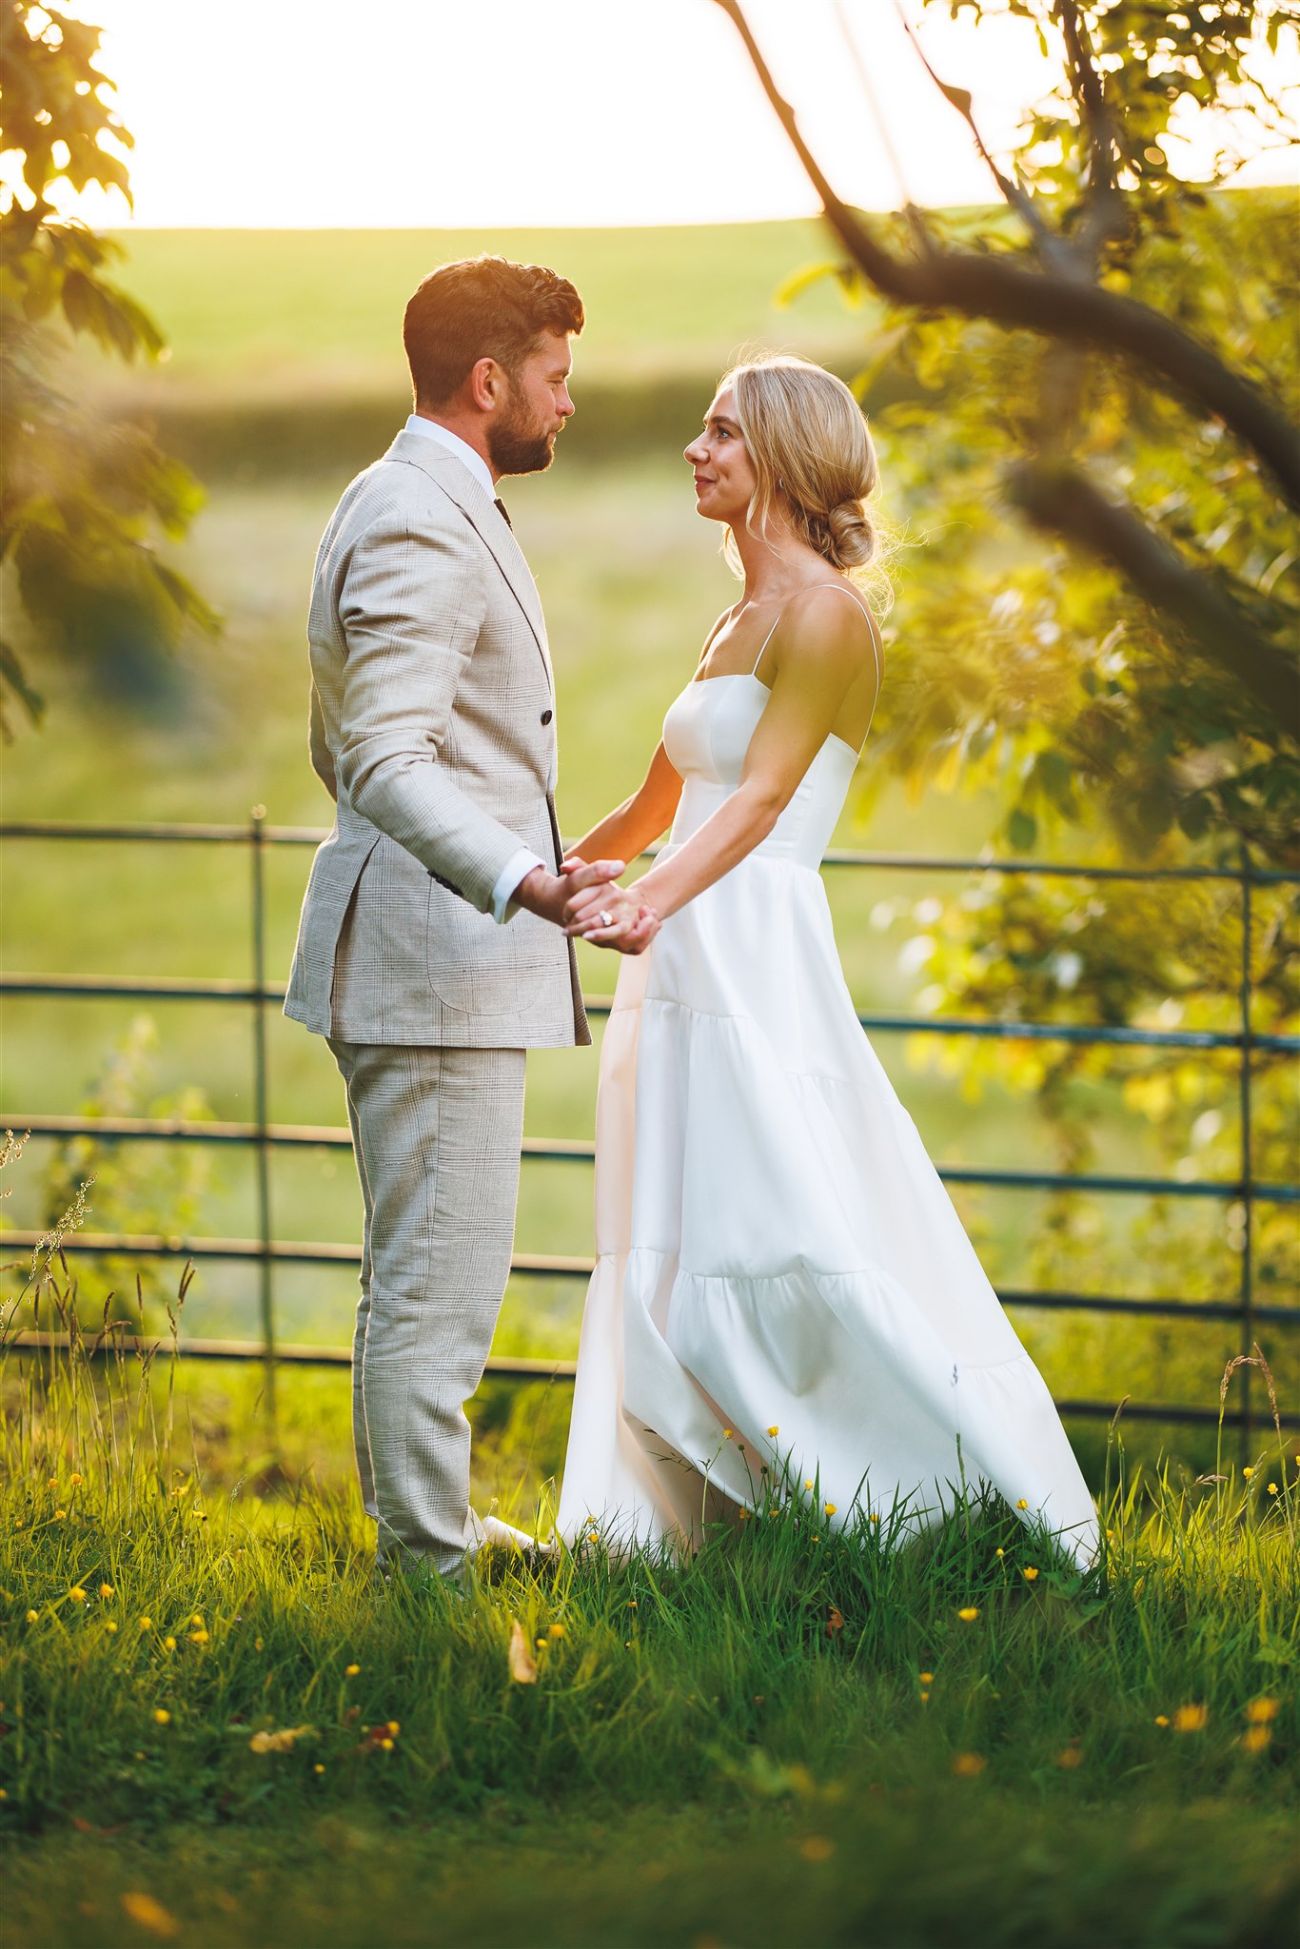
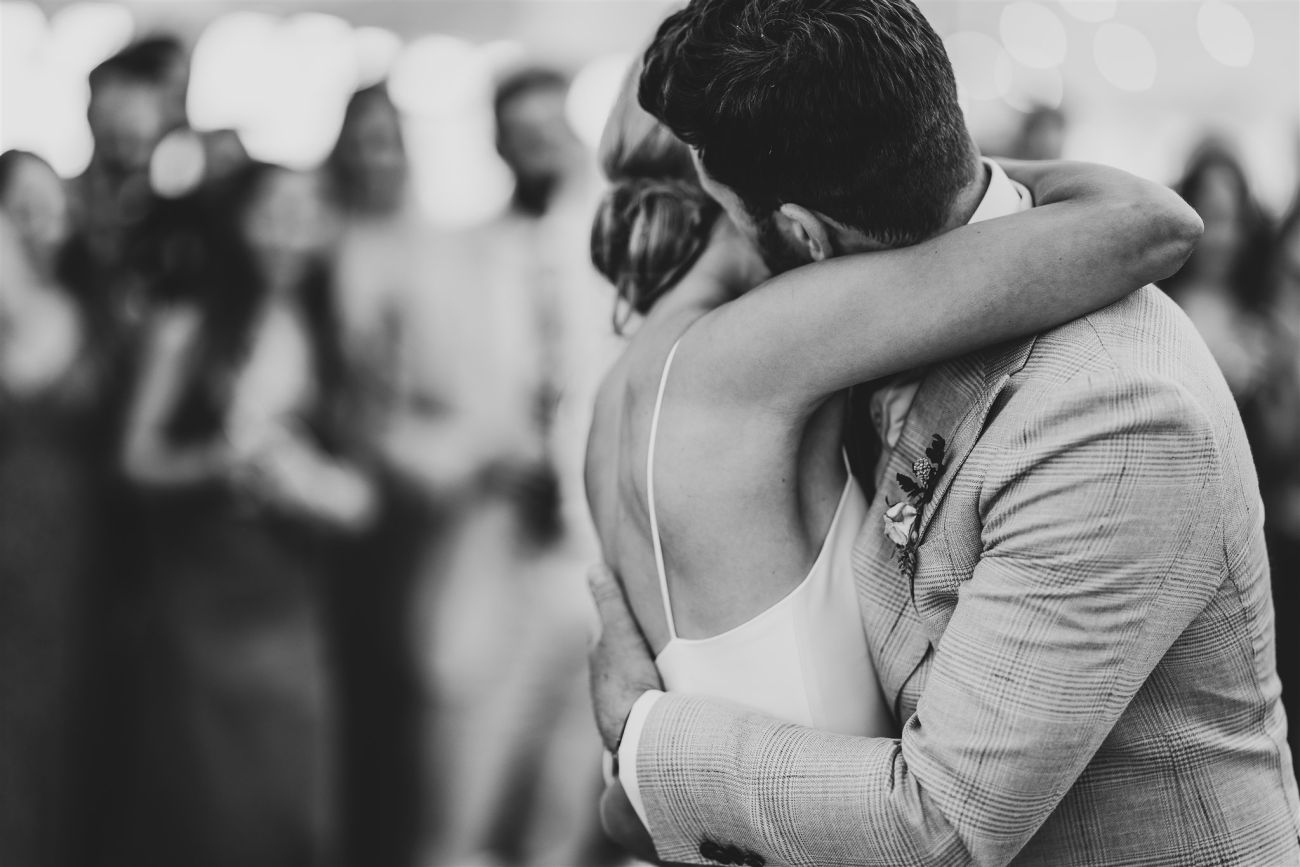
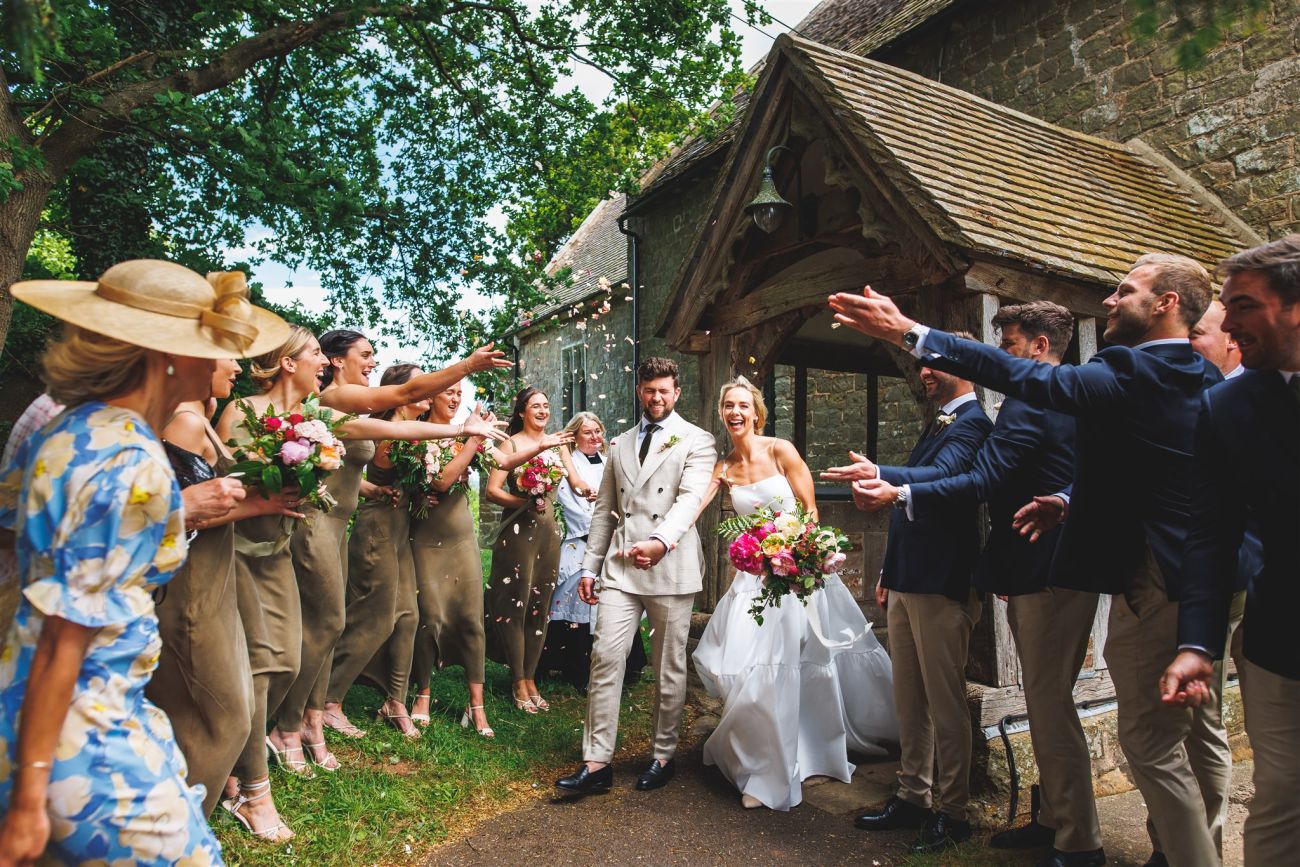
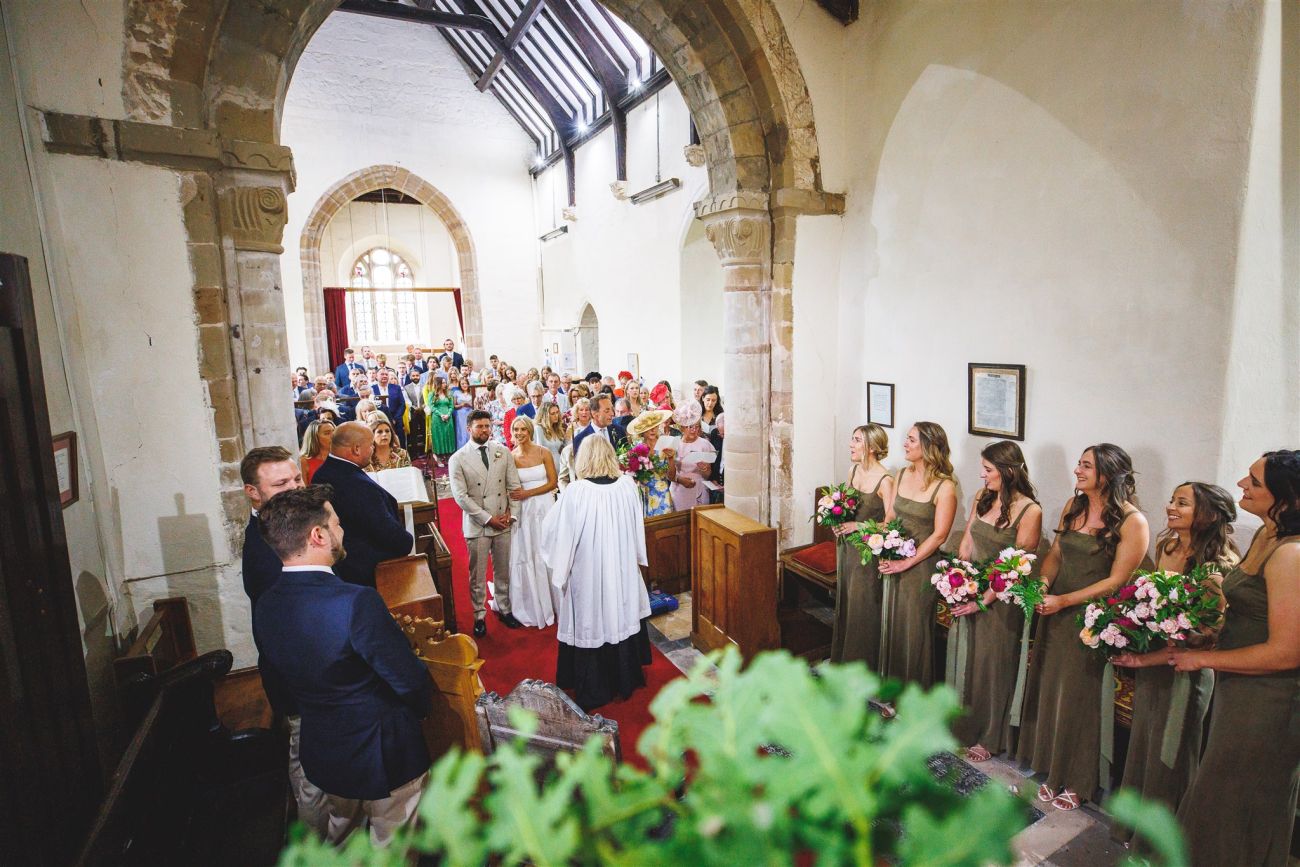
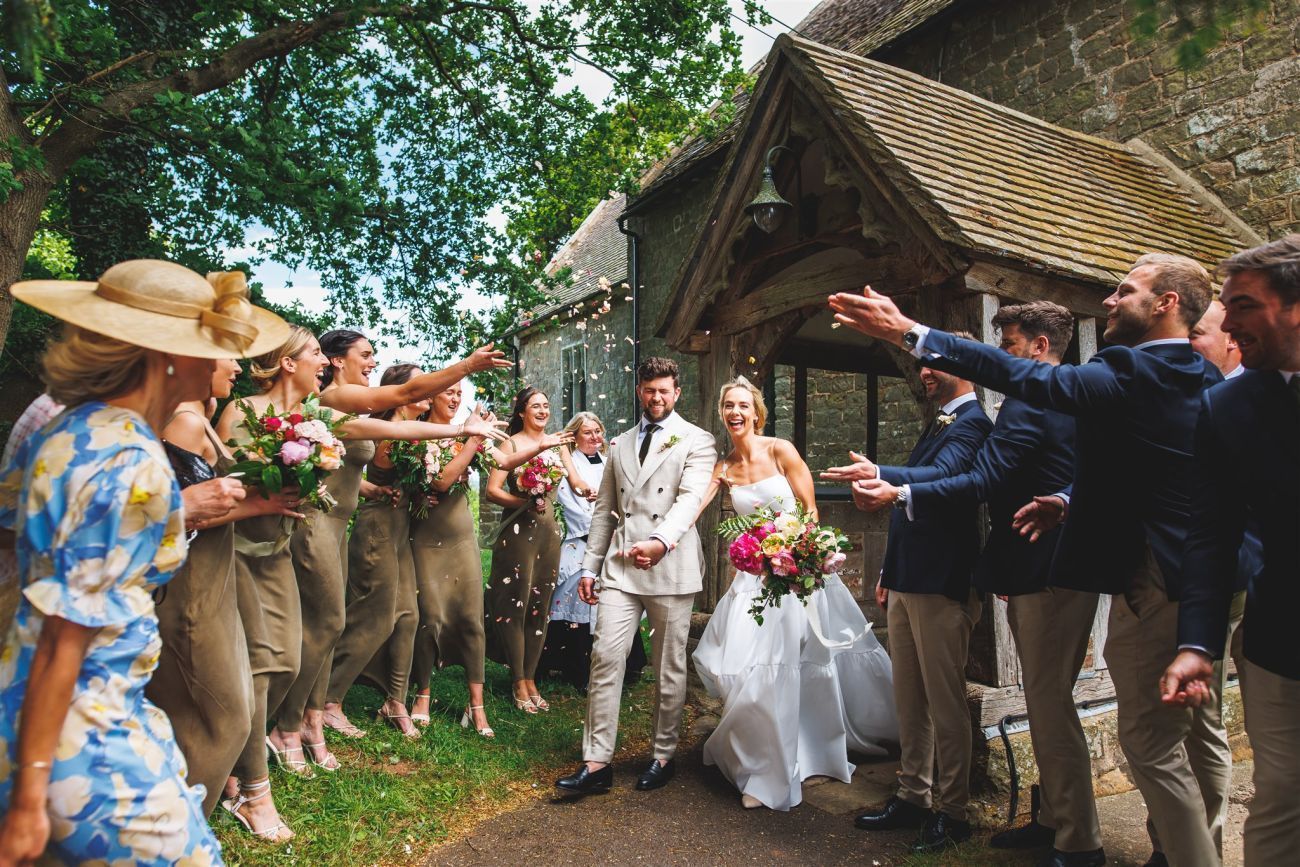
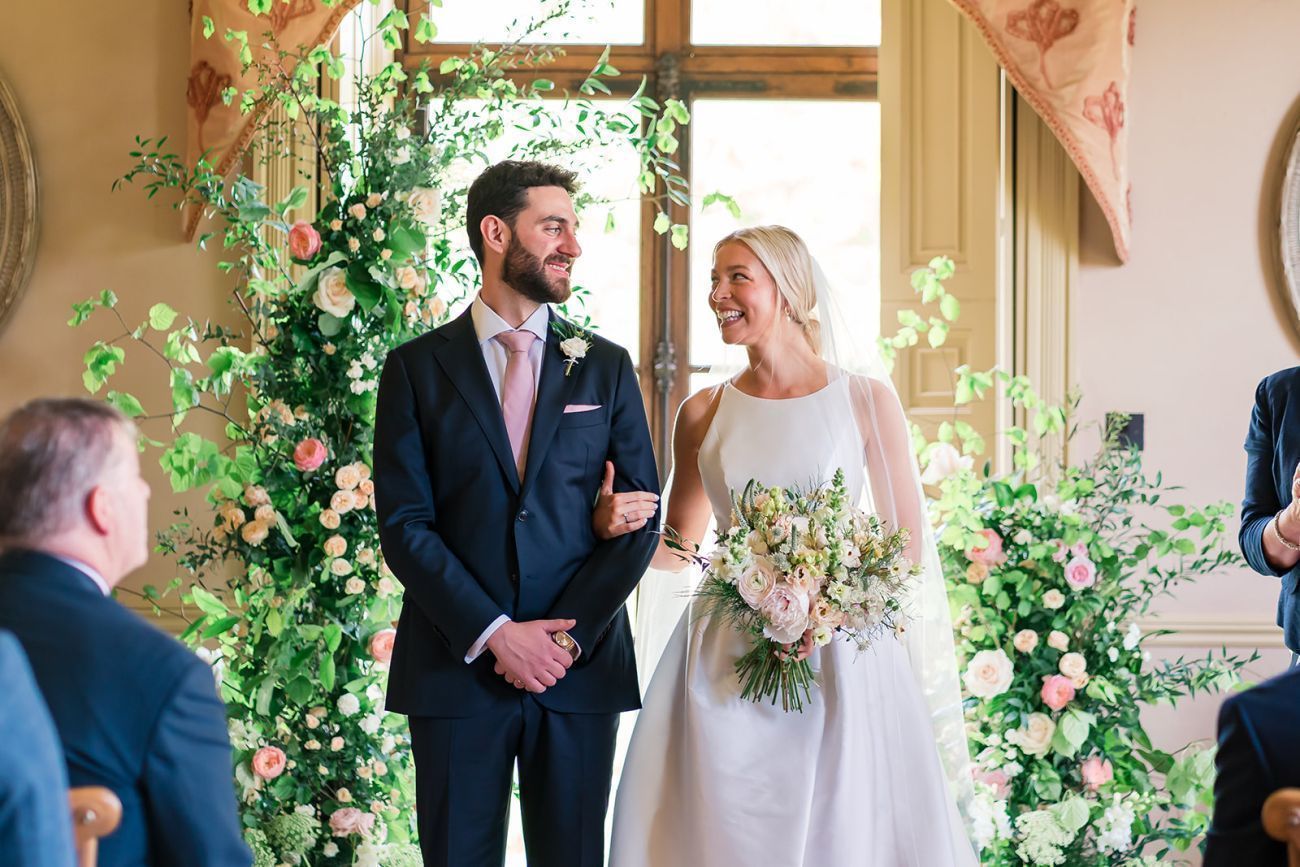
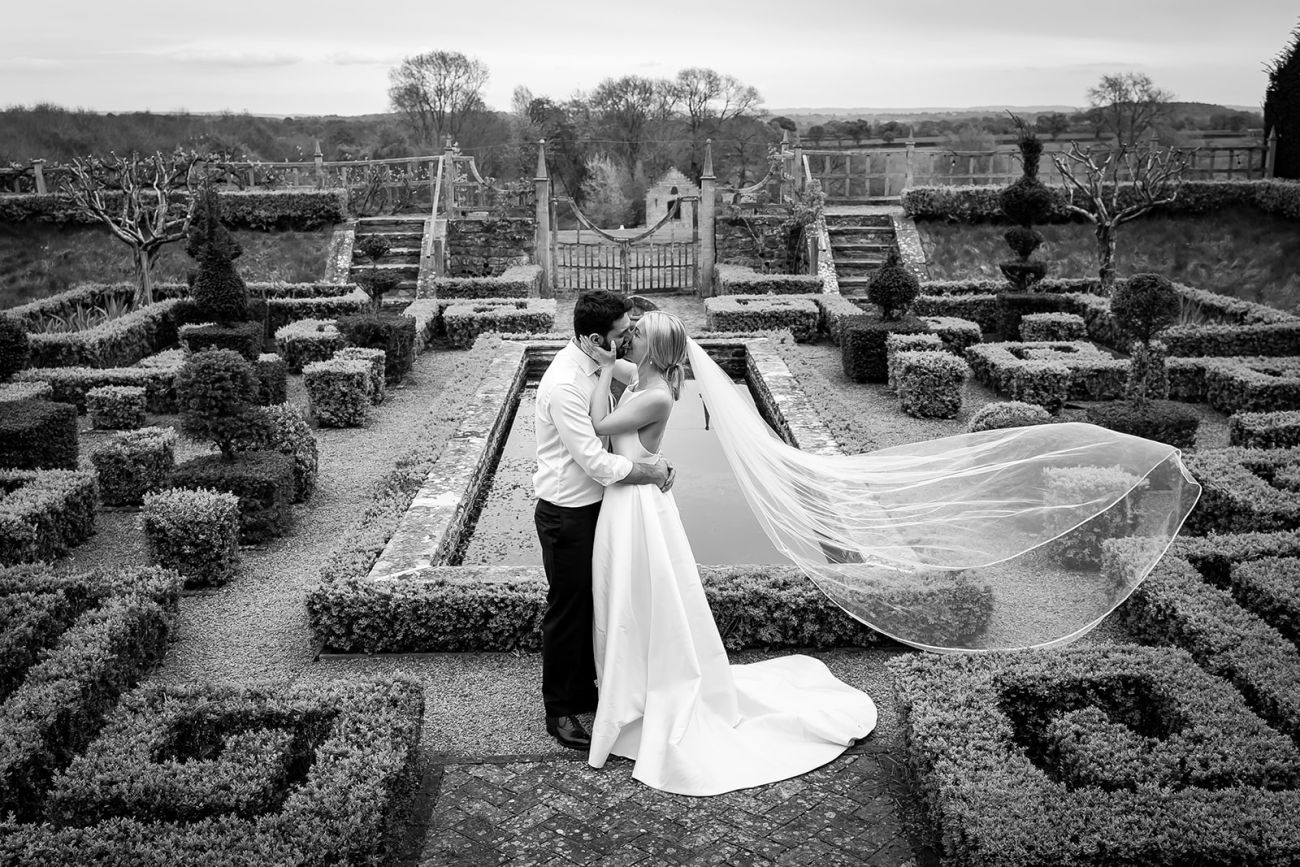
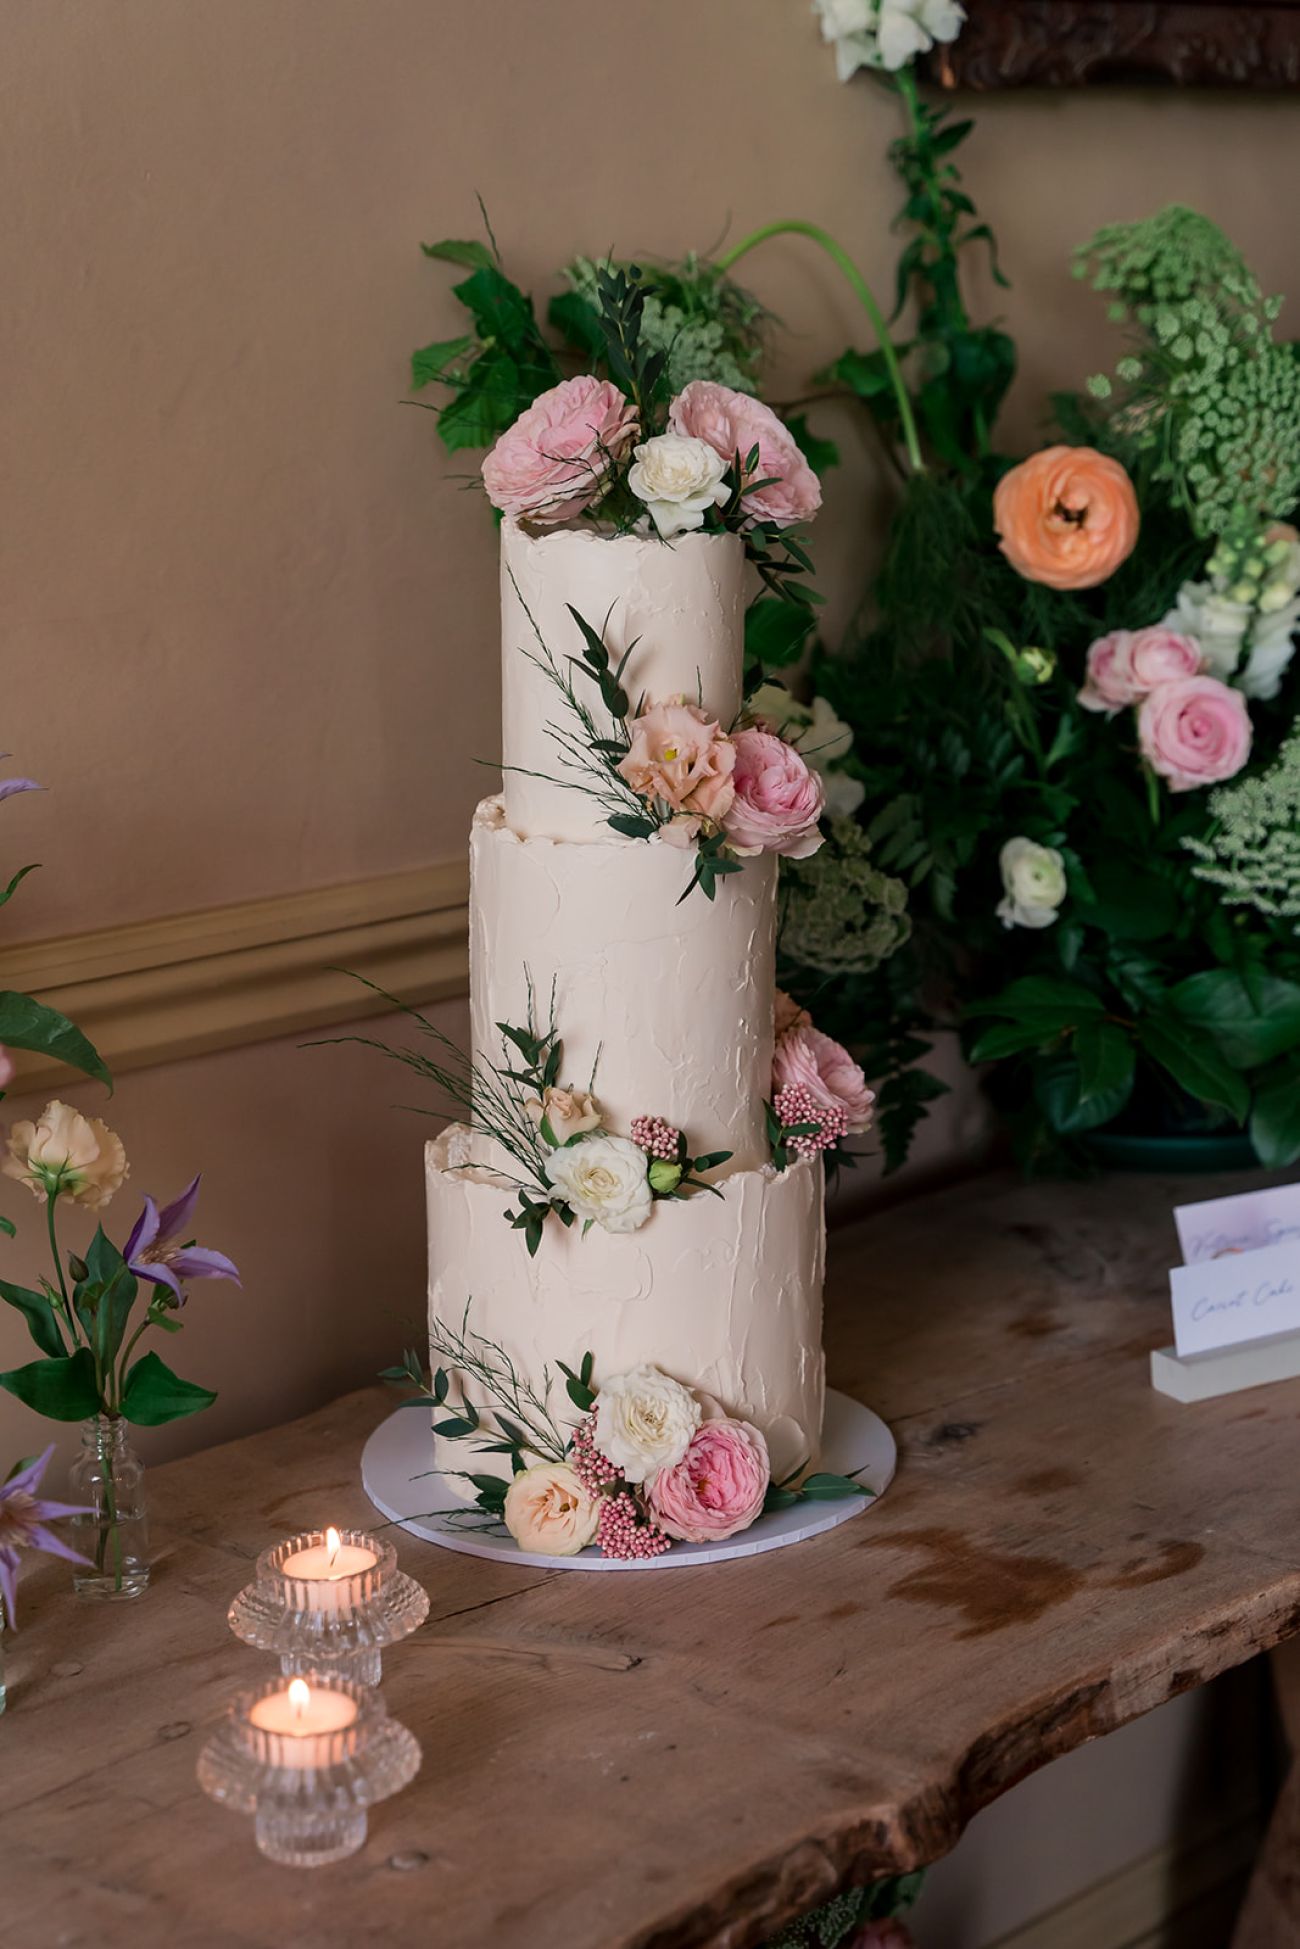
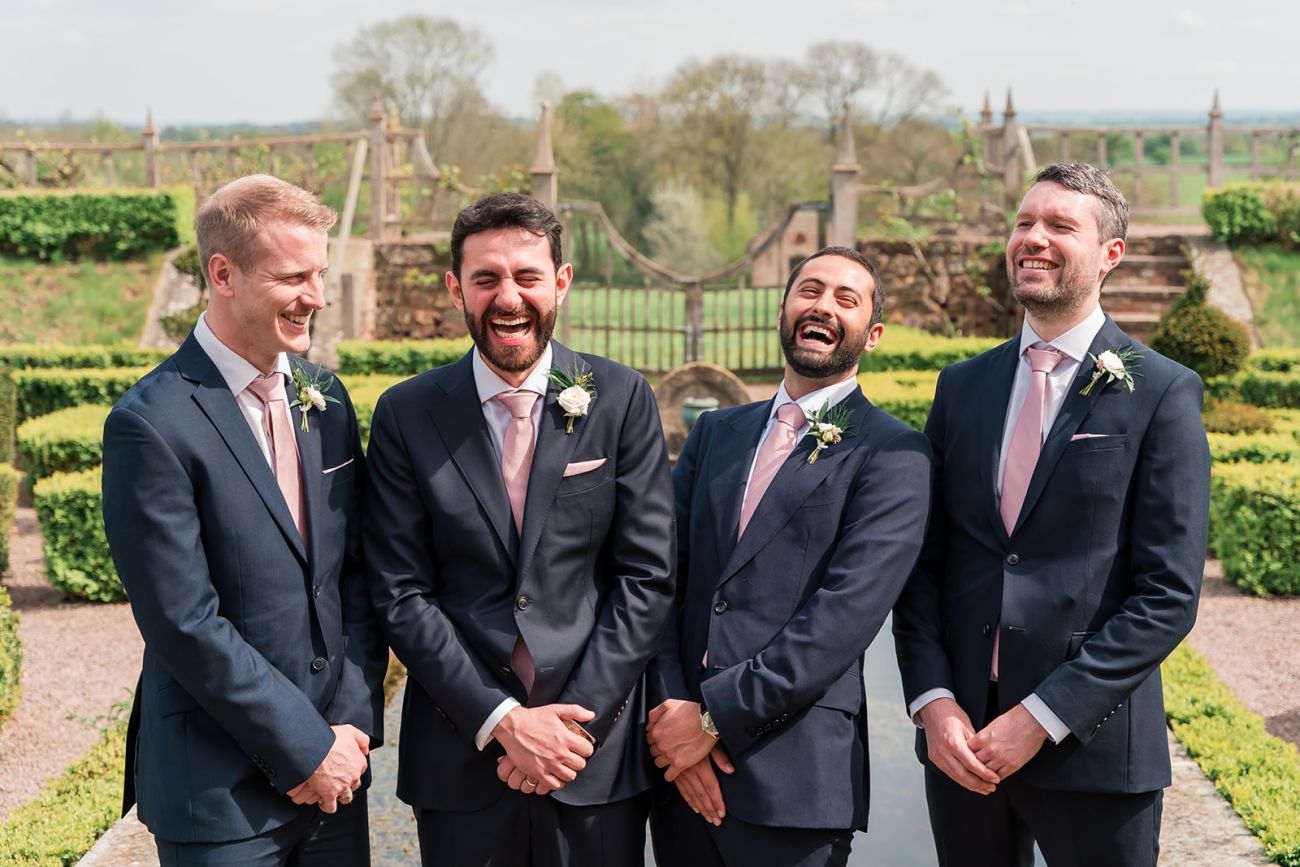
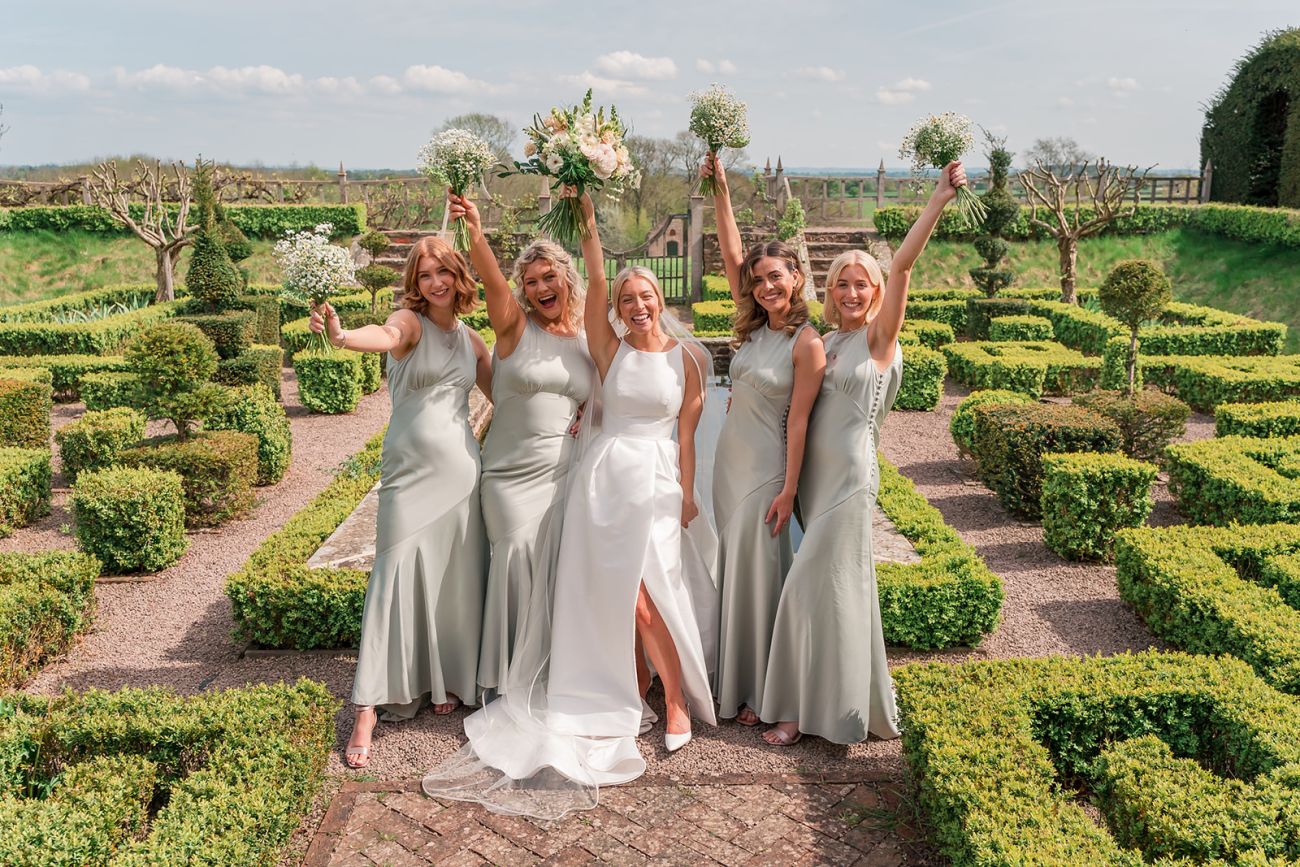
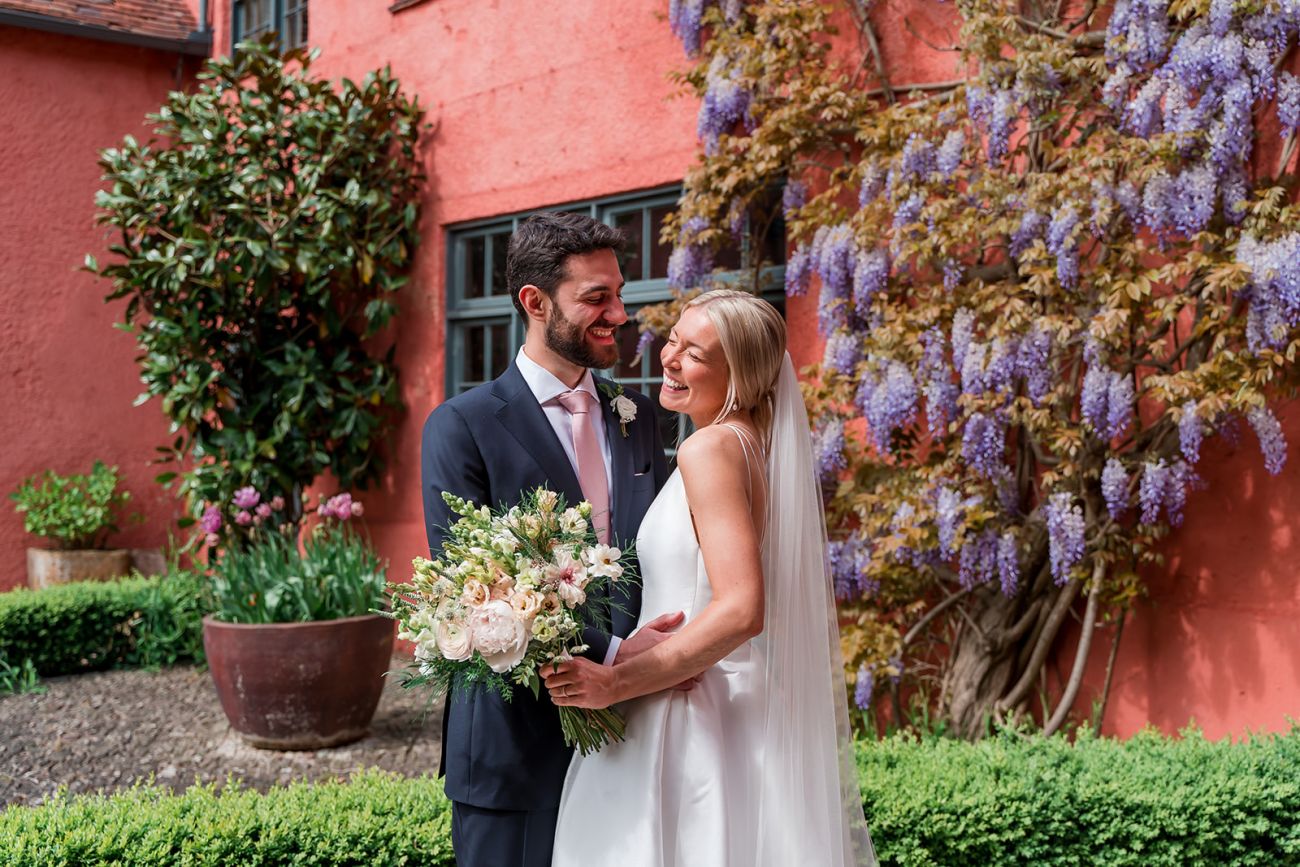
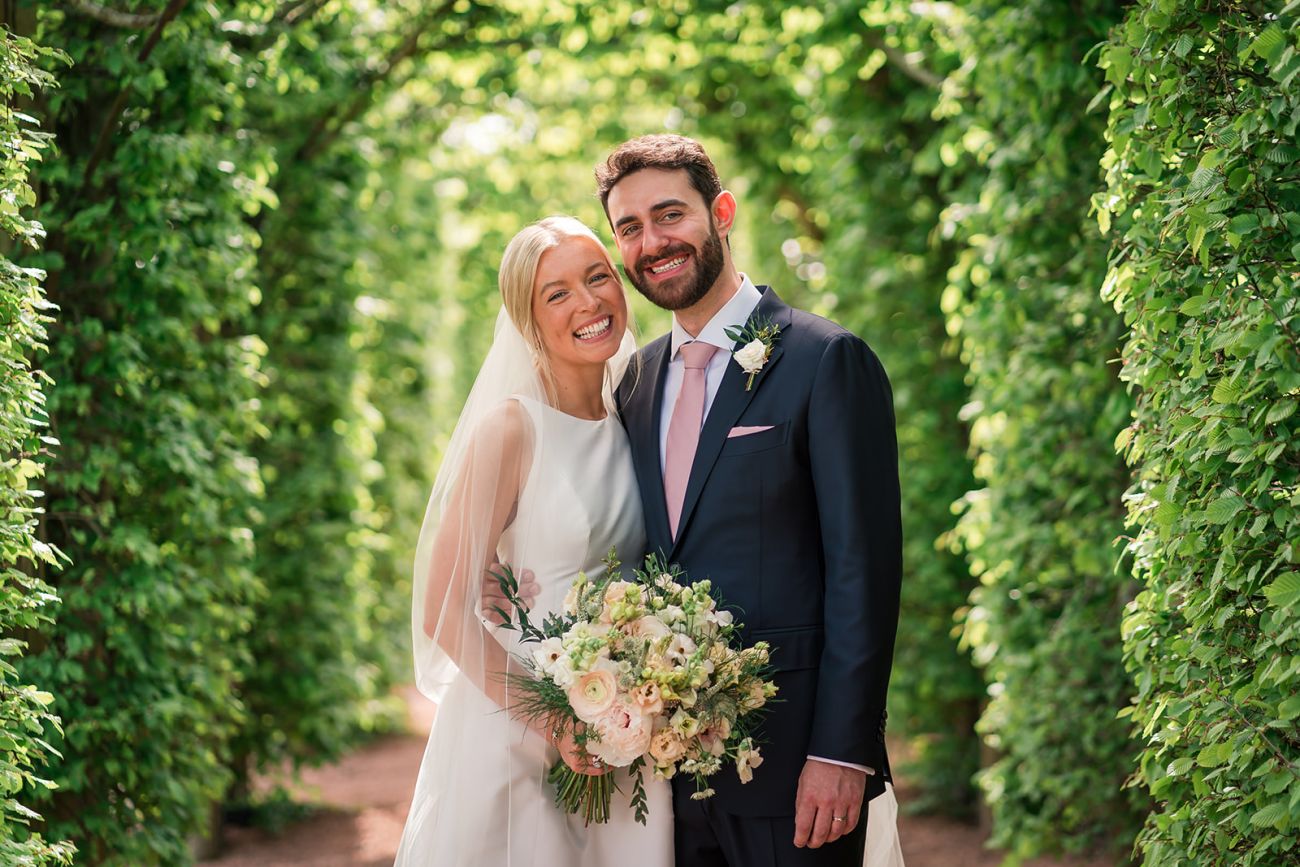
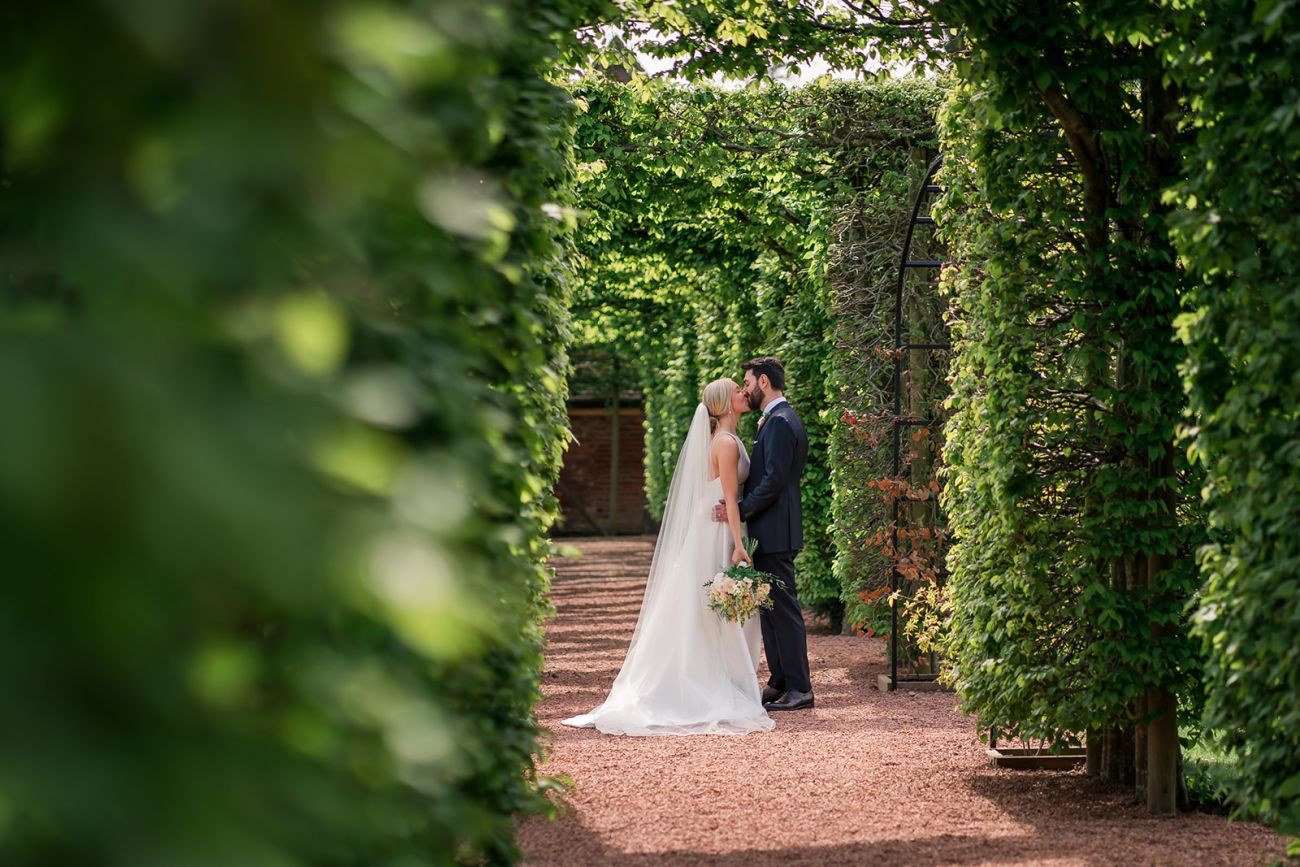
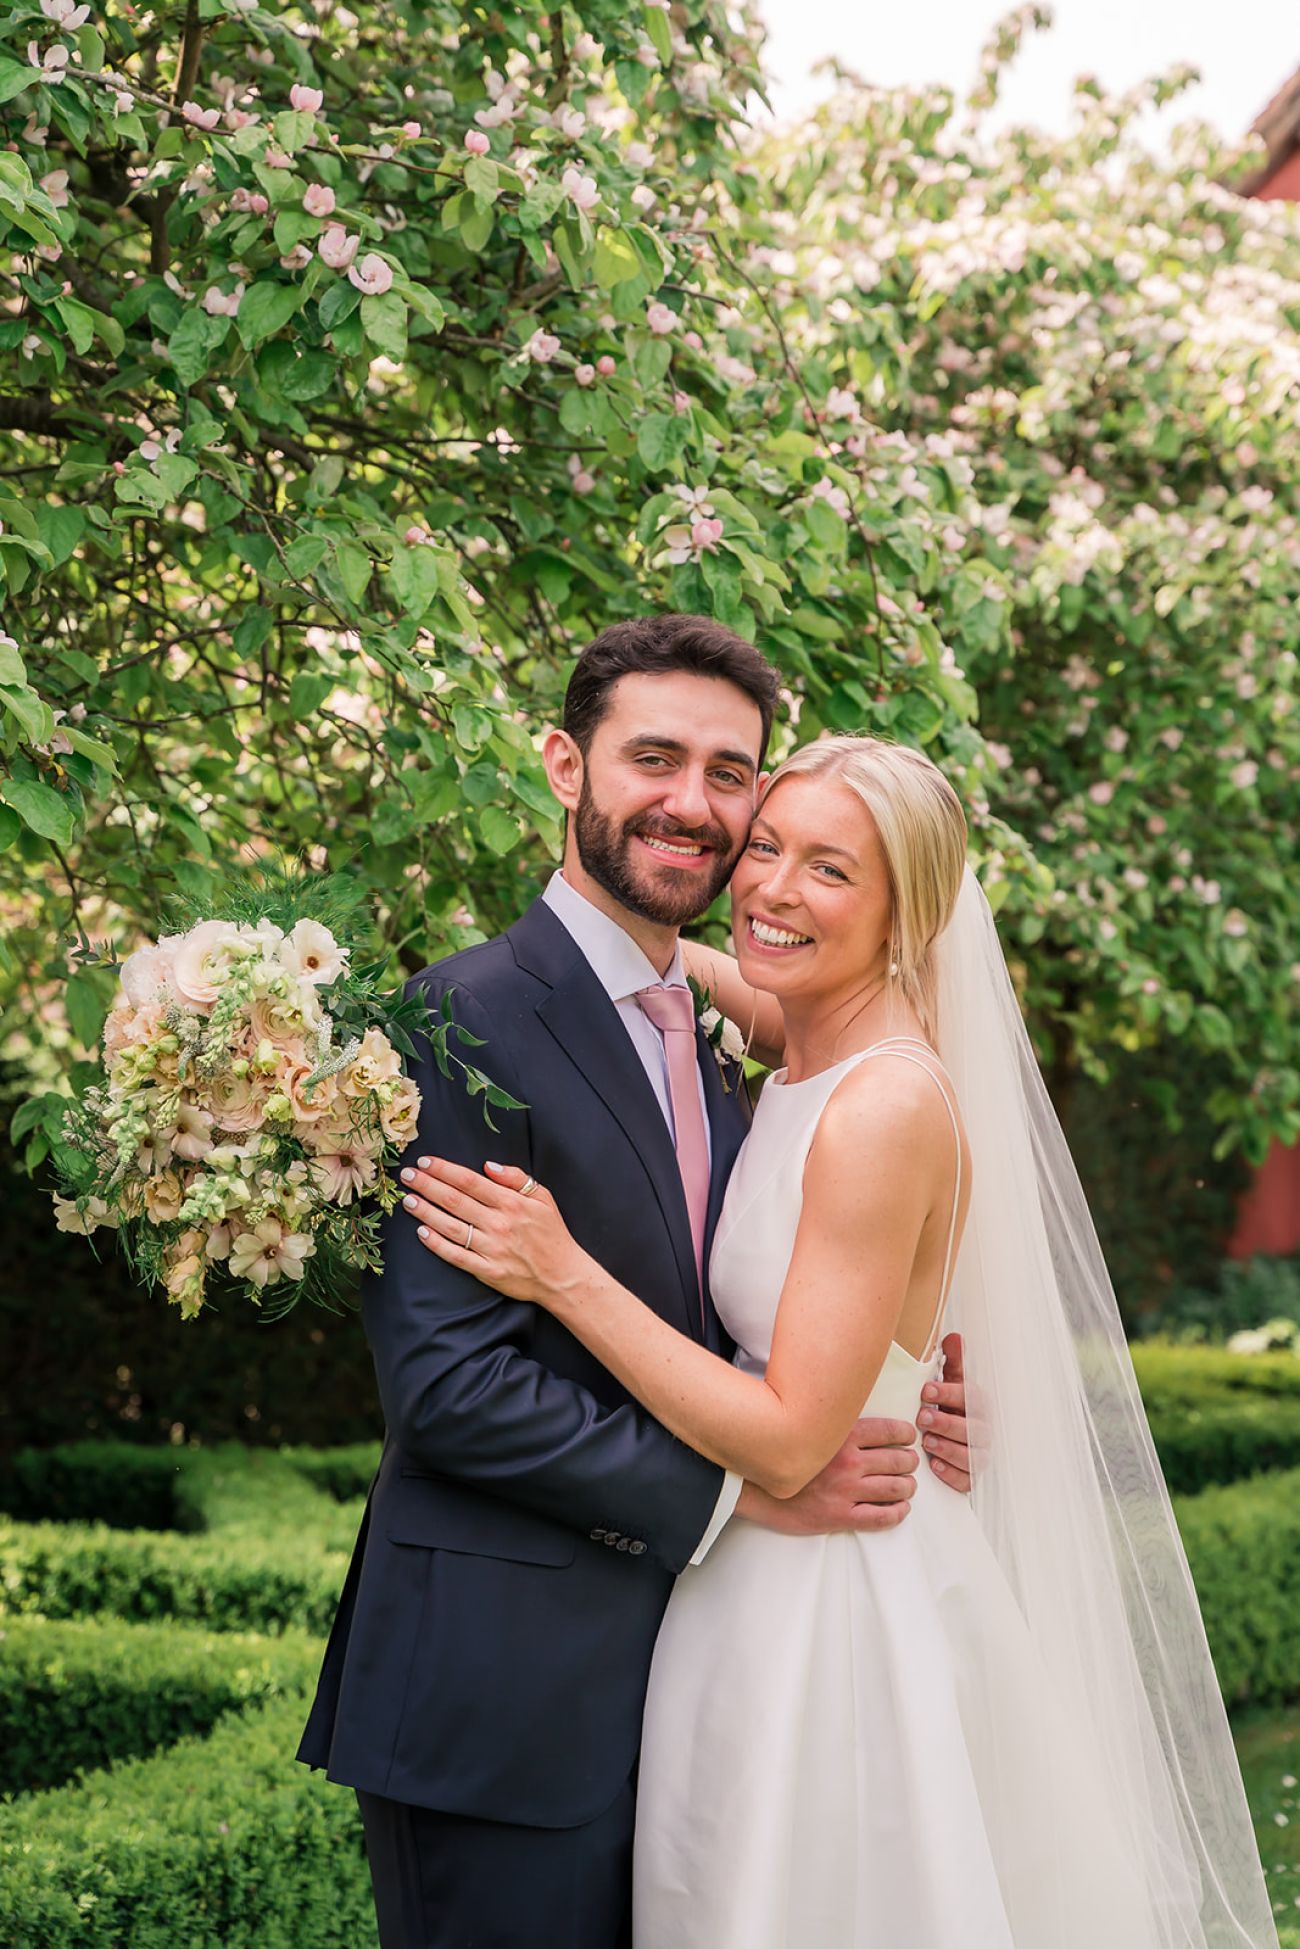
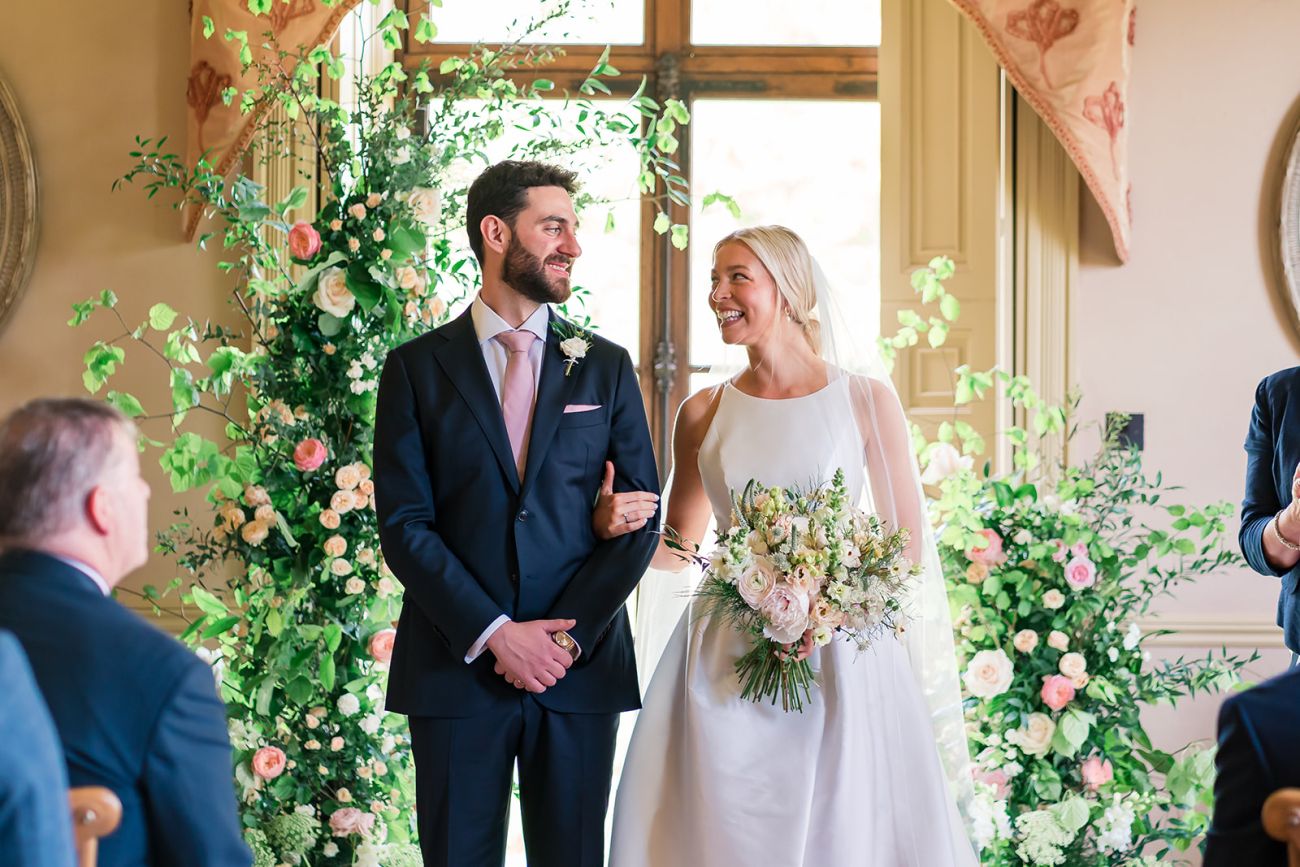
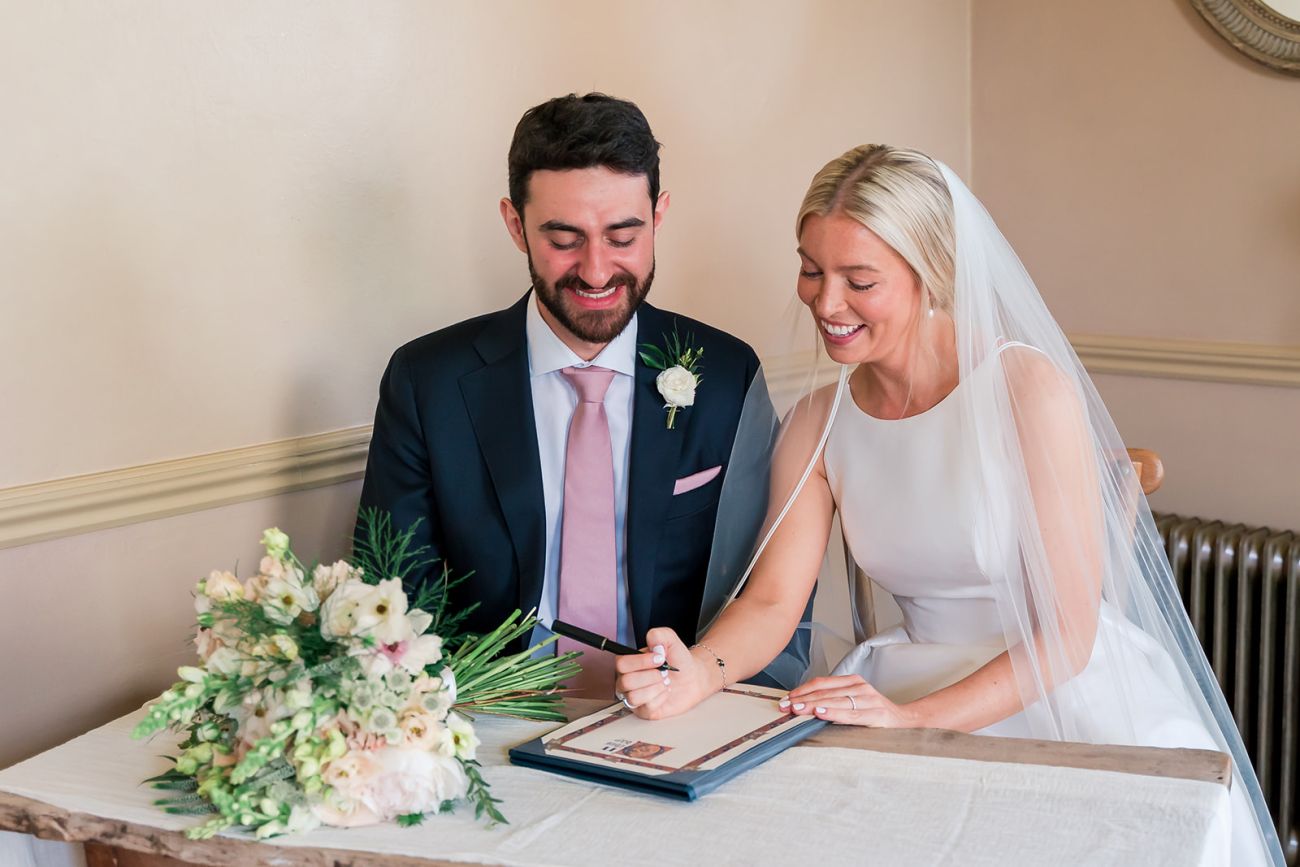
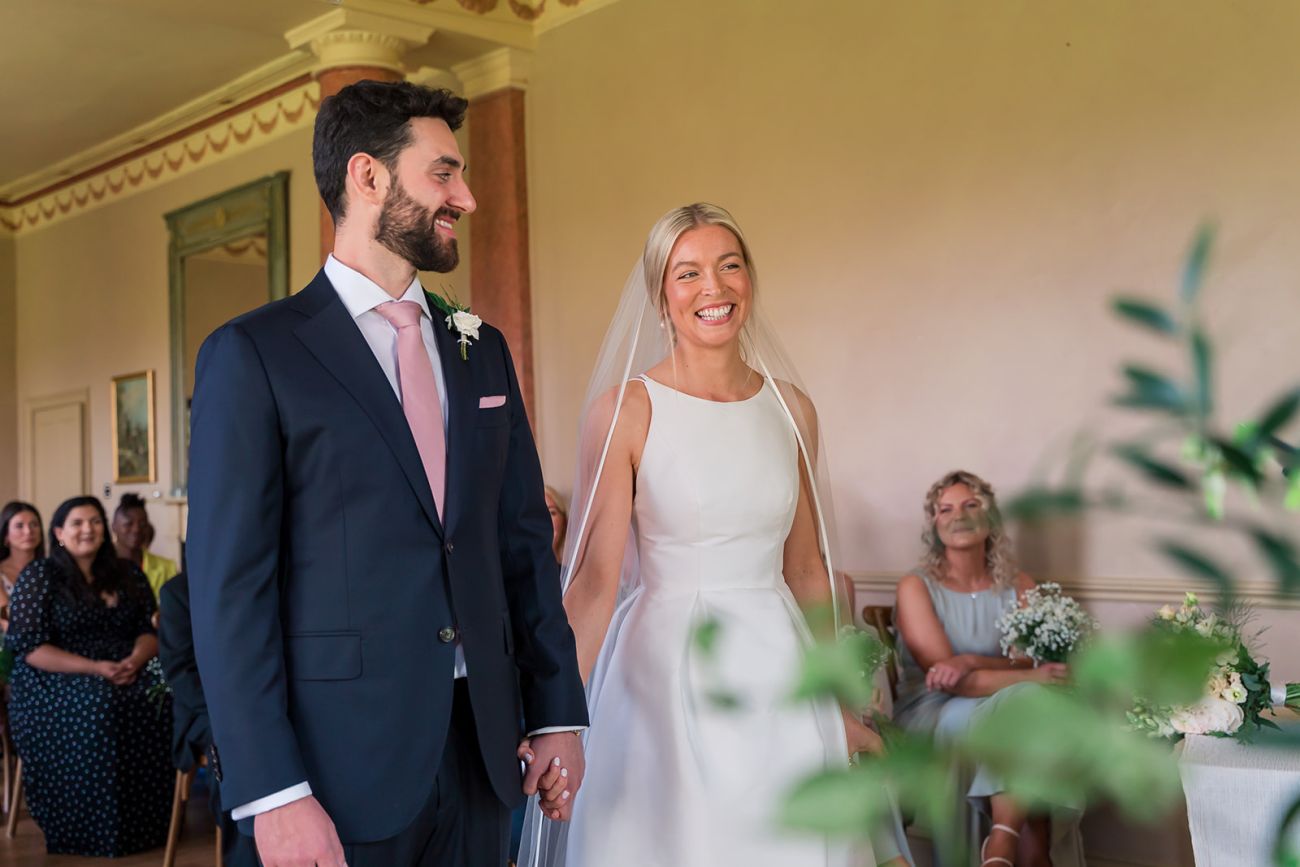
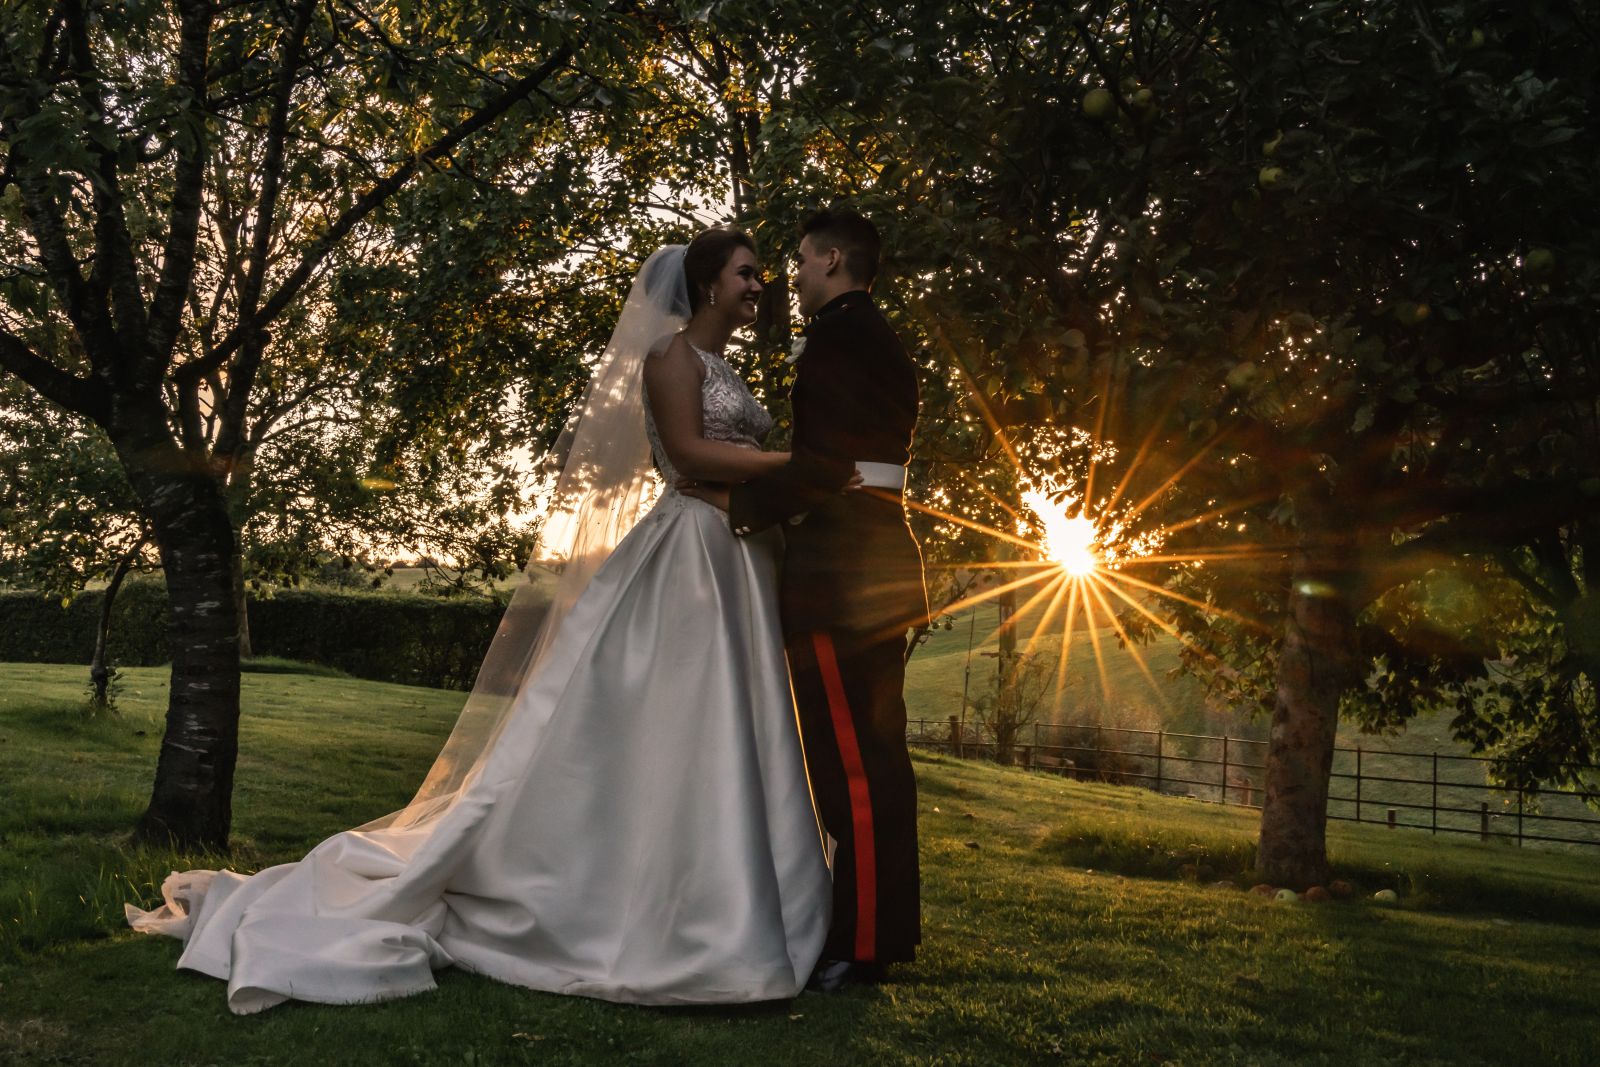
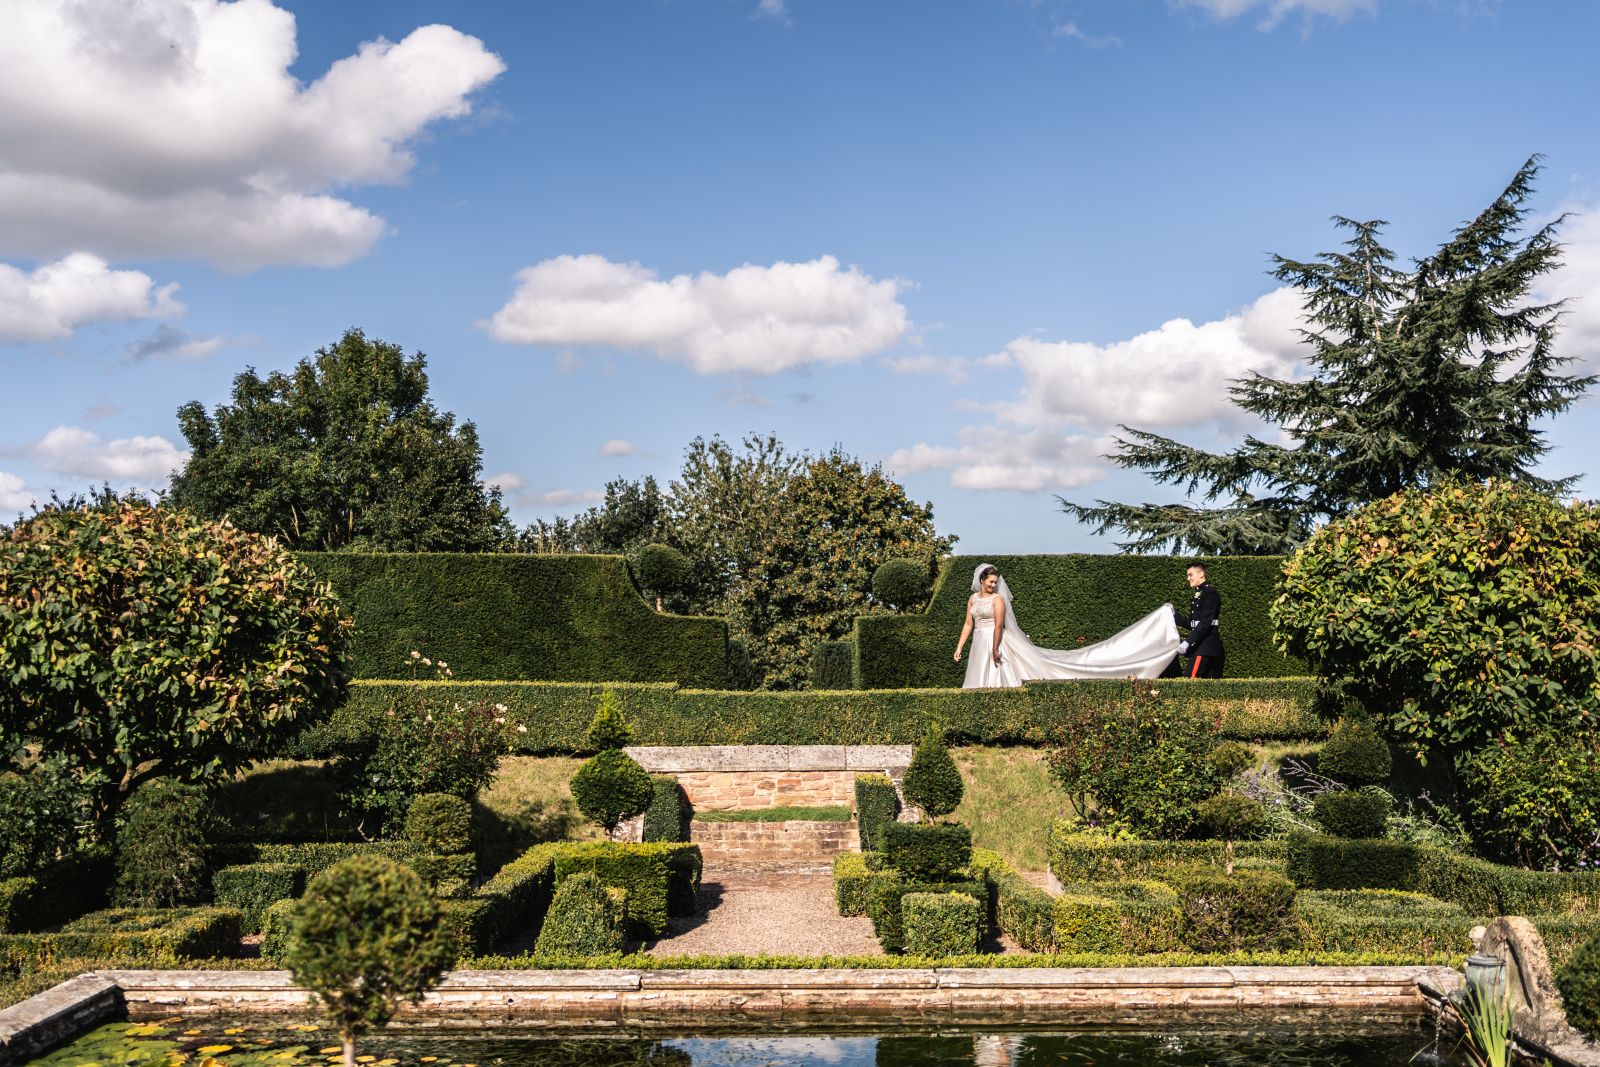
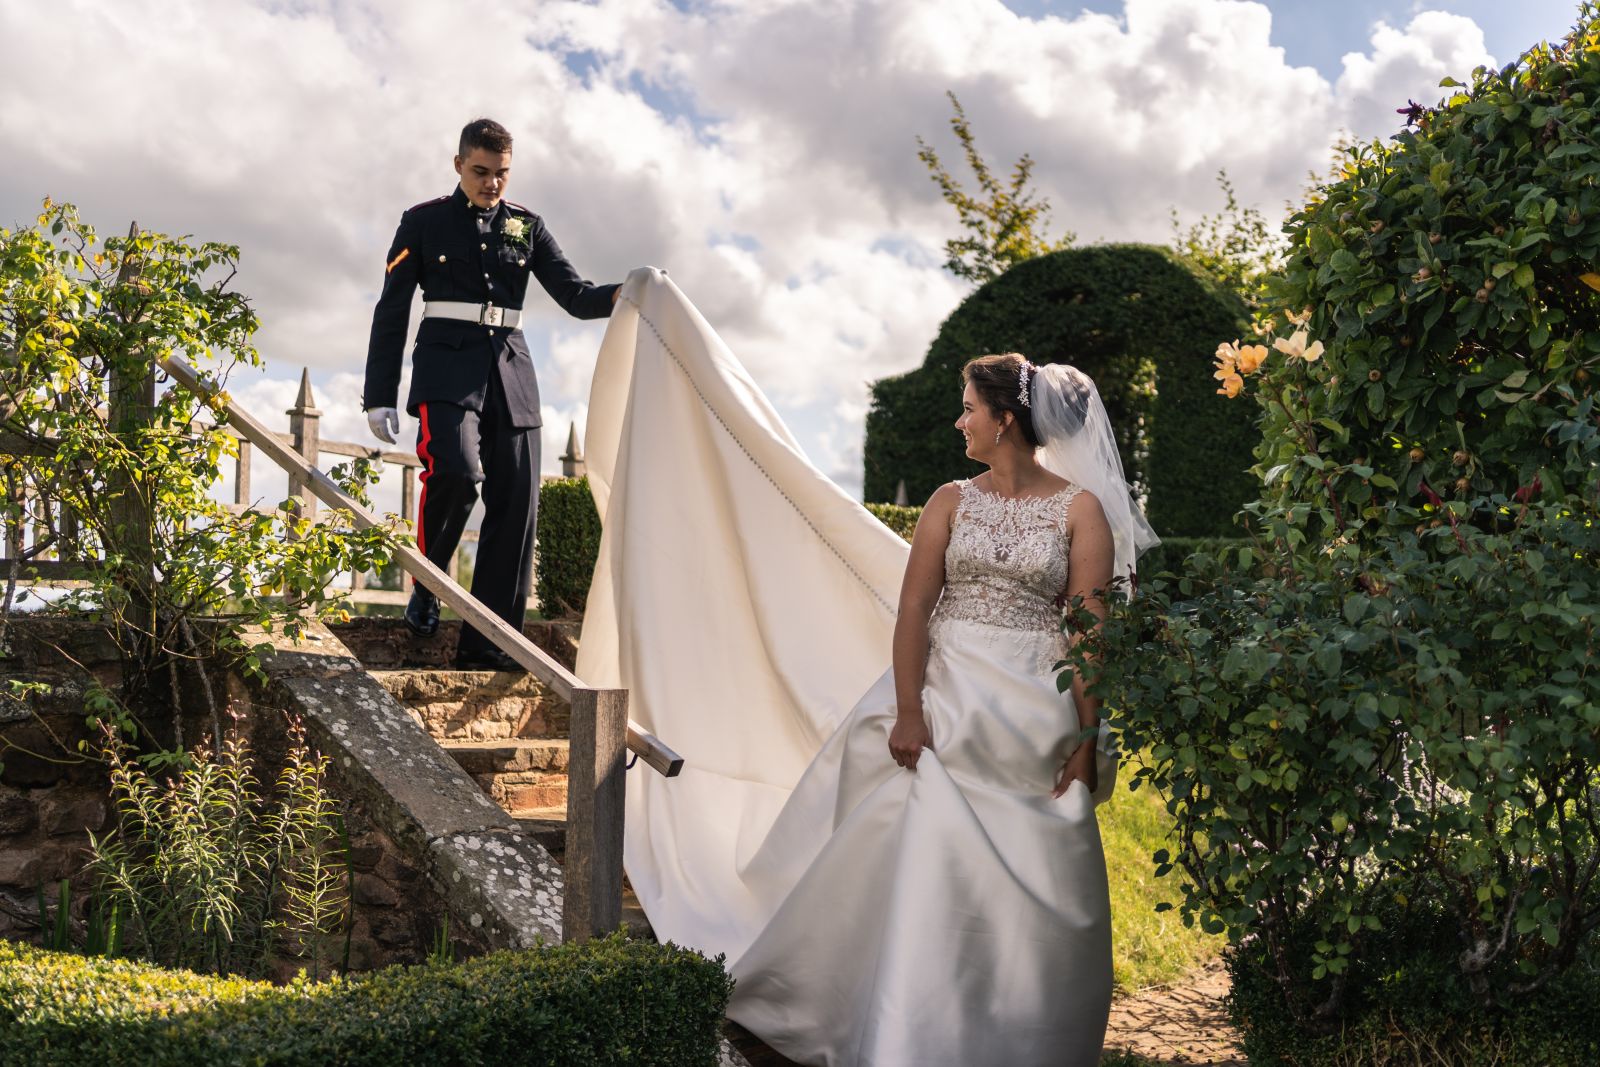
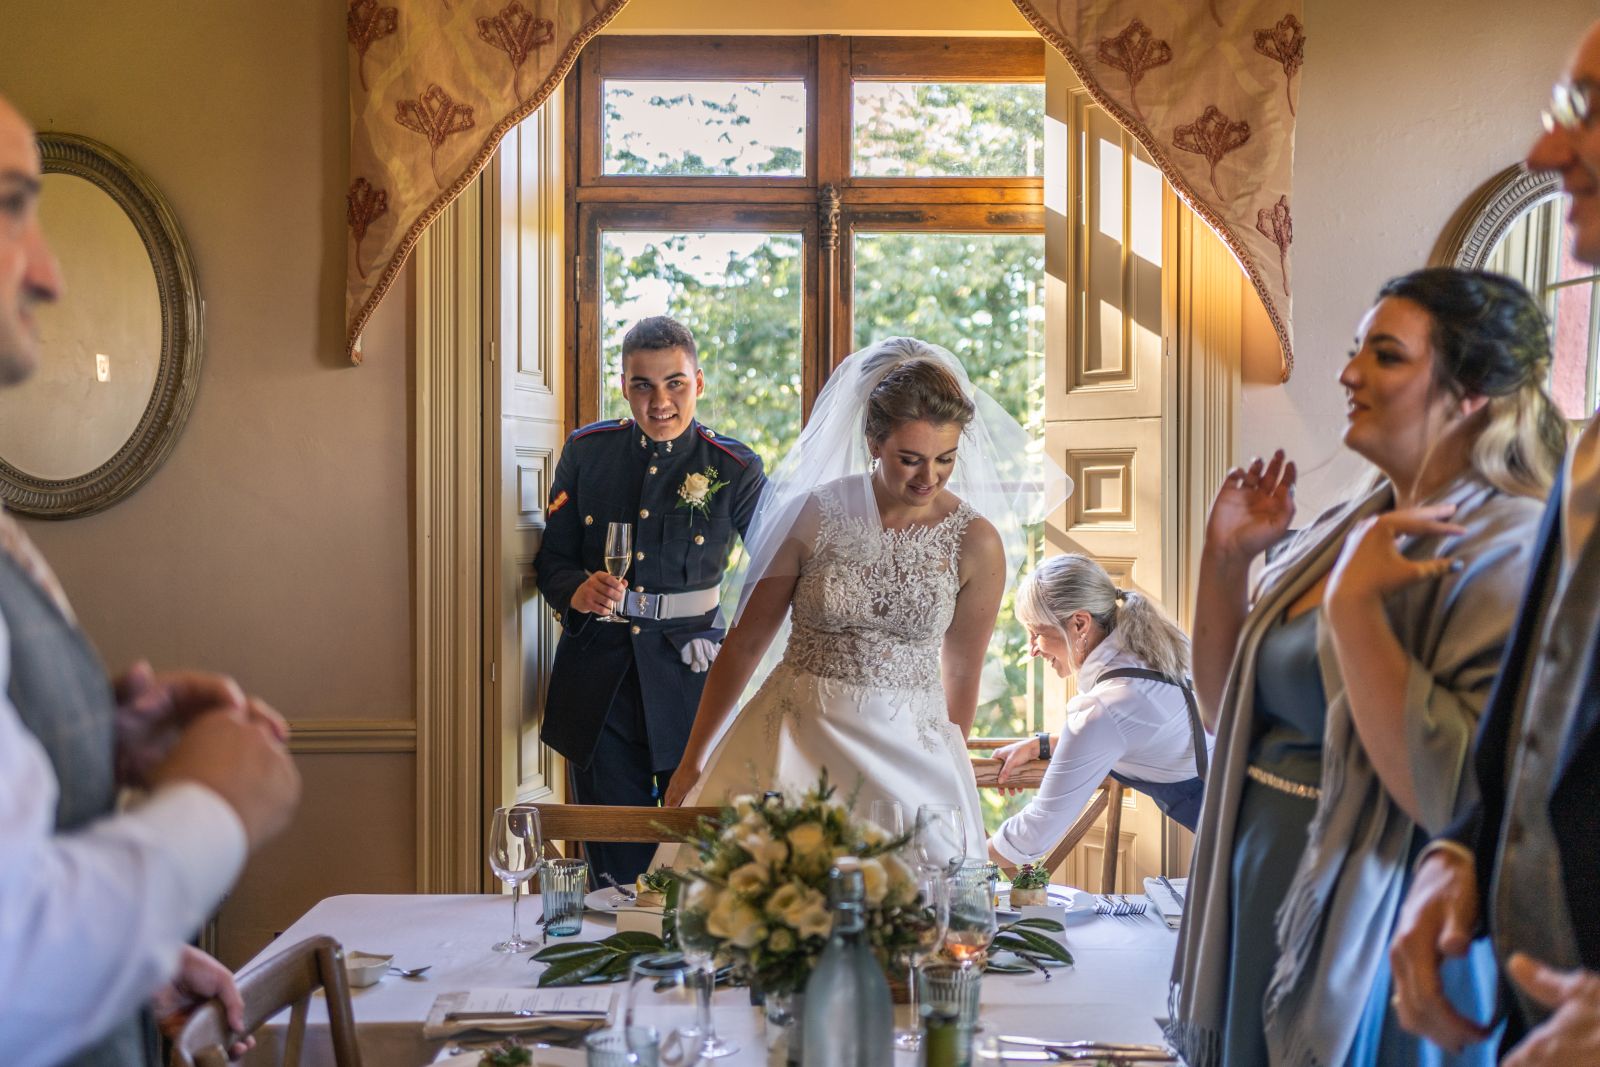
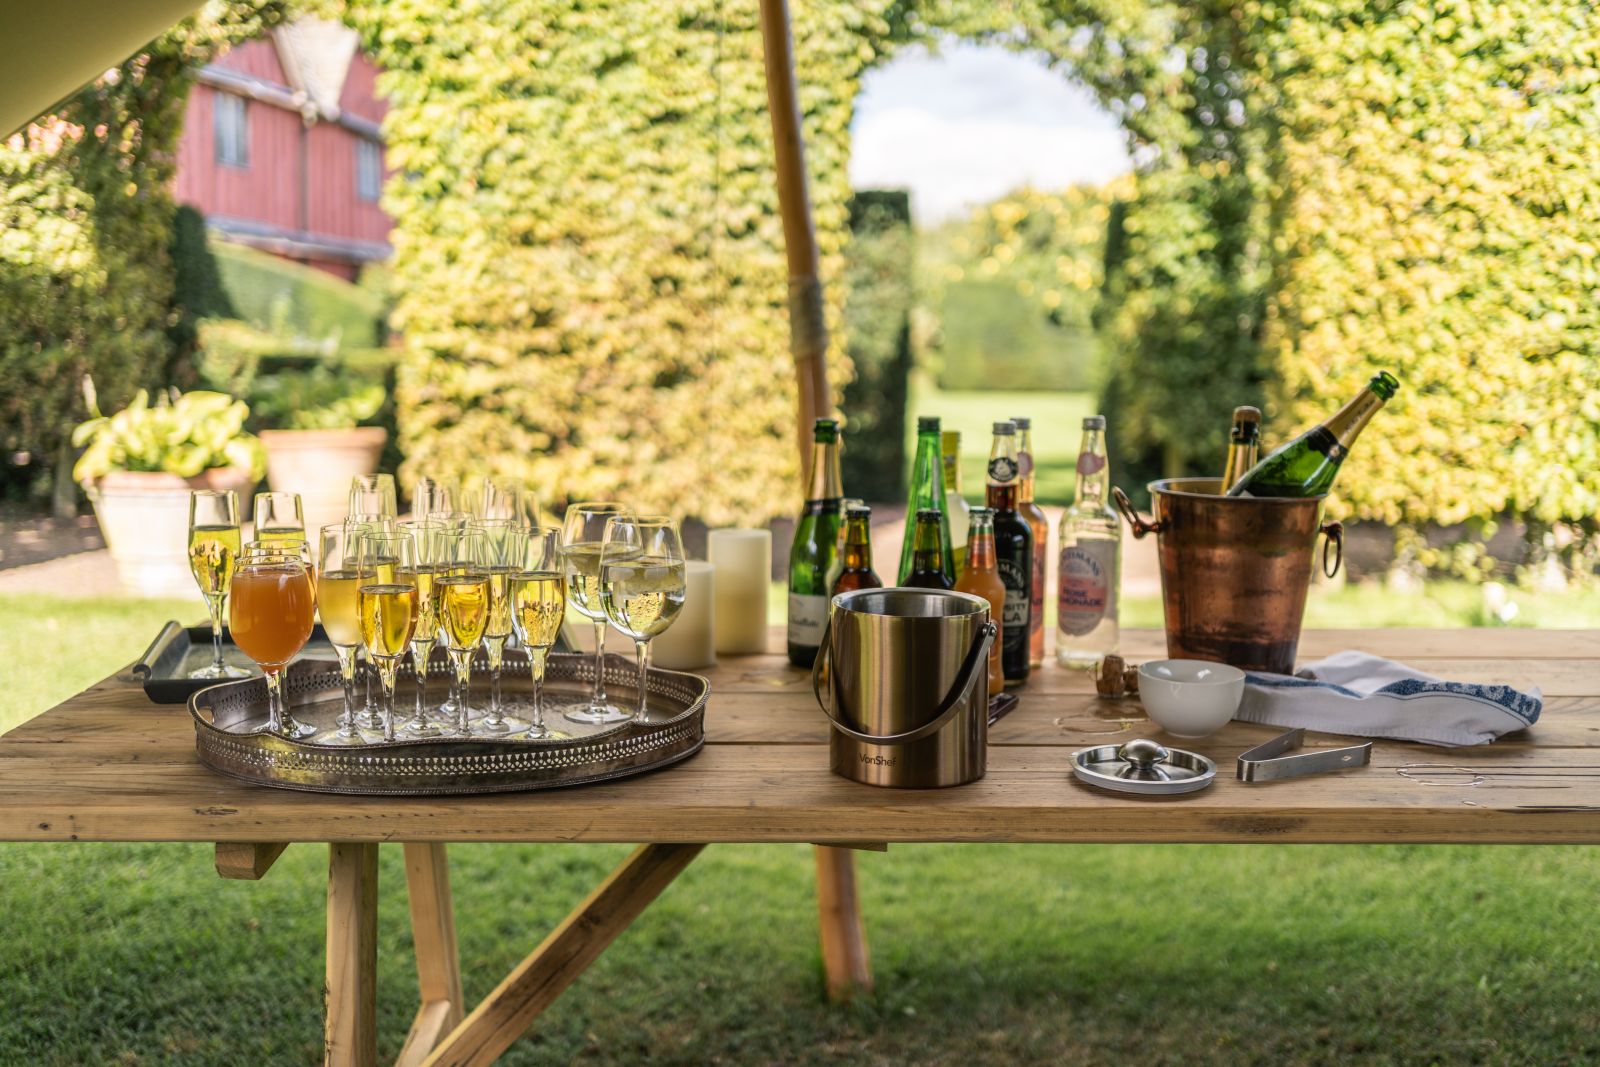
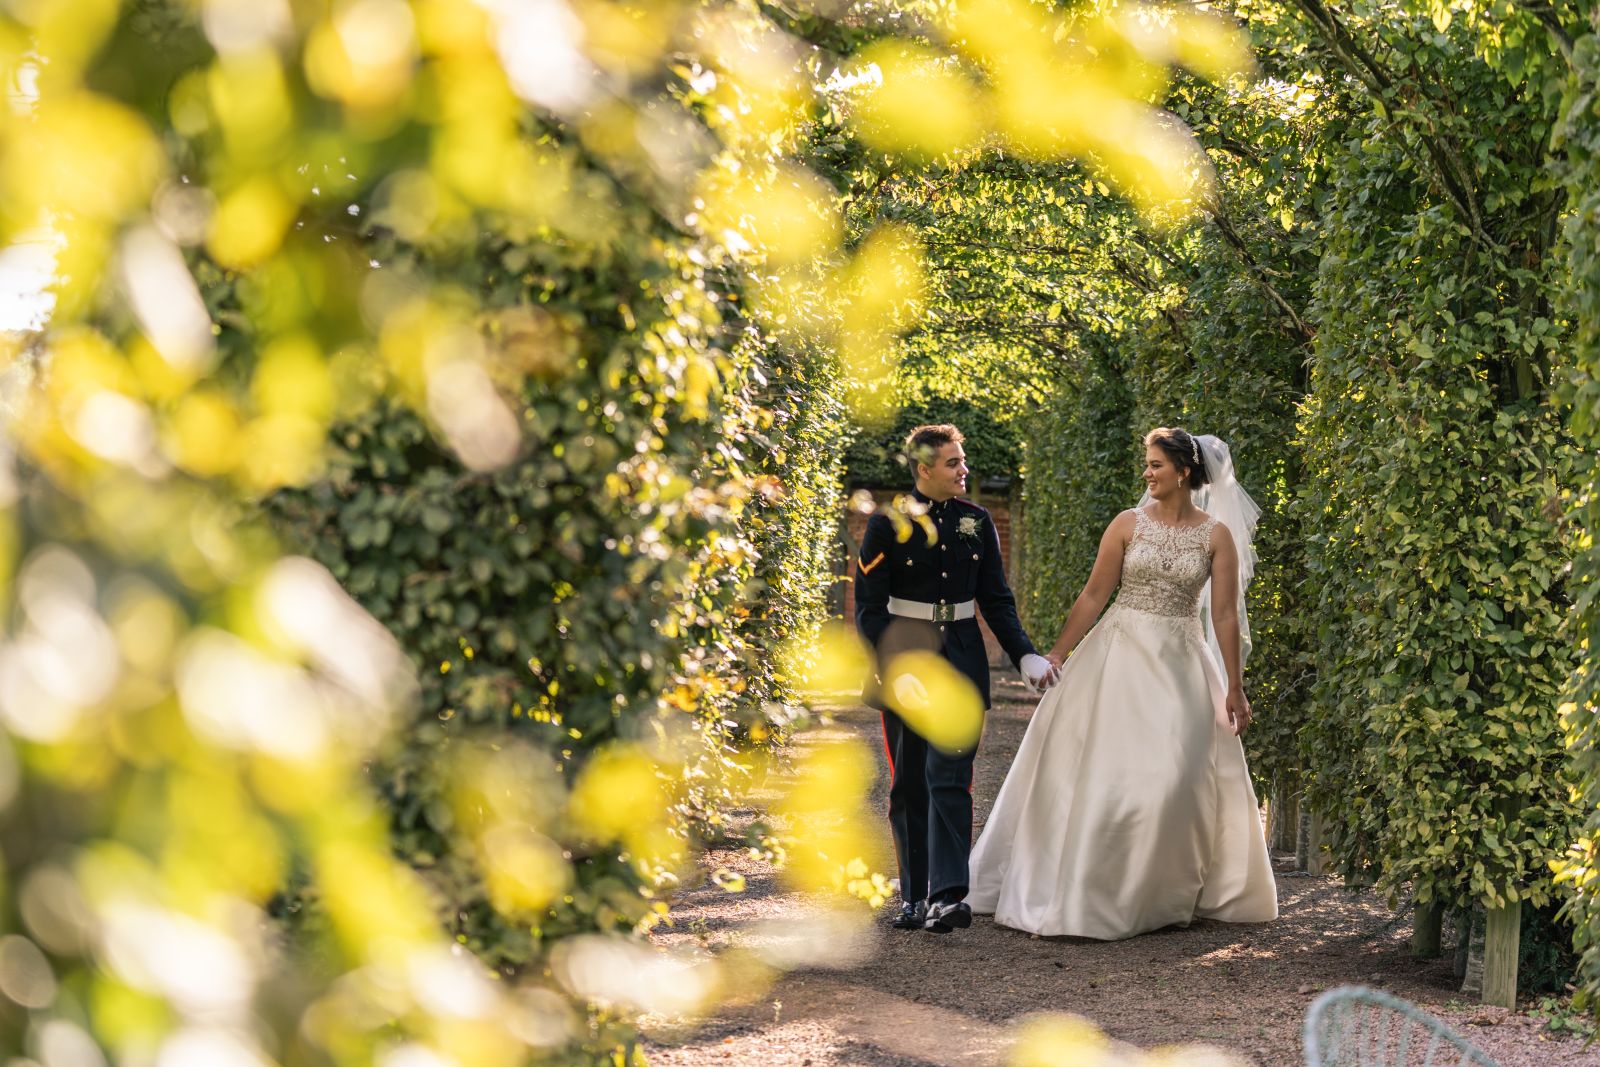
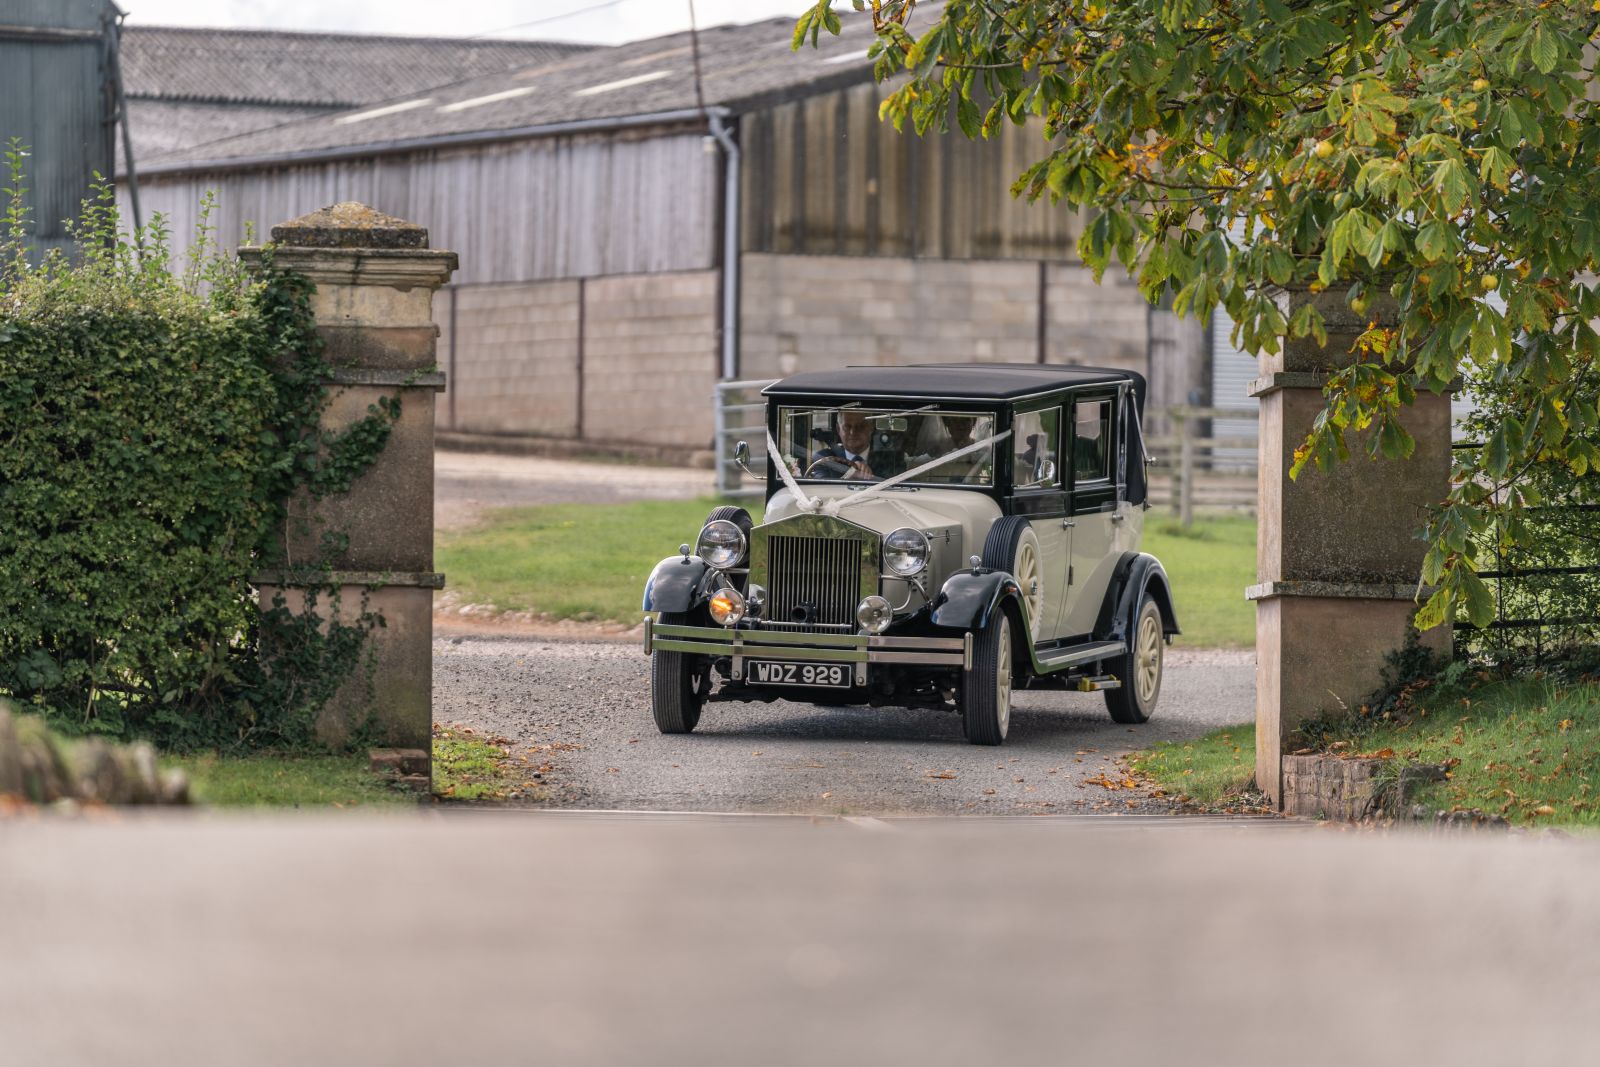
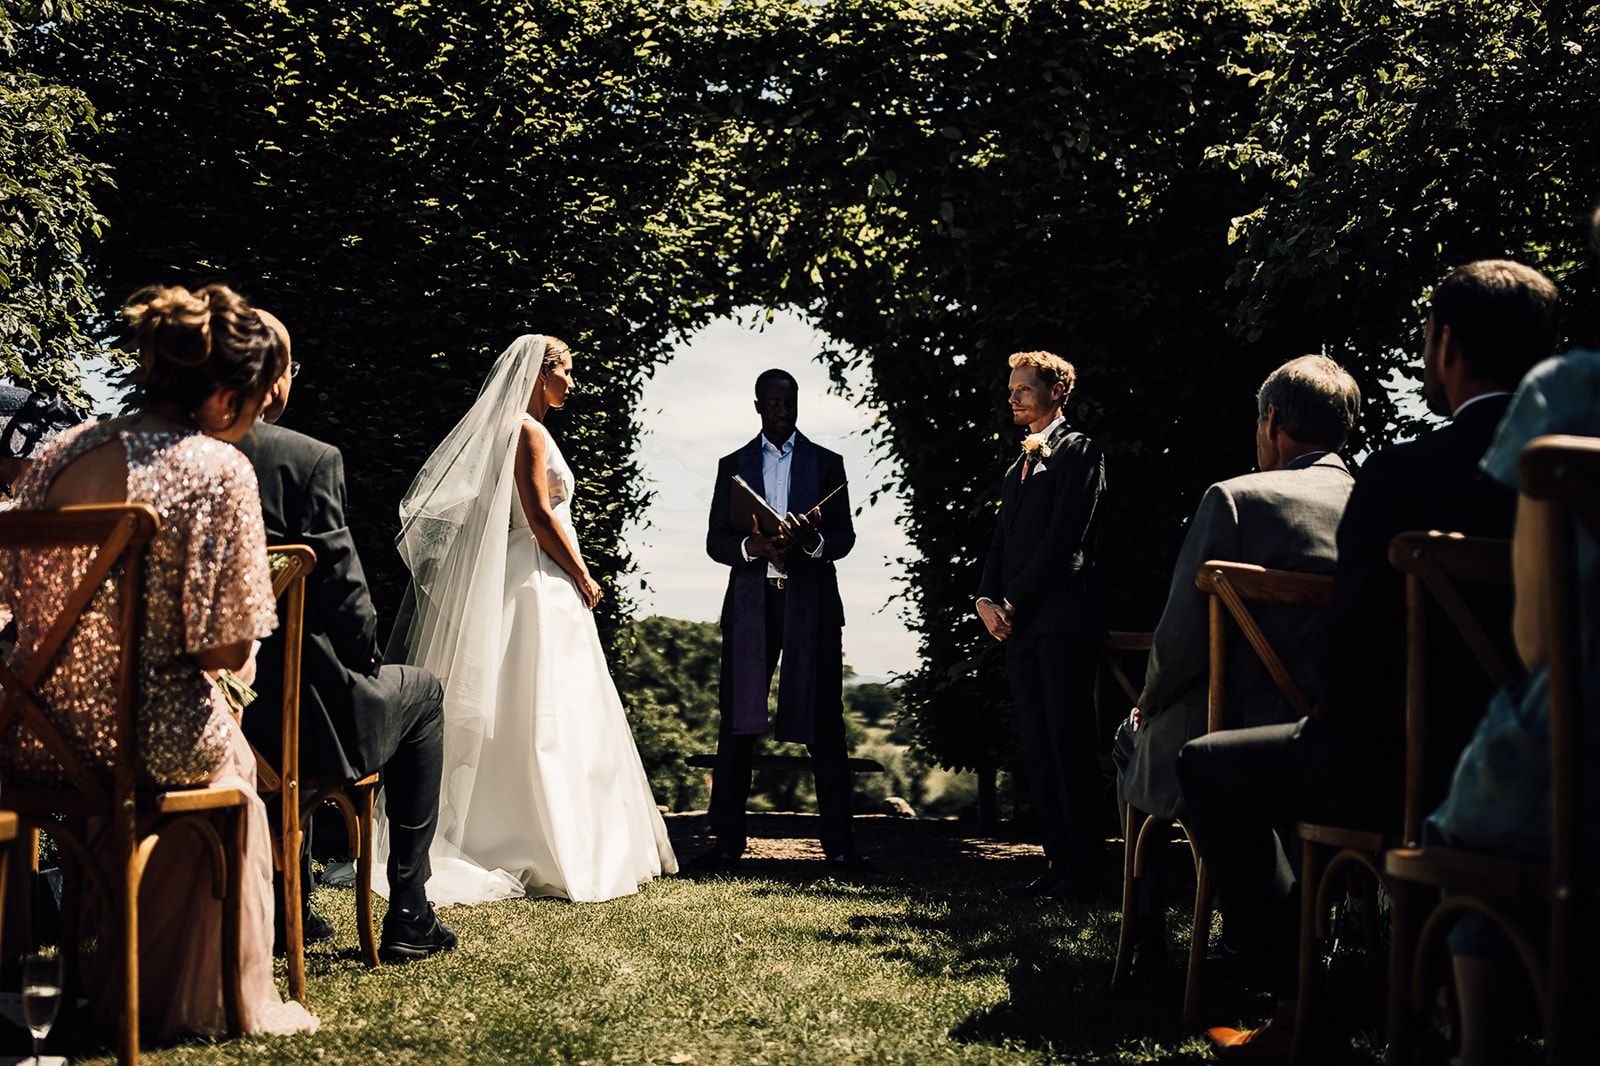
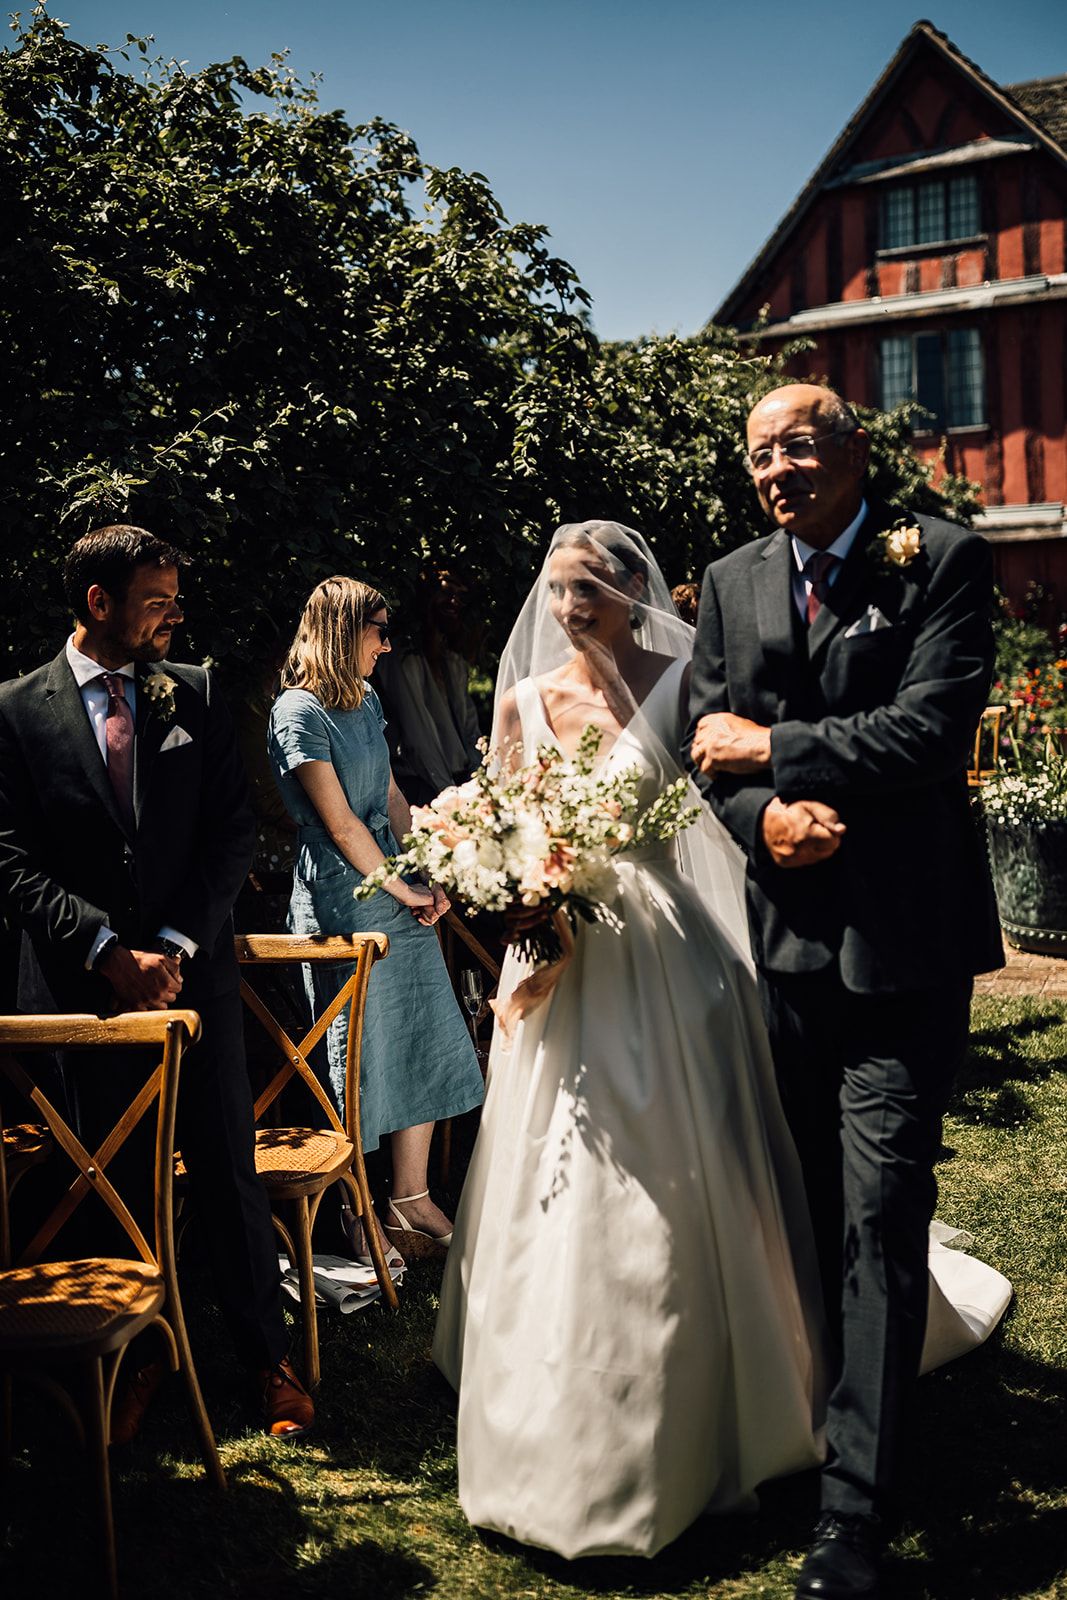
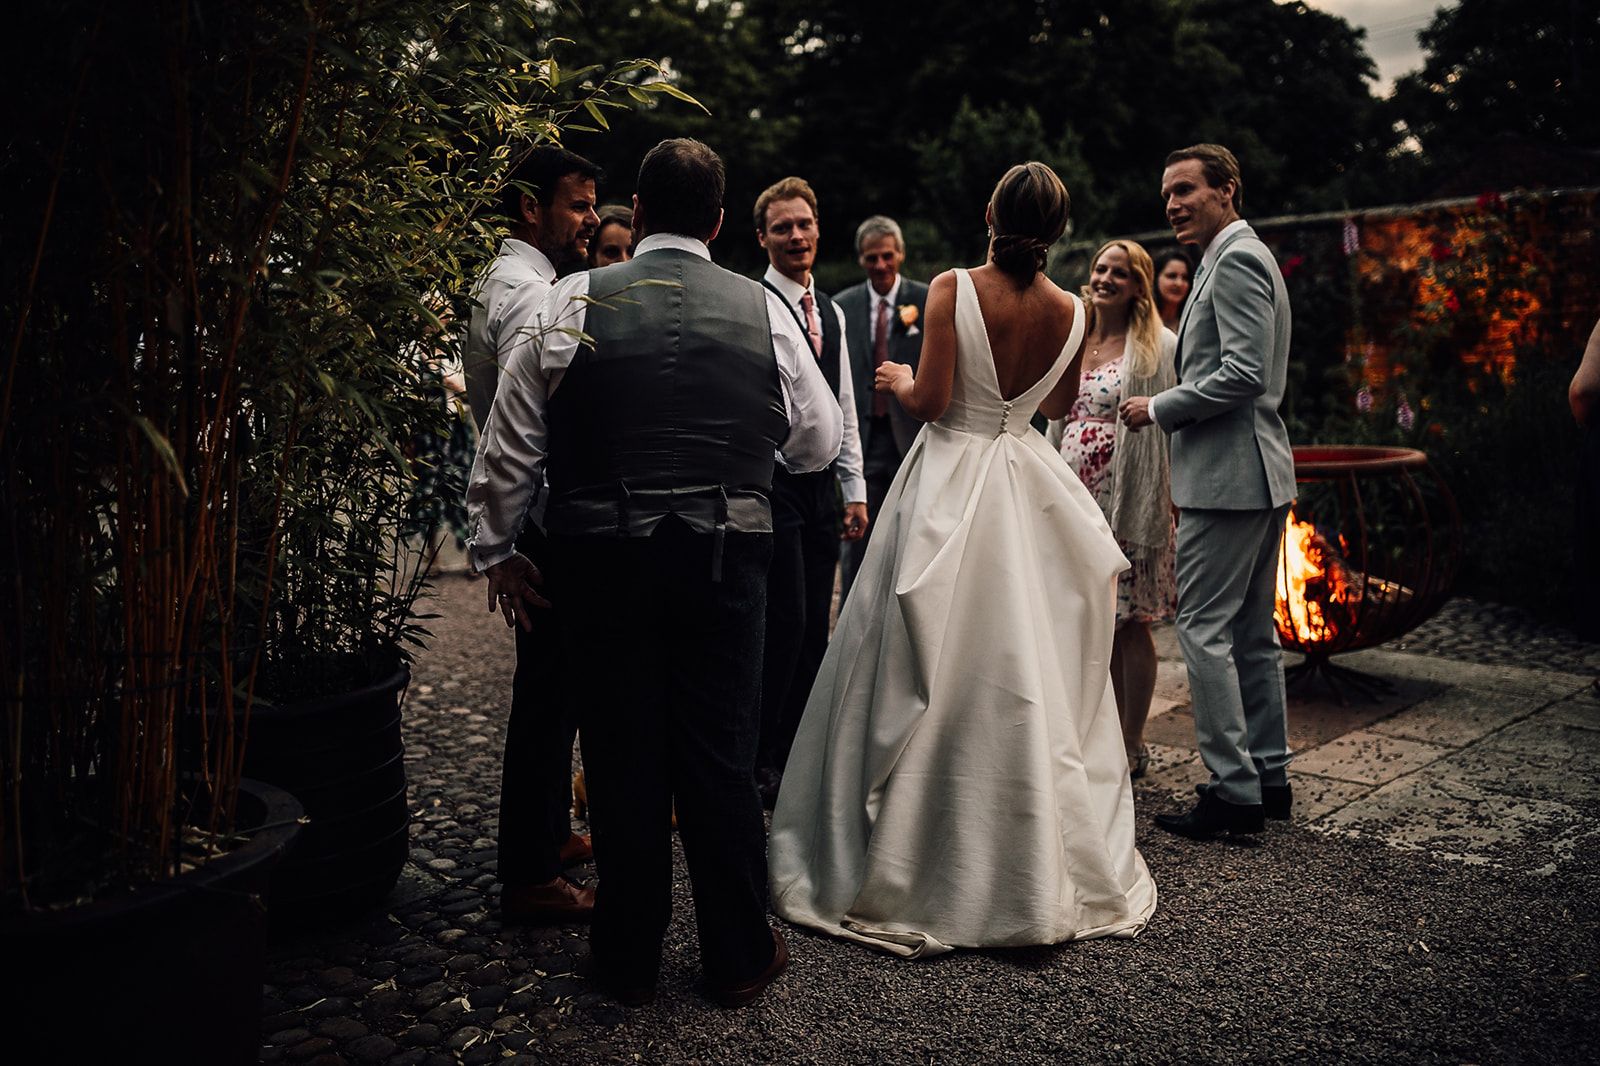
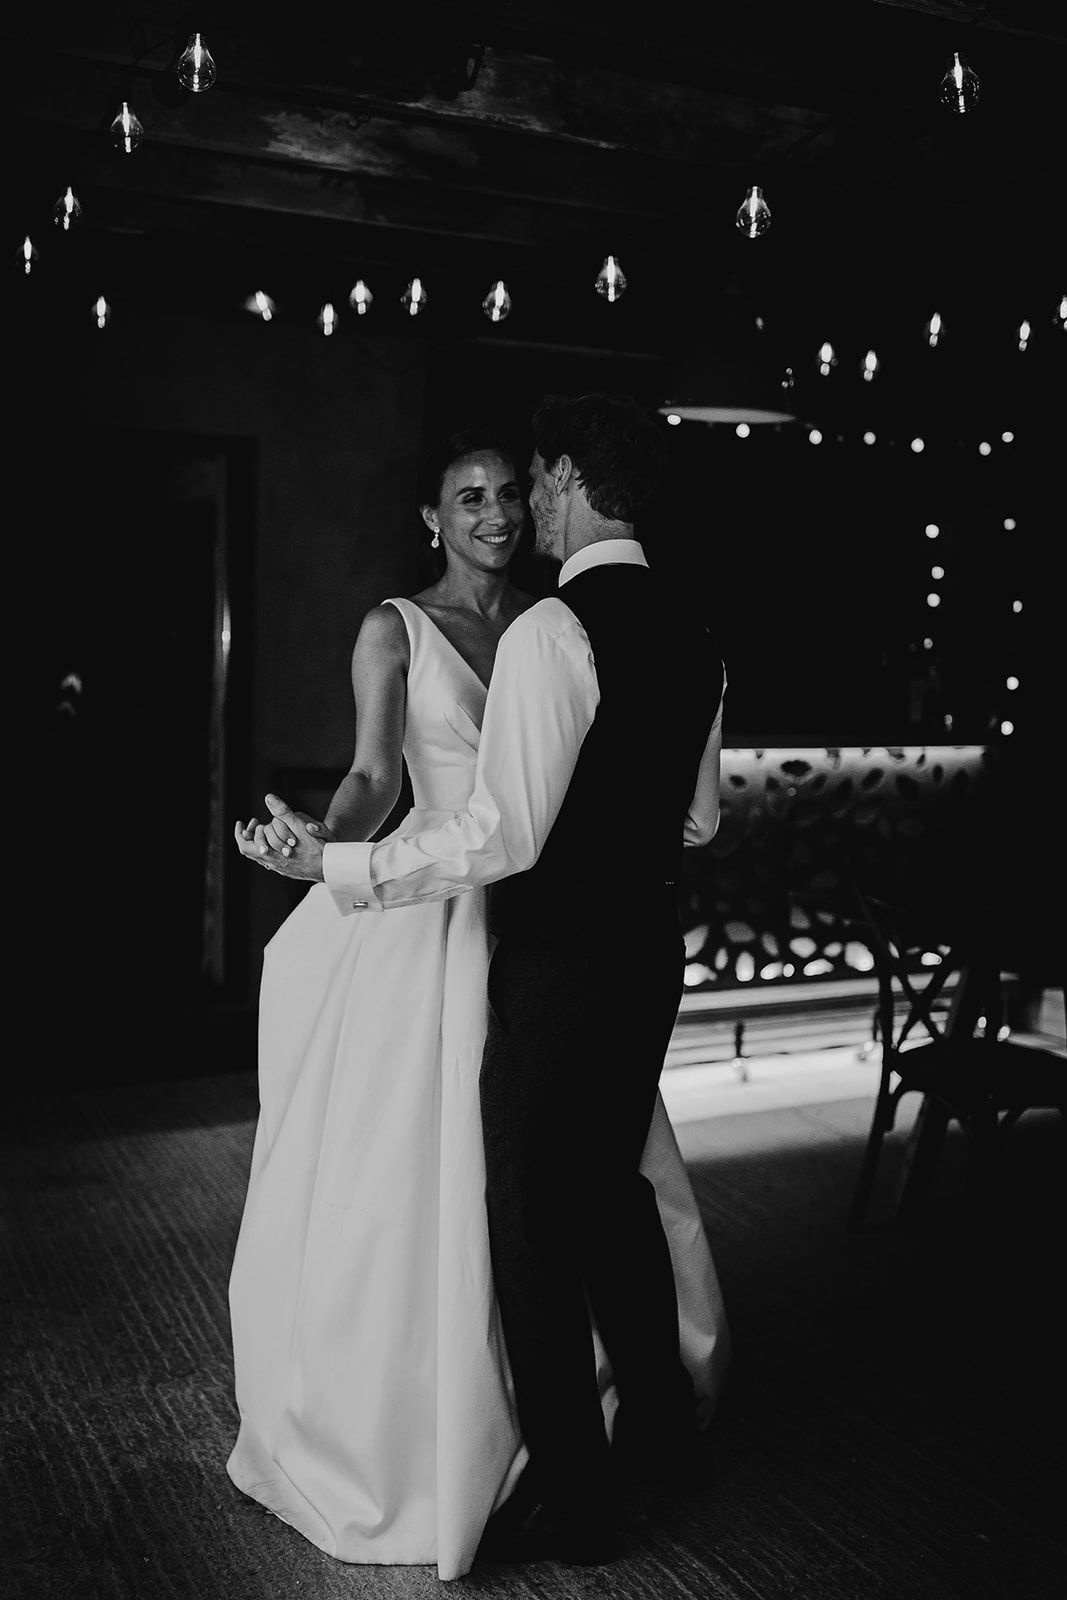
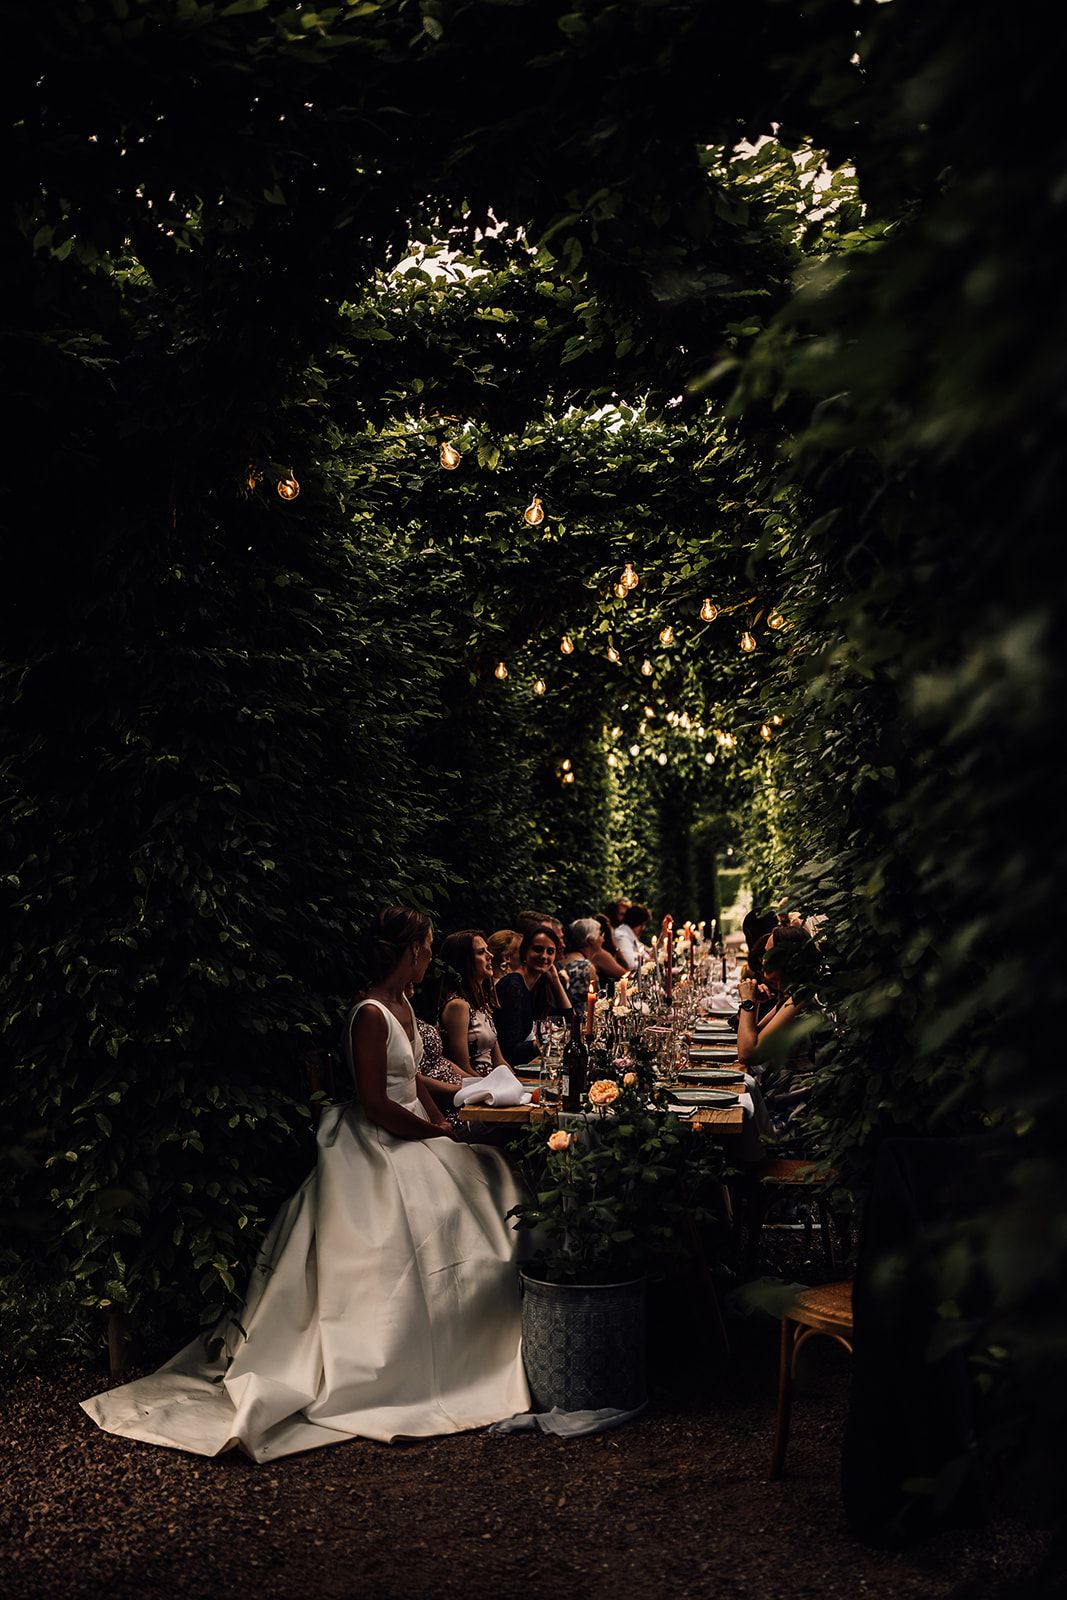
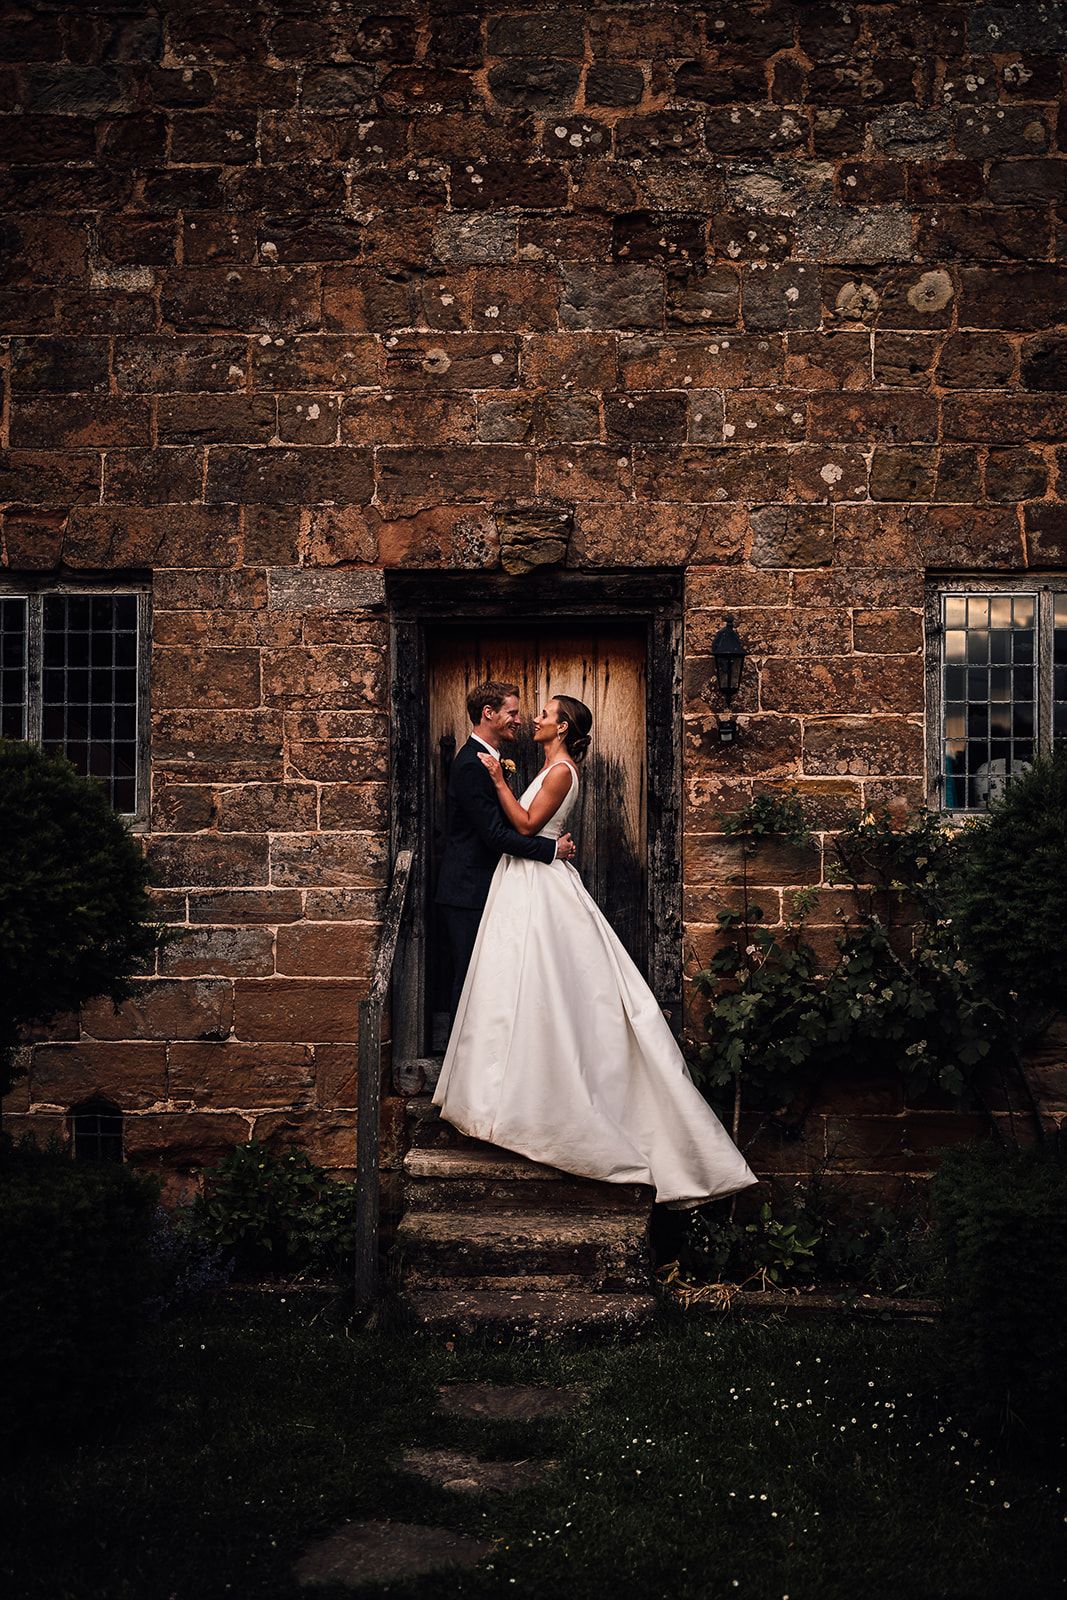
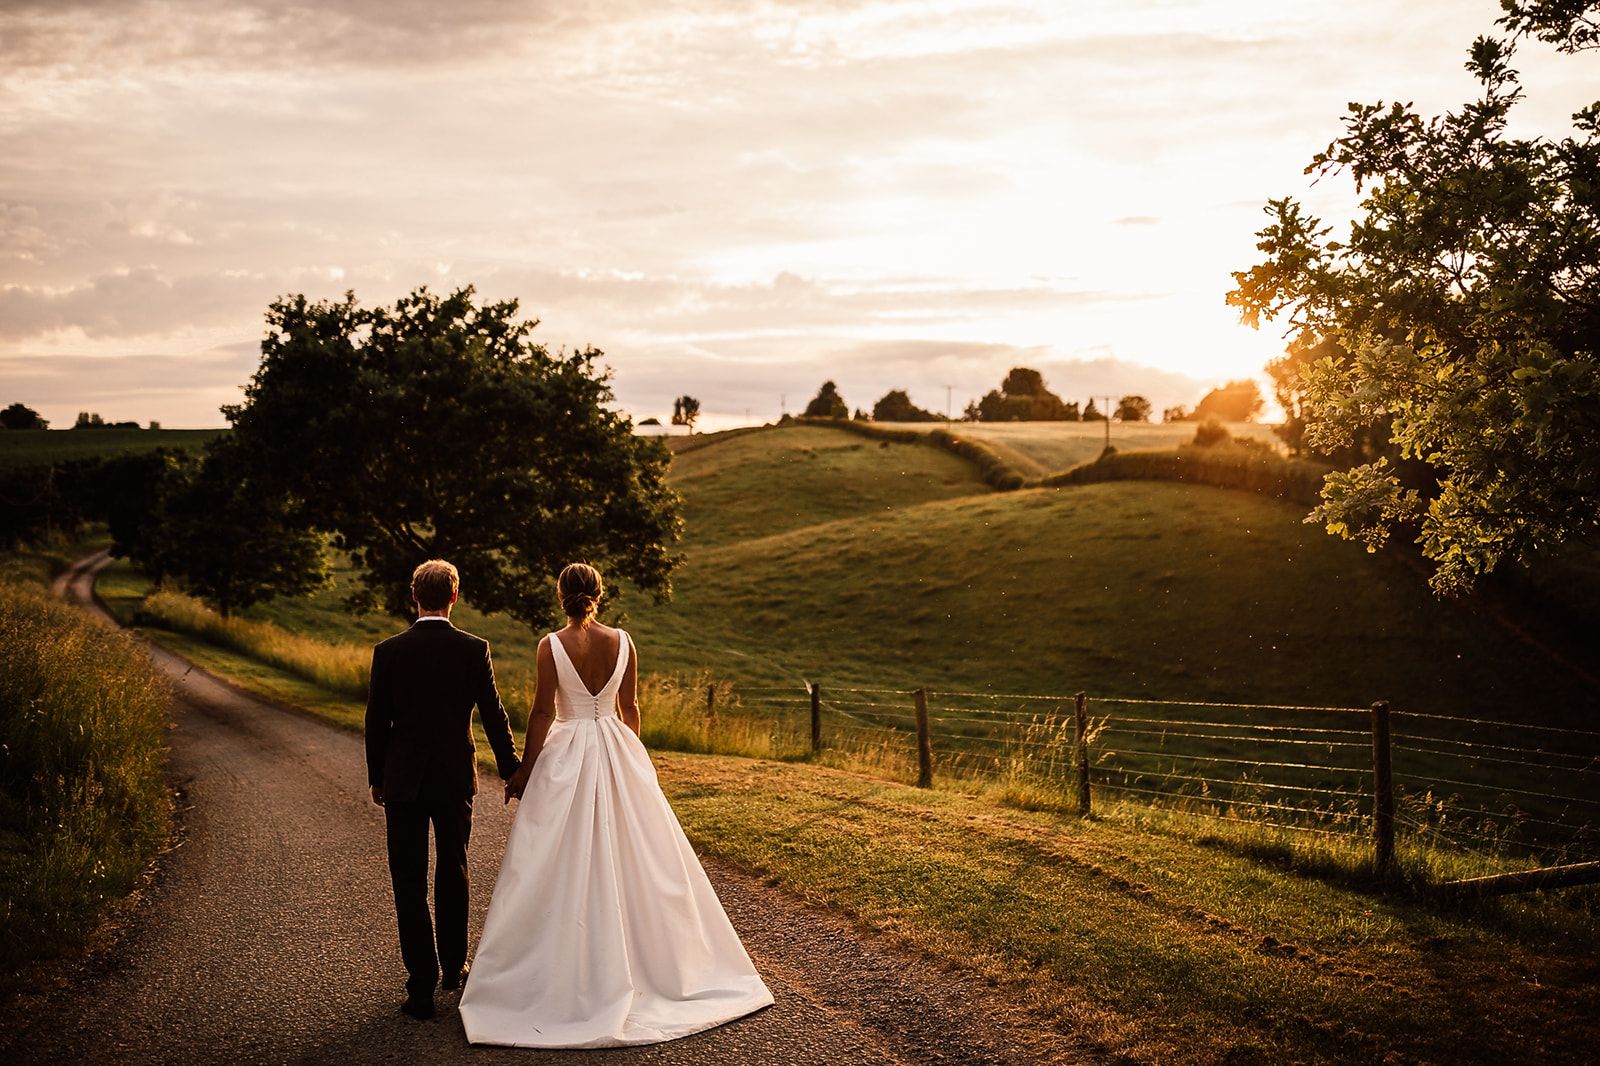
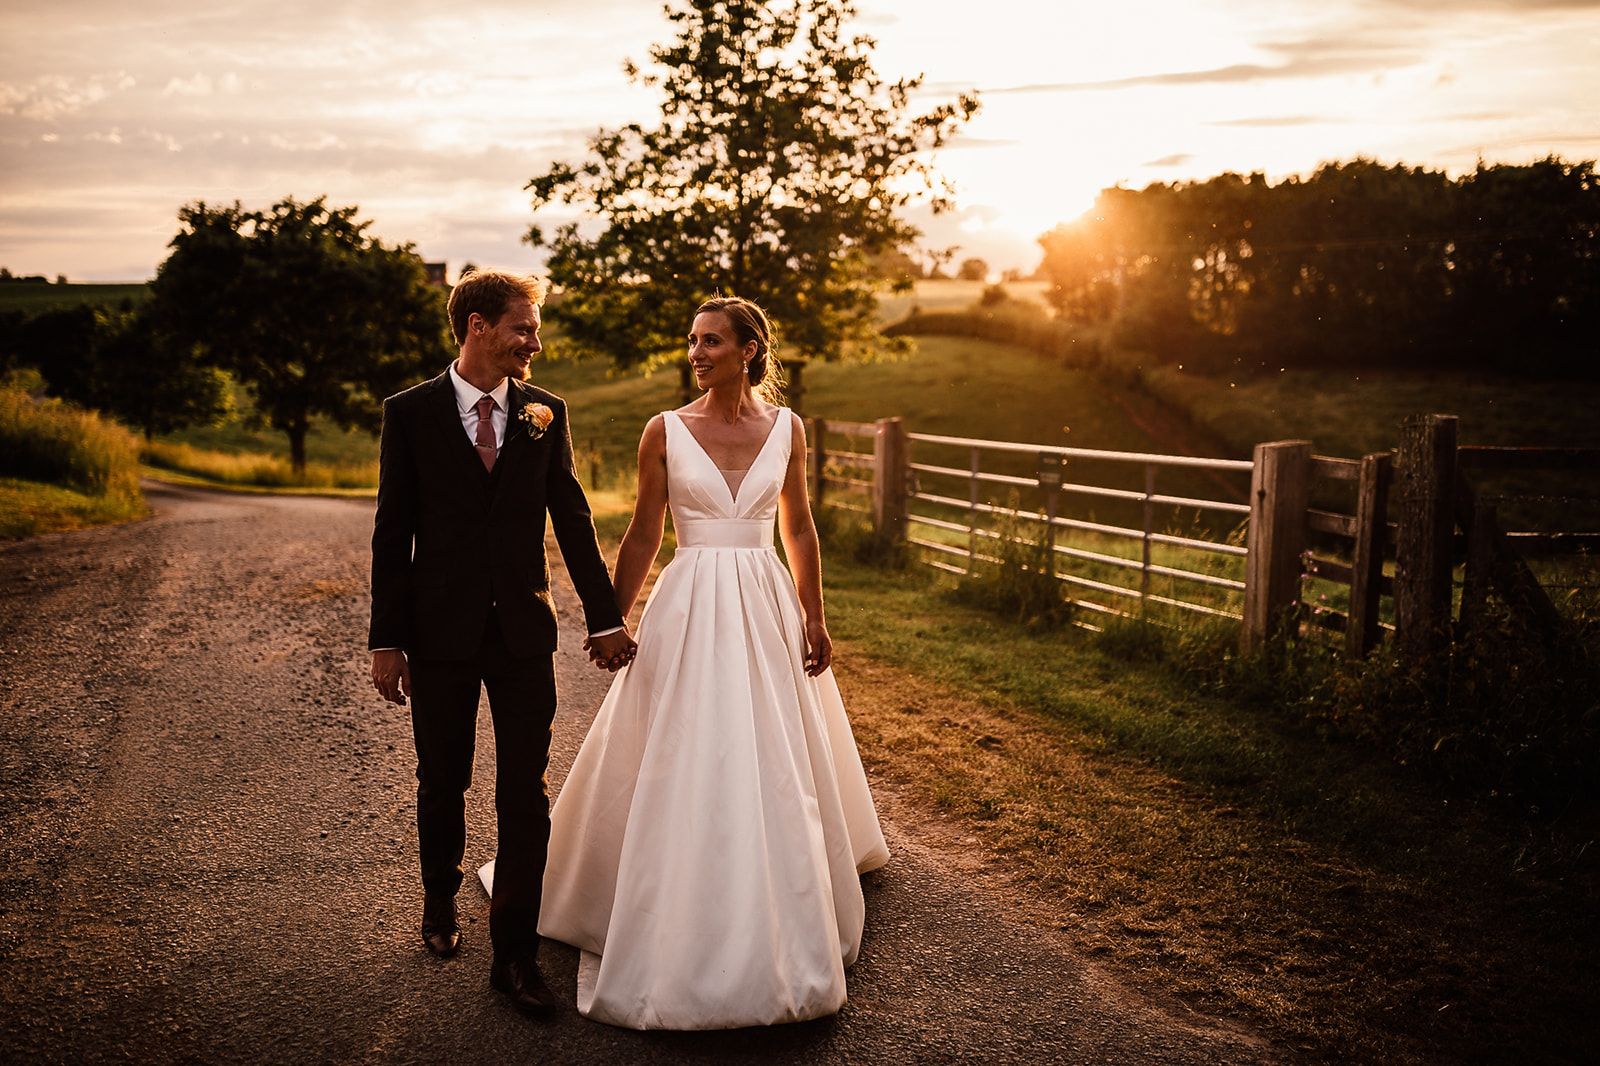
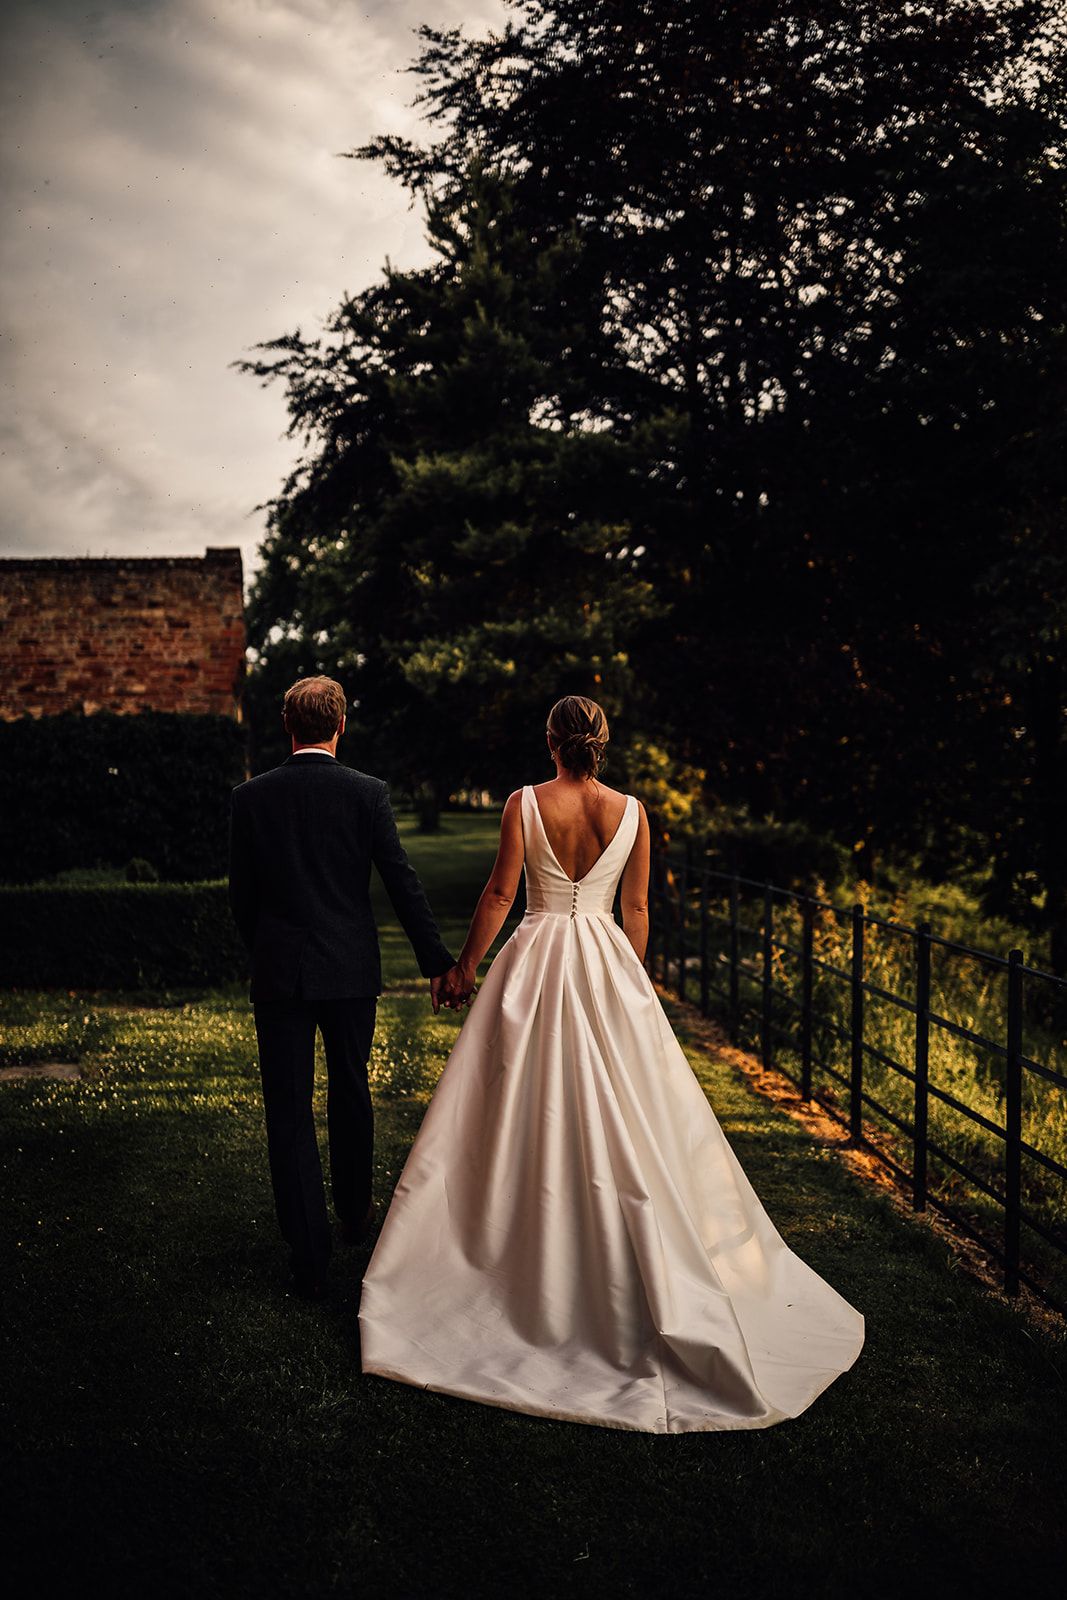
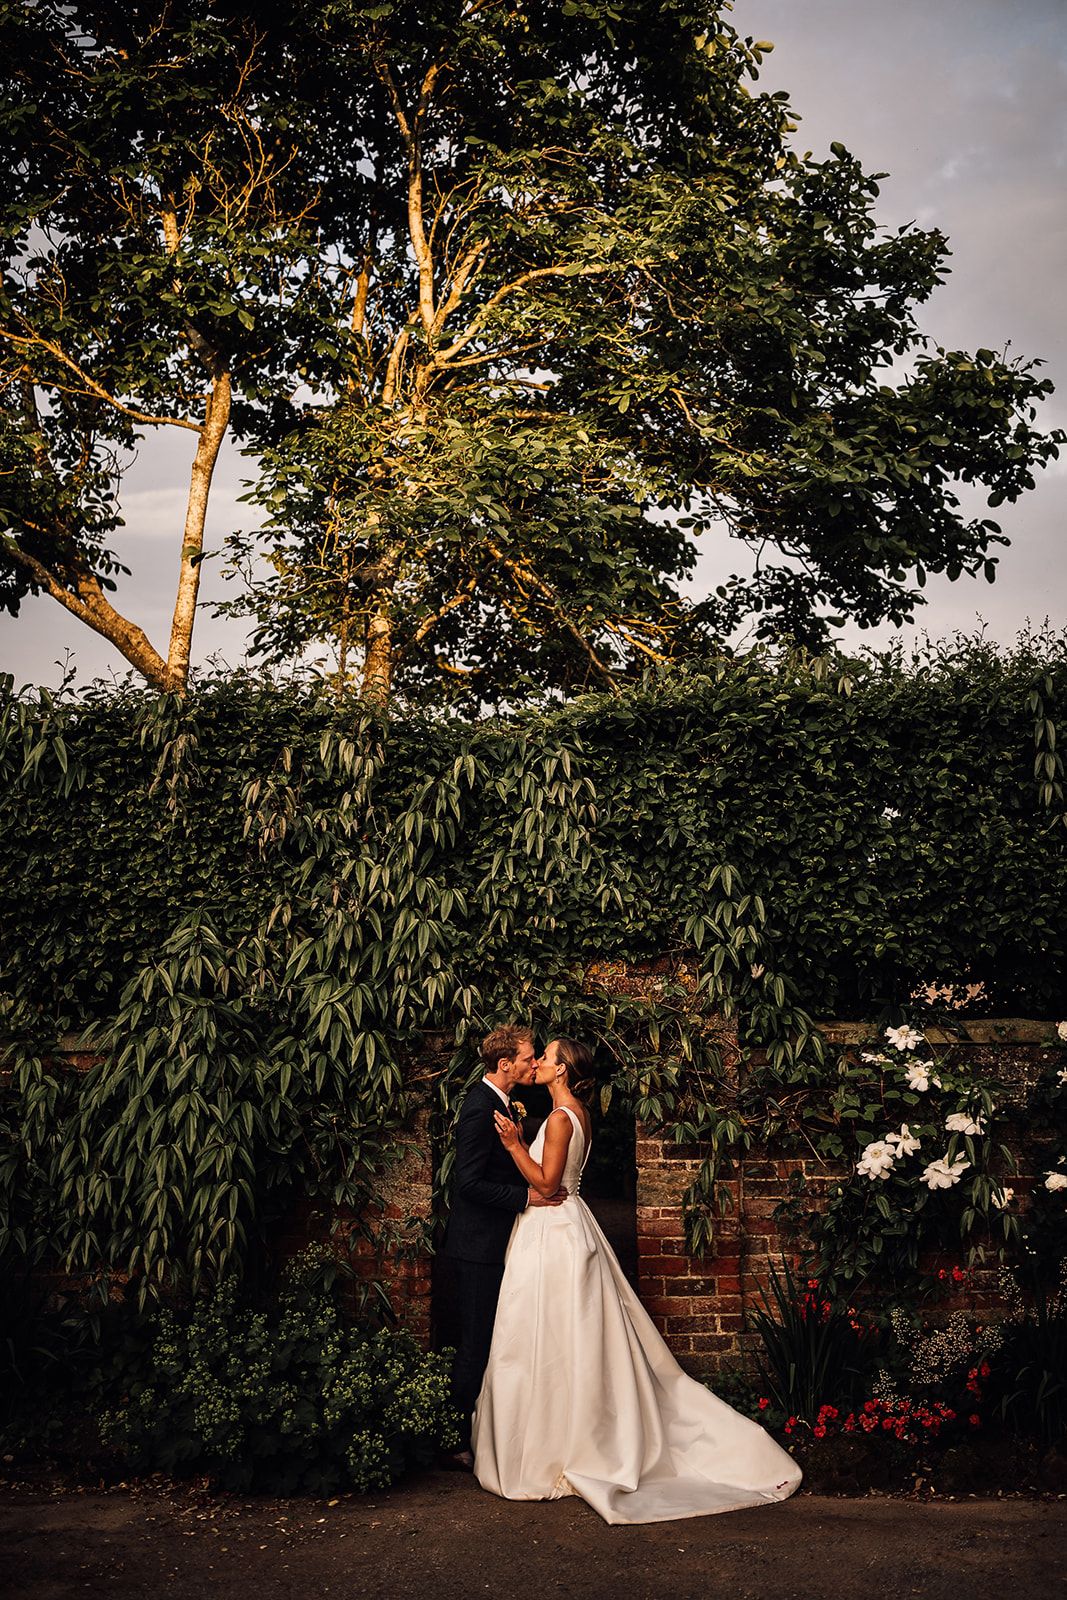
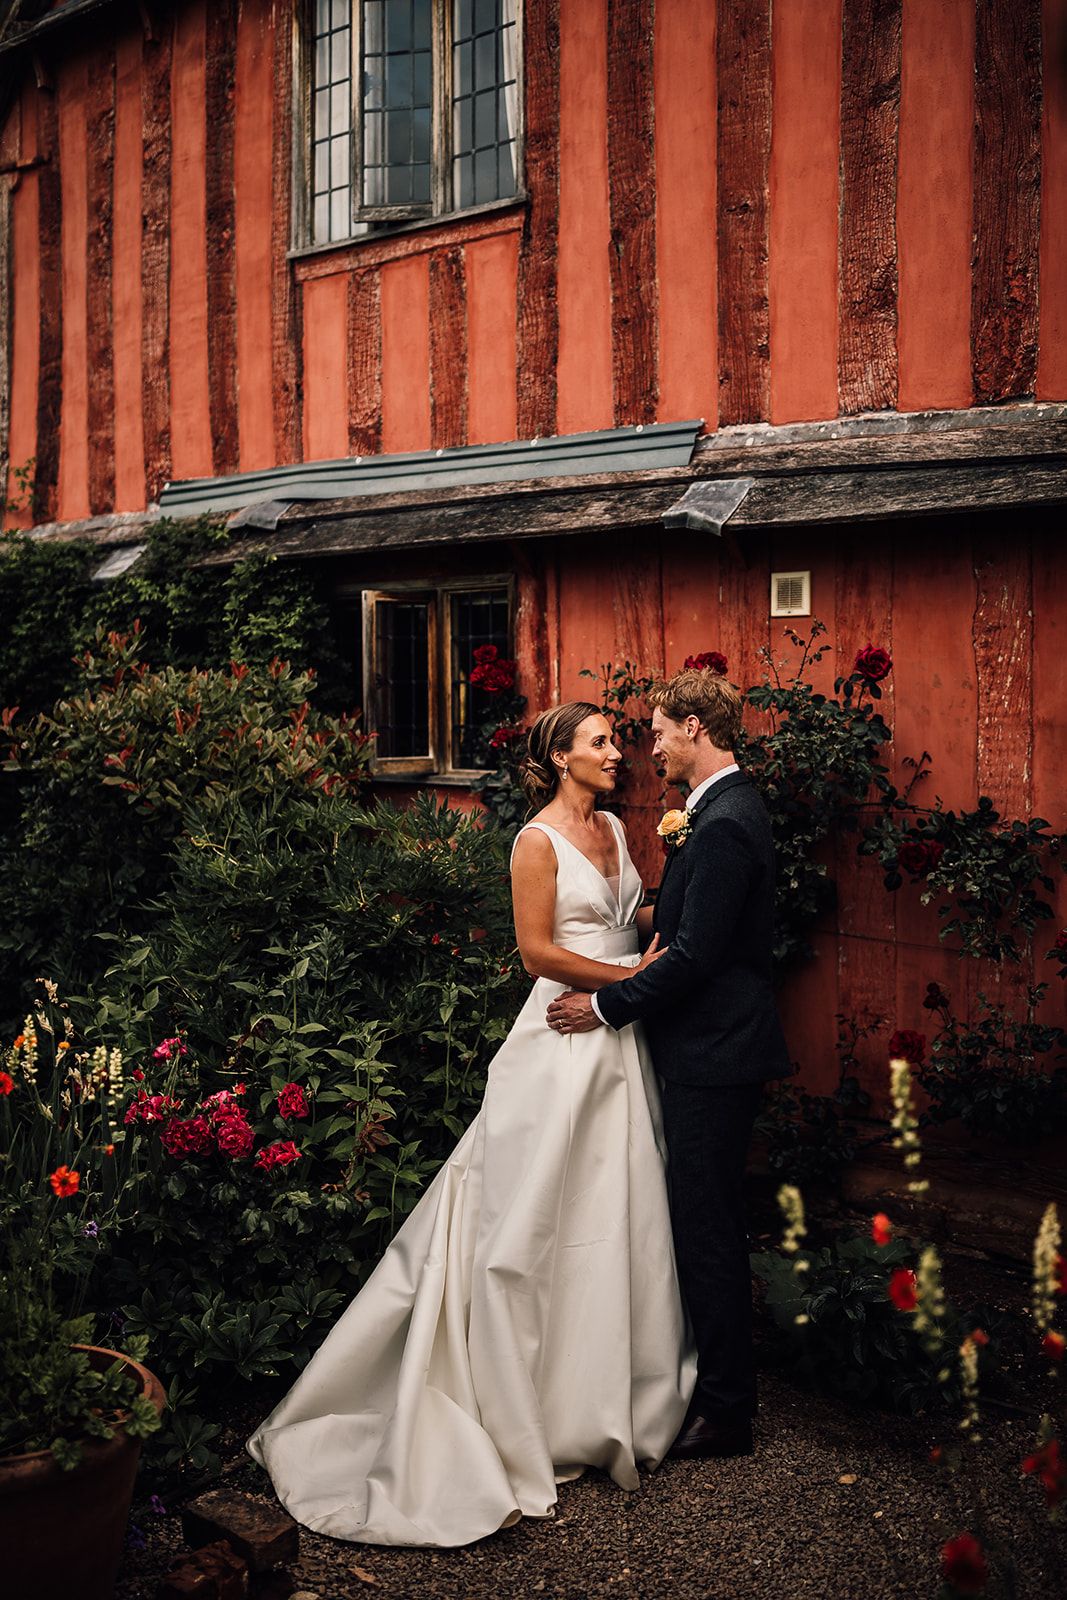
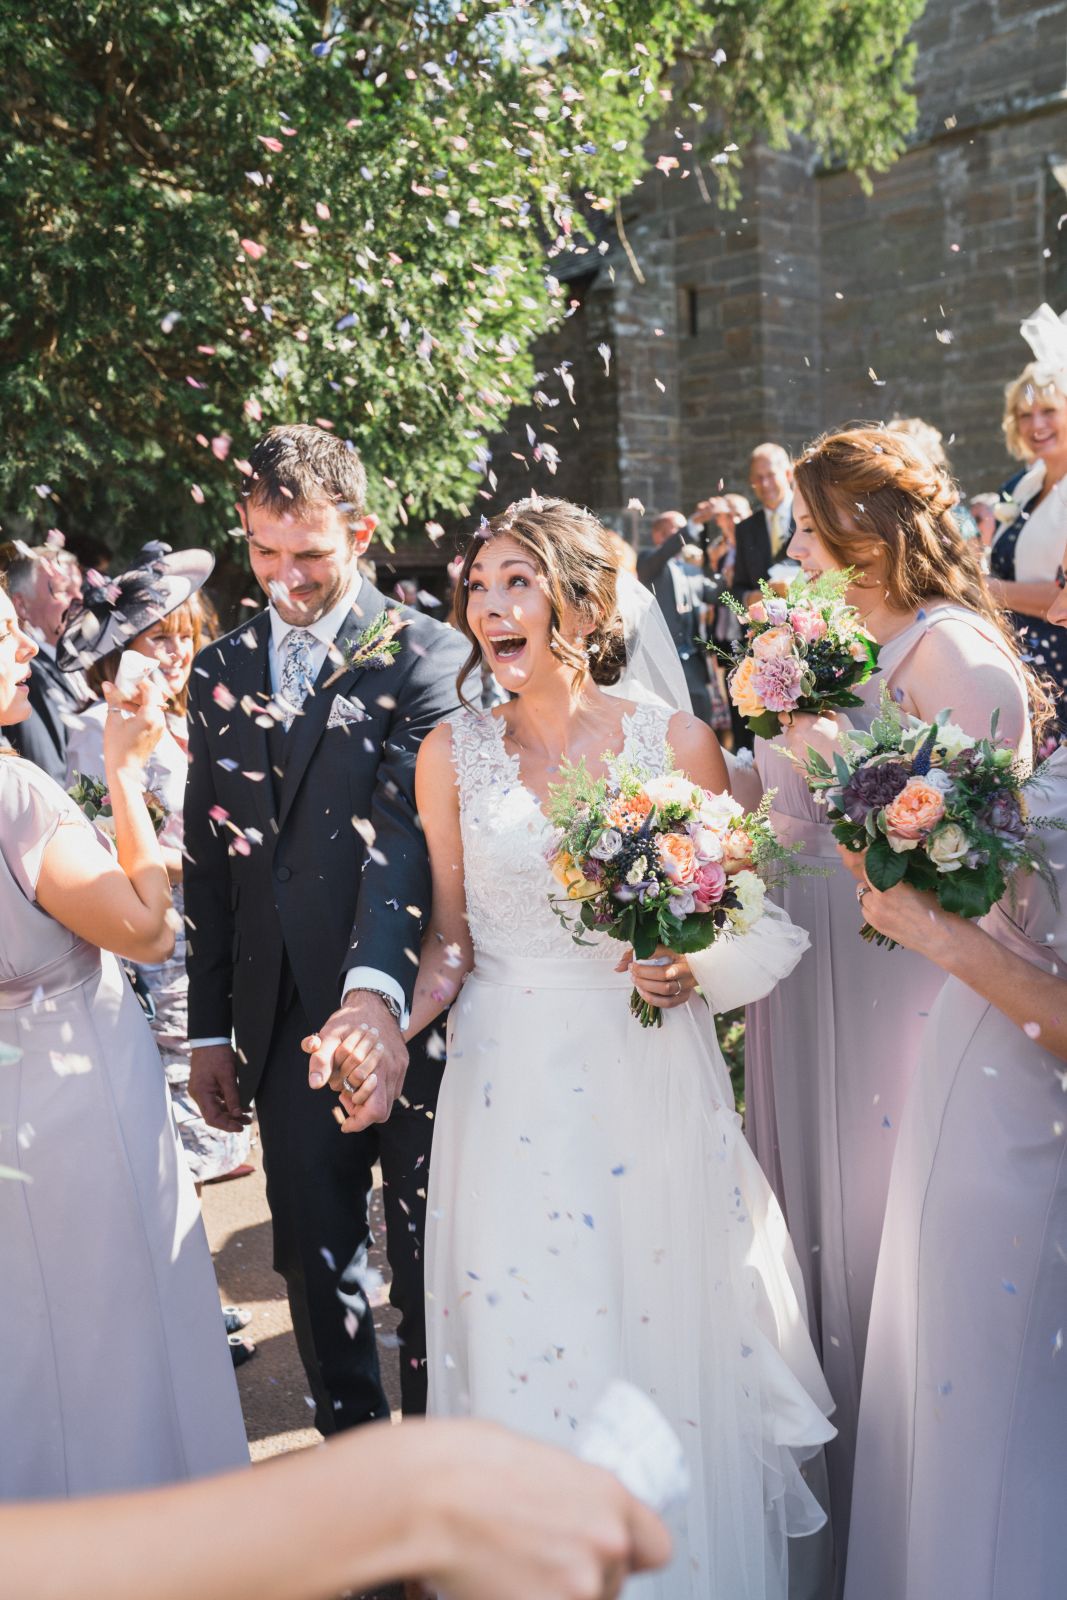
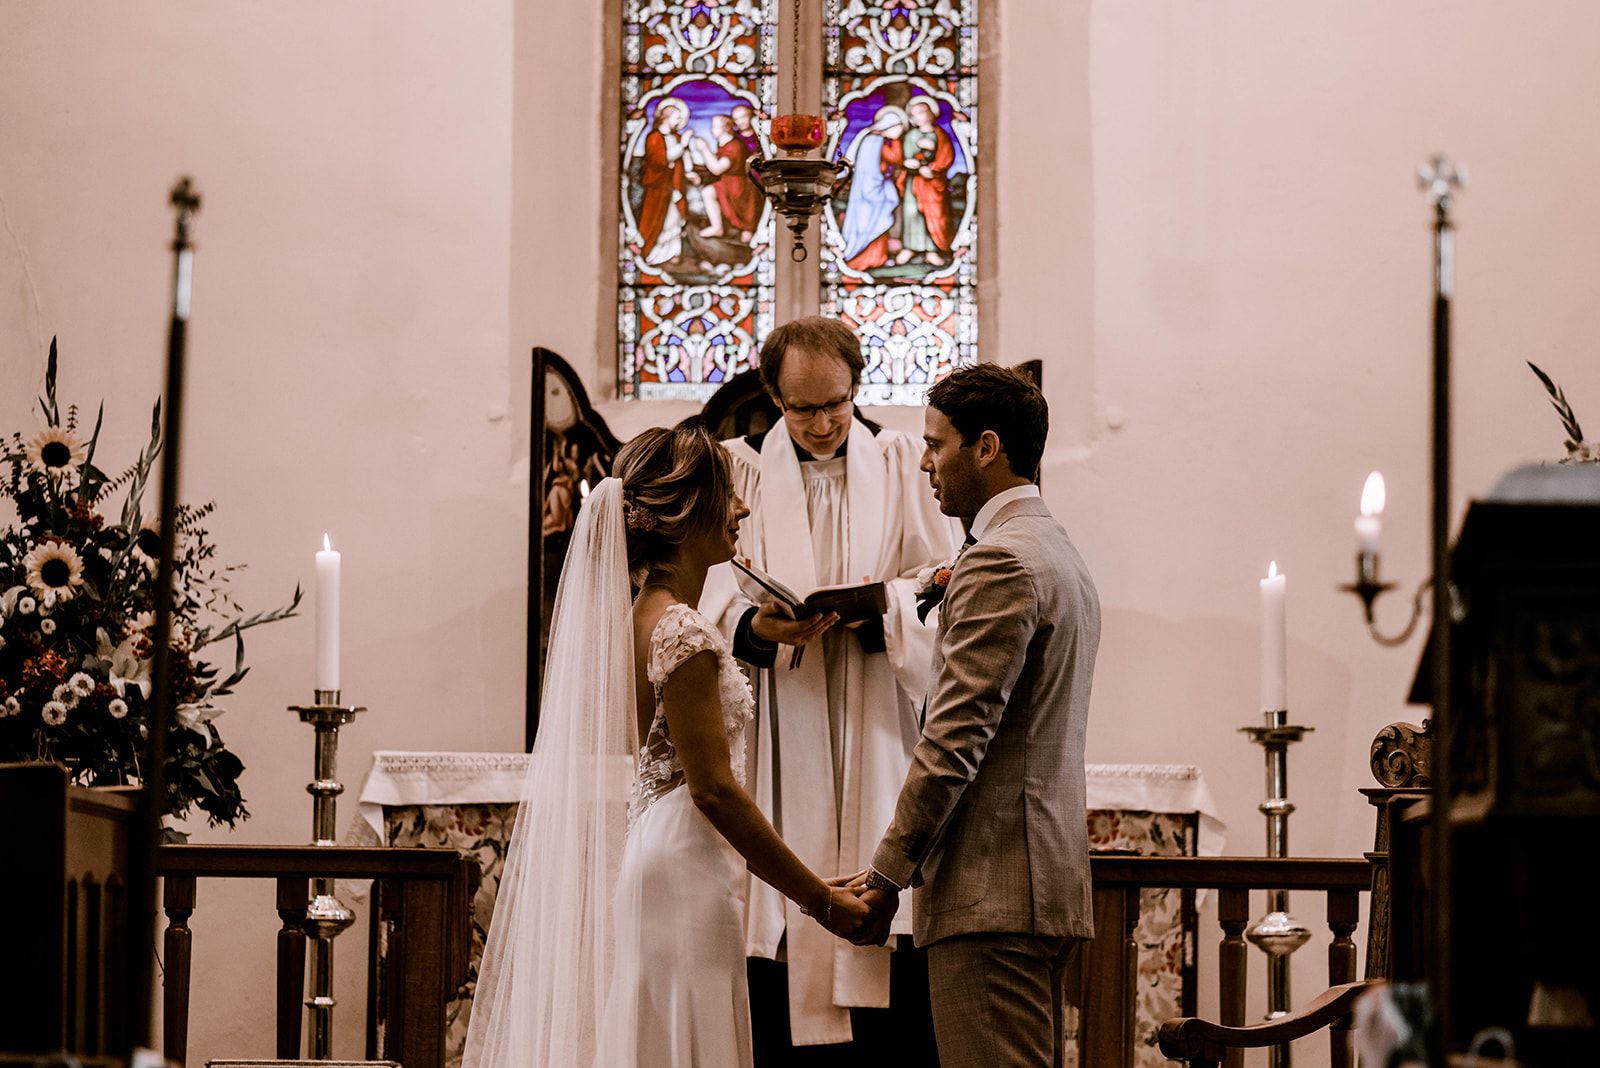
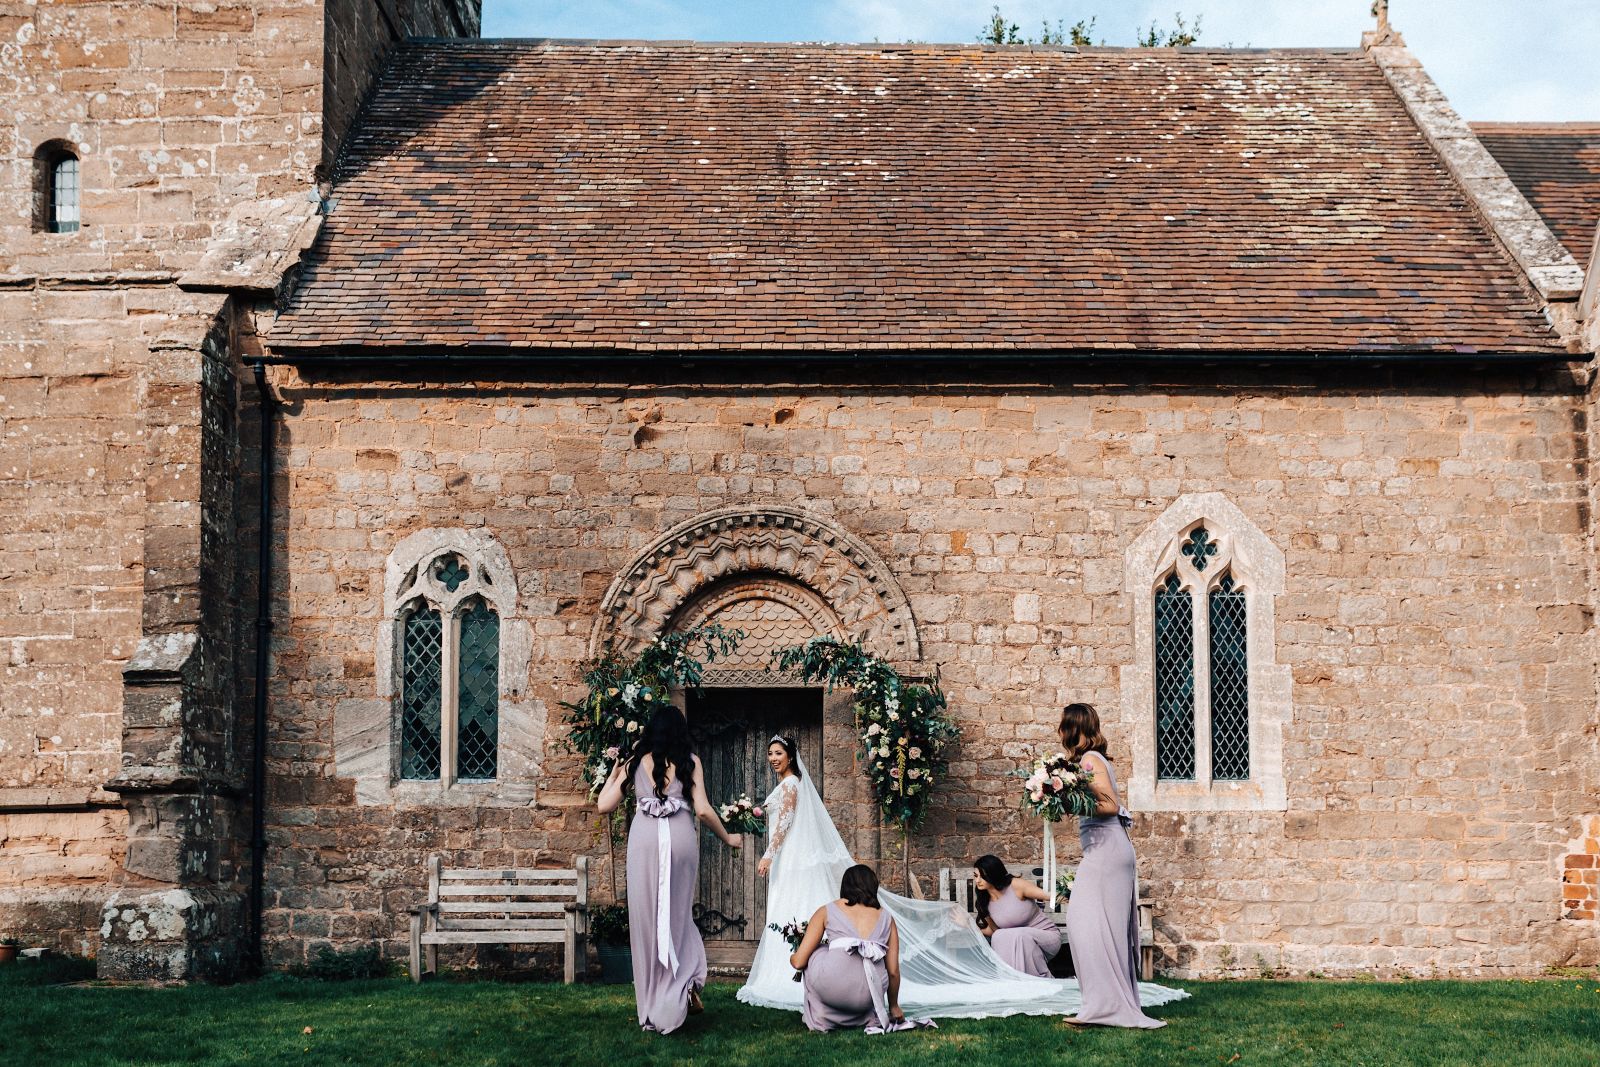
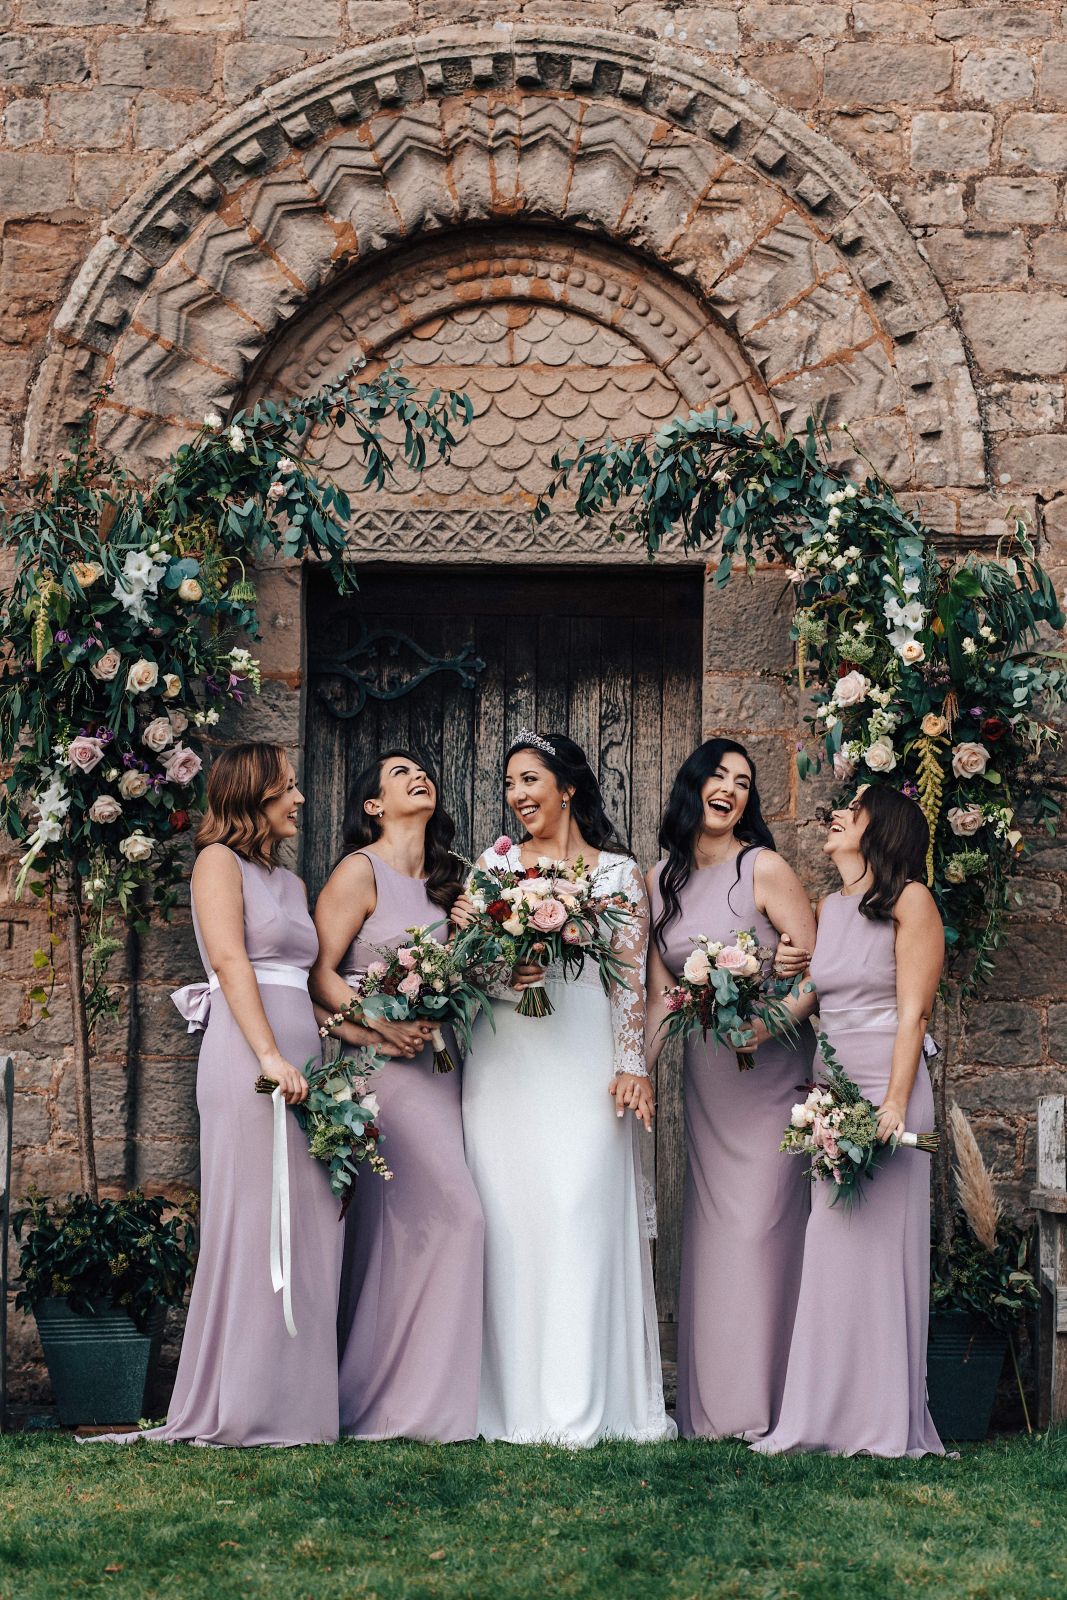
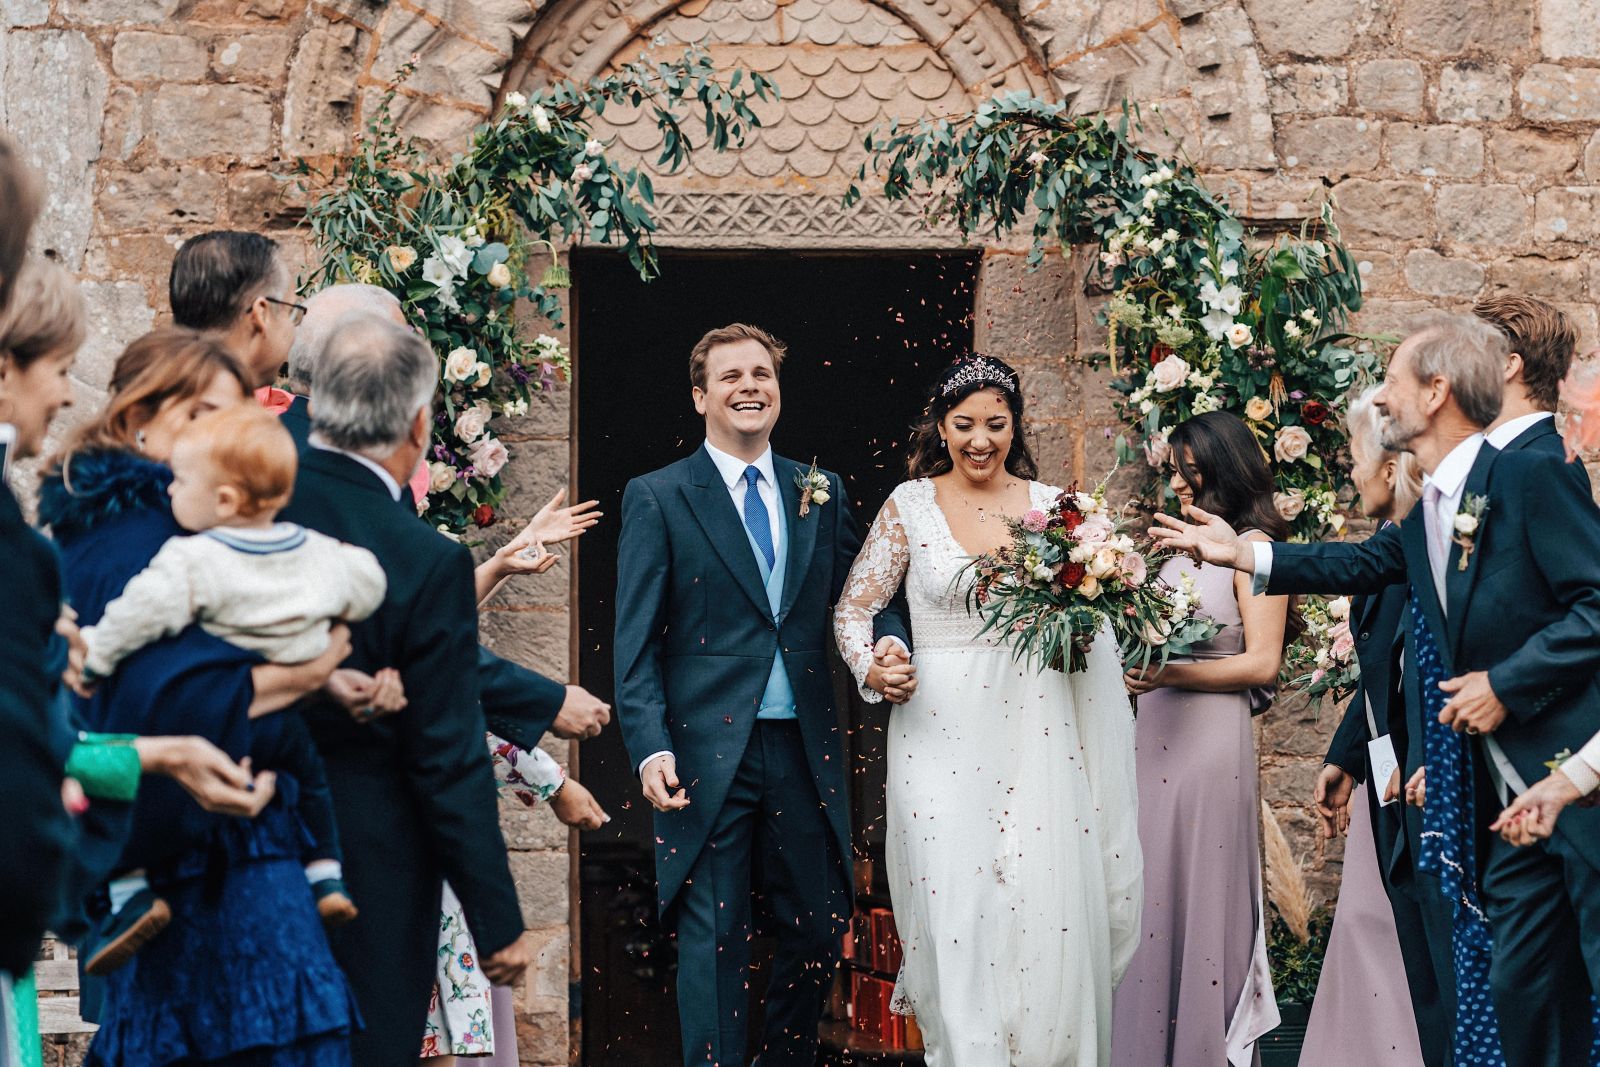
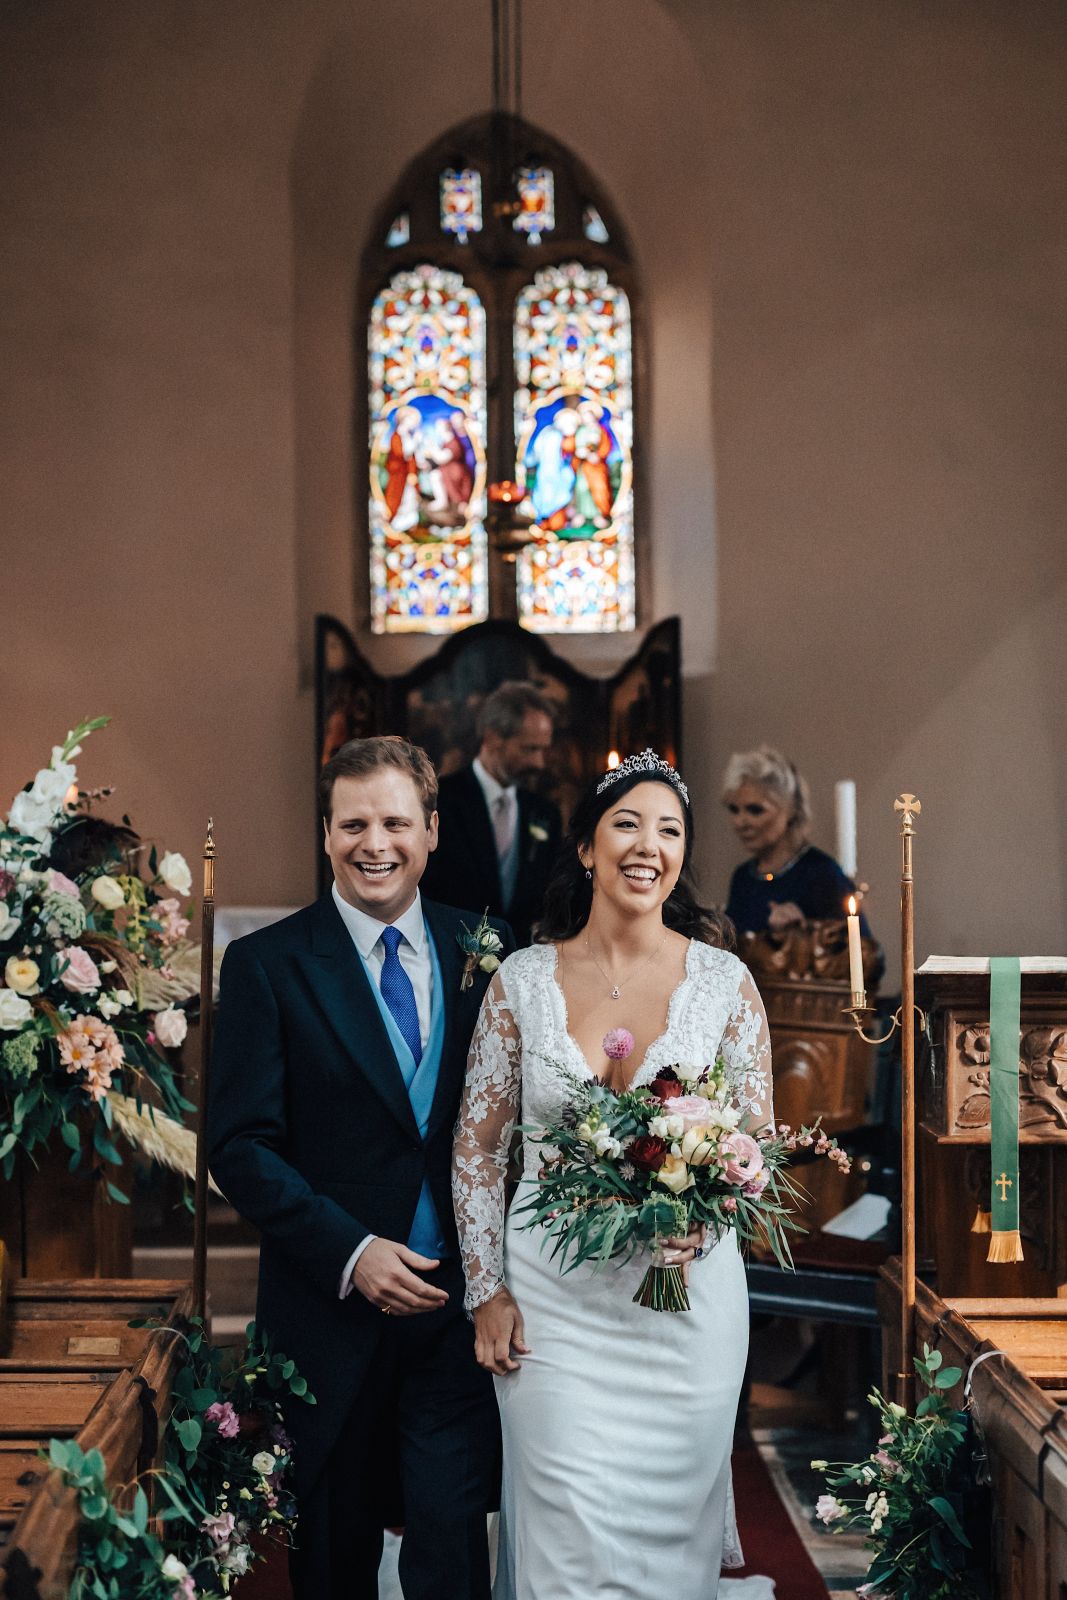
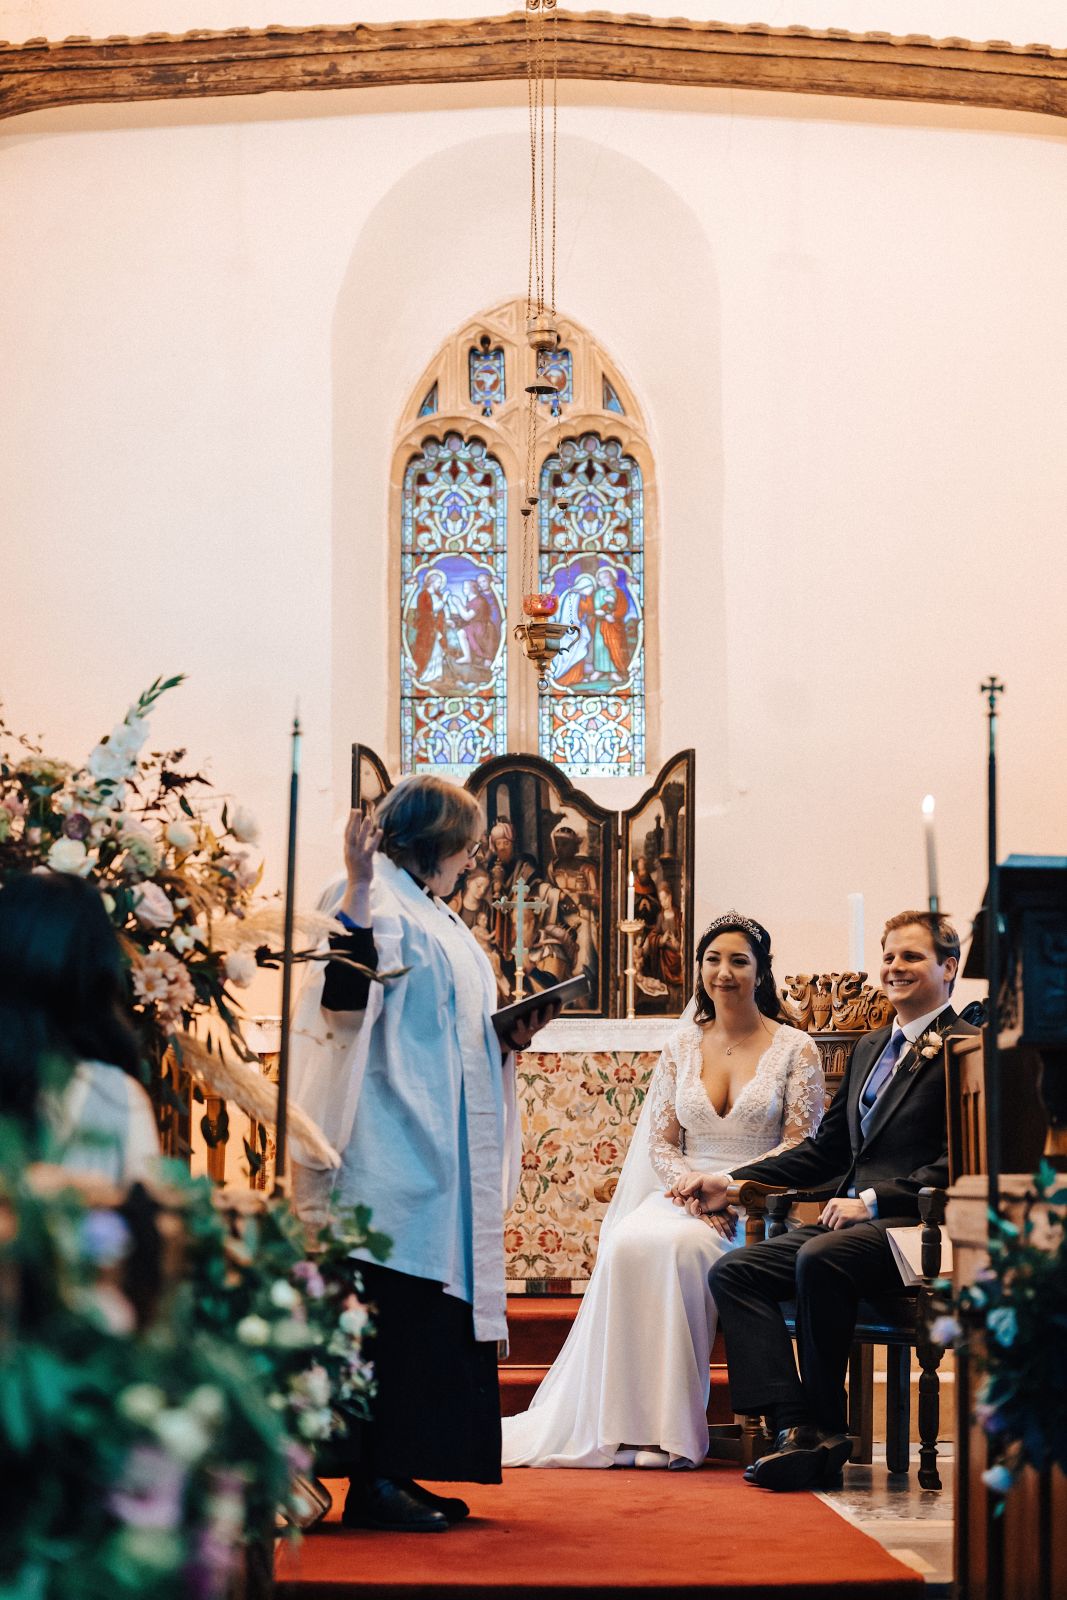
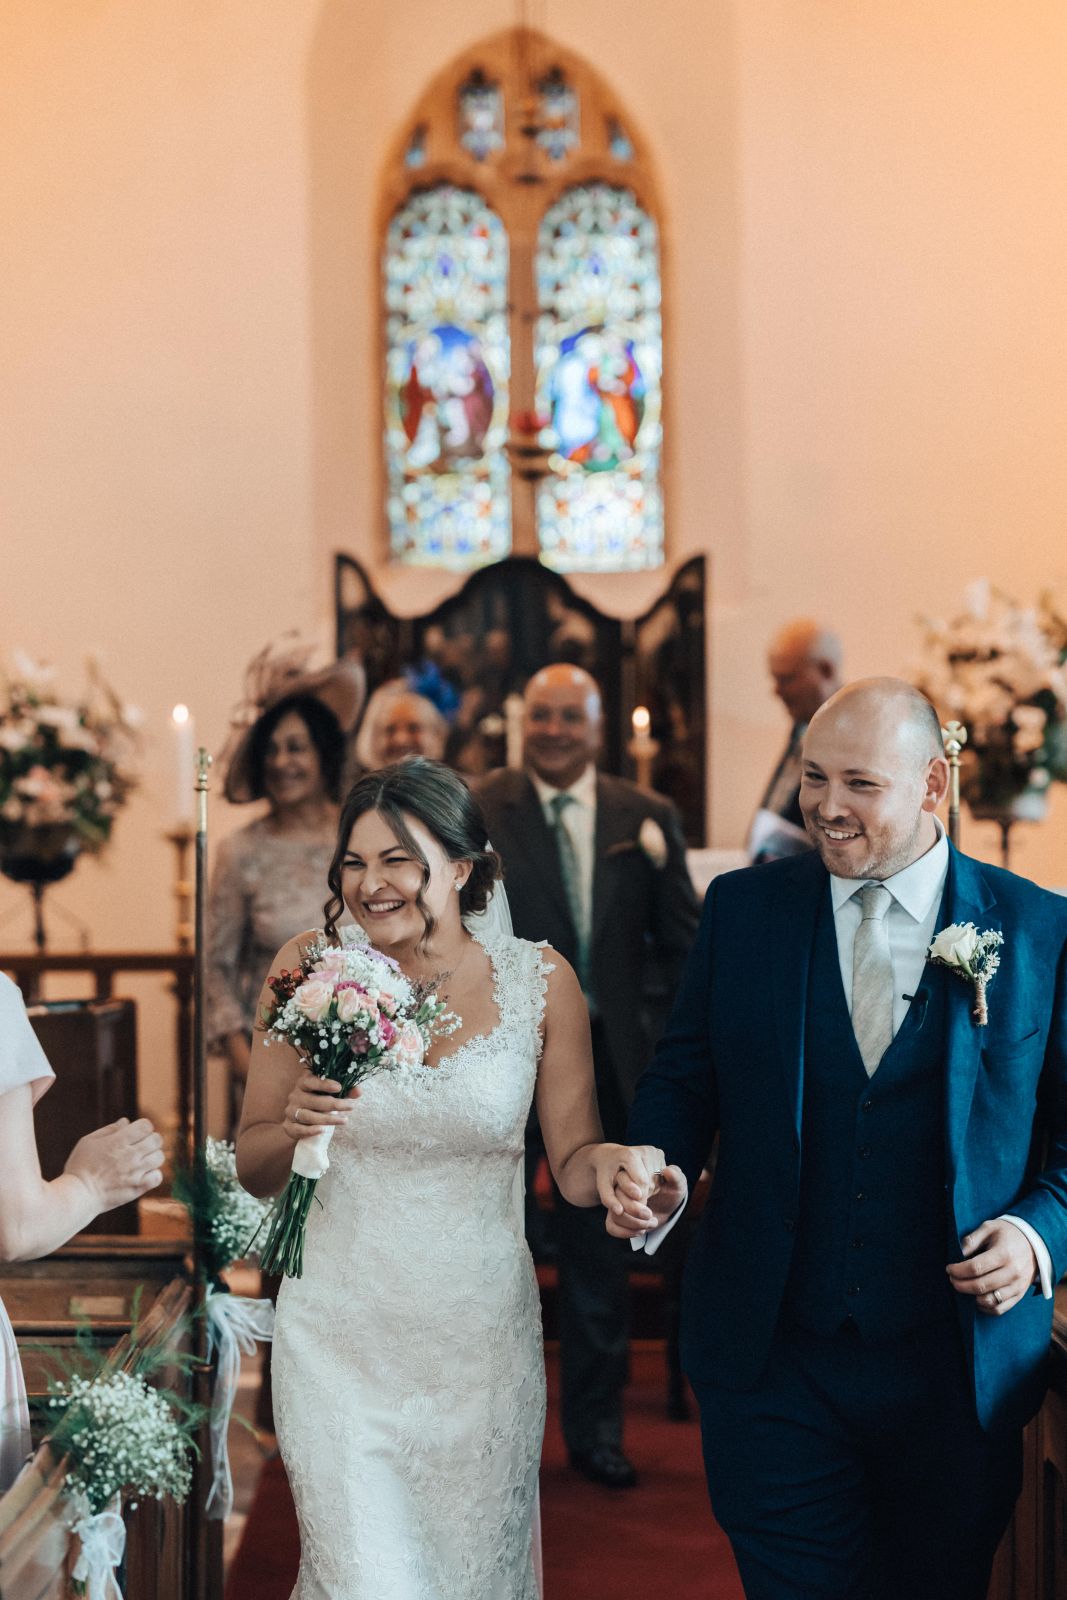
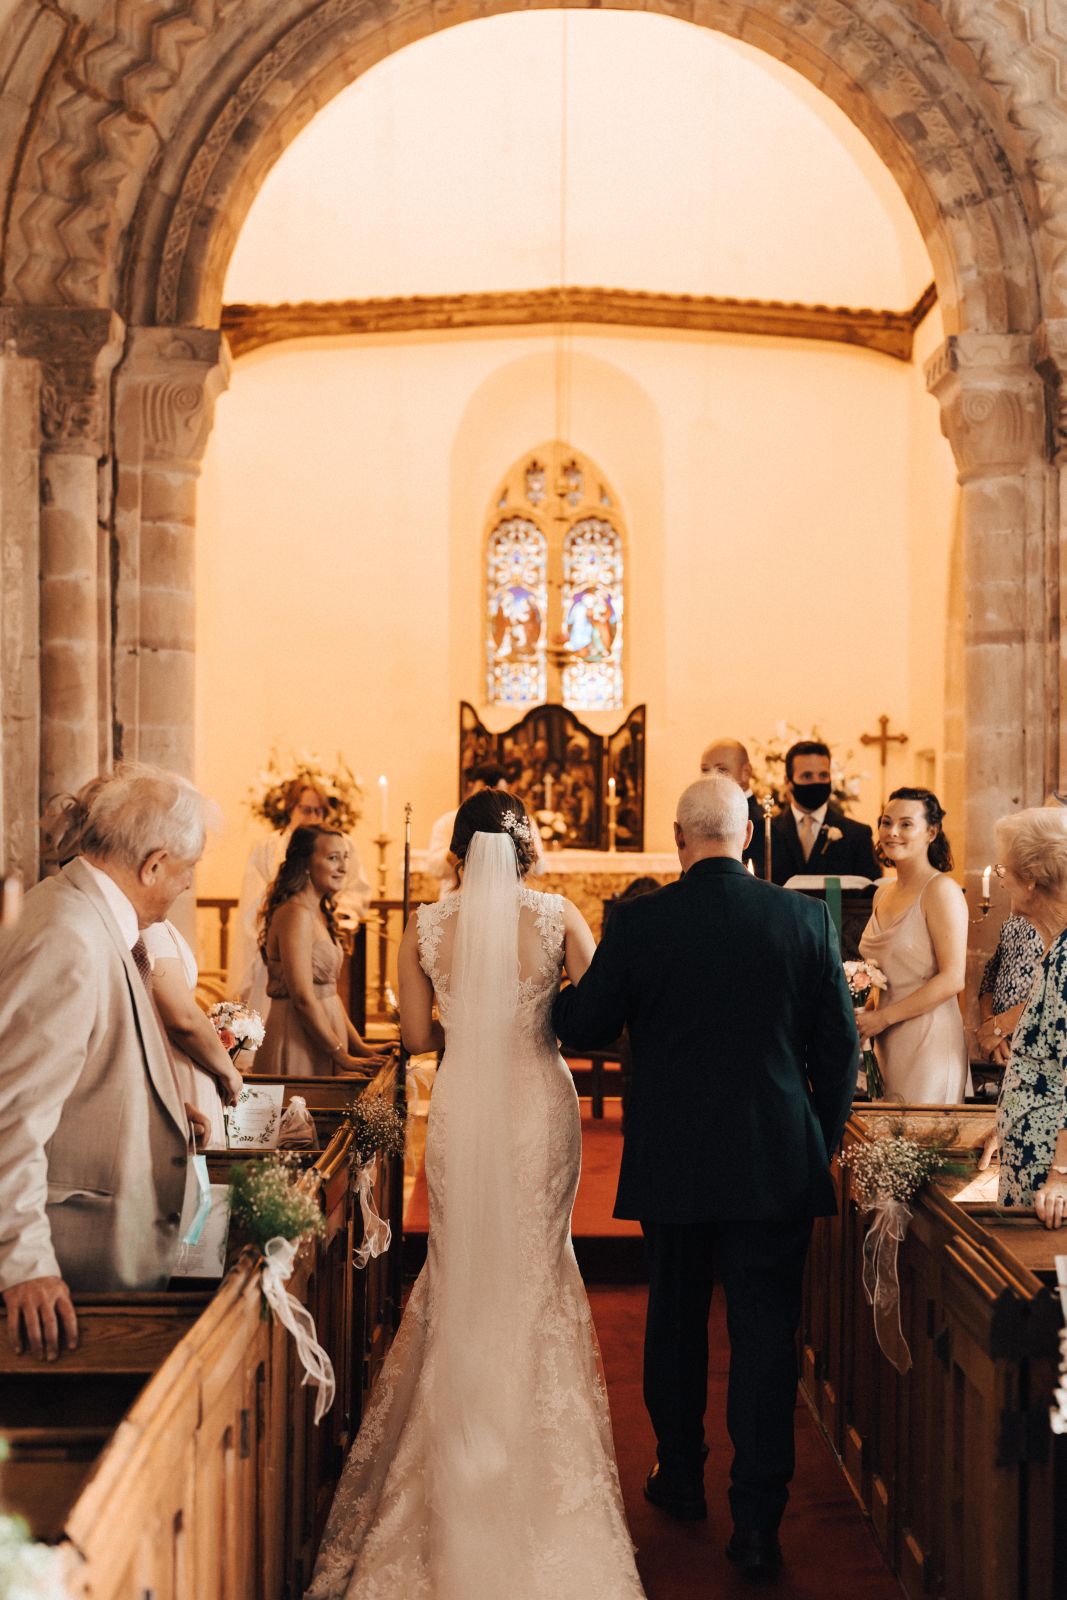
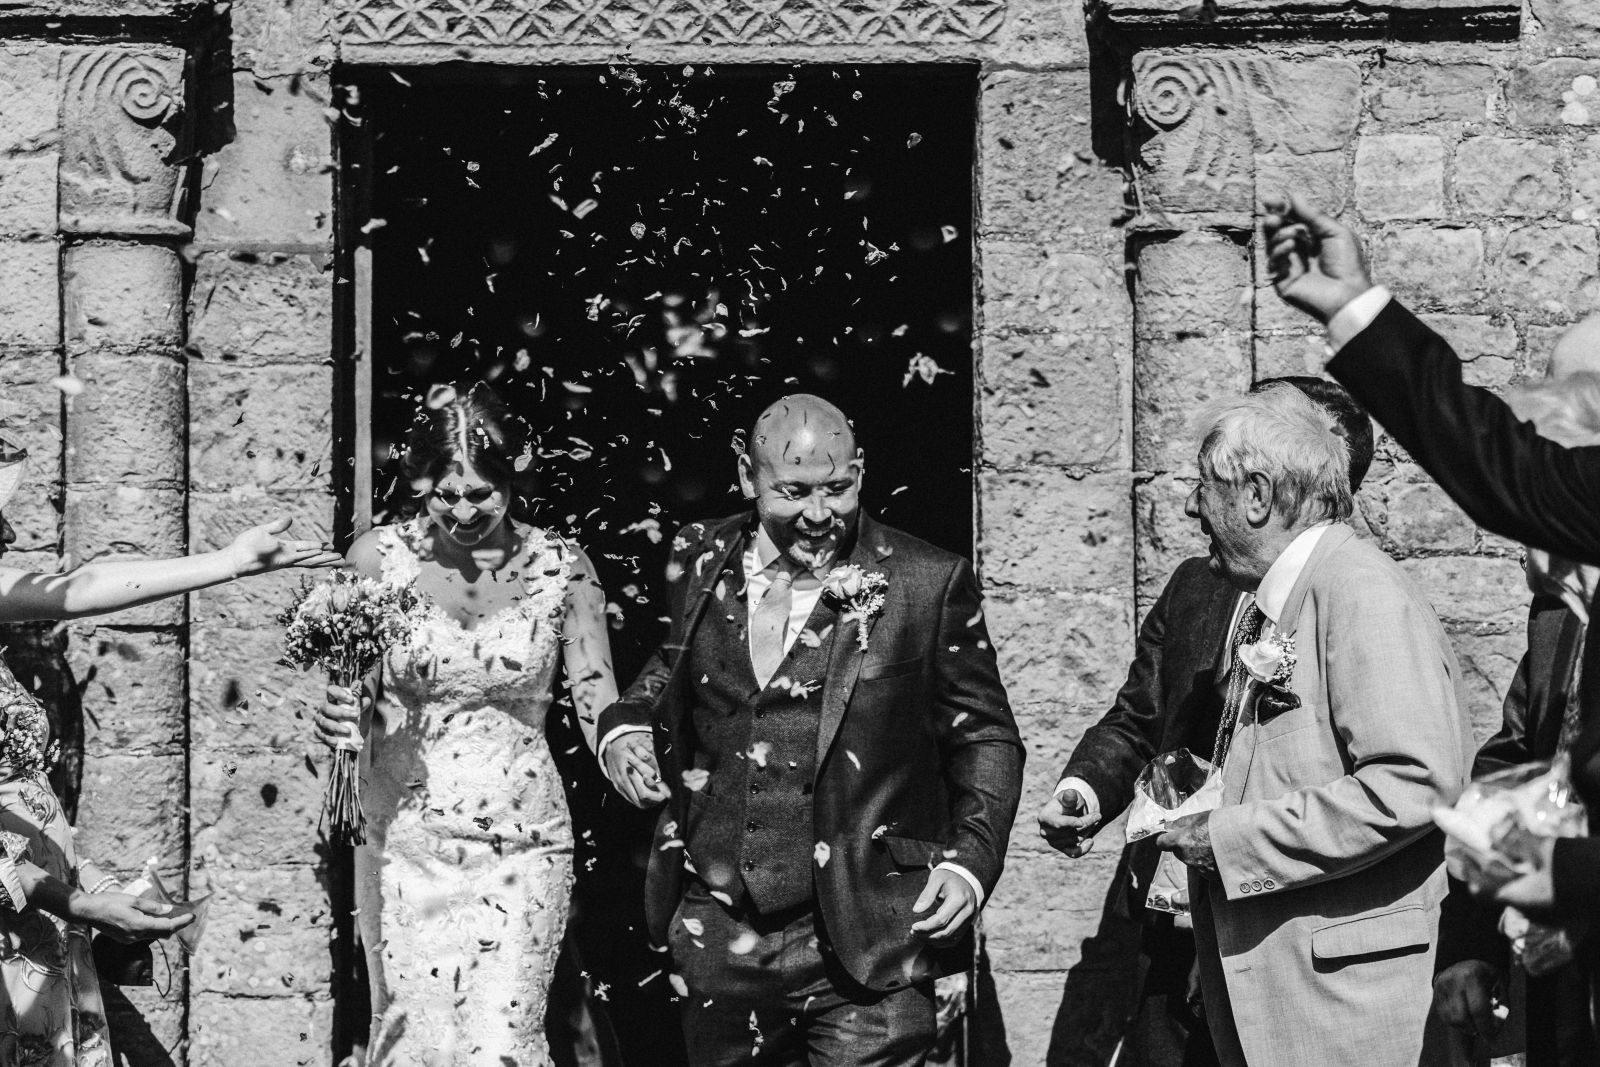
Jess & Harry by James Fear Photography
Jess & Harry by James Fear Photography
Jess & Harry by James Fear Photography
Jess & Harry by James Fear Photography
Jess & Harry by James Fear Photography
Jess & Harry by James Fear Photography
Jess & Harry by James Fear Photography
Jess & Harry by James Fear Photography
Jess & Harry by James Fear Photography
Jess & Harry by James Fear Photography
Jess & Harry by James Fear Photography
Jess & Harry by James Fear Photography
Jess & Harry by James Fear Photography
Jess & Harry by James Fear Photography
Jess & Harry by James Fear Photography
Jess & Harry by James Fear Photography
Jess & Harry by James Fear Photography
Jess & Harry by James Fear Photography
Jess & Harry by James Fear Photography
Jess & Harry by James Fear Photography
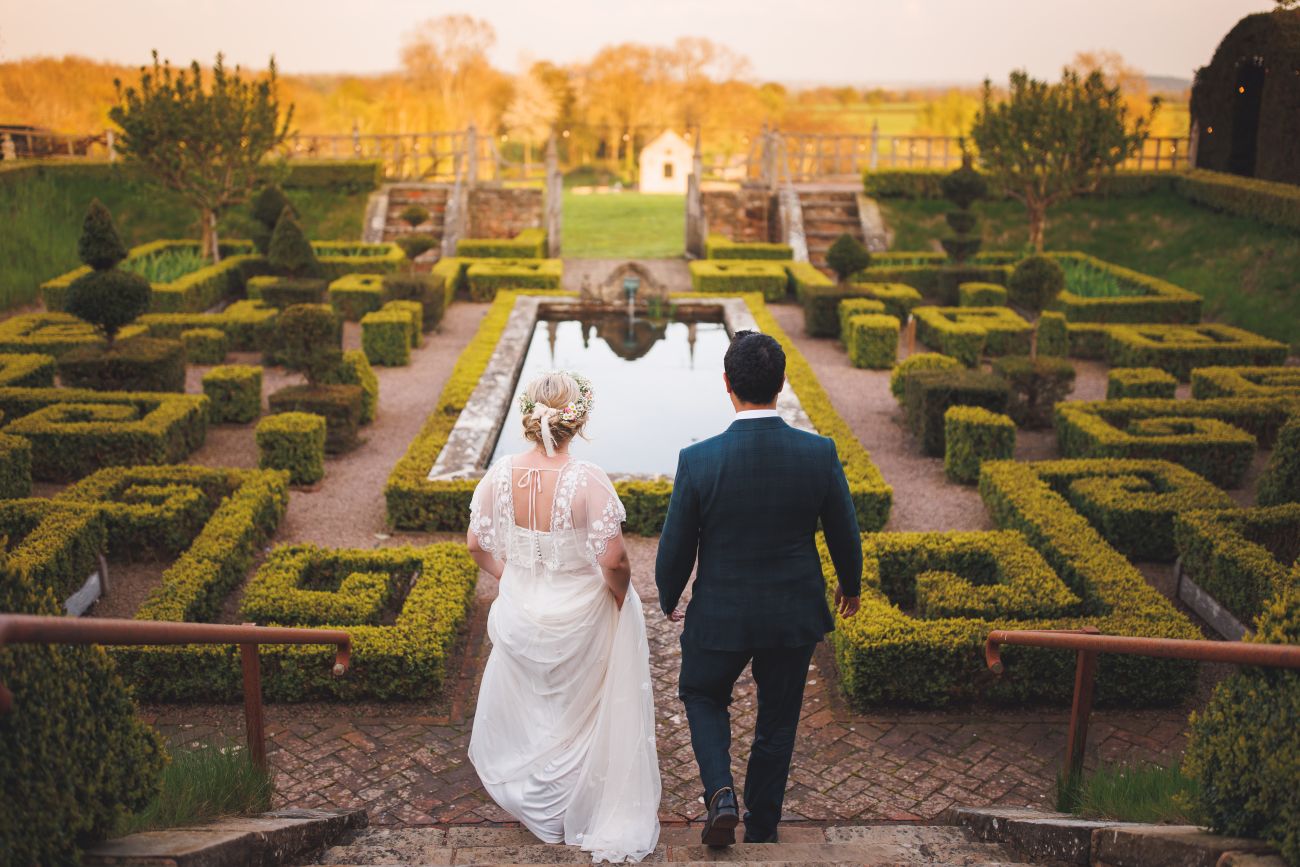
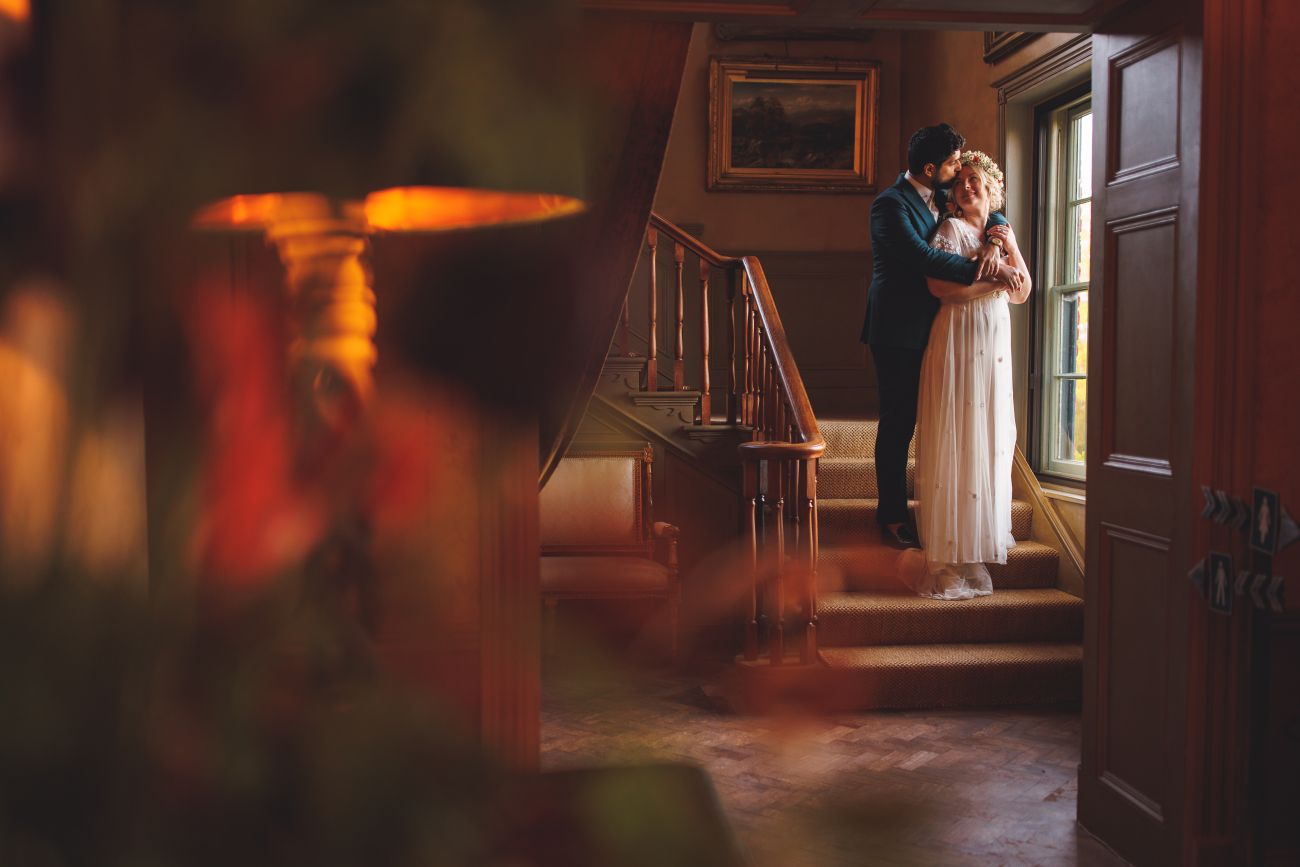
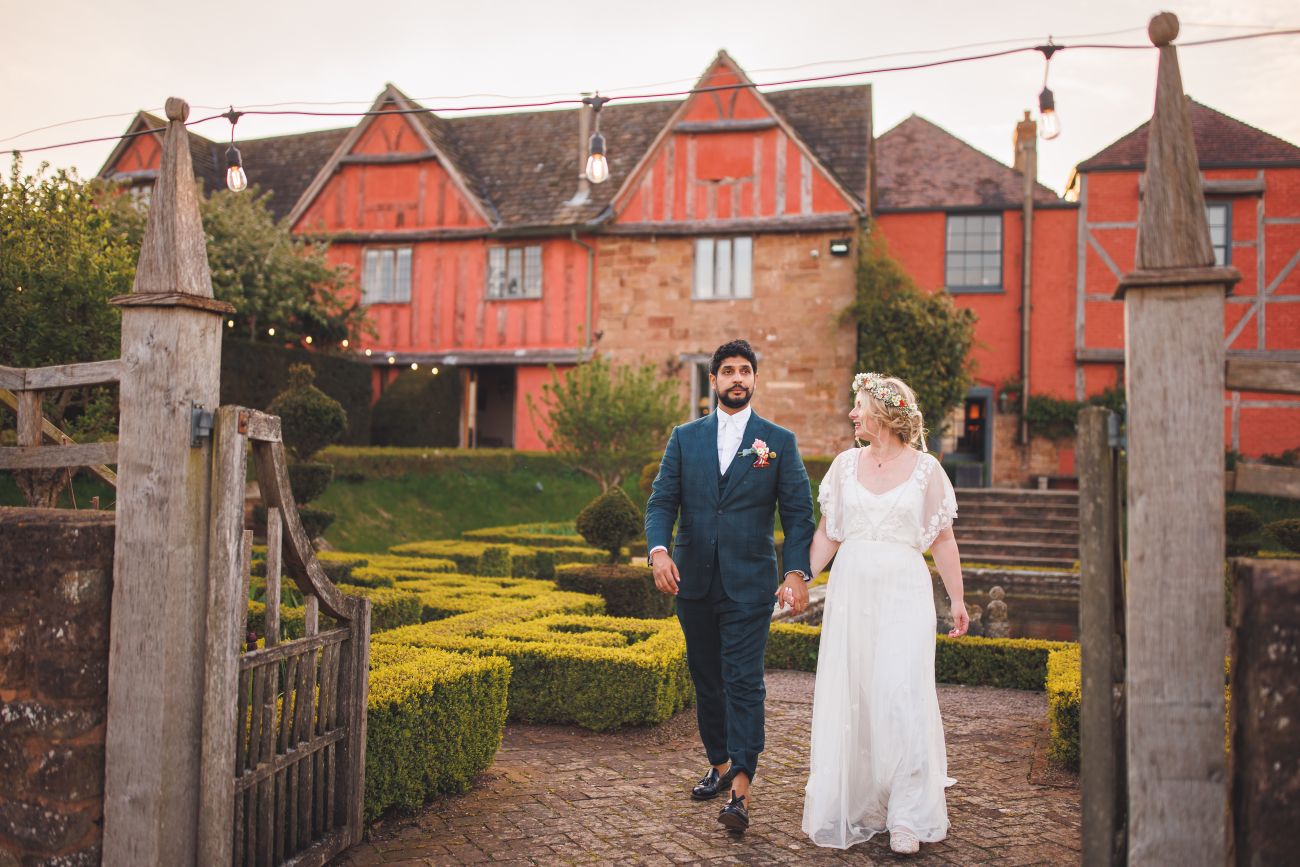
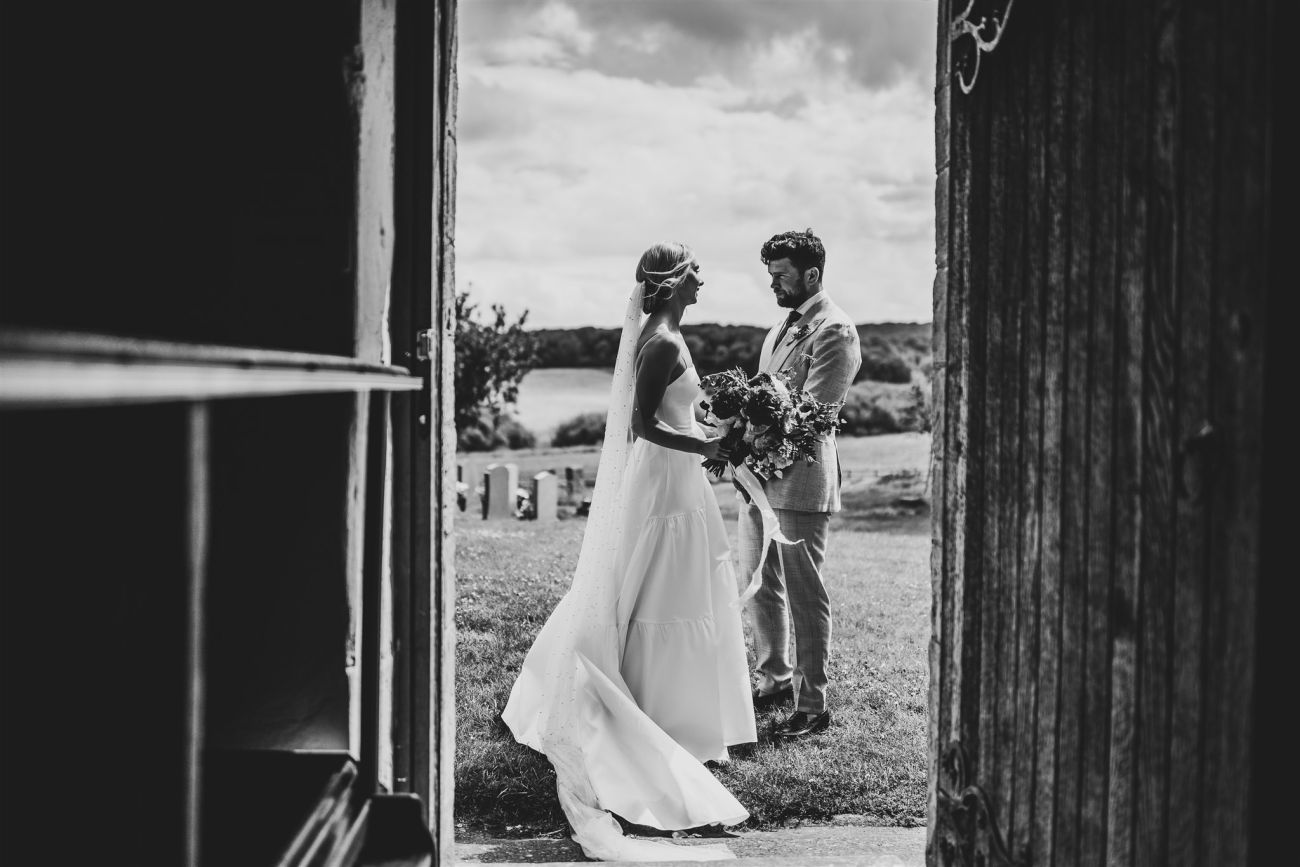
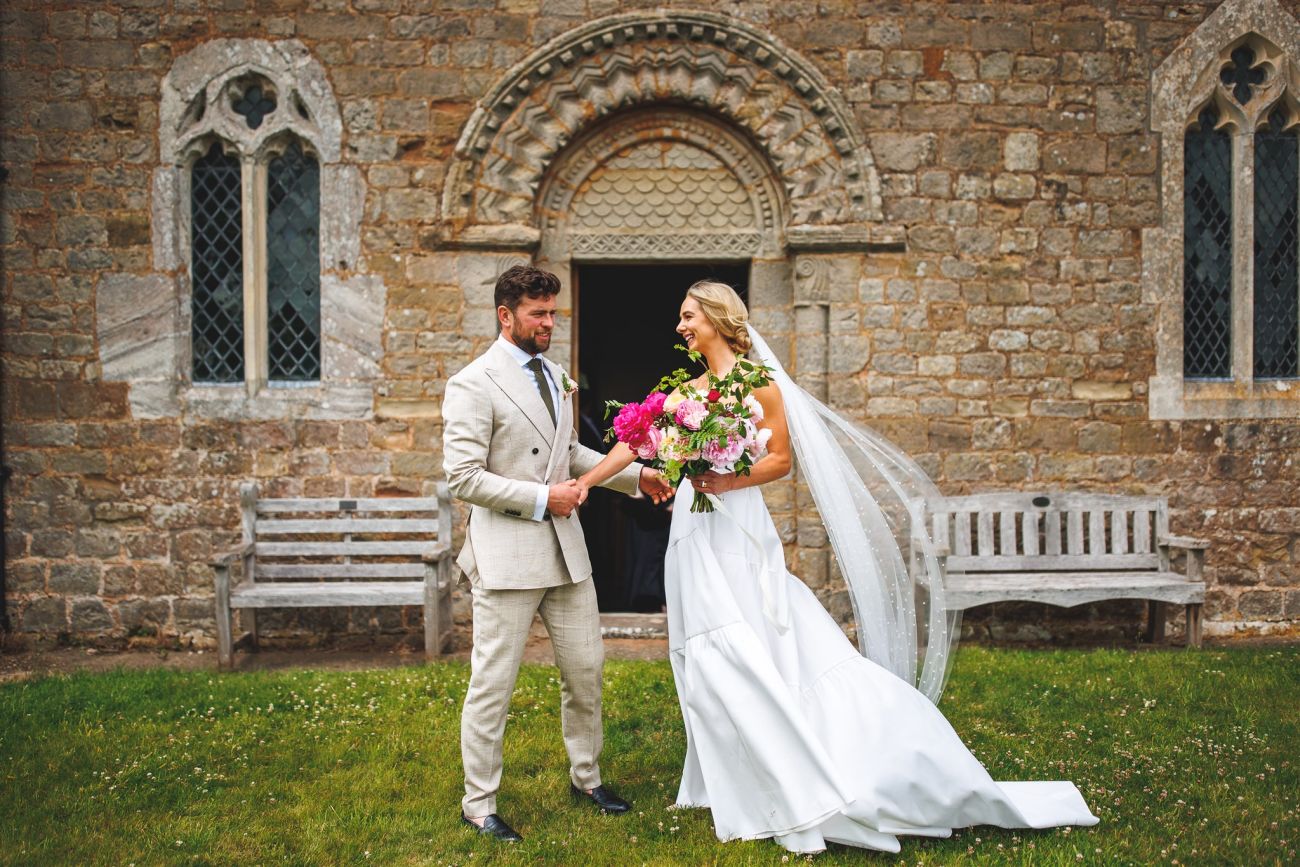
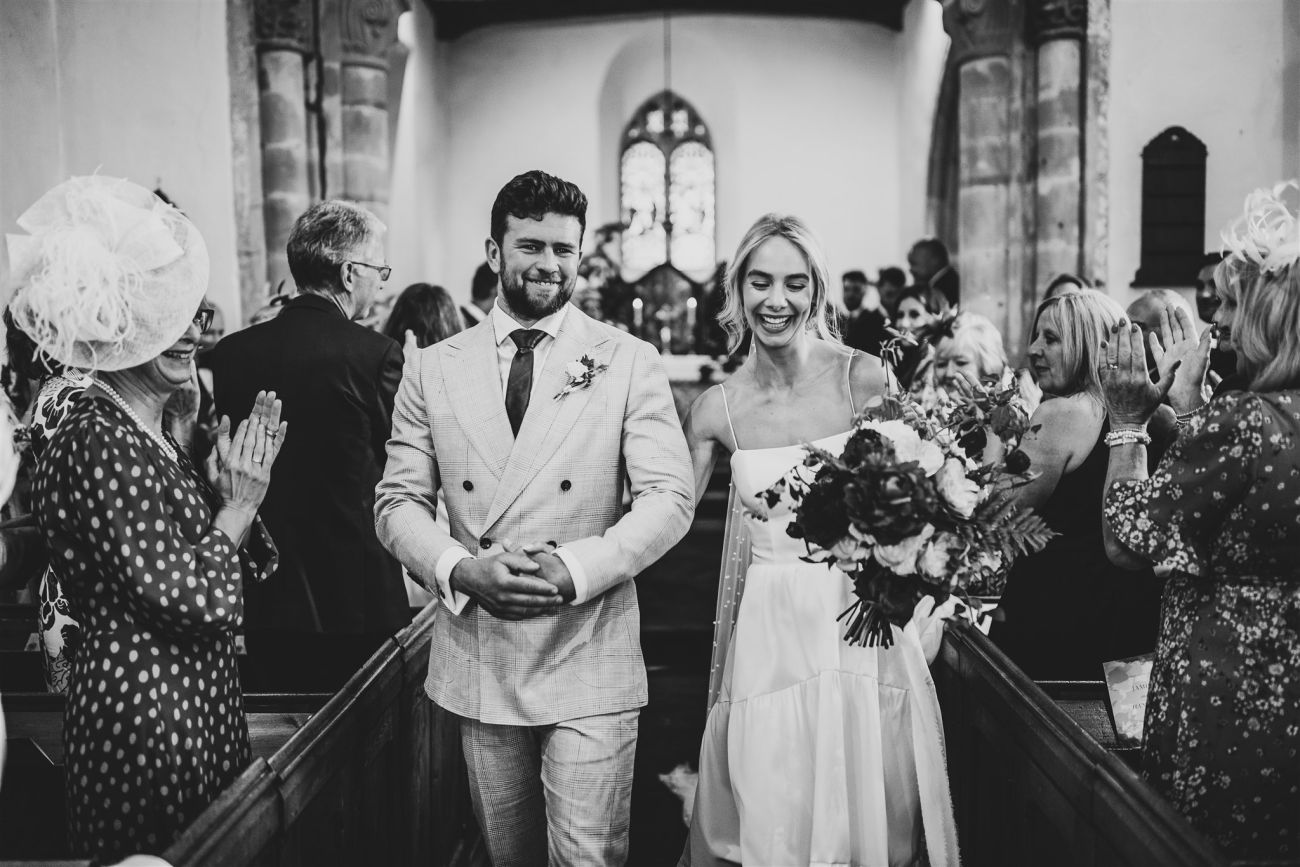
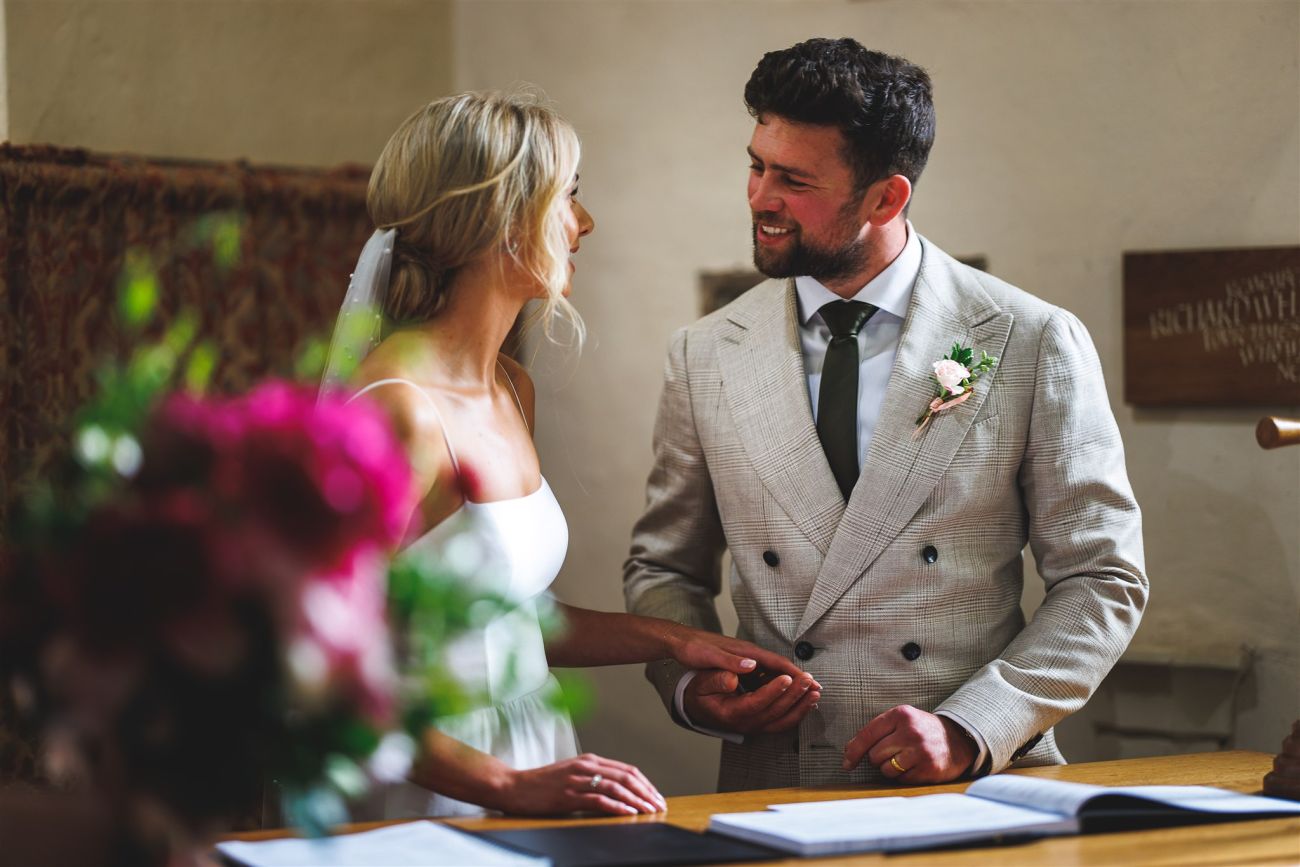
Joss & Nick by Duncan Cox Photography
Joss & Nick by Duncan Cox Photography
Joss & Nick by Duncan Cox Photography
Joss & Nick by Duncan Cox Photography
Joss & Nick by Duncan Cox Photography
Joss & Nick by Duncan Cox Photography
Joss & Nick by Duncan Cox Photography
Joss & Nick by Duncan Cox Photography
Joss & Nick by Duncan Cox Photography
Joss & Nick by Duncan Cox Photography
Joss & Nick by Duncan Cox Photography
Joss & Nick by Duncan Cox Photography
Joss & Nick by Duncan Cox Photography
Joss & Nick by Duncan Cox Photography
Joss & Nick by Duncan Cox Photography
Joss & Nick by Duncan Cox Photography
Joss & Nick by Duncan Cox Photography
Joss & Nick by Duncan Cox Photography
Joss & Nick by Duncan Cox Photography
Joss & Nick by Duncan Cox Photography
Joss & Nick by Duncan Cox Photography
Joss & Nick by Duncan Cox Photography
Joss & Nick by Duncan Cox Photography
Joss & Nick by Duncan Cox Photography
Joss & Nick by Duncan Cox Photography
Joss & Nick by Duncan Cox Photography
Joss & Nick by Duncan Cox Photography
Joss & Nick by Duncan Cox Photography
Joss & Nick by Duncan Cox Photography
Joss & Nick by Duncan Cox Photography
Joss & Nick by Duncan Cox Photography
Joss & Nick by Duncan Cox Photography
Joss & Nick by Duncan Cox Photography
Joss & Nick by Duncan Cox Photography
Joss & Nick by Duncan Cox Photography
Hannah & Jamie photographed by David Liebst
Hannah & Jamie photographed by David Liebst
Hannah & Jamie photographed by David Liebst
Hannah & Jamie photographed by David Liebst
Hannah & Jamie photographed by David Liebst
Hannah & Jamie photographed by David Liebst
Hannah & Jamie photographed by David Liebst
Hannah & Jamie photographed by David Liebst
Hannah & Jamie photographed by David Liebst
Hannah & Jamie photographed by David Liebst
Hannah & Jamie photographed by David Liebst
Hannah & Jamie photographed by David Liebst
Hannah & Jamie photographed by David Liebst
Hannah & Jamie photographed by David Liebst
Hannah & Jamie photographed by David Liebst
Hannah & Jamie photographed by David Liebst
Hannah & Jamie photographed by David Liebst
Hannah & Jamie photographed by David Liebst
Hannah & Jamie photographed by David Liebst
Hannah & Jamie photographed by David Liebst
Hannah & Jamie photographed by David Liebst
Hannah & Jamie photographed by David Liebst
Hannah & Jamie photographed by David Liebst
Hannah & Jamie photographed by David Liebst
Hannah & Jamie photographed by David Liebst
Hannah & Jamie photographed by David Liebst
Hannah & Jamie photographed by David Liebst
Hannah & Jamie photographed by David Liebst
Hannah and Jamie's wedding photographs were taken by the amazing David Liebst
Hannah and Jamie's wedding photographs were taken by the amazing David Liebst
Hannah and Jamie's wedding photographs were taken by the amazing David Liebst
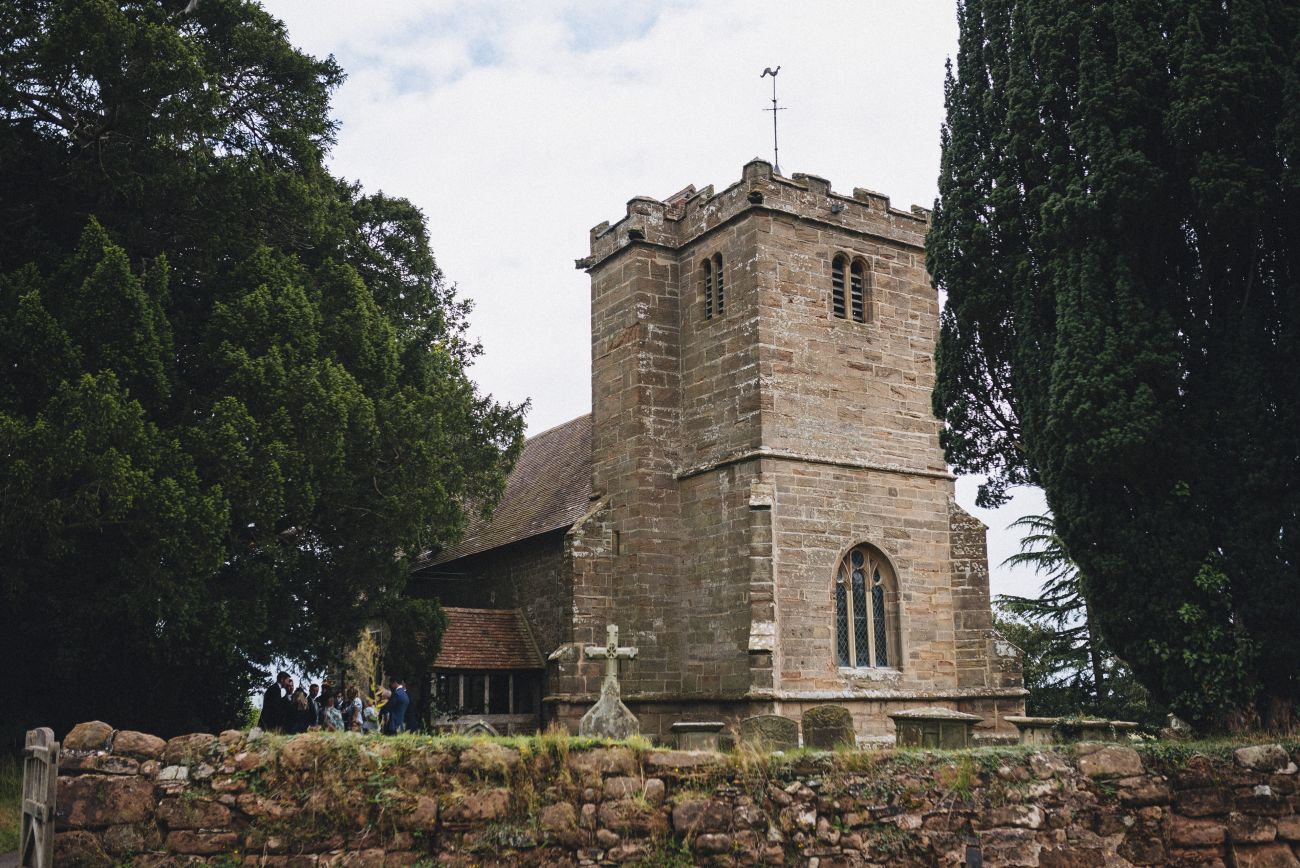
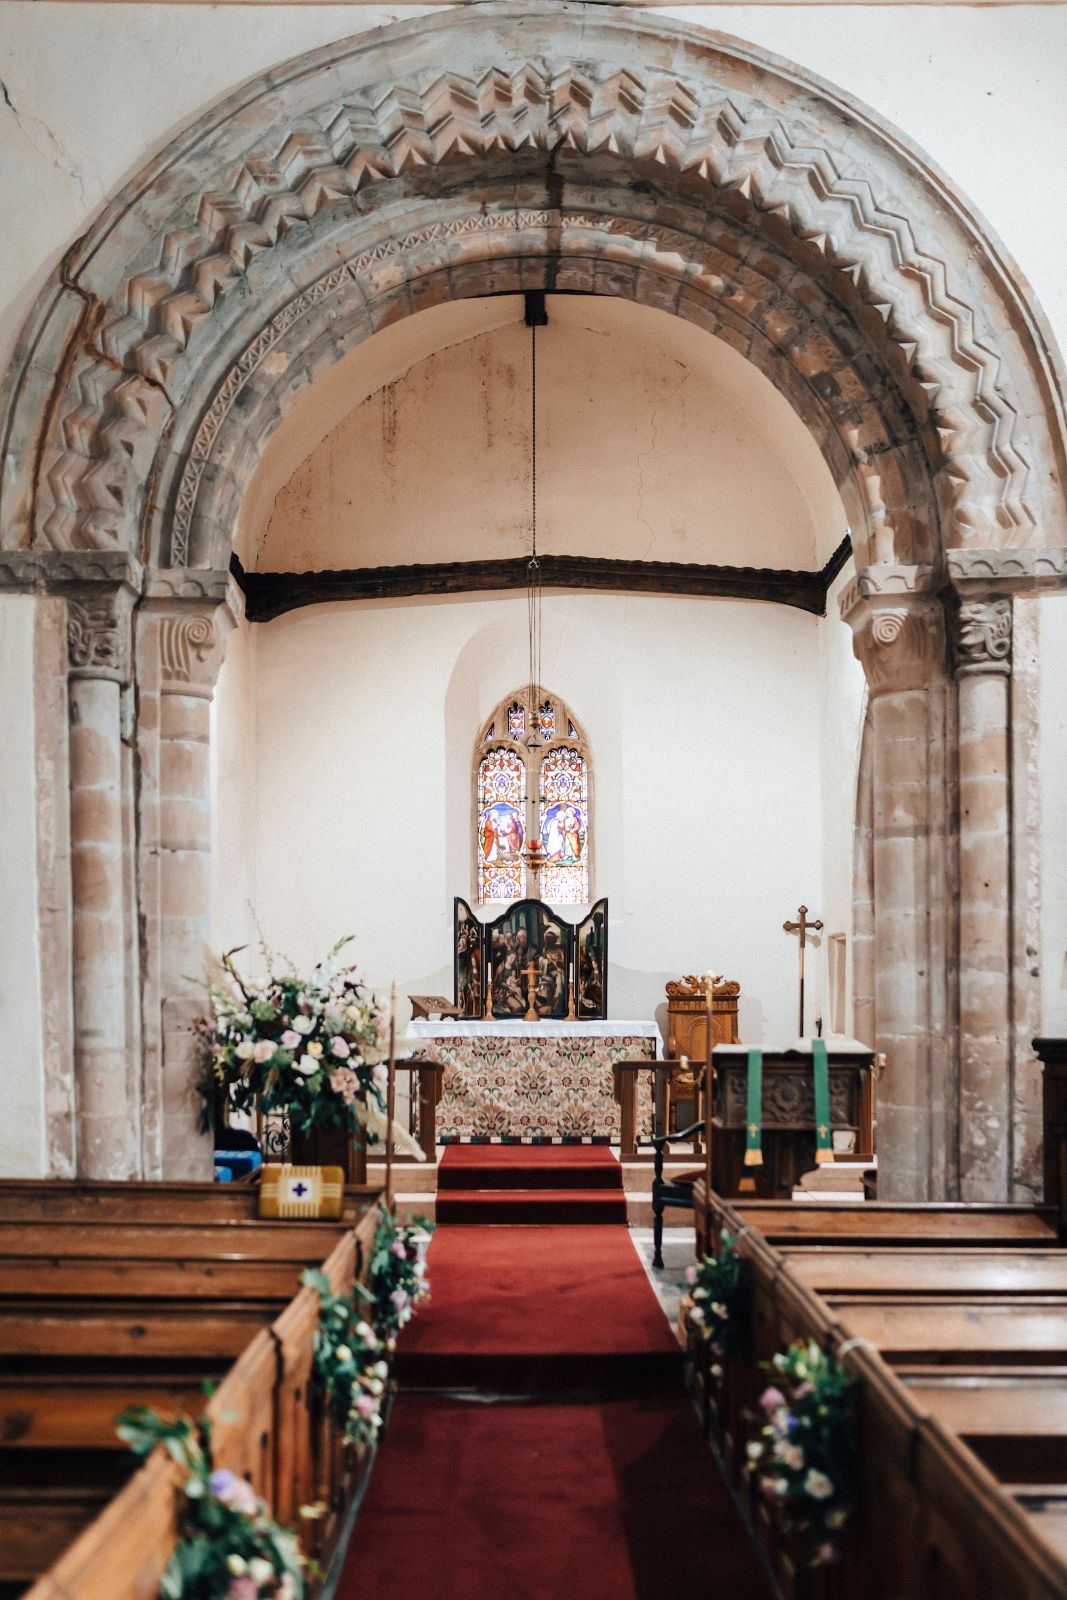
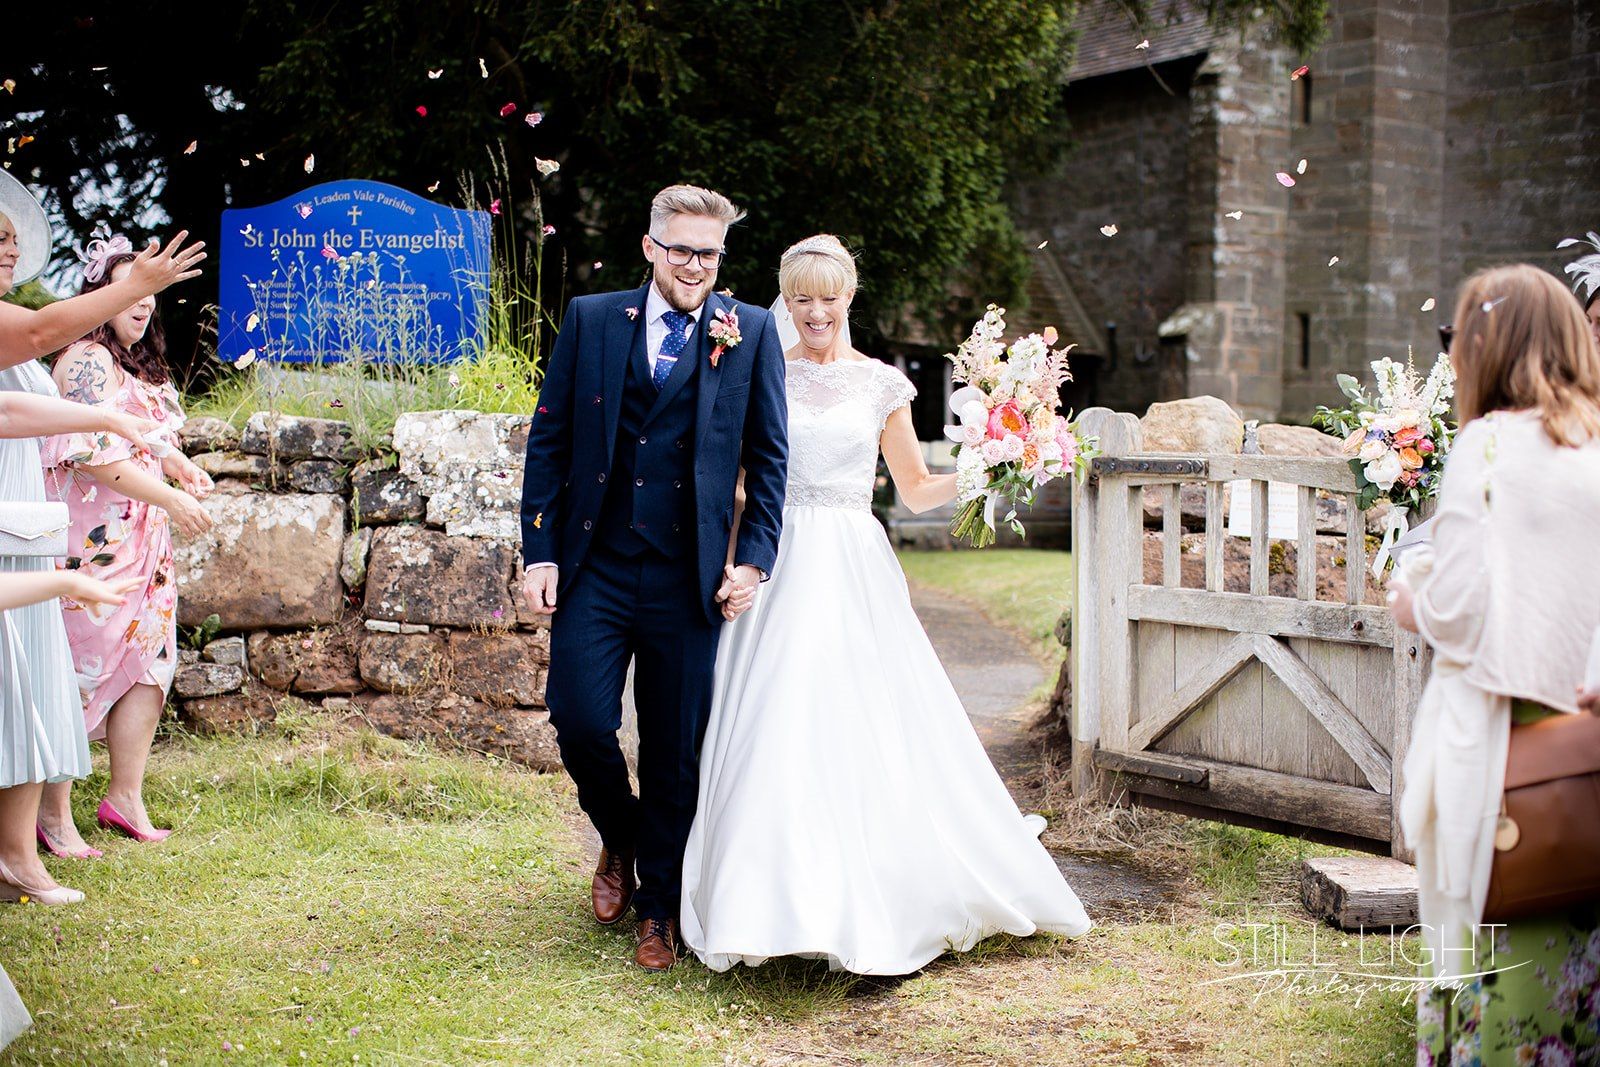
St. John the Evangelist Church next door
Photo by Copper and Blossom
Photo by Copper and Blossom
Photo by Copper and Blossom
Photo by Copper and Blossom
Photo by Copper and Blossom
Photo by Copper and Blossom
Photo by Copper and Blossom
Photo by Copper and Blossom
Photo by Copper and Blossom
Photo by Copper and Blossom
Photo by Copper and Blossom
Photo by Copper and Blossom
Photo by Copper and Blossom
Photo by Copper and Blossom
Photo by Copper and Blossom
Photo by Copper and Blossom
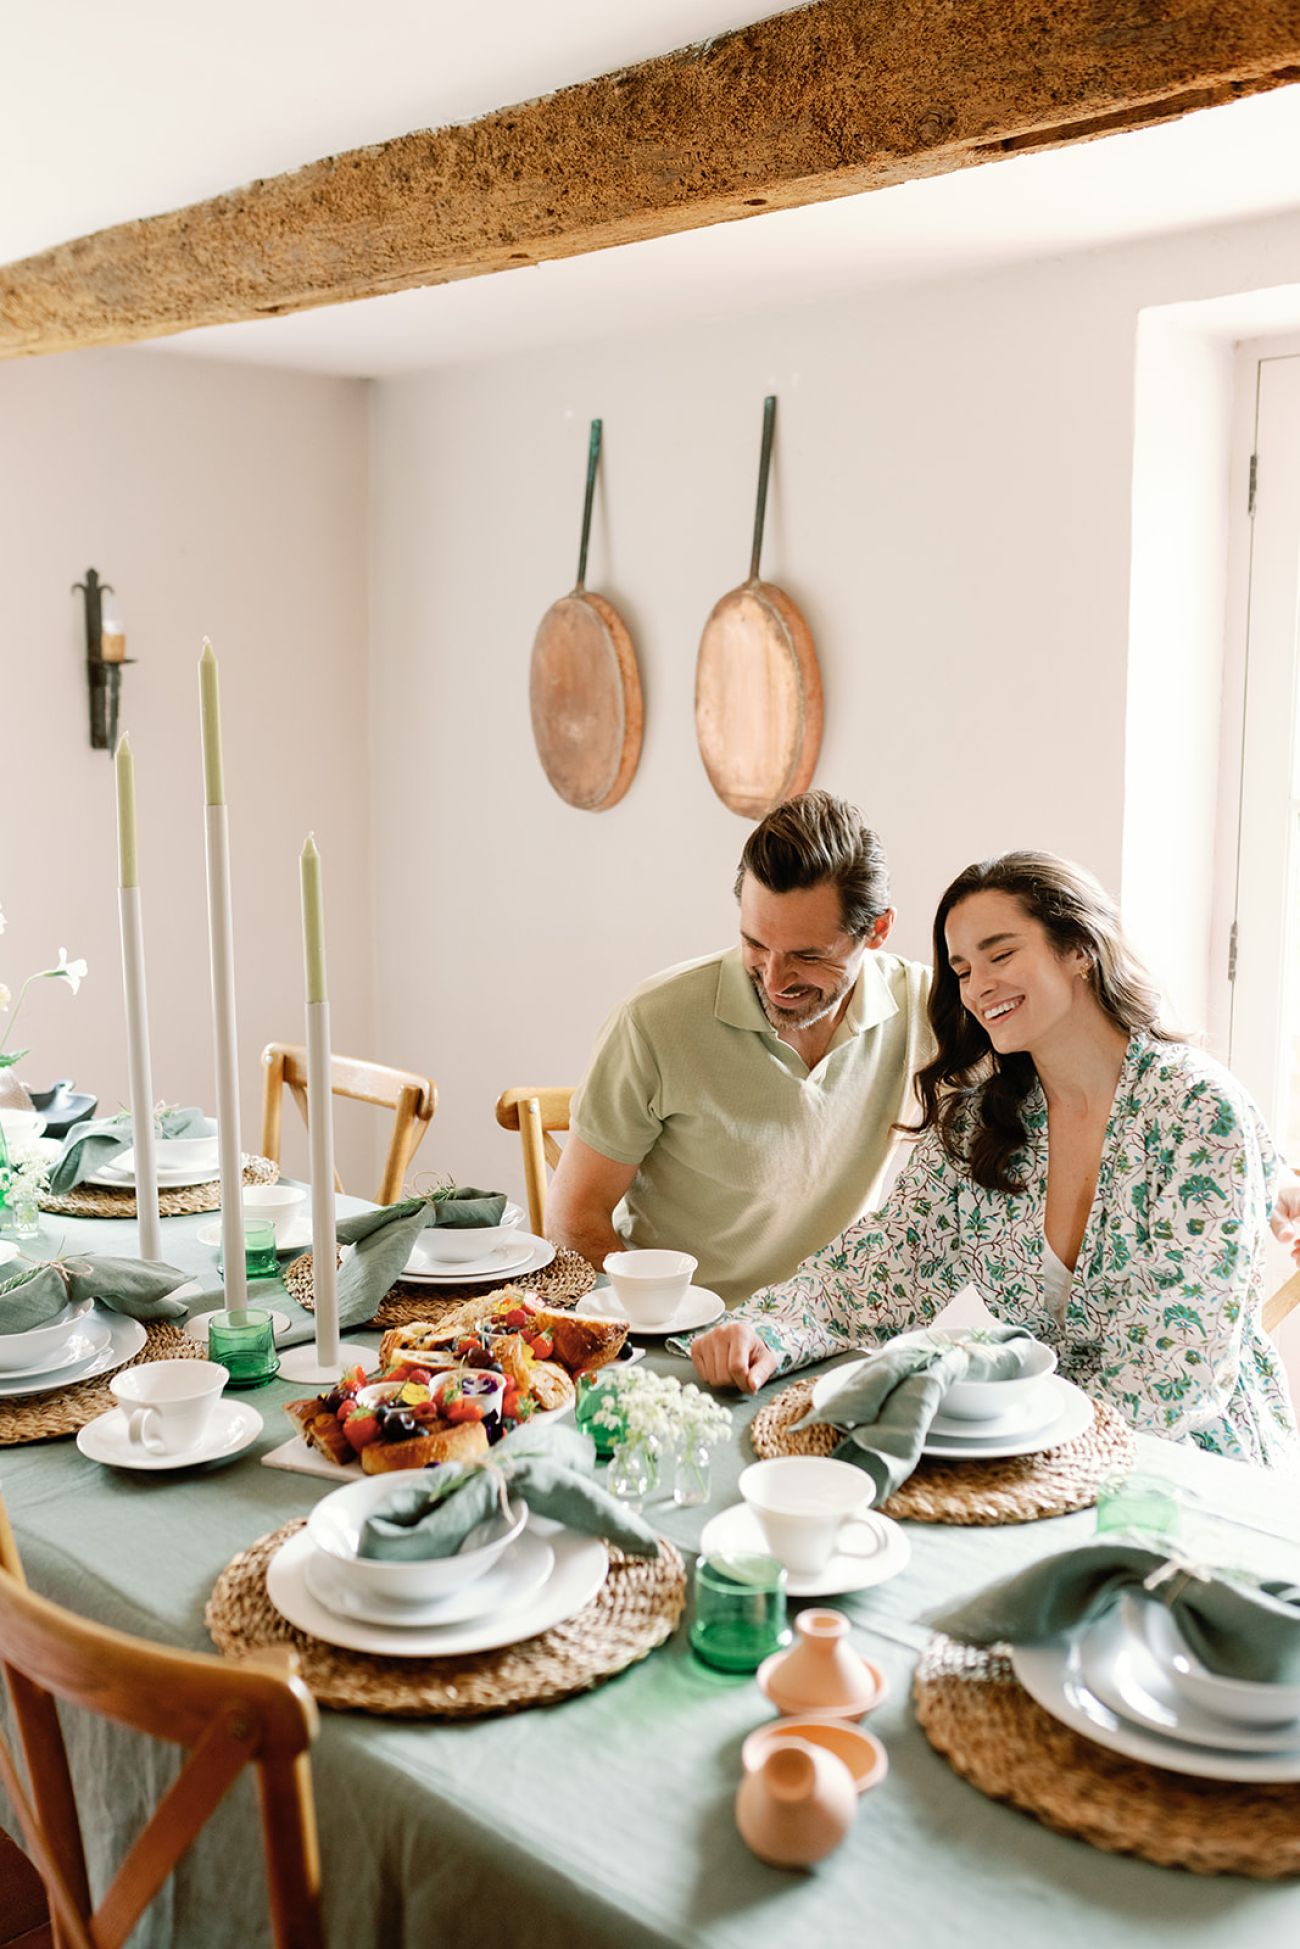
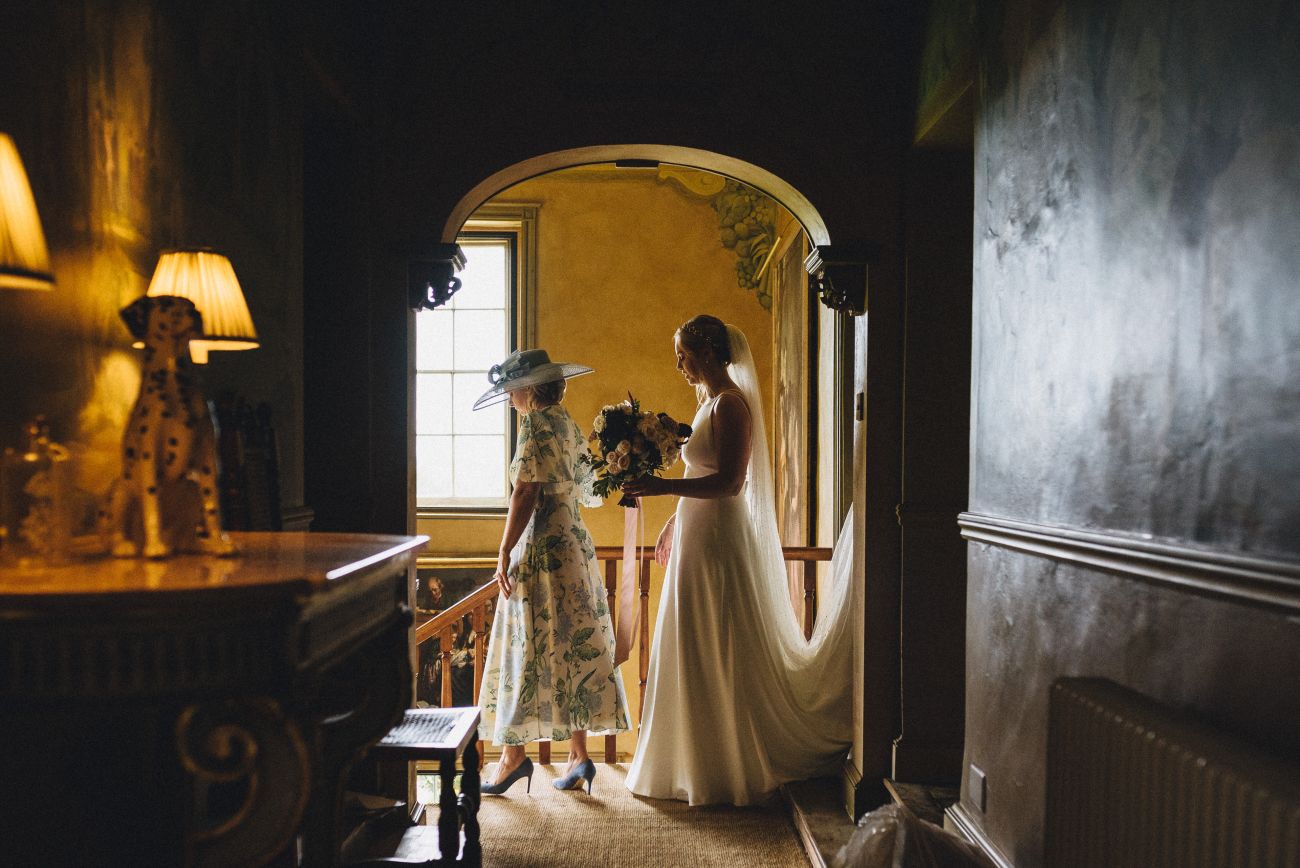
Thank you so much for making our wedding day the best day of our lives. Absolutely everything was perfect. We were so relaxed and enjoyed every single minute of our whole time at Pauntley.
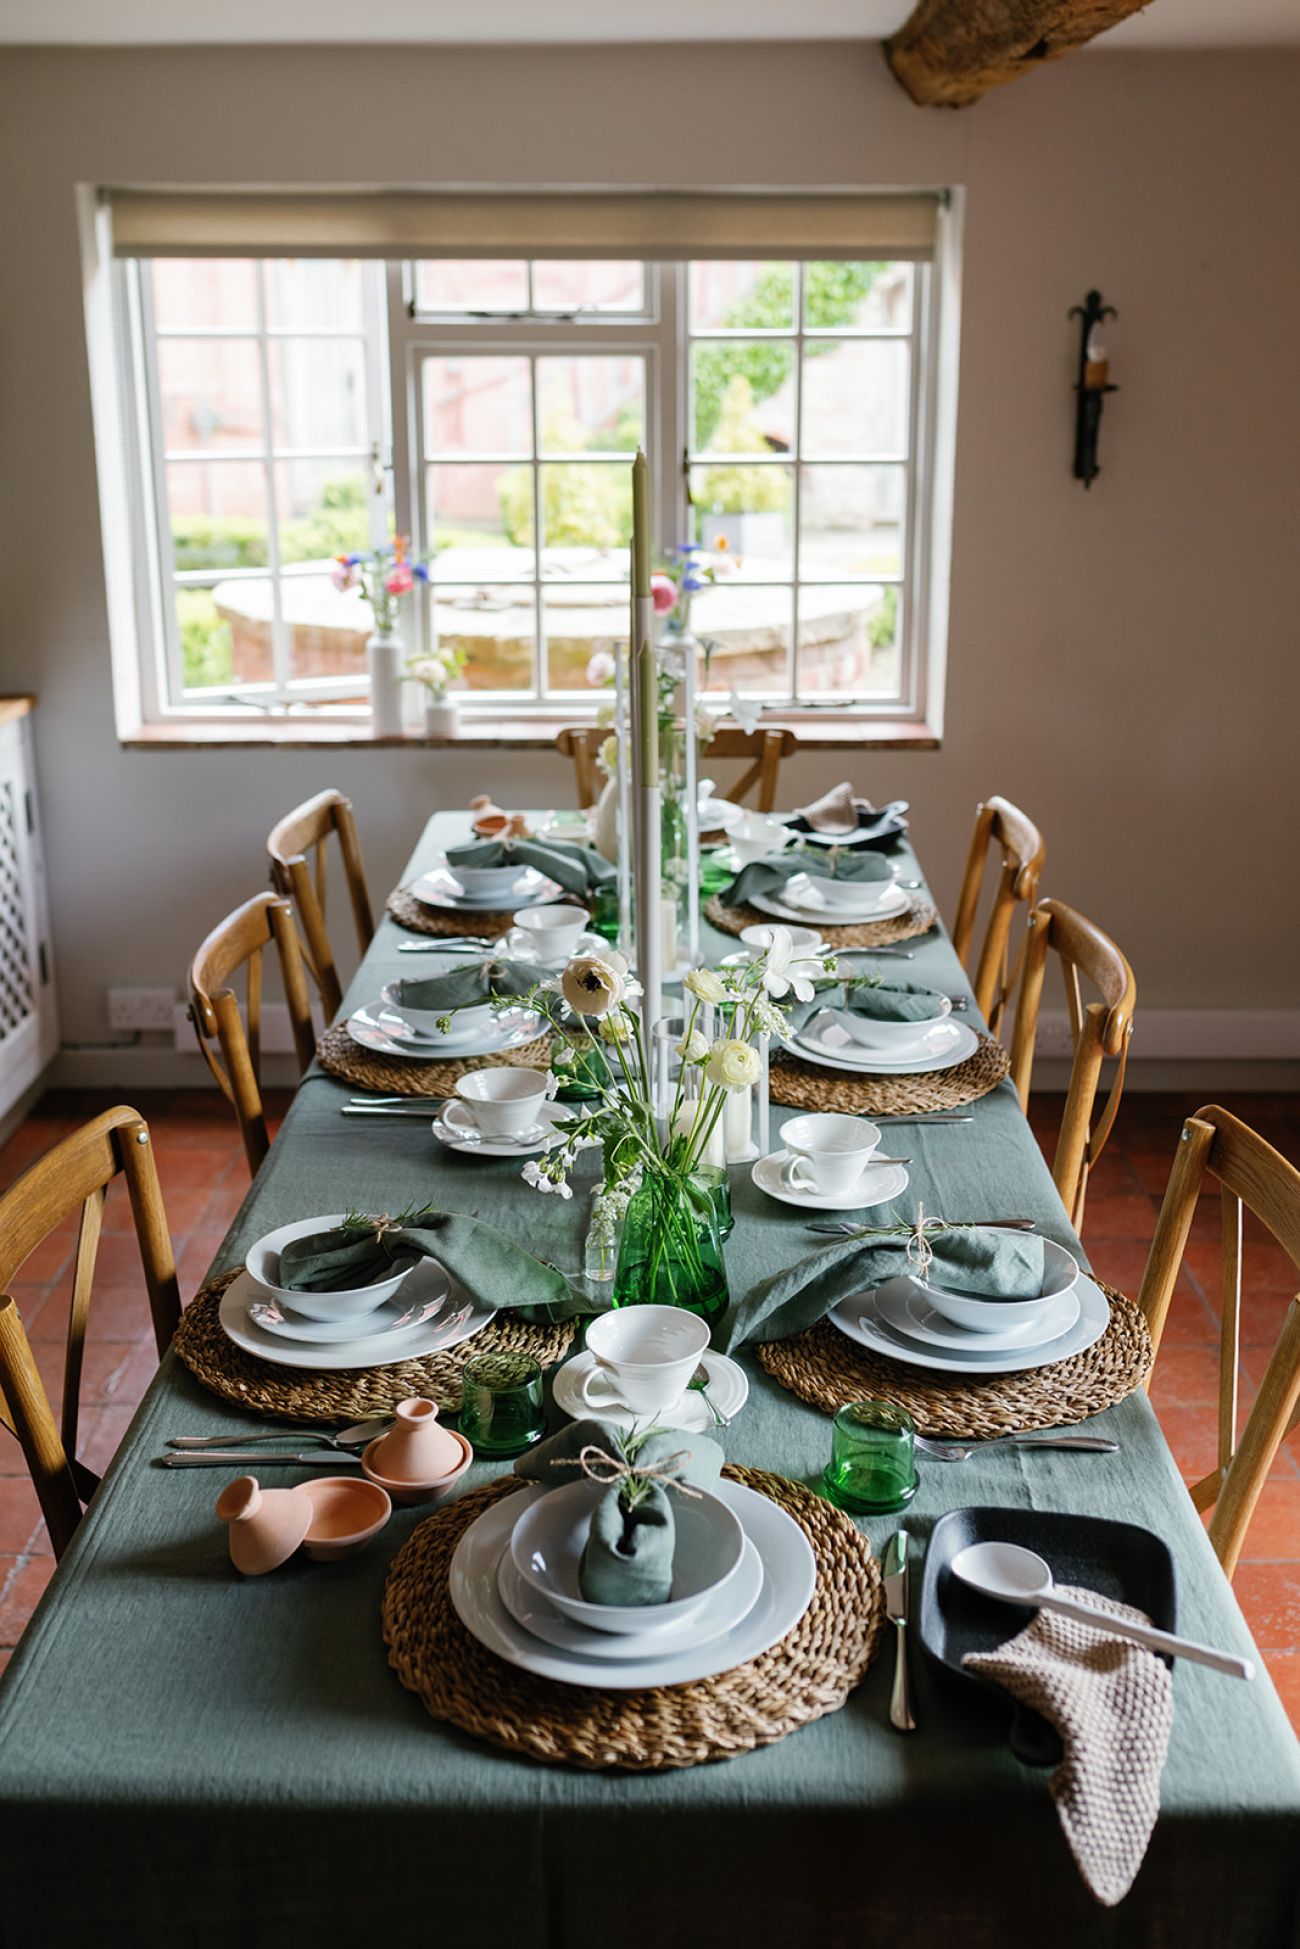
Our friends and family couldn’t believe how beautiful the house and gardens are we really did feel so welcome and at ease. Pauntley is such a special place
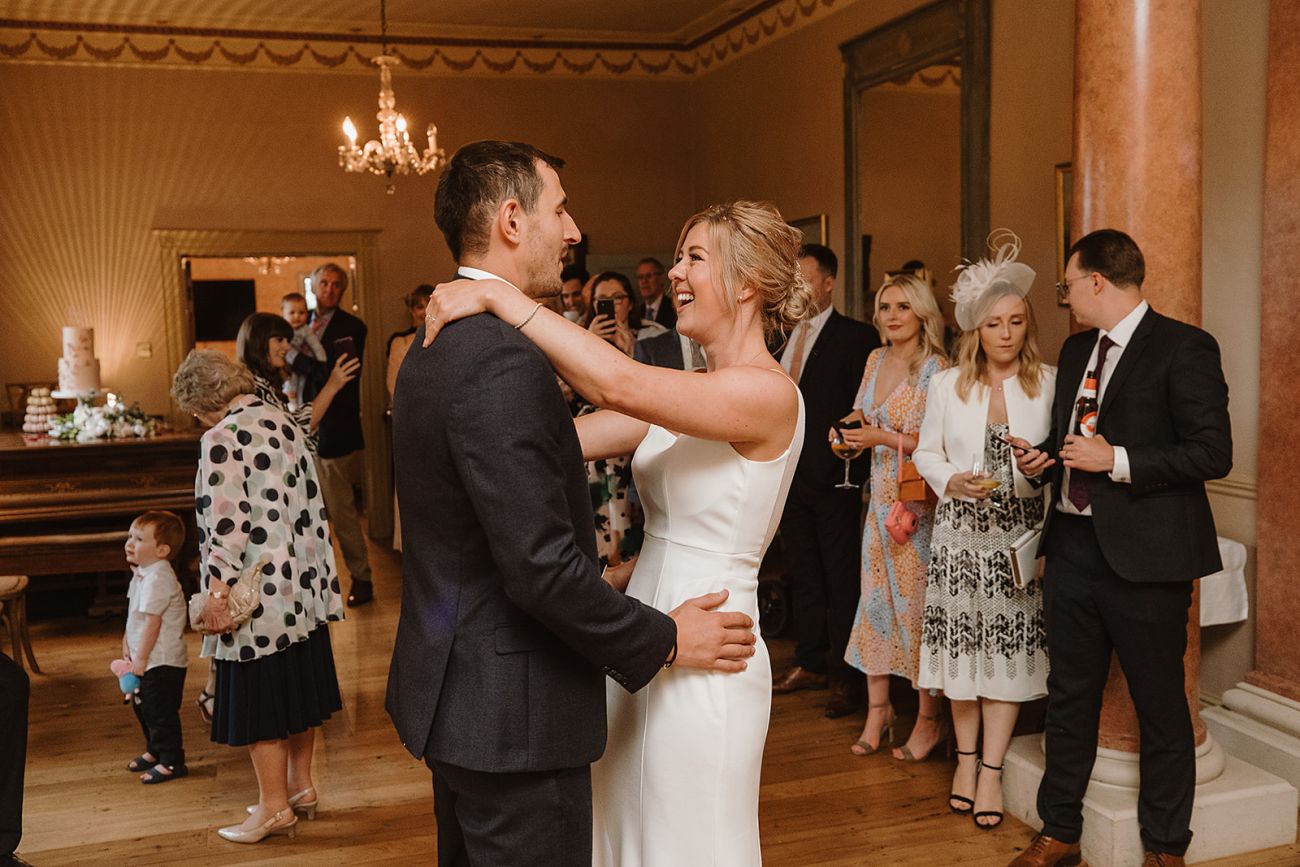
Holly was amazing! She had thought of everything, and I can’t explain how much easier the morning was knowing Holly (Wedding Coordinator) was there! We can’t recommend the whole team enough, you are all amazing.
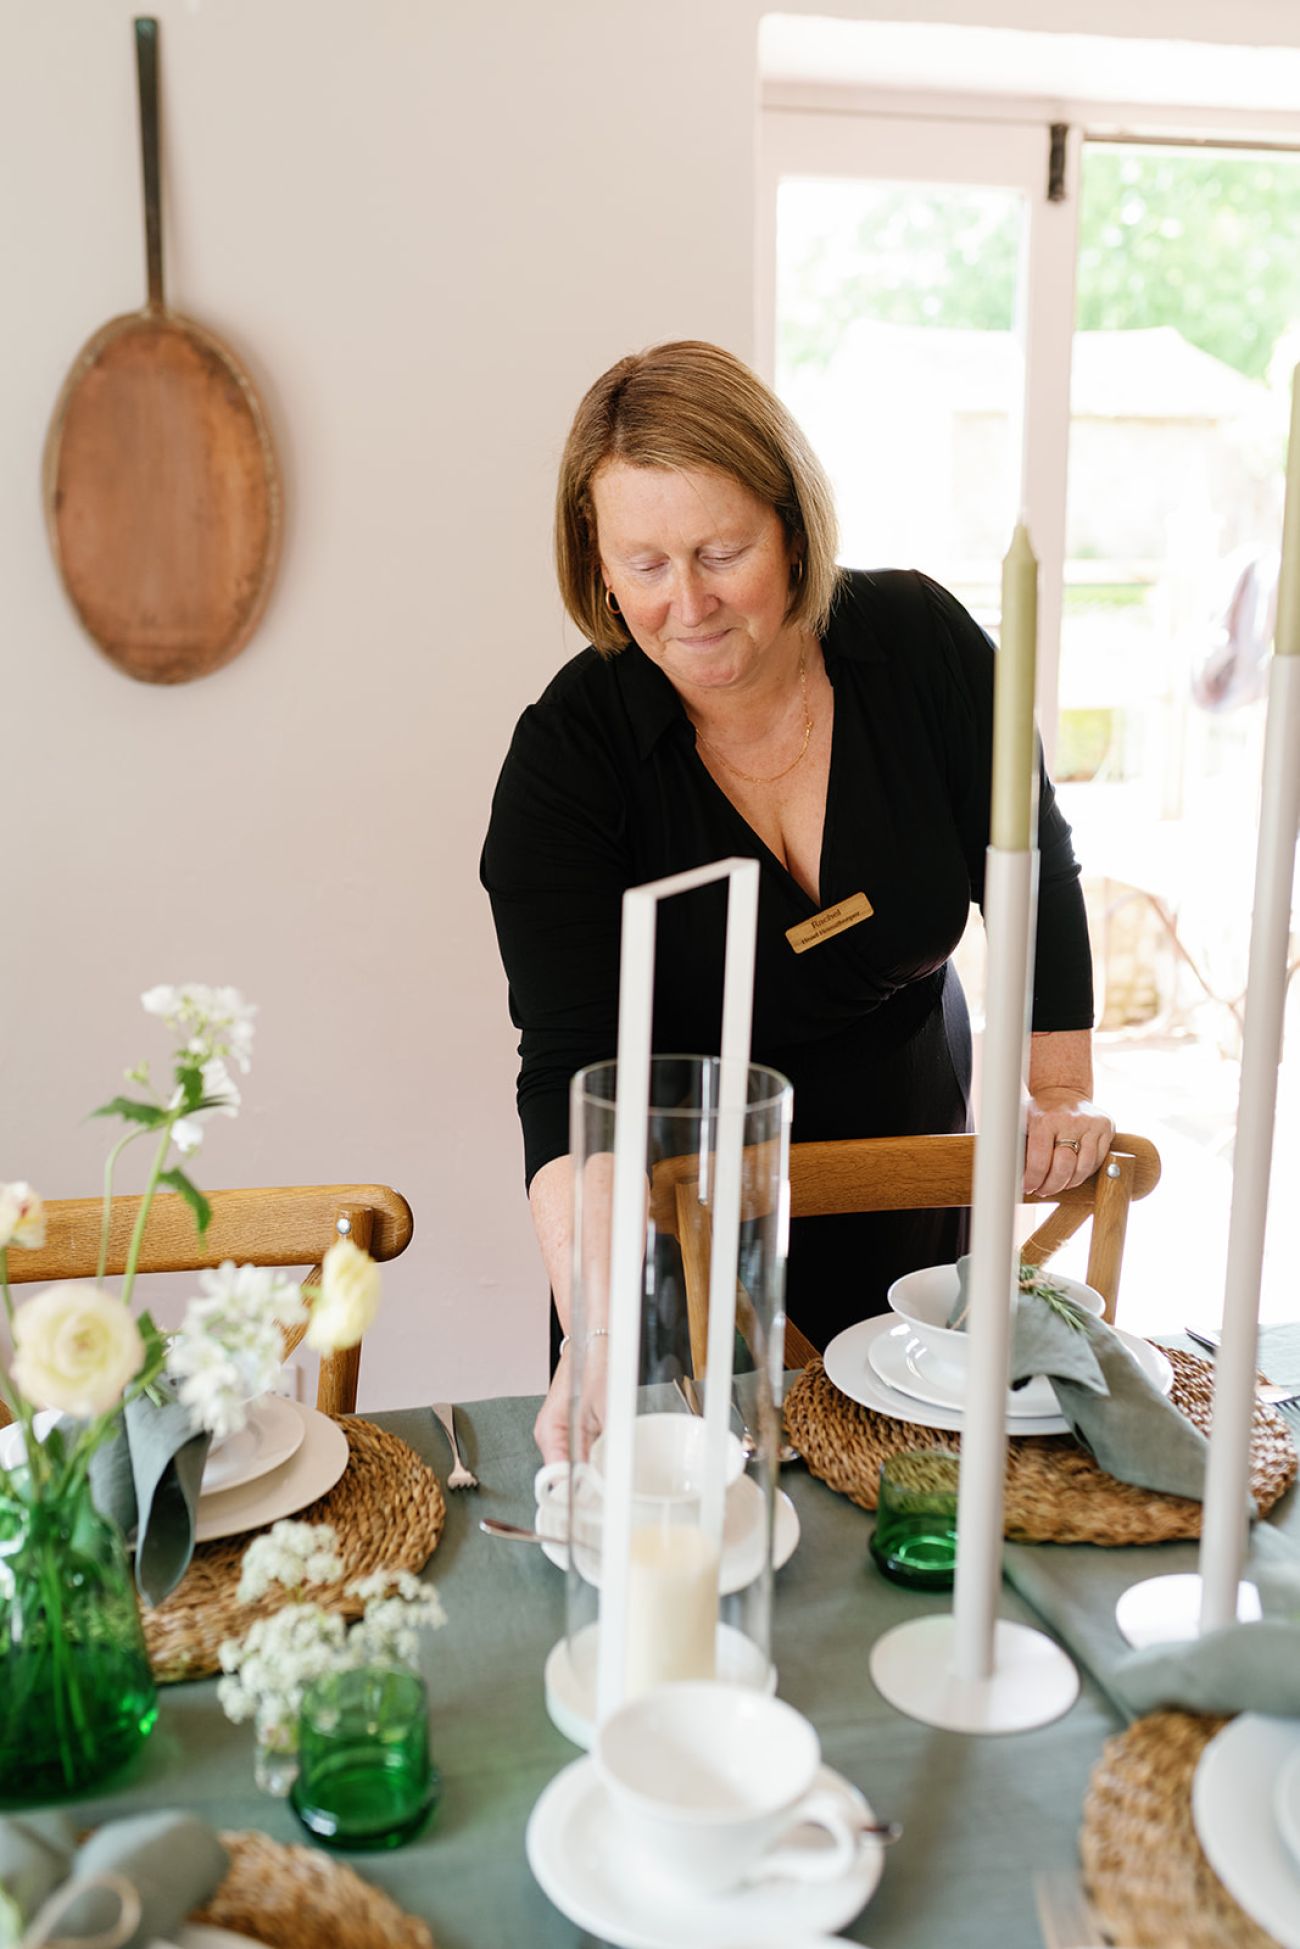
Thank you to Rachel (Housekeeper) who was superwoman the whole few days! Serving the canapes and gelato, to cooking us all the most delicious breakfasts and everything in-between. You were incredible.
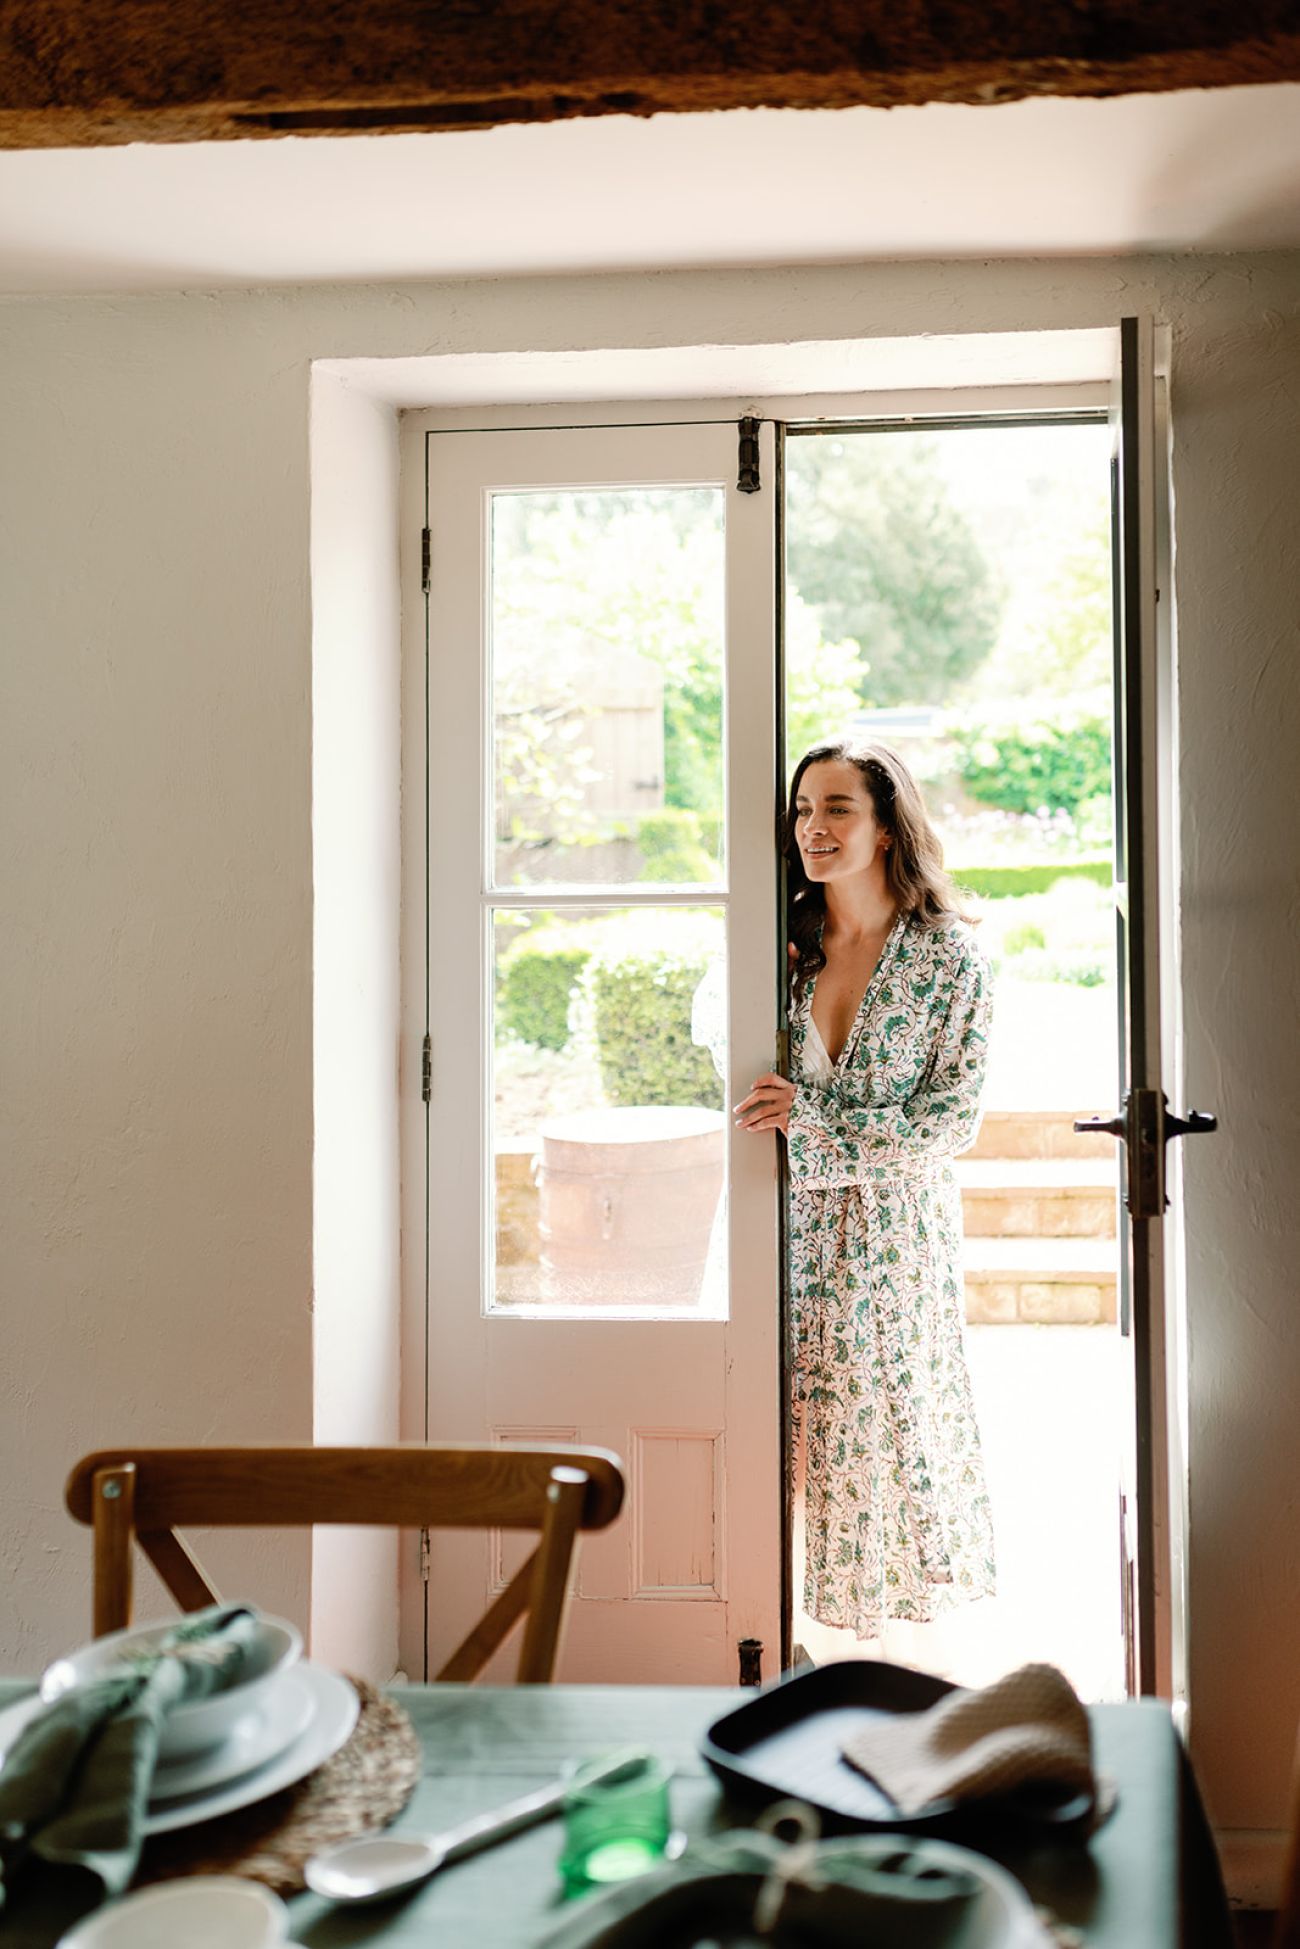
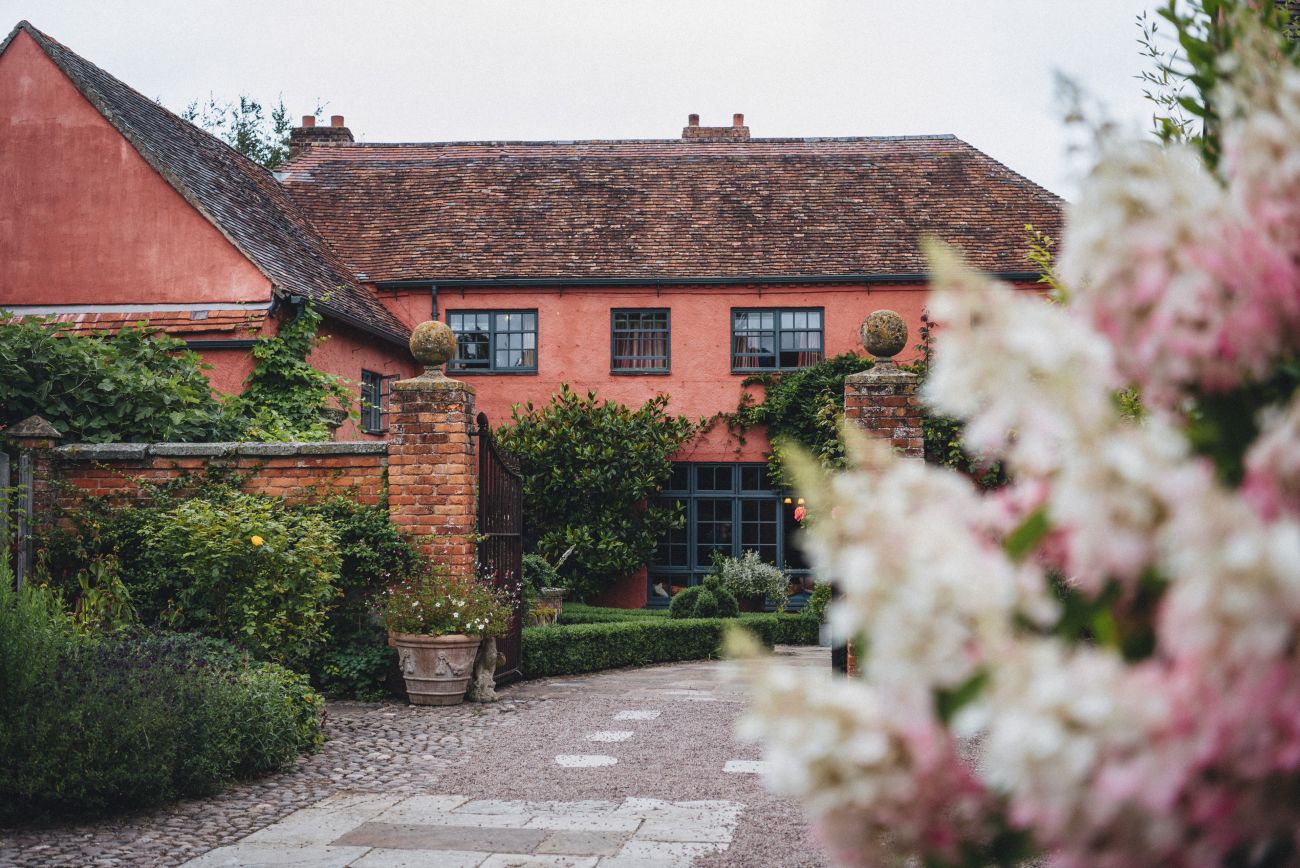
We will never forget our amazing time at Pauntley – it will forever be a special place to us.